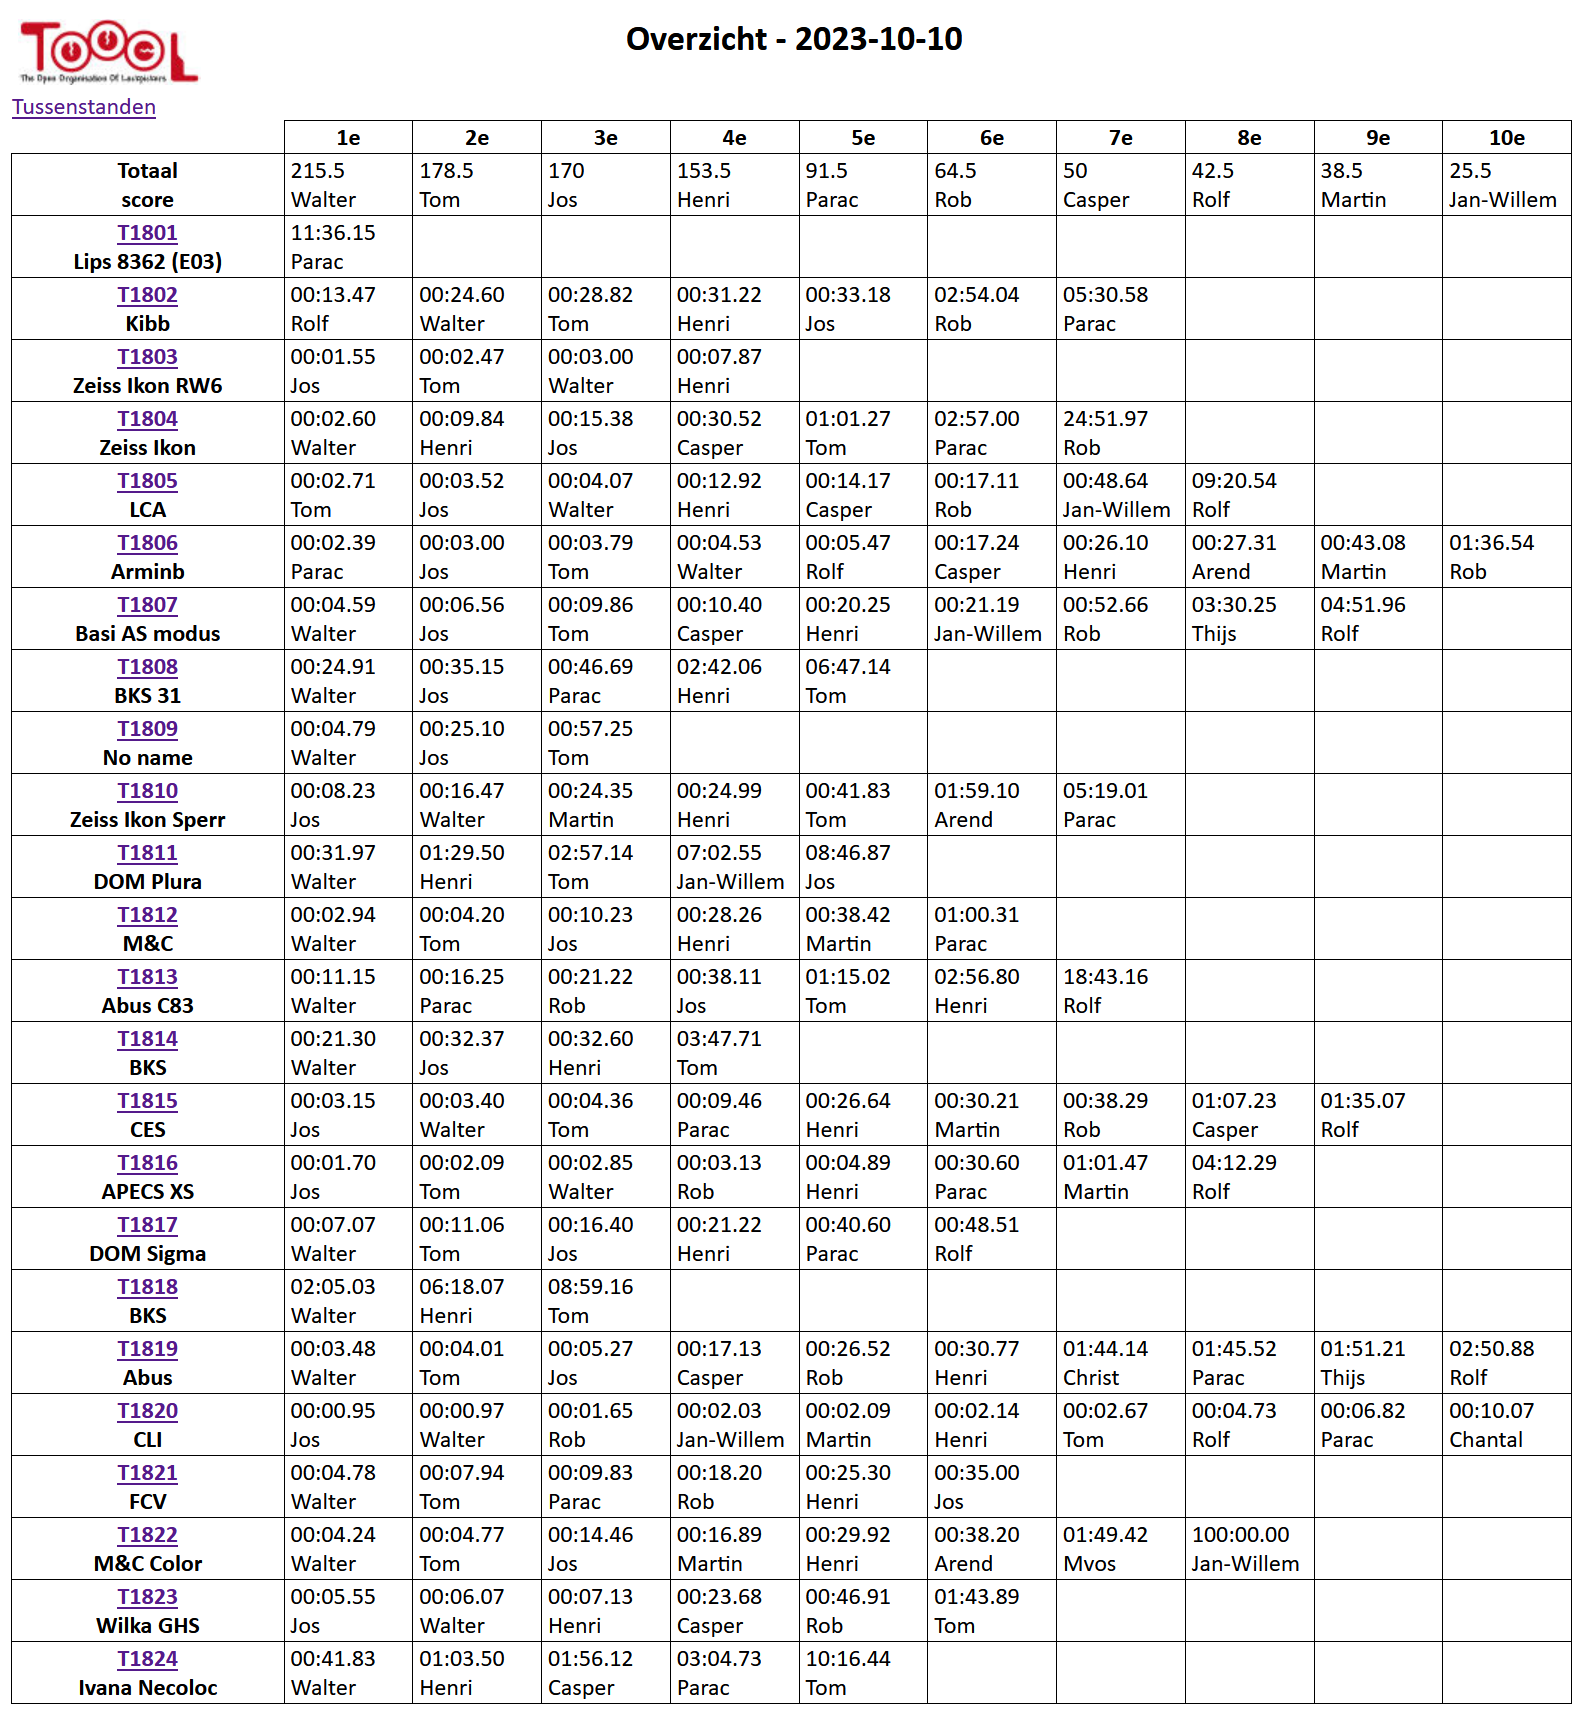
The Toool NL competition is a lockpicking competition which is available at meetups for the members. About twenty locks are selected, and the members improve the picking times throughout the year. Opening a lock in the best time gives ten points, 2nd best time nine points etc. The member with the most points at the end of the year wins the competition. https://toool.nl/competitie2023/
Jos, Henri, Jan-Willem and Rob made a quick start in the competition at the first meetup. At the Eindhoven meetup, Walter took the lead, and kept the top score throughout the year. There was more competition for the second and third place, and was held and lost by many. (Week by week: https://toool.nl/competitie2023/tussenstanden.html)
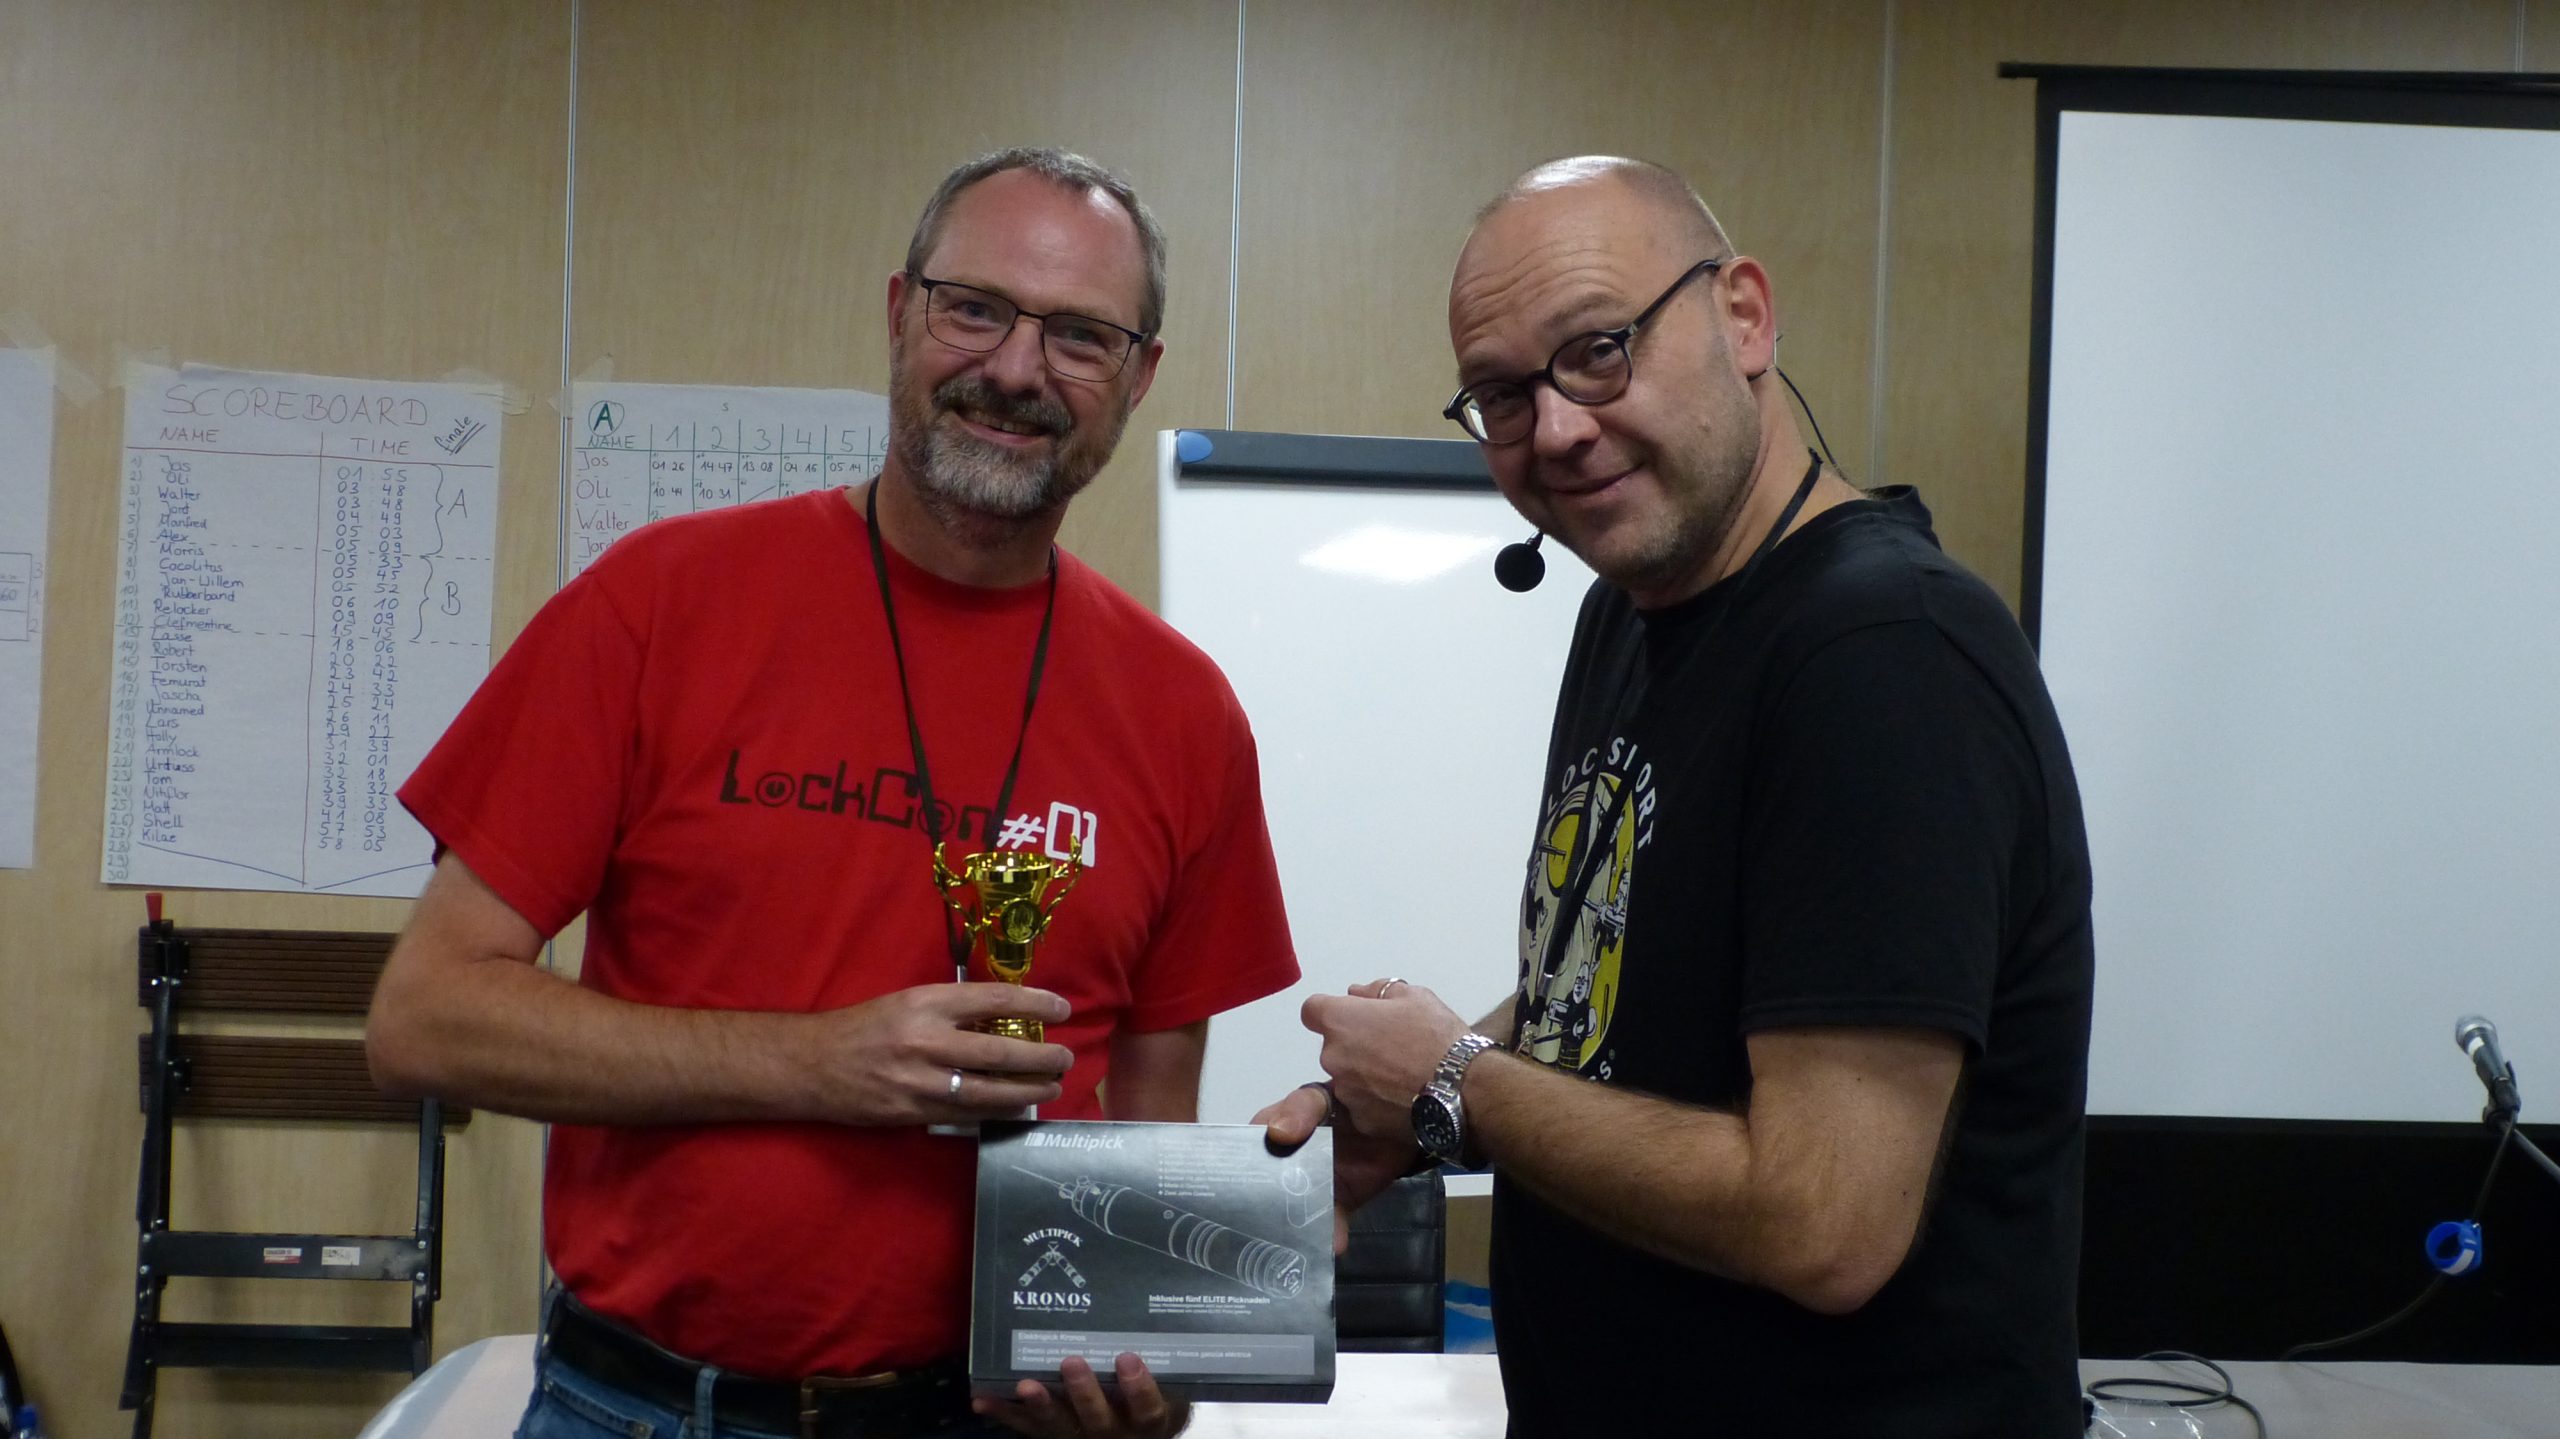
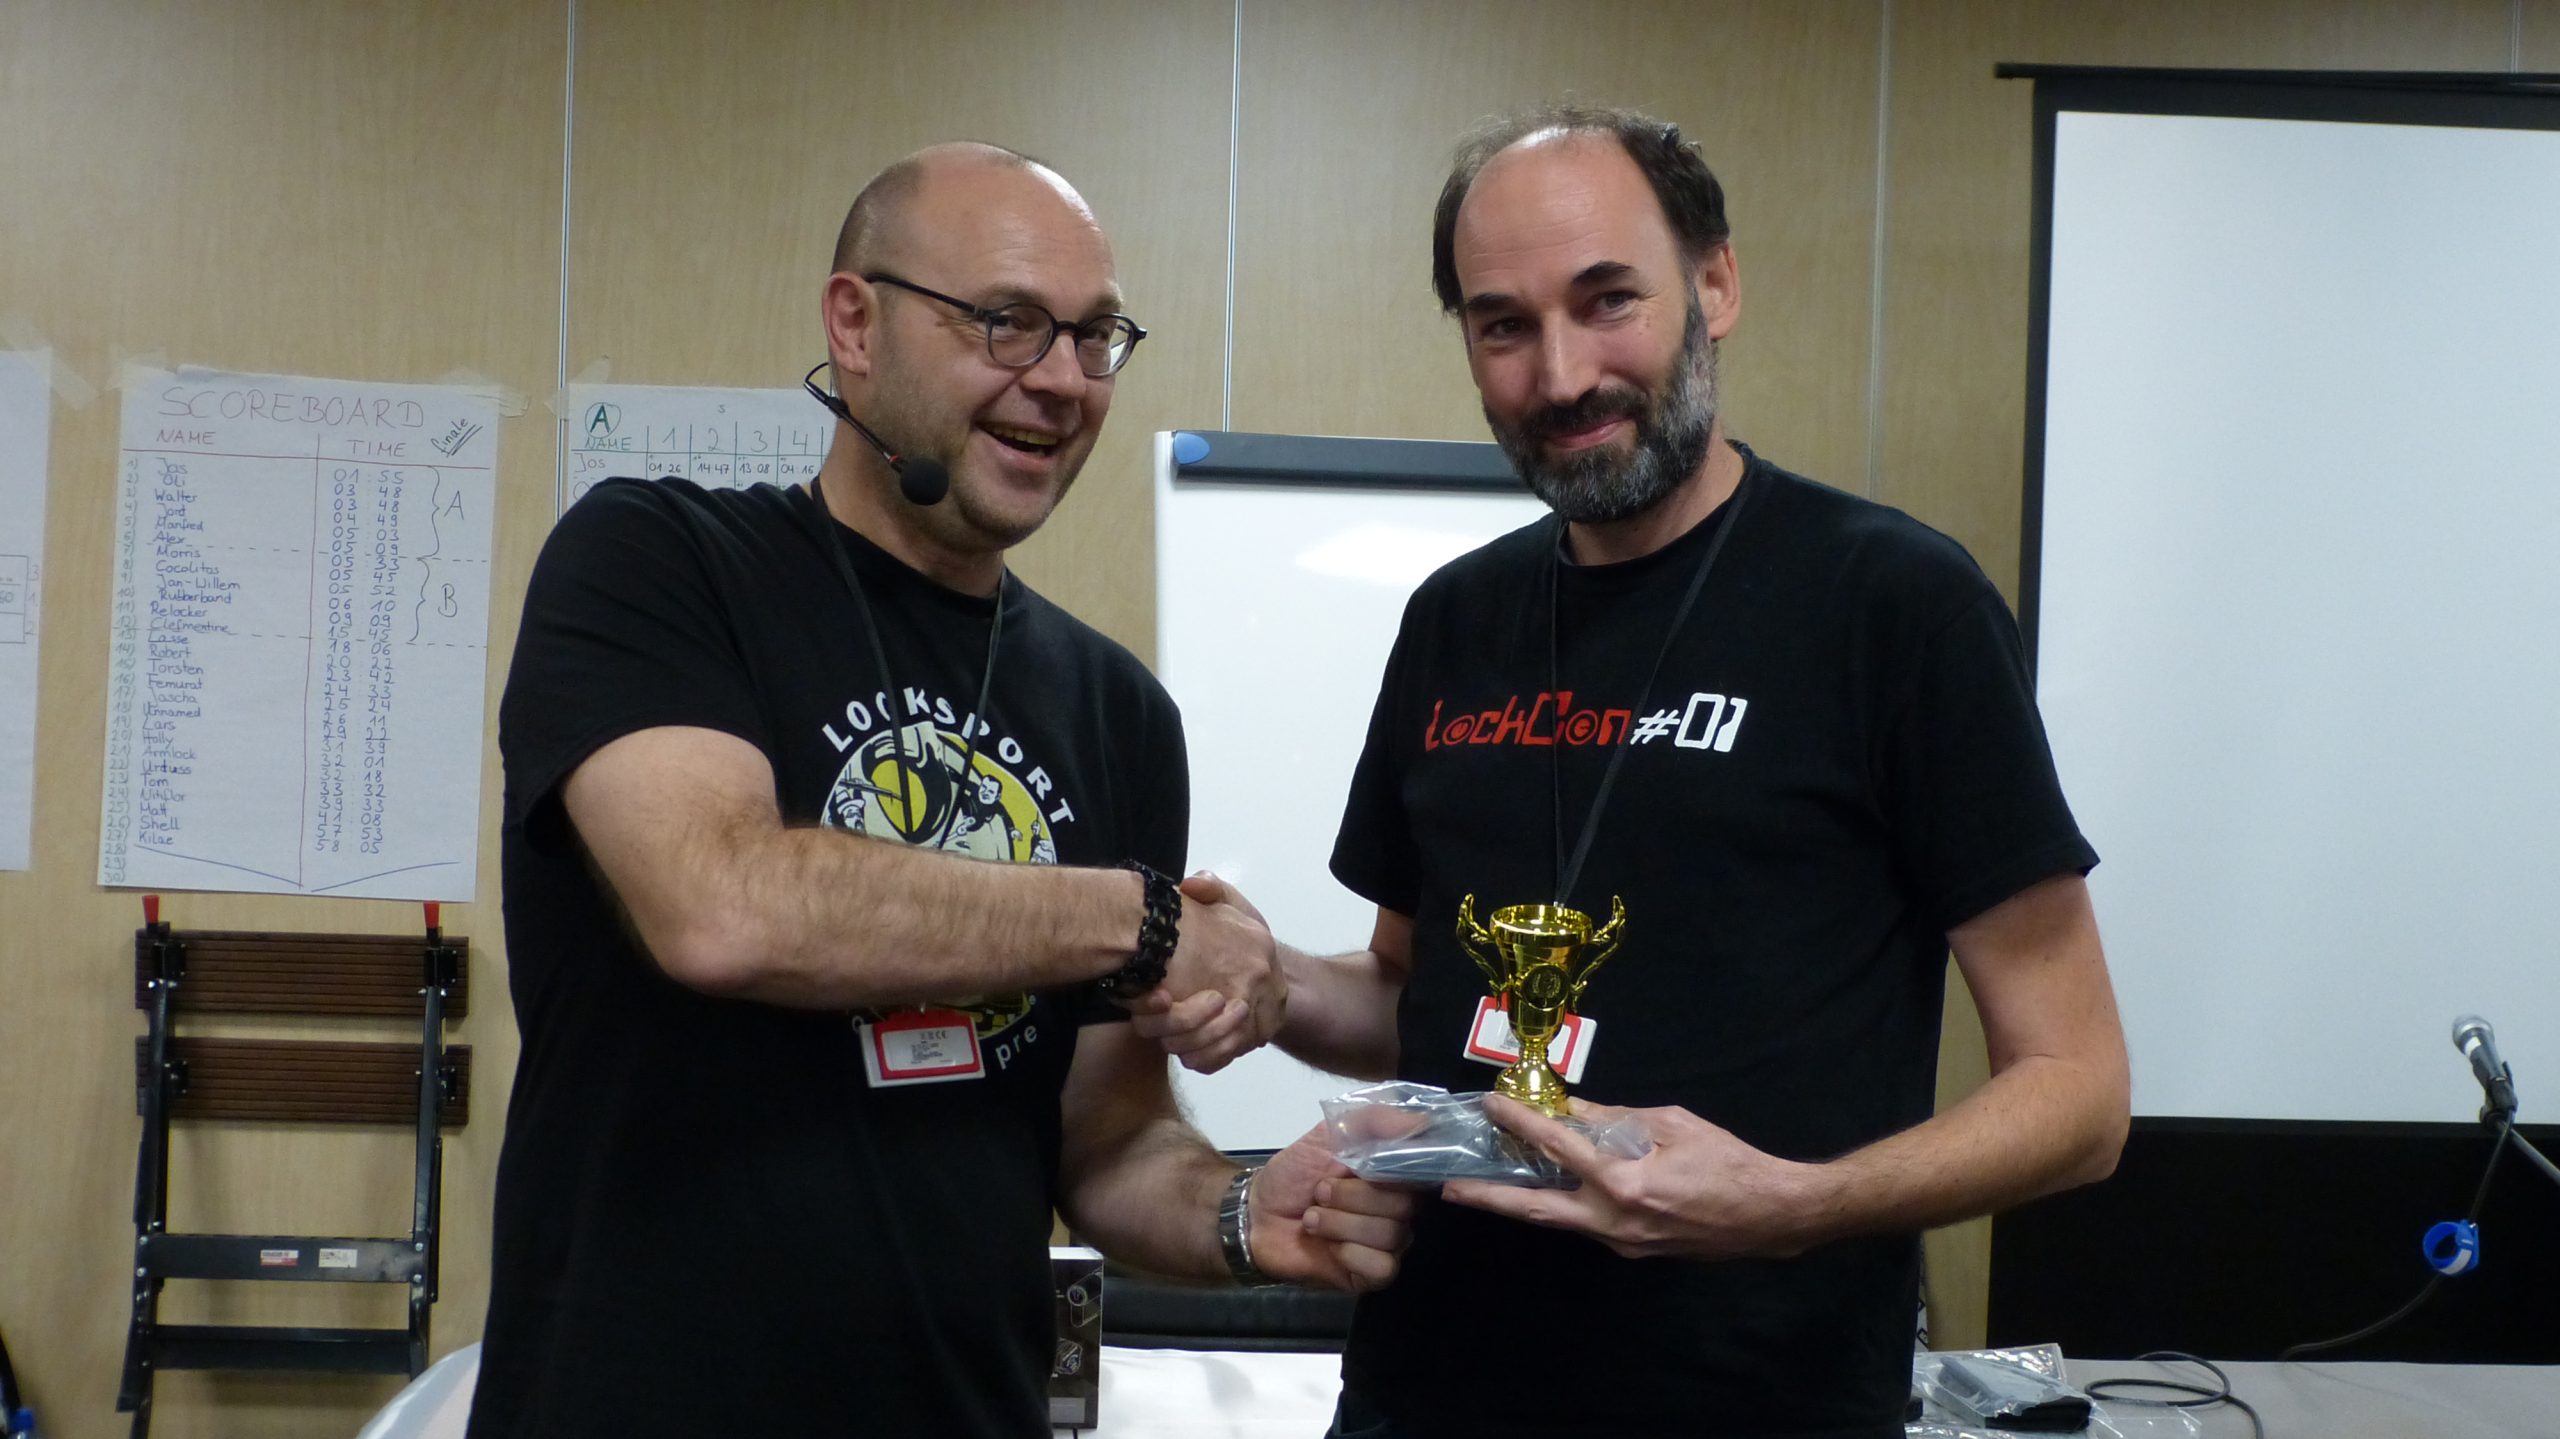
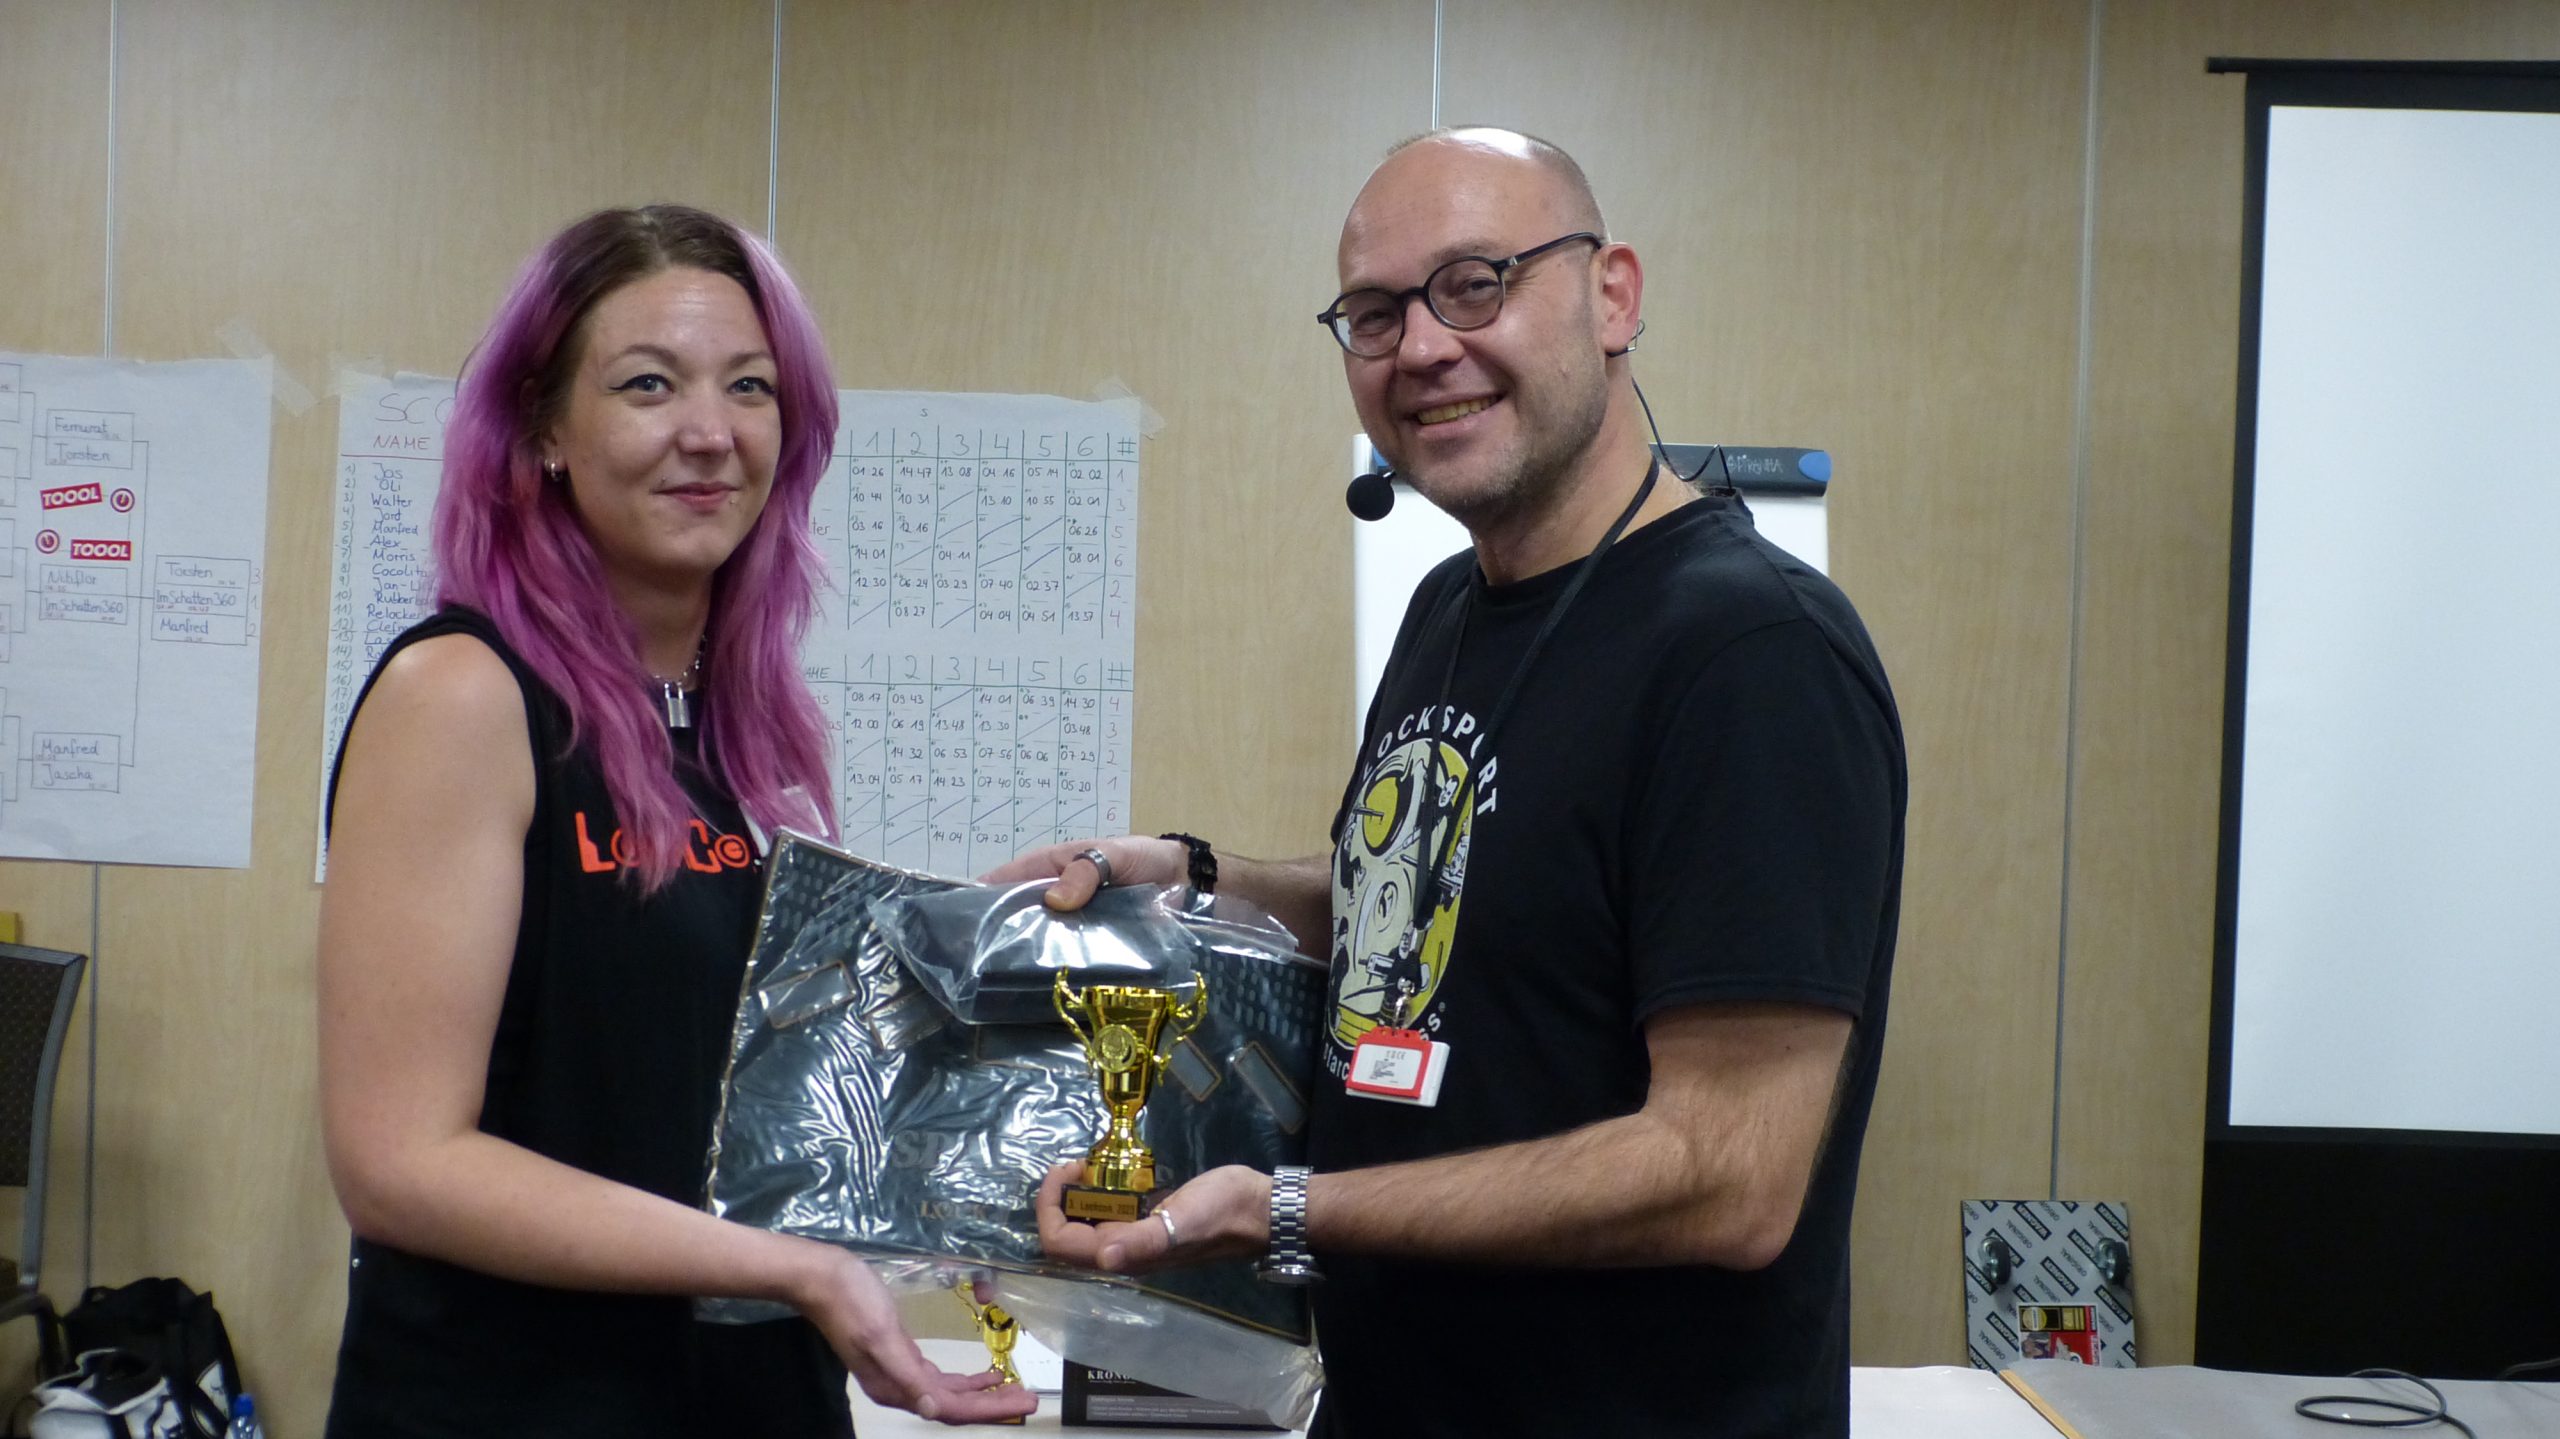
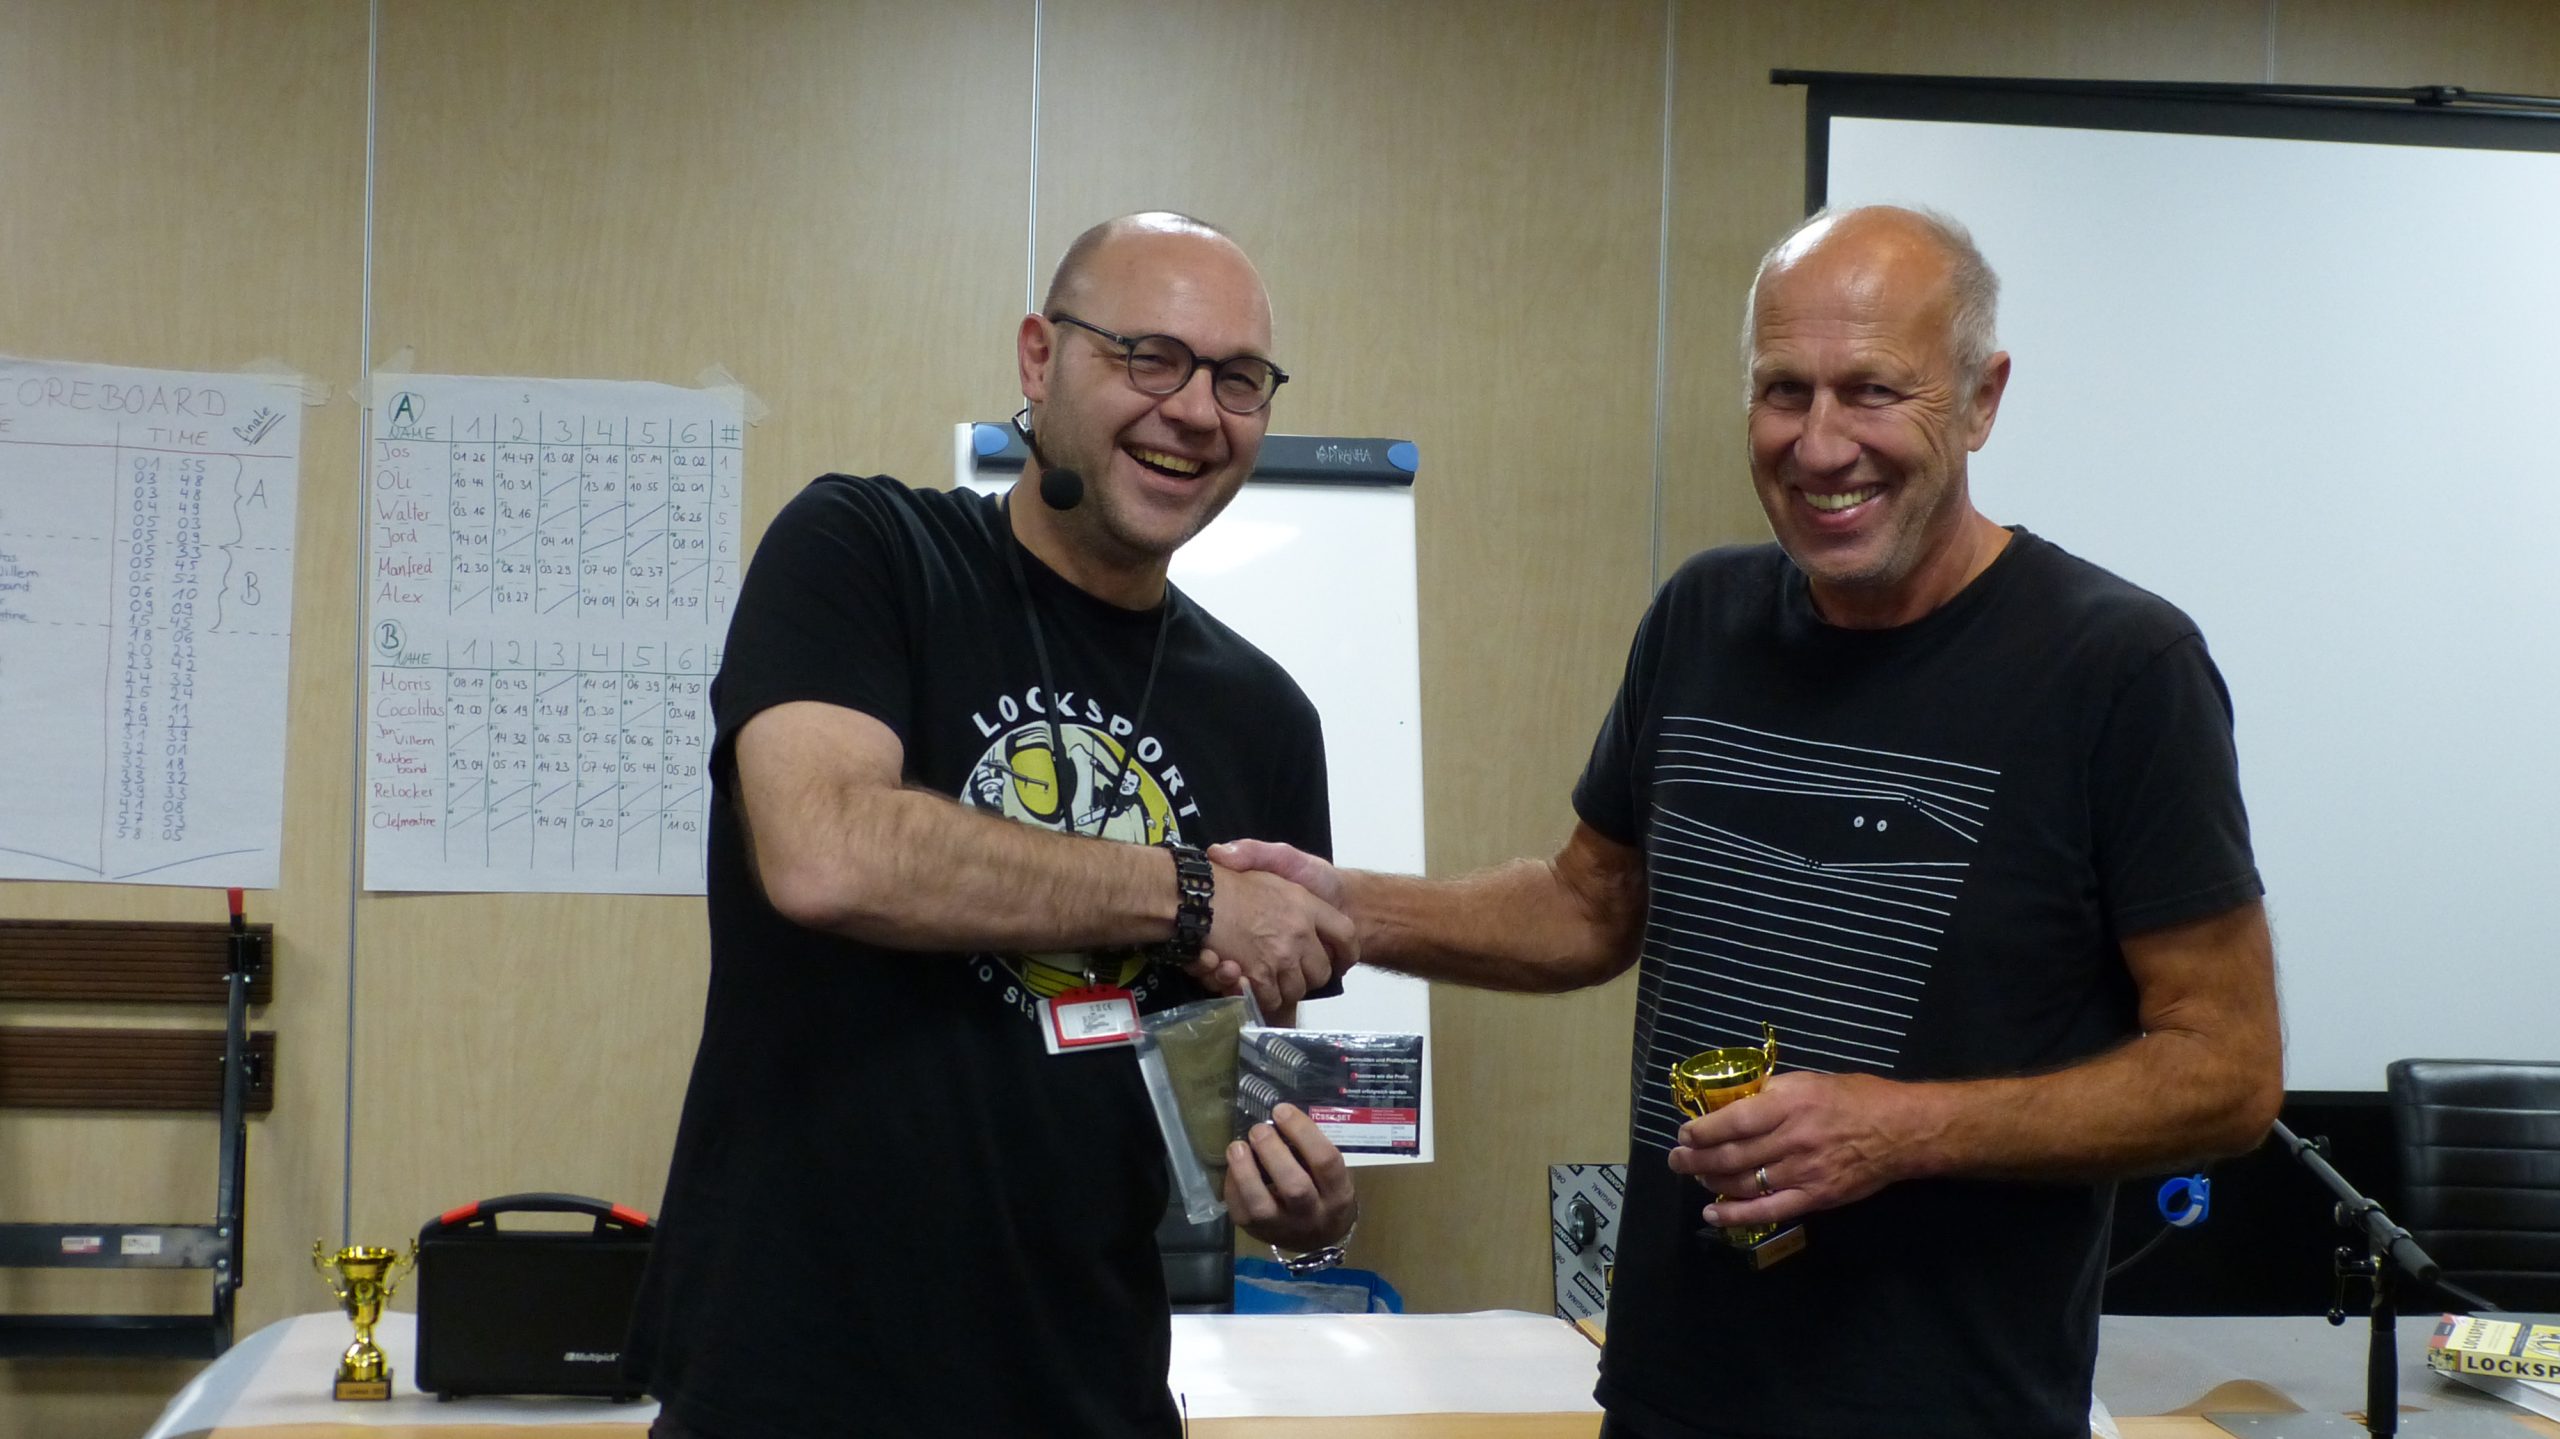
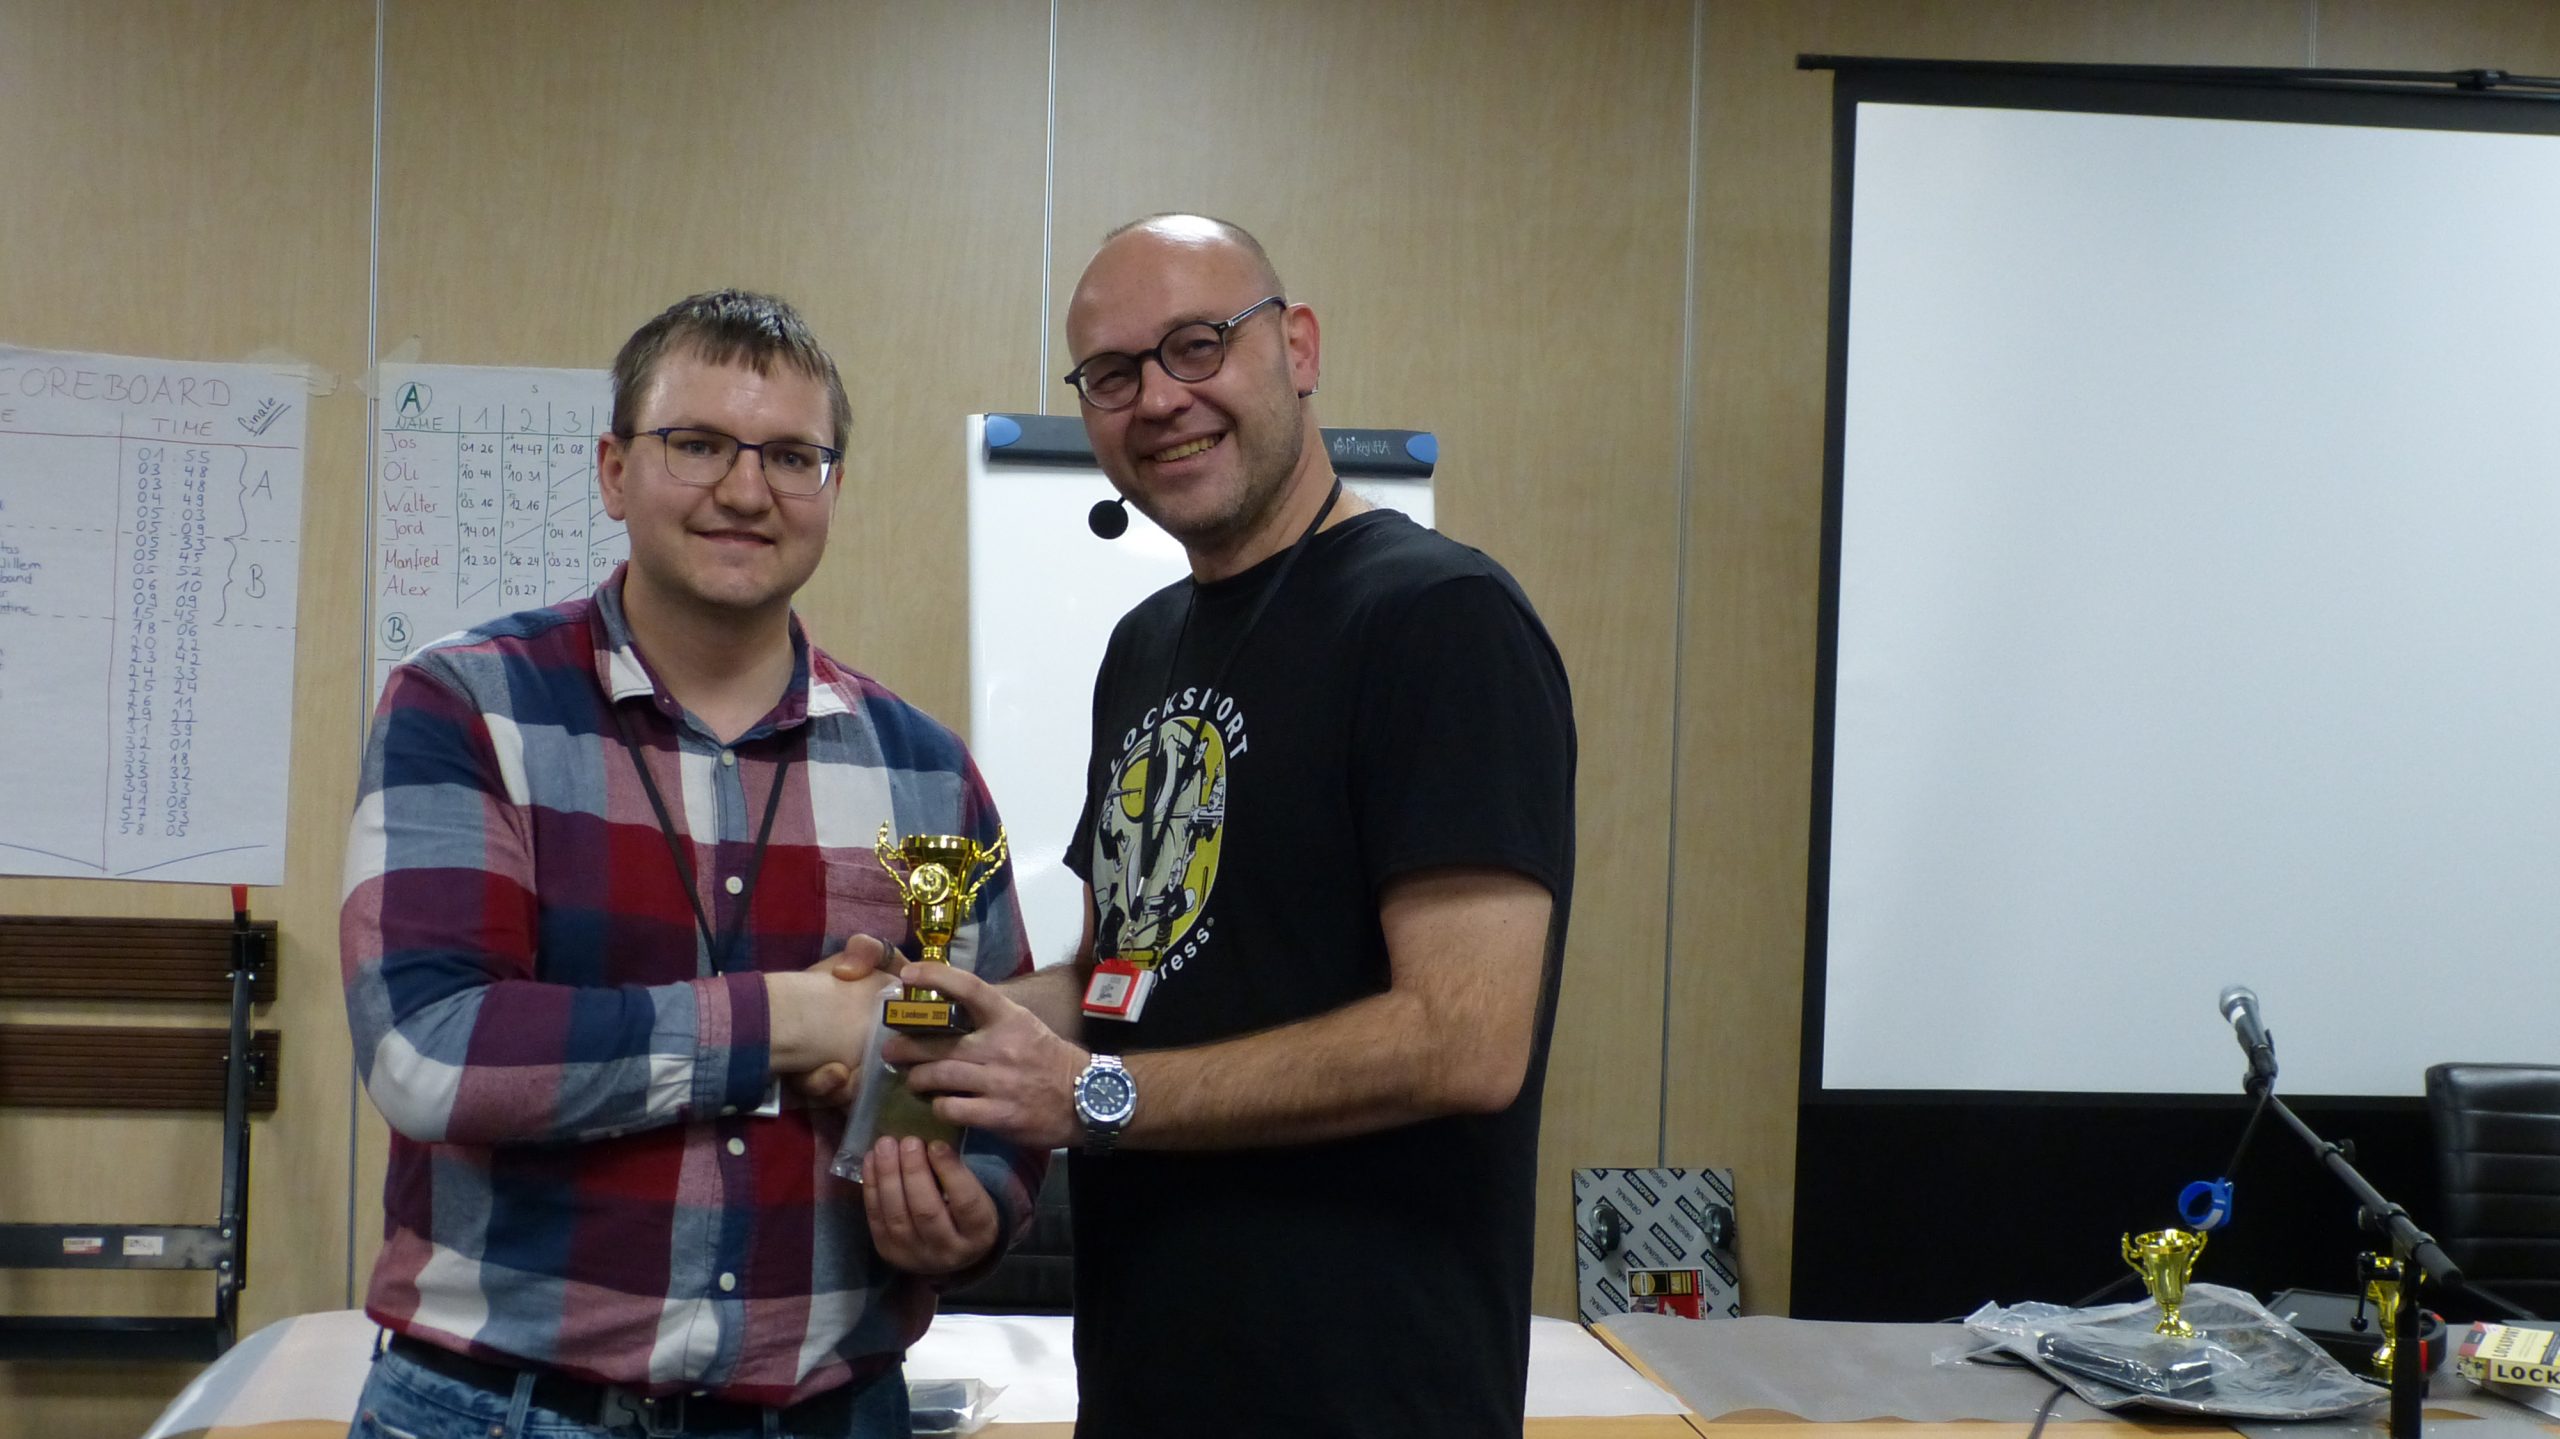
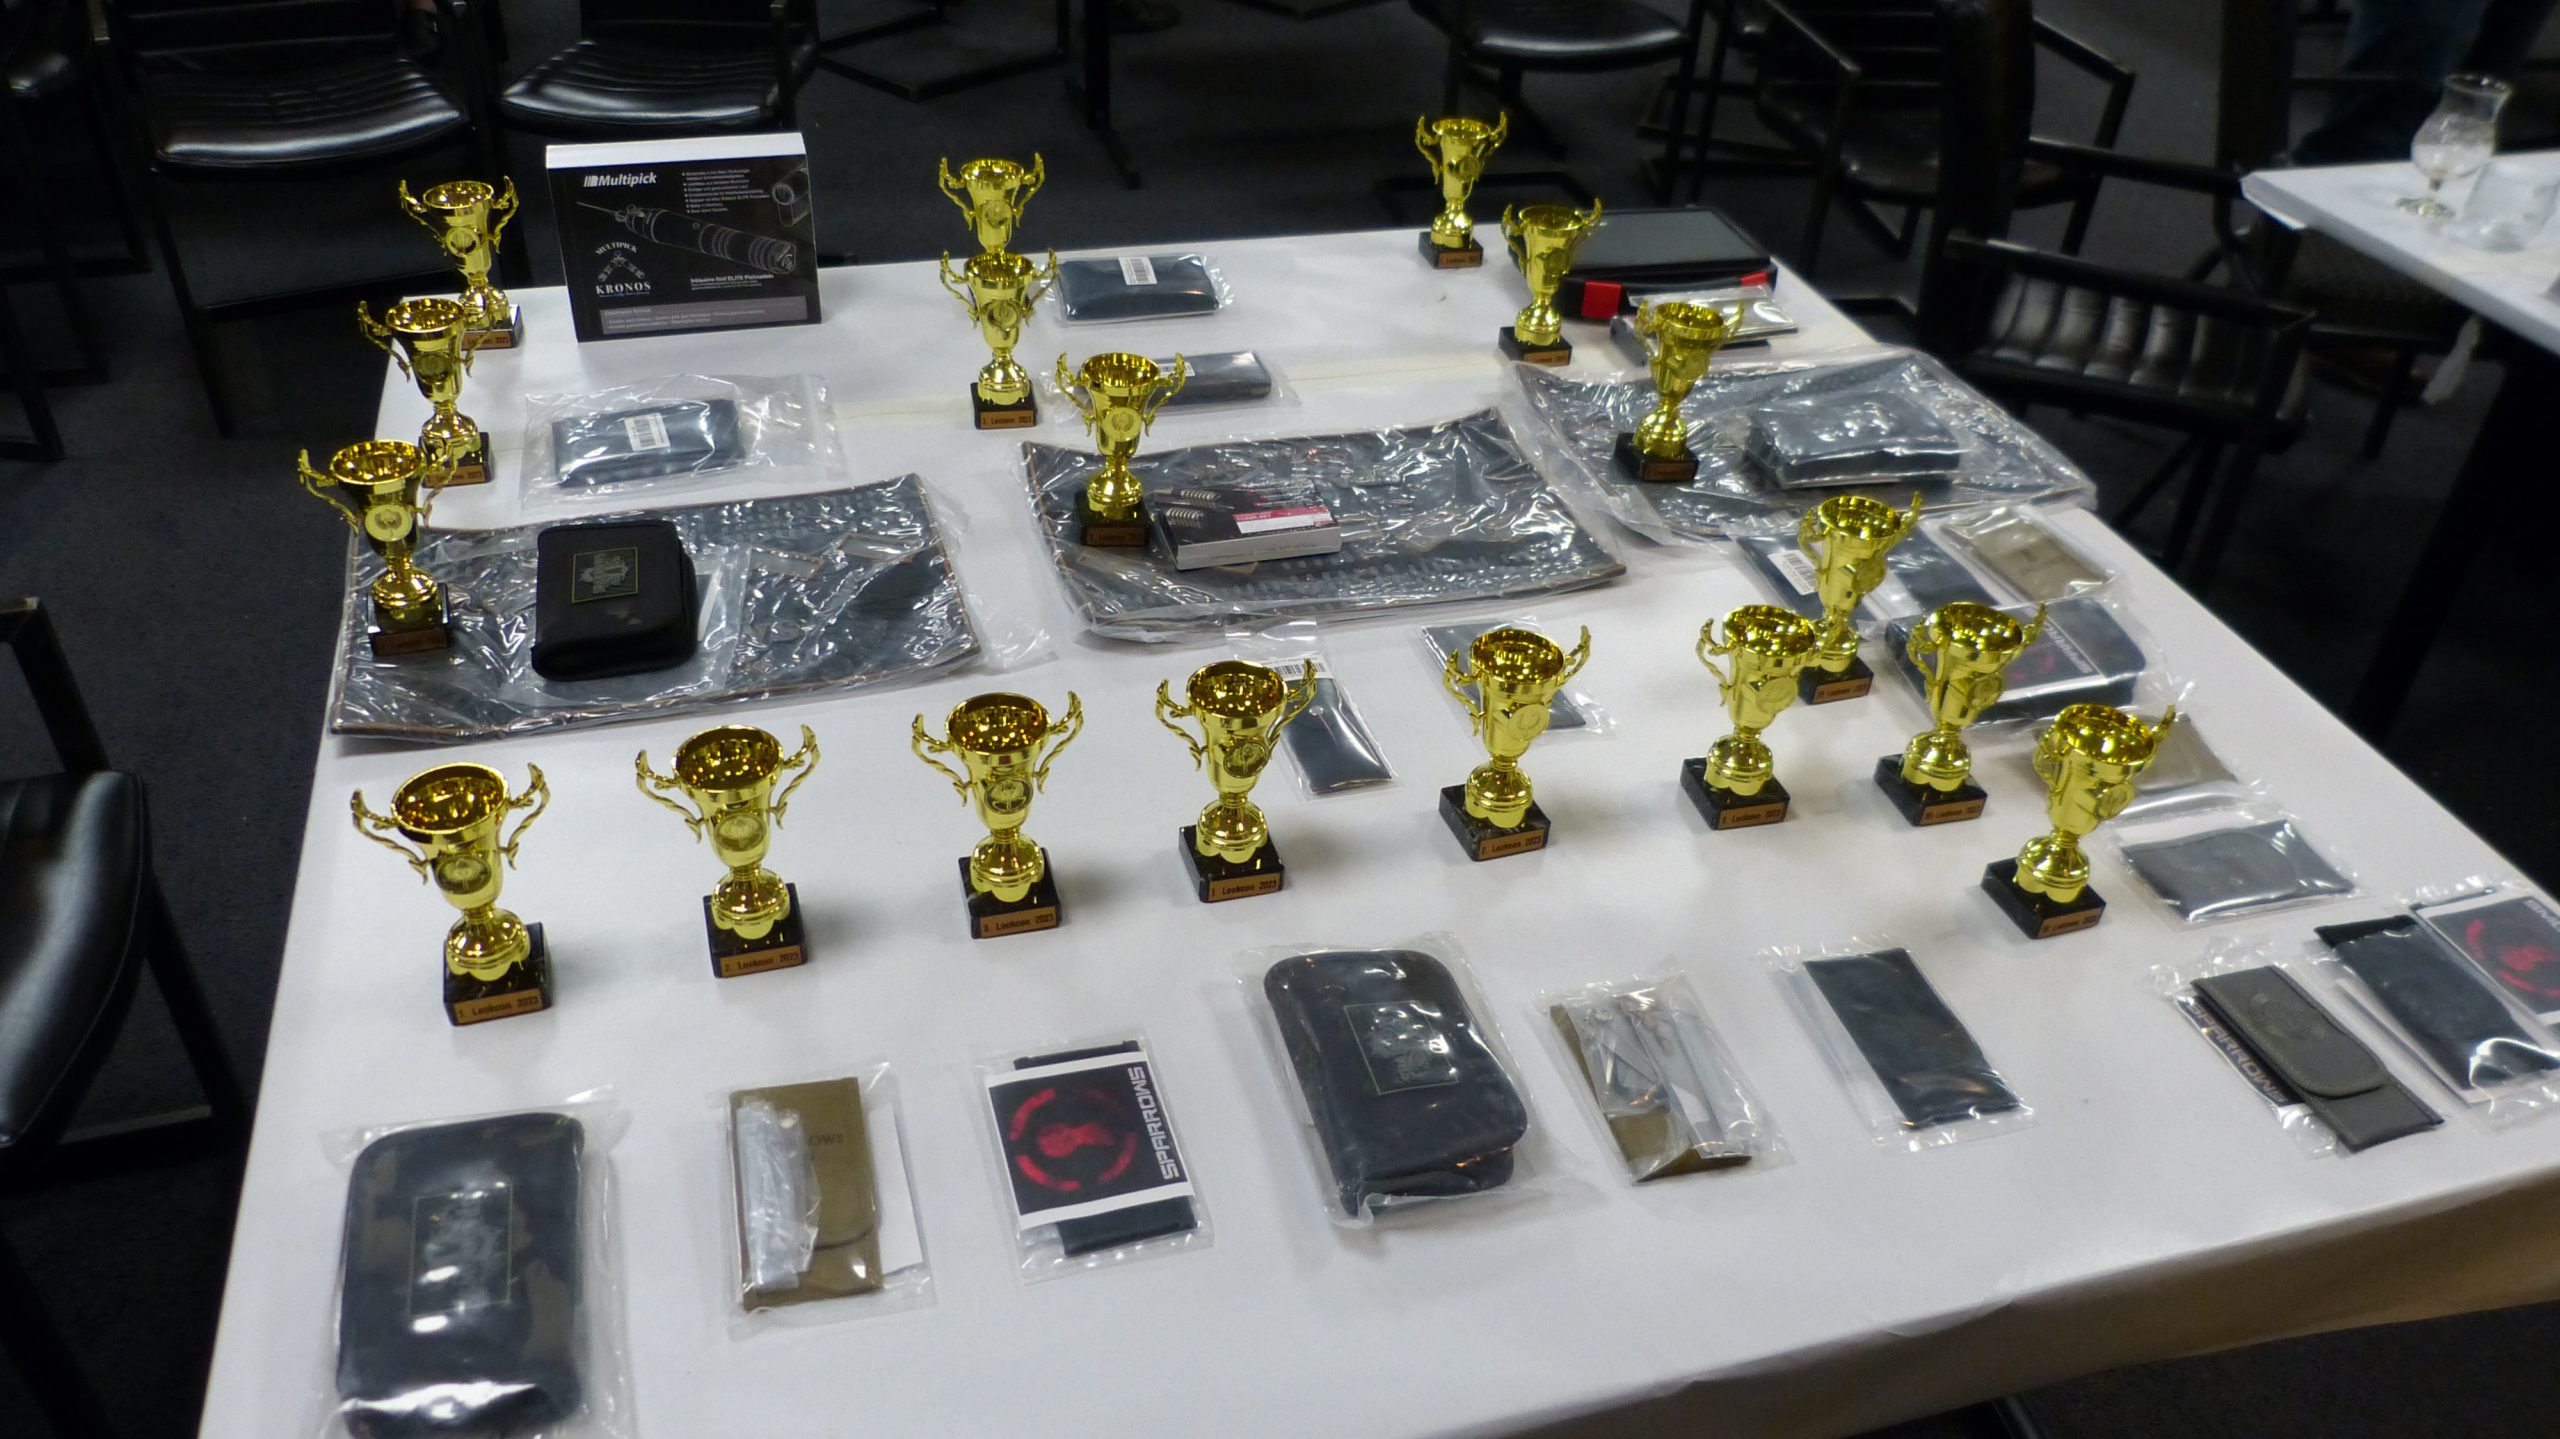
Walter won the competition with 215.5 points (out of 240) and received a Multipick Kronos Electropick. Tom won the second with 178.5 points and received the Multipick Elite Meister 19-parts lockpick set. Jos won the third price with 170 points and received a Sparrows Vorax pickset and a Sparrows pinning mat.
Kudos to the dozen people who have opened at least one lock in the competition!
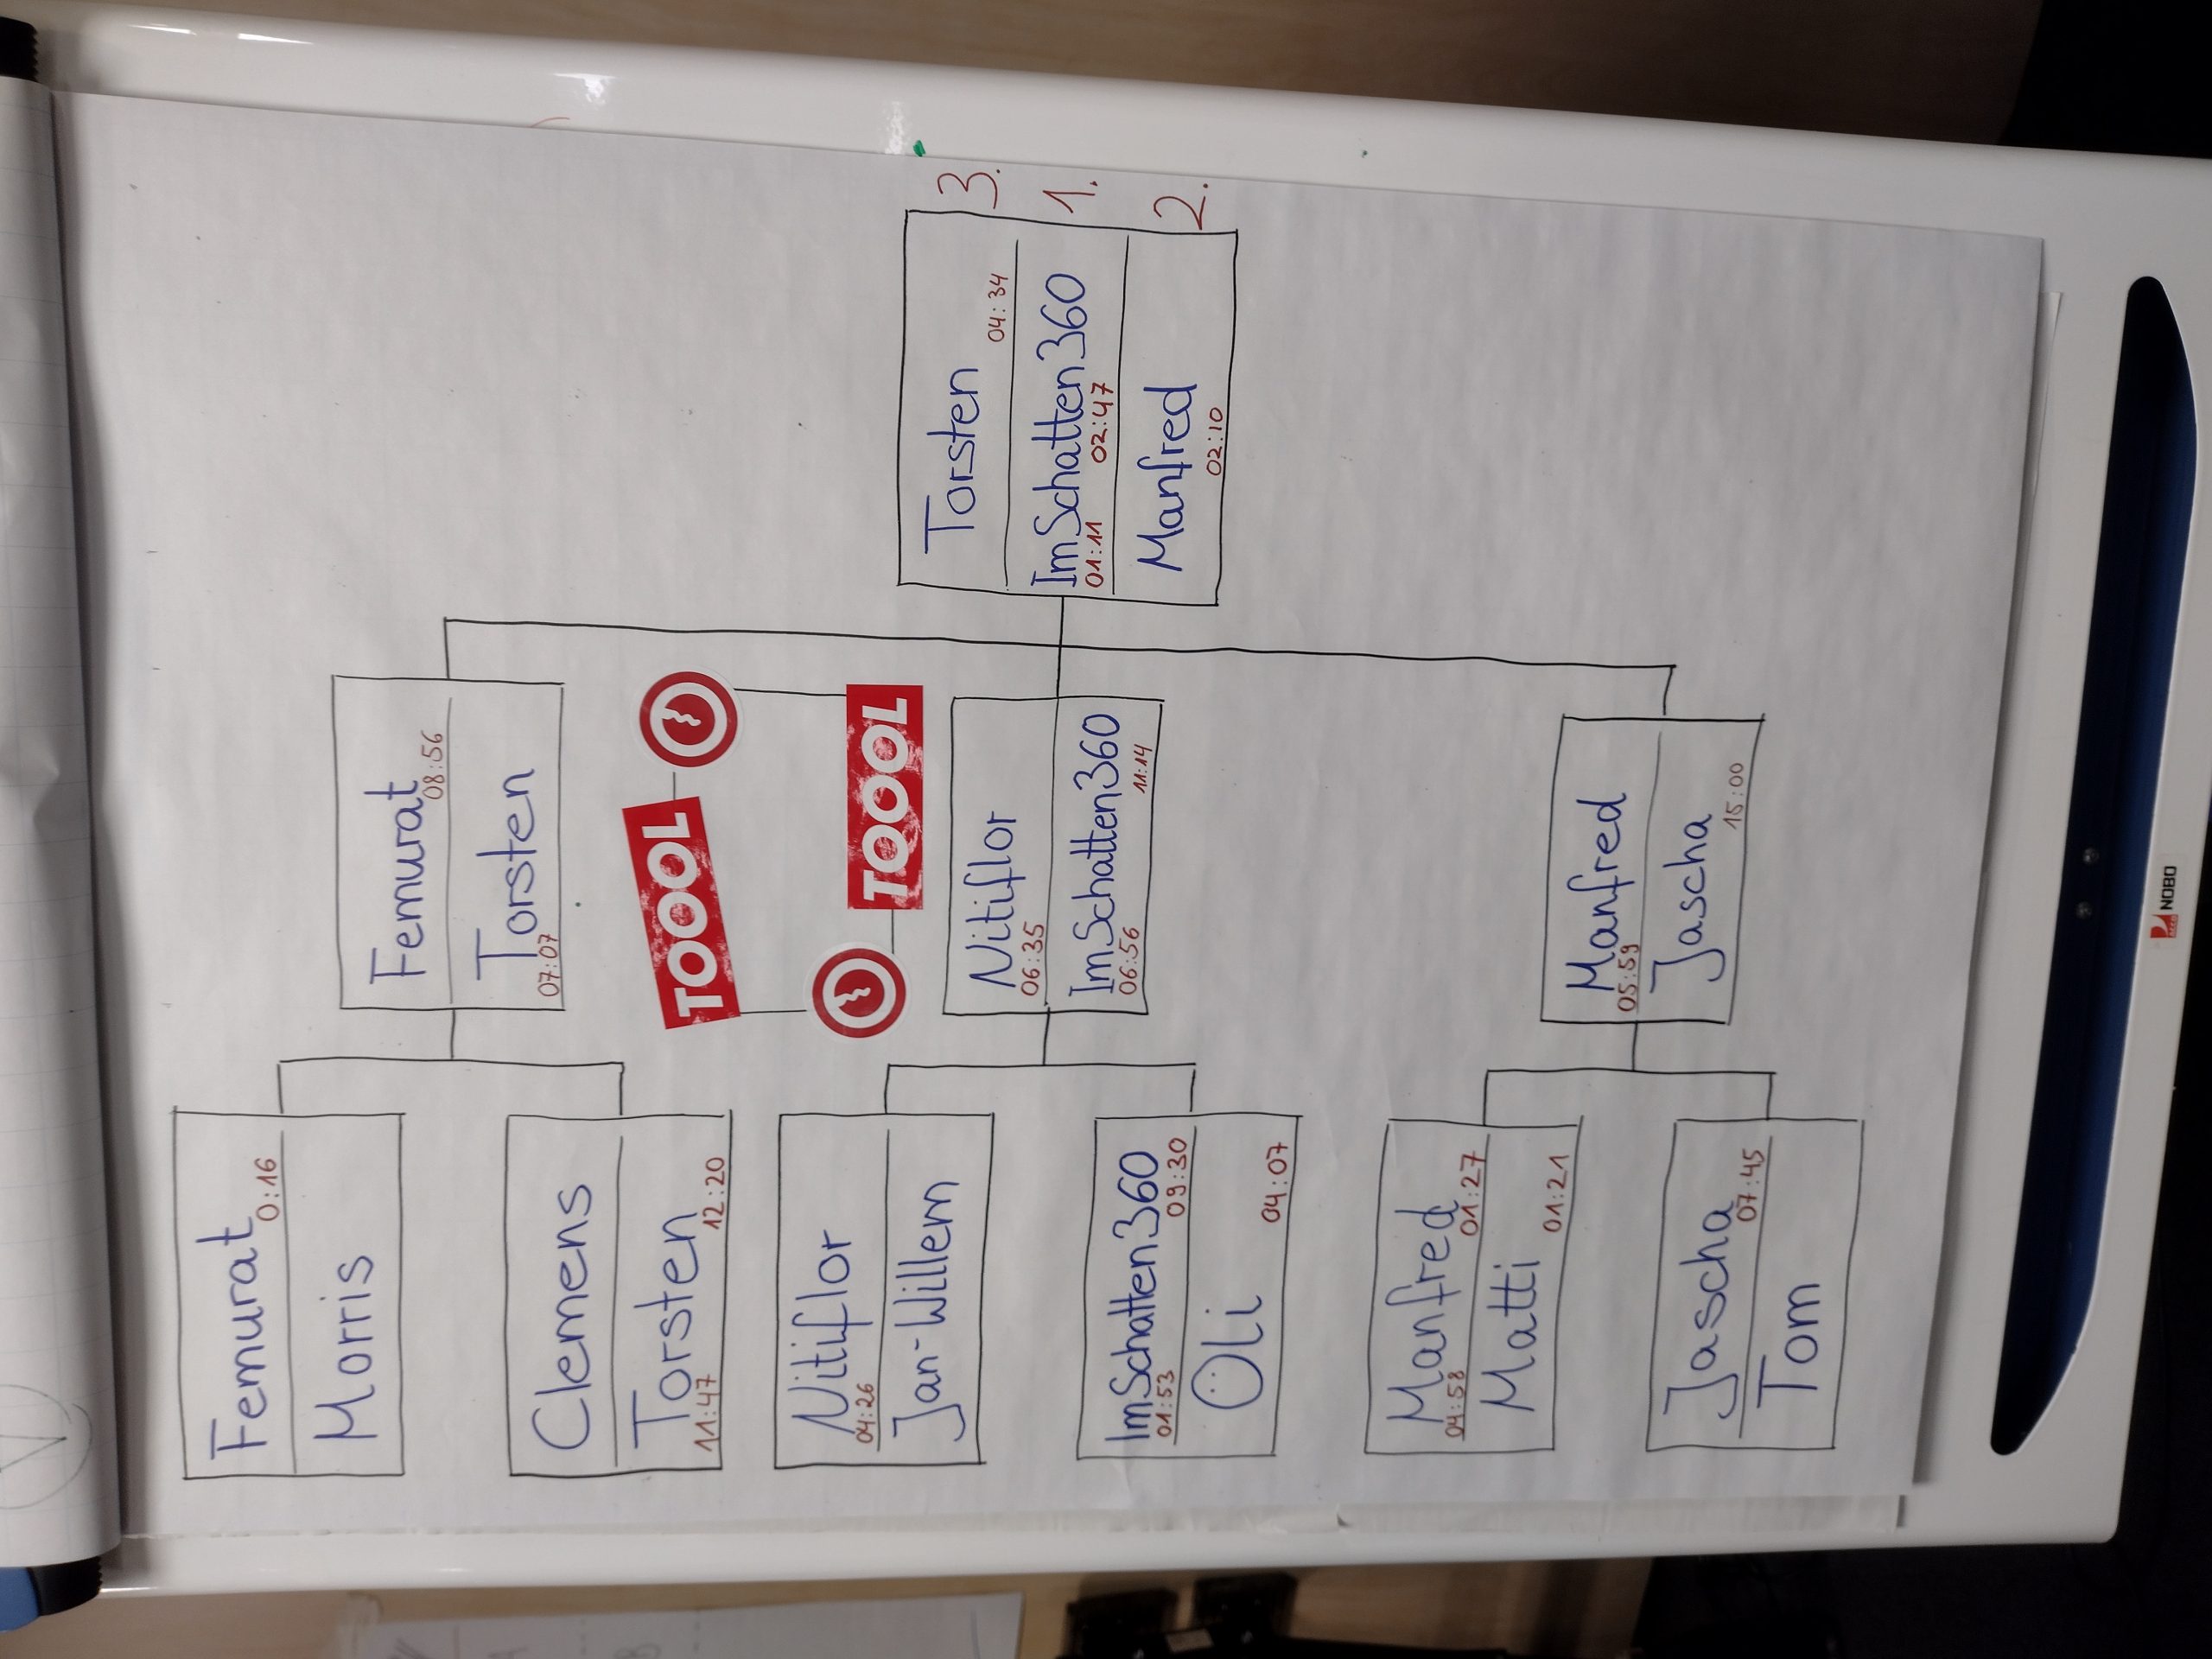
The Dutch open 2023 lockpicking championship had 51 competitors. Tables of up to nine were created for the first round, in which relative simple locks are picked in at most five minutes per lock. The two picker with the most opens at the table competed in a bracketed round, where each competitor picks two lock for fifteen minutes each. The last three play the finals.
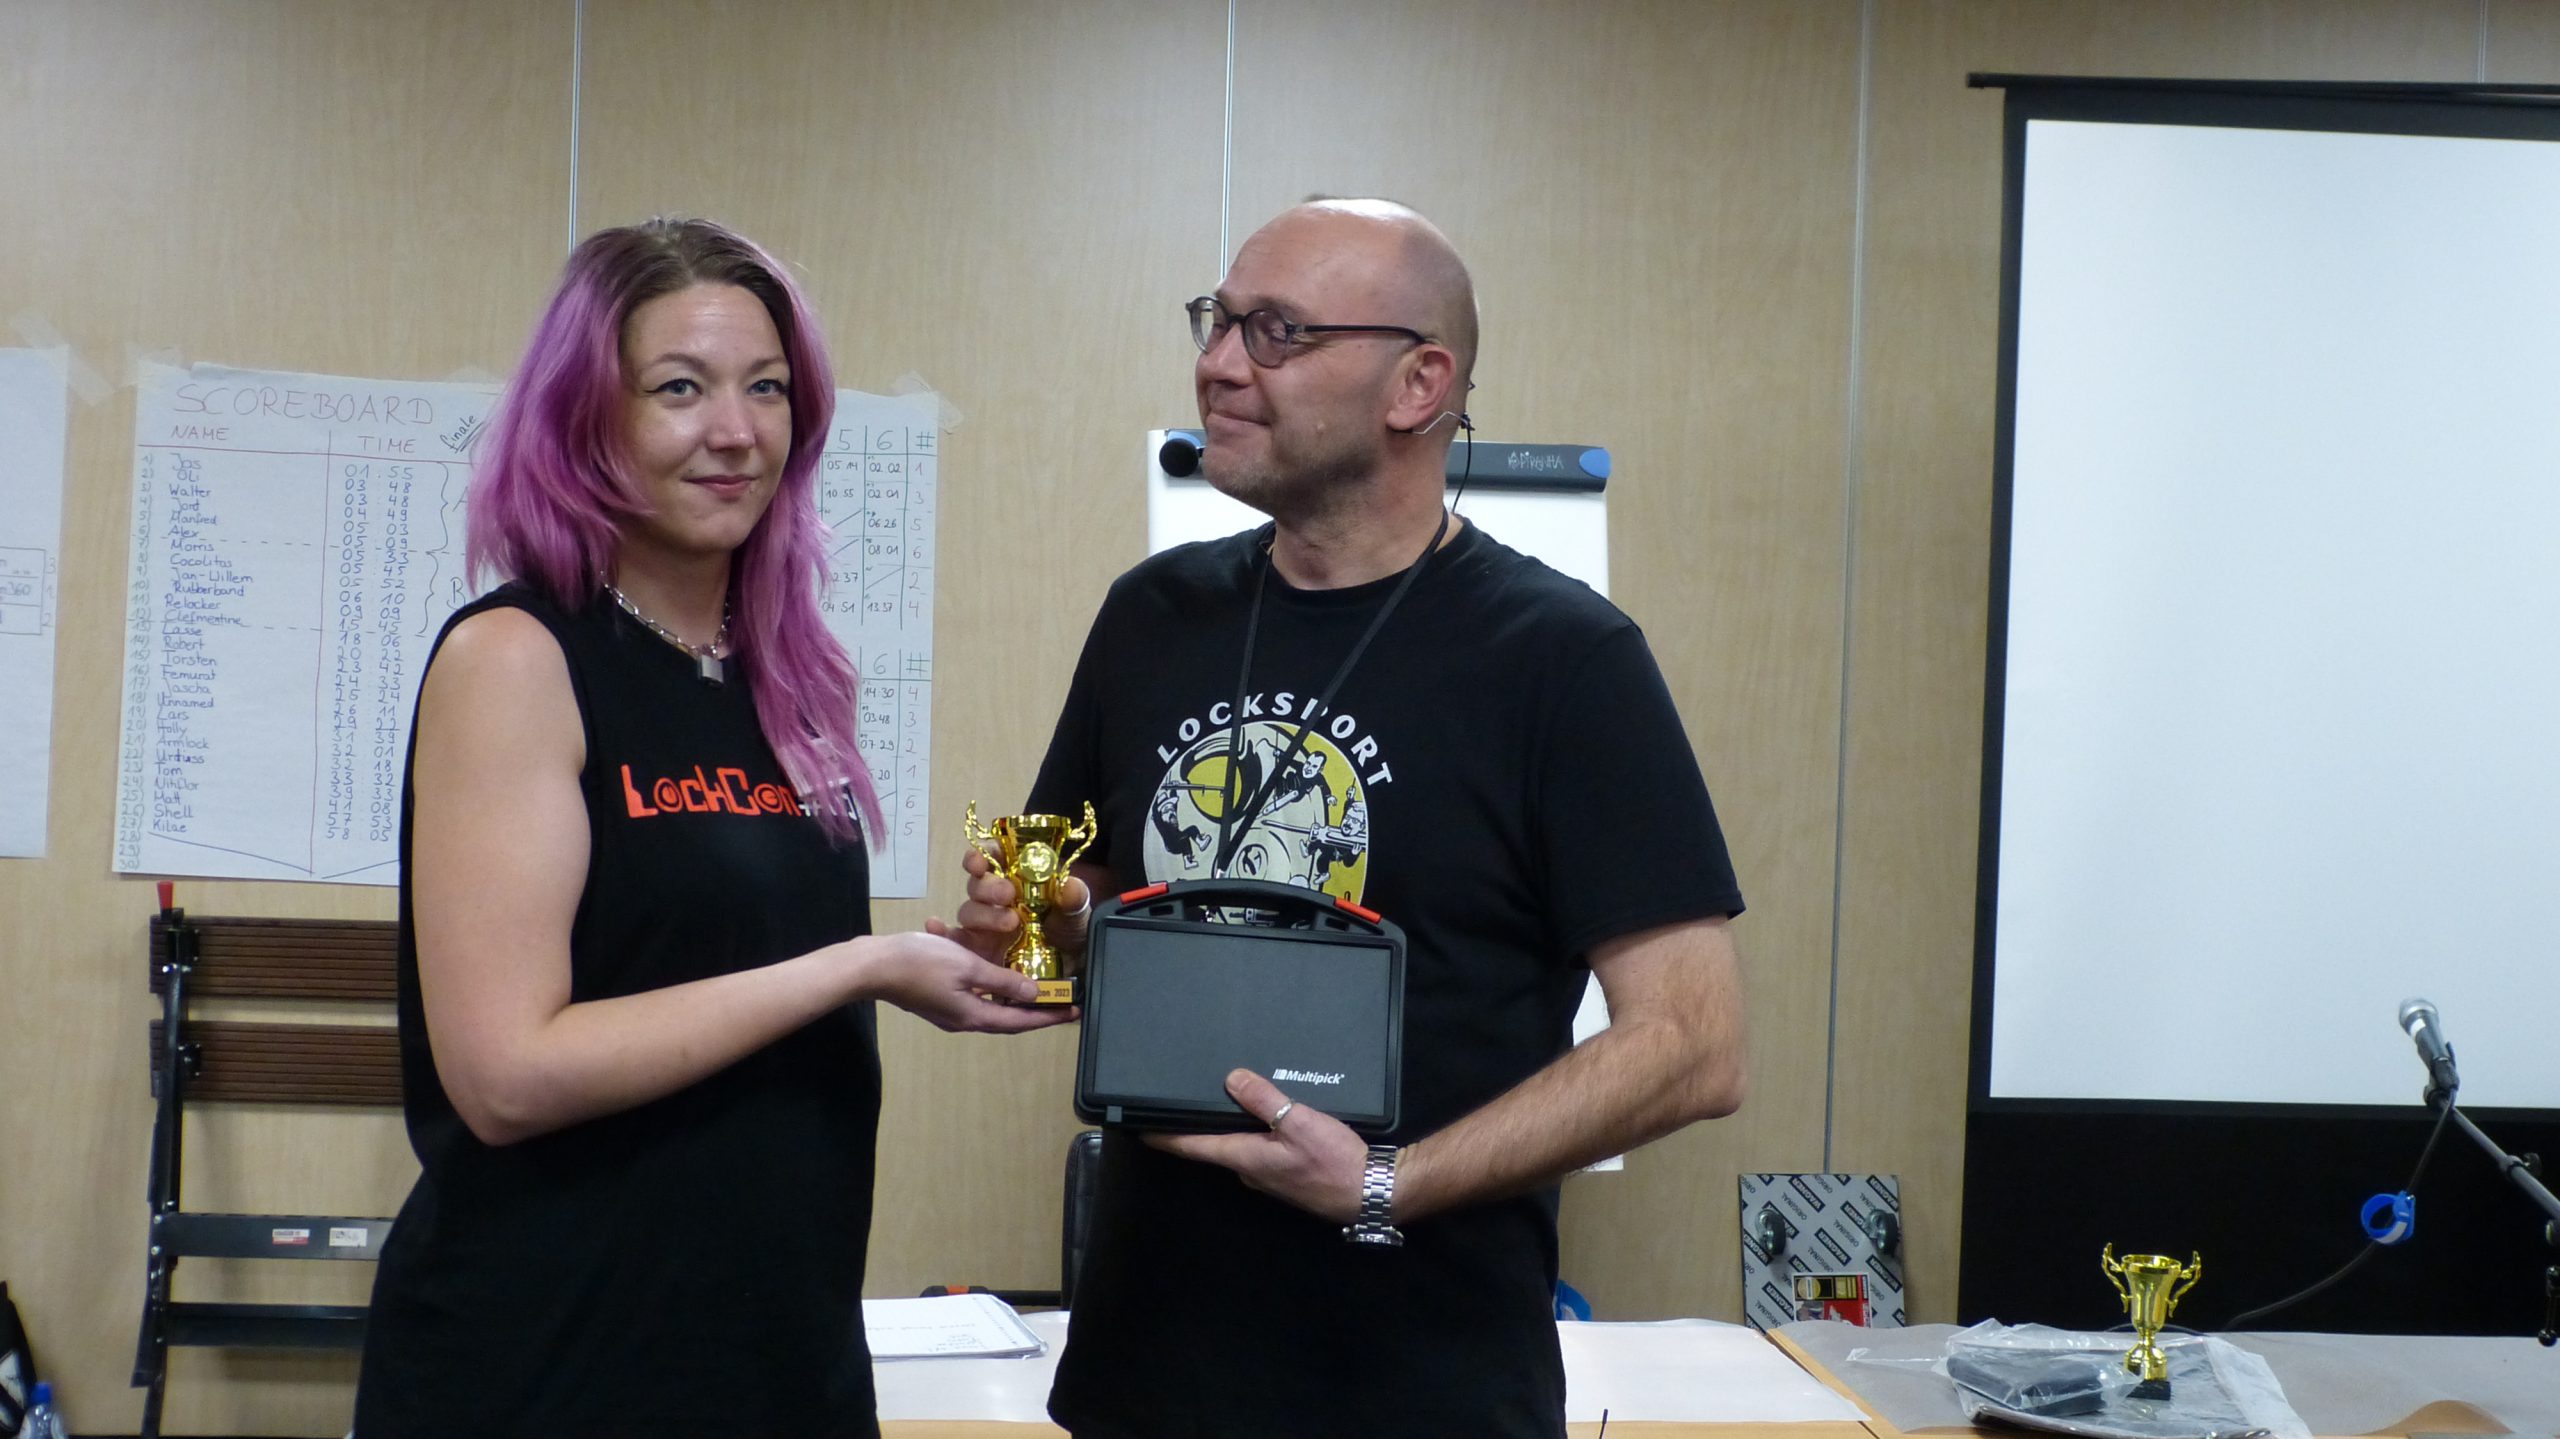
ImSchatten360 won the competition and received a Multipick Essentials 39-piece lockpick set. Manfred won the second price and received a Multipick cutaway lock and a Sparrows pinning mat. Torsten received a Multipick Bogota set for the third place.
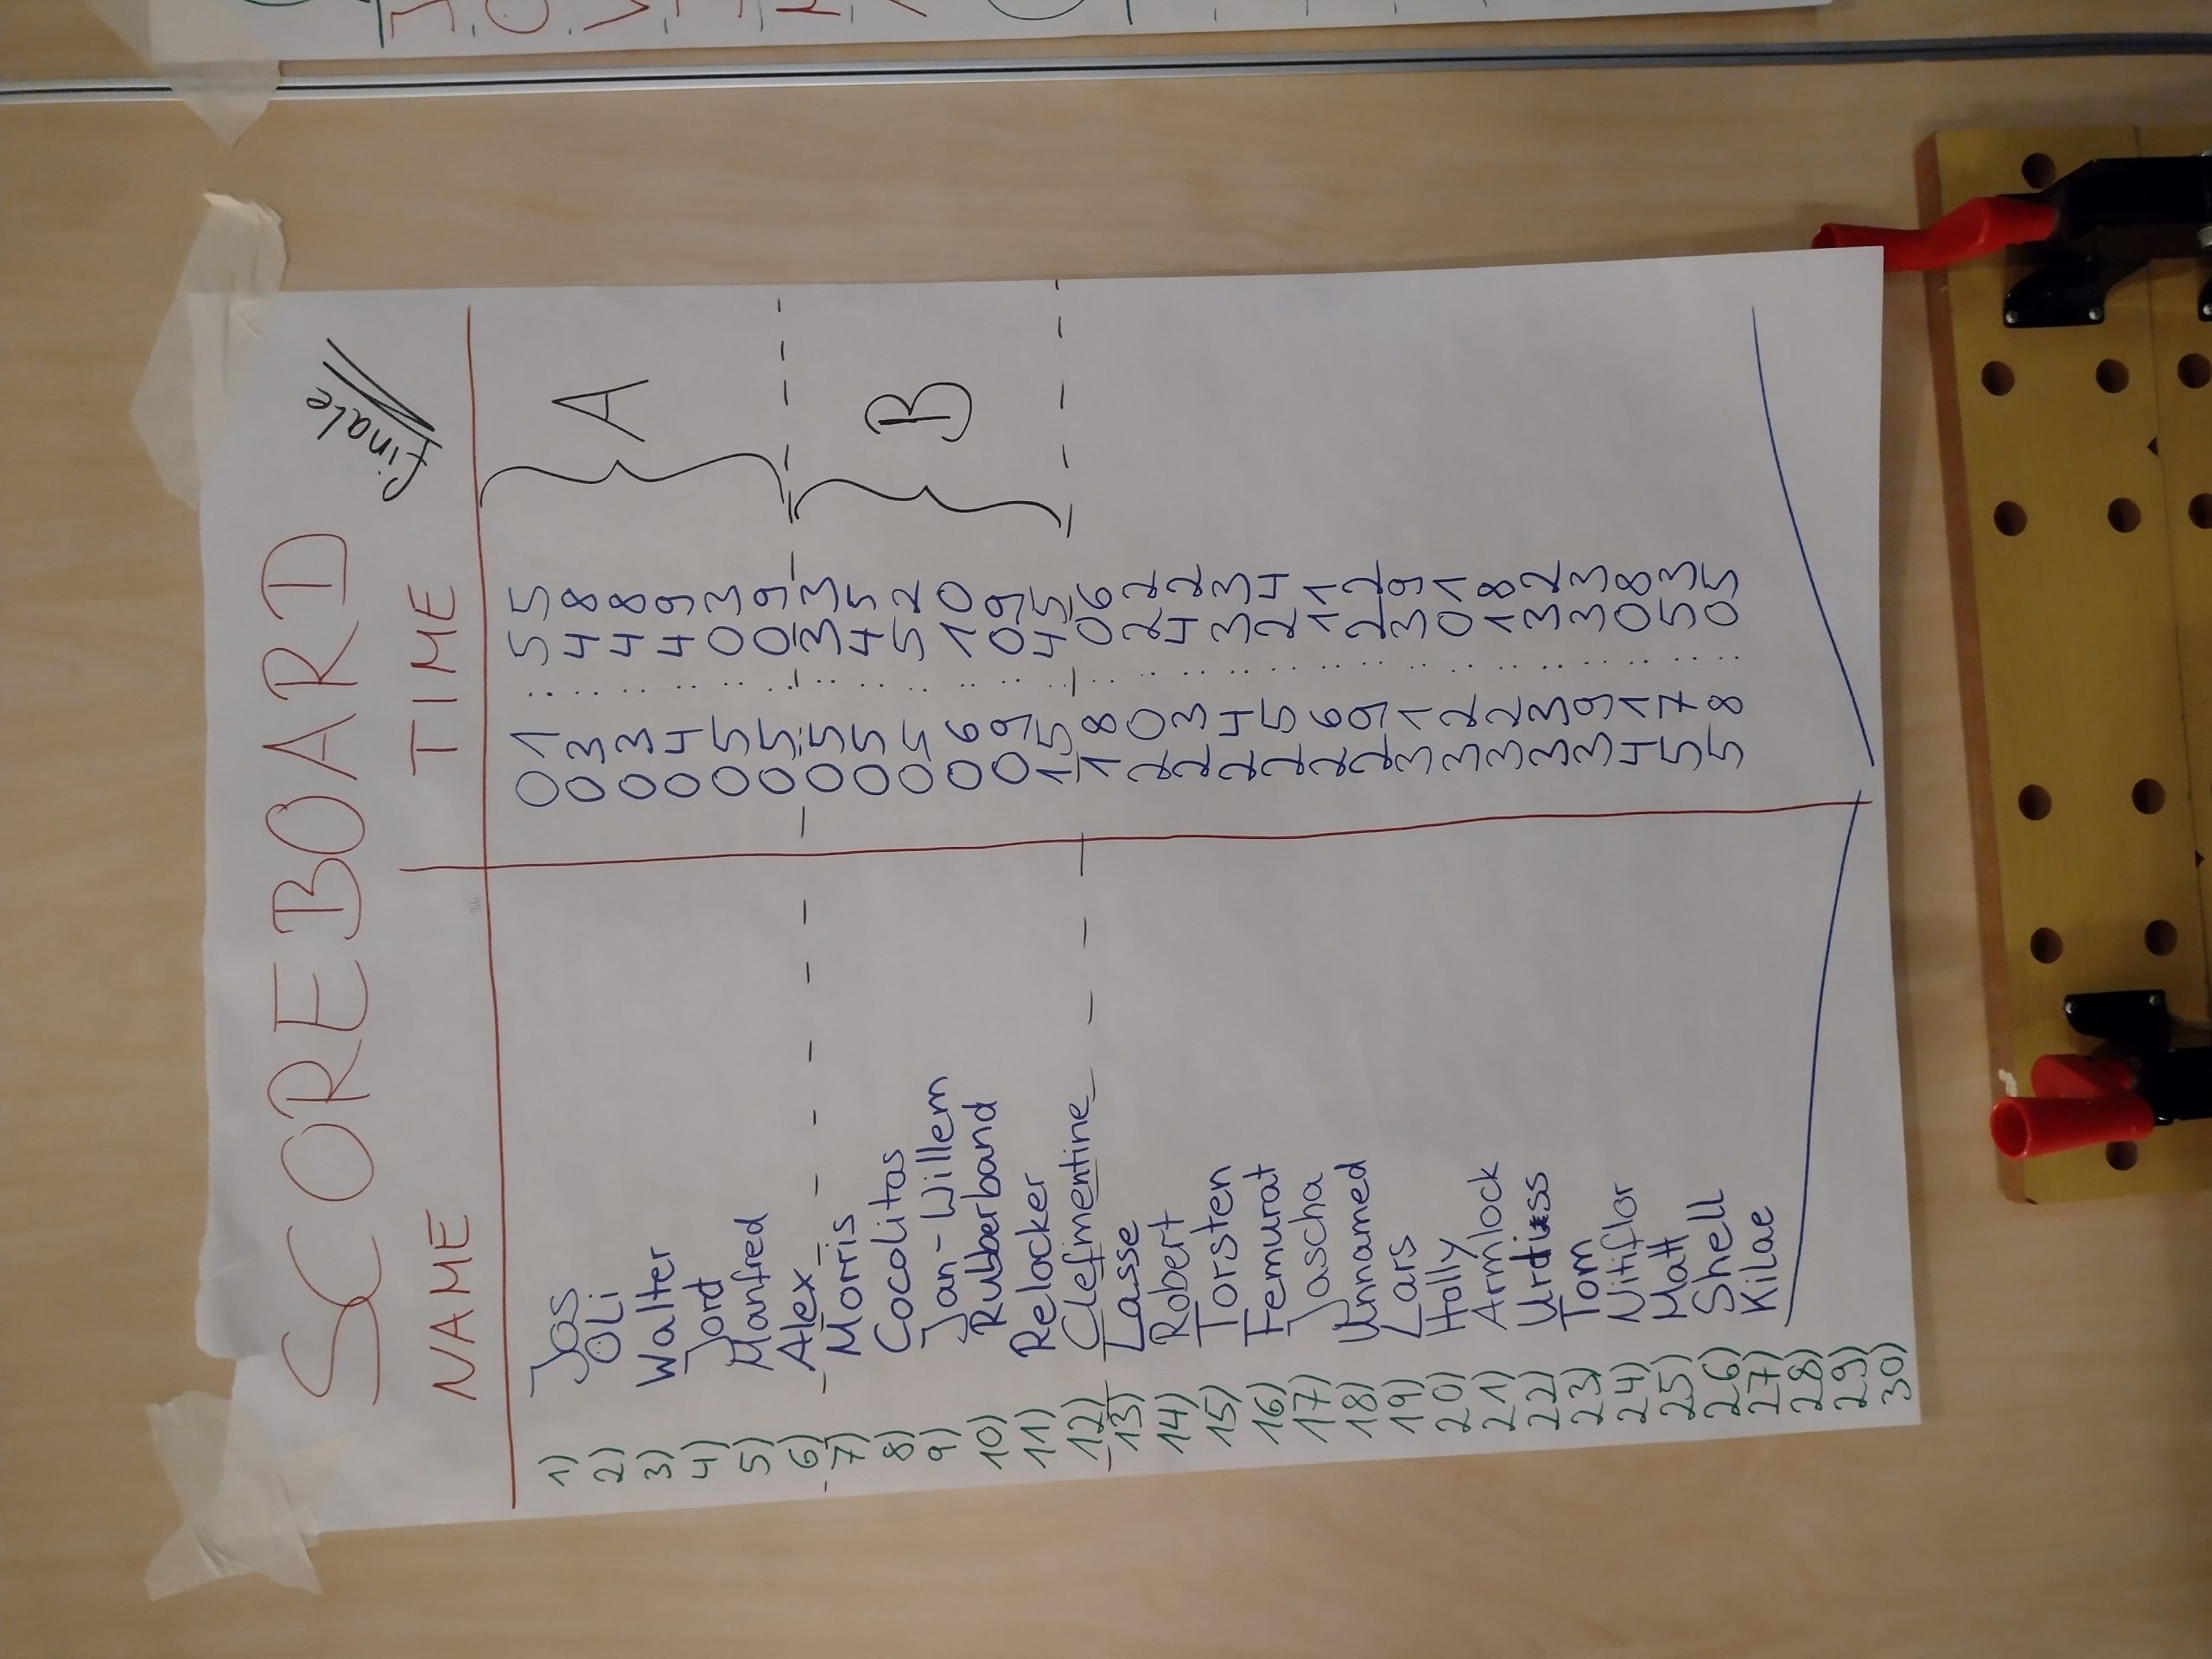
The Dutch Open impressioning championship is a competition in making a key for a C83 cylinder in the least amount of time. For the qualifying round, 34 competitors joined, of which, 27 (~80%) opened the qualifier lock within 60 minutes. The quickest twelve continued to the A and B finals, where they attempted six more locks in 15-minutes per round.
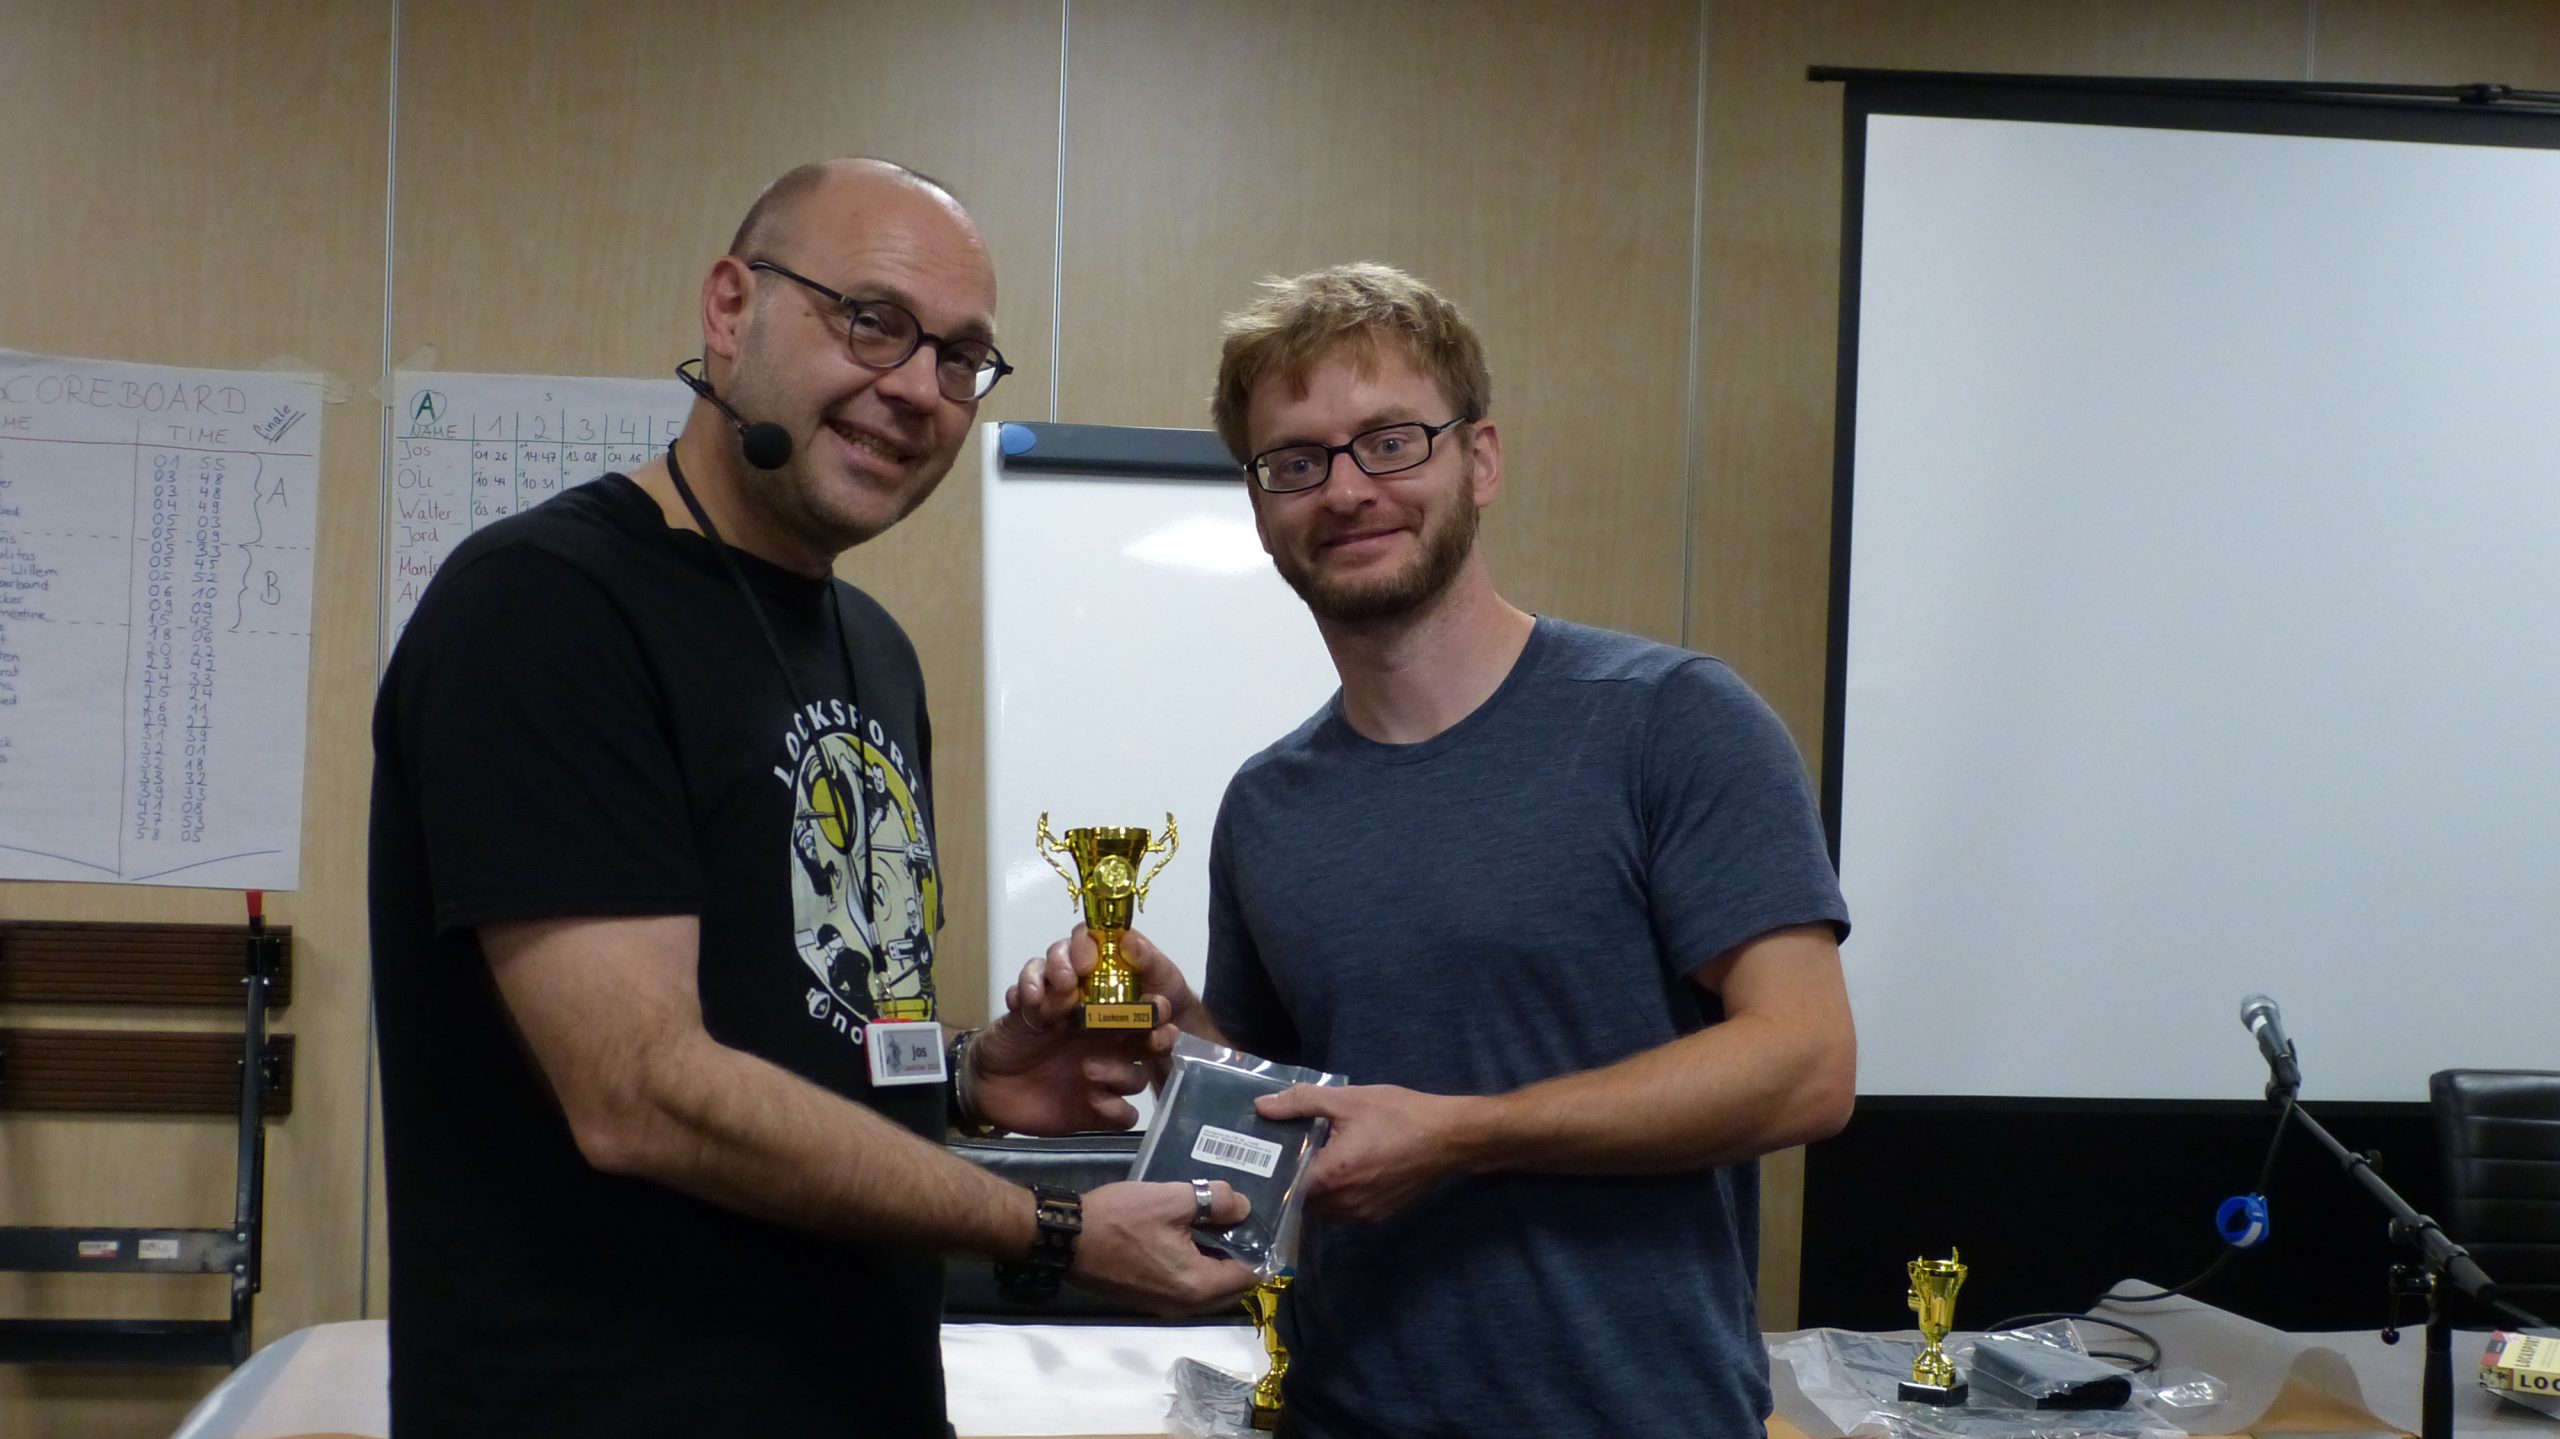
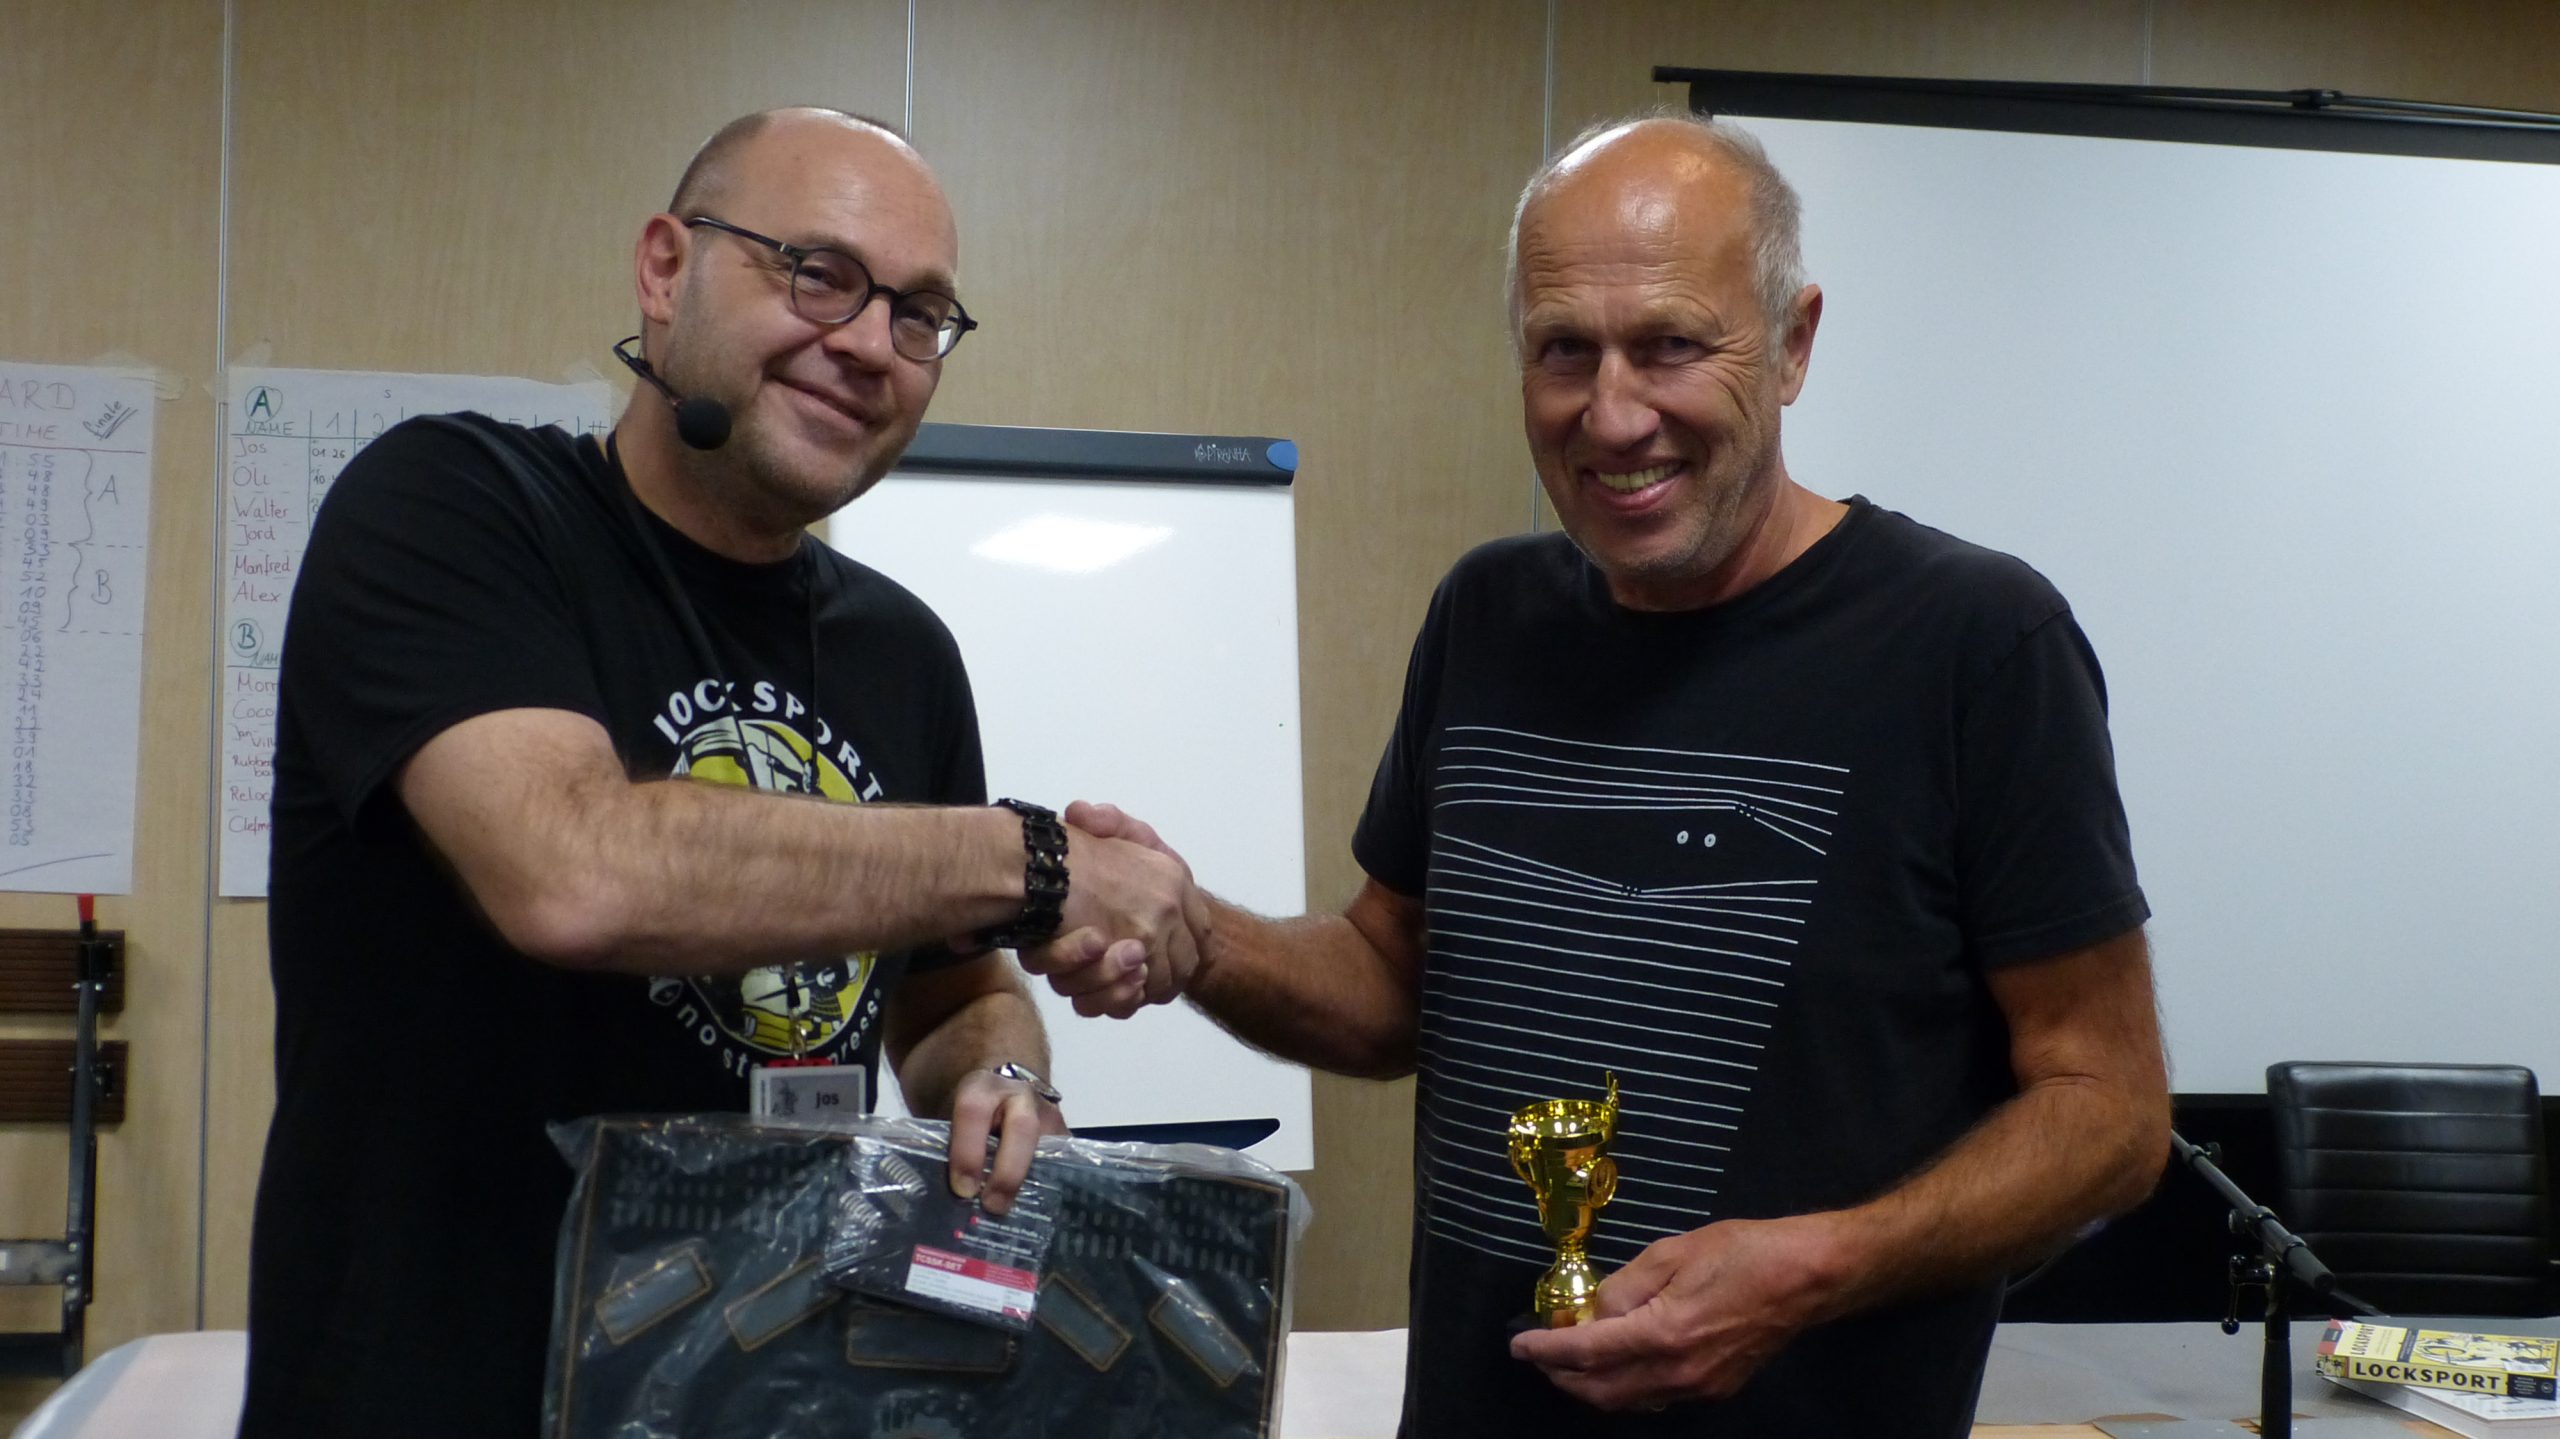
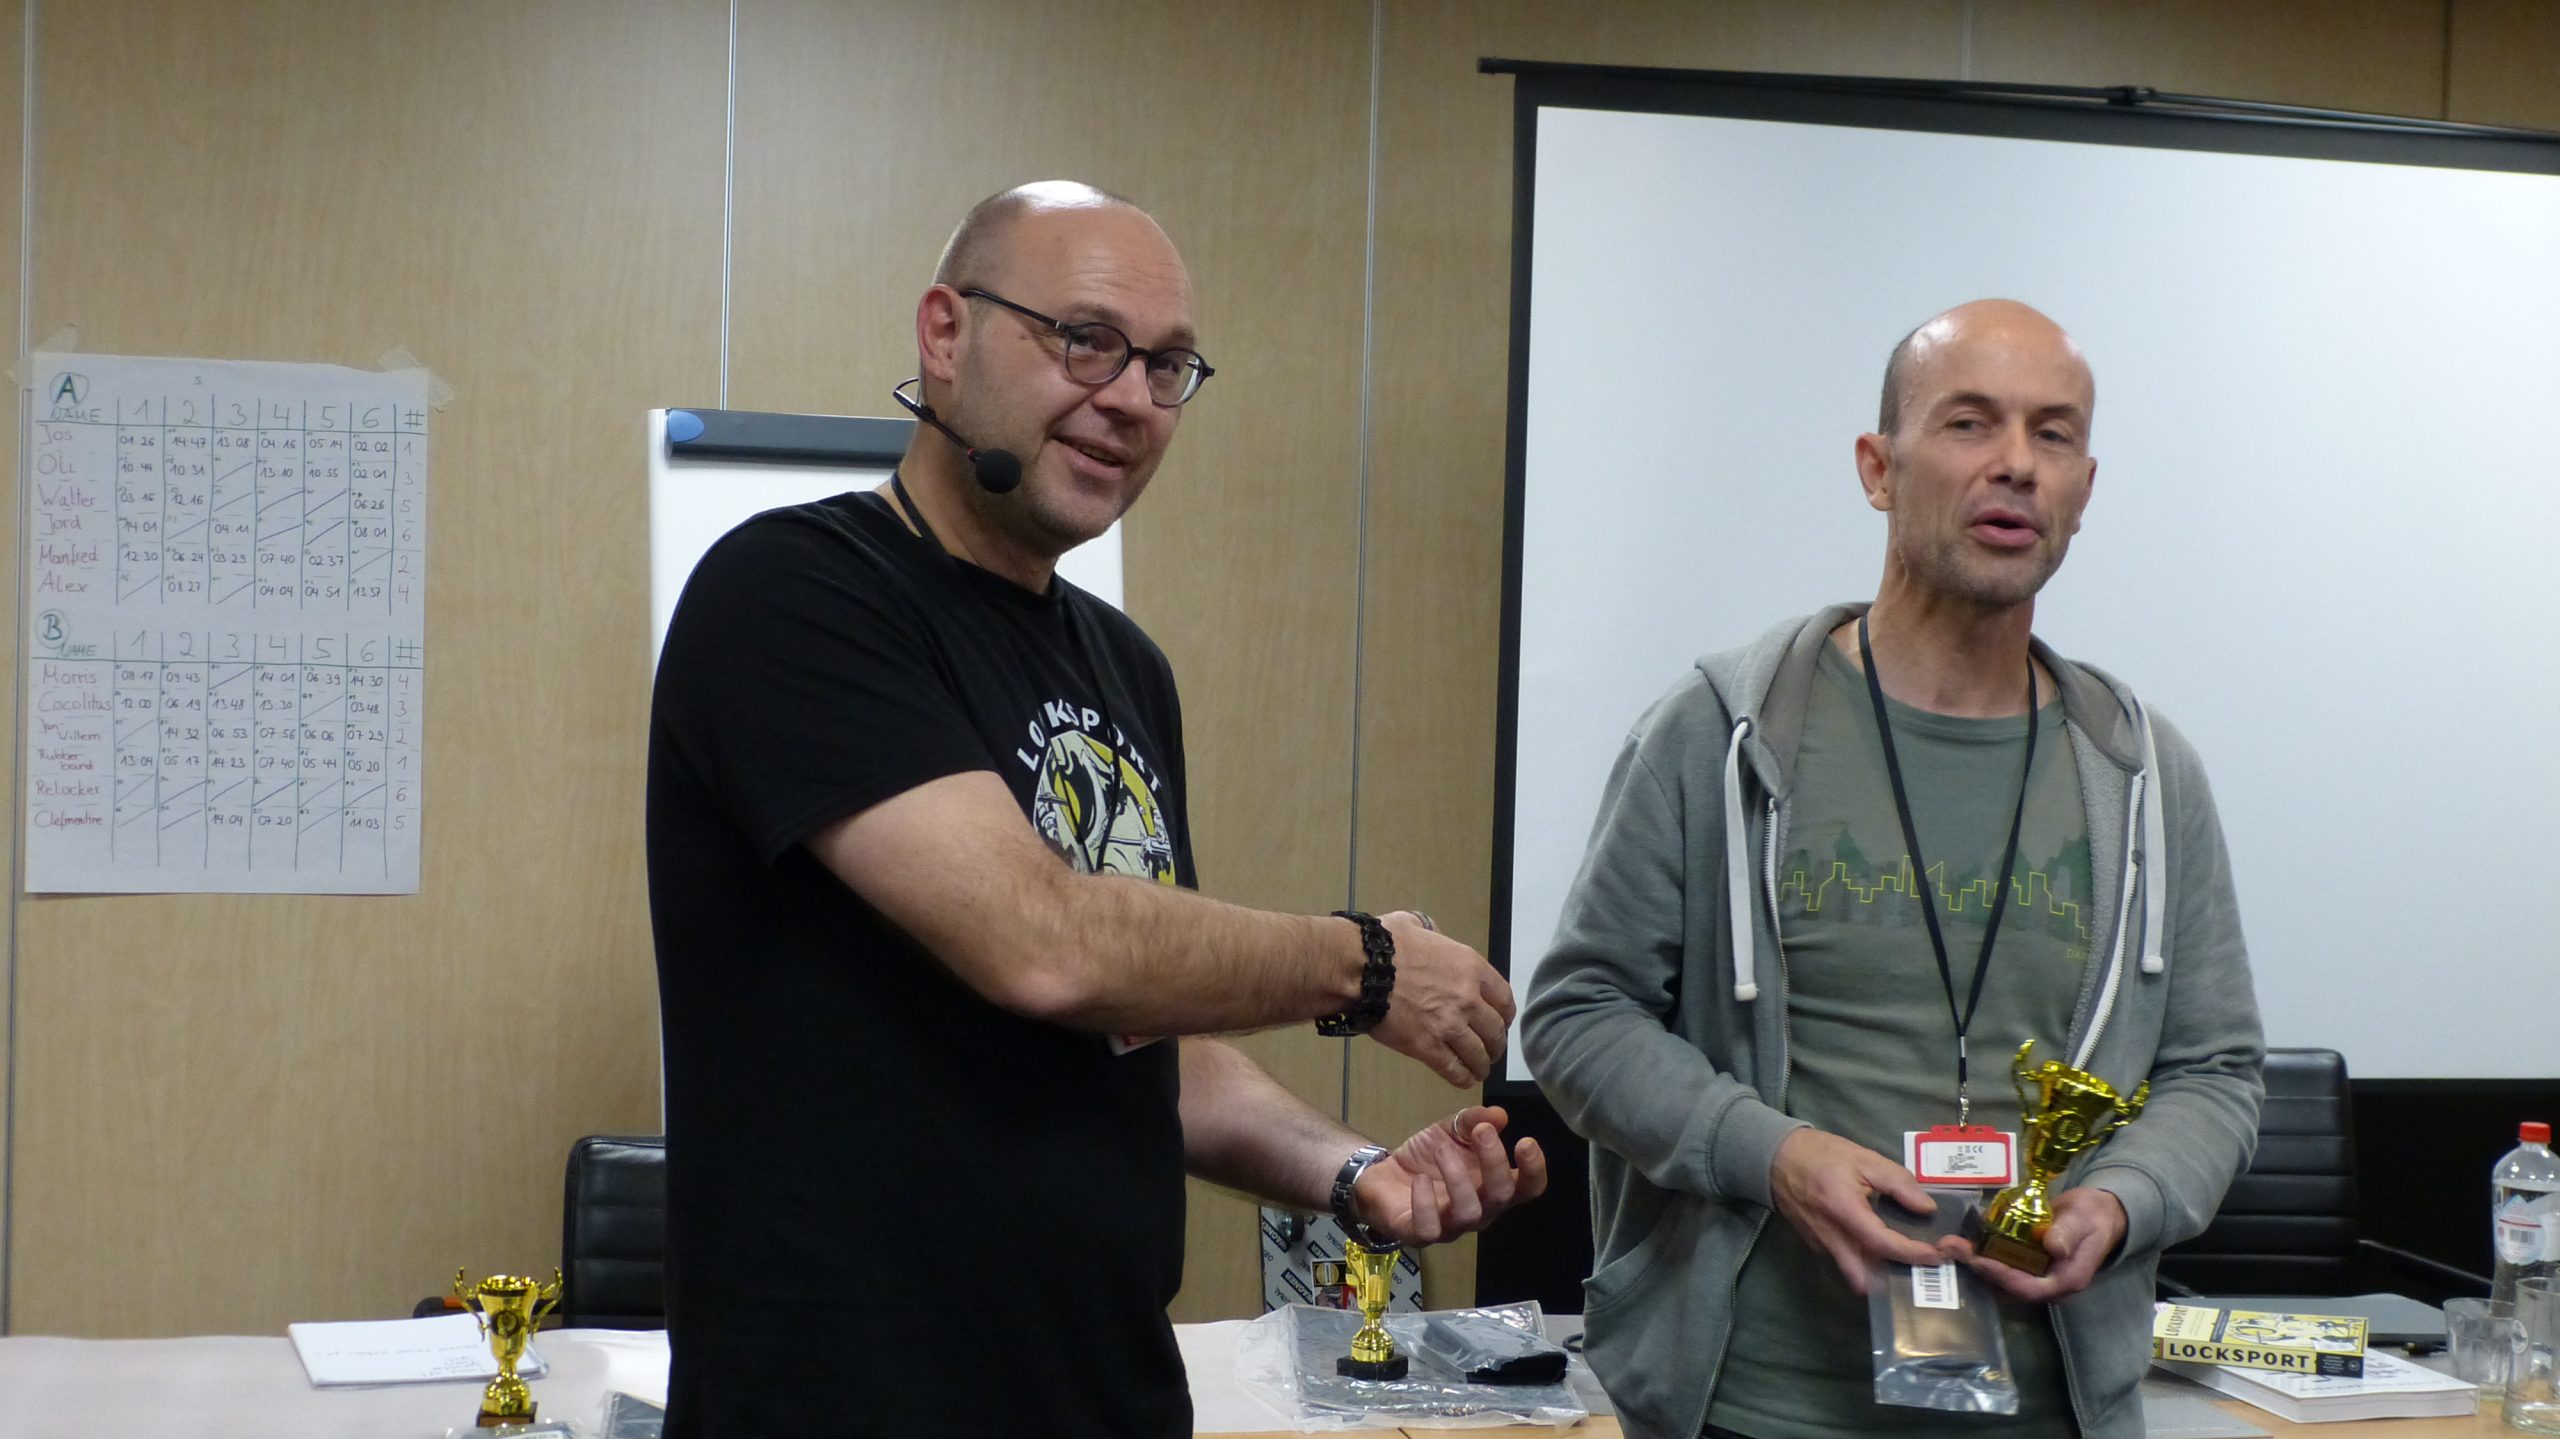
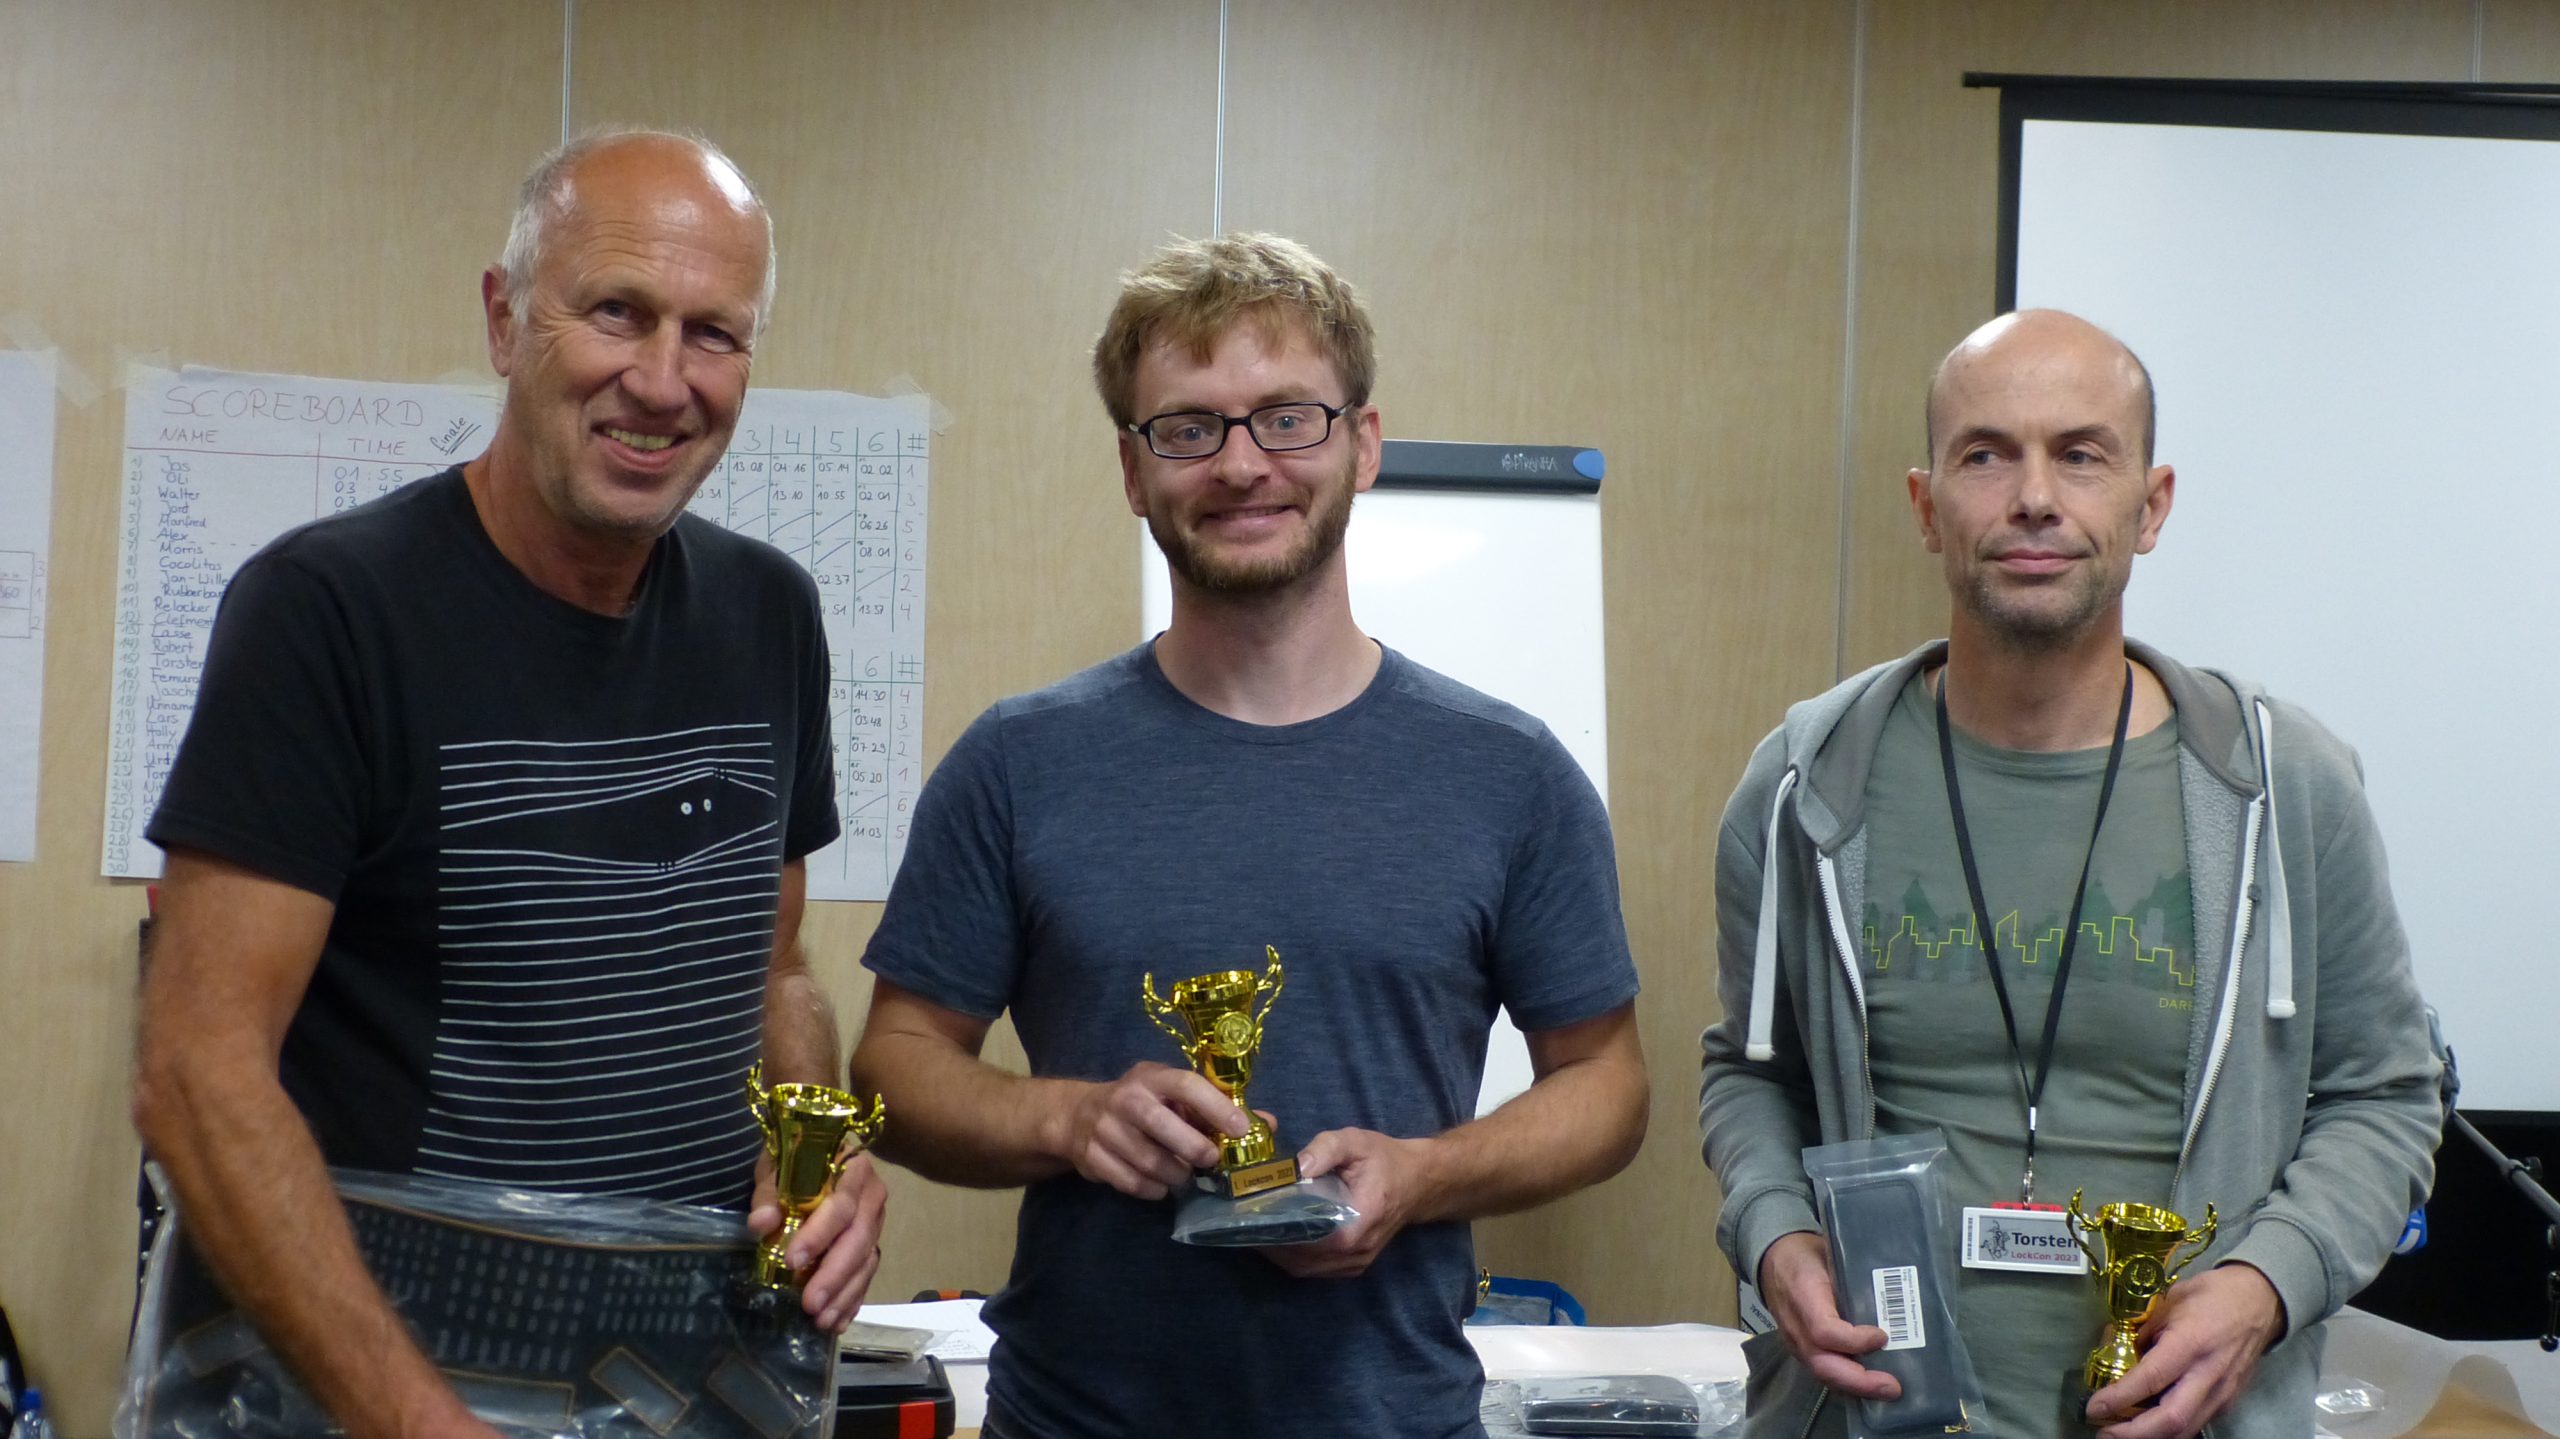
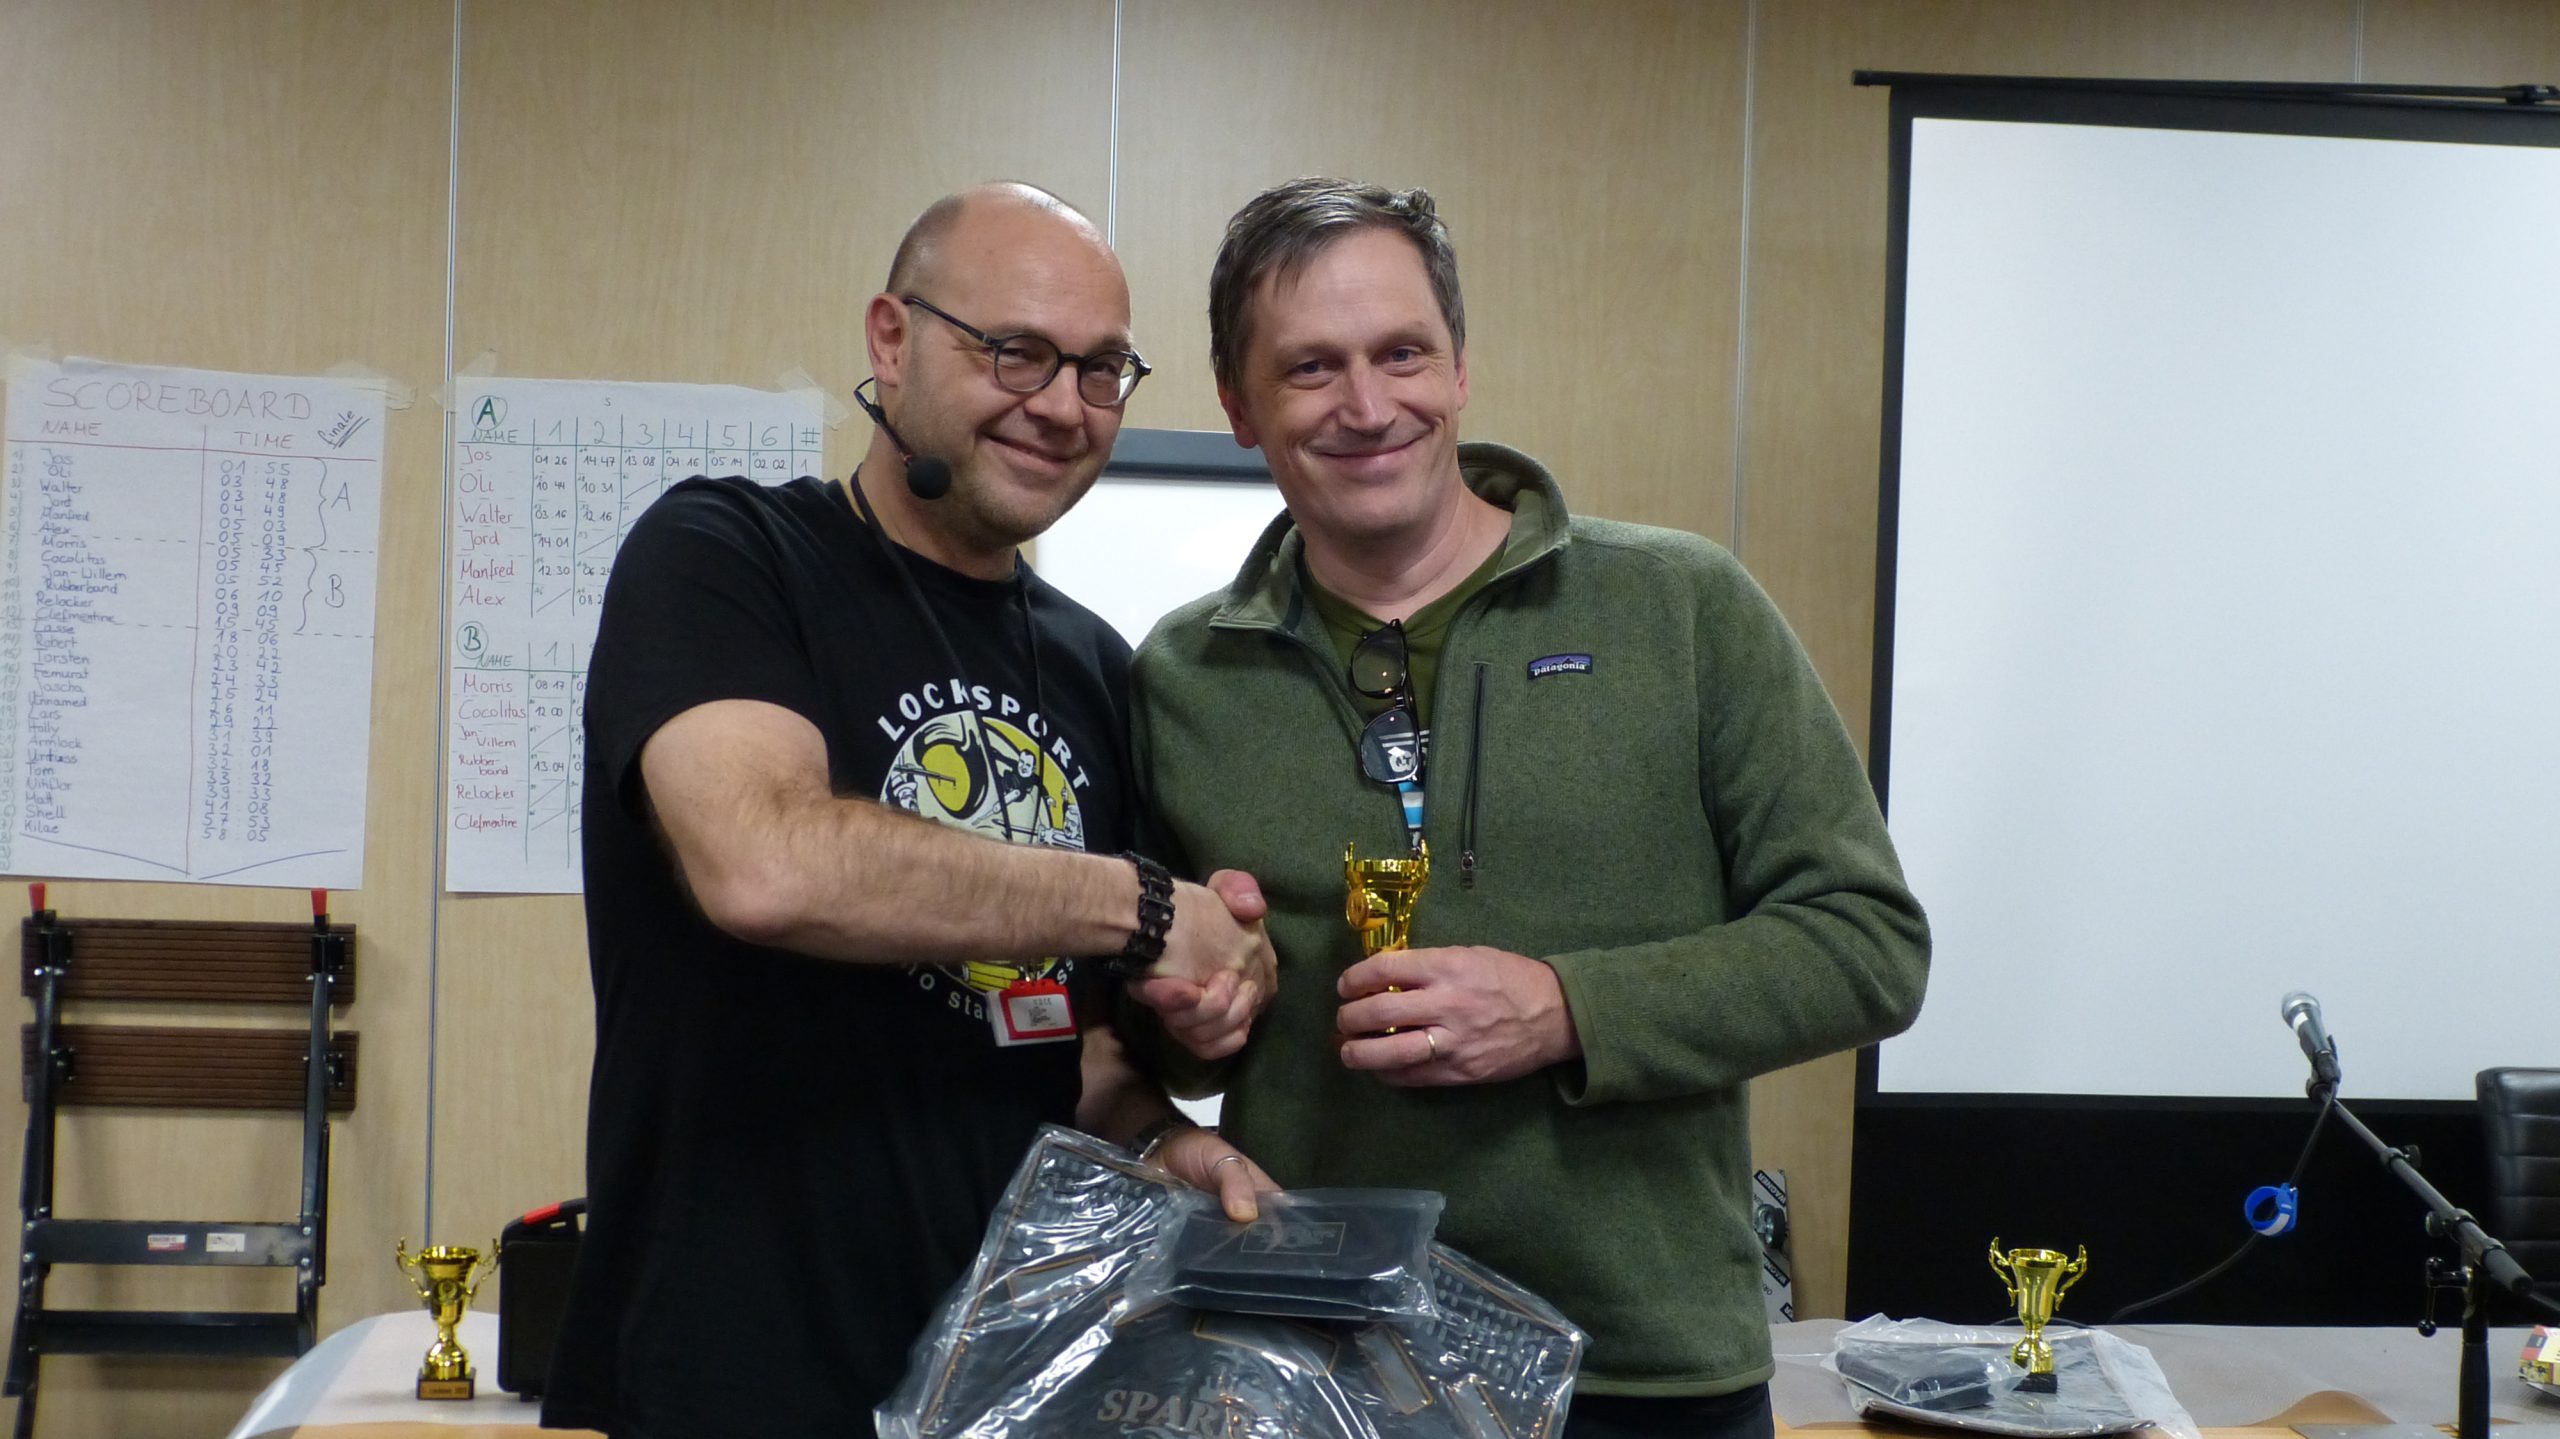
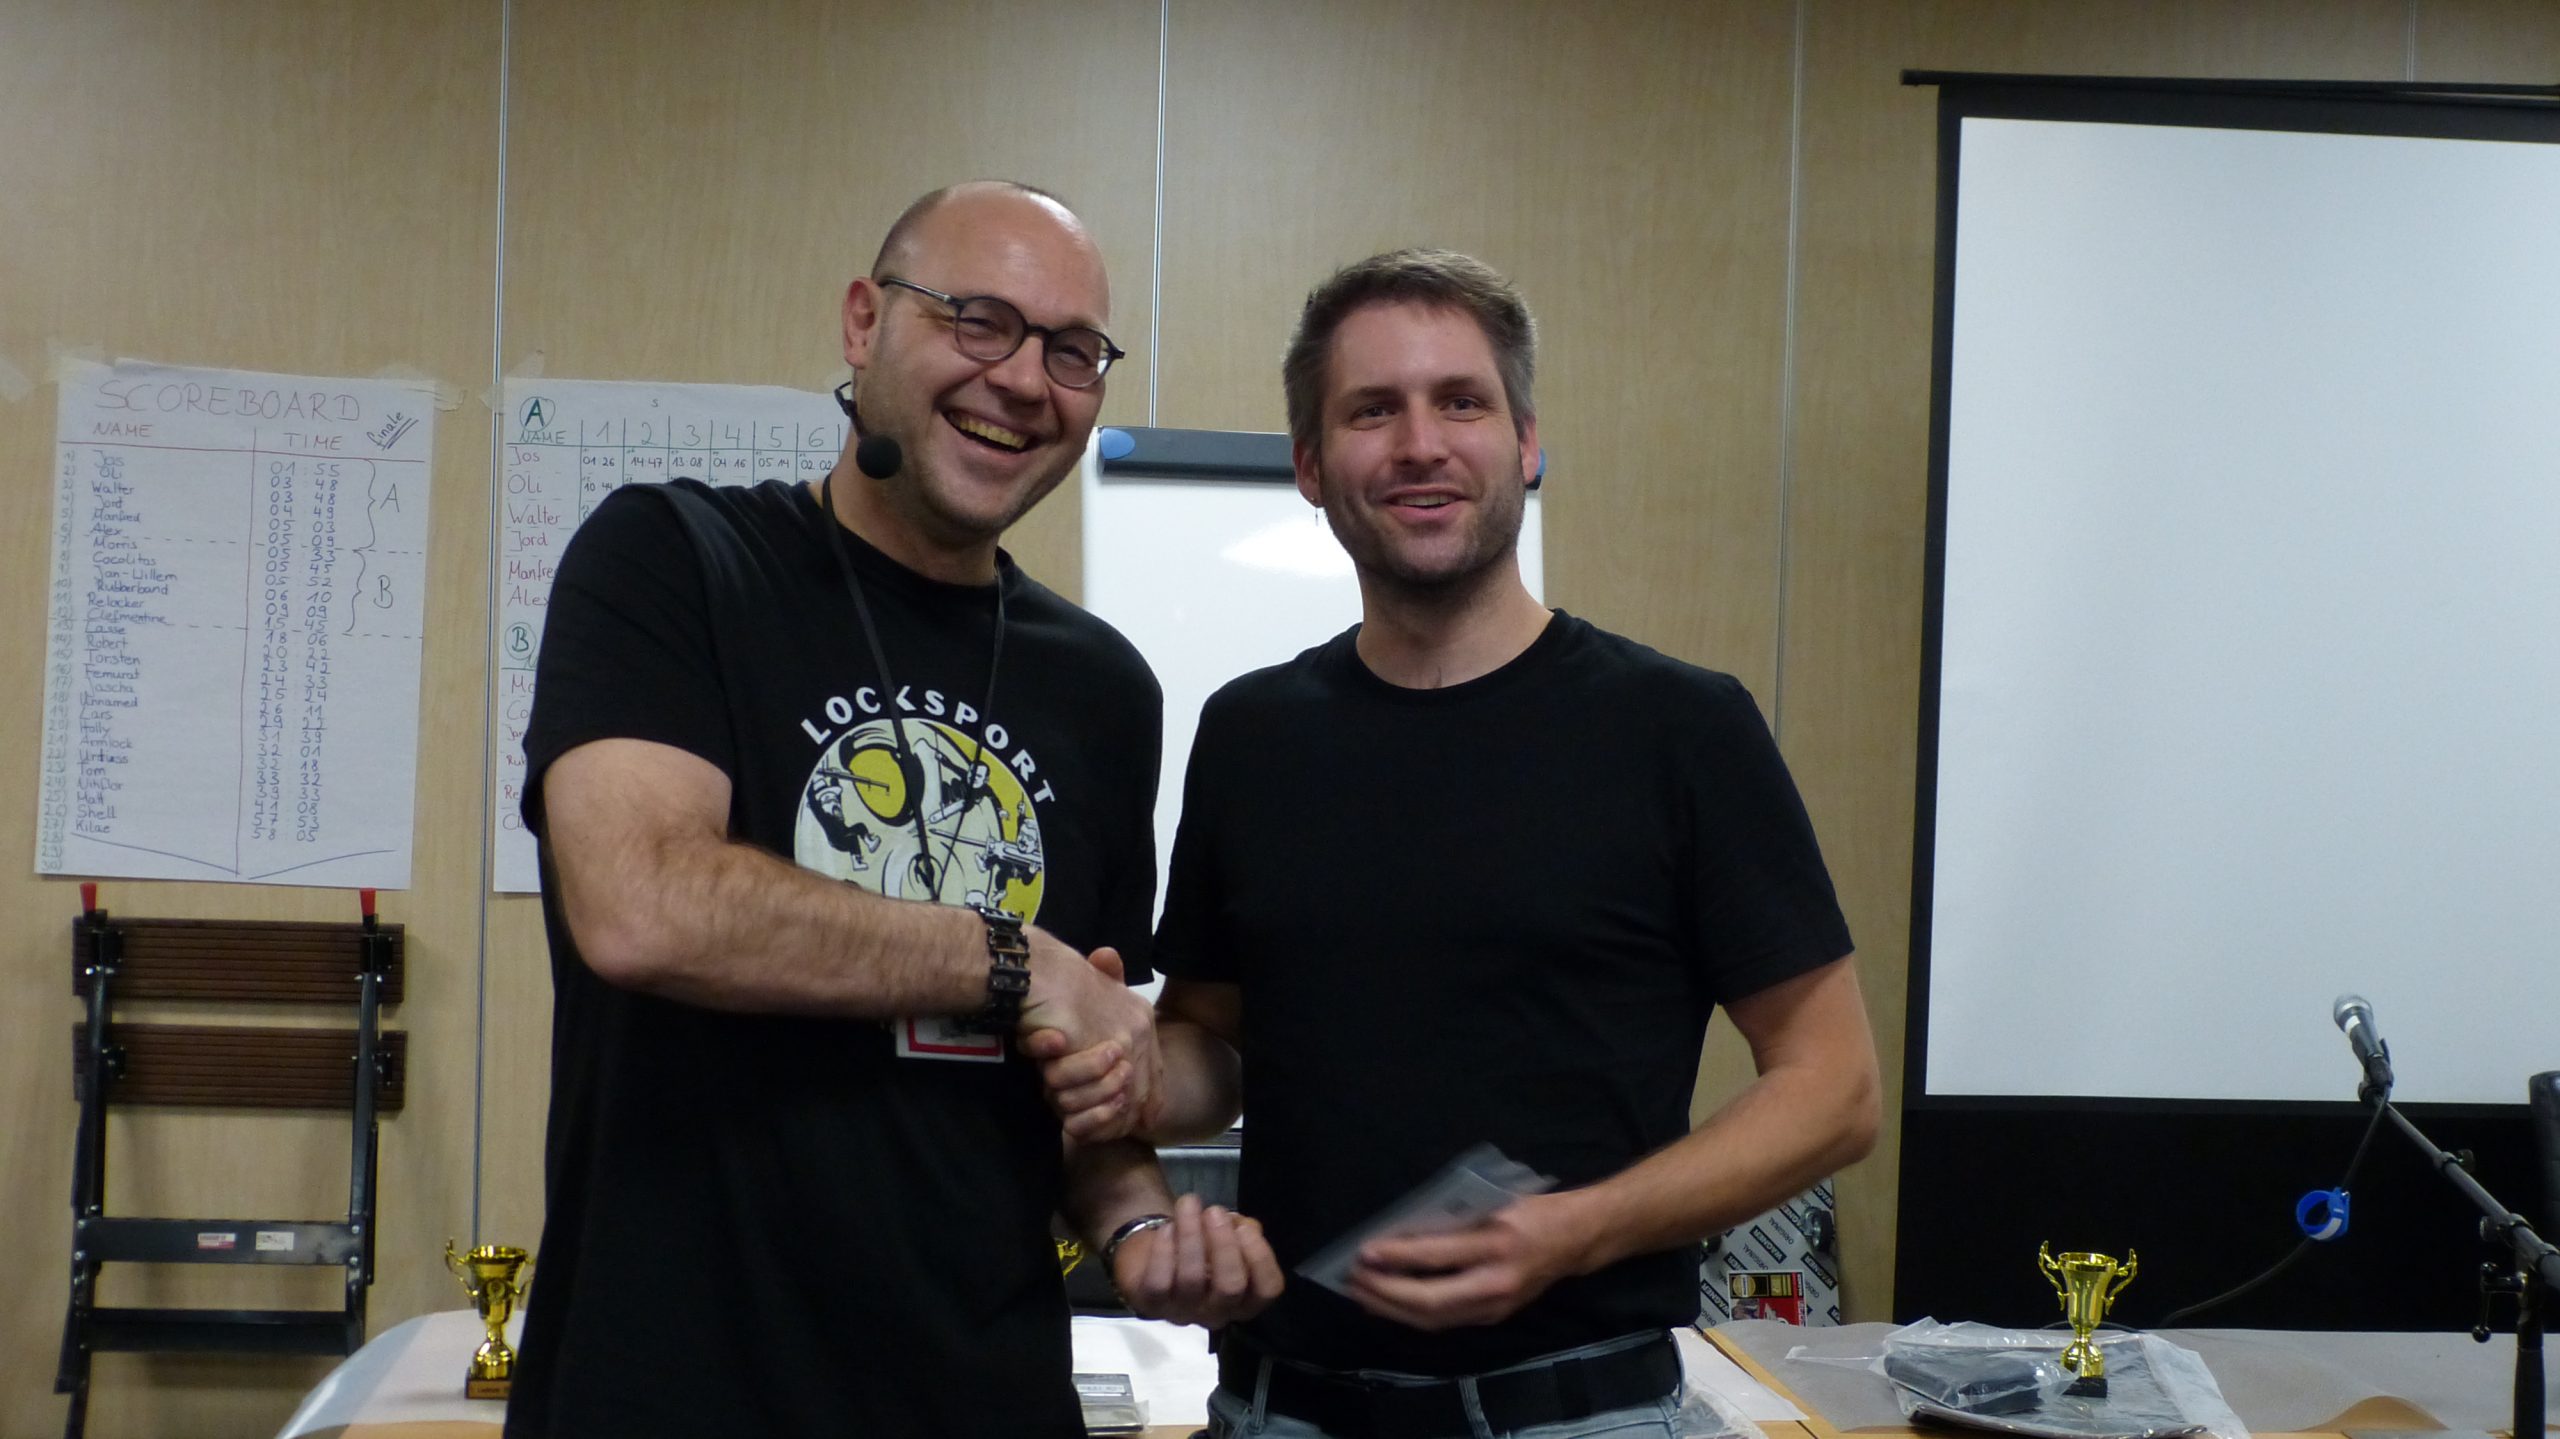
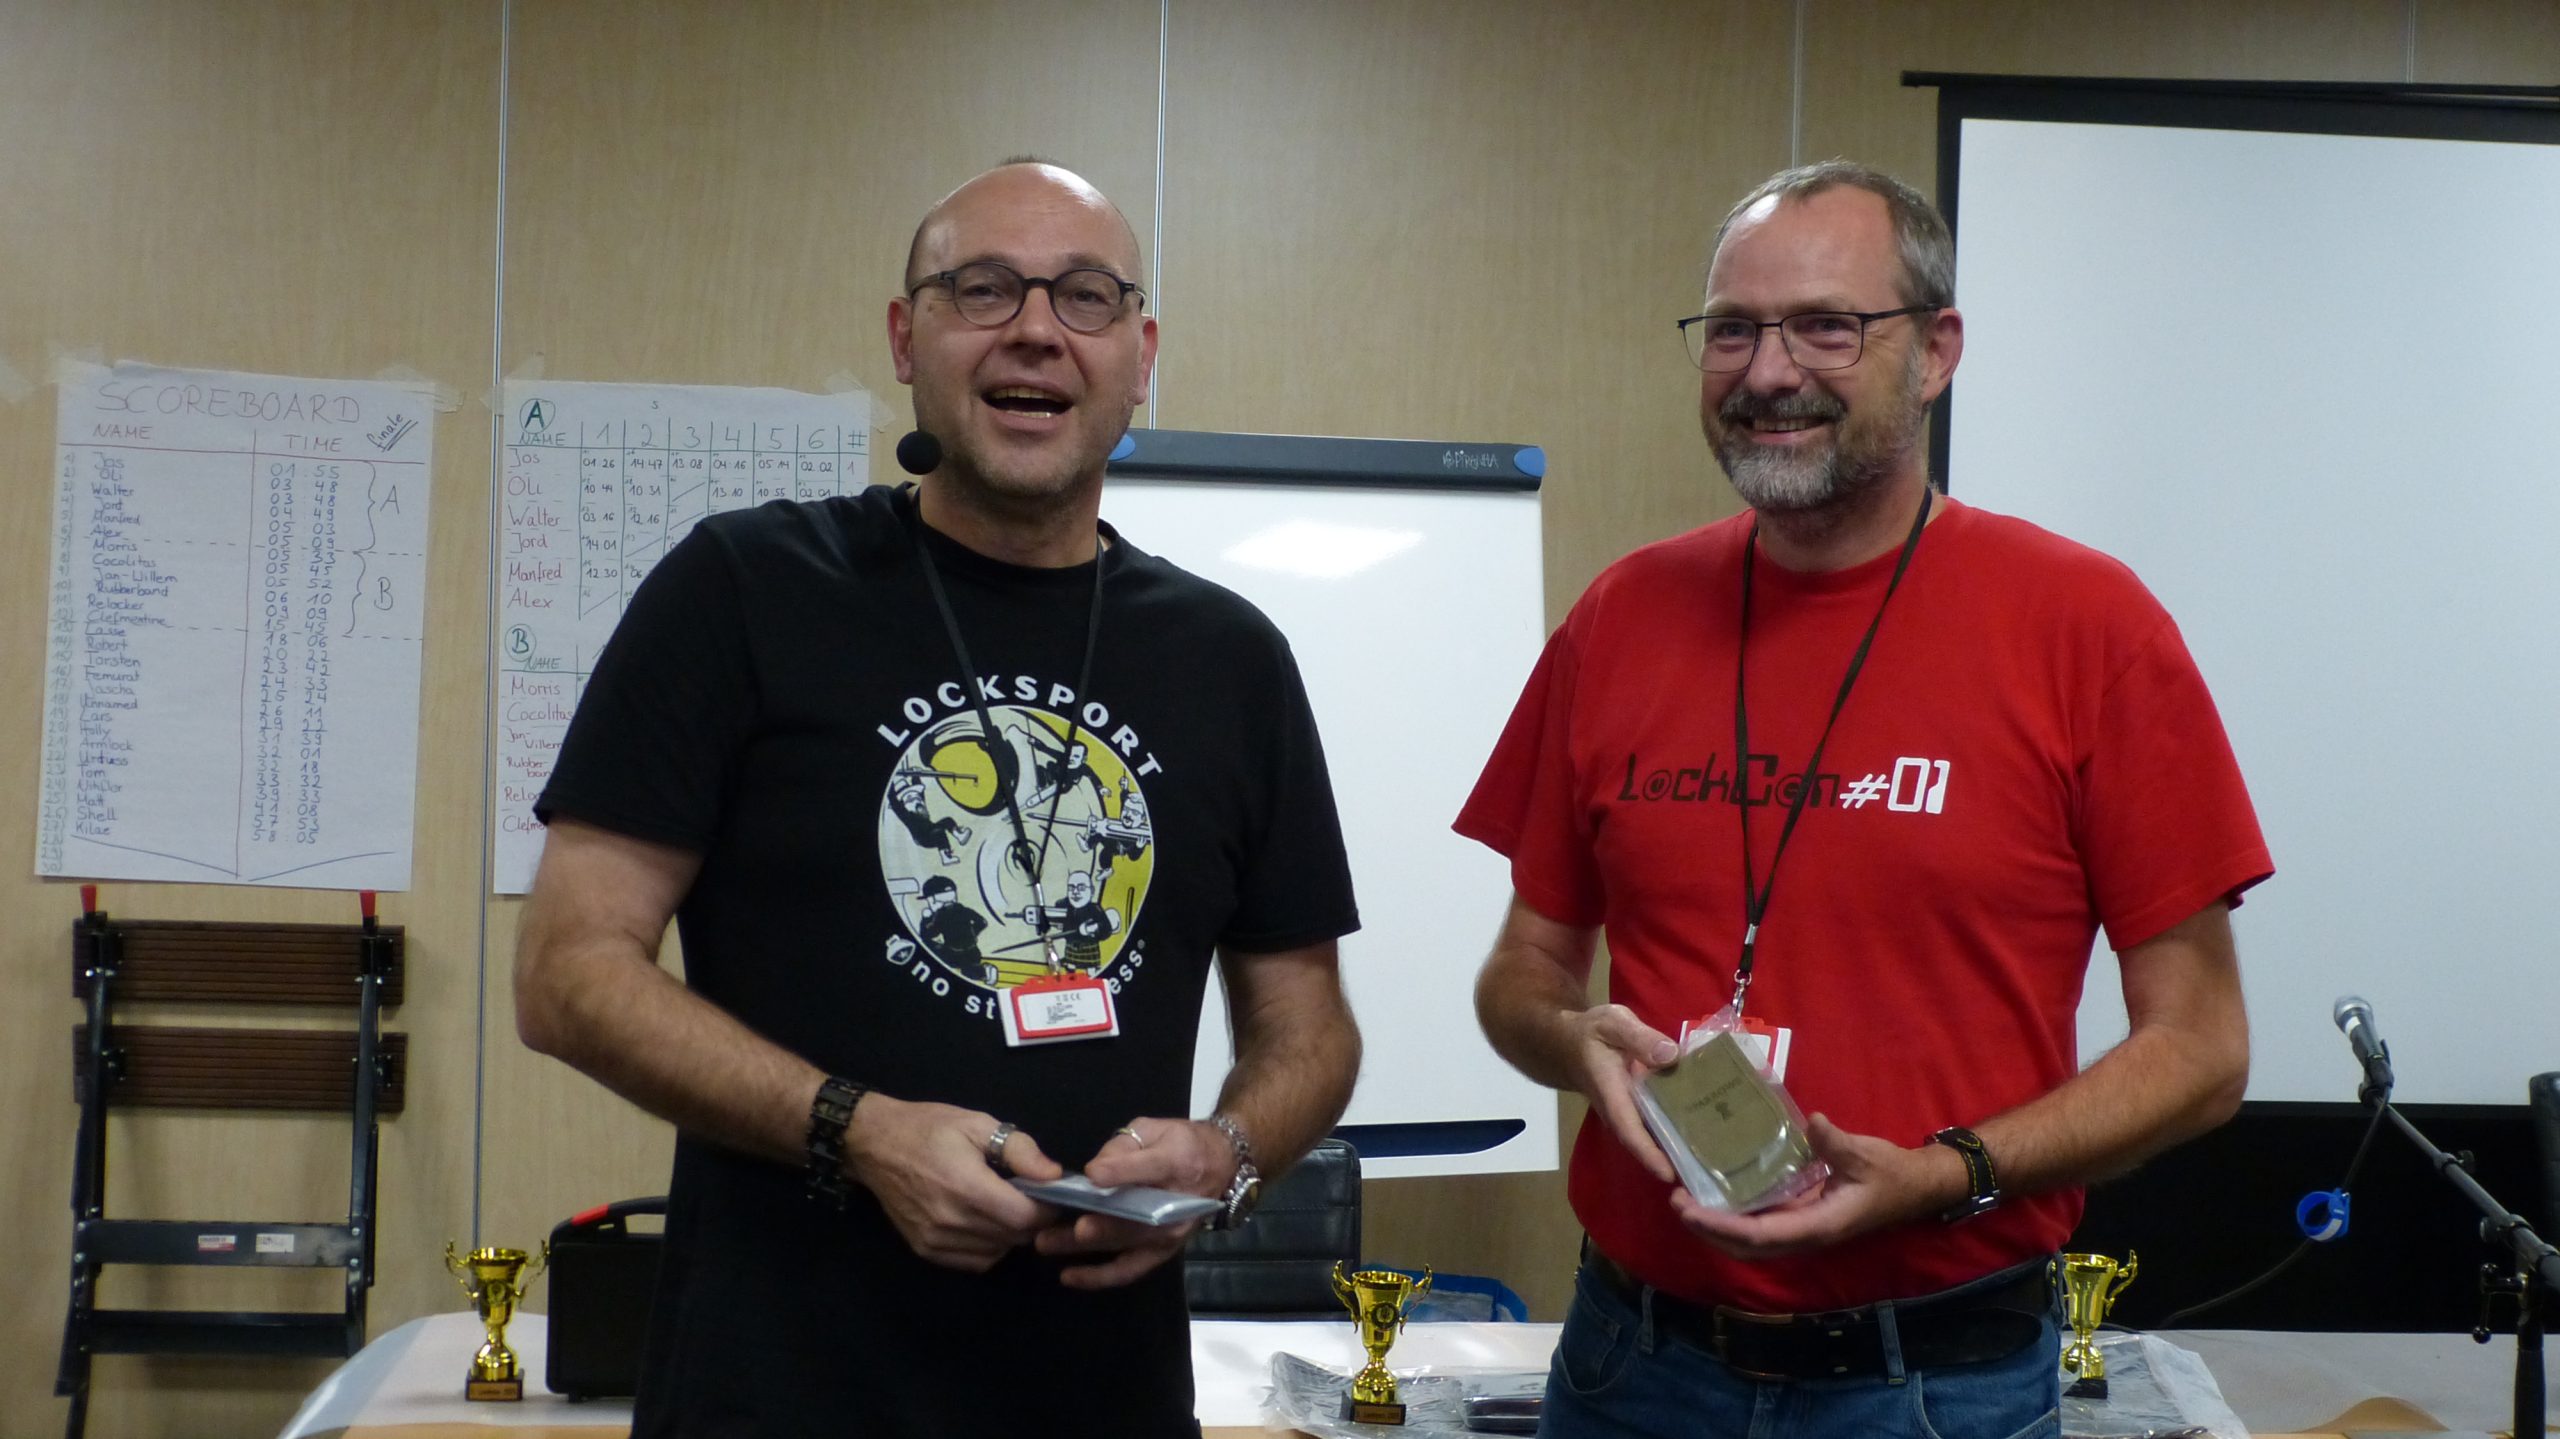
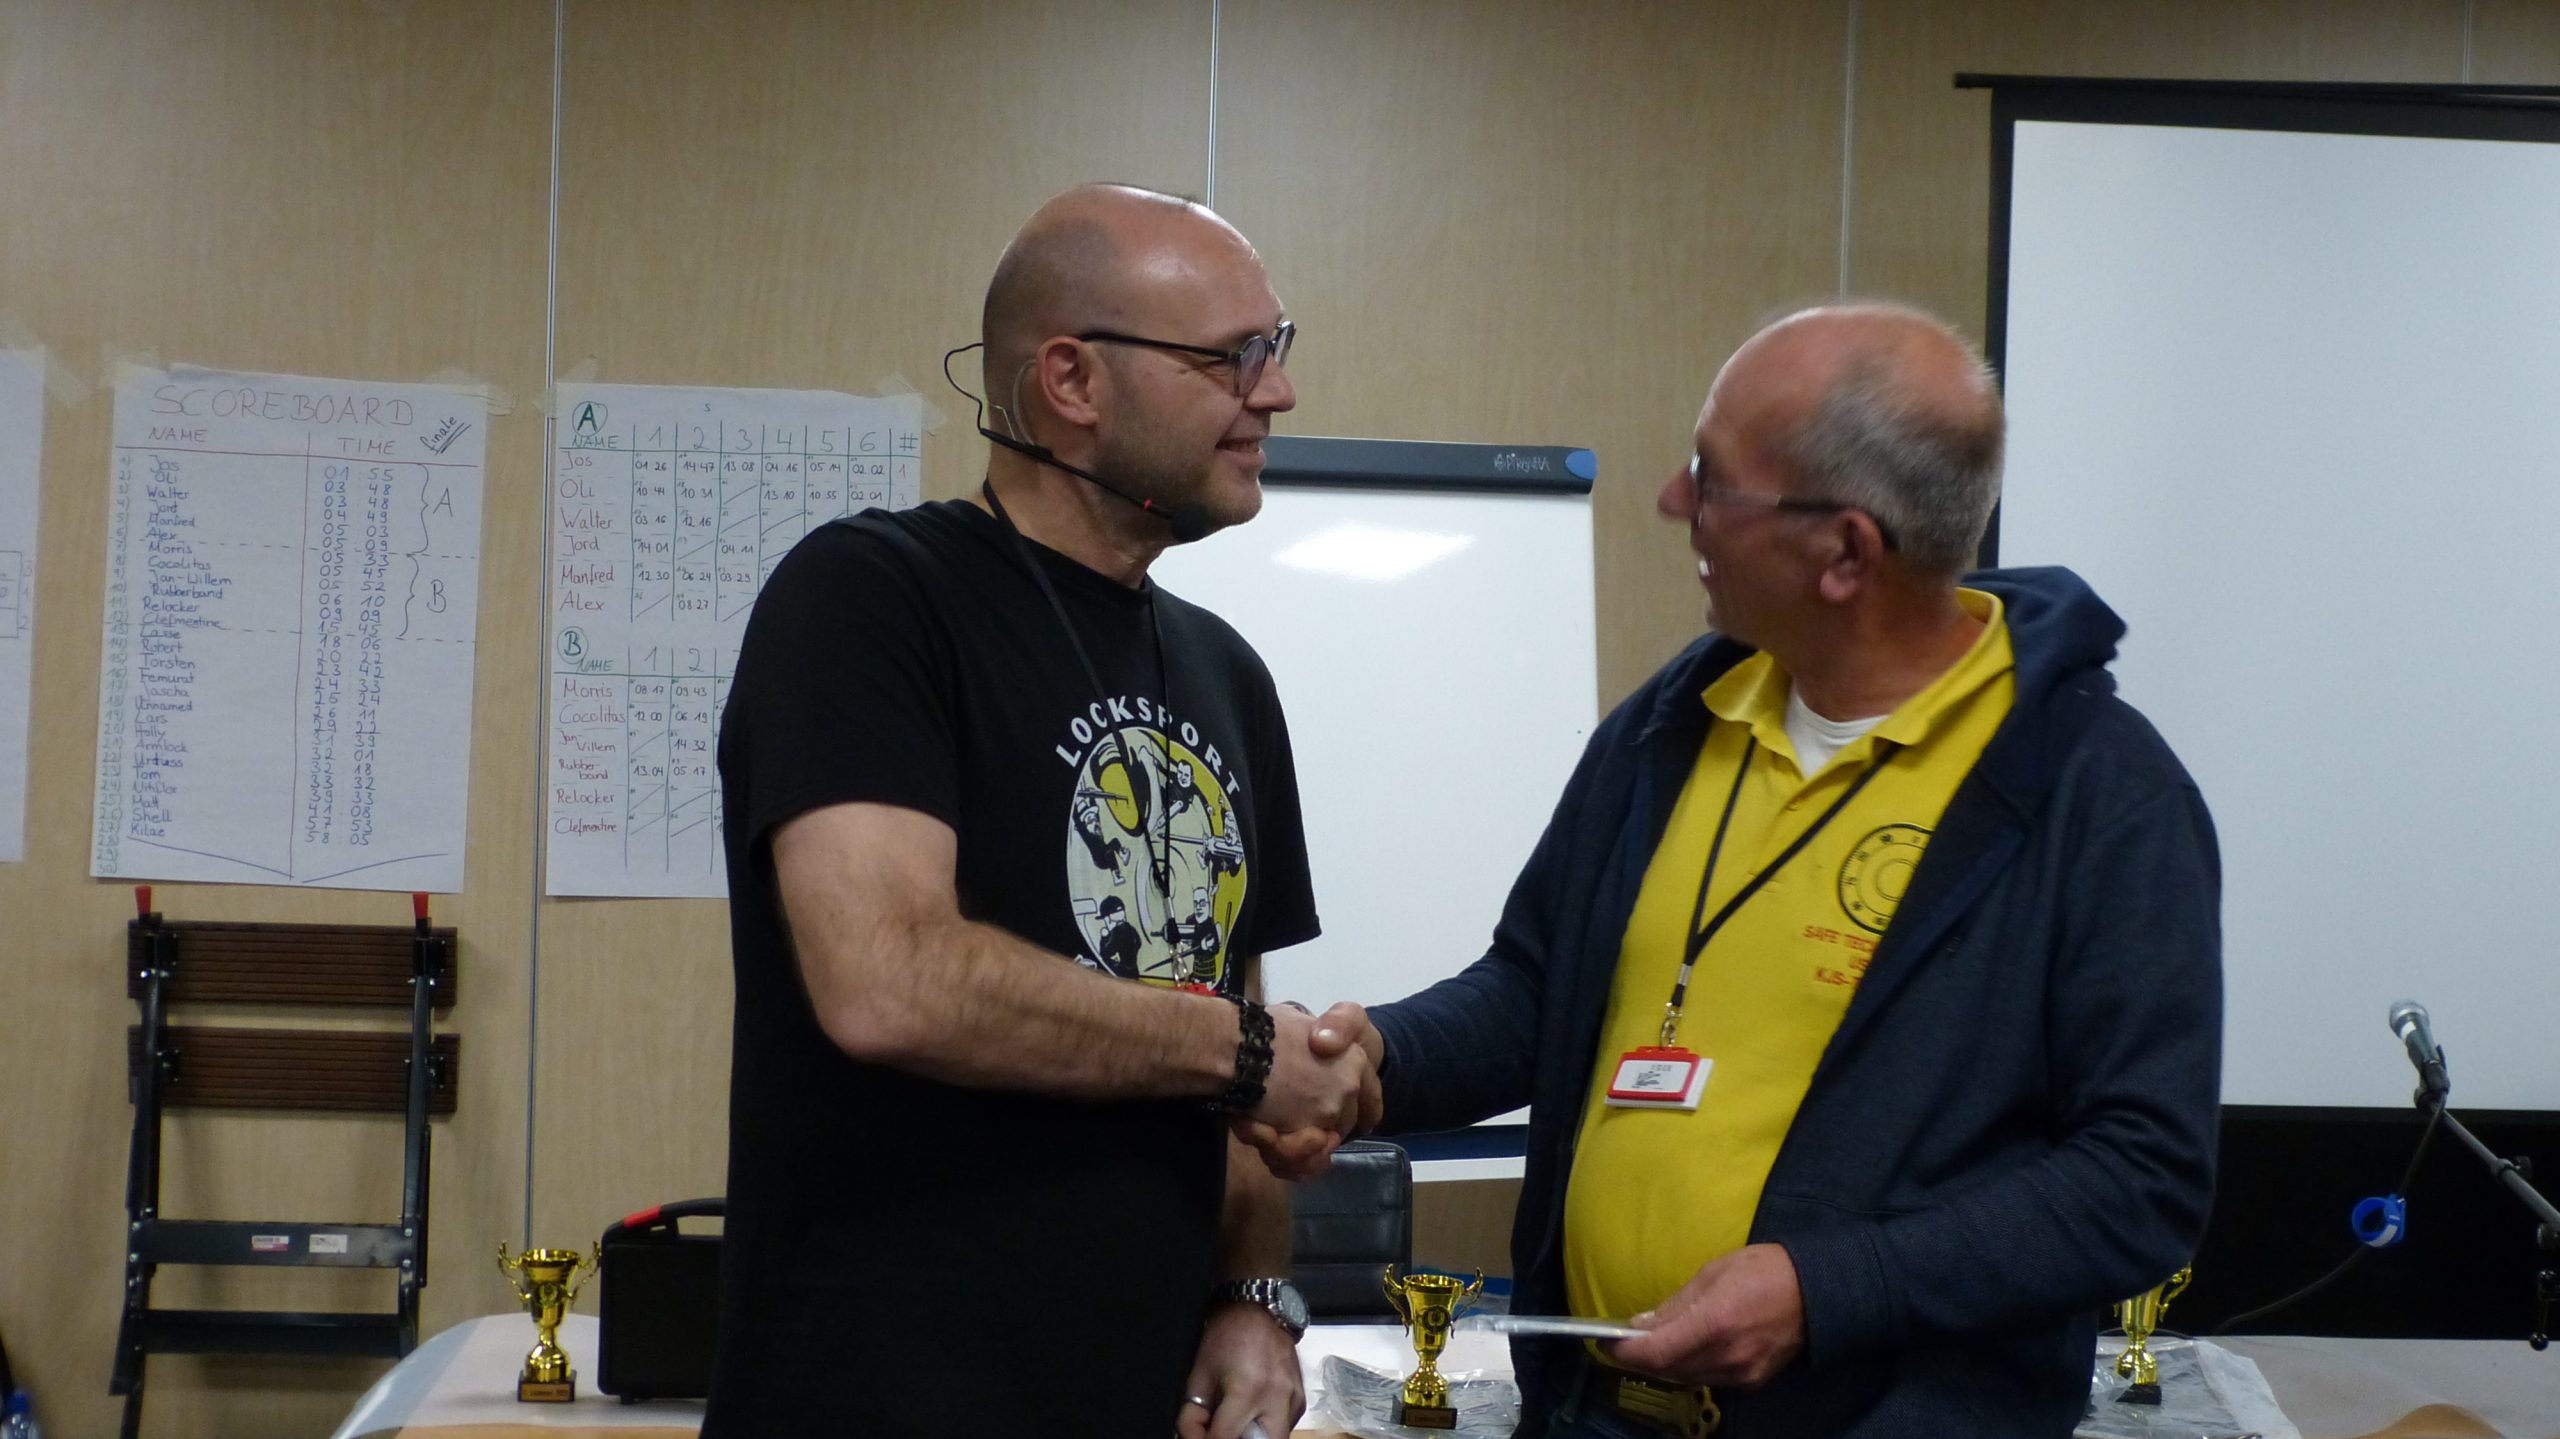
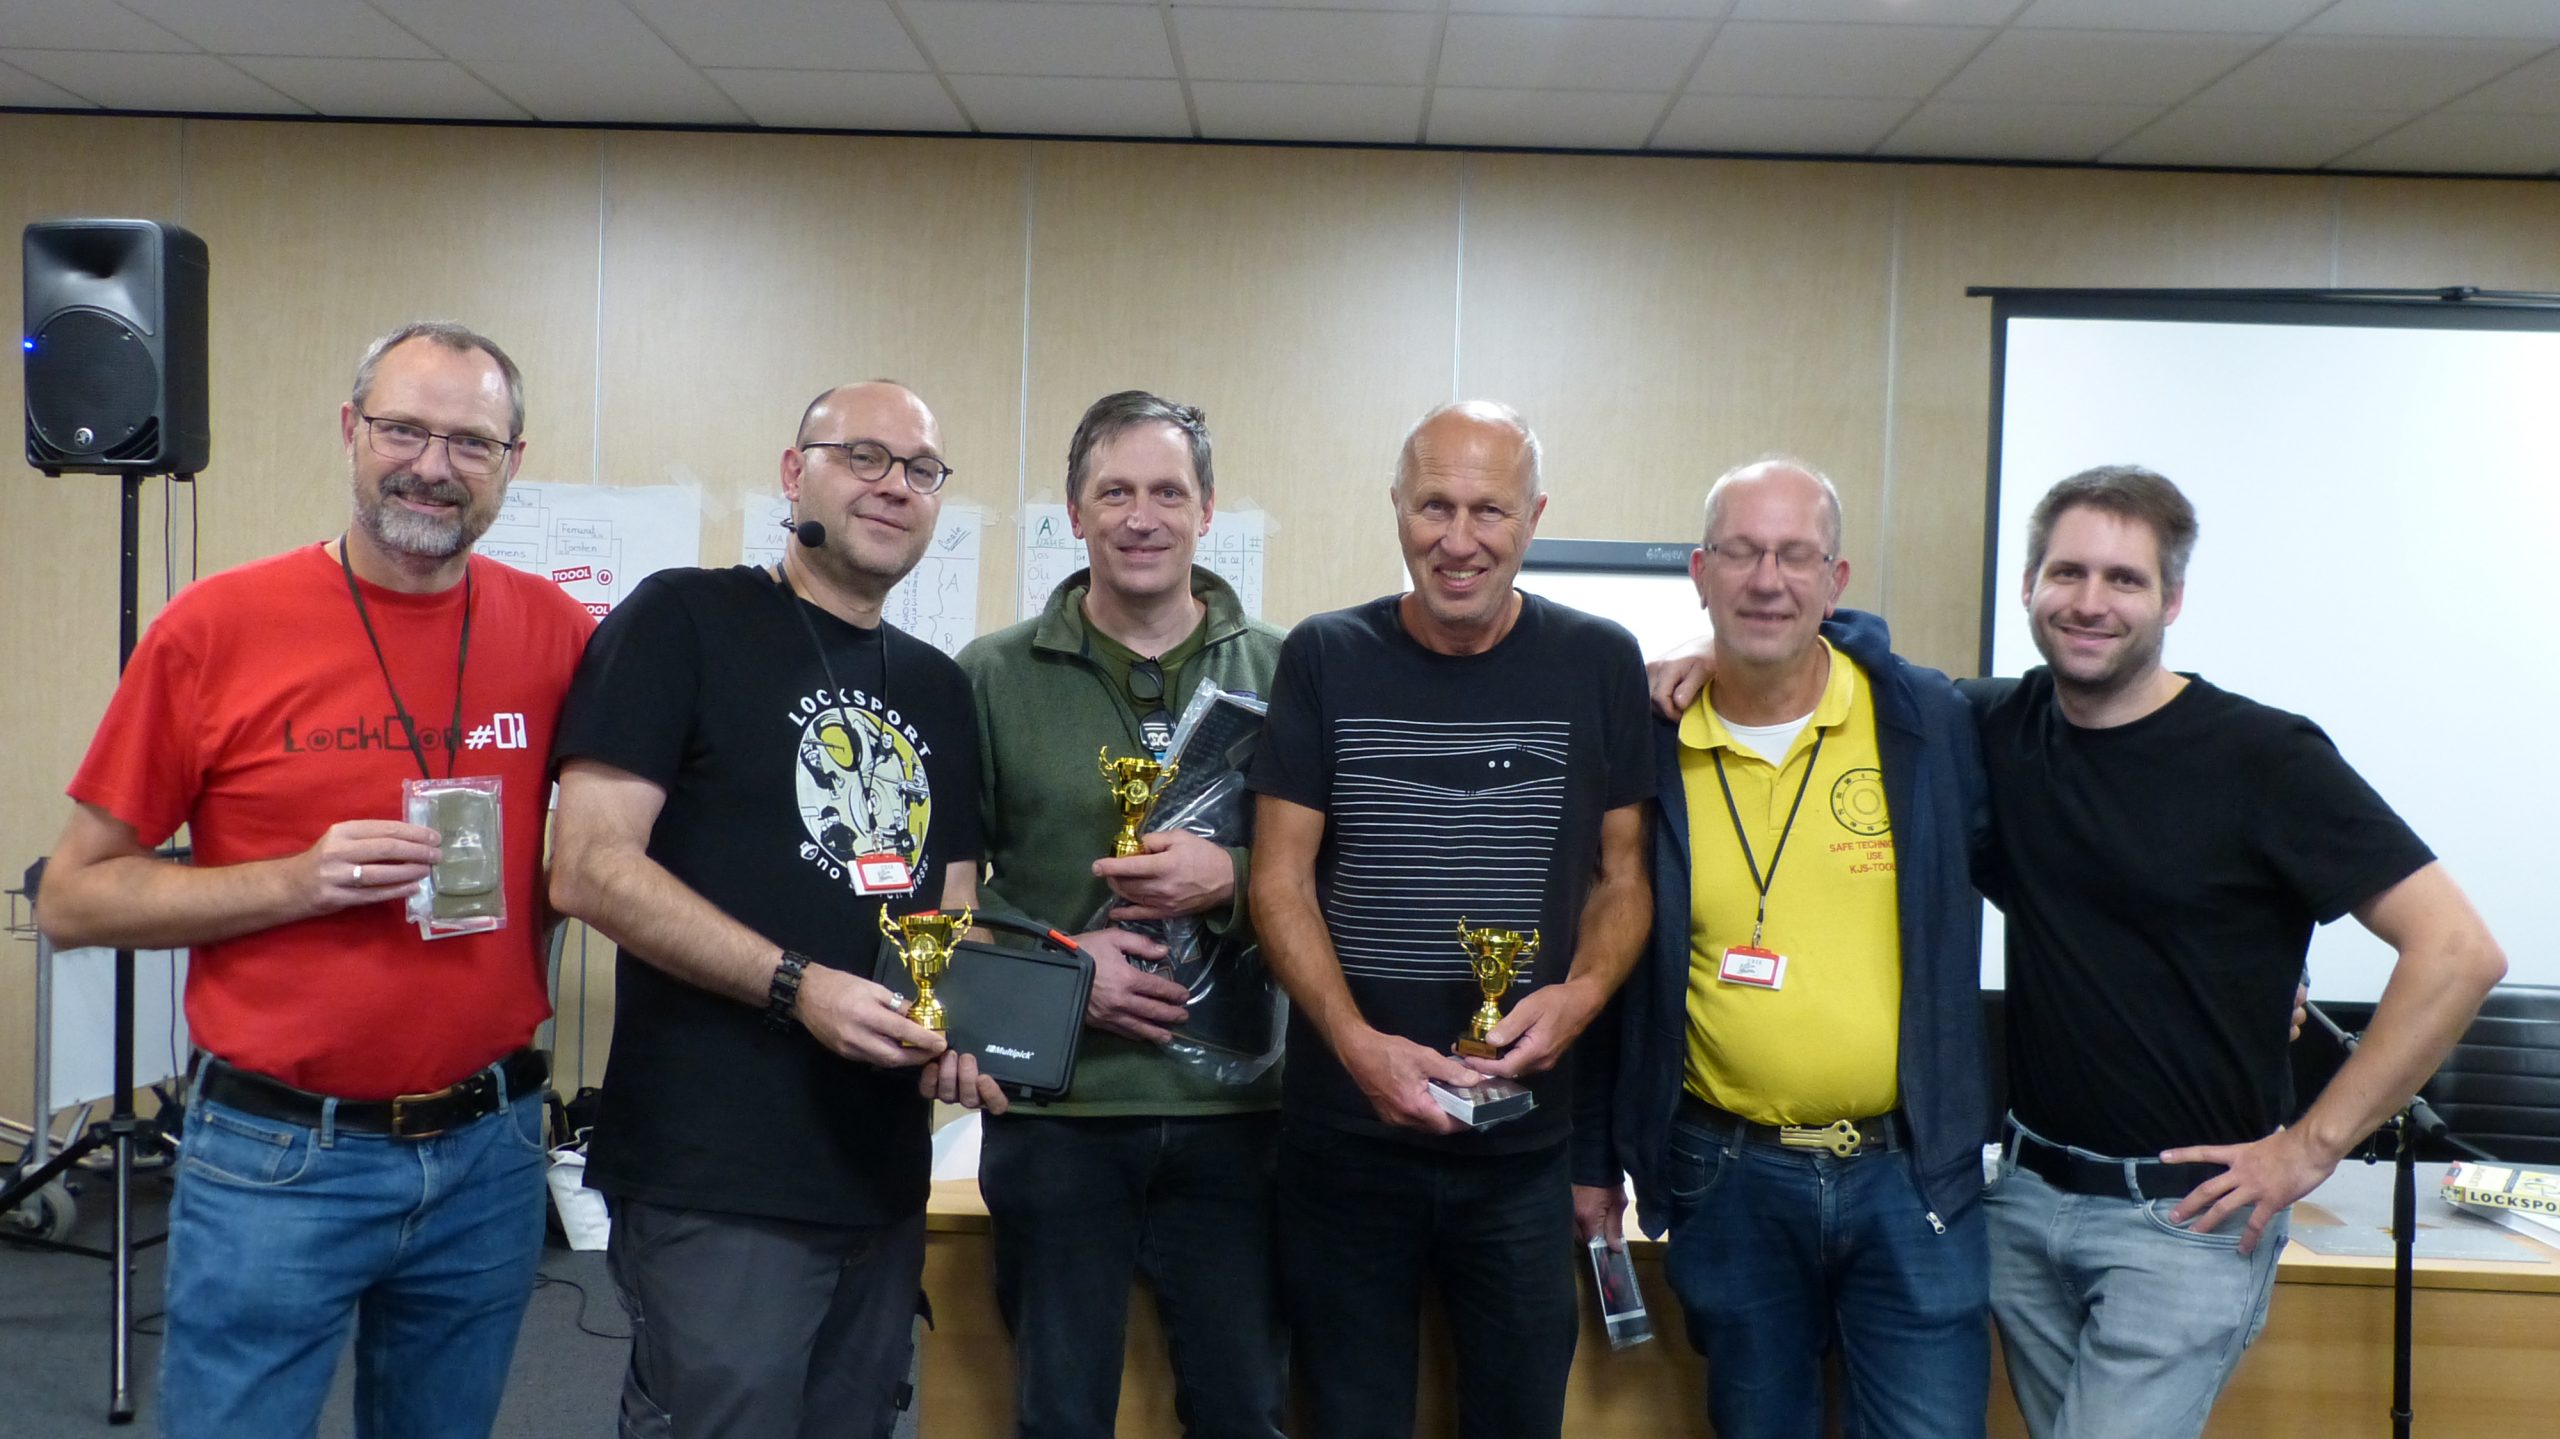
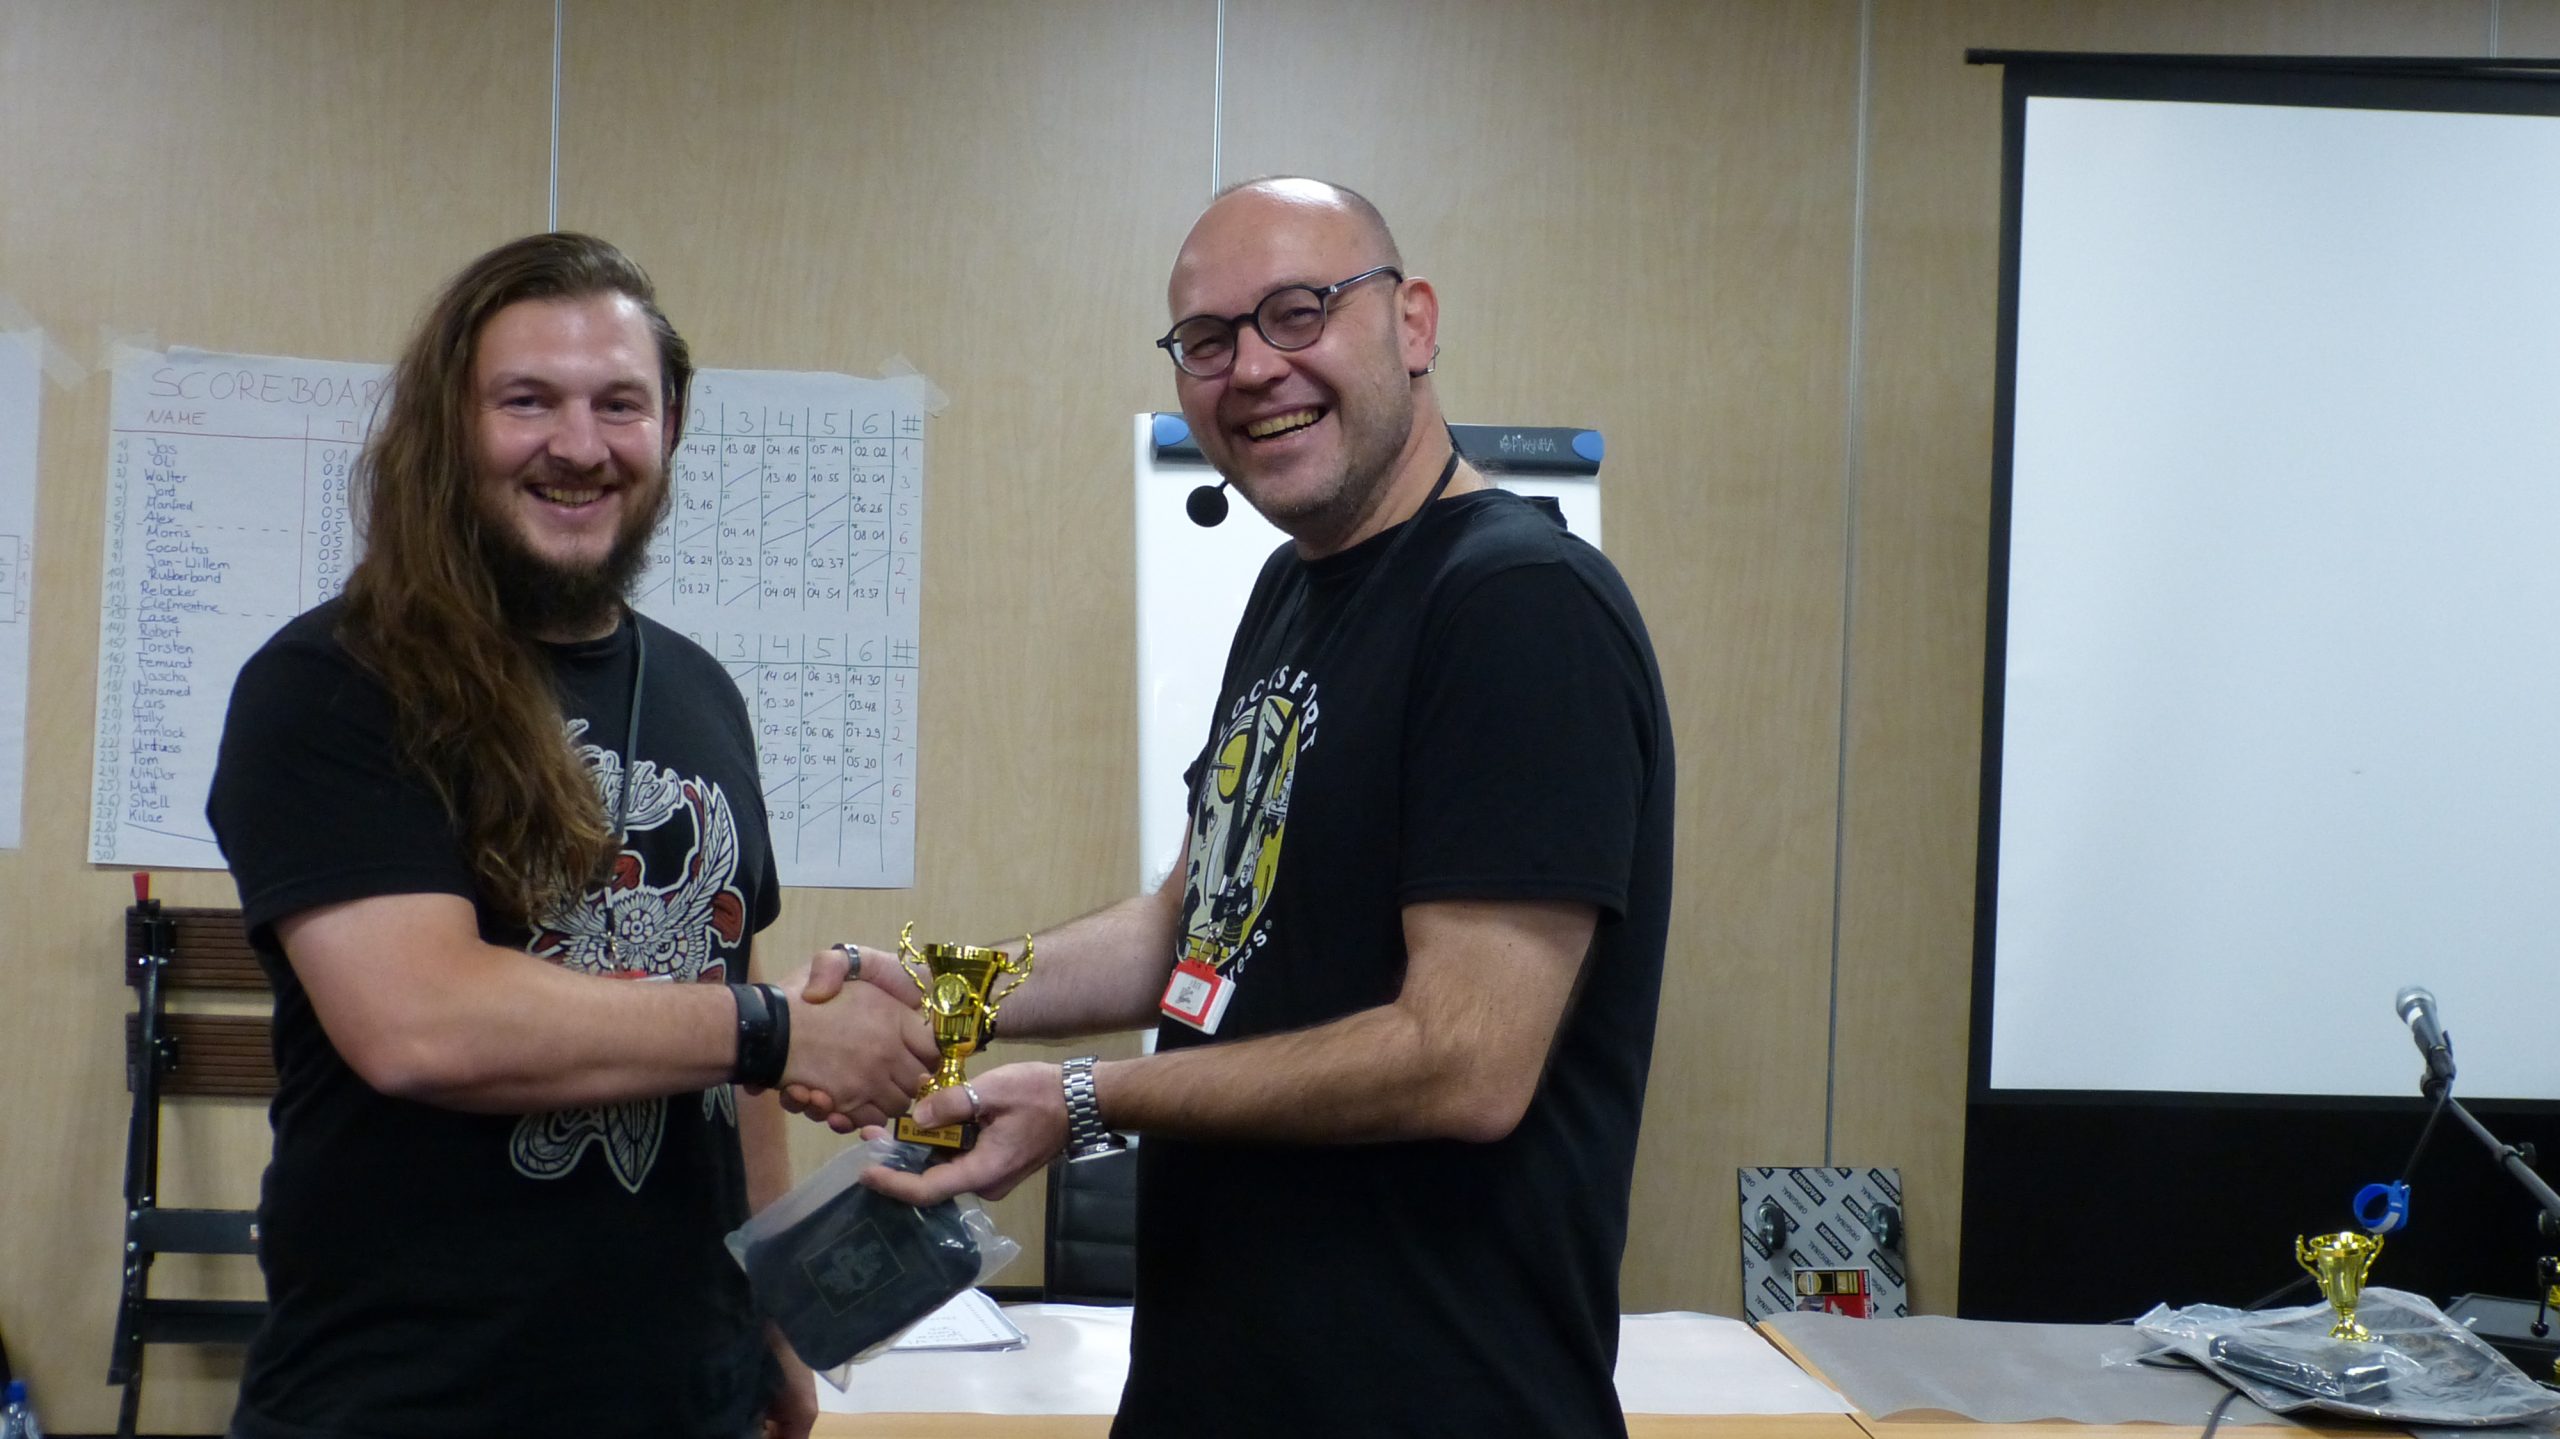
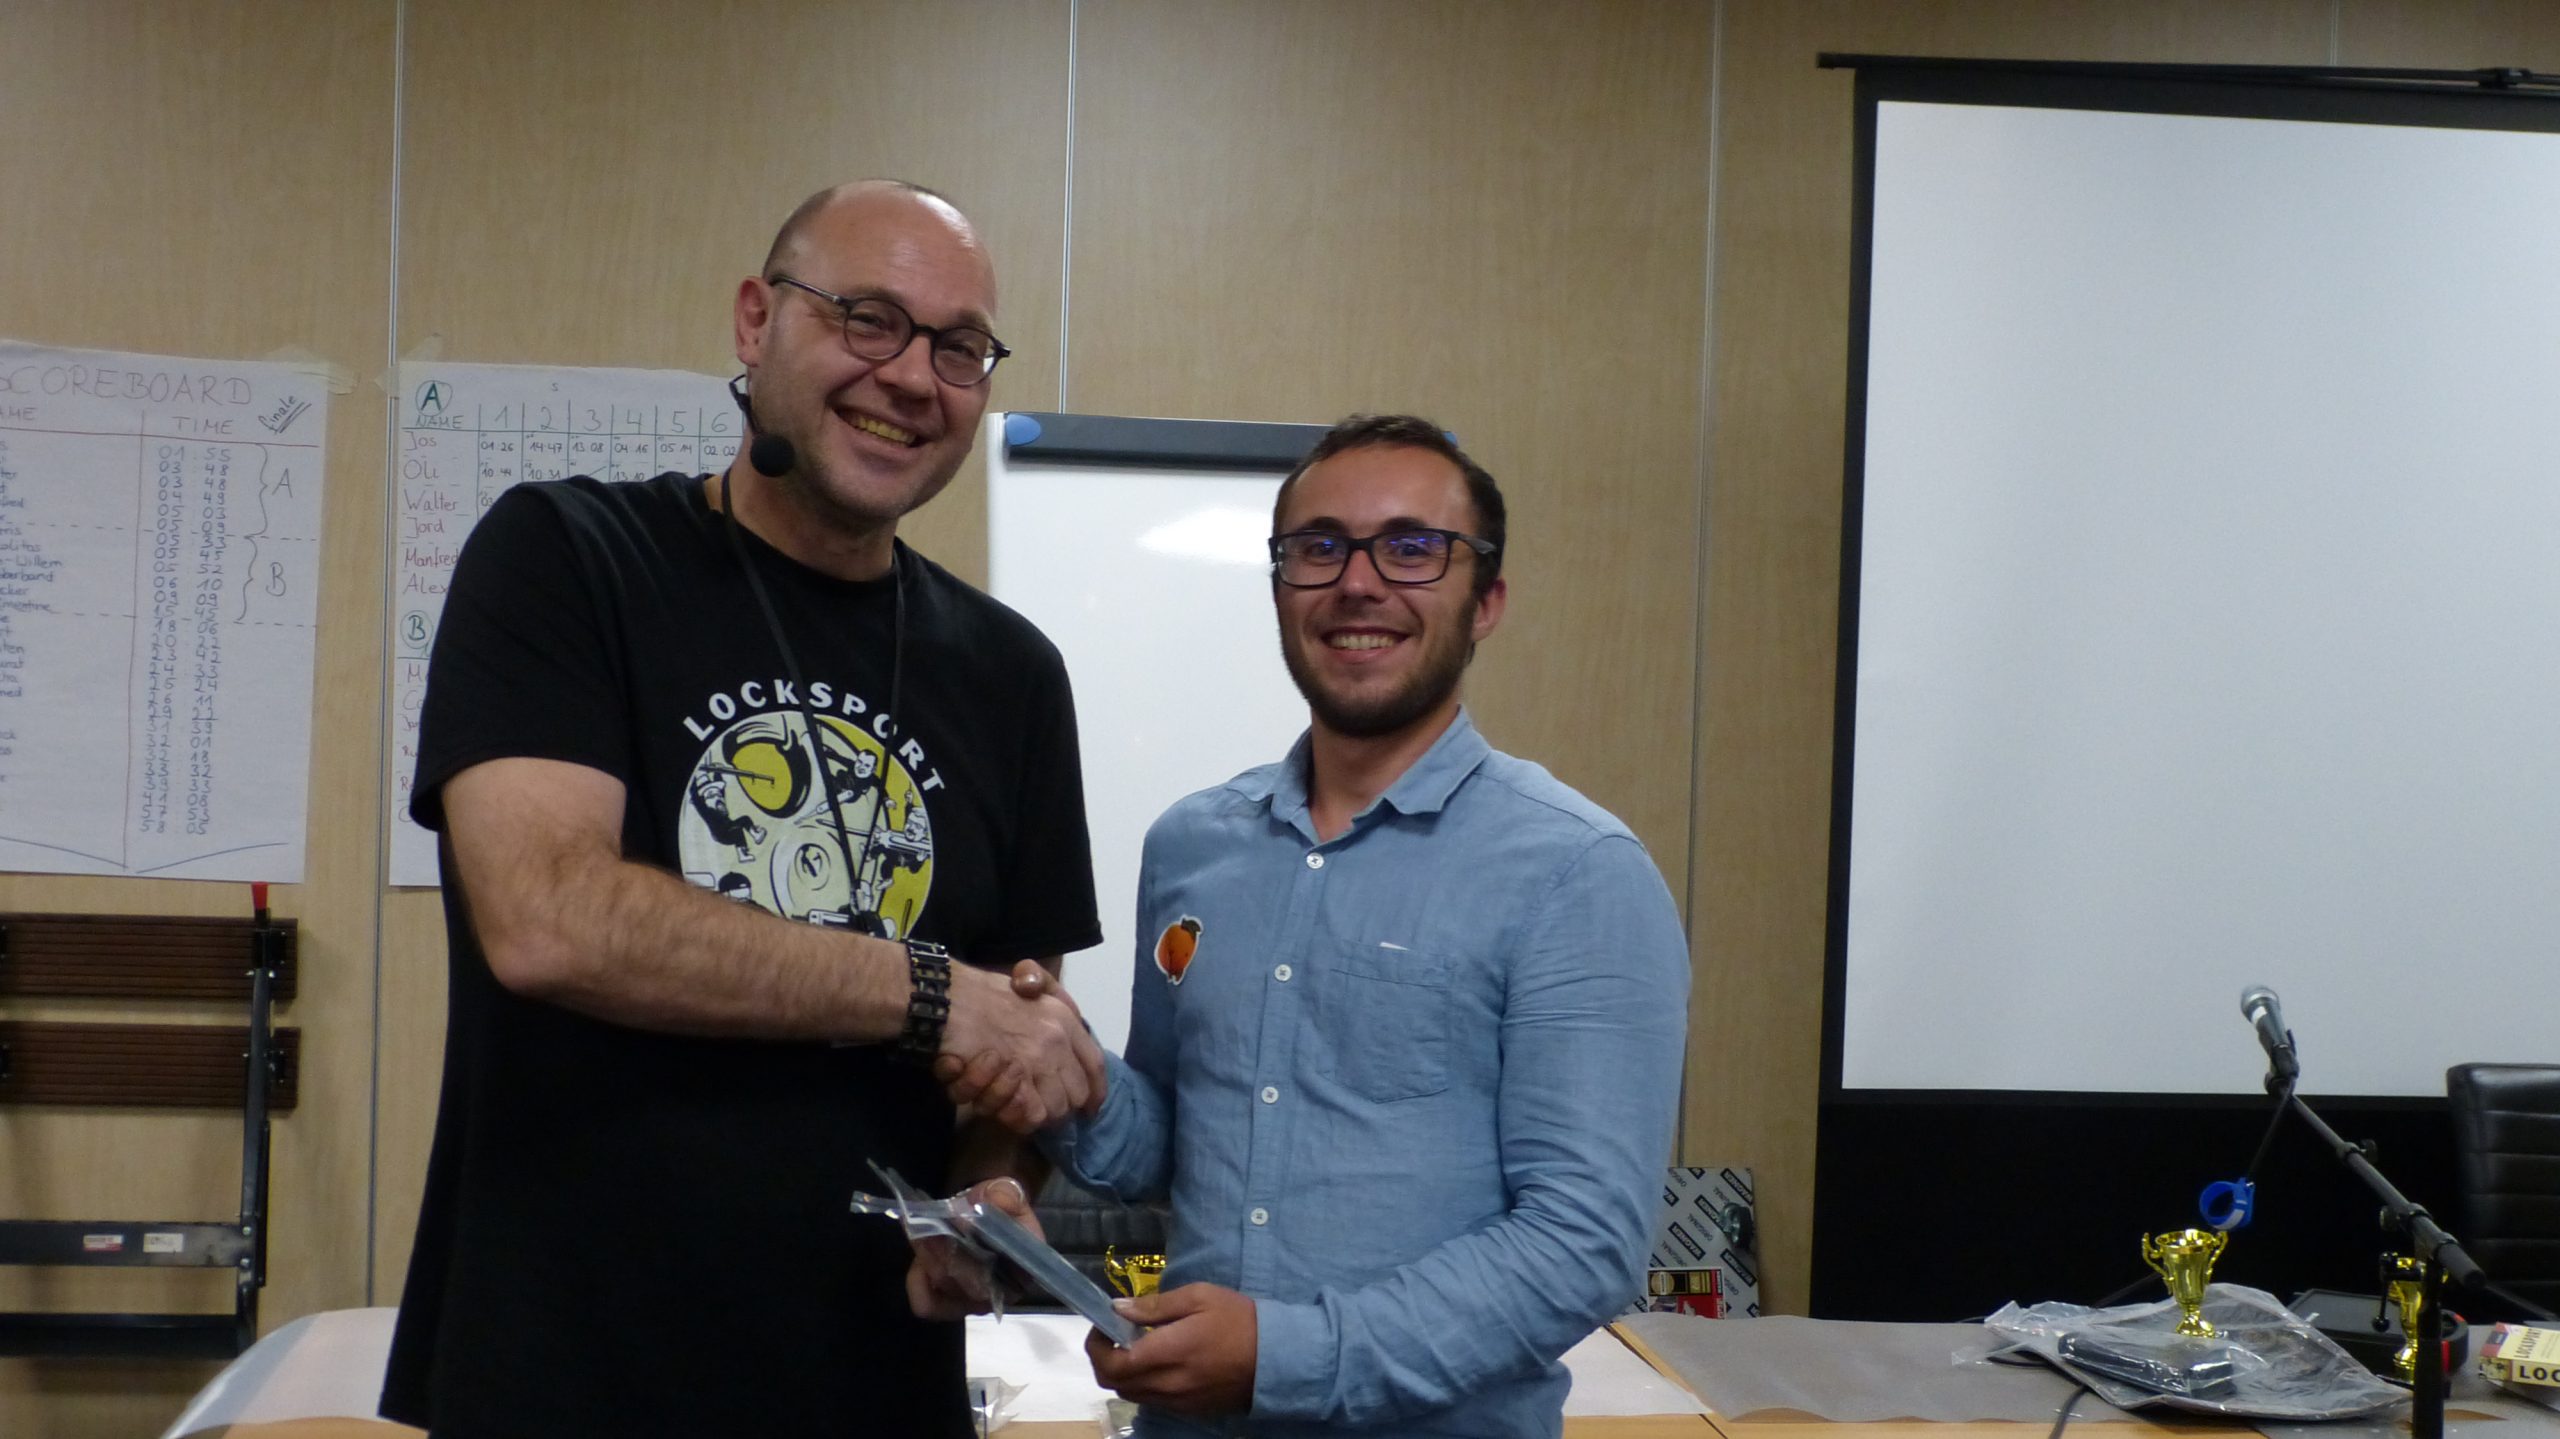
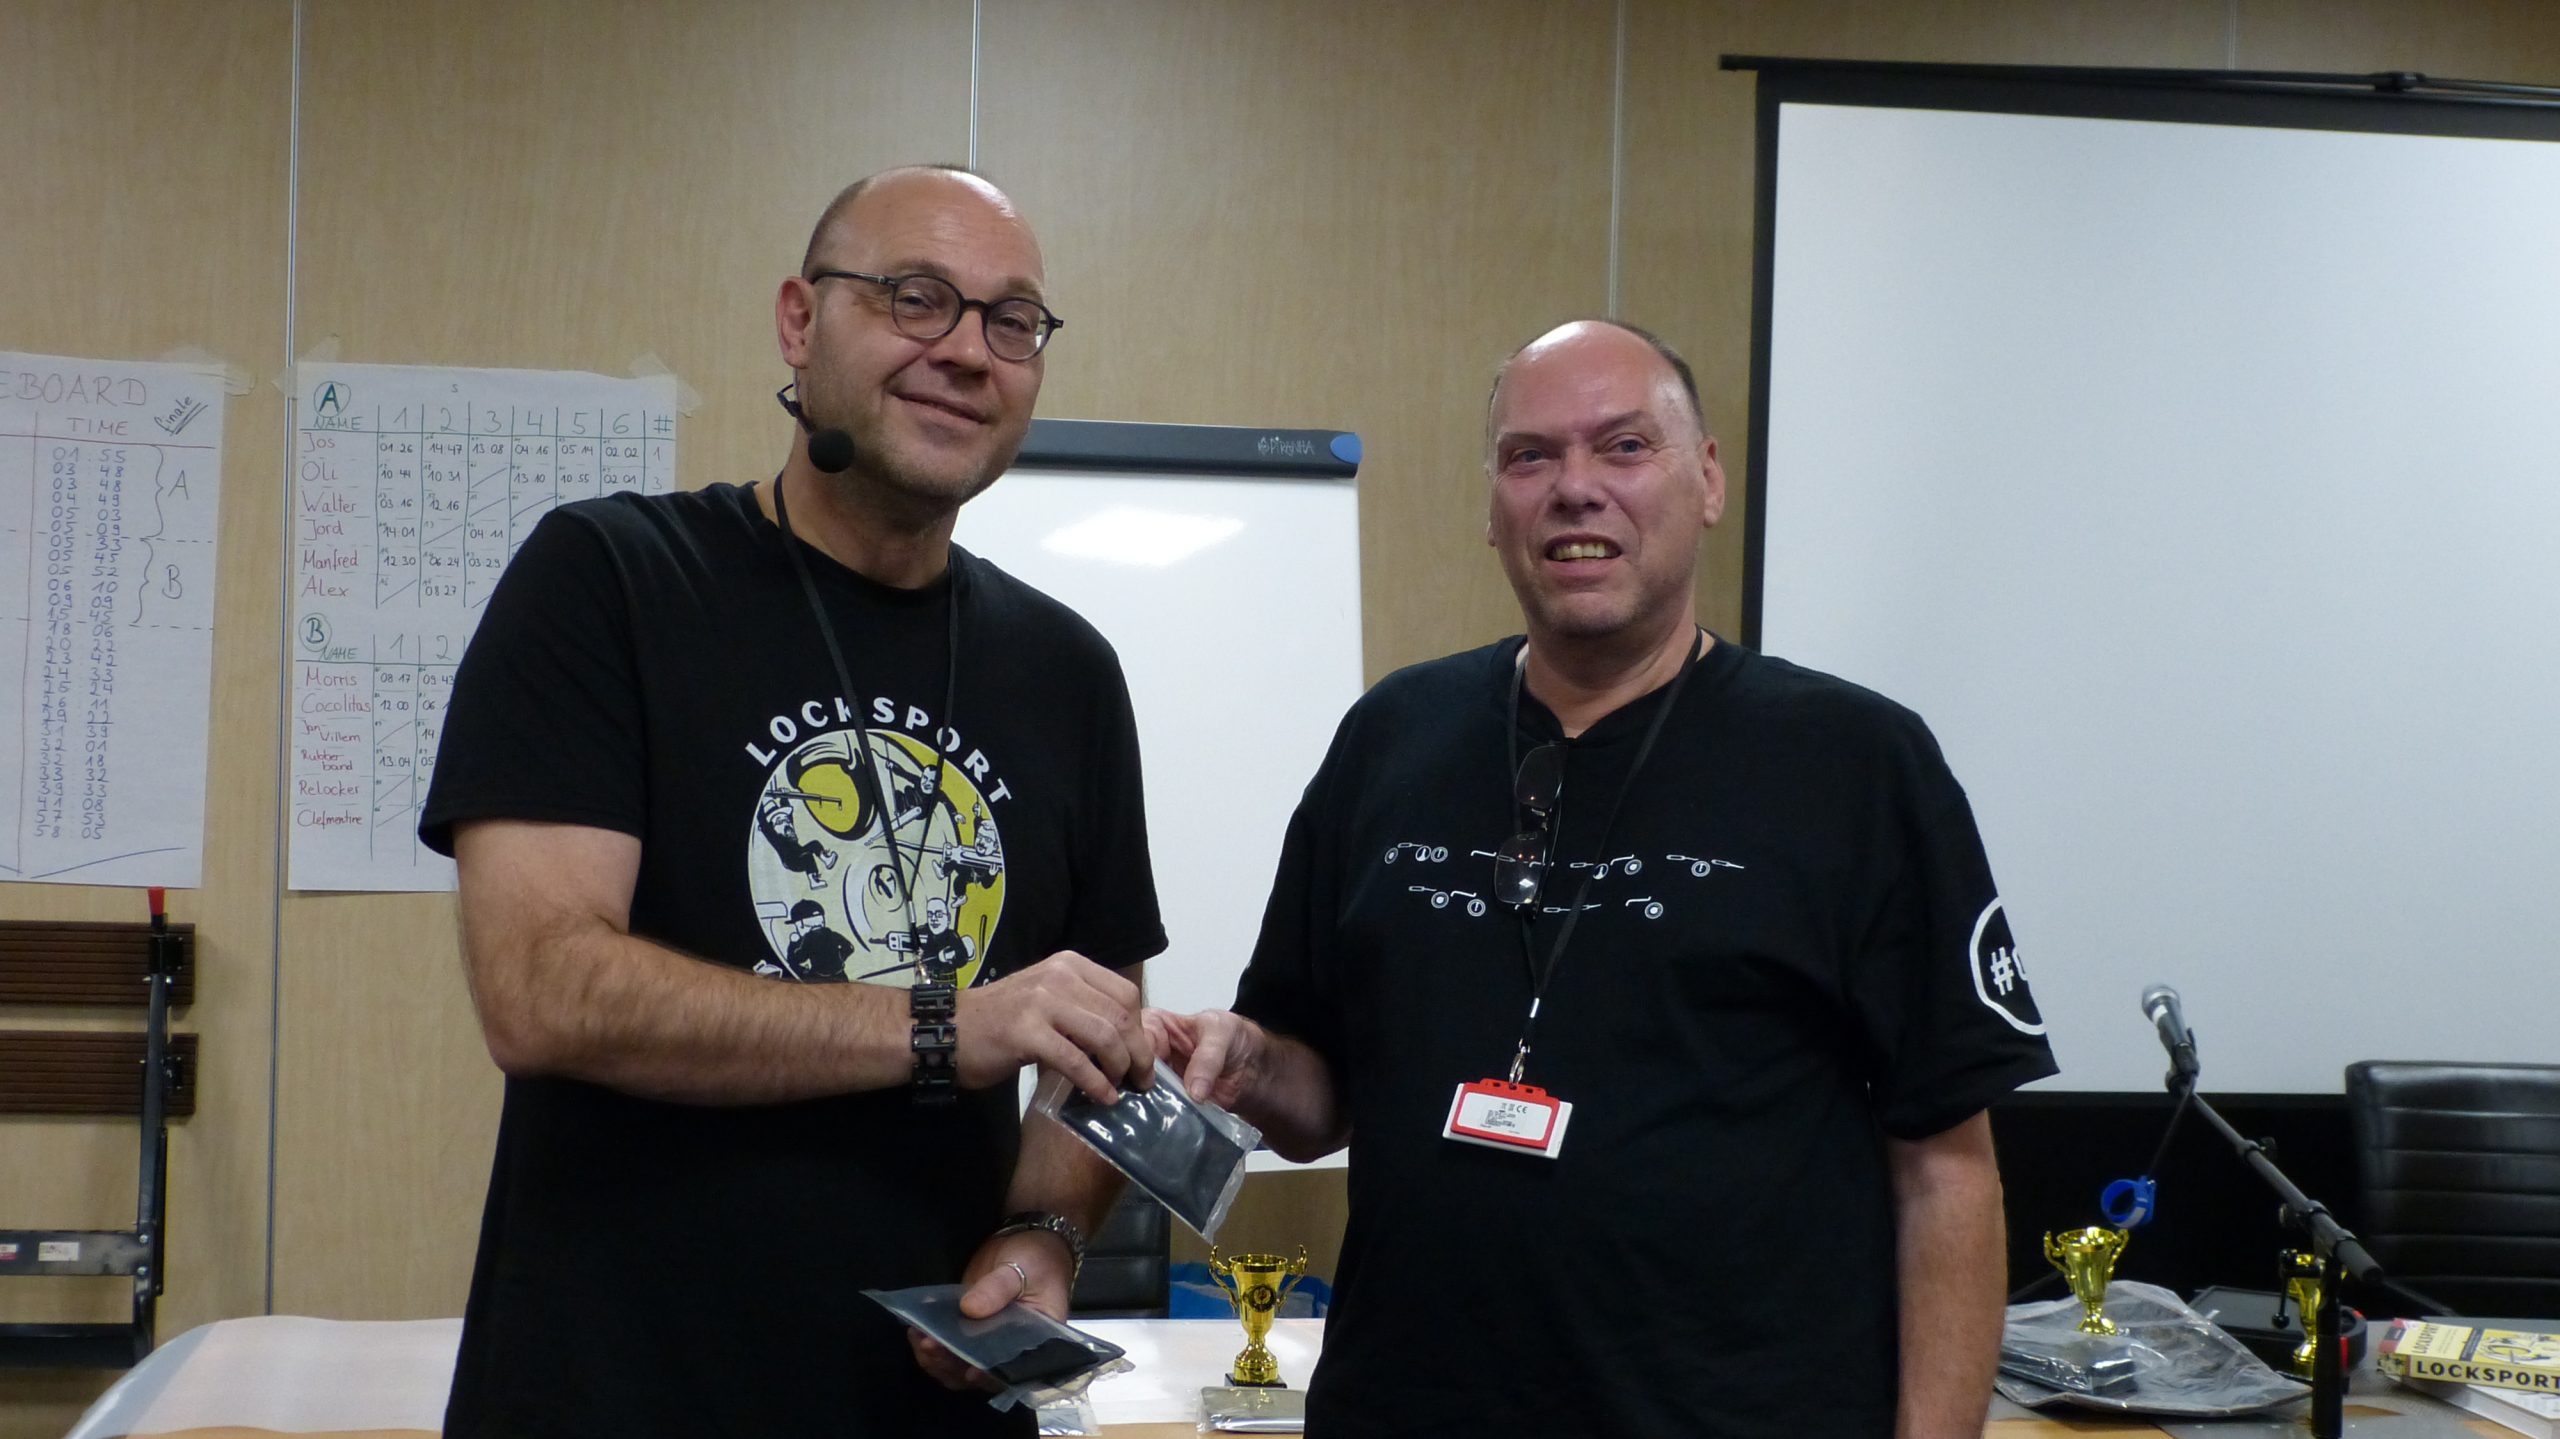
Jos won the competition and received the new Multipick ERAS dimple and disc detainer set. Manfred won the second price and received a Sparrows Tuxedo royale lockpickset and a Multipick cutaway lock. Oli received the Sparrows Vorax lockpickset as well as a Sparrows pinning mat as a third price. Alex, Walter, and Jord received the Multipick Elite LockNoob 10-piece duo peak set, Sparrows Tuxedo Royale, and Sparrows Tuxedo, respectively.
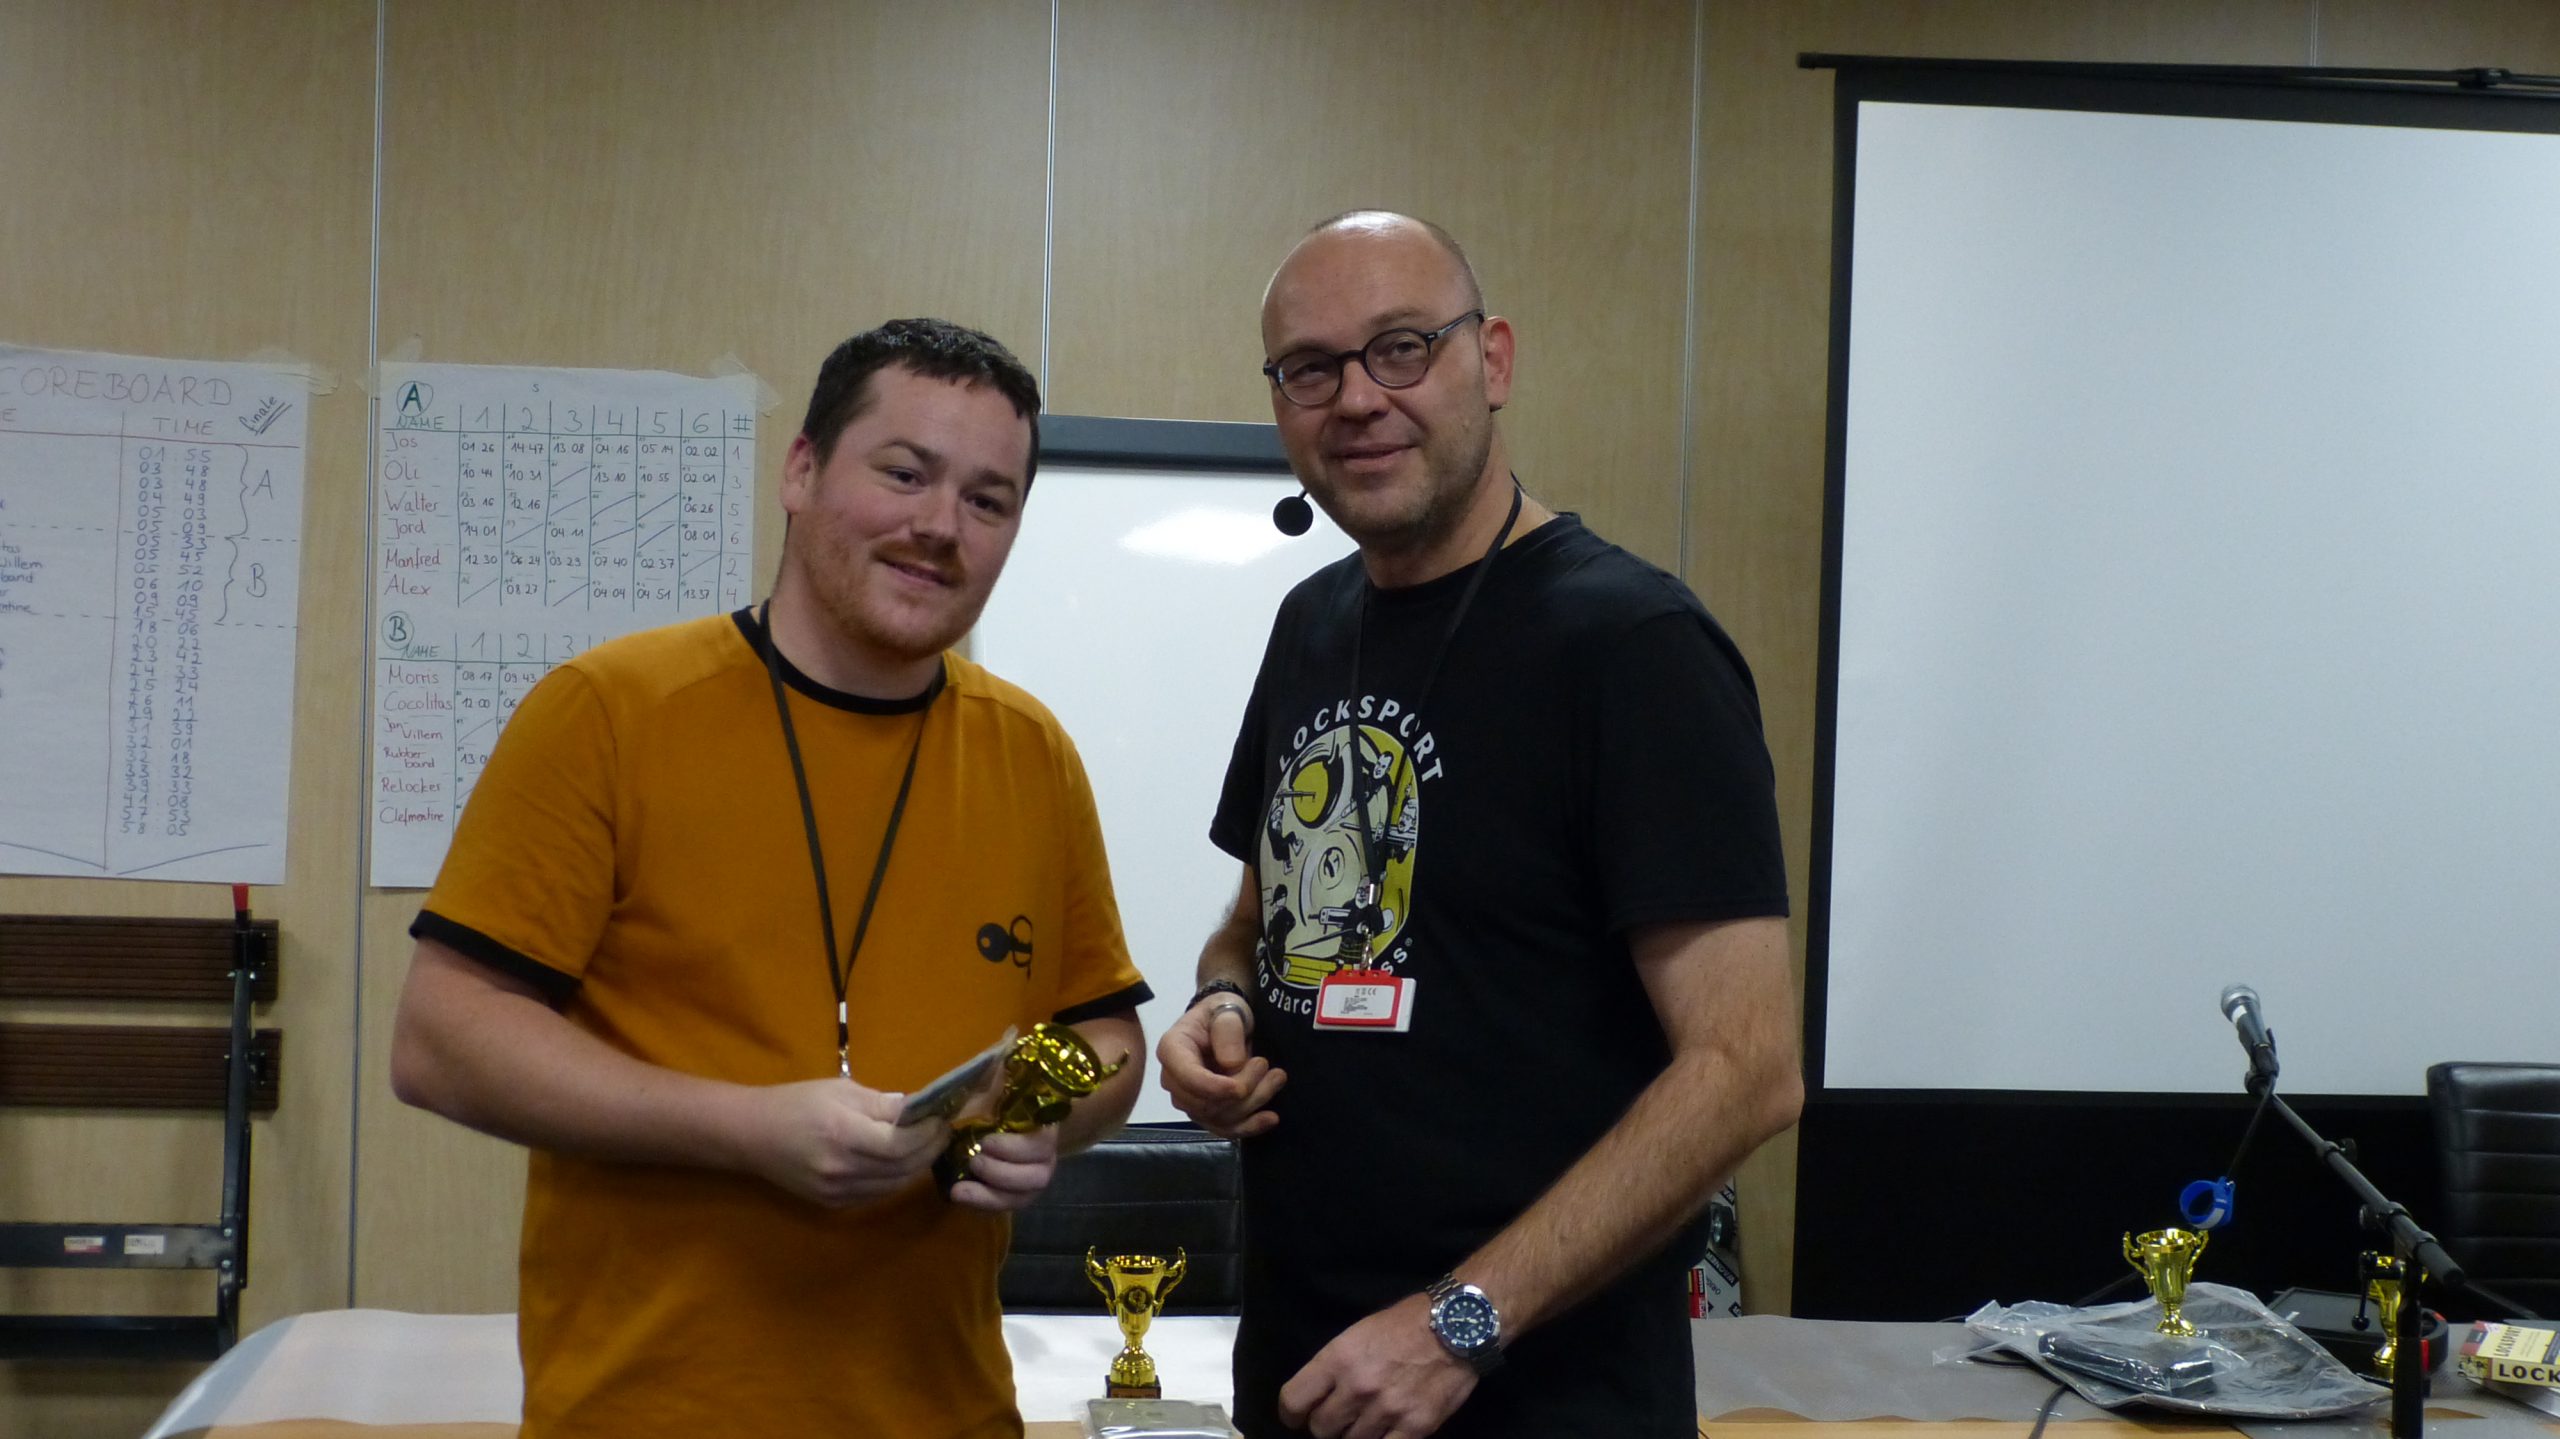
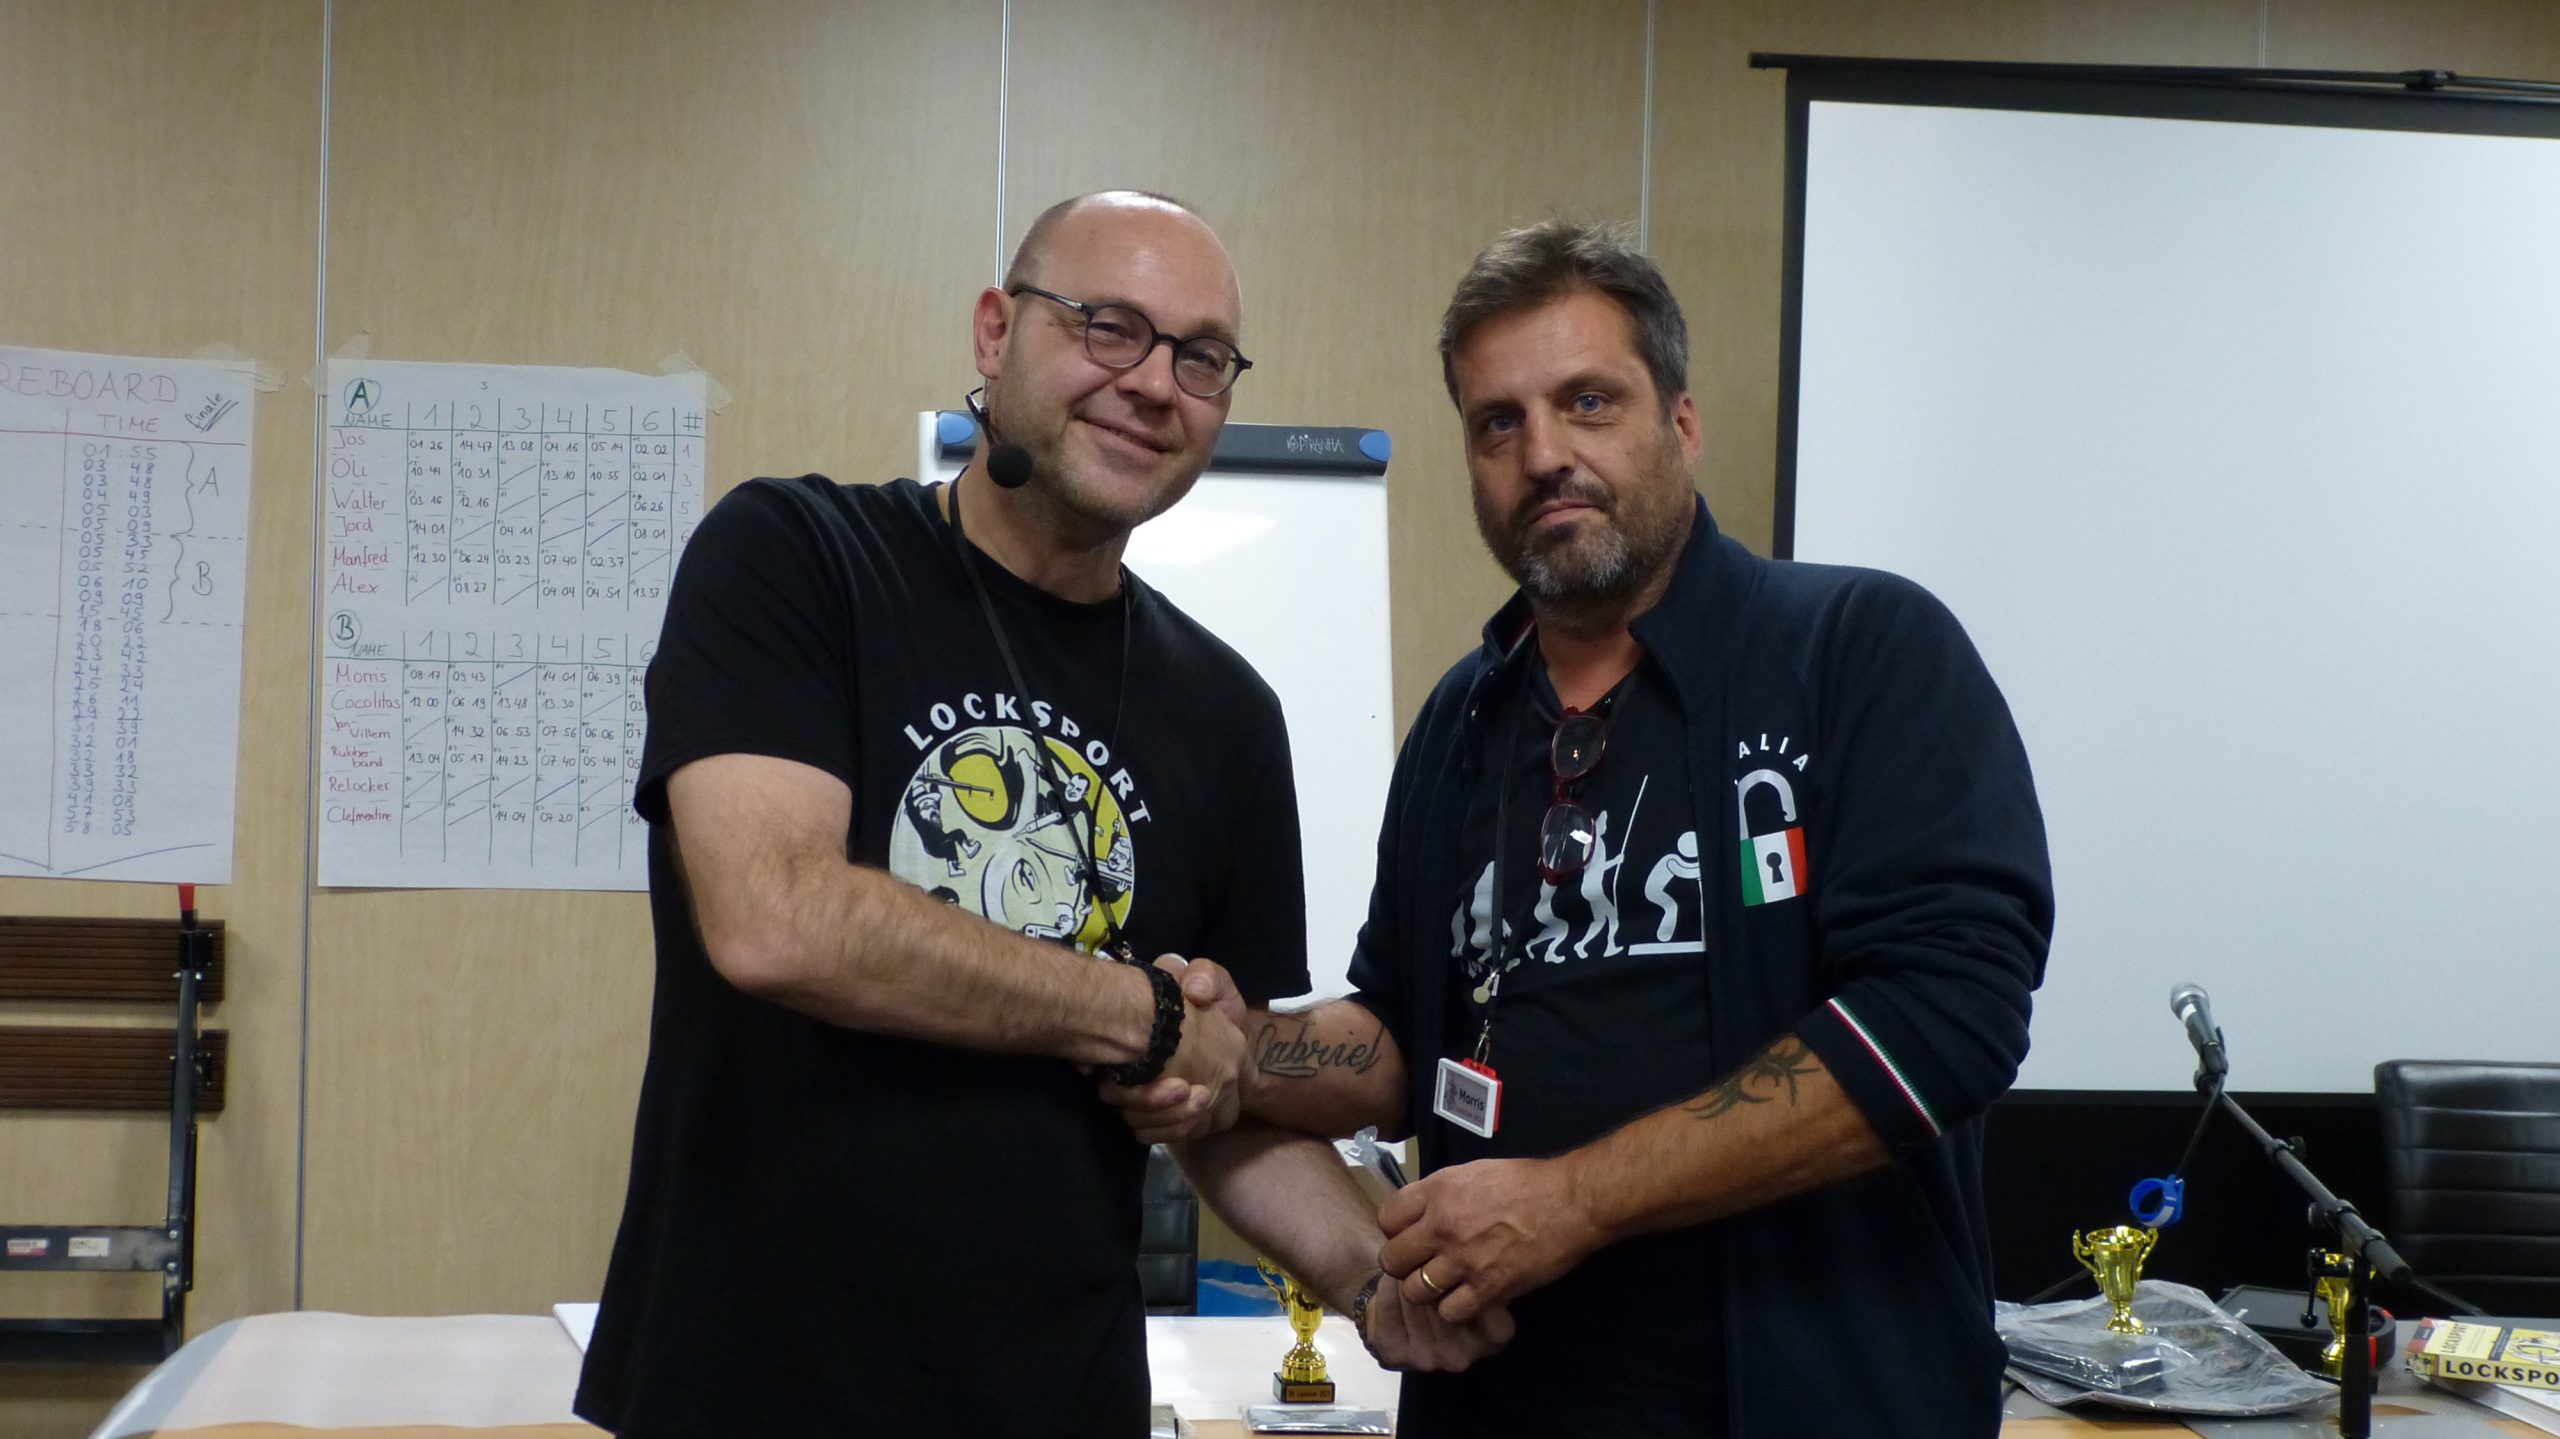
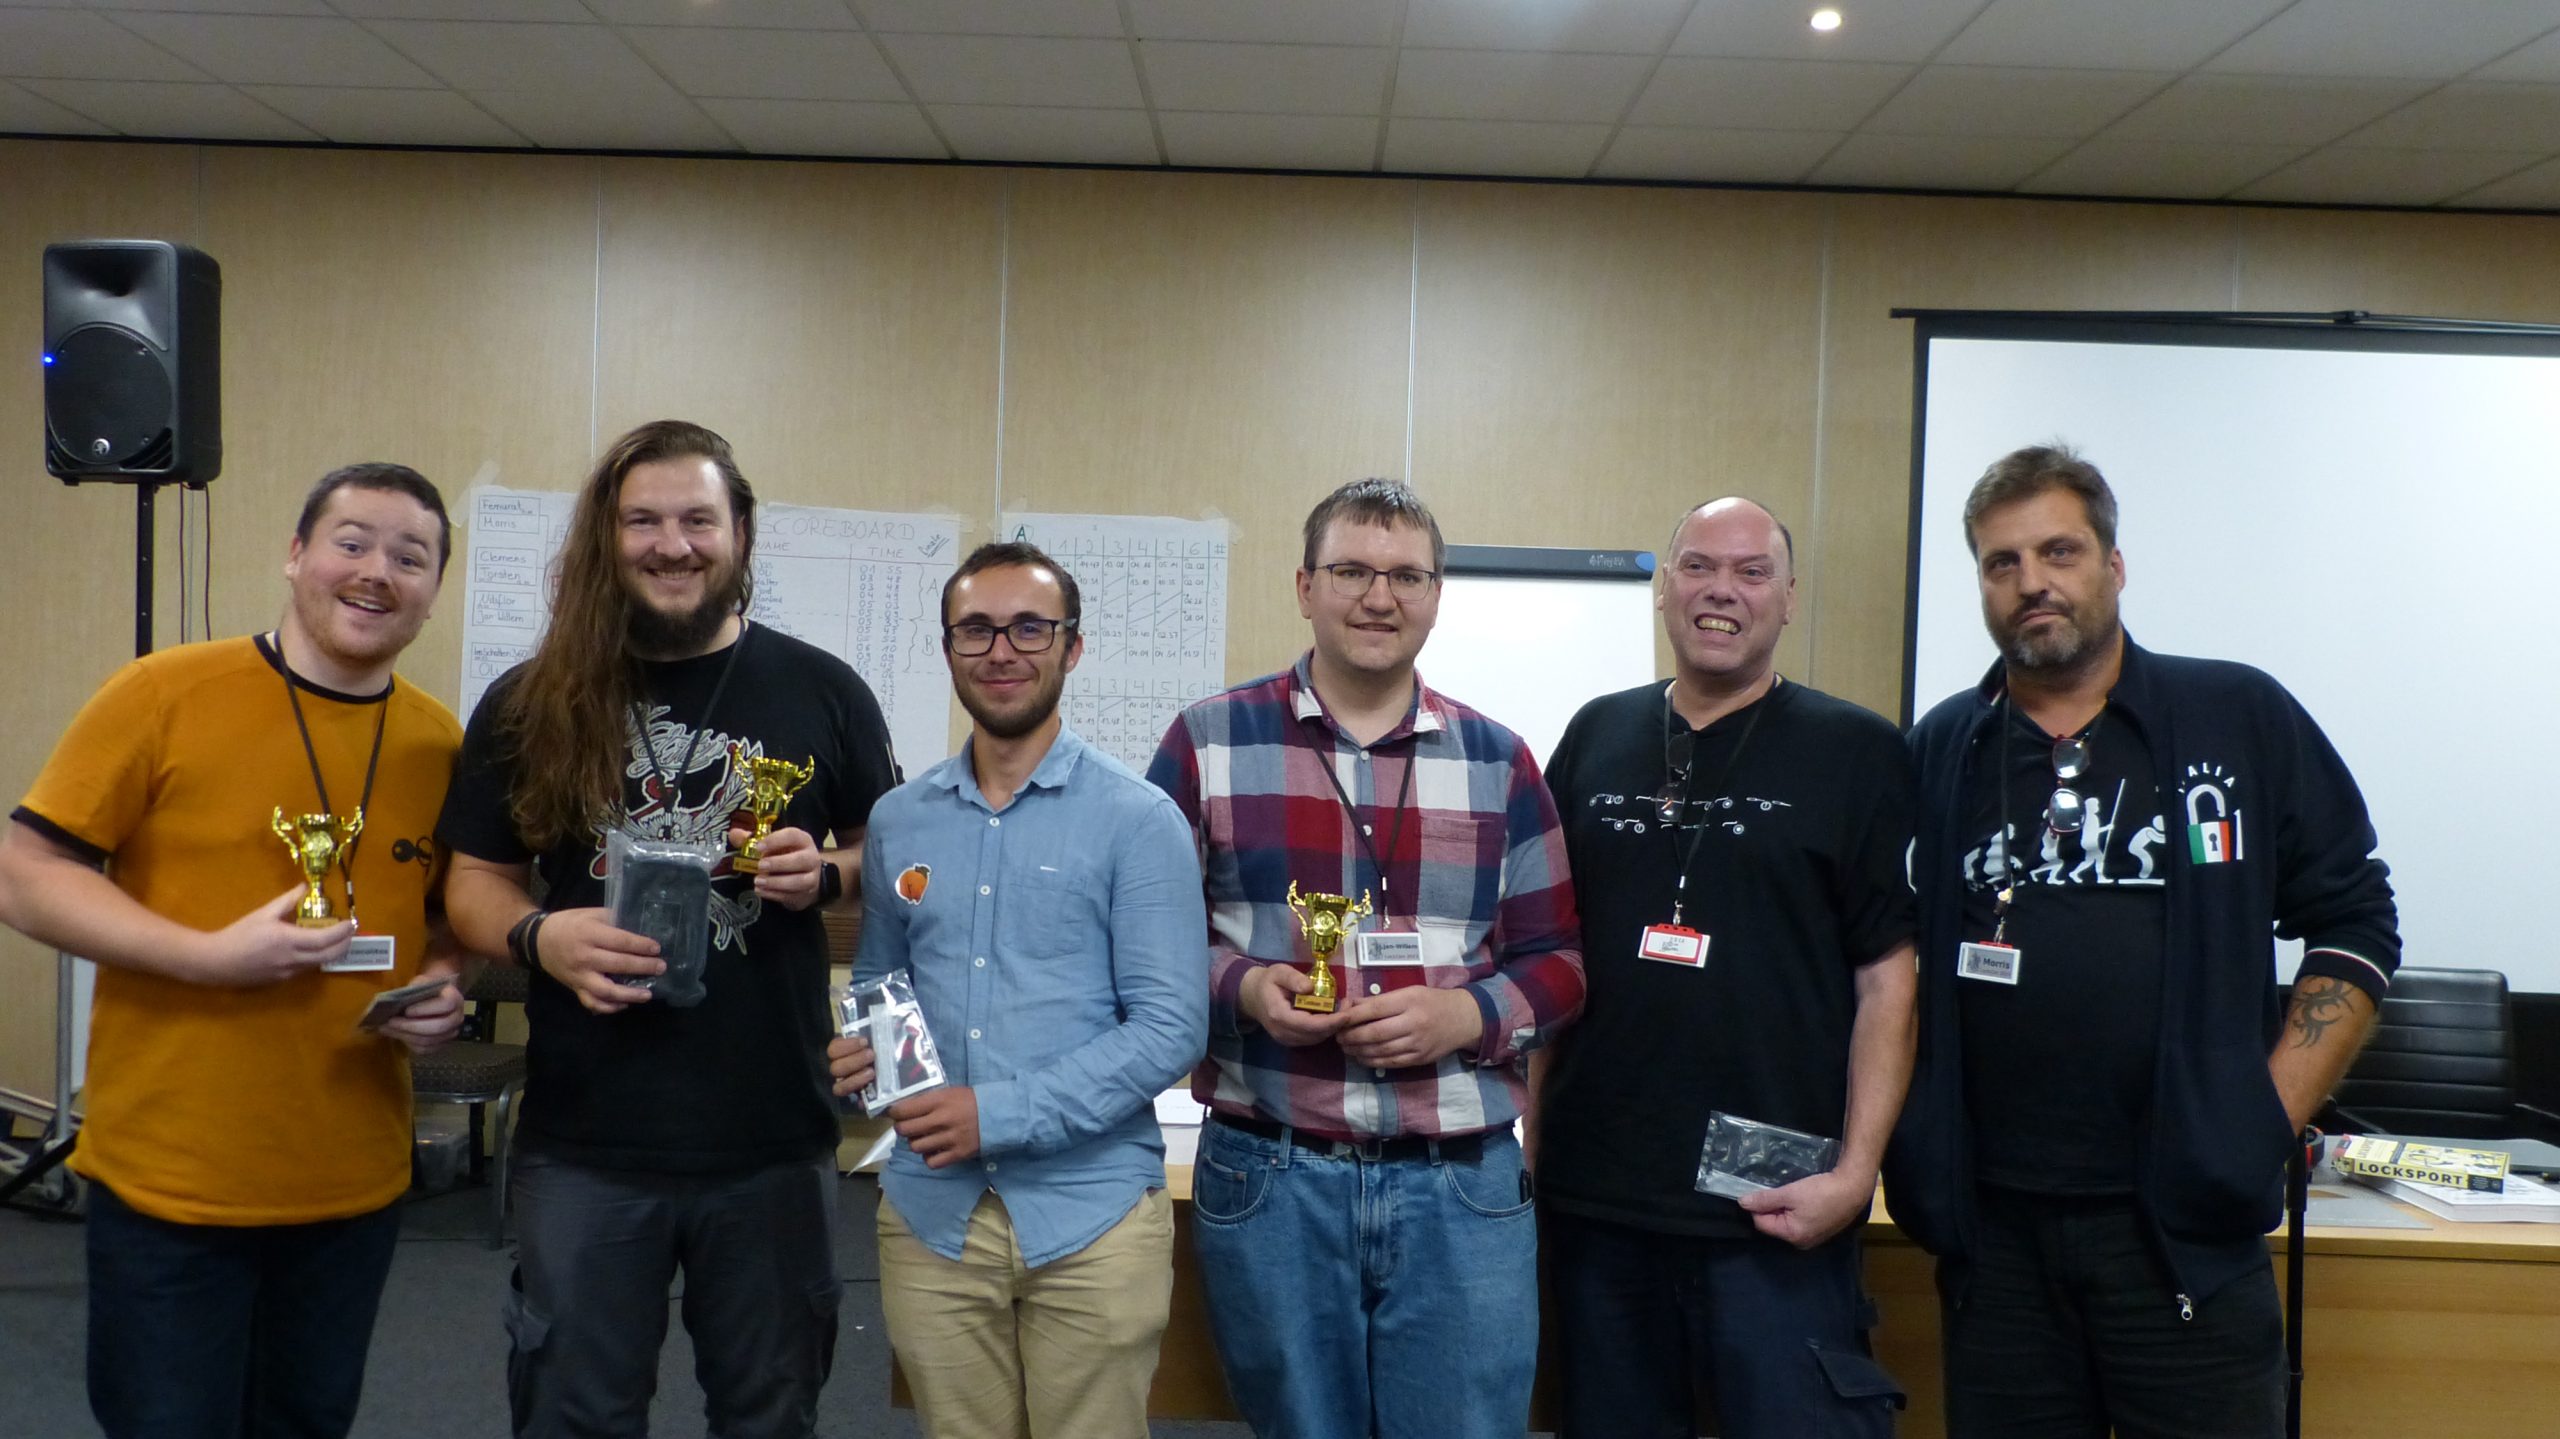
RubberBanned won the B-finals and received a Sparrows Vorax lockpick set. Jan-Willem with the second place won a Sparrows Tuxedo royale. Cocolitos with the third place won a Sparrows Darkshift lockpick set. Morris, Clefmentine, and Relocker received the Sparrows Darkshift, and Sparrows Tuxedo set.
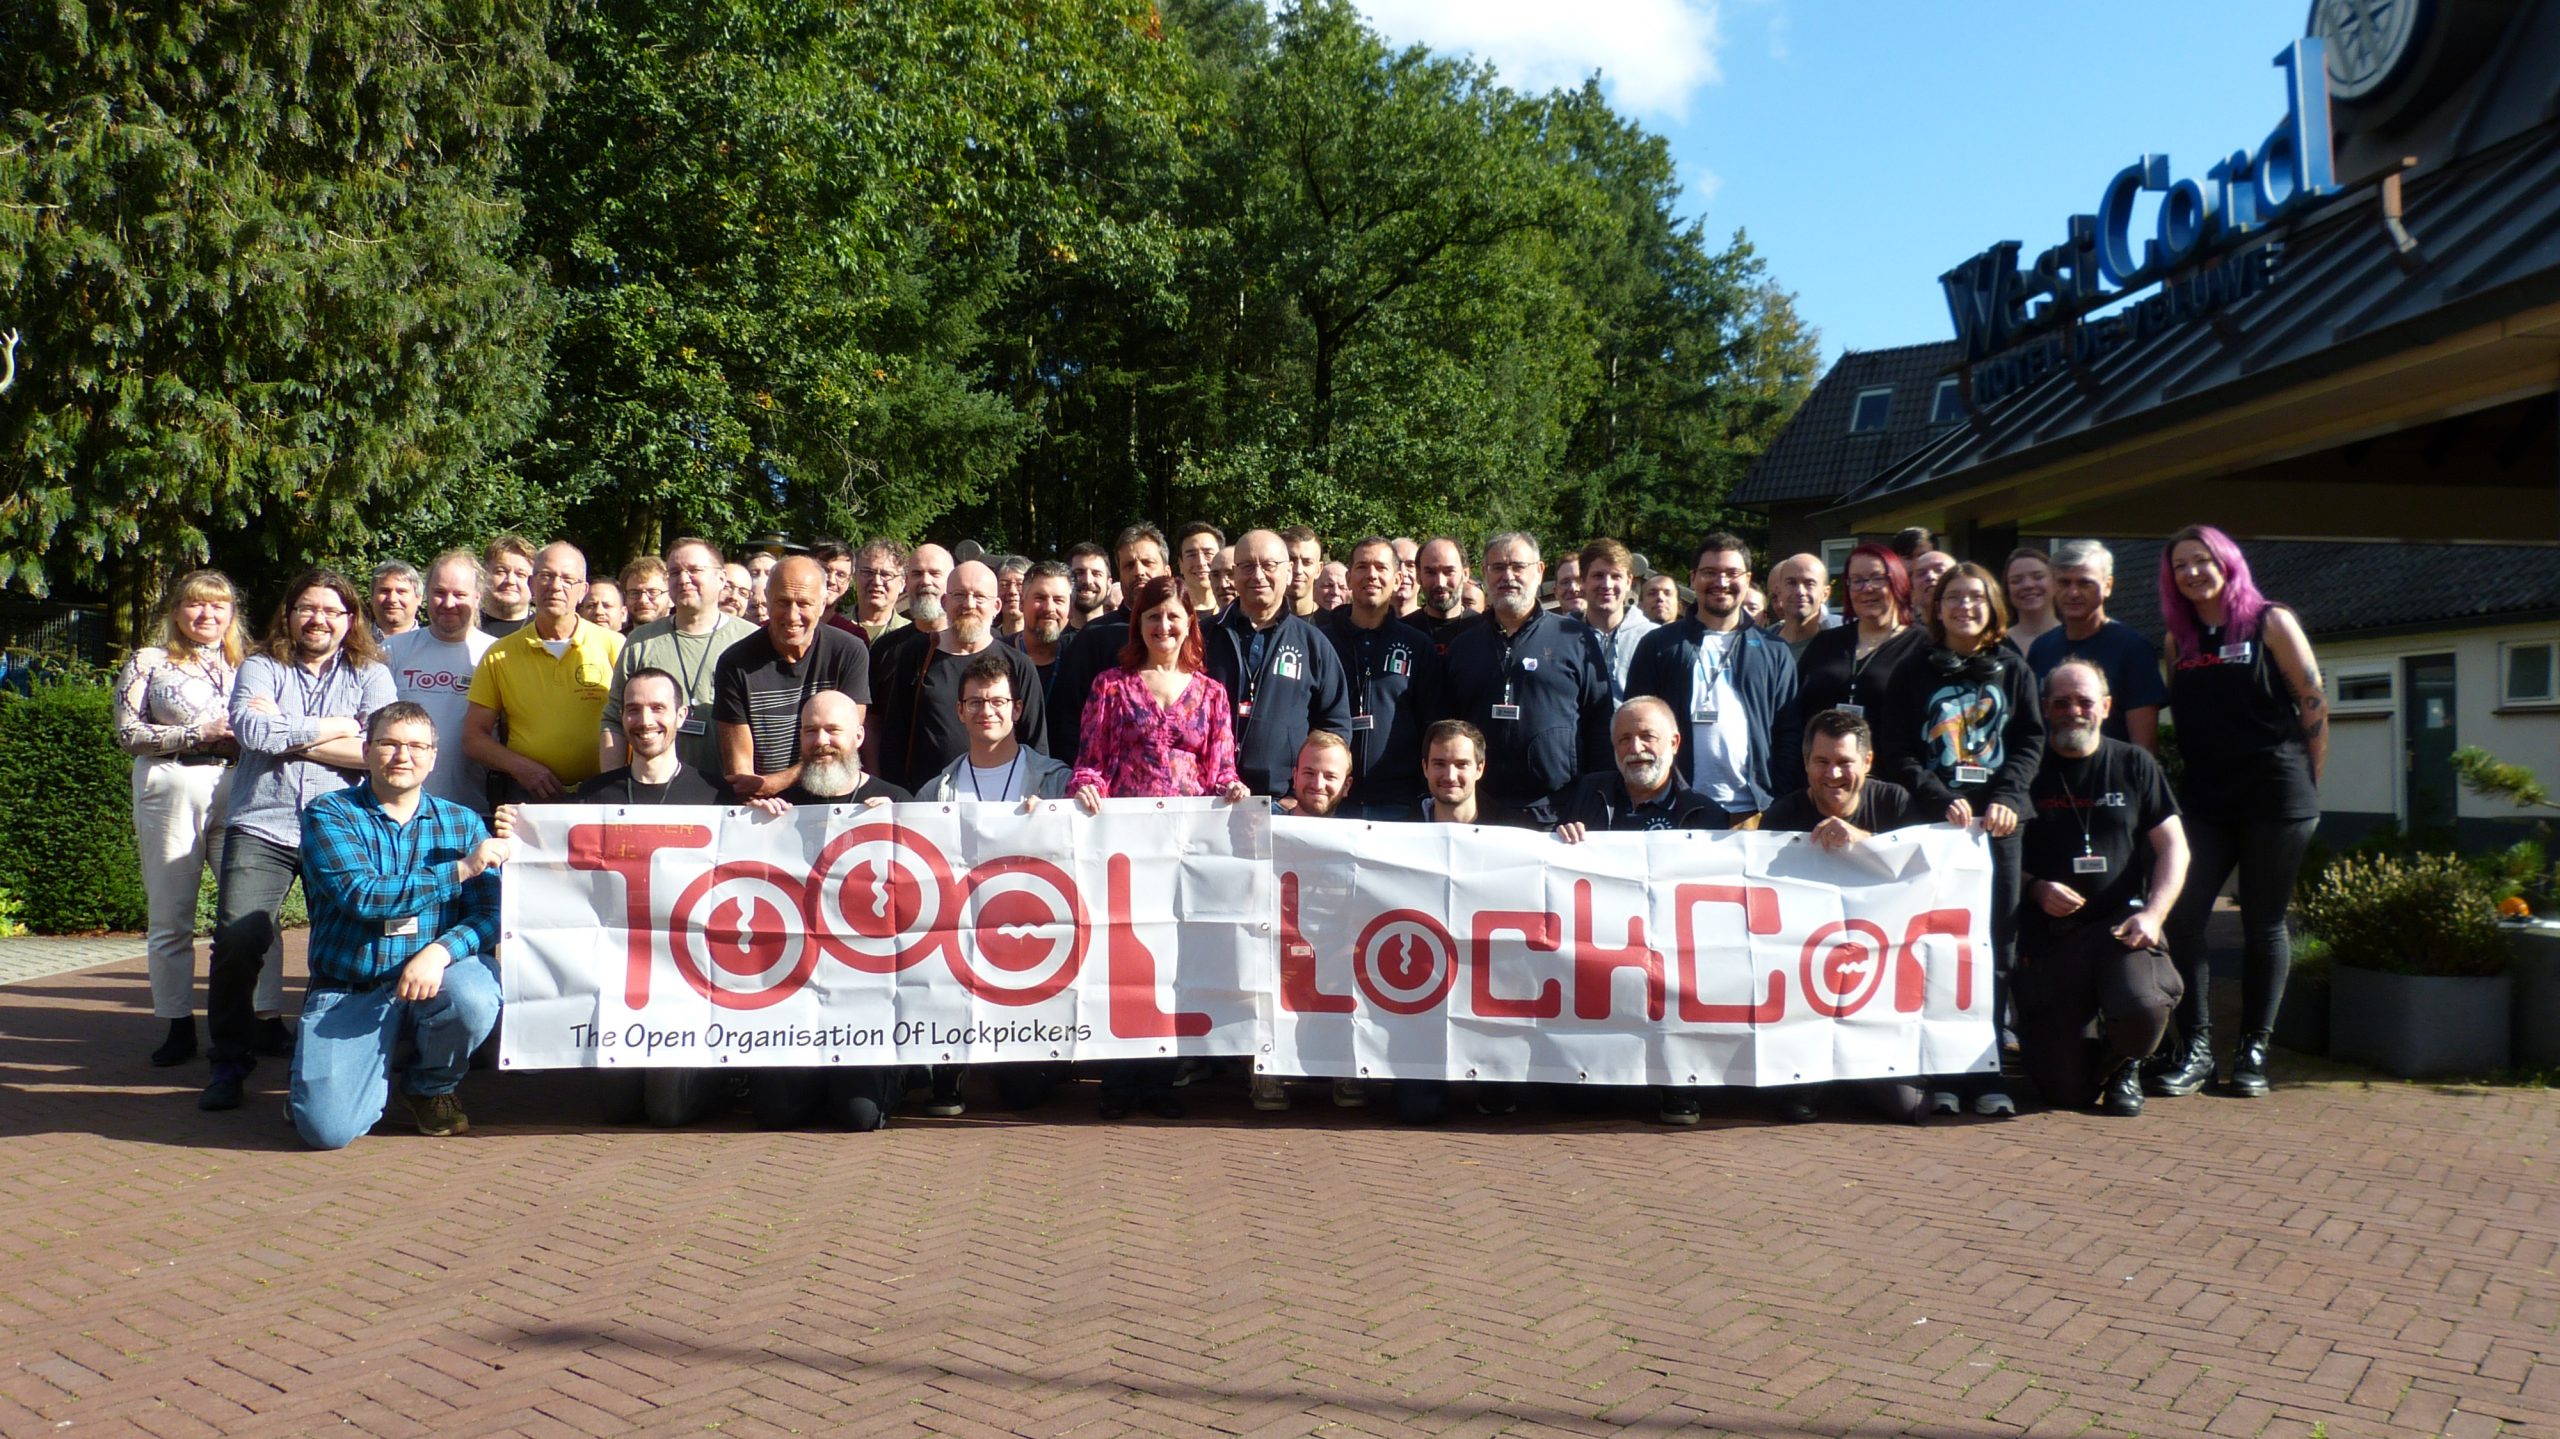
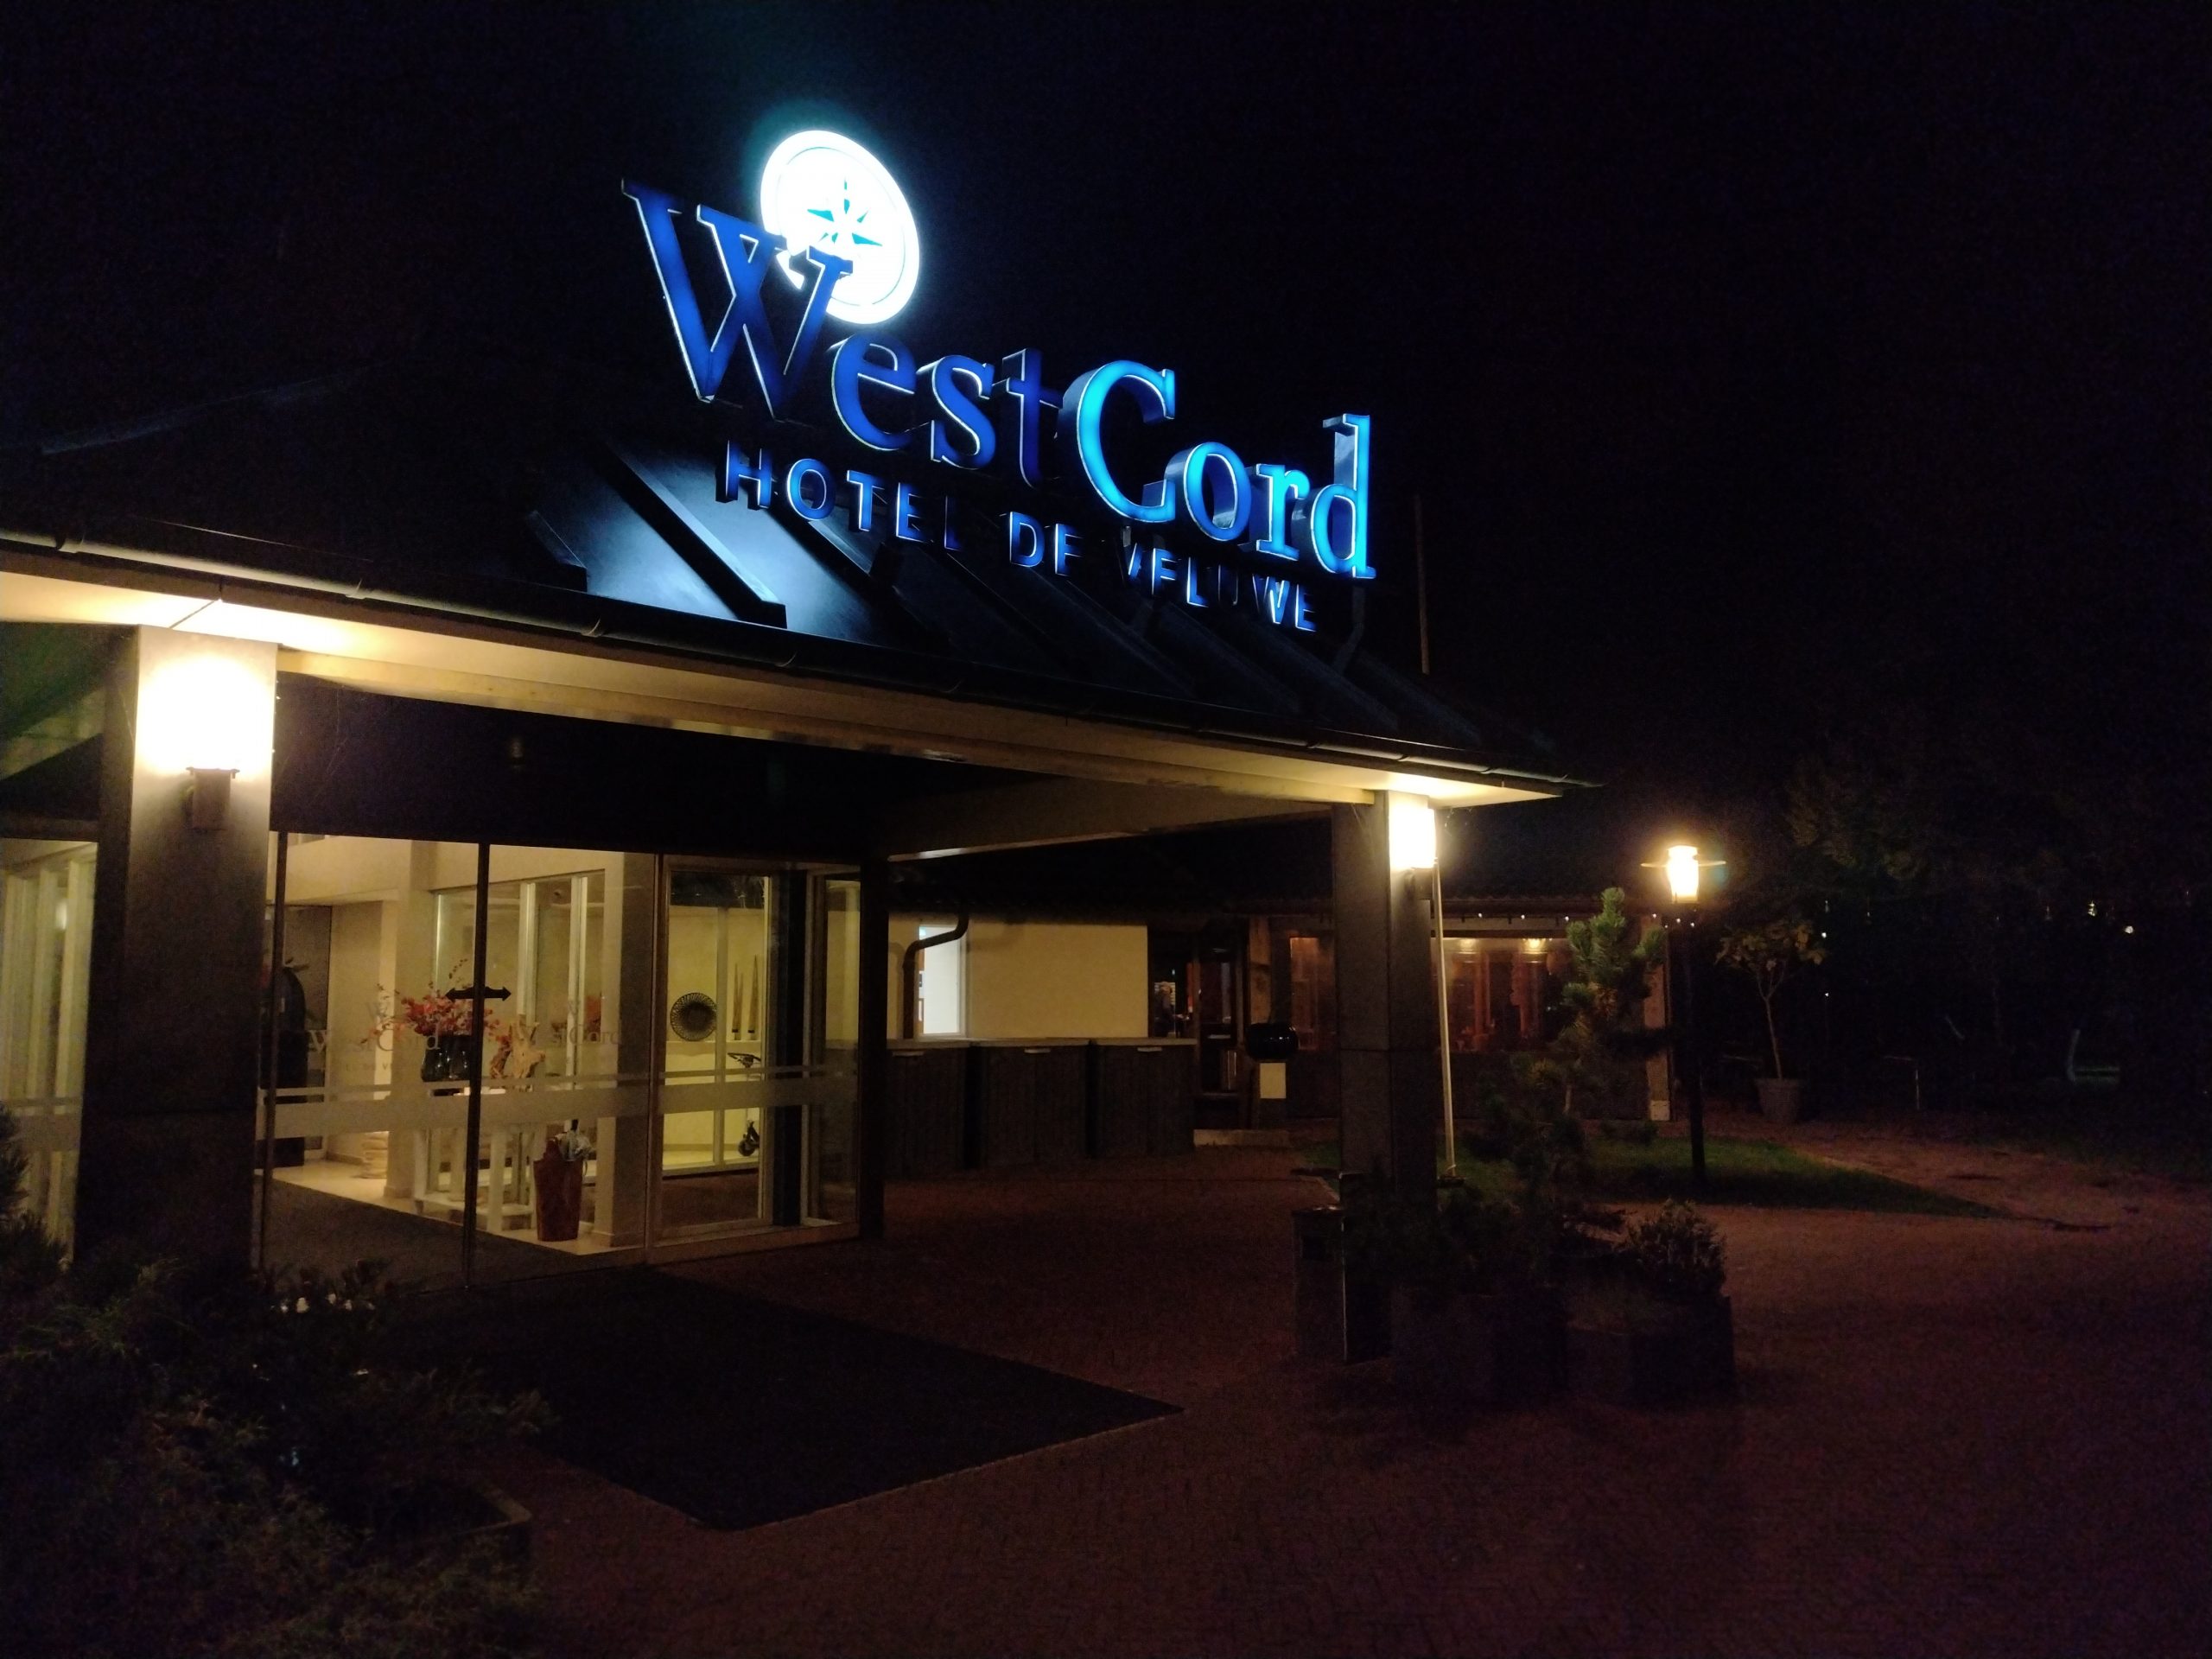
From 12 to 15 October 2023, Toool organized LockCon, a Locksport conference with attendees from Europe and the USA. Here is a recap of this year’s event at the beautiful Westcord Hotel Veluwe in Garderen.
On a warm late summer day, we started LockCon. After check-in and setup at the venue, the first of guests already arrived. It was great to meet so many friends again. On Thursday evening, we dined at a restaurant at walking distance from the venue, after which we set up the conference hall for the talks and competitions. We protected the tables with stucco runner, as locks and vices can otherwise easily damage furniture. The rest of the evening was used to meet new people, catch up with friends and discuss lock topics at the hotel bar.
After a first night of not enough sleep, we had breakfast at the venue’s restaurant. The food selection was nice, from the usual bread to fruit salad, yogurt, scrambled egg, and poffertjes! Jos opened the conference by highlighting achievements of the community, including the LPU belt explorer picture archive and Locksport. Jos thanked the sponsors, Abus, Multipick, Sparrows, and Dulimex, as well as the LockCon team, who make LockCon possible.
The first talk was by Walter, who introduced the Evva Elus electromechanical temporary access function lock, and updated the attendees on the Anker 3800 research. It’s incredible what we can do with a bit of dedication and a 3d printer. There was an active debate if Anker 3800 magnets can be overlifted.
In another talk, Zeefeene shared his insights in manufacturing locks in China. From the lesson in using chopsticks to a deep dive in lock diplomacy. The highlight of the talk were the videos of lock manufacturing equipment, which showed keyway broaches to full automatic lock assembly machines. It was eye-opening as these insights are rarely shared.
After lunch and socializing, it was time to set up for the impressioning championship. Thirty-four competitors tried their skill against the Abus C83. It was nice to compete again, and it’s amazing to see how much different it was compared to the competition last year. In both finals, the majority locks opened, with several competitors opening all the locks.
After dinner, with again a good selection of food, we had an evening of disc detainers. Idanhurja gave a talk on his Abloy disc detainer picking adventures. From figuring out Abloy classic from first principles to advanced techniques to defeat other Disc locks from the same brand. The rest of the evening was filled with workshops on the Abloy classic by Idanhurja and the DaMage Fichet F3D (Not a DD) workshop by Nitiflor. We also made a start with the disc detainer competition. I’ve selected five locks, from ‘relatively easy’ to ‘unlikely to be opened’ and Sparrows sponsored the disc detainer picks.
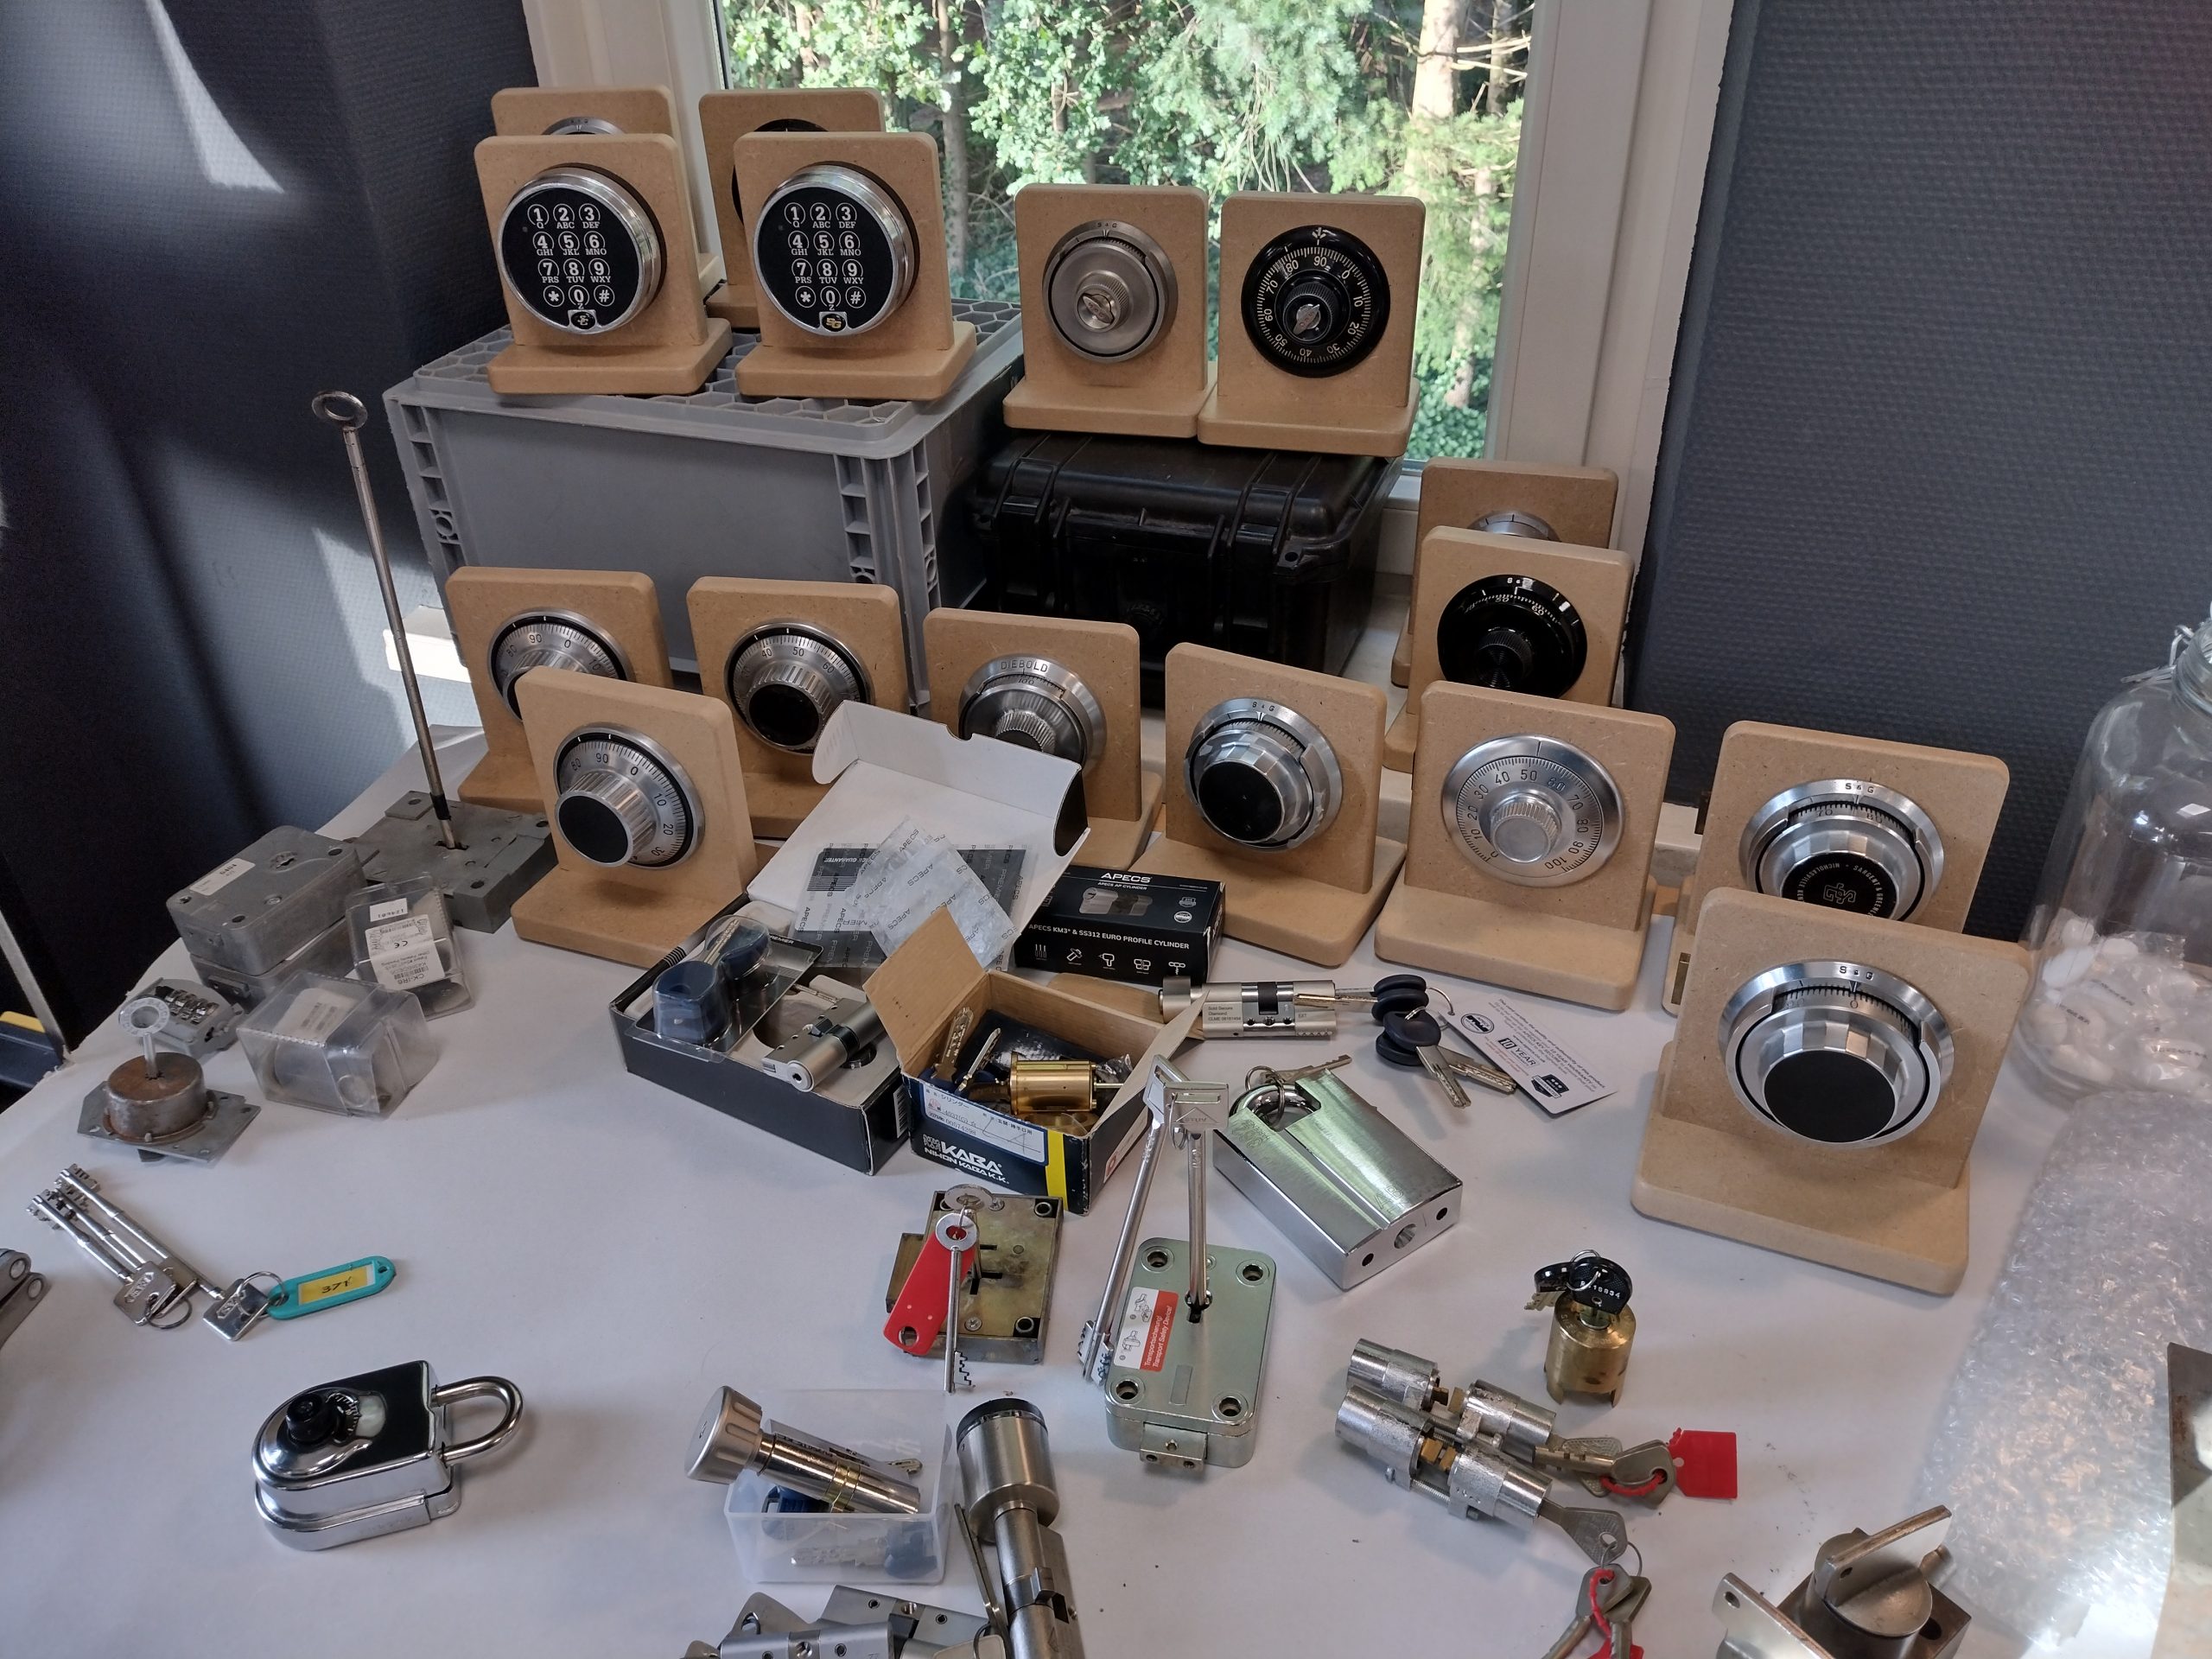
Saturday we started with my talk about electronic safe locks. I’ve shared my insights in how you can attack embedded systems and specifically electronic safes. The target is the Kaba-Mas X0 series locks. Starting from the X07 from ’92 and building to analyzing the electronics of the X09. I’ve shared about hardware reverse engineering, but also high-end techniques like laser fault injection used to extract the memory content of the lock. While still a lot of work has to be done, progress is made.
Lubos Cech shared stories about the early European lock industry. For example, the euro profile cylinder hasn’t been the standard forever. One manufacturer designed and patented the hole through the two lock bodies to fit a mounting screw. While this is regarded as a mistake from a security perspective, the competitors worked around the patent and came up with many innovative solutions. Including clamping the lock from the side in various ways. The stories fit quite well with the lessons learned in manufacturing shared by Zeefeene.
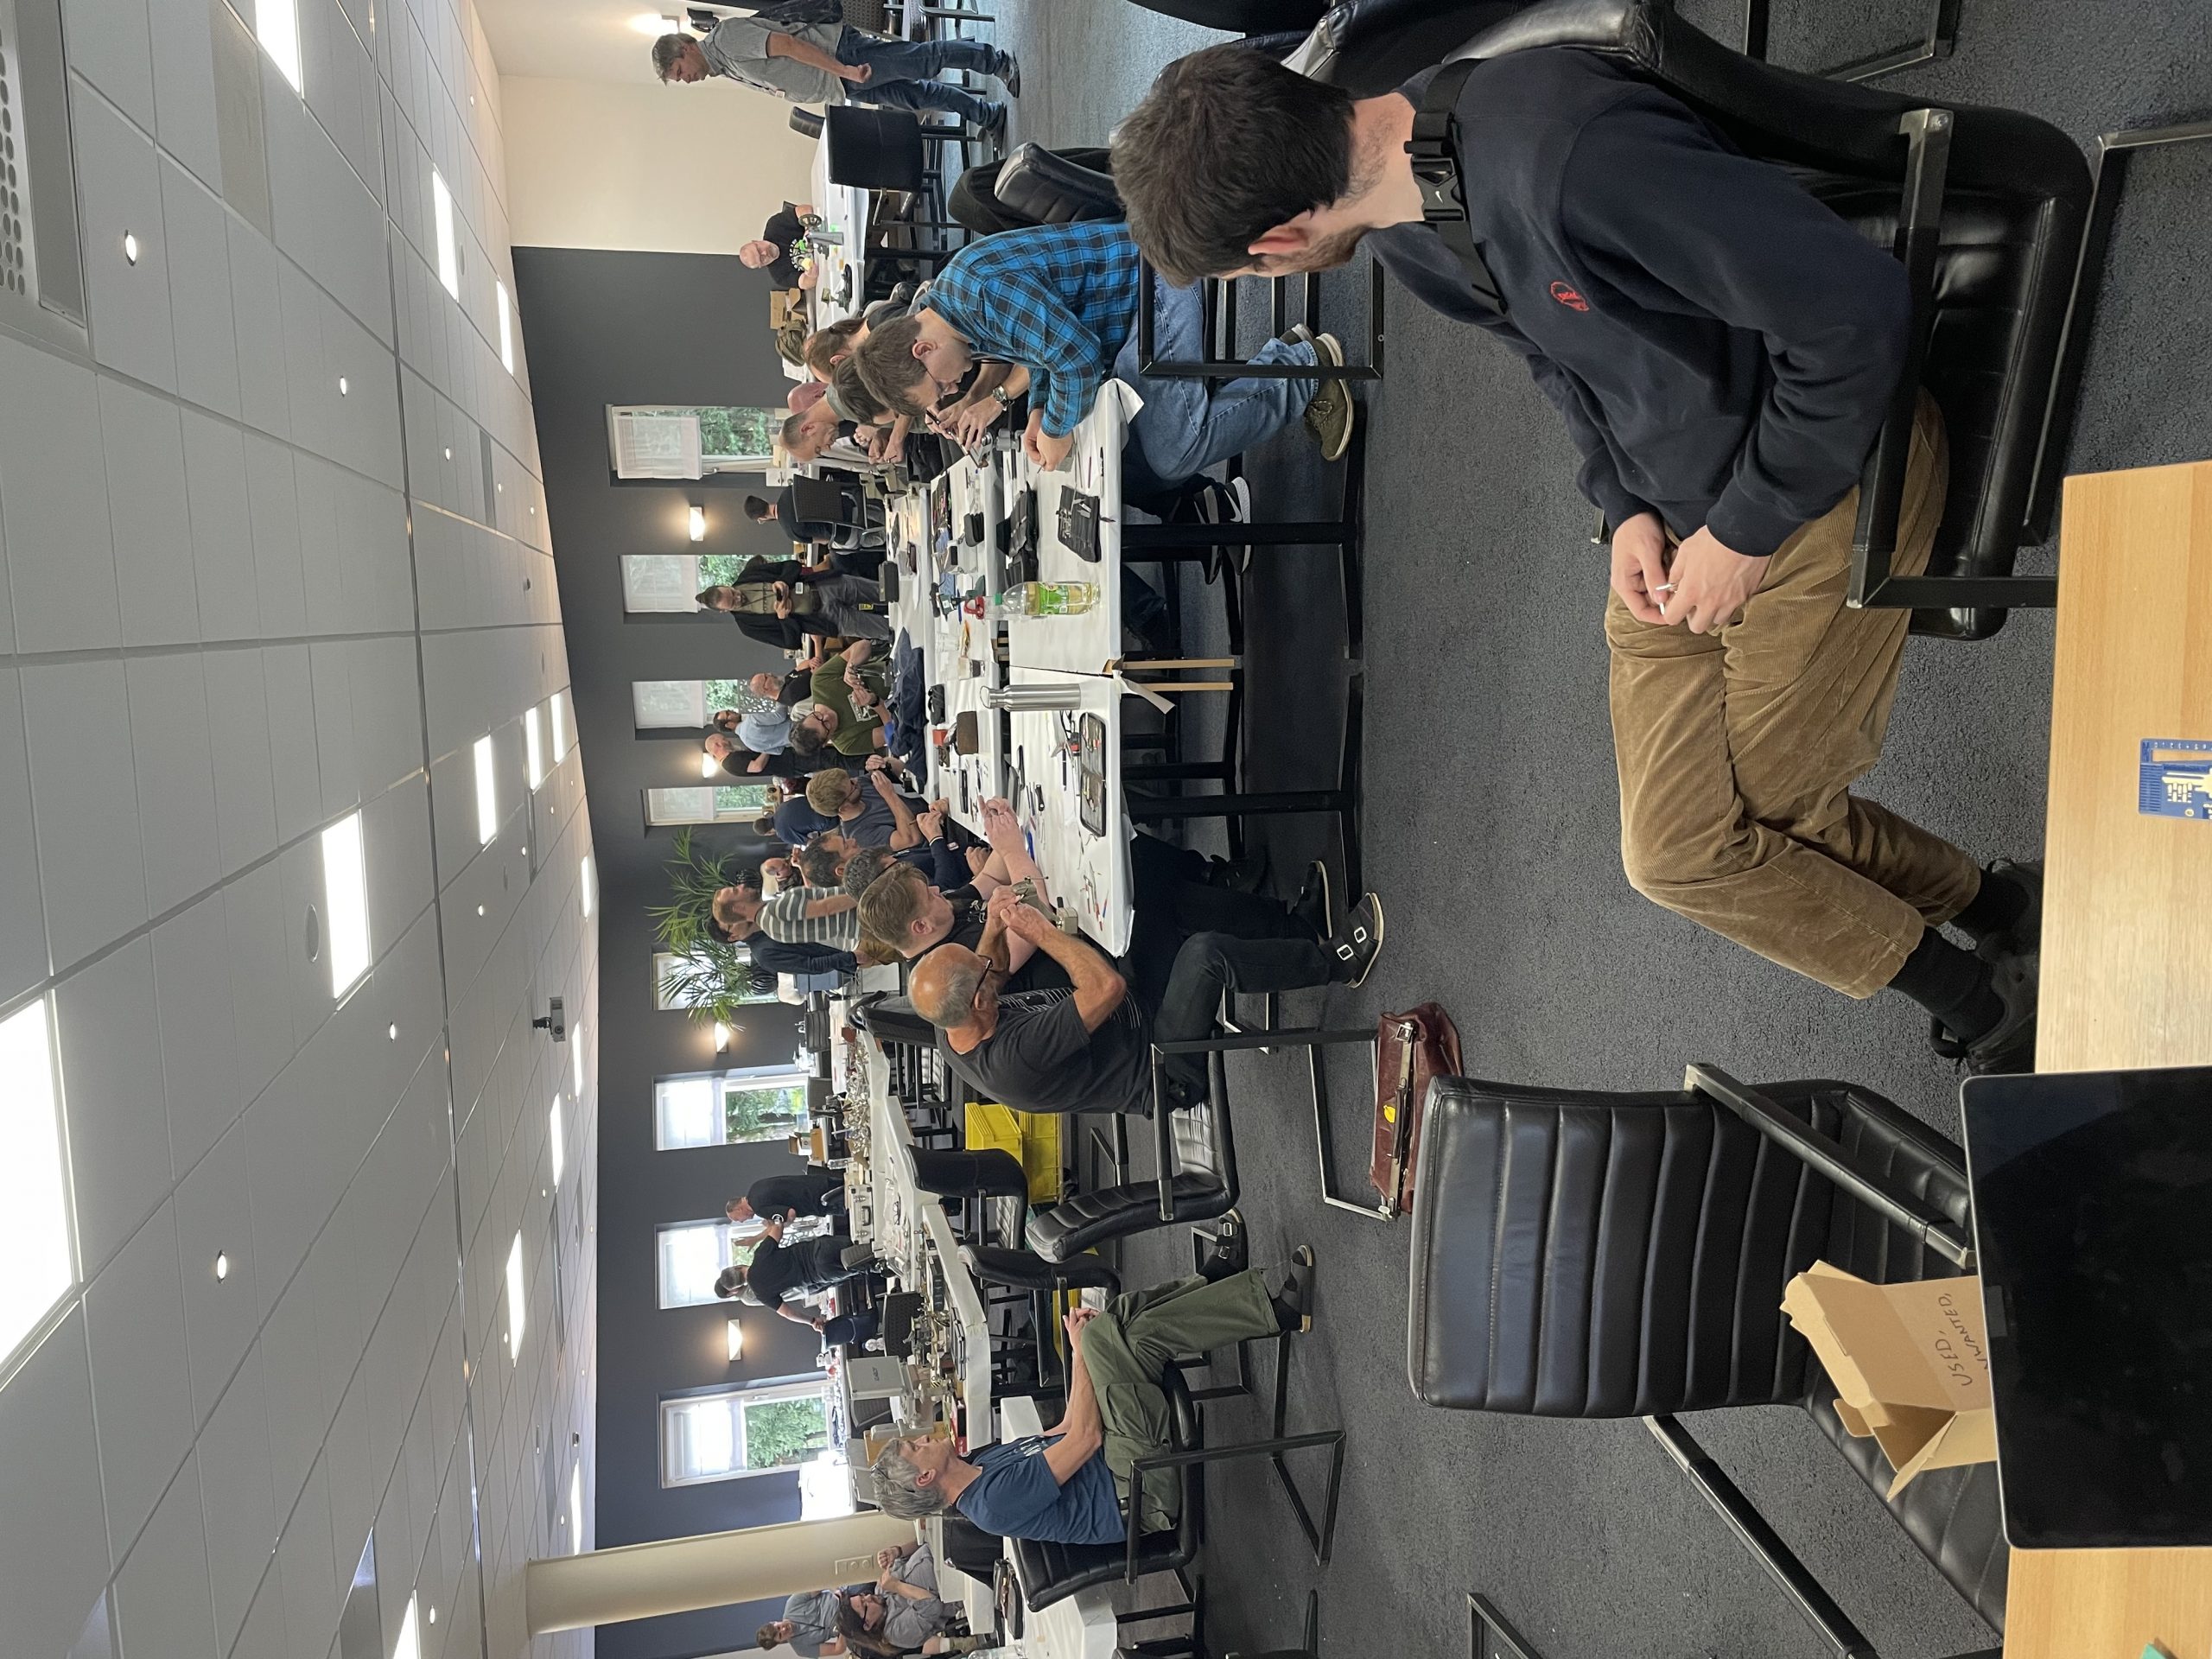
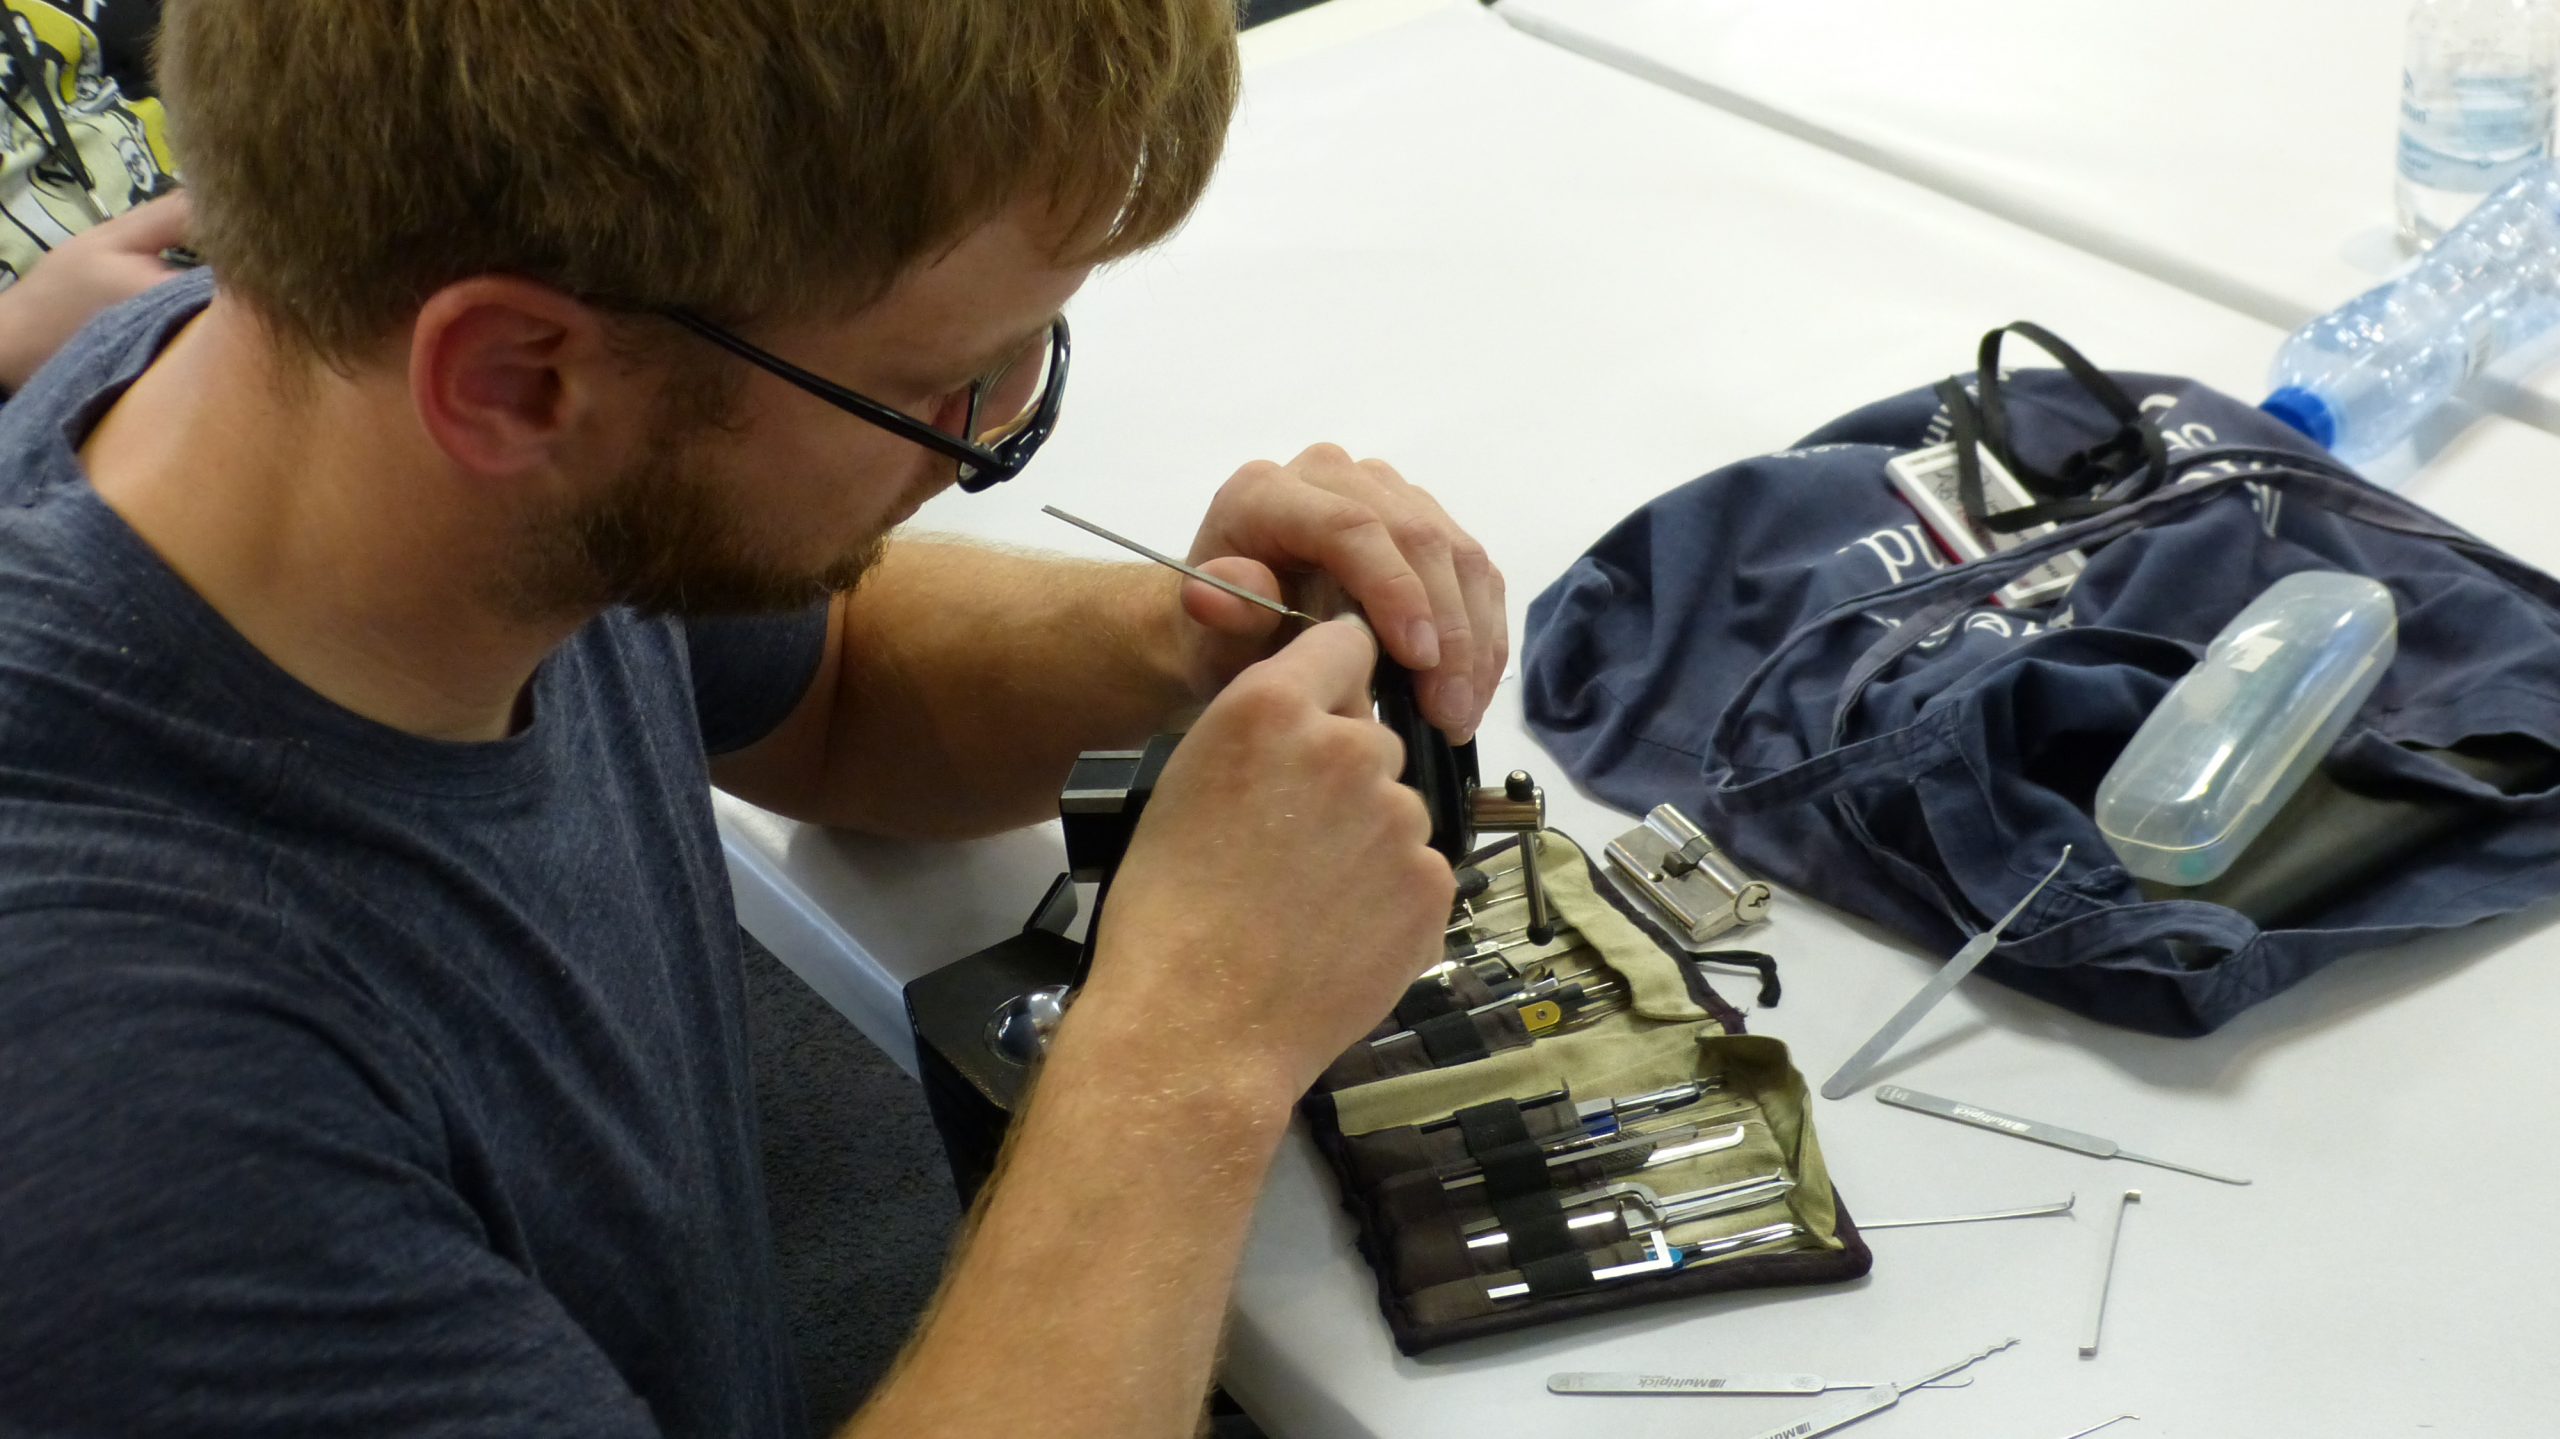
For the lockpicking championship, fifty-one competitors joined. We started in groups of nine and worked towards a bracketed system after the first round. Many people opened locks, and some were unlucky on the table placement. A lot of pin tumblers have been picked from the following selection: Kibb, Nemef, Mastermate, Dom Plura, Destil, Era, Basi, M&C, S^2, Zi-Ikon, and Winkhaus.
In the evening, Matt Smith (Huxleypick) ran his presentation on Physical Vulnerability Research. In which he shared the things he researched over the years and how others can get involved as well. After that, we ran had the price ceremony for the Lockpicking, Impressioning, and Toool NL competition.
We ended the night with a panel on the new book Locksport. Walter, Jos, Matt, and Nigel shared their stories on what it’s like to write a book on the subject. Where the key point is: it’s a lot of work. A nice summer project, which ends up being several years of small improvements until there is something really called a book. This book is a great introduction to the hobby and will make Locksport more popular than ever.
On Sunday morning, a presentation and panel discussion on RFID hacking was organized by Torsten, Christian Holler and mh. It was well worth the time and certainly interesting to see how hotel cards function. Mh shared a list of the current RFID devices, for those willing to get started.
BugBlue shared how the badge works and how you can start working with shop price tag e-paper displays. It’s a great idea, and hopefully we will see more like it for other events. https://openepaperlink.de/
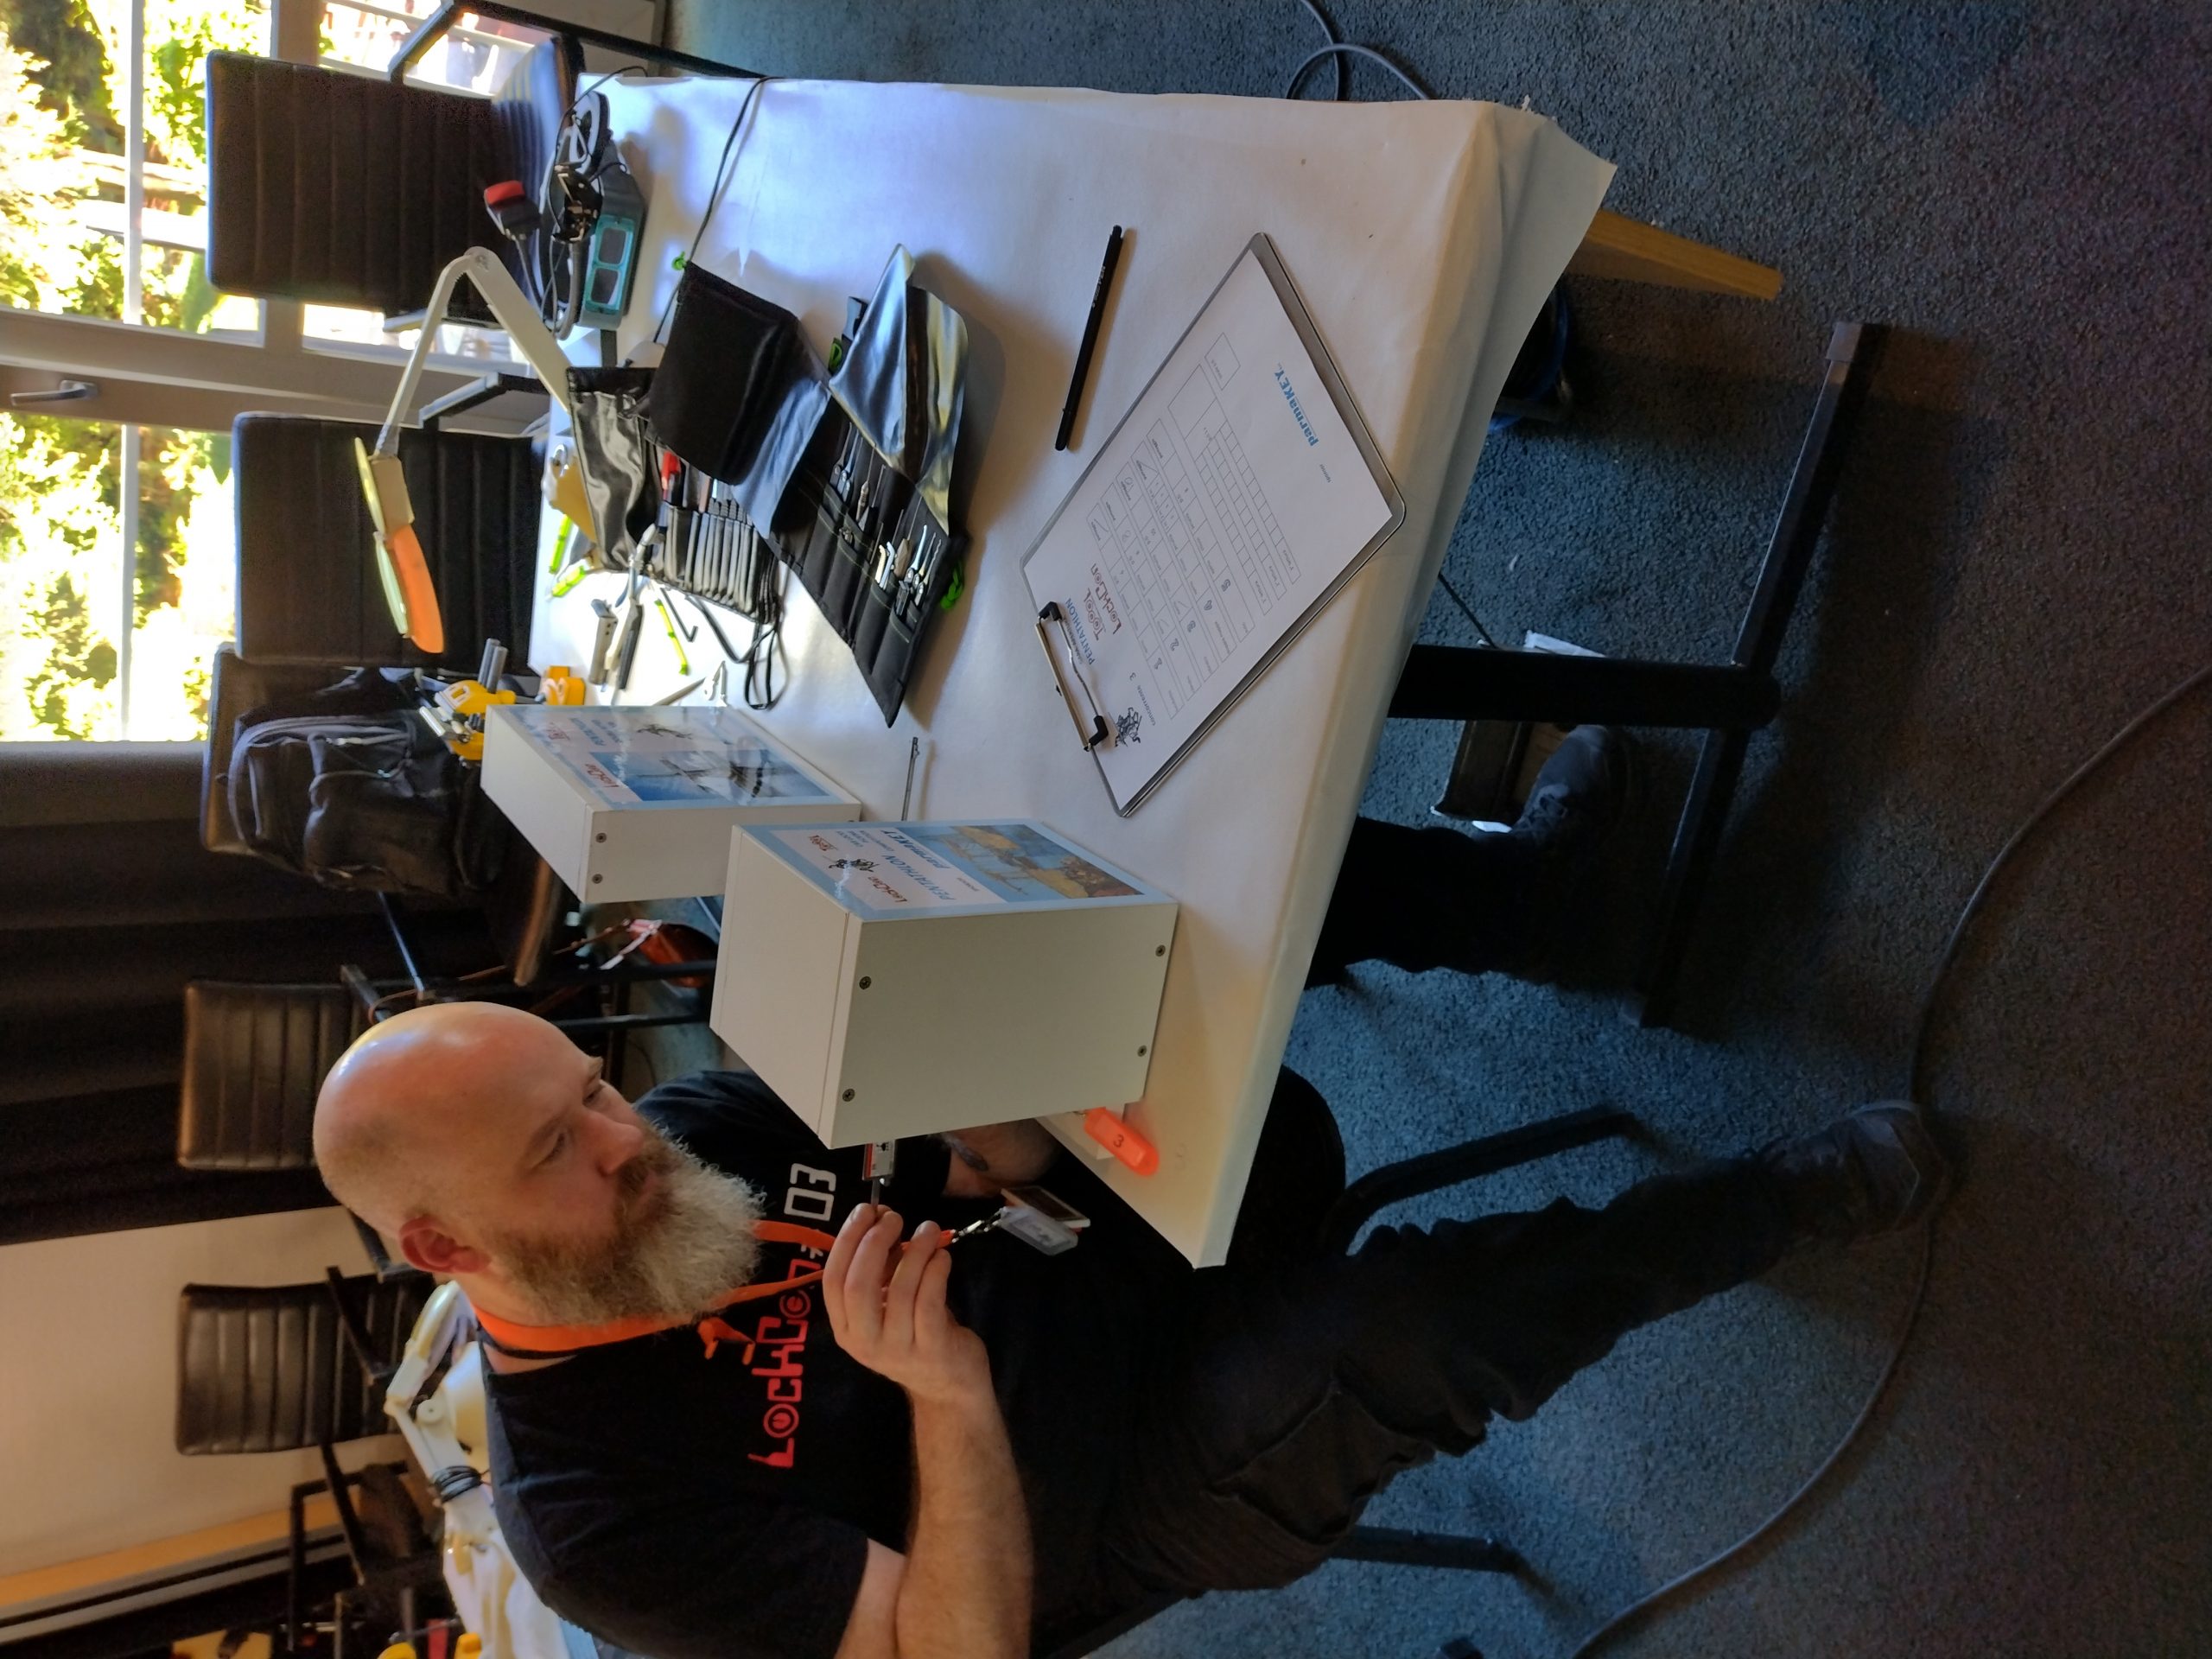
The final event at LockCon was the Pentathlon competition, hosted by the Italians from ParmaKey. Within about an hour, the competitors had to complete five lockpicking challenges. Pin tumbler picking, dimple picking, creating a key with impressioning, lever lock picking, and car lockpicking. For each challenge, a time limit is given and if you didn’t finish the challenge in the limit, you have to wait a couple of minutes before starting the next one. Participants shared that waiting four minutes after failing the impressioning challenge indeed felt punishing. Mostly, because everyone who passed the gate in time got to continue with the next challenges. In the closing ceremony, the prices for the disc detainer competition and Pentathlon competition were handed out. After which we cleaned up and said our goodbyes.
I would like to thank the people who made LockCon possible. Thanks to Sparrows, who sponsored their disc detainer lockpicks for the dd competition and a large box of goodies including various lockpicking sets. Thank you, Multipick, for sponsoring the prices for the competition, including various community lockpicking sets from Christina, Decoder, and LockNoob. As well as a ERAS disc detainer lockpick for Toool to practice with.
For as long as we work with Abus C83 in the Impressioning championships, Abus sponsors the locks and blanks for the competition. The majority of locks and blanks are used up, and the remaining will be used to teach the skill and help people new to the hobby getting started.
Thanks to Dulimex for sponsoring five Pro-Line padlocks with a Tokoz core to challenge the lockpickers with a unique challenge. The group from Italy, with ParmaKey ran the Pentathlon competition for us, and we thank them for all their effort.
Thanks to the LockCon team who made LockCon possible. Without them, it wouldn’t be possible: Jos, Holly, Chantal, Jan-Willem, and Hugo. While organizing this event was a lot of work, it was well worth it. Finally, thanks to all presenters, other organizers, and participants for joining LockCon as you made it a great event again. We hope to see you all again next year!
All the pictures are by Toool NL. Feel free to use the photos of locks under CCBY4.0, and for pictures with people, please ask for permission first.
In the morning and evenings, there will be talks about various lock topics. The afternoon is reserved for the competitions. Starting Friday with Impressioning, Saturday with Lockpicking, and Sunday with the Pentathlon competition. Please see https://blackbag.toool.nl/?p=4228 for the competition rules.
We will have flip overs with the program at the event. You are allowed to fill the gaps in the schedule and take the stage with your own last minute talk or workshop. Swapping time slots isn’t an issue either, just discuss this first.
Thursday
15:00
Room check-in is open
18:00 – 01:00
Socializing
21:00
Conference room open
Friday
07:30 – 10:00
Breakfast
10:00 – 10:30
LockCon Opening
10:30 – 11:30
Evva Elus & Anker 3800 update – Walter Belgers
11:30 – 12:30
TBD – Zeefeene
13:00 – 14:00
Lunch (sandwiches in the conference room)
14:00 – 19:00
Impressioning competition
19:00 – 20:30
Dinner
20:30- 21:30
Locksport journey with Abloy disc detainer locks – Petri Maksimainen (Idanhurja)
21:30
Start of disk detainer competition
21:30- 23:00
Abloy disc detainer workshop by Idanhurja and DaMage
21:30- 23:00
F3D workshop by Nitiflor
Saturday
07:30 – 10:00
Breakfast
10:30 – 11:30
Electronic safe locks – Jan-Willem Markus
11:30 – 12:00
Short speak about history of lock cylinders in Czech country – Lubos Cech (catalocks.eu)
12:30 – 13:00
Group photo – Dennis van Zuijlekom
13:00 – 14:00
Lunch (sandwiches in the conference room)
14:00 – 19:00
Lockpicking competition
19:00 – 20:30
Dinner
20:30- 21:30
Physical Vulnerability Research – Matt Smith (huxleypick)
21:30- 23:00
Locksport – Walter, Jos, Matt, Nigel
Sunday
07:30 – 10:00
Breakfast
11:00 – 11:30
Aubin’s trophy – Eric scaillet
12:00
End of disk detainer competition
12:00 – 16:00
“PENTATHLON” COMPETITION – Parmakey
13:00 – 15:30
15:30 – 16:00
Closing Ceremony
If someone wants to make a calendar file (ICS) and sends it to us, we will add it to this post.
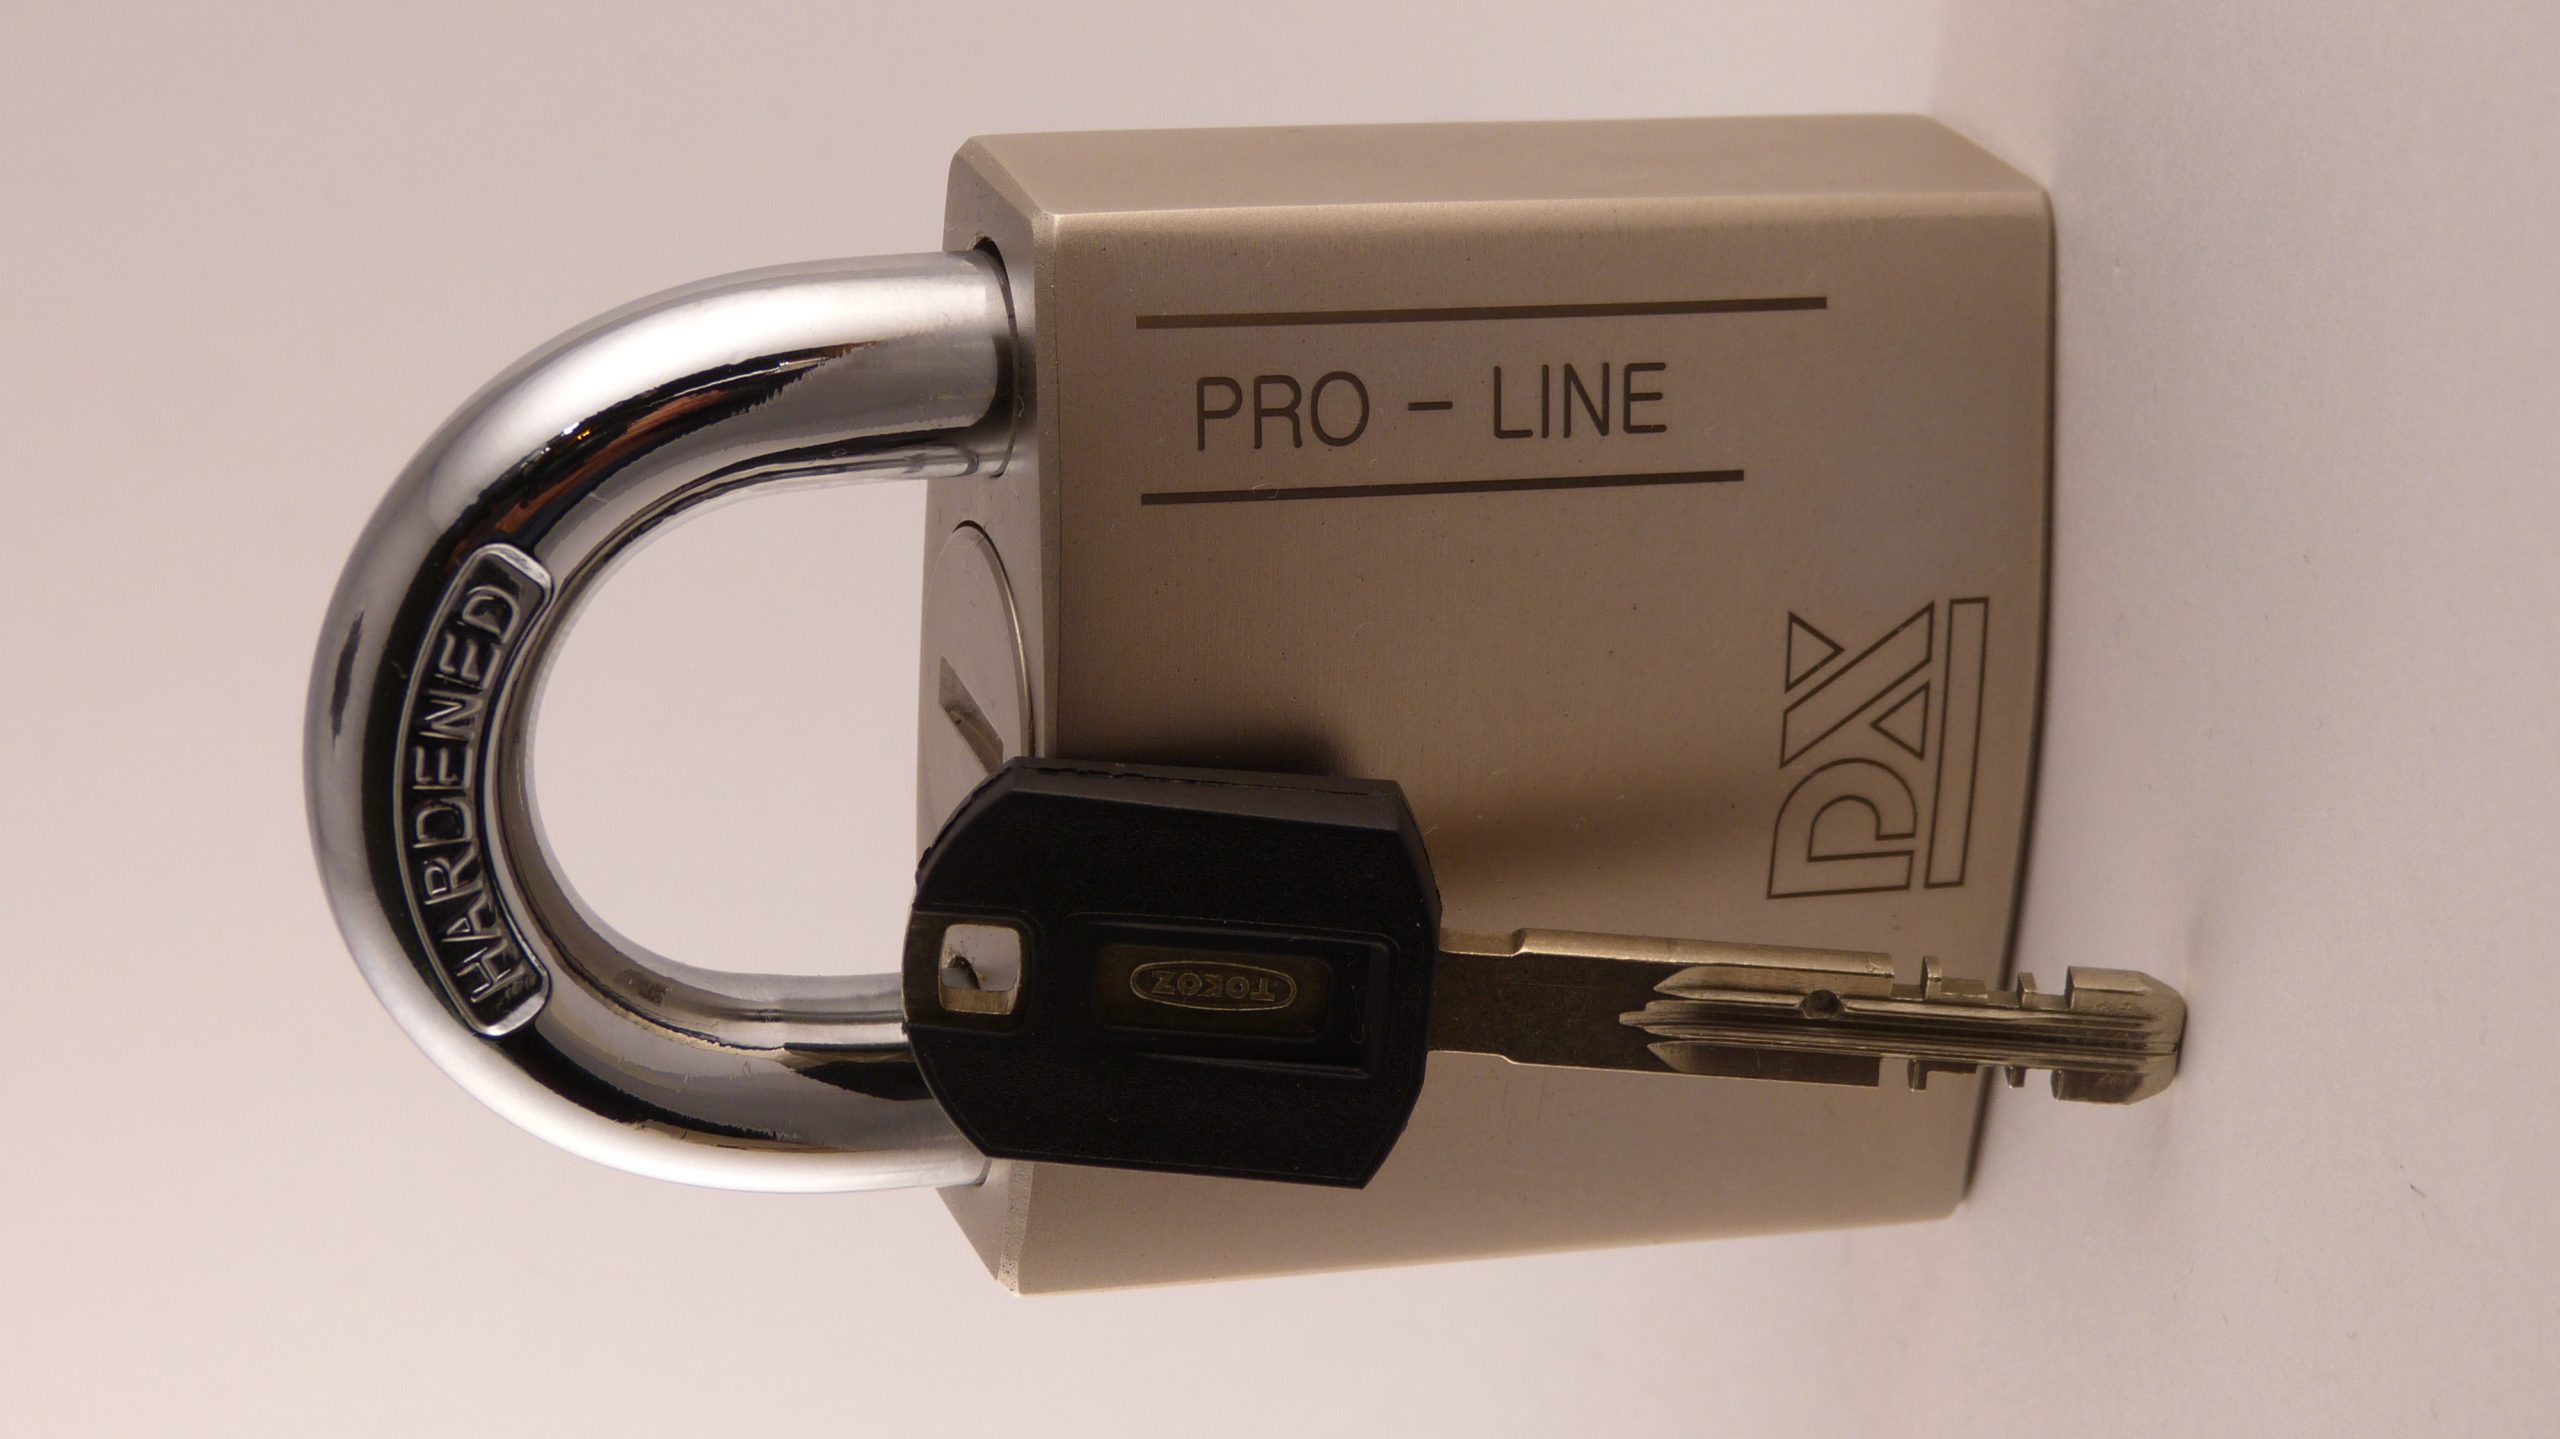
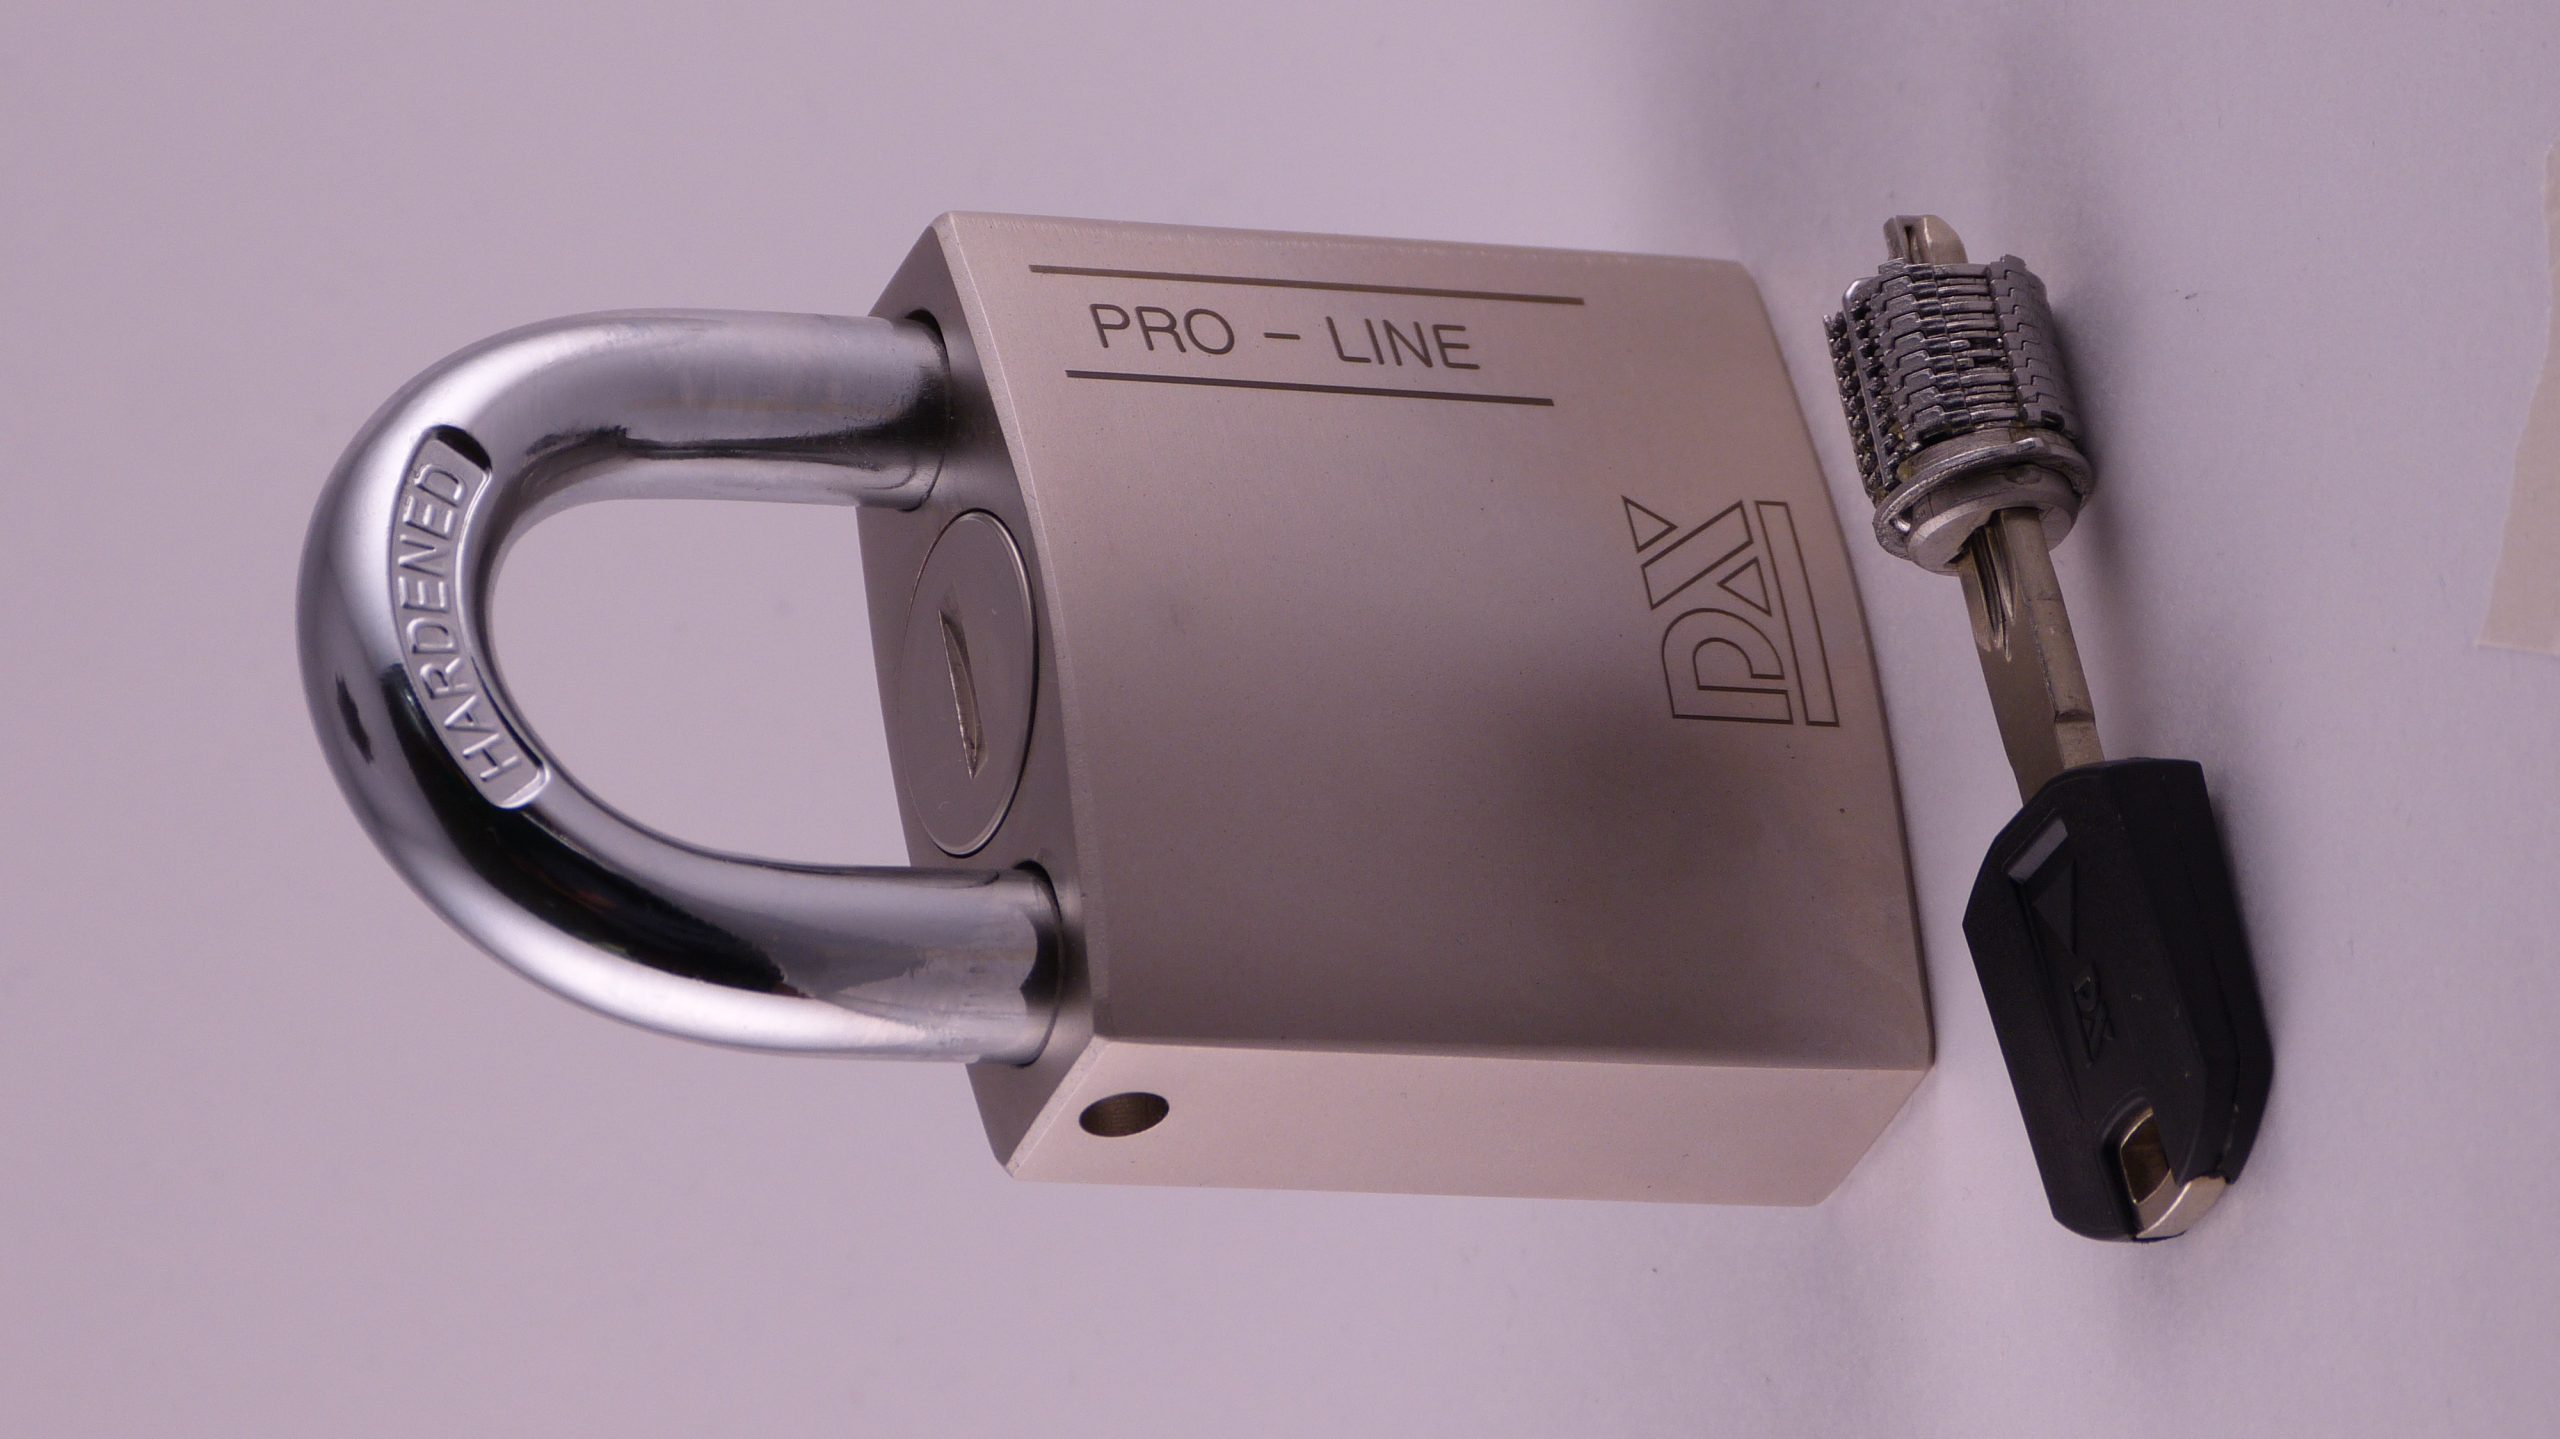
Dulimex kindly sent us the new PRO-LINE padlocks as a lockpicking challenge. Picking these won’t be easy, as the padlock features a Tokoz Pro core with eight disks and a disk blocking system similar to Abloy Protec.
While it’s fun to spend days picking the lock, picking isn’t necessarily a realistic threat for your normal security needs. This Dulimex padlock achieved a SKG** rating. While it’ll not be indestructible, you have the assurance it’ll be at least a few minutes with a selection of power tools.
We received five locks from Dulimex for the challenge. The locks will be available at LockCon, and we will borrow them to pickers thereafter. If you are up for it, please send us a message.
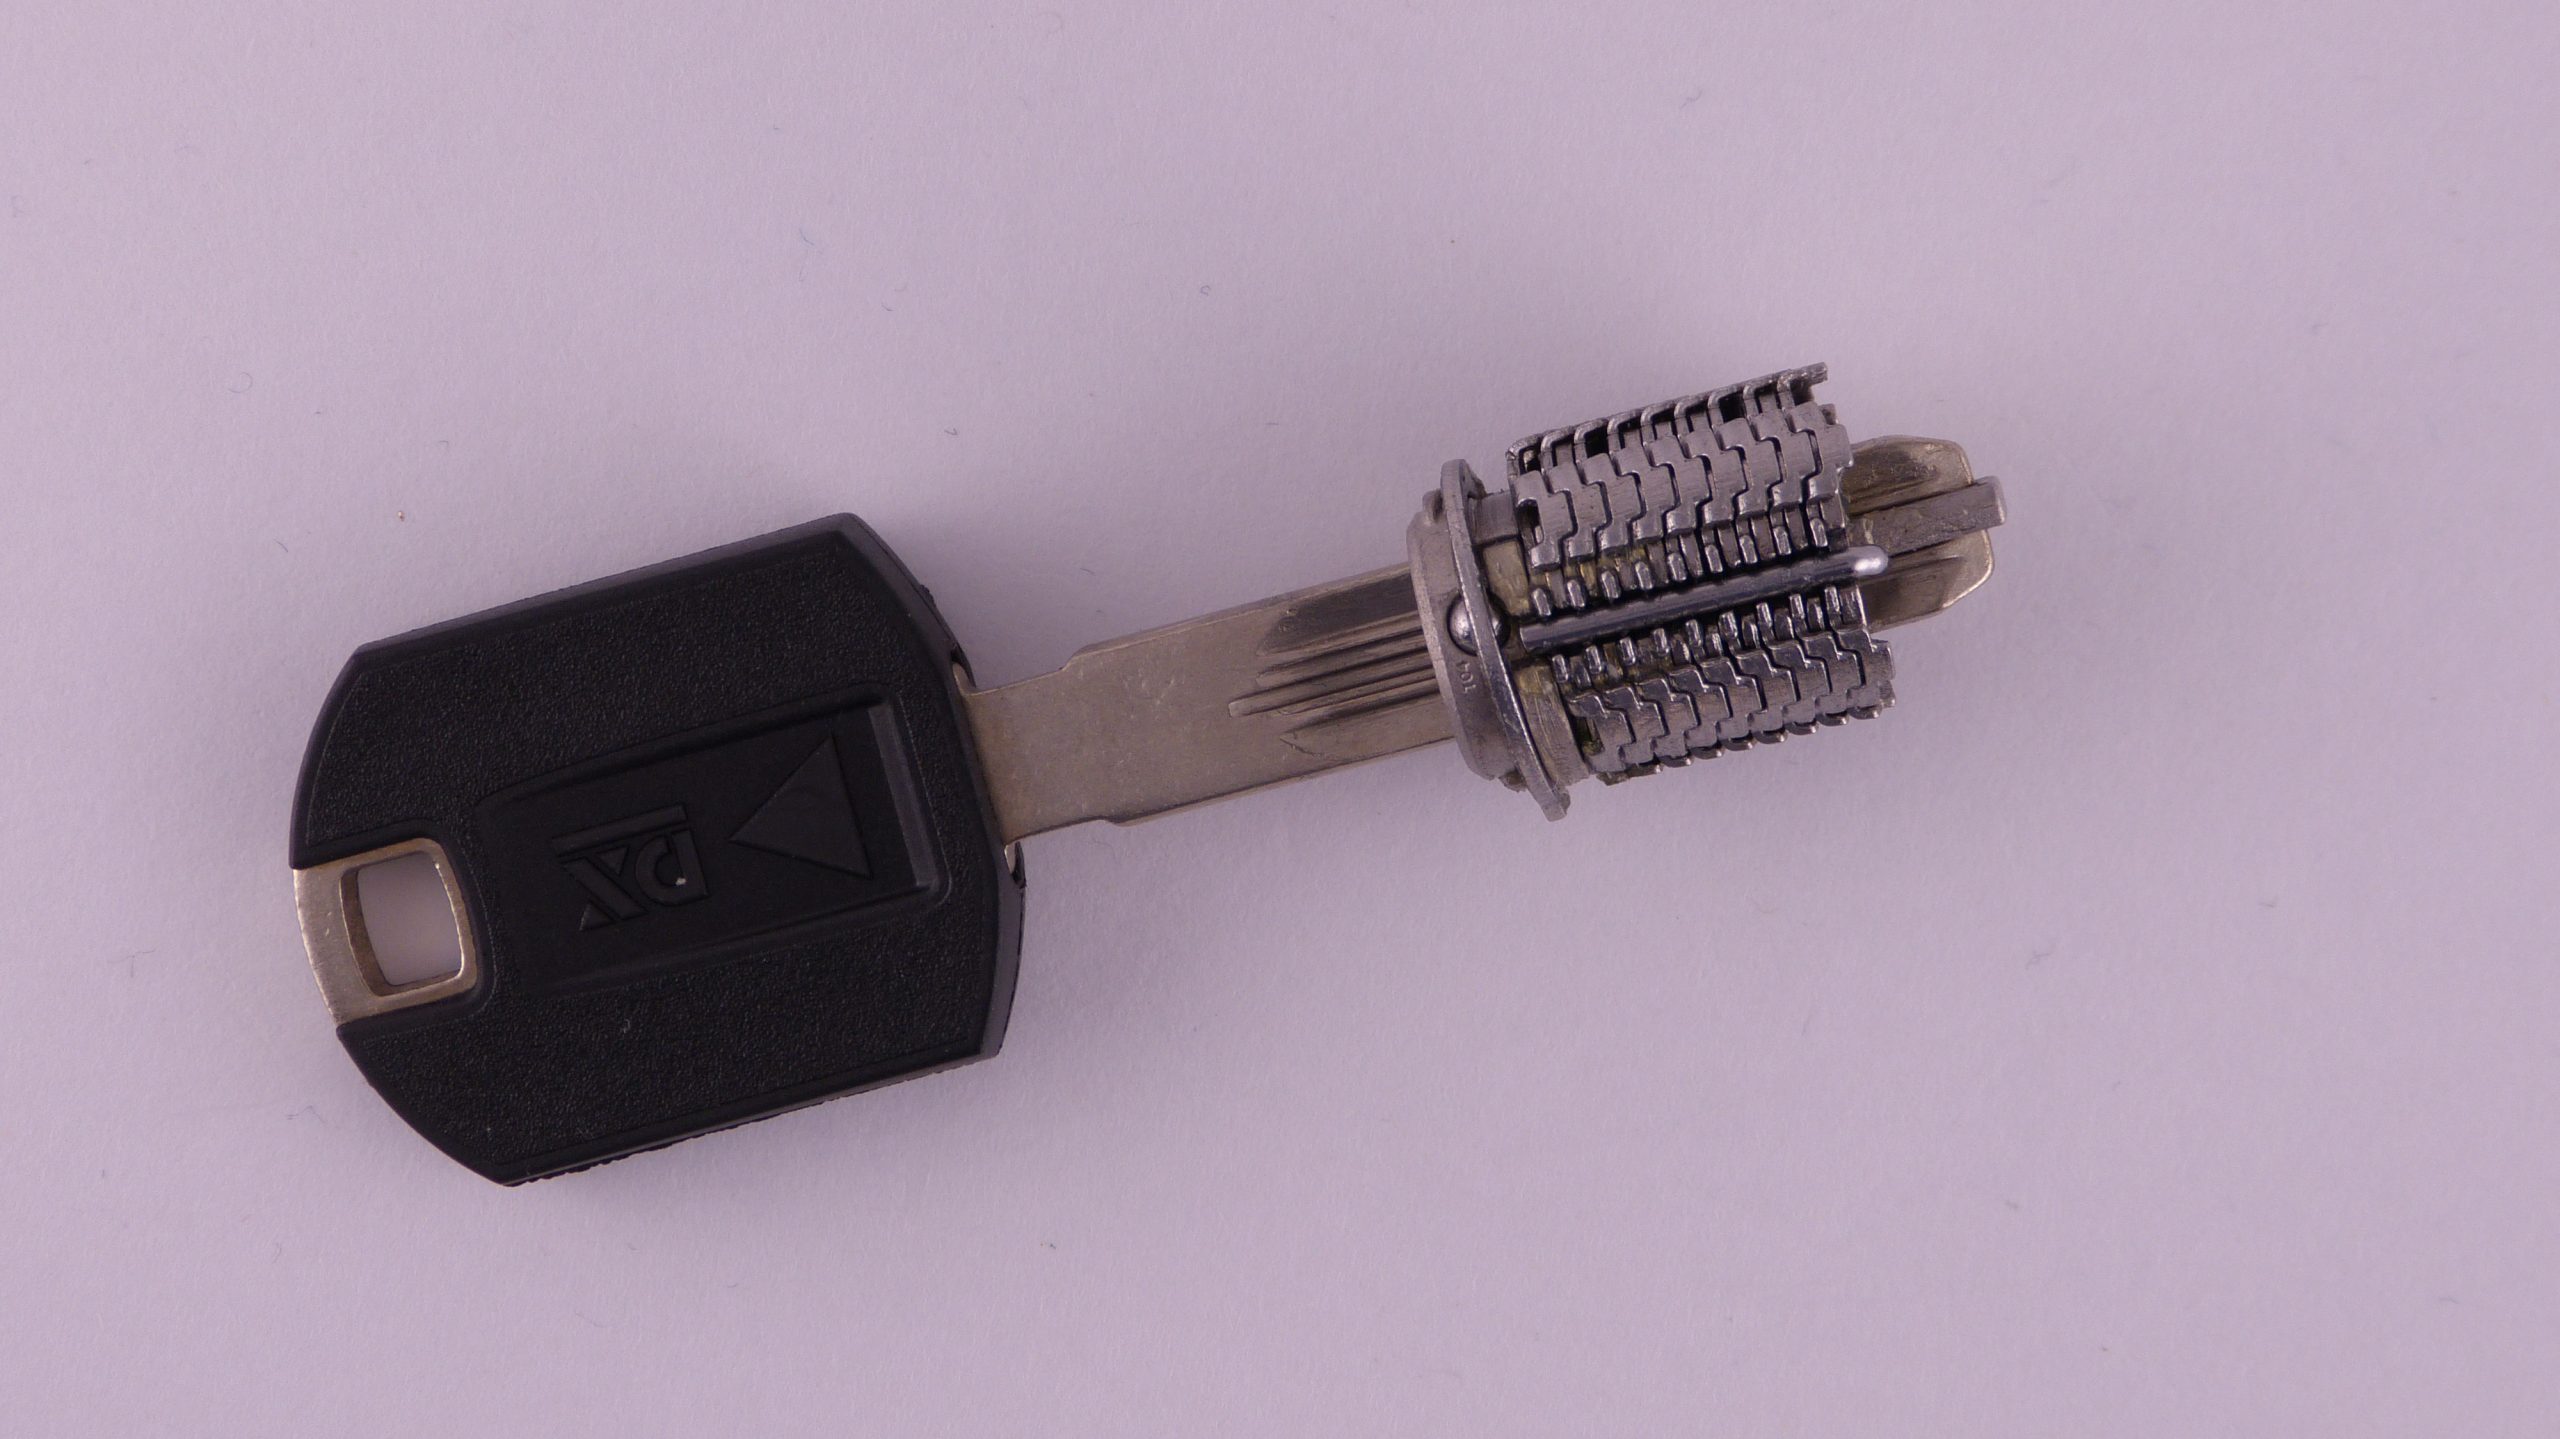
At first glance, the core looks similar to the Abloy Protec. But there are quite a few notable differences. The Tokoz very cleverly uses the spacers to build up the core. The construction makes it difficult to reassemble the lock, so please keep them together.
Thanks everyone for giving me tips on picking these locks. The tips can be summarized as, to use dimple picks instead of a 2-in-1, unless one is custom-made for the Tokoz. Furthermore, the key guide can be twisted, which bricks the lock. When the lock is picked, then use a modified key to rotate the key guide, instead of forcing it from the front.
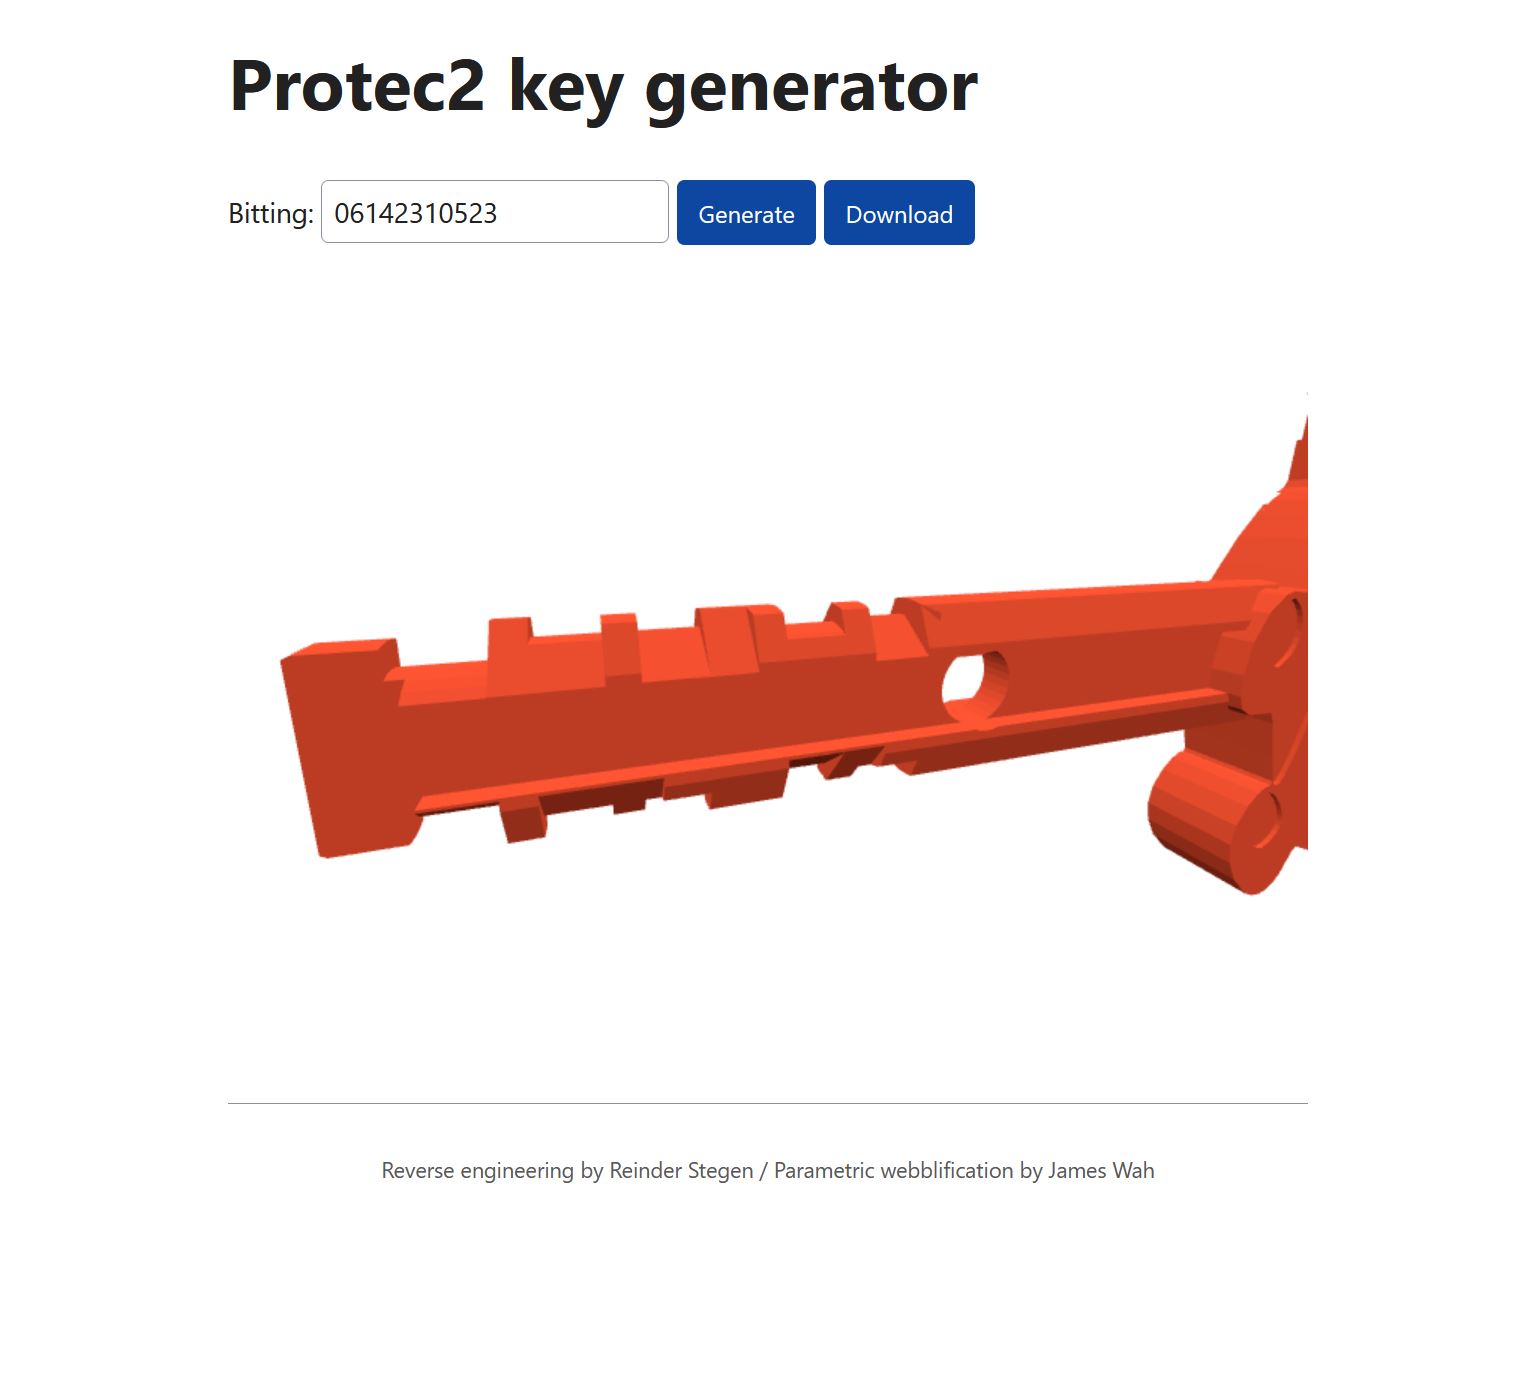
This story is based on the work from Reinder Stegen, in which the Protec2 was reverse engineered and scripts for parametric key generation are written. Reinder worked with James Wah for the parametric webblification. As in, a free to use online webgenerator for all your Protec2 key needs. To get the keys to the real world, one just needs a good 3D printer.
3D printing keys has been around for at least a decade, from 3D printing scrips like AutoKey3D by Christian Holler to printing many high security keys. Modeling and printing keys gives unique understanding of the underlying principles of the locking mechanisms. I, myself, wouldn’t have understood Kromer protector, Bowley Rorasera, and Fichet F3D as well without modeling the keys.
While 3D printing keys can be a strong attack, the bitting of the key needs to become known to an attacker beforehand. If this attack is within your threat model, please invest into key control. I.e. to keep track of the locks and keys in your system.
The challenge
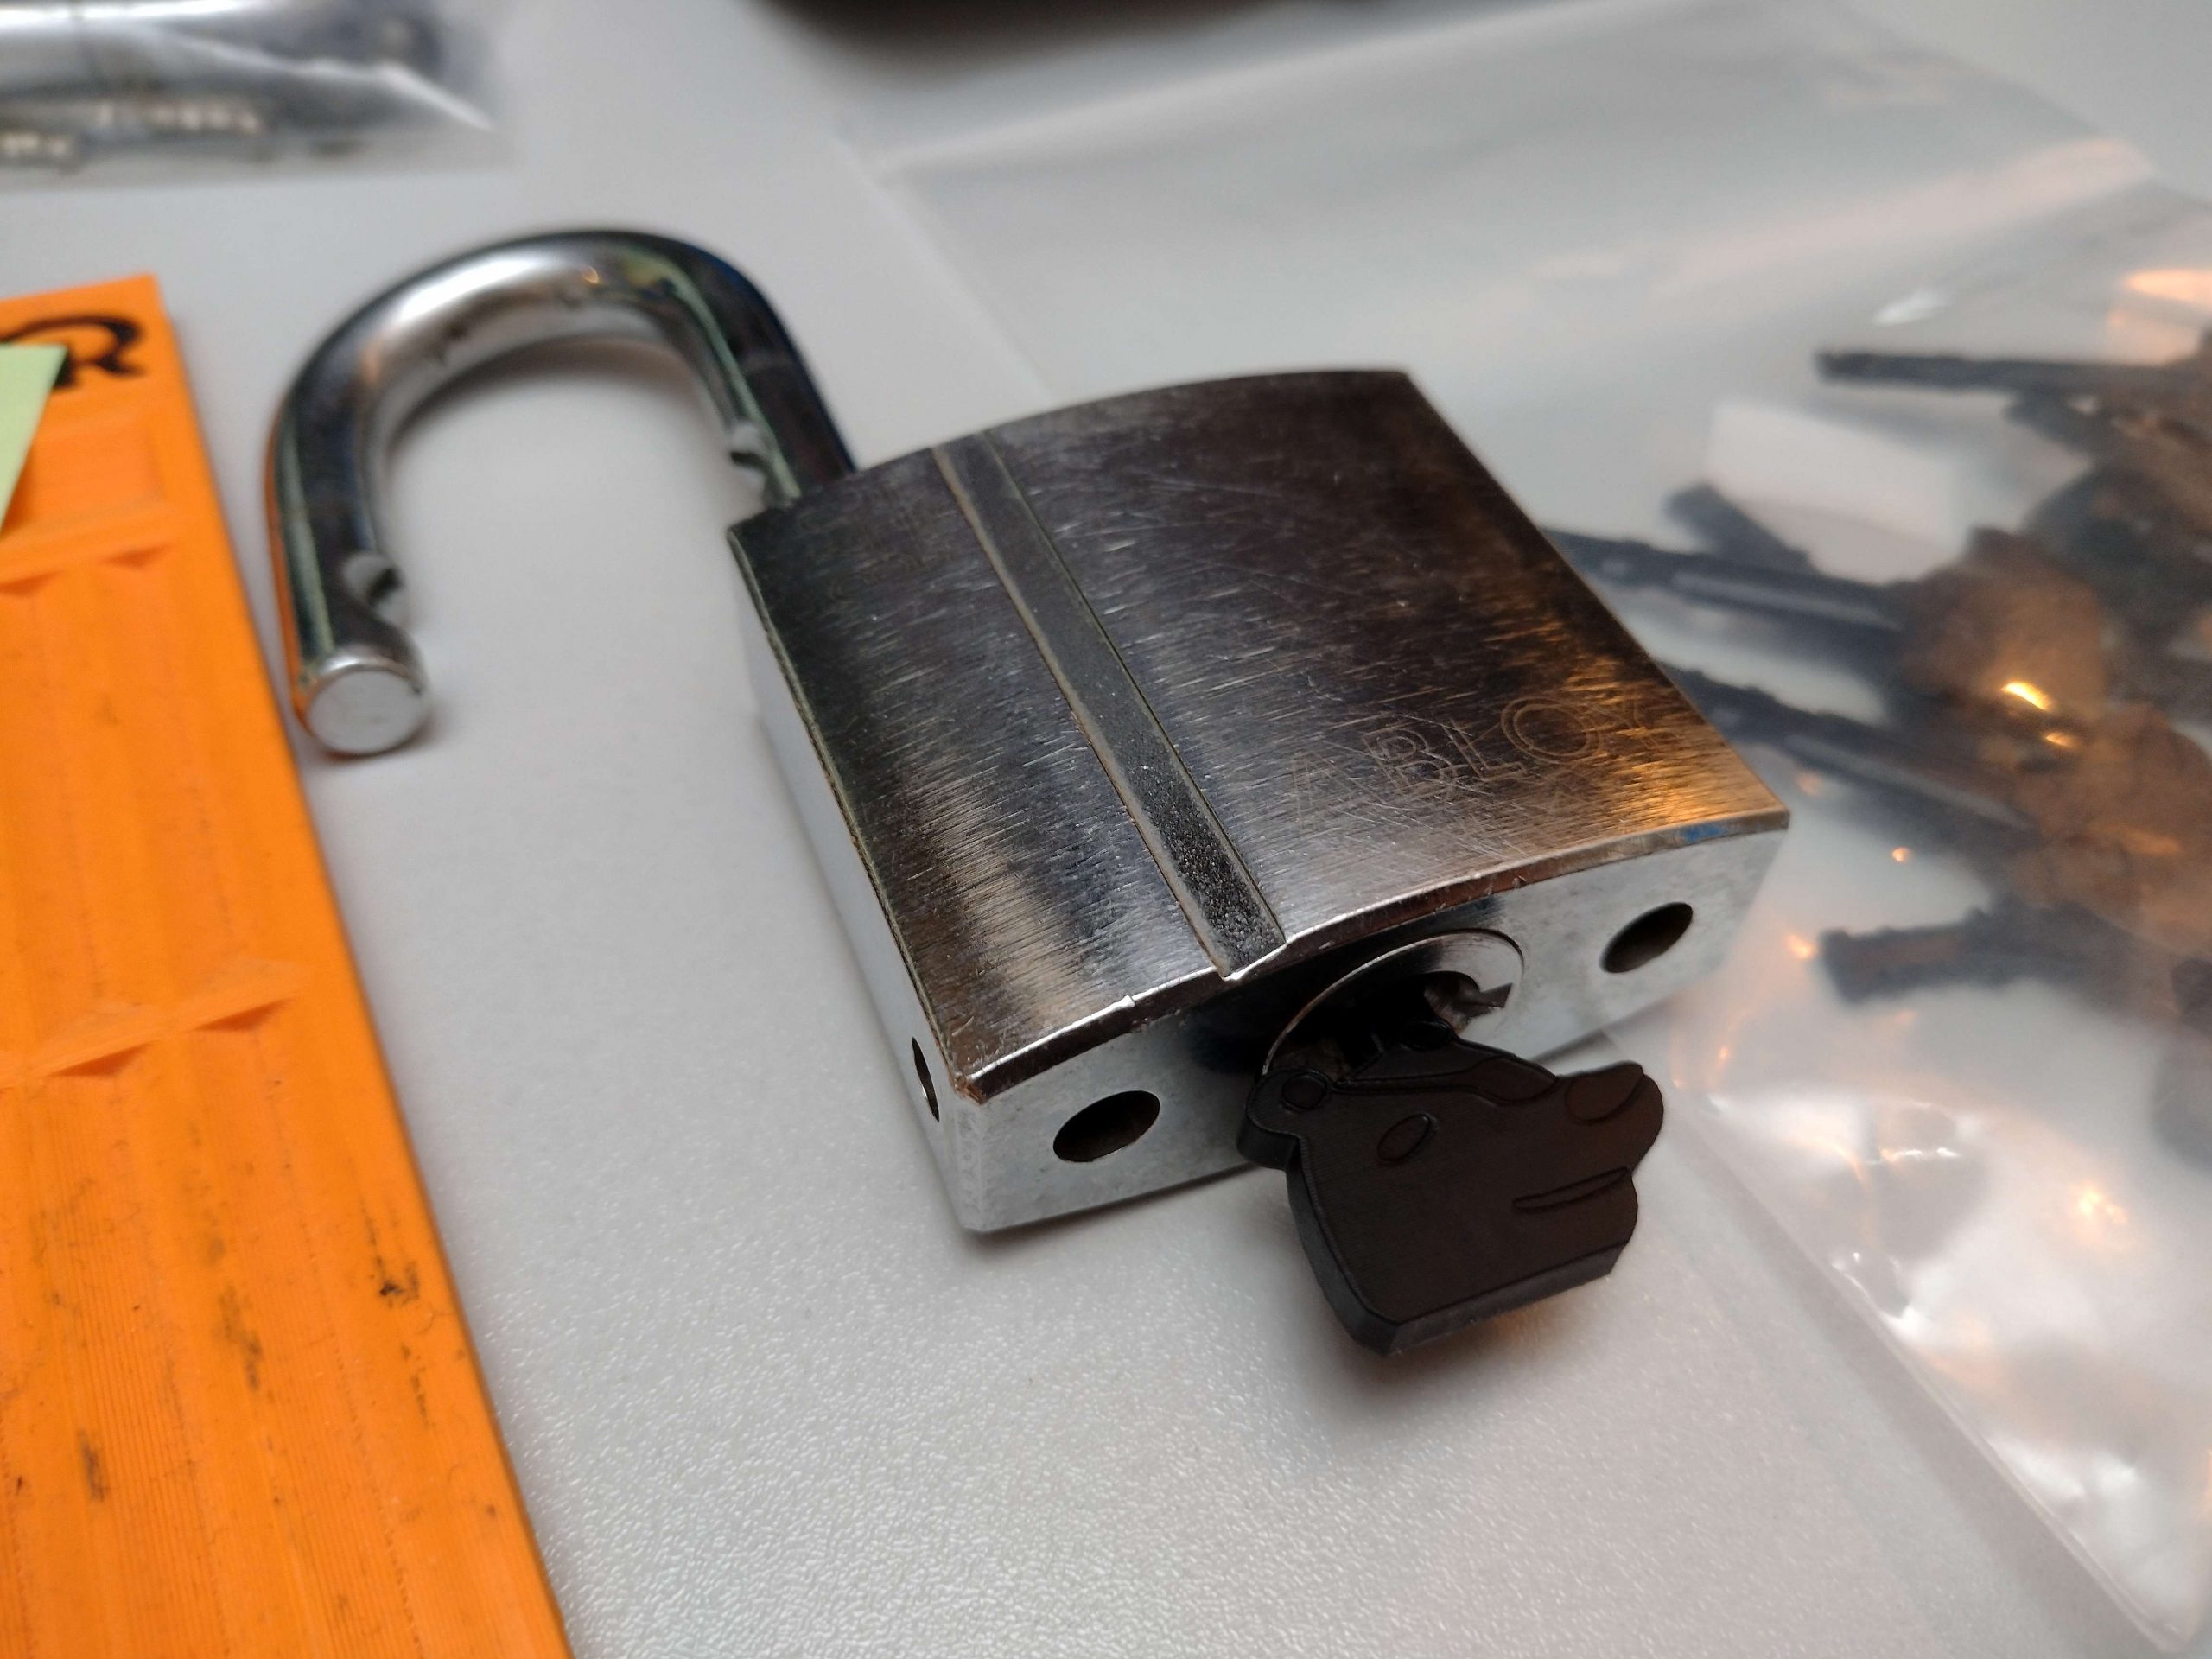
A set of nine Abloy PL340 locks caught my attention as it was sold as a lockpicking challenge. As in, the seller didn’t have the correct keys, but included keys from the same series. Where the challenge is to open the locks. I chose to work with Reinder to decode one, and 3D print the keys for the rest of the set.
The PL340 are beefy padlocks of around 55*50*25mm, very much excess for any normal consumer applications. While we like them for securing Peli cases, they’ll work fine on your motorcycle or shipping container as well.
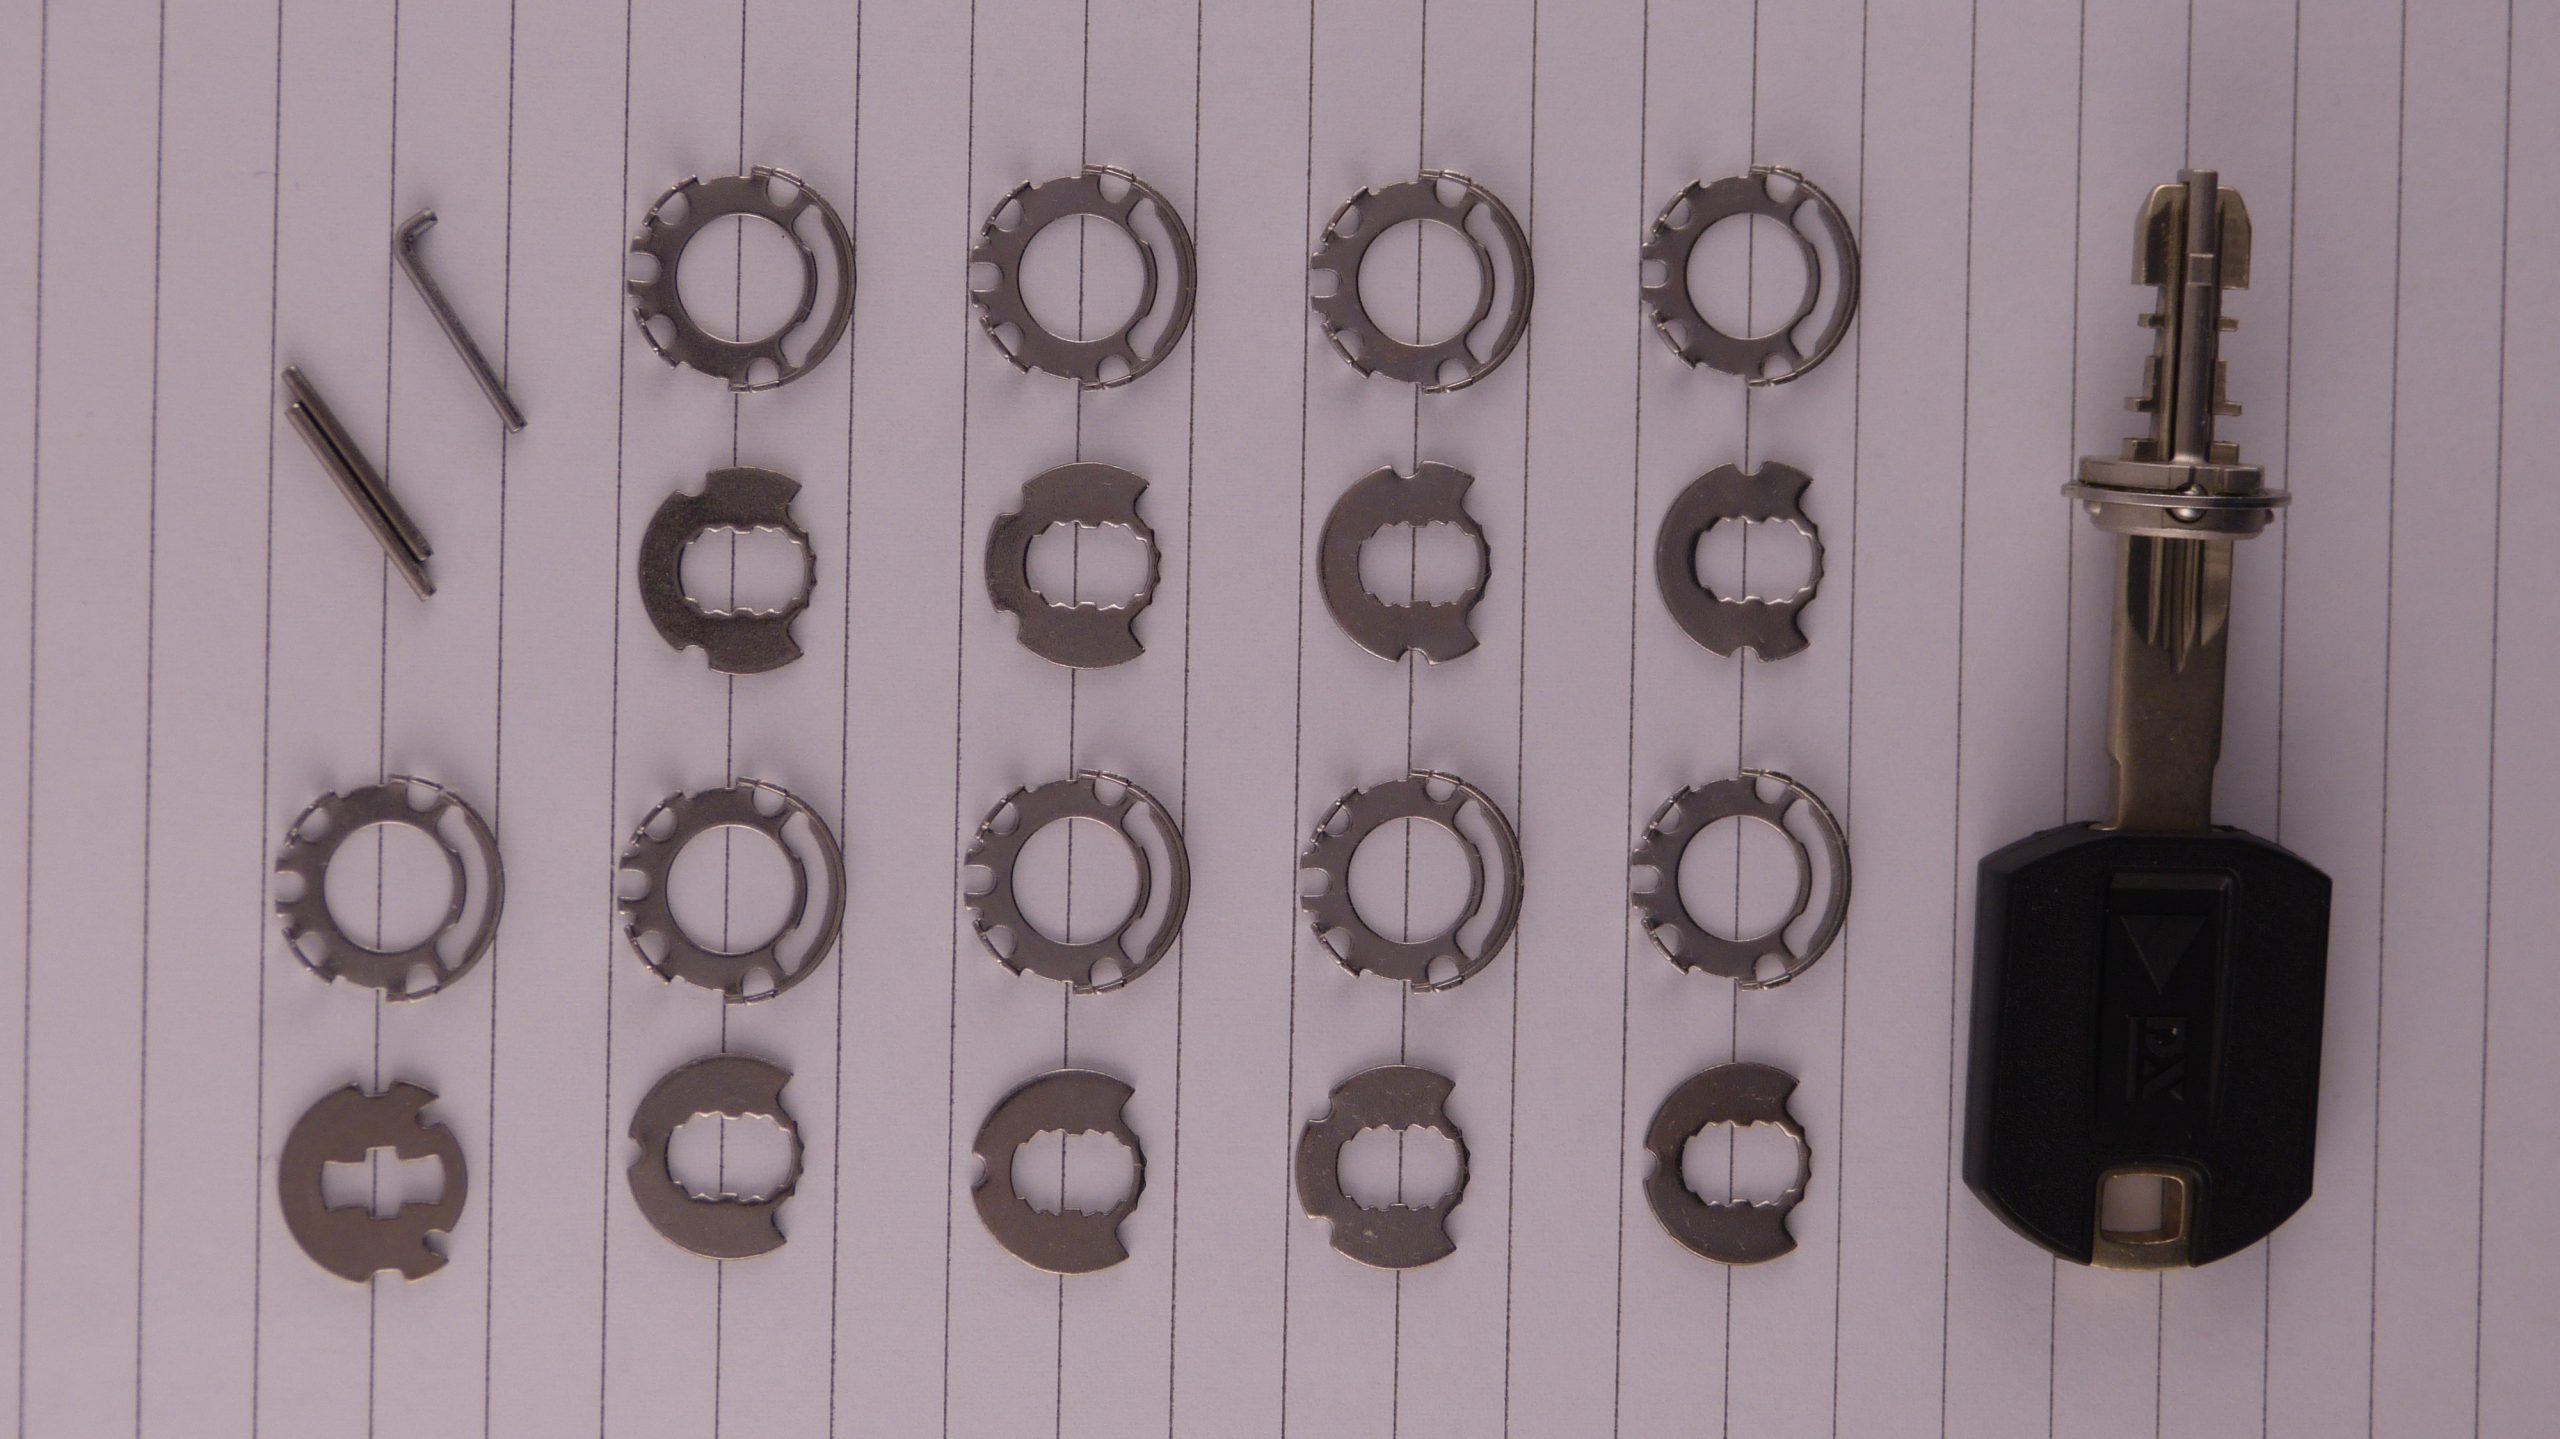
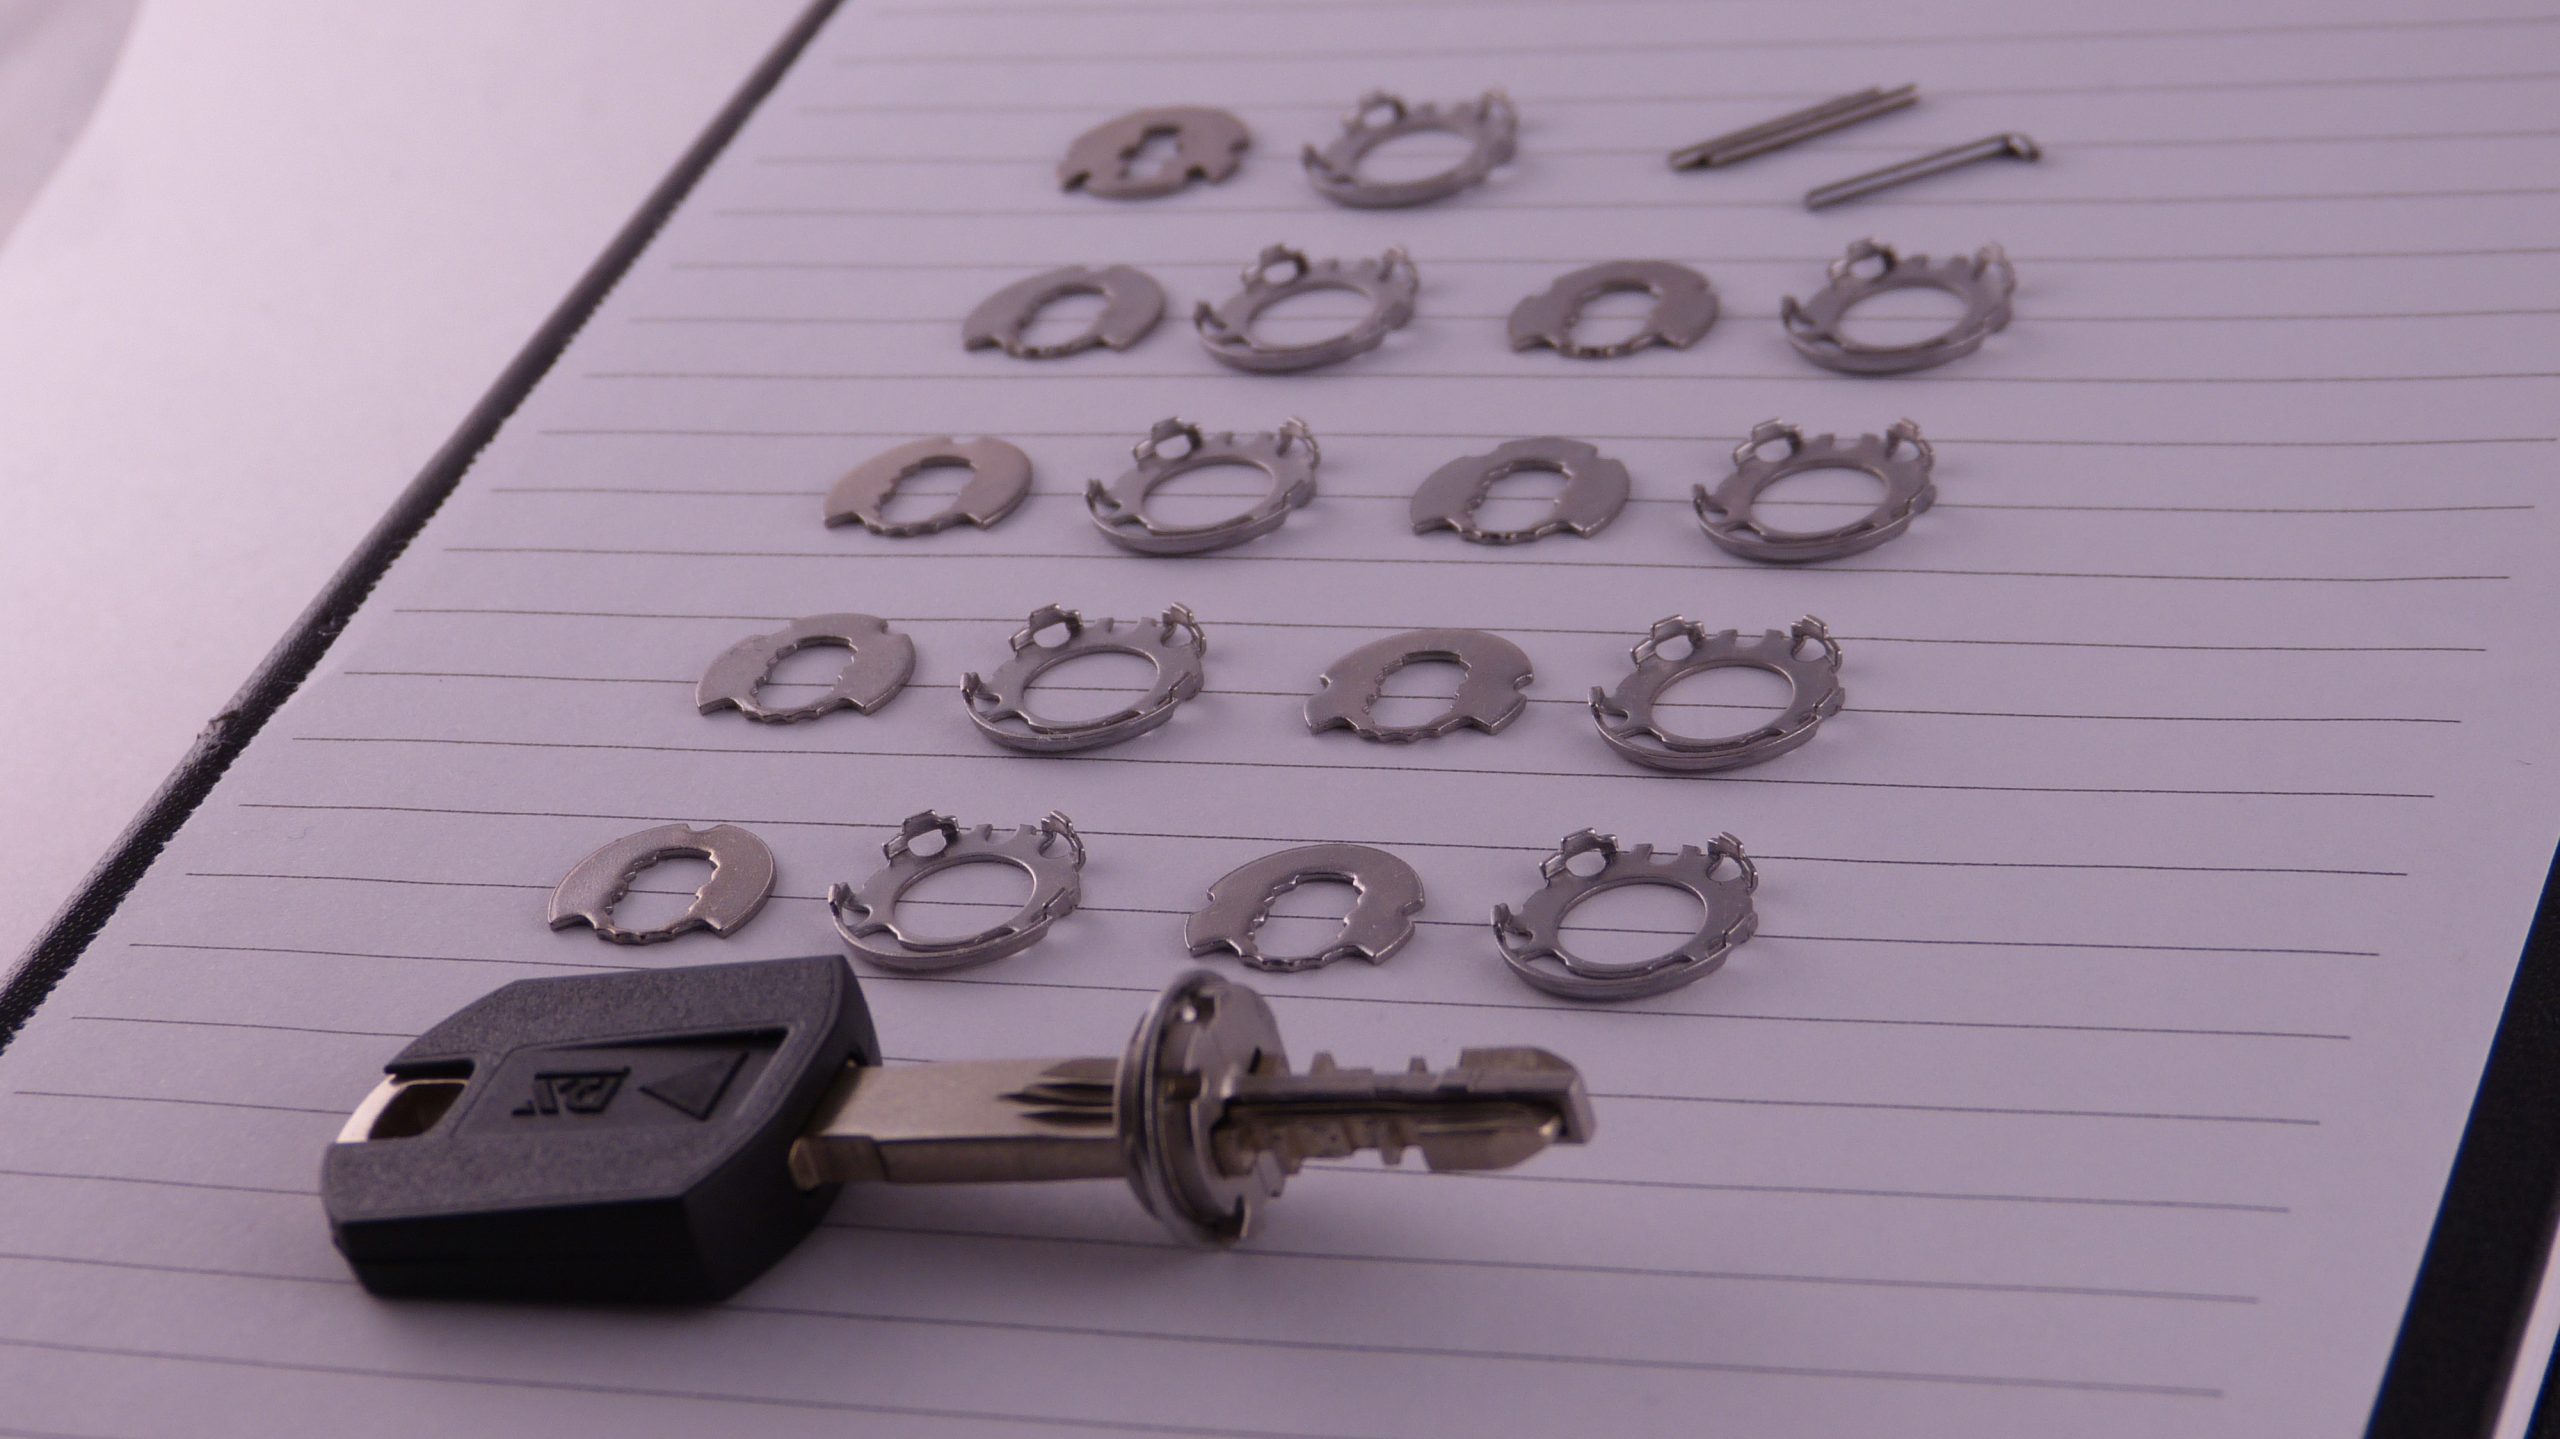
The key making process started by decoding the several non-working keys in the package keys. While five cuts were shared between the keys, it wasn’t enough to determine what the keys should be. One lock was disassembled and the disks were decoded according to the pictures in the Protec2 white paper by Han Fey. (Reinder has published a better chart on 22nd of September 2023)
The Protec2 has eleven disks, of which the fourth and eleven are zero disks. All code disks have two true gates, except for a six with one true gate. We see four disks with more than two true gates, which means they are mastered and accept a key with either cuts on it.
I’ve opted to use Python to create a list of all possible keys in this system instead of using pen and paper. After I had a working solution with many nested loops, I found the function product in the itertools package to generate a list of solutions in fewer lines of code. The code below generates and prints the valid keys from a list of lists with possible bittings.
# bitting_mks.py
# Quick script to get all possible keys from a single master keyed lock.
# 20230730 Jan-Willem CCBY4.0 Toool NL

import itertools

# The key codes is a list of list of ascii characters.
key_code = [['0'],['5'],['4'],['6'],['3','5'],['1','6'],['1','3'],['0'],['5','6'],['6'],['1']]
keys = list(itertools.product(*key_code))

for key in keys:
	print("".join(key))
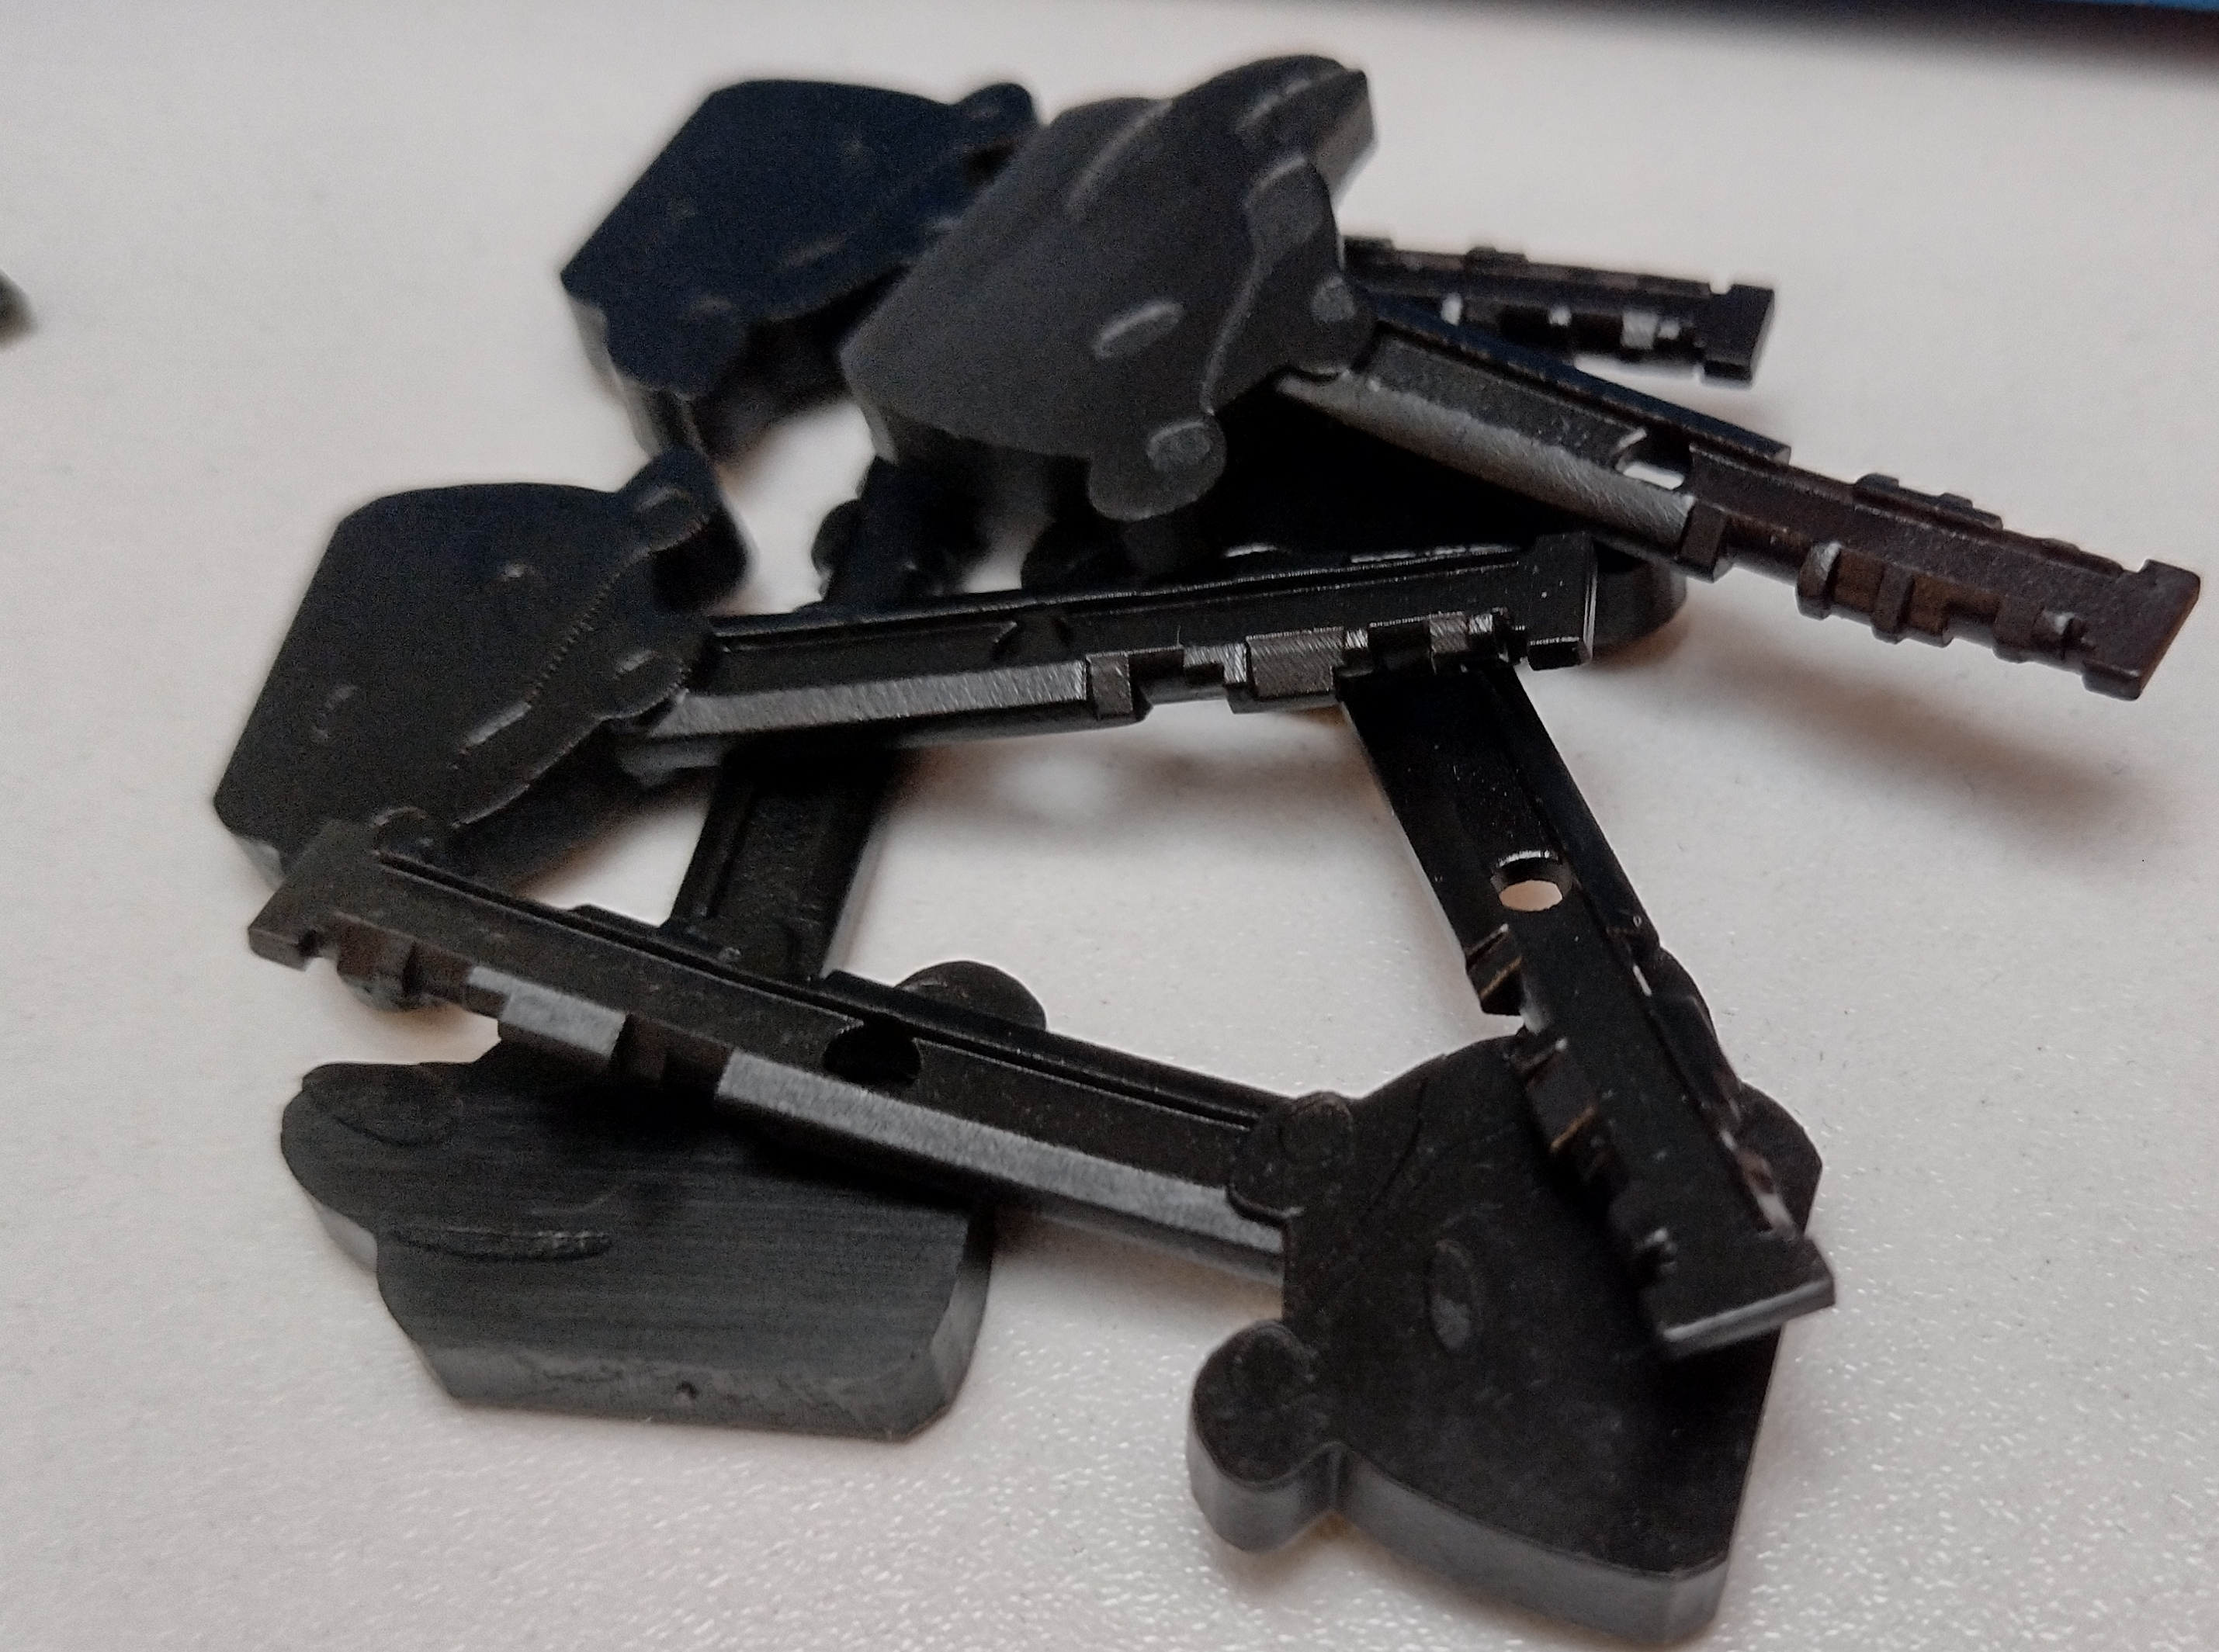
This script should work for most key systems. For me, it generated the sixteen valid keys of this master keyed system. With Reinder’s online generator, I’ve generated the files. As I lack a printer capable of printing these, I used the 3D printing service from JLCPCB. Reinder had good experience with Imagine Black, so that was my starting point as well.
Reinder’s tool for generating the keys isn’t widely shared, yet. He has shared a video in which several more 3D printed keys are showcased, including a few which work better than the online generated keys. Several other scripts (By NVX, and bgrydon) are available online, but they don’t work as well as this work.
Uploading the models it to the service was quite tedious. Not only does the material, finish, and customs description need to be filled in for each print, QA was quite picky, and rejected the files several times. After some touch ups in Meshmixer, the keys are ordered. 3D printing keys was very affordable.
The prints came in after a couple of weeks and look great. As the print doesn’t have a captive ball bearing, I’ve removed one from a non-functioning key. Sadly, none of the keys worked of the first print run. After double-checking the data, I’ve found a translation mistake. One disk was flipped in the picture, where a disk five becomes a three.
After going through the process a second time, the keys opened the lock I decoded. Possibly a bit more surprising, two keys worked on all other locks as well. So these are the master keys of a system bigger than these nine locks.
While it’s a great success, and defeating this system with 3D printing, I think we can do much more with this locking system. I’ll likely revisit the work of Matt Smith, to attempt to pick it, or at least try to find a better way of decoding the locks.
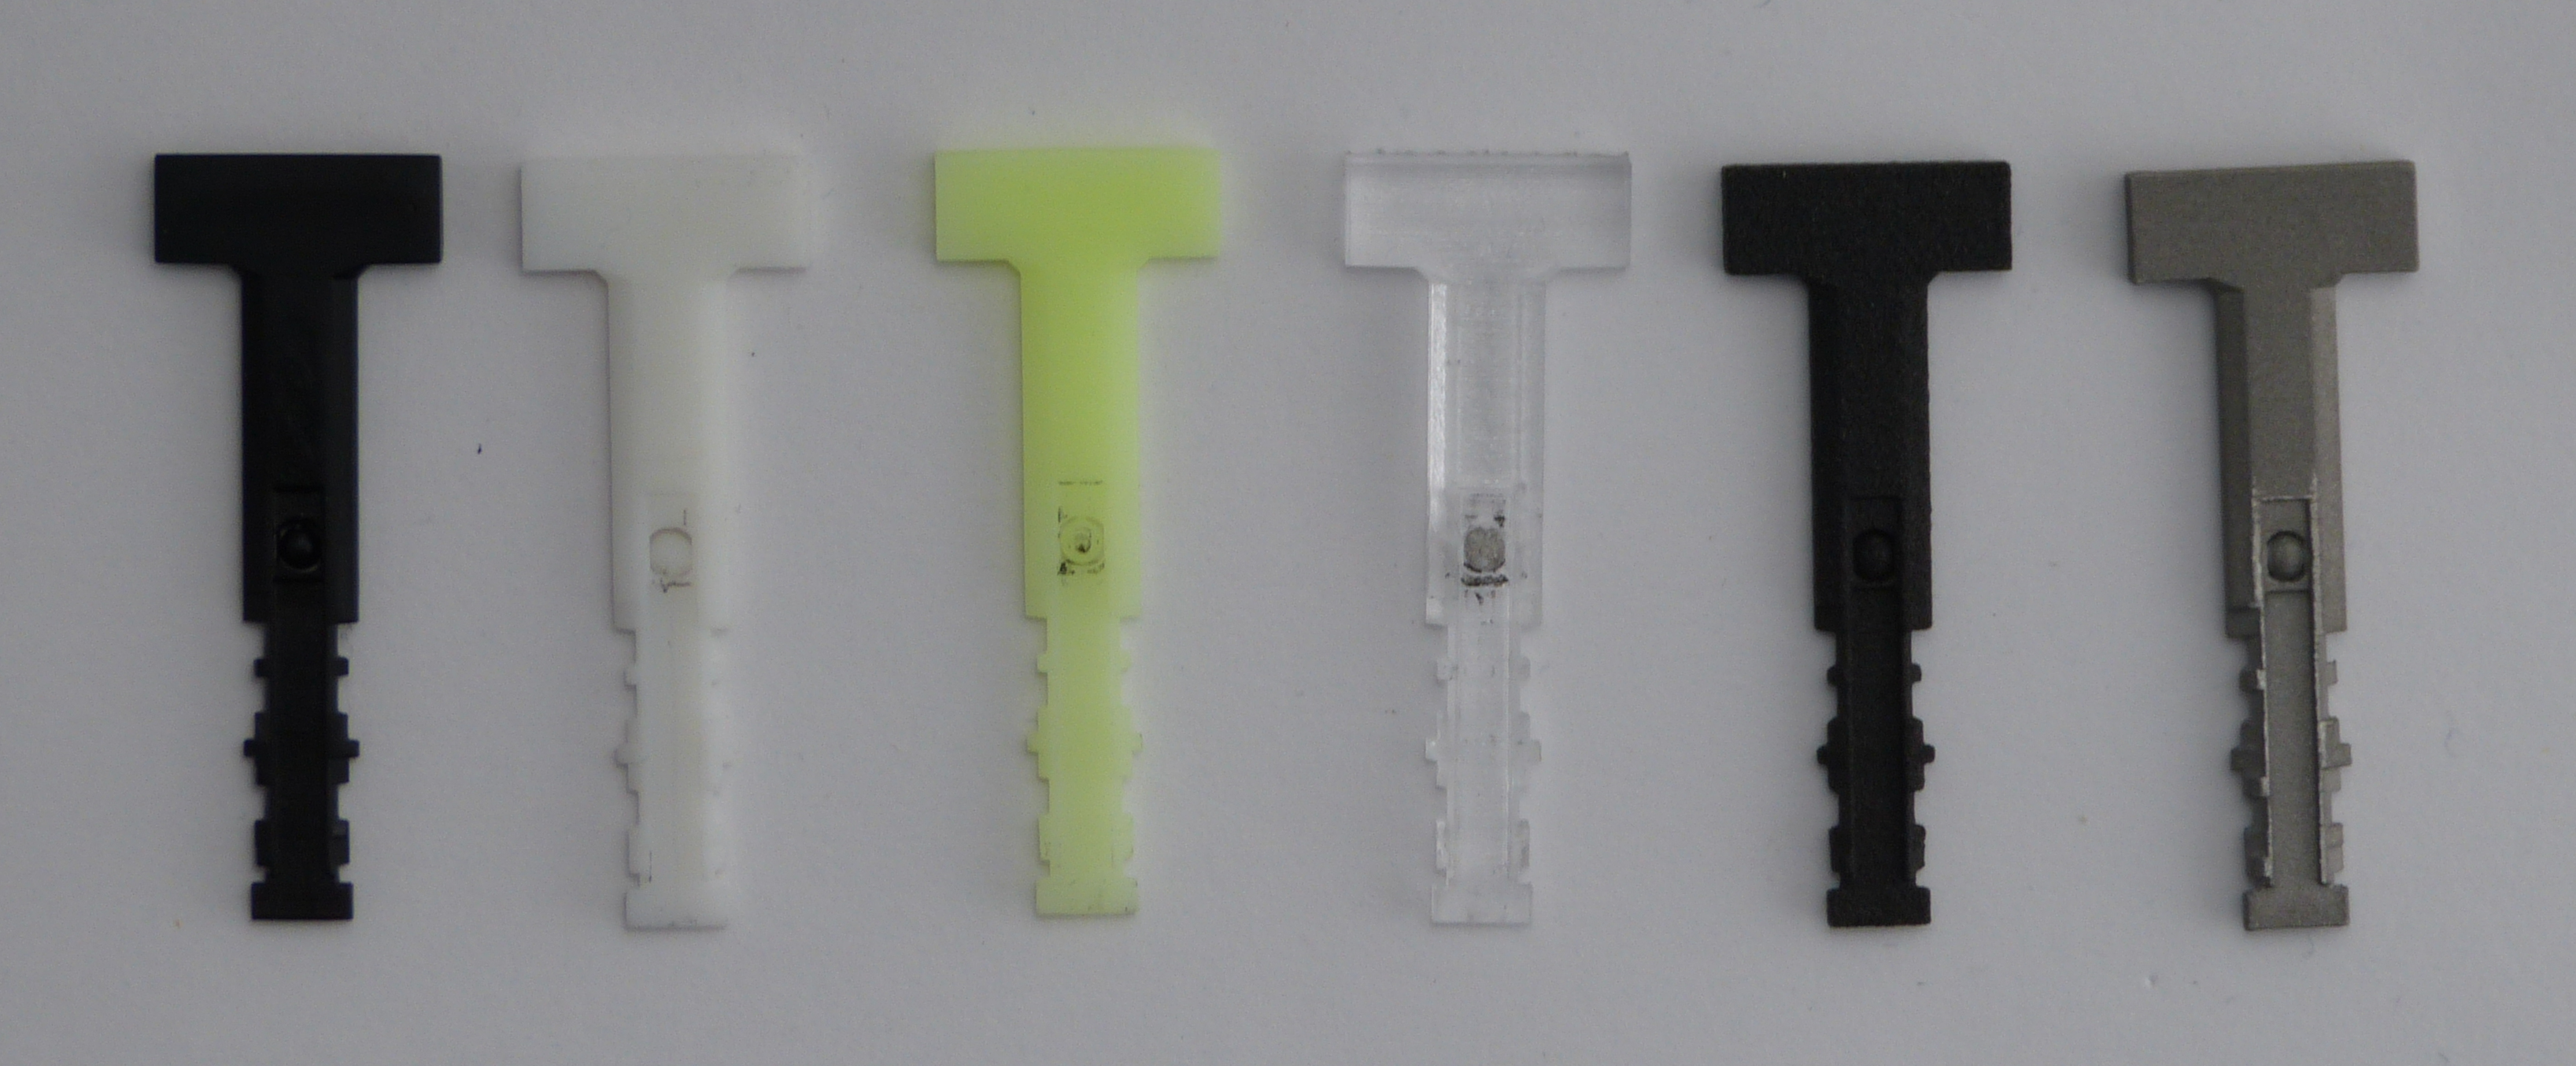
To settle one curiosity, I’ve commissioned new prints generated by Reinder in several materials. These have a captive ball. From left to right, we have: Imagine black, 9000R Resin, 8228 Resin, 8001 Resin, 3201PA-F Nylon, 316L Stainless.
All the plastic keys were dimensionally correct and opened the lock. Of course, the engineering resins work much smoother and are generally stronger. The 8228 seems to be very good, except for the ugly color 🙂
So, what about the metal key? While it is amazing we can have these parts fabricated for €8 per key, the dimensions aren’t there yet. The key is slightly oversized and doesn’t fit the keyway. Of course, you can order keys with several different scaling factors, but it’ll be expensive, whereas the resin prints work well and are relatively cheap. In the end the resin keys are around €2 each, and I’ve spent about €200 on the whole project.
While it’s exciting to ‘defeat’ Protec2 locks with this attack, it’s more a showcase of skill and dedication of people in the locksport community. Thanks, Reinder and James, for allowing me to use this work.
This text and the pictures are CCBY4.0 Jan-Willem Markus, Toool Blackbag. The copyright of the key generator is with Reinder Stegen and James Wah.
Posted in Keys, General, Decoding | Comments Off on 3D printing keys for Protec2
In an effort to bring people up to speed on the Dutch Open Competitions at LockCon, we are publishing the competition rules. The PDF below are rules for the Lockpicking, Impressioning and Lever lockpicking competition, exported from the ‘How to run LockCon’ document written by Walter in 2016.
We have a lockpicking, impressioning, disk detainer, and Lockpicking Pentathlon. The Pentathlon has five opening techniques which includes picking, lever lockpicking, car locks and much more.
The organizers will put up flip overs, on which you can register yourself for the competition. Please be on time when the competition starts. We aim to have Impressioning on Friday afternoon, Lockpicking on Saturday afternoon, and the Pentathlon on Sunday.
Lockpicking
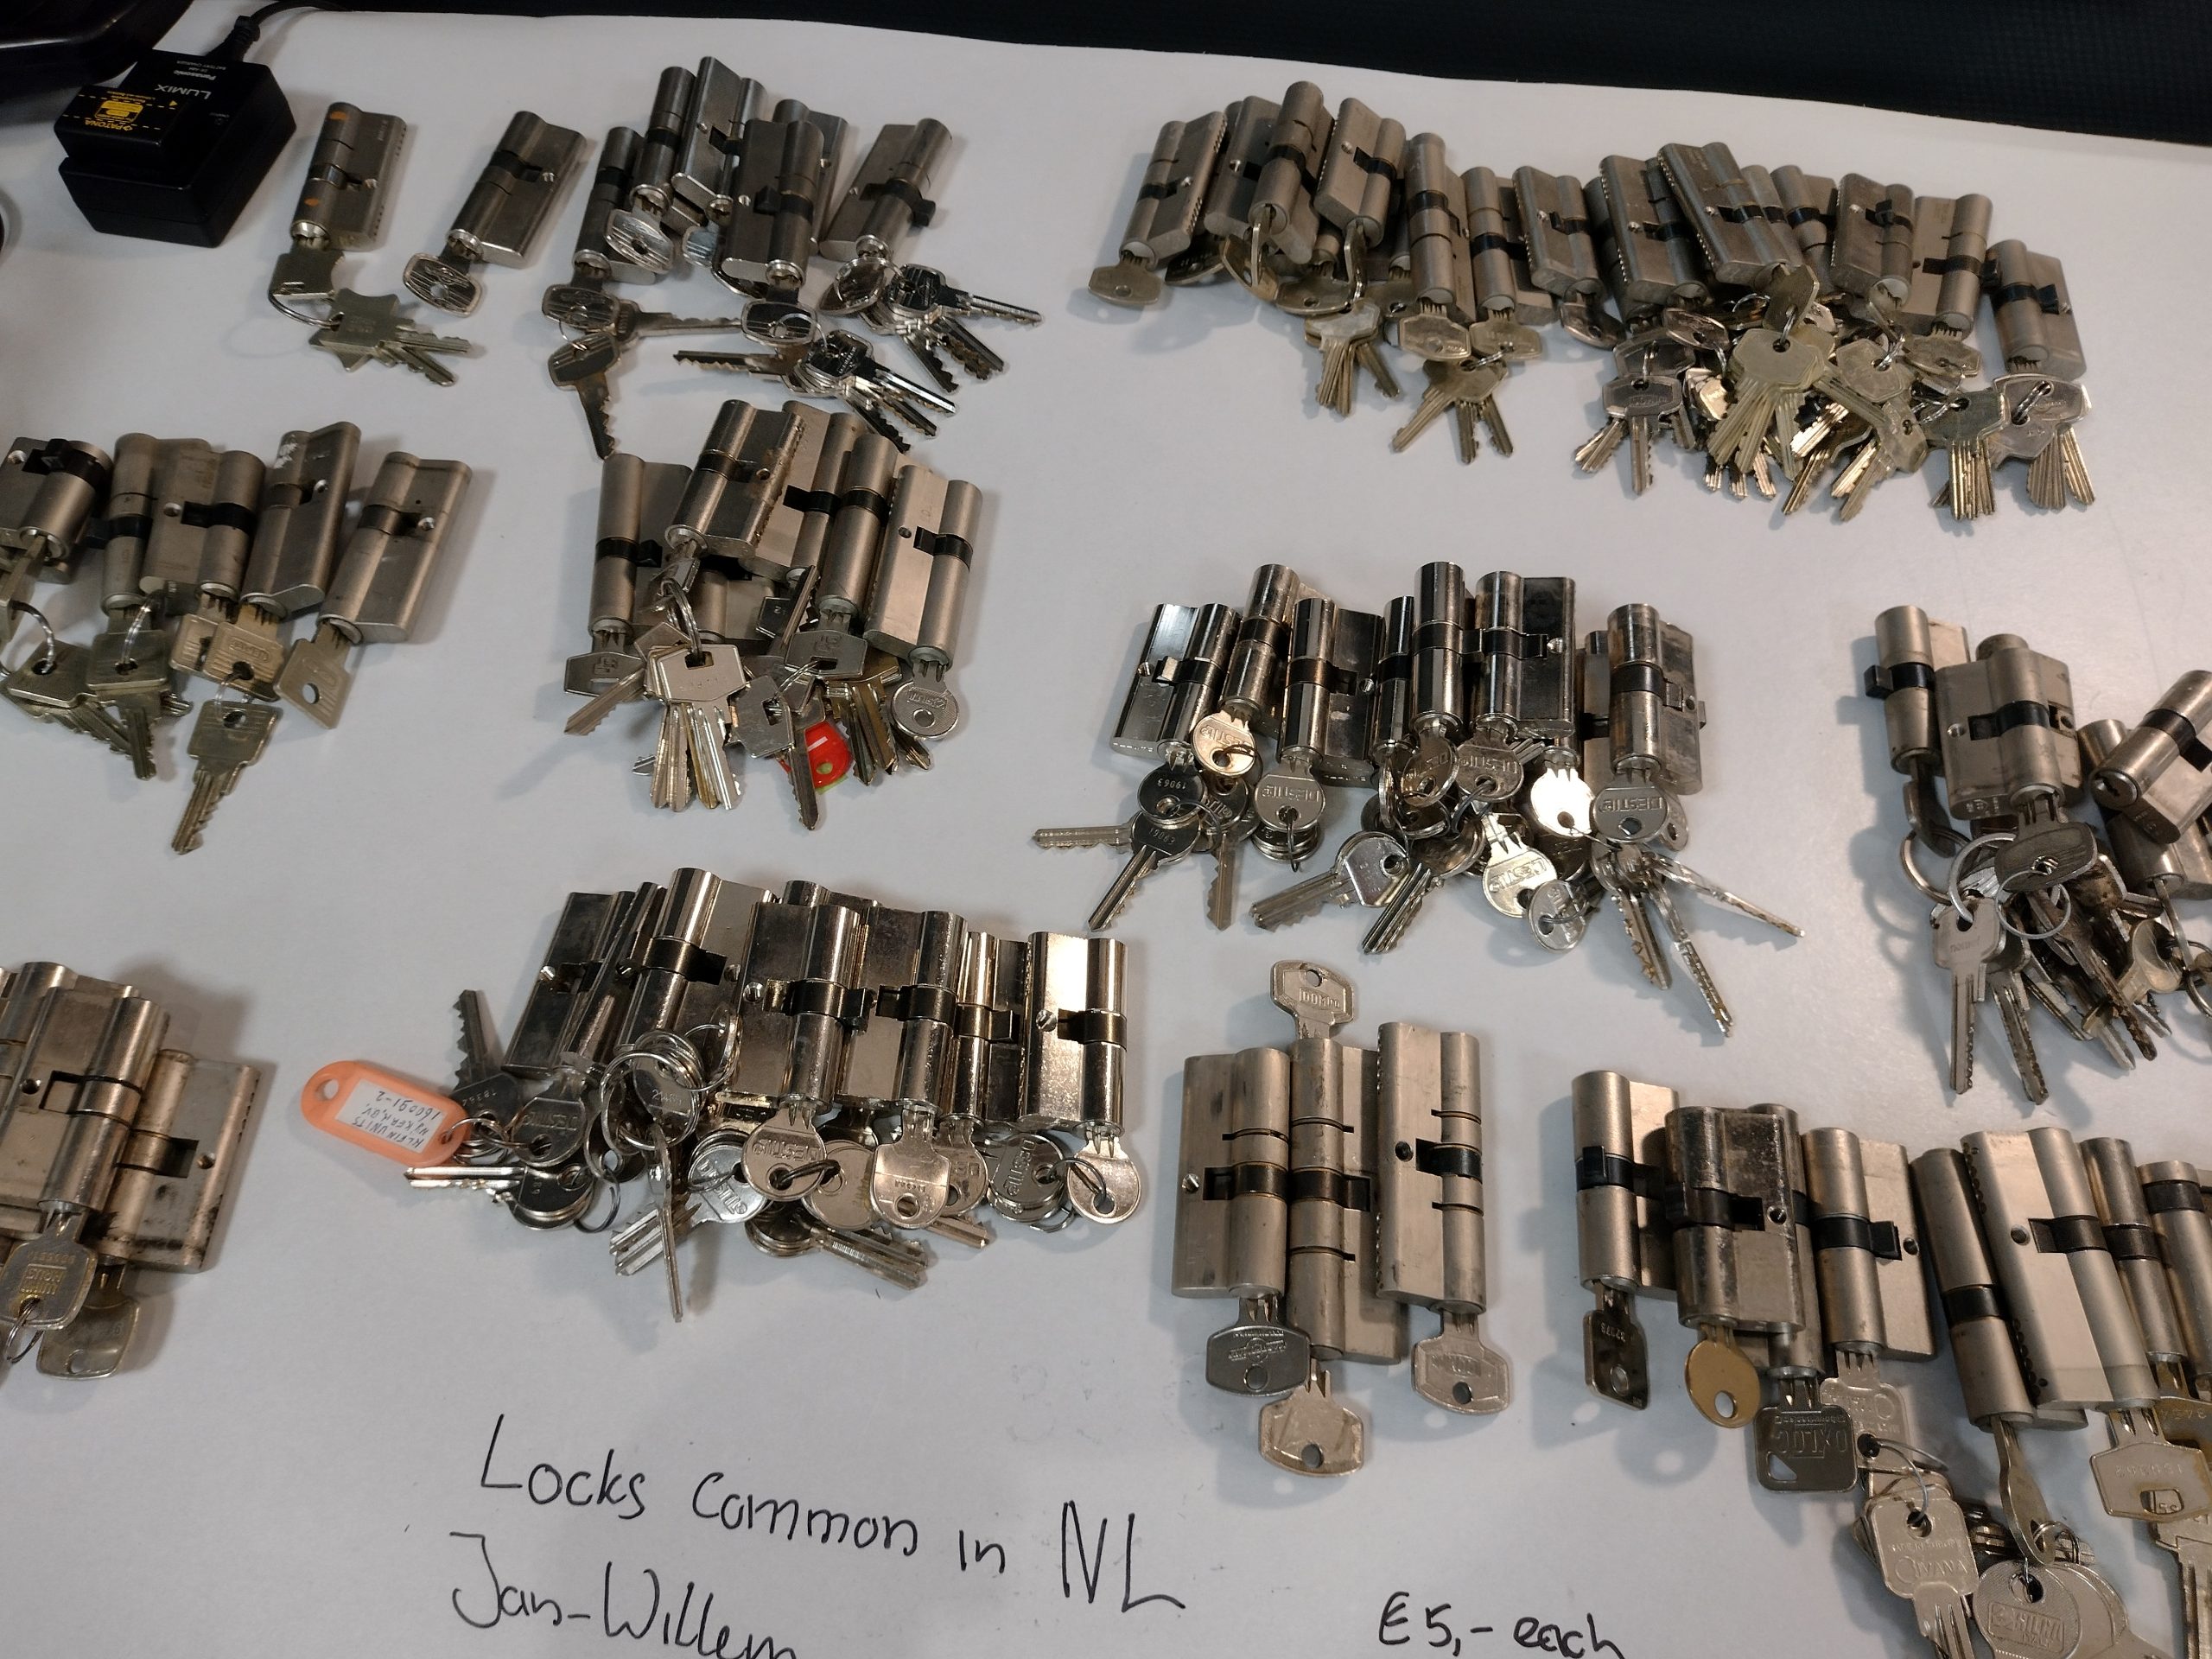
For LockCon 2023 we will run the lockpicking competition with locks commonly found in the Netherlands, in addition to locks kindly sponsored by Zeefeene and Nigel from Toool UK.
The locks are pickable with normal lockpicks, of which we do not have a restriction for custom or commercial.
We aim to have locks without a secondary locking system, I.e. sidebar.
Applying torque on the tailpiece instead of using a tension wrench is allowed.
The time per round is adjusted for the difficulty of the lock, usually 5/10/15 minutes per round.
Impressioning
The Impressioning competition will be on Abus C83 locks, kindly sponsored by Abus. The first round will be an hour, and the A and B finals are planned to be six rounds of 15 minutes each.
In addition to the rules below, we added several small nuances to the rules:
The tailpiece of the lock needs to be unobstructed. As in, no torque can be applied from the tailpiece. Please take care to mount the lock properly, and not pinch the tailpiece.
Any newly invented tool or technique can only be used in the competition after explicit permission of the Judges.
Please see the Dutch Open Impressioning Championship 2022 report for more information on the competition. https://blackbag.toool.nl/?p=4222
Disk detainer competition
We will have a disk detainer lockpicking competition for the first time. For which, Sparrows kindly sponsored five of their disk detainer lockpicks. The competition will run throughout the event as a self timed competition.
There will be three to five locks, from easy to fairly difficult.
Locks are not guaranteed to be front tensioning, but can all be opened with the tools provided.
Please keep the combinations a secret for others competing.
The tools are not fragile, but shouldn’t be abused either. We have some spares, and come to the organizers if the tools are defective.
For people that are either new to disk detainers or don’t like competing, there will be tools and locks available to learn the technique, as well as workshops in picking high security disk detainers. We will also bring locks with much higher difficulty, starting at Abus plus with butterfly disks, to Tokoz Pro. Picking these high-end locks is left as an exercise to the attendees. (Maybe bring your own tools for these.)
Jan-Willem wrote a report in the Dutch Open championship in Impressioning, held at LockCon 2022. The report talks about the parts of the competition which are rarely discussed, like the bitting of the locks and the opening count of each lock. Hopefully this report is of use for anyone into competitive impressioning.
Our appreciation go to Abus for their generosity of sponsoring the competition locks and blanks. Abus has sent us the locks for LockCon 2023, as well. Which is on Friday 13th of October.
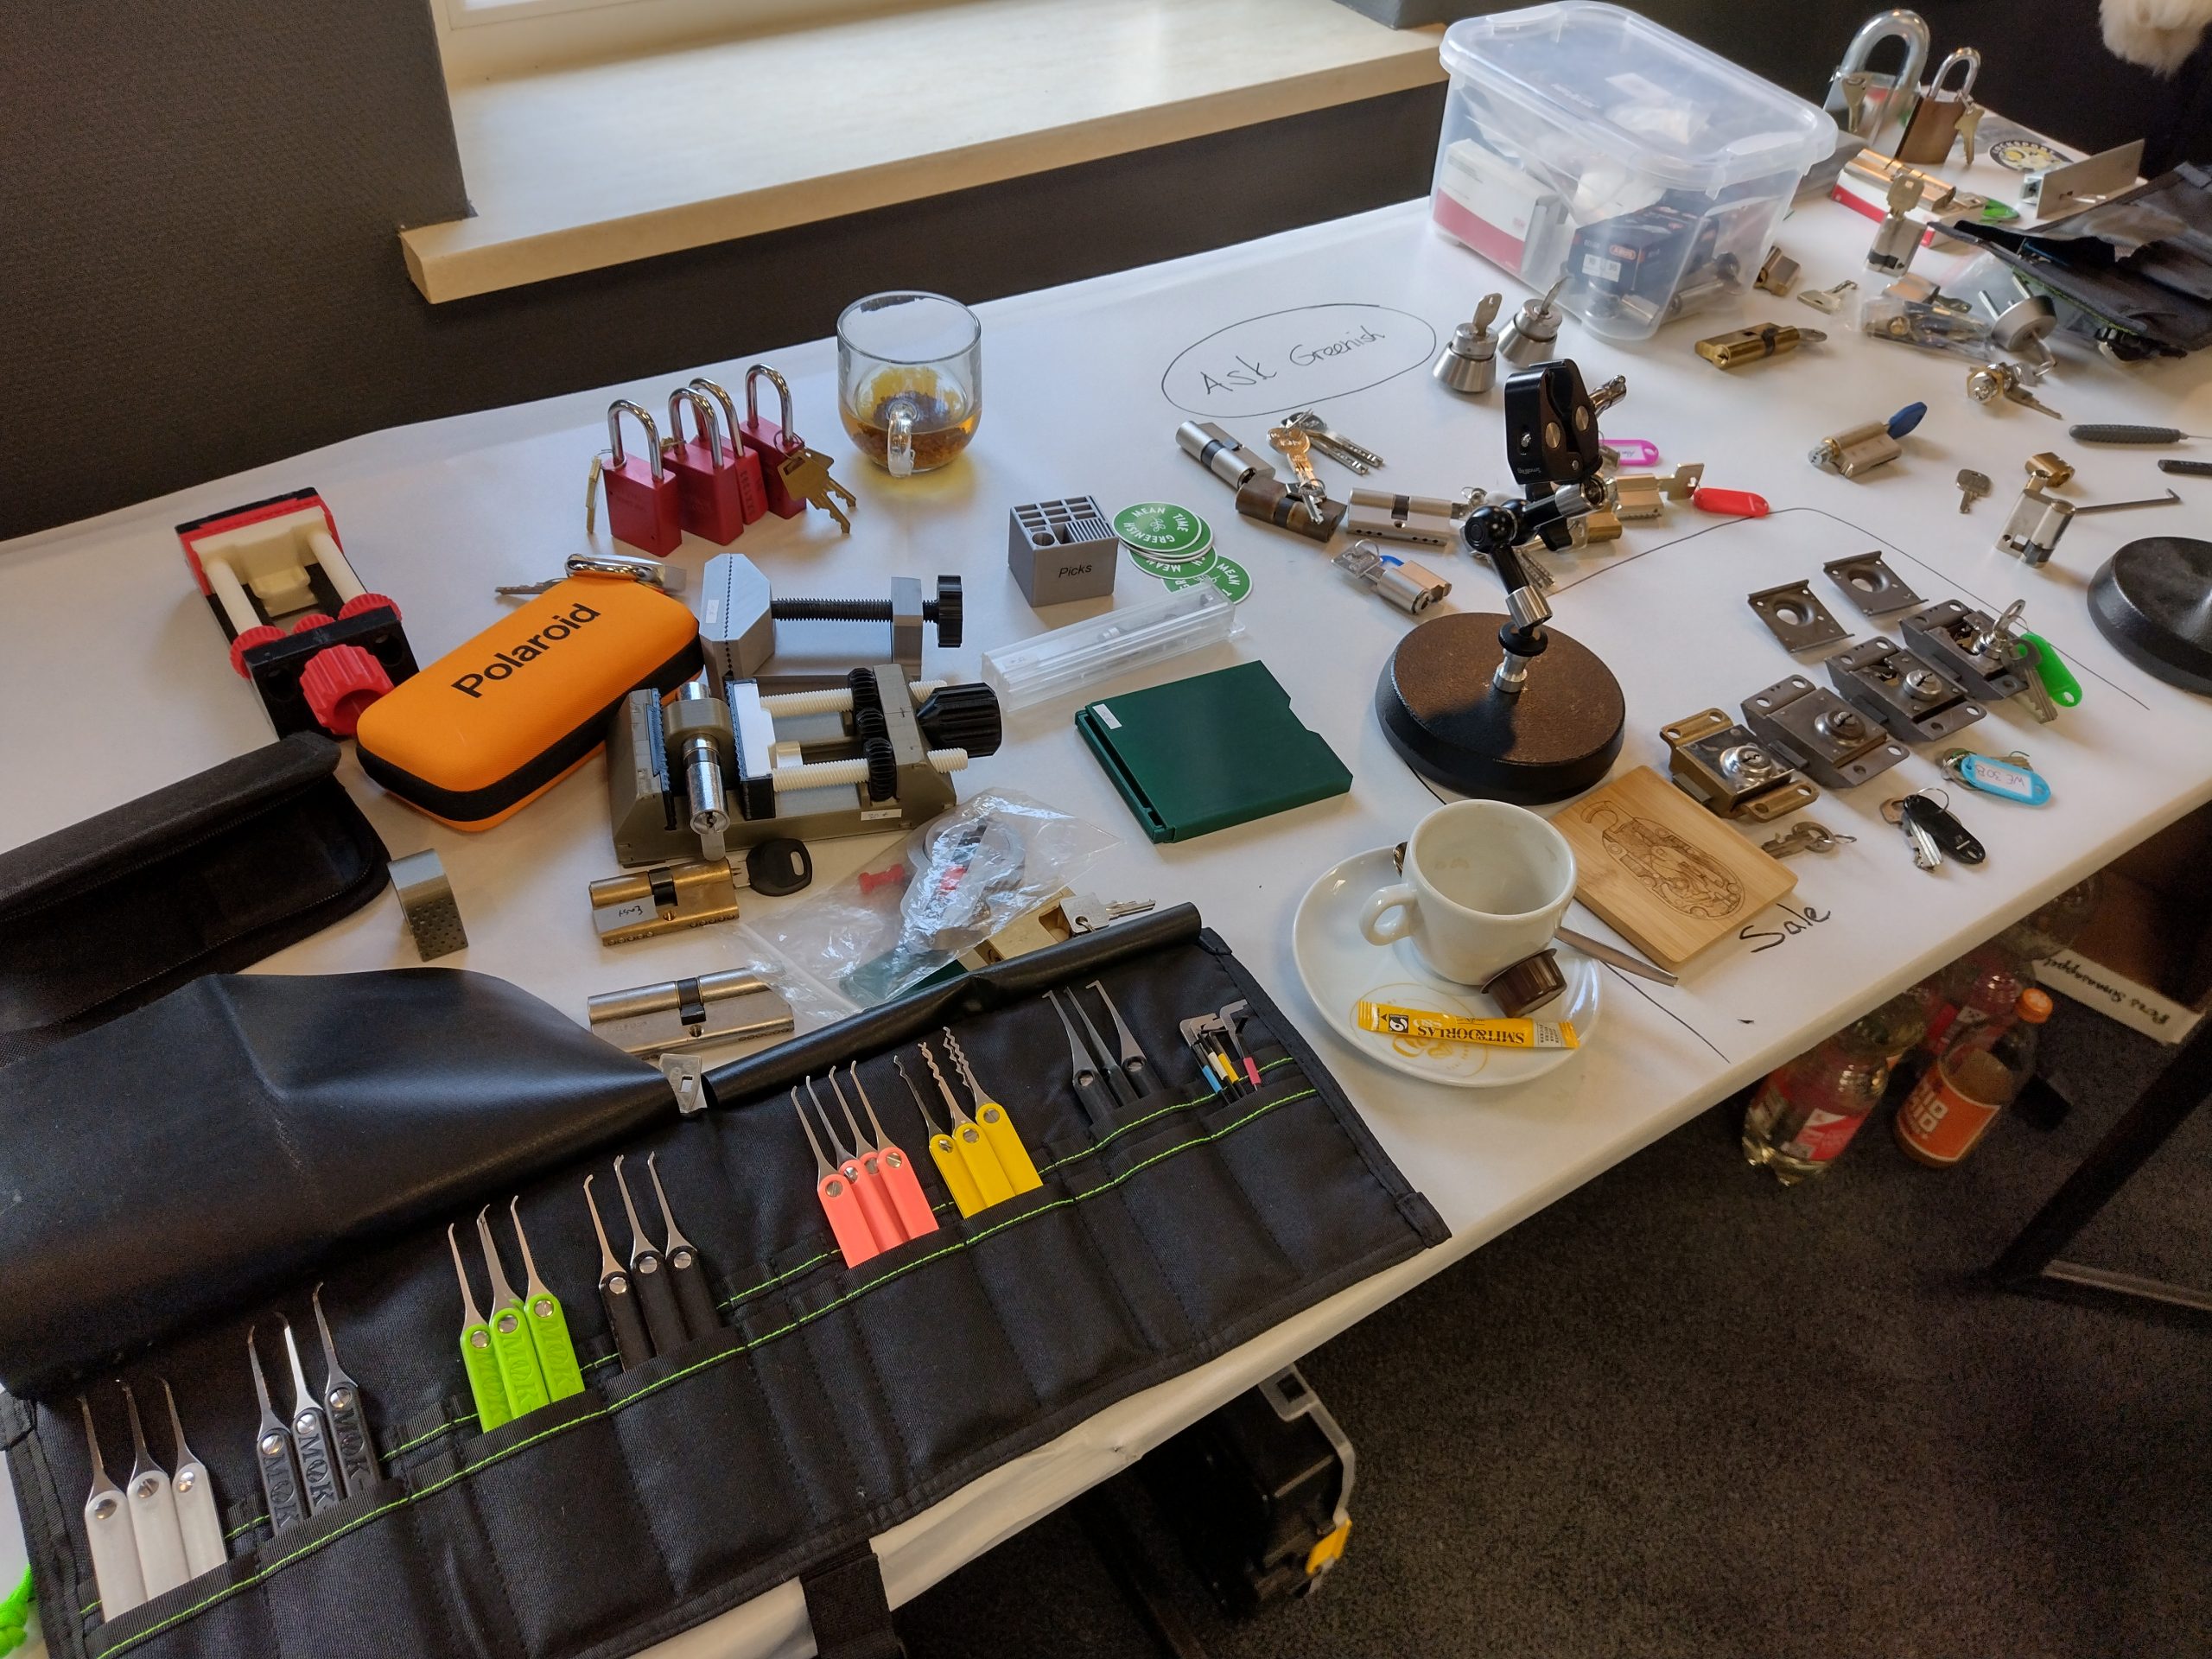
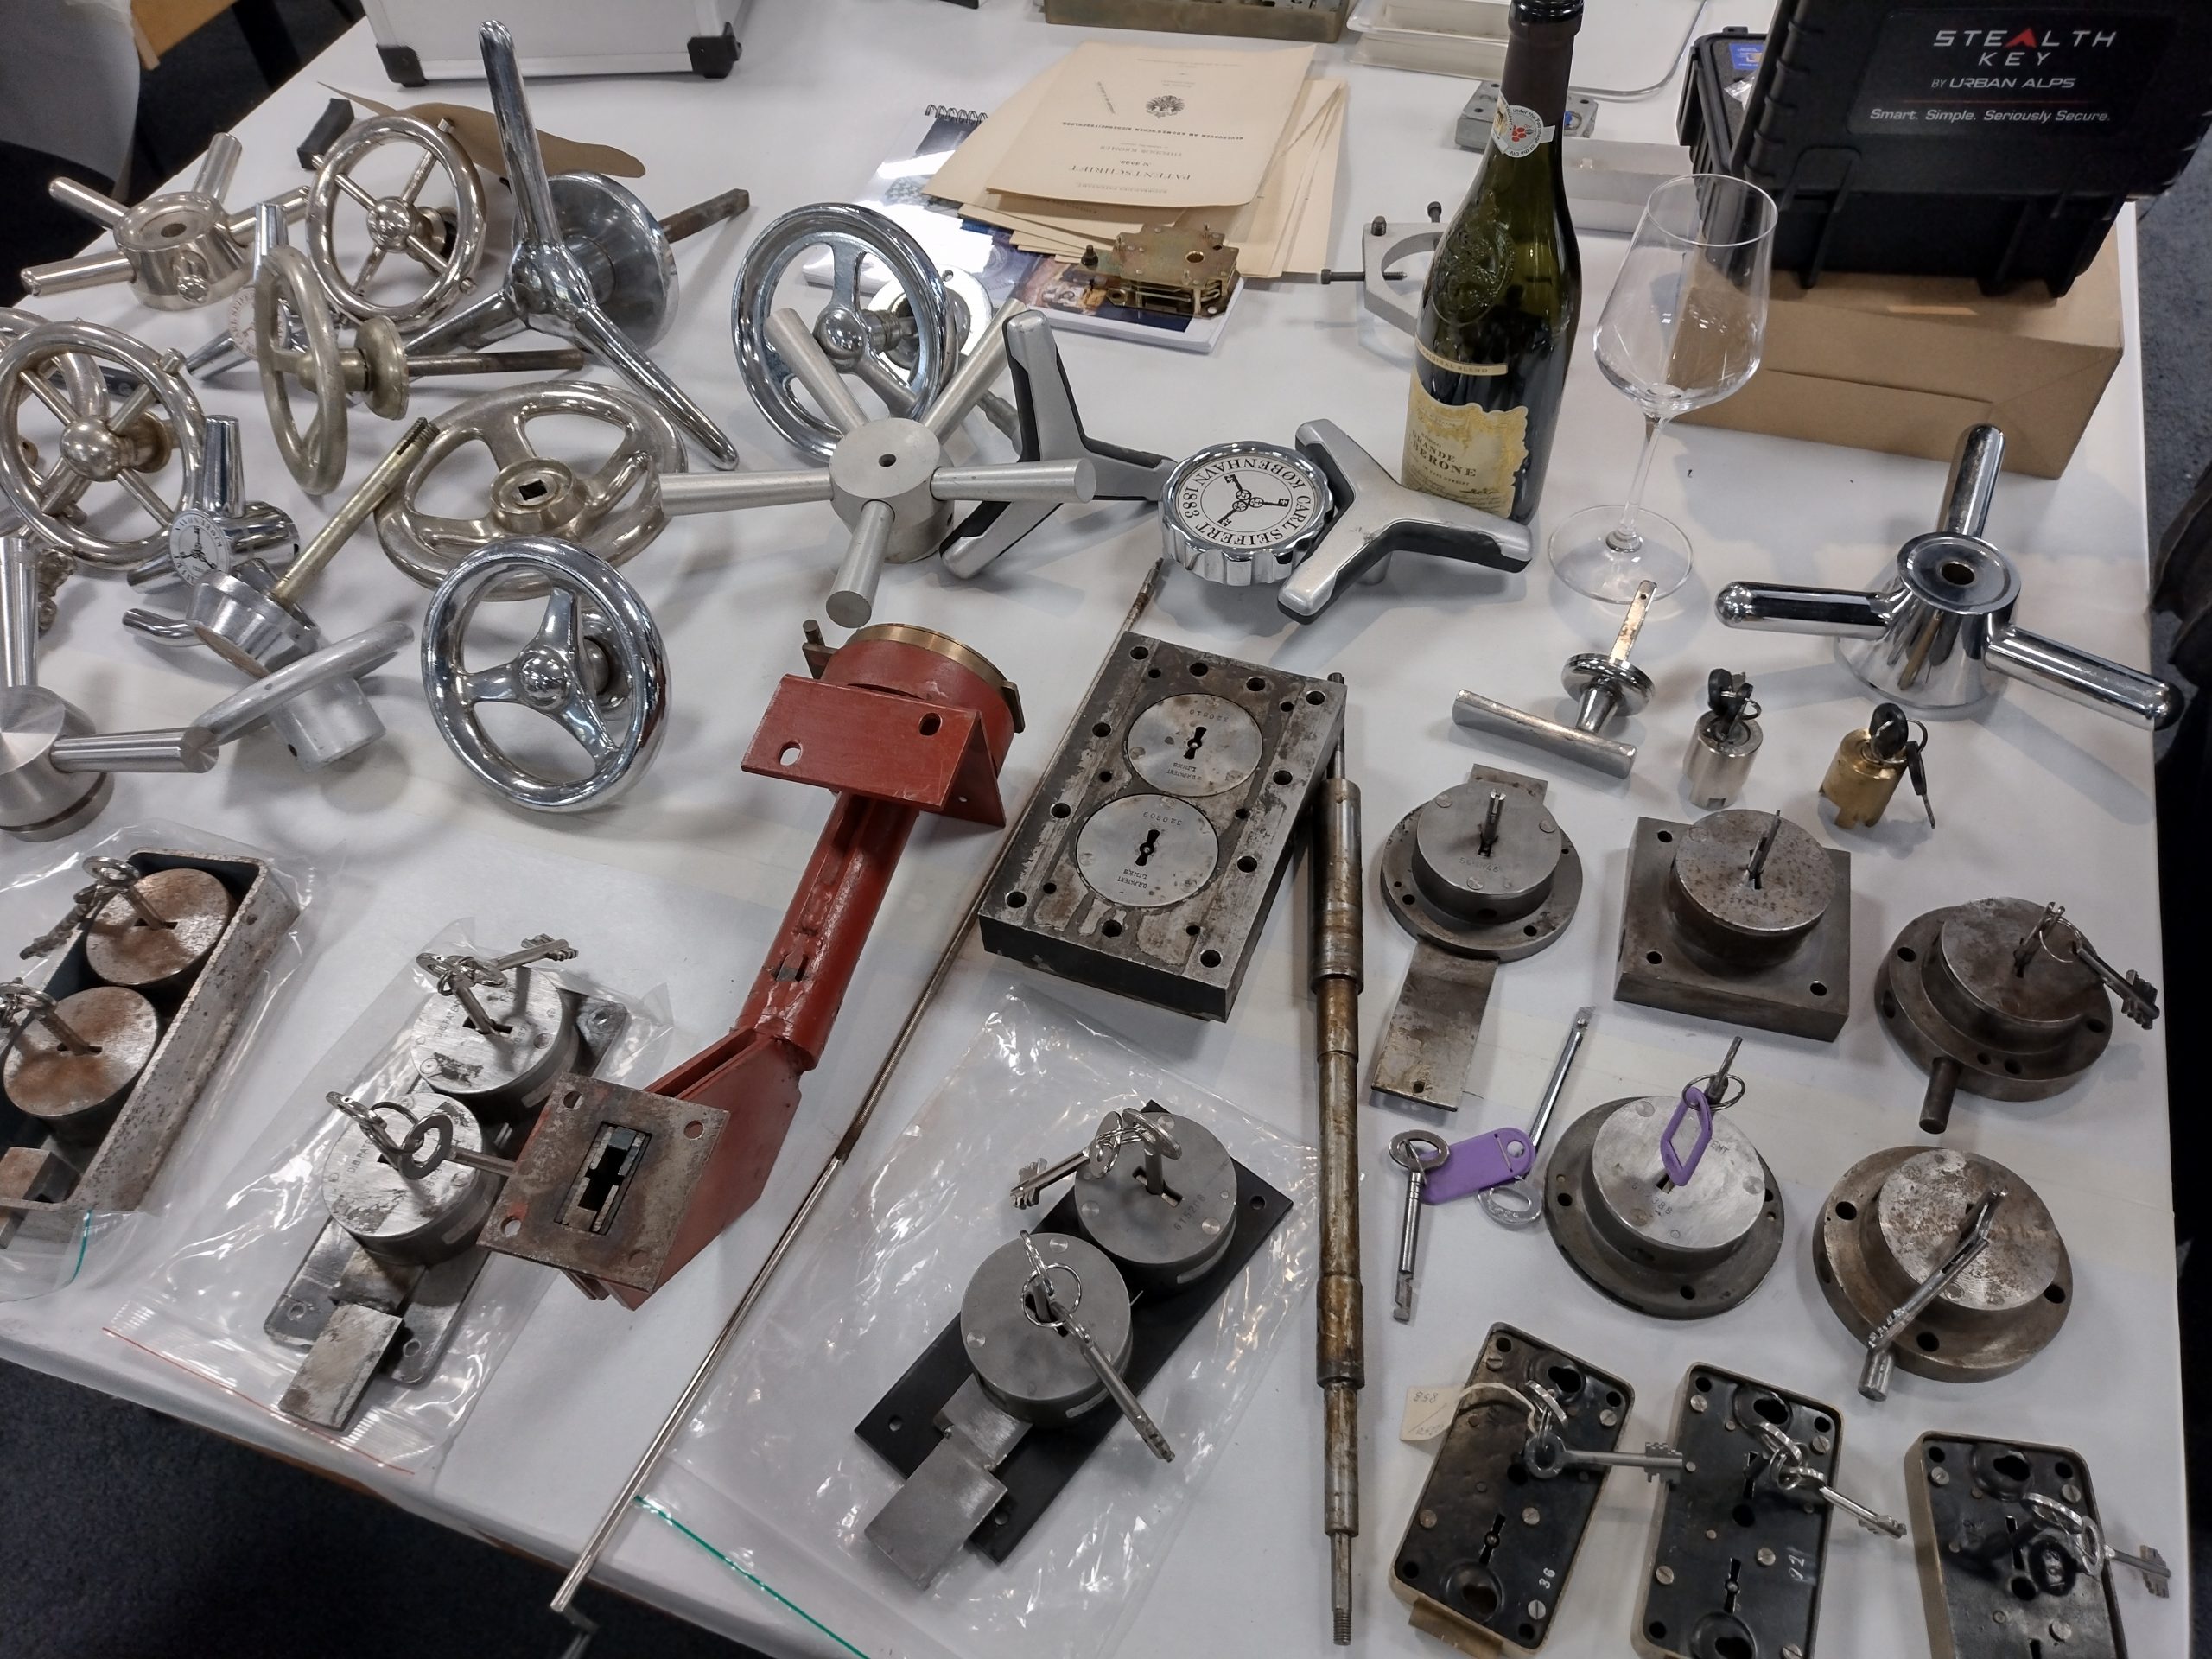
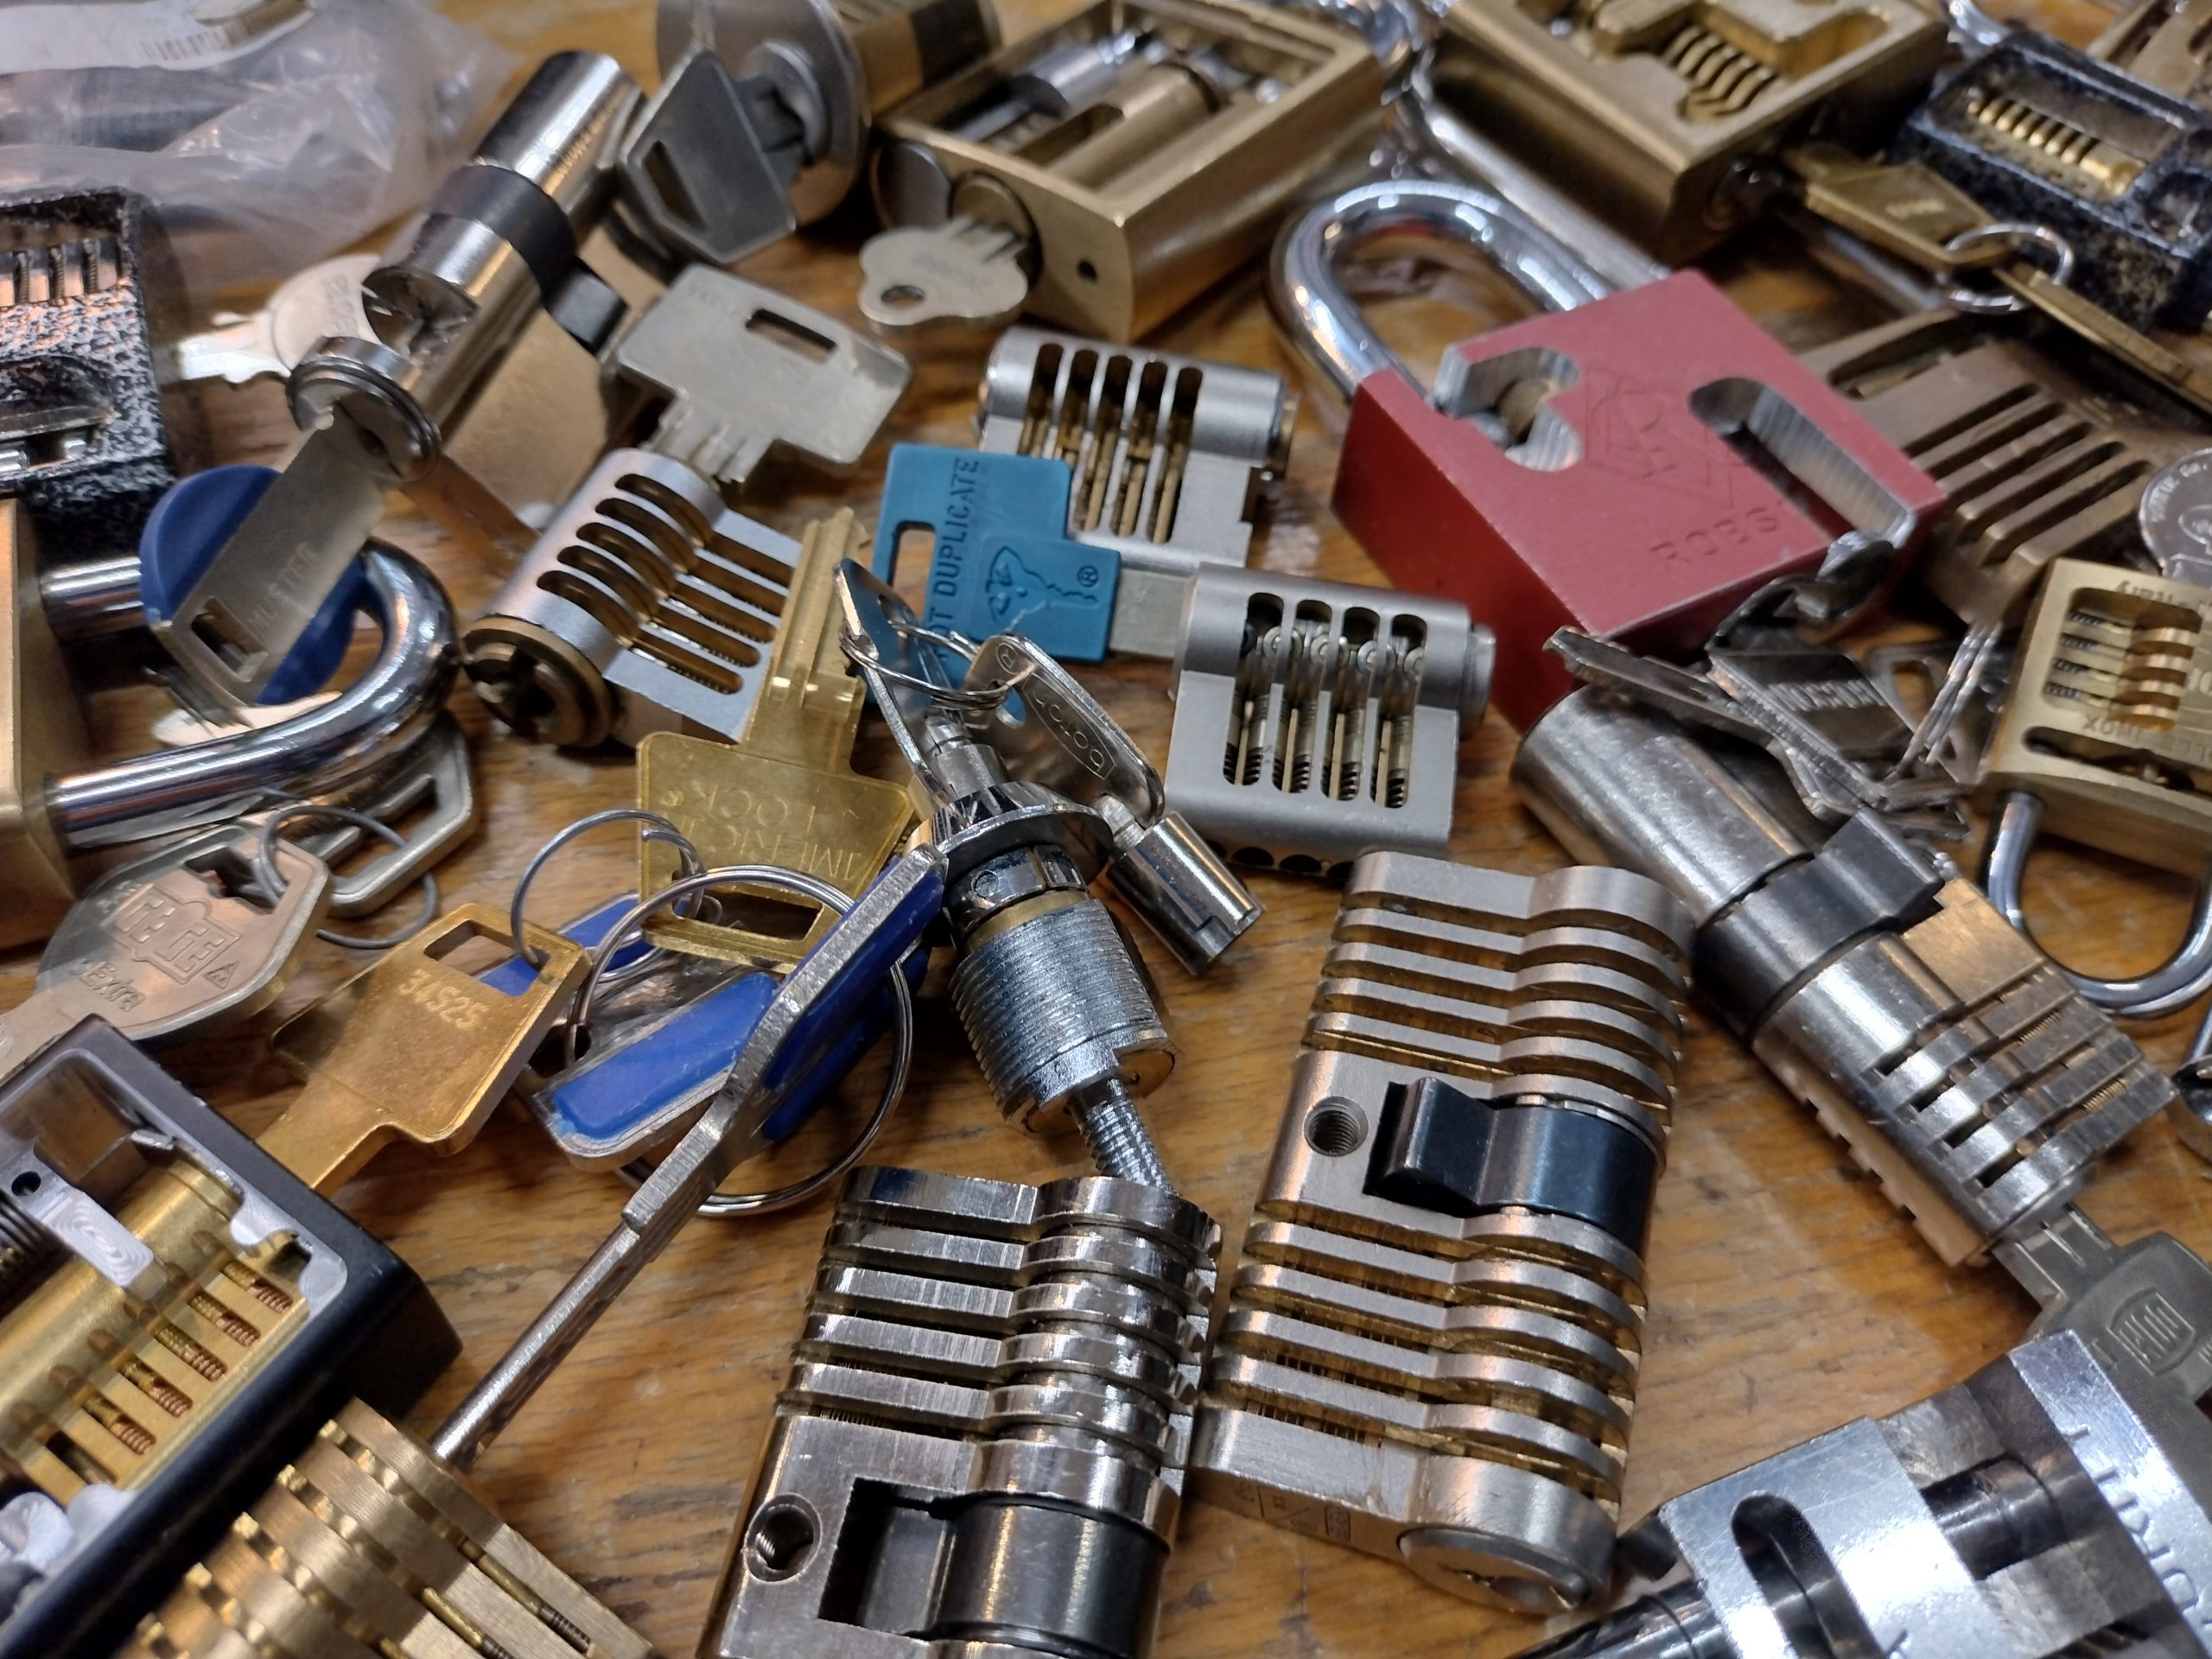
When we teach lockpicking we usually revert to schematics of locks, and different models for demonstrating the functionality of locks. Usually required as the core functionality is well hidden, and not often observable in action. Multiple skilled machinists have made cutaway locks for the purpose of demonstrating the inner workings of real locks.
At one cutaway themed evening, we had over 50 unique cutaways on the table. From all brands and mechanisms. Some of which even the pins themselves were cutaway.
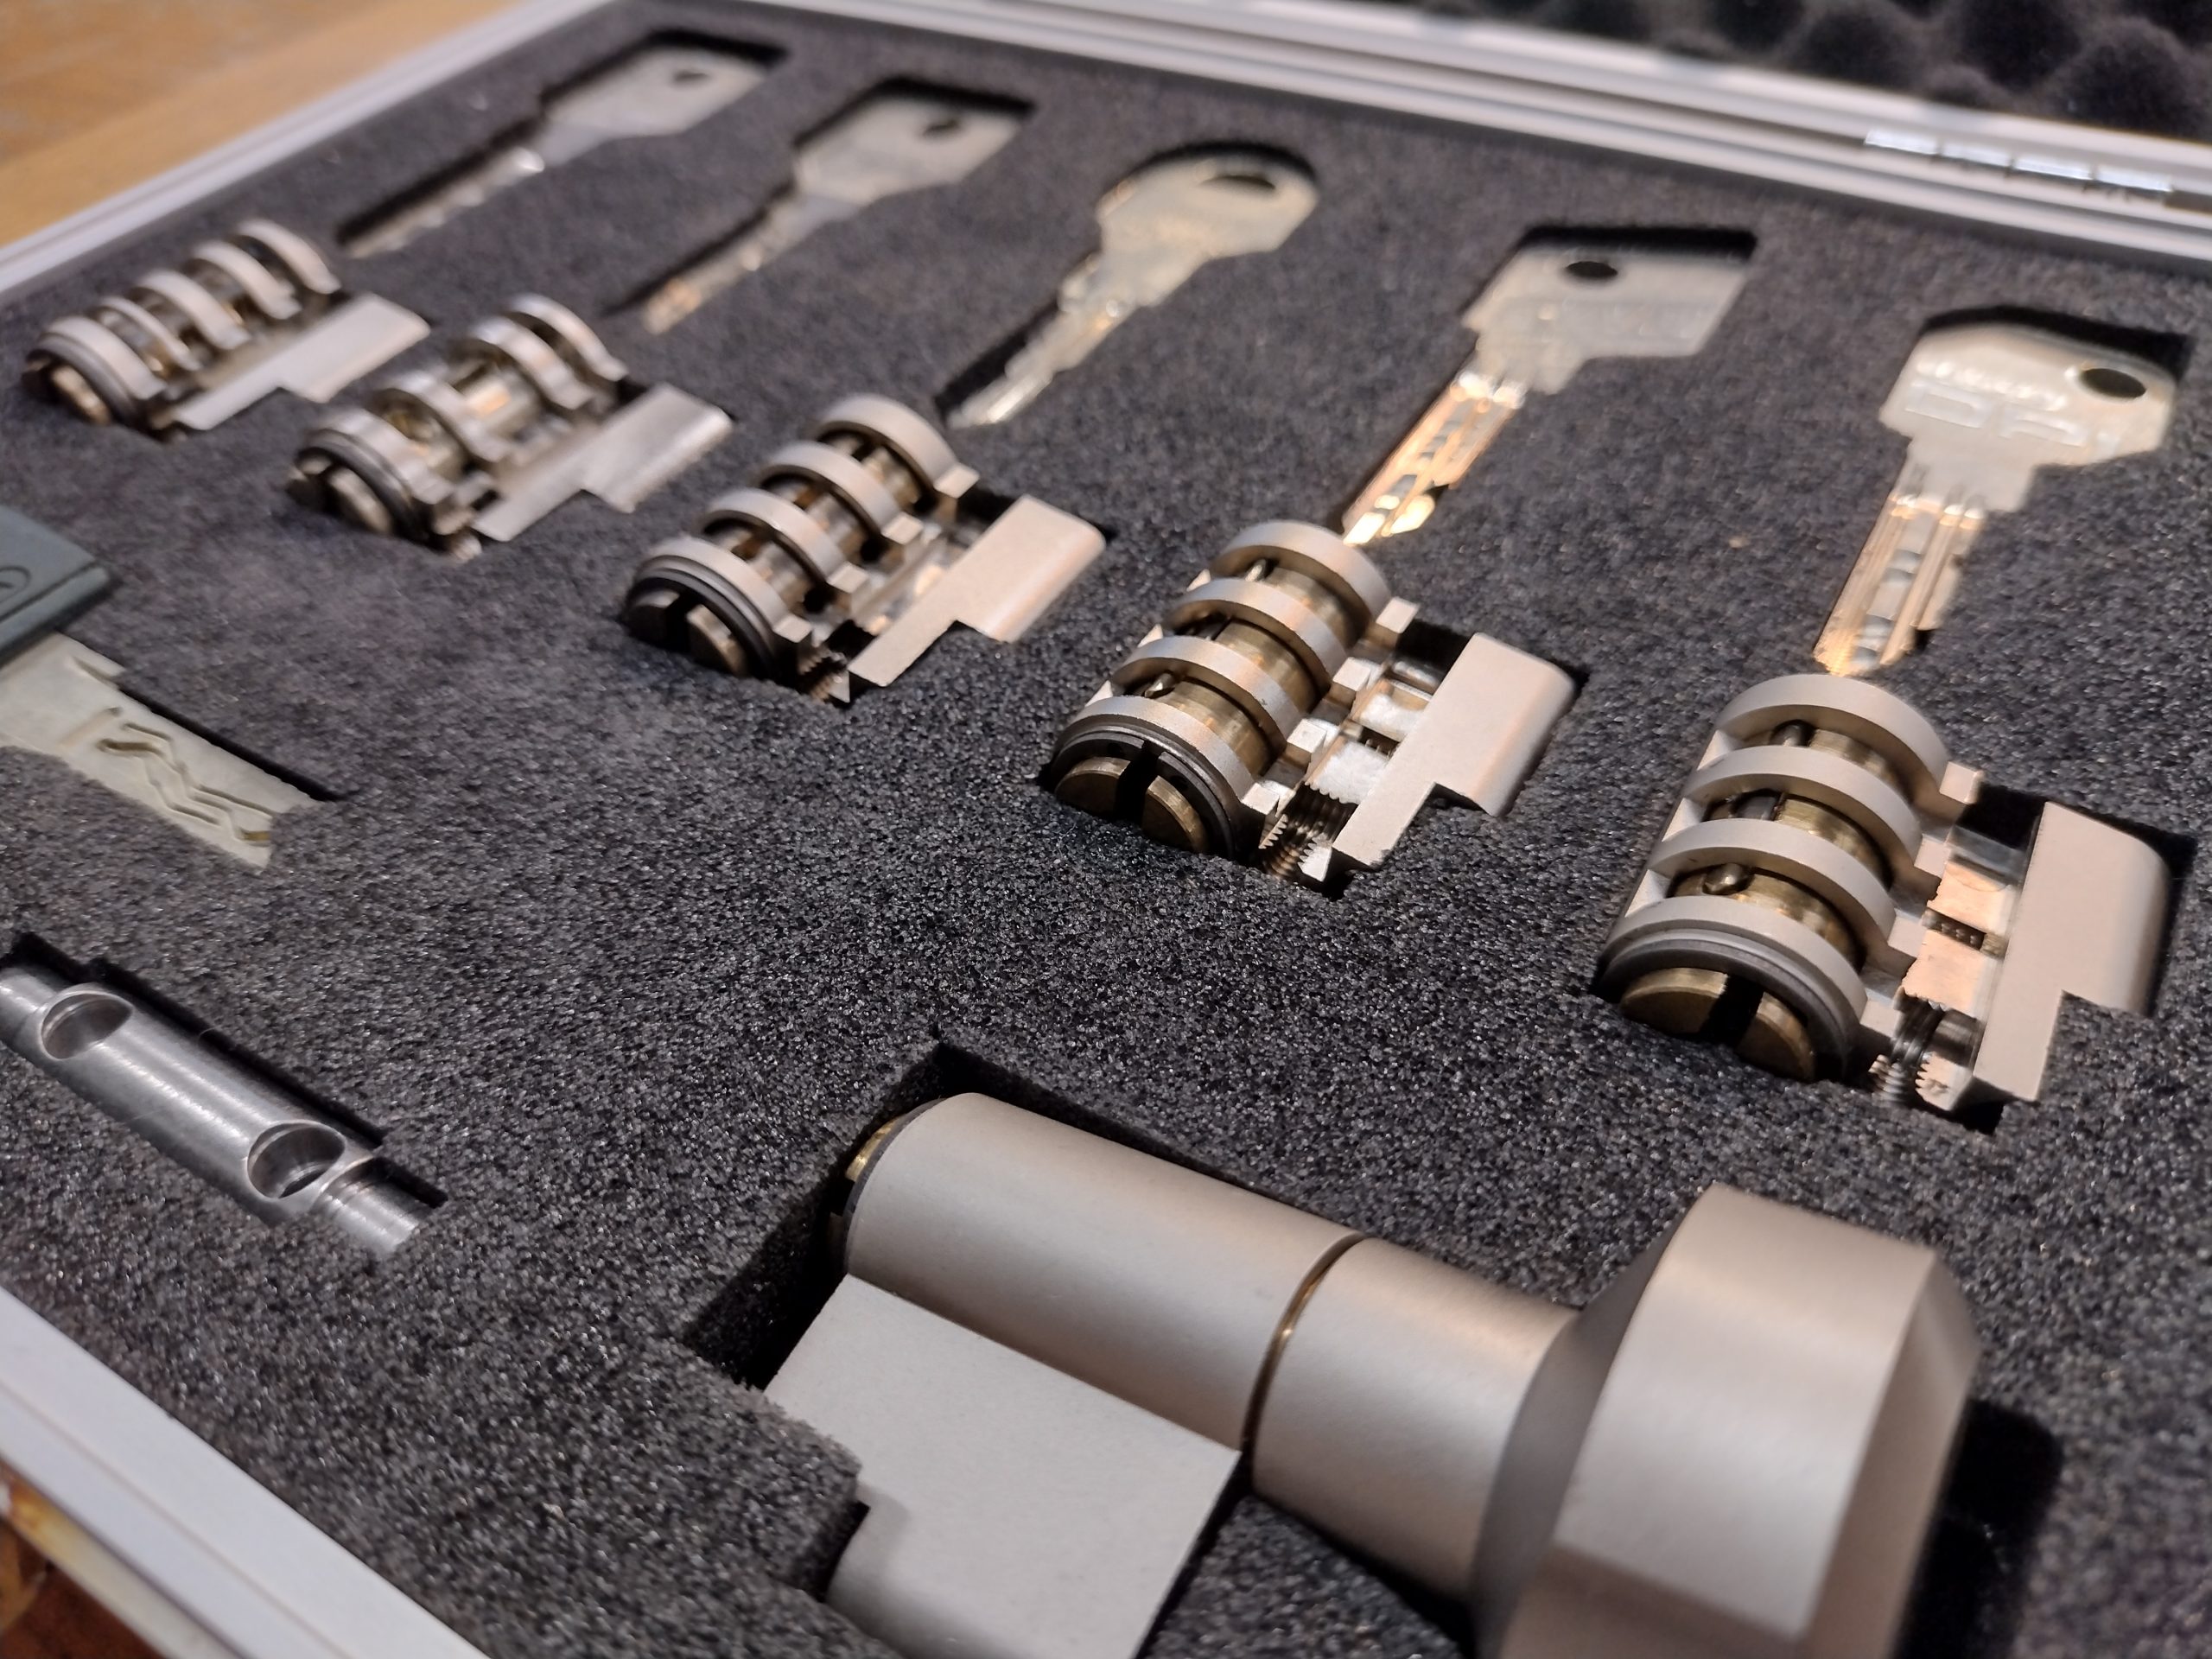
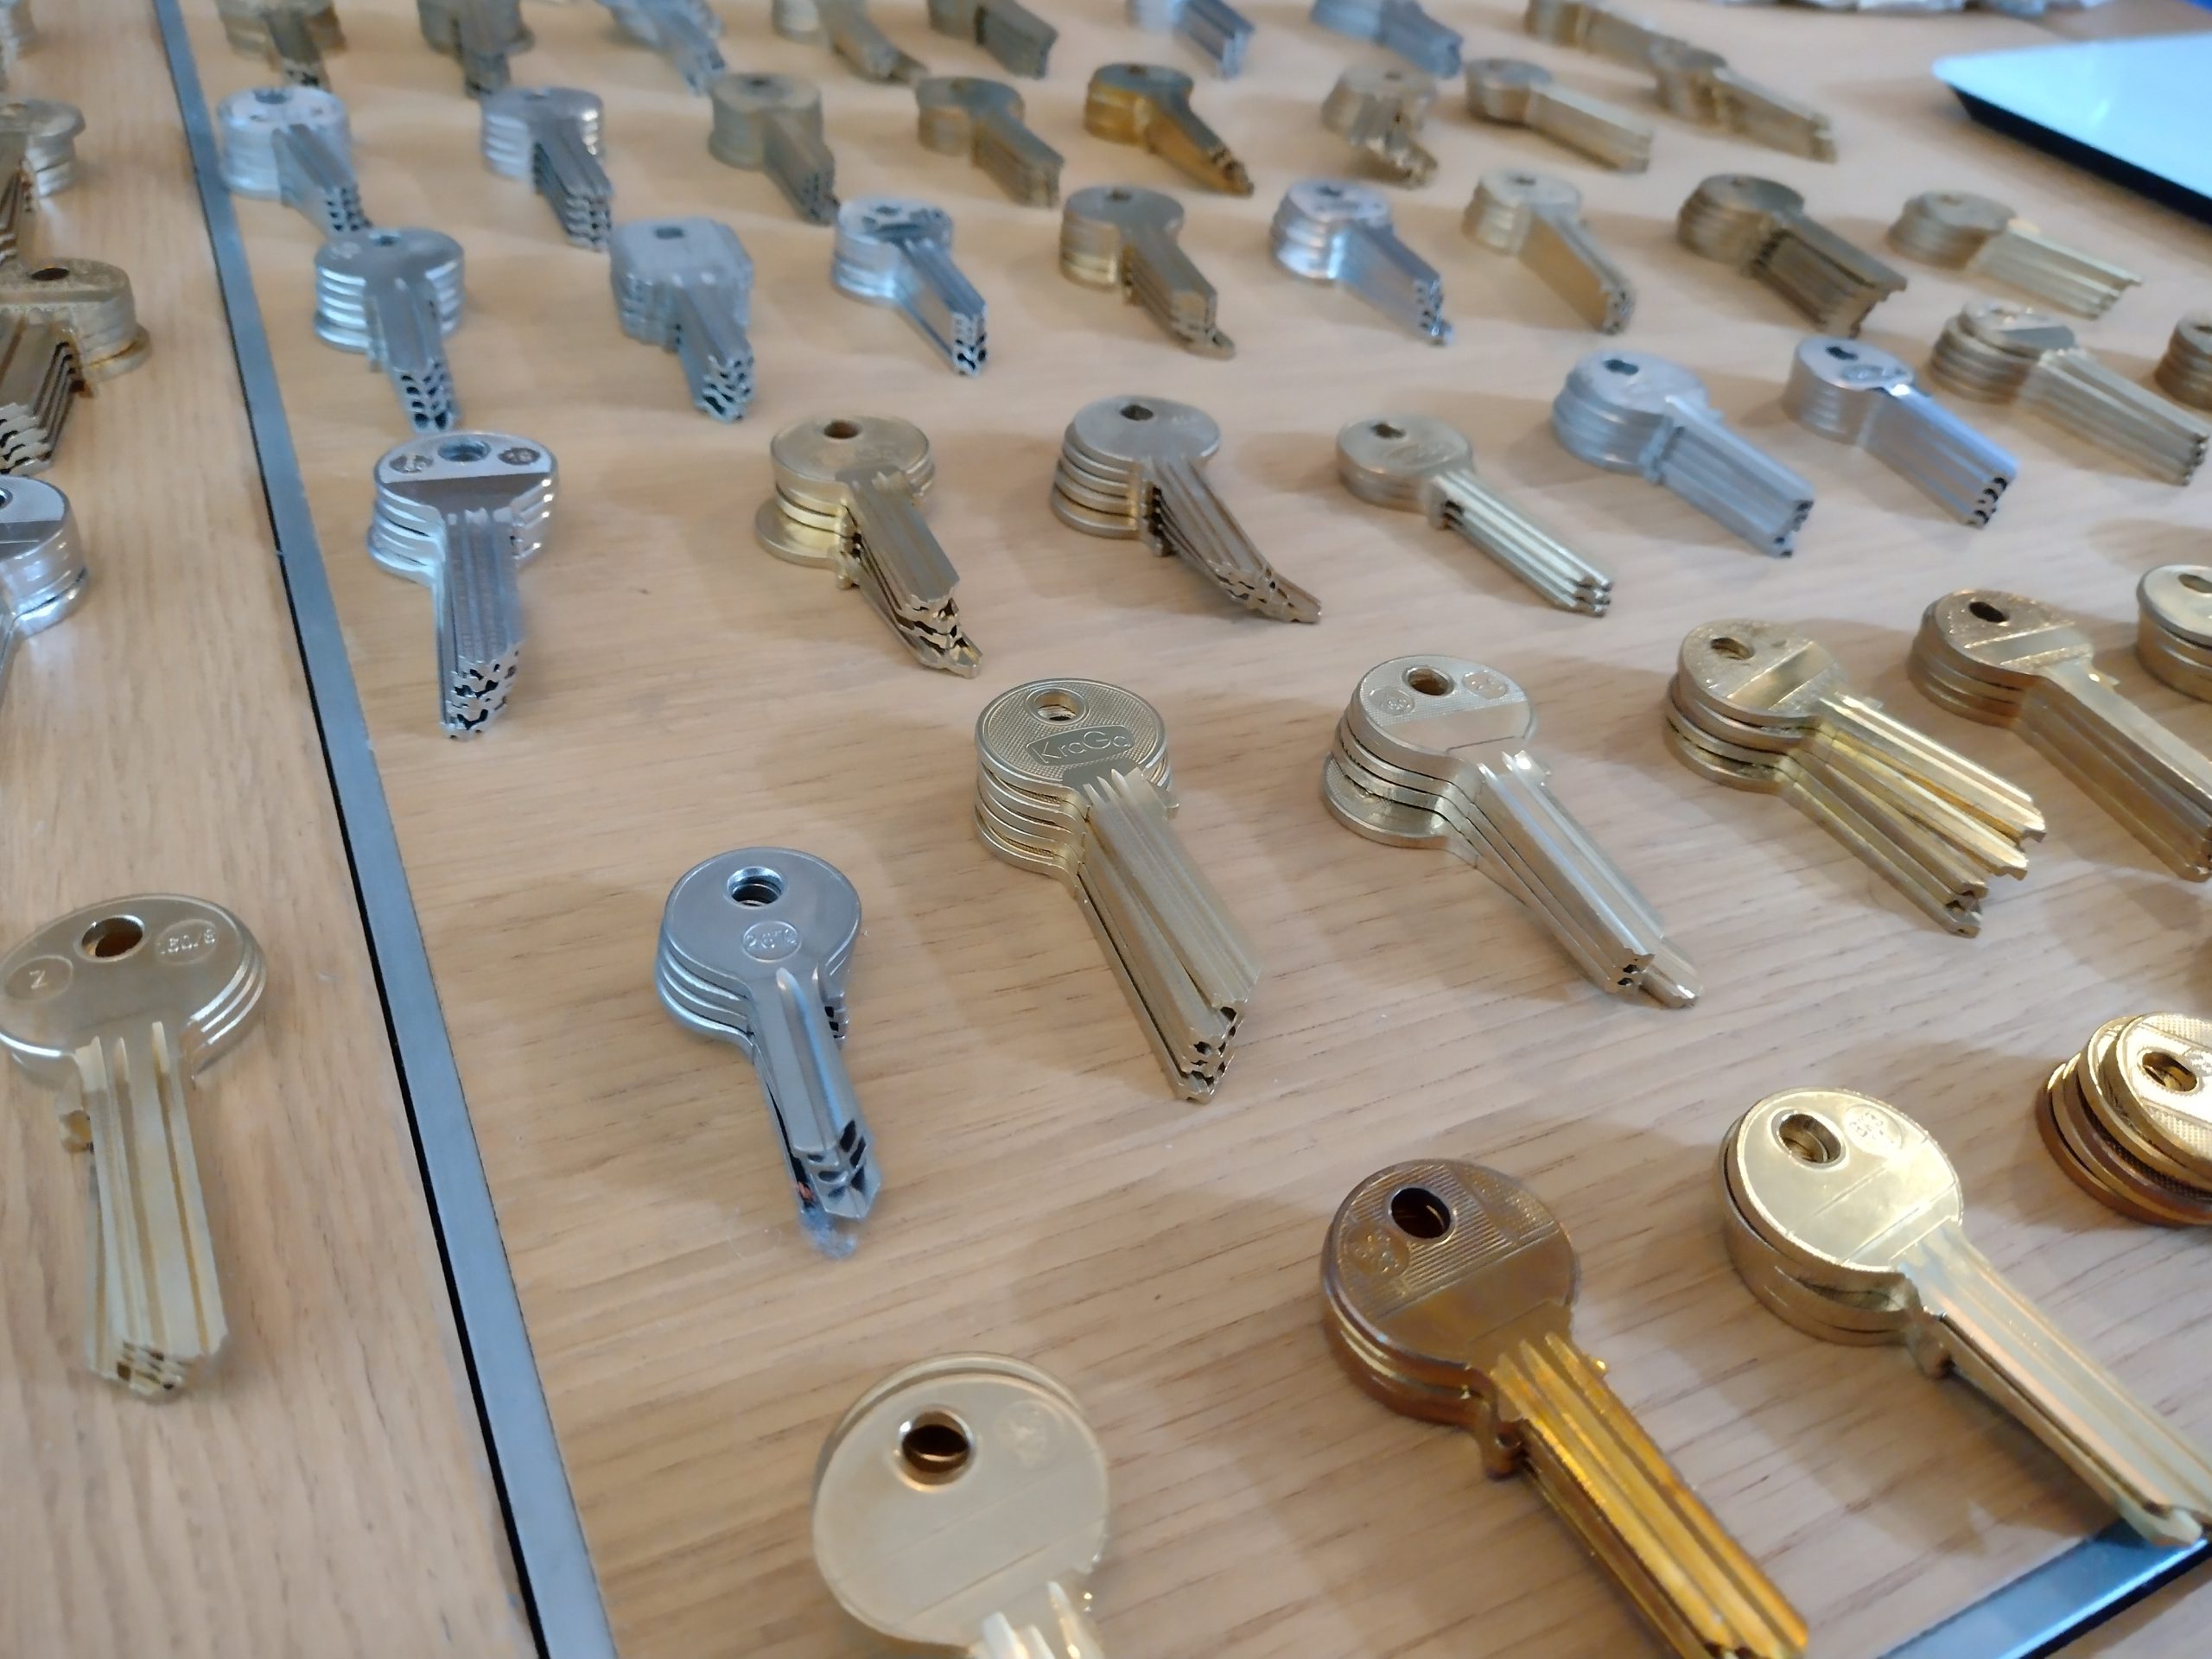
On an evening with impressioning, a member asked for some blanks to practice with. The call was answered by the keys below. Sadly, it’ll be very hard to find a corresponding lock for the key blanks, as in Europe we have thousands of unique keyways. Even though they all look a-like.
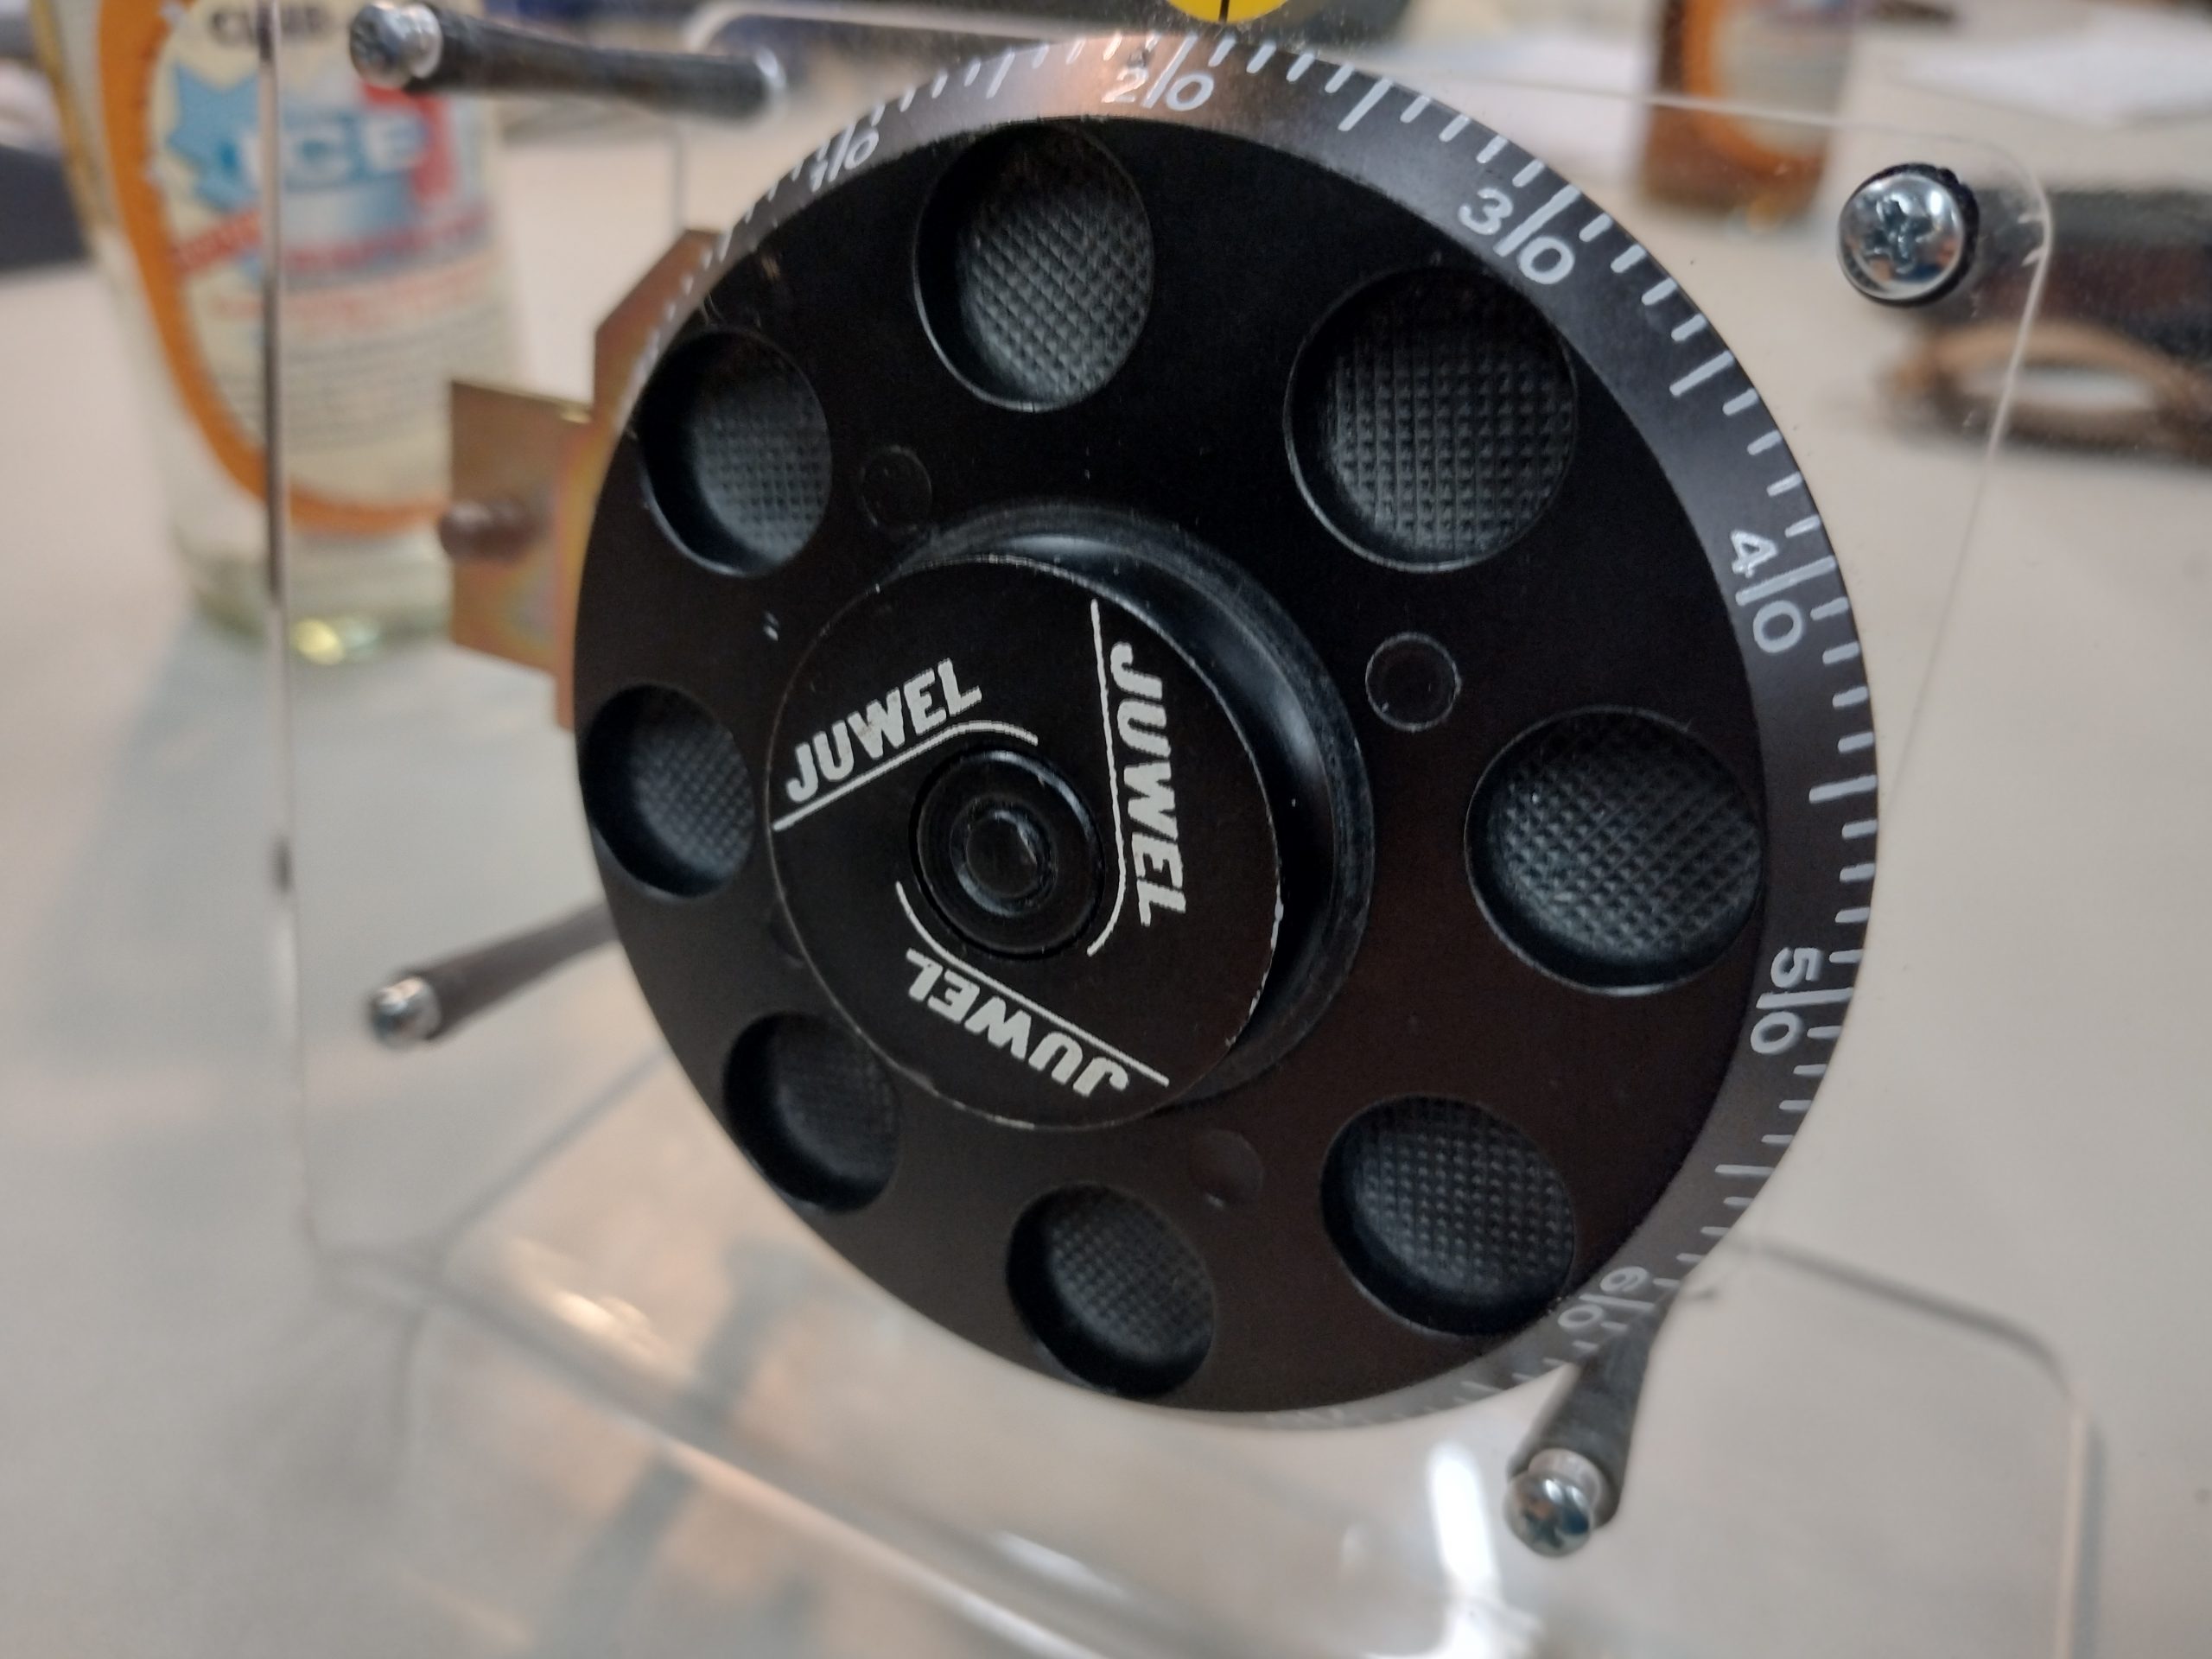
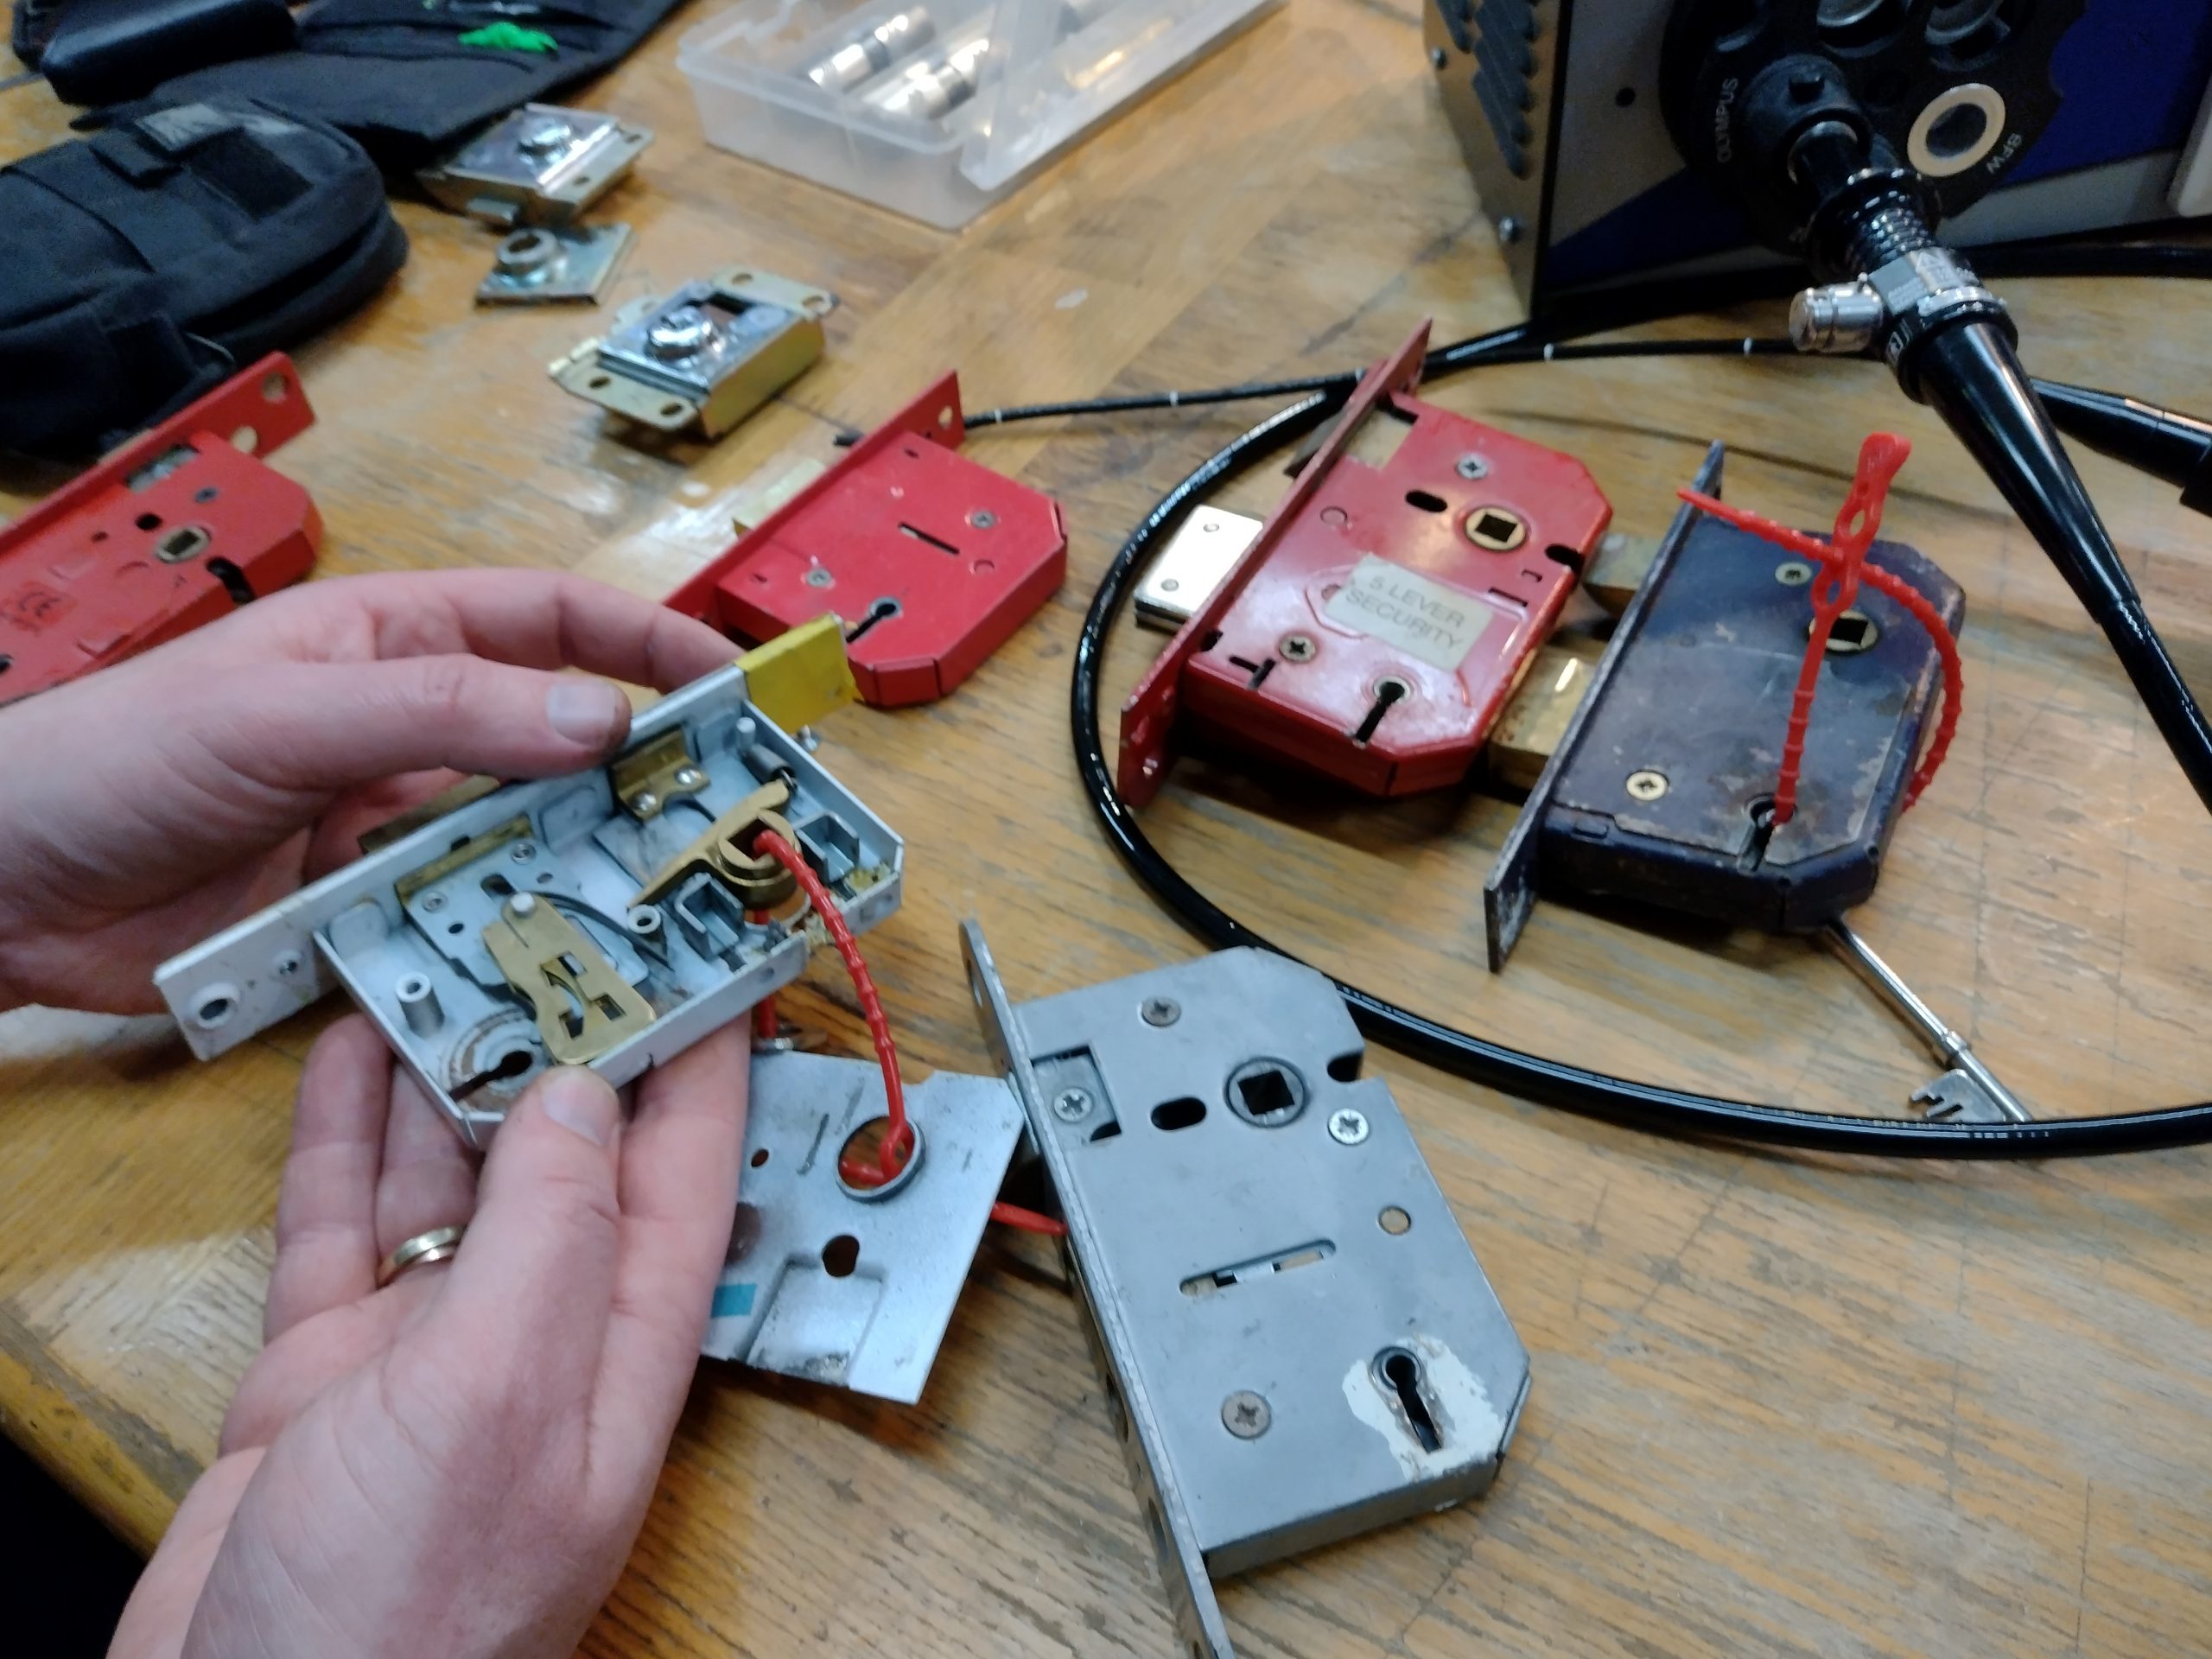
On another evening, we delved deep in lever locks, from your classic Chubb locks to high-end safes. A boroscope was brought as to try to decode some locks by belly reading the levers. E.g. to observe the scratches on the levers and determining the length of the butting making the scratches.
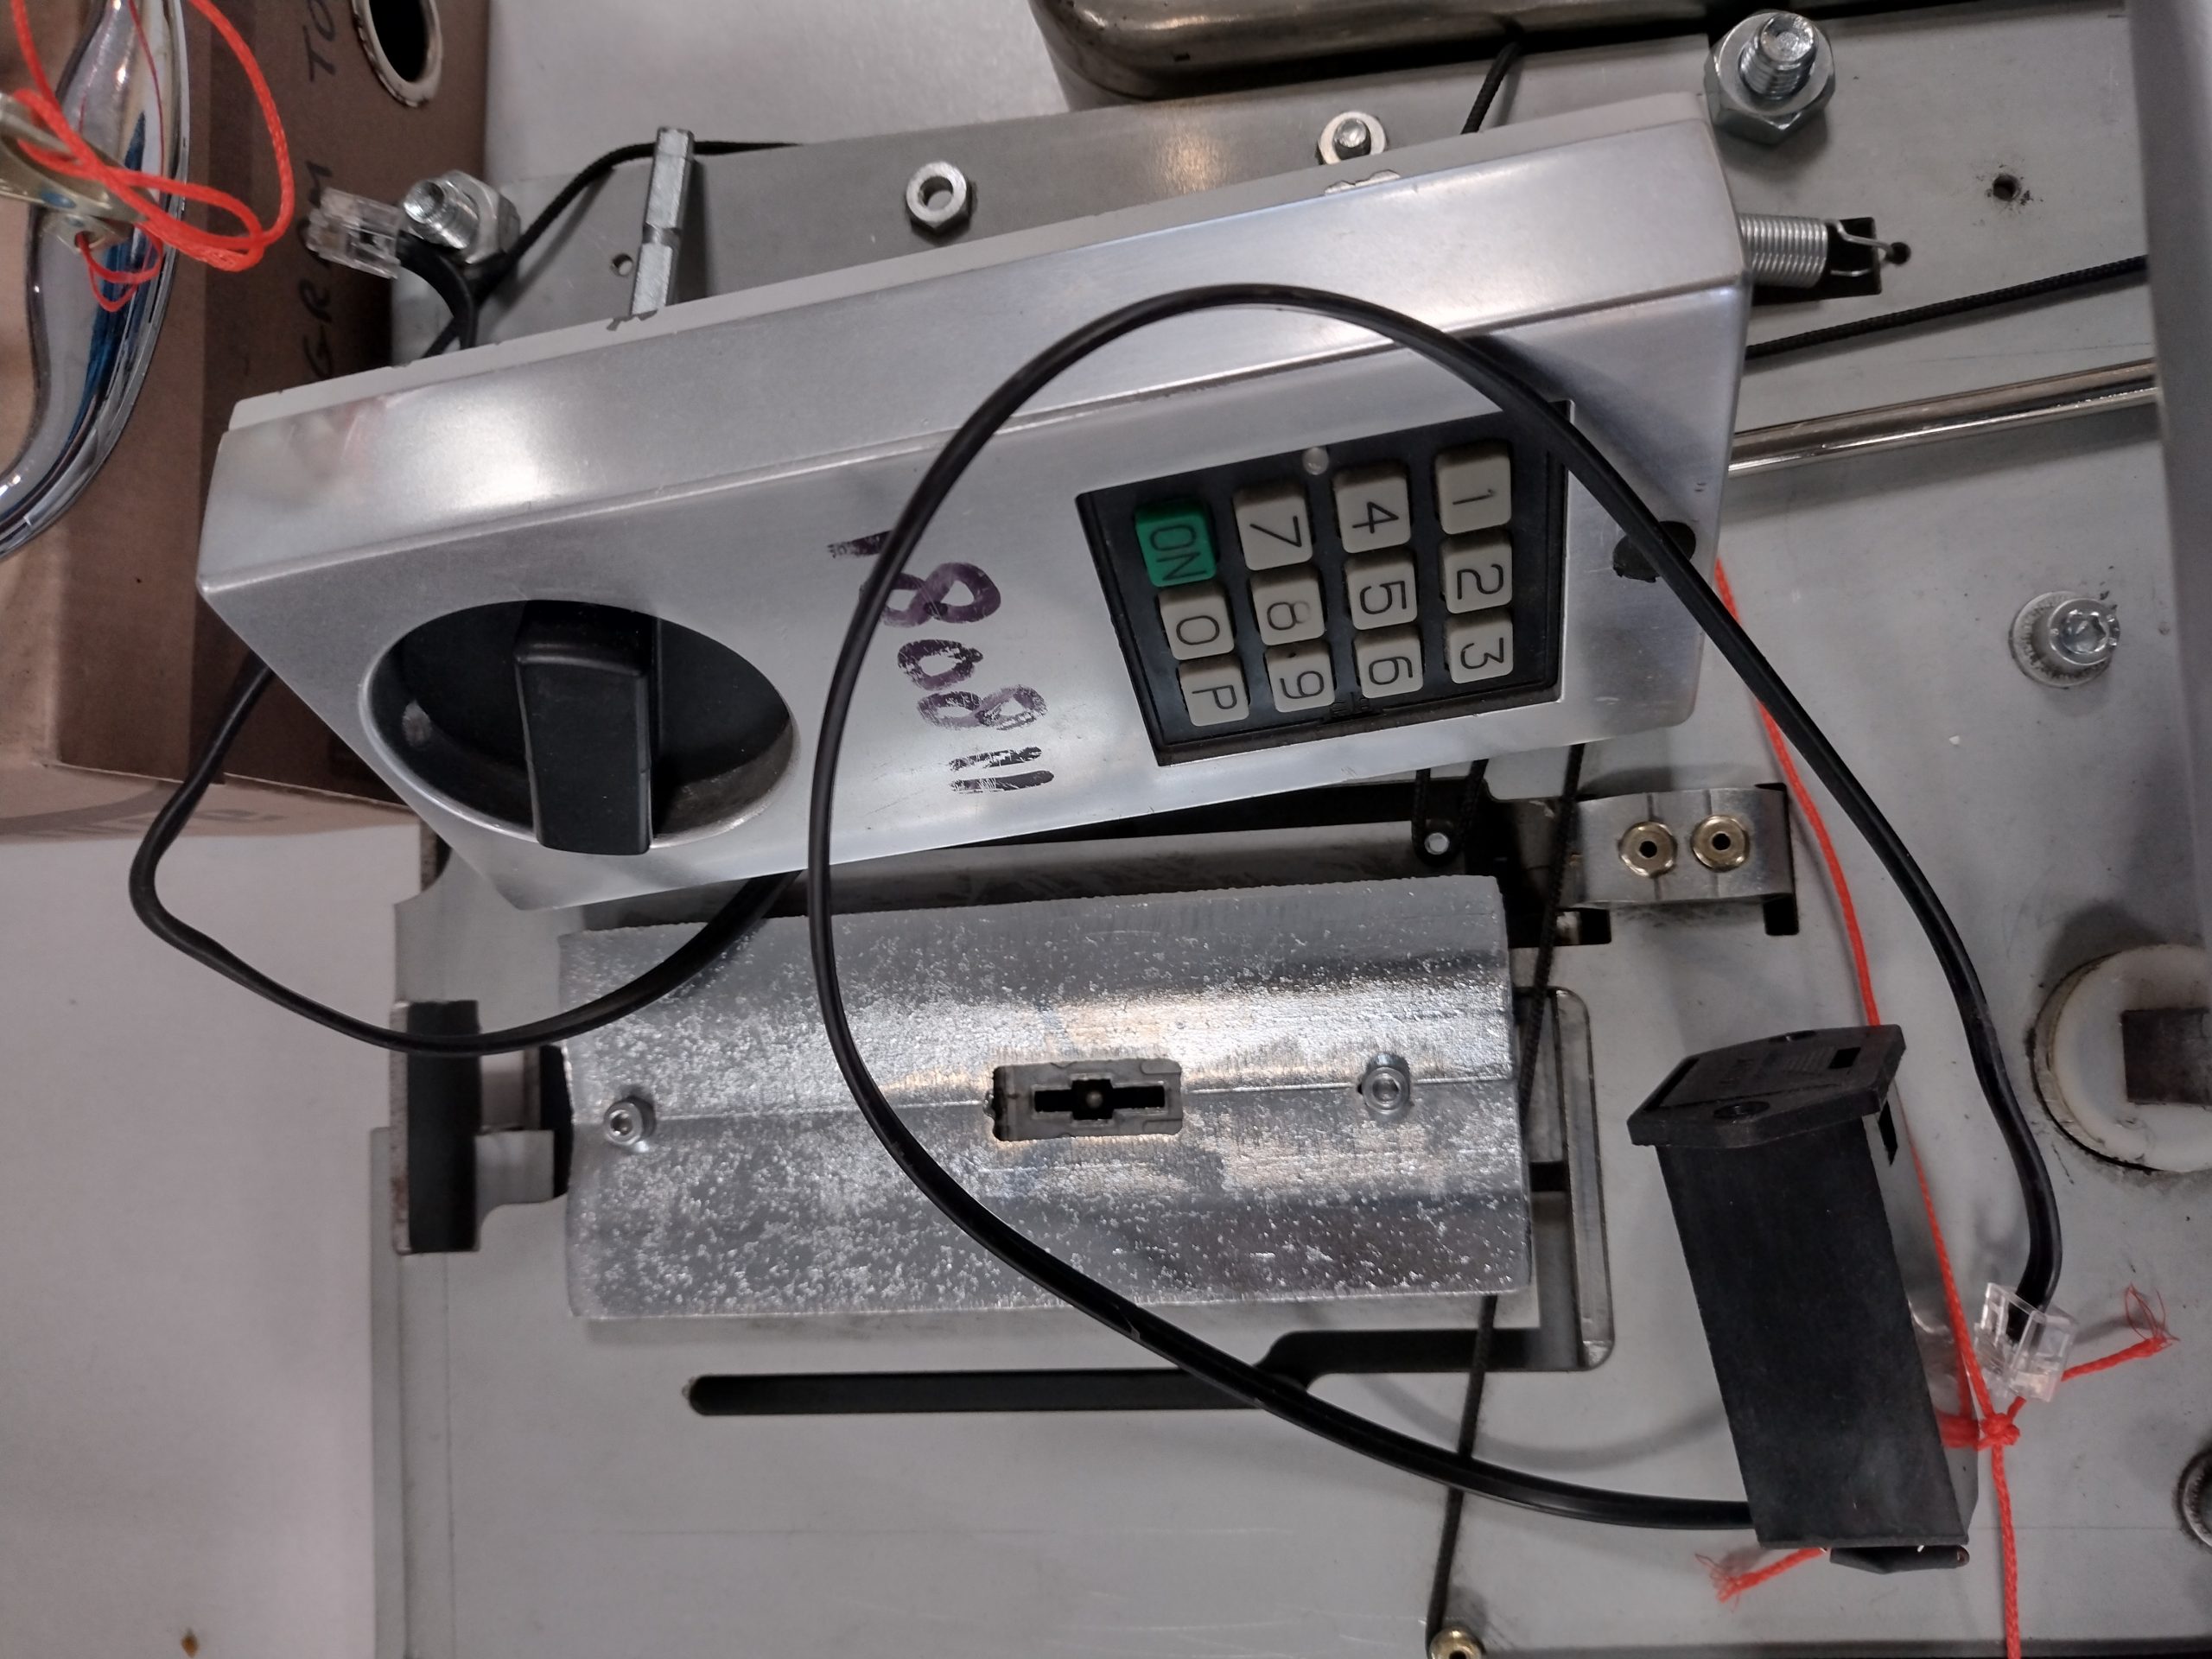
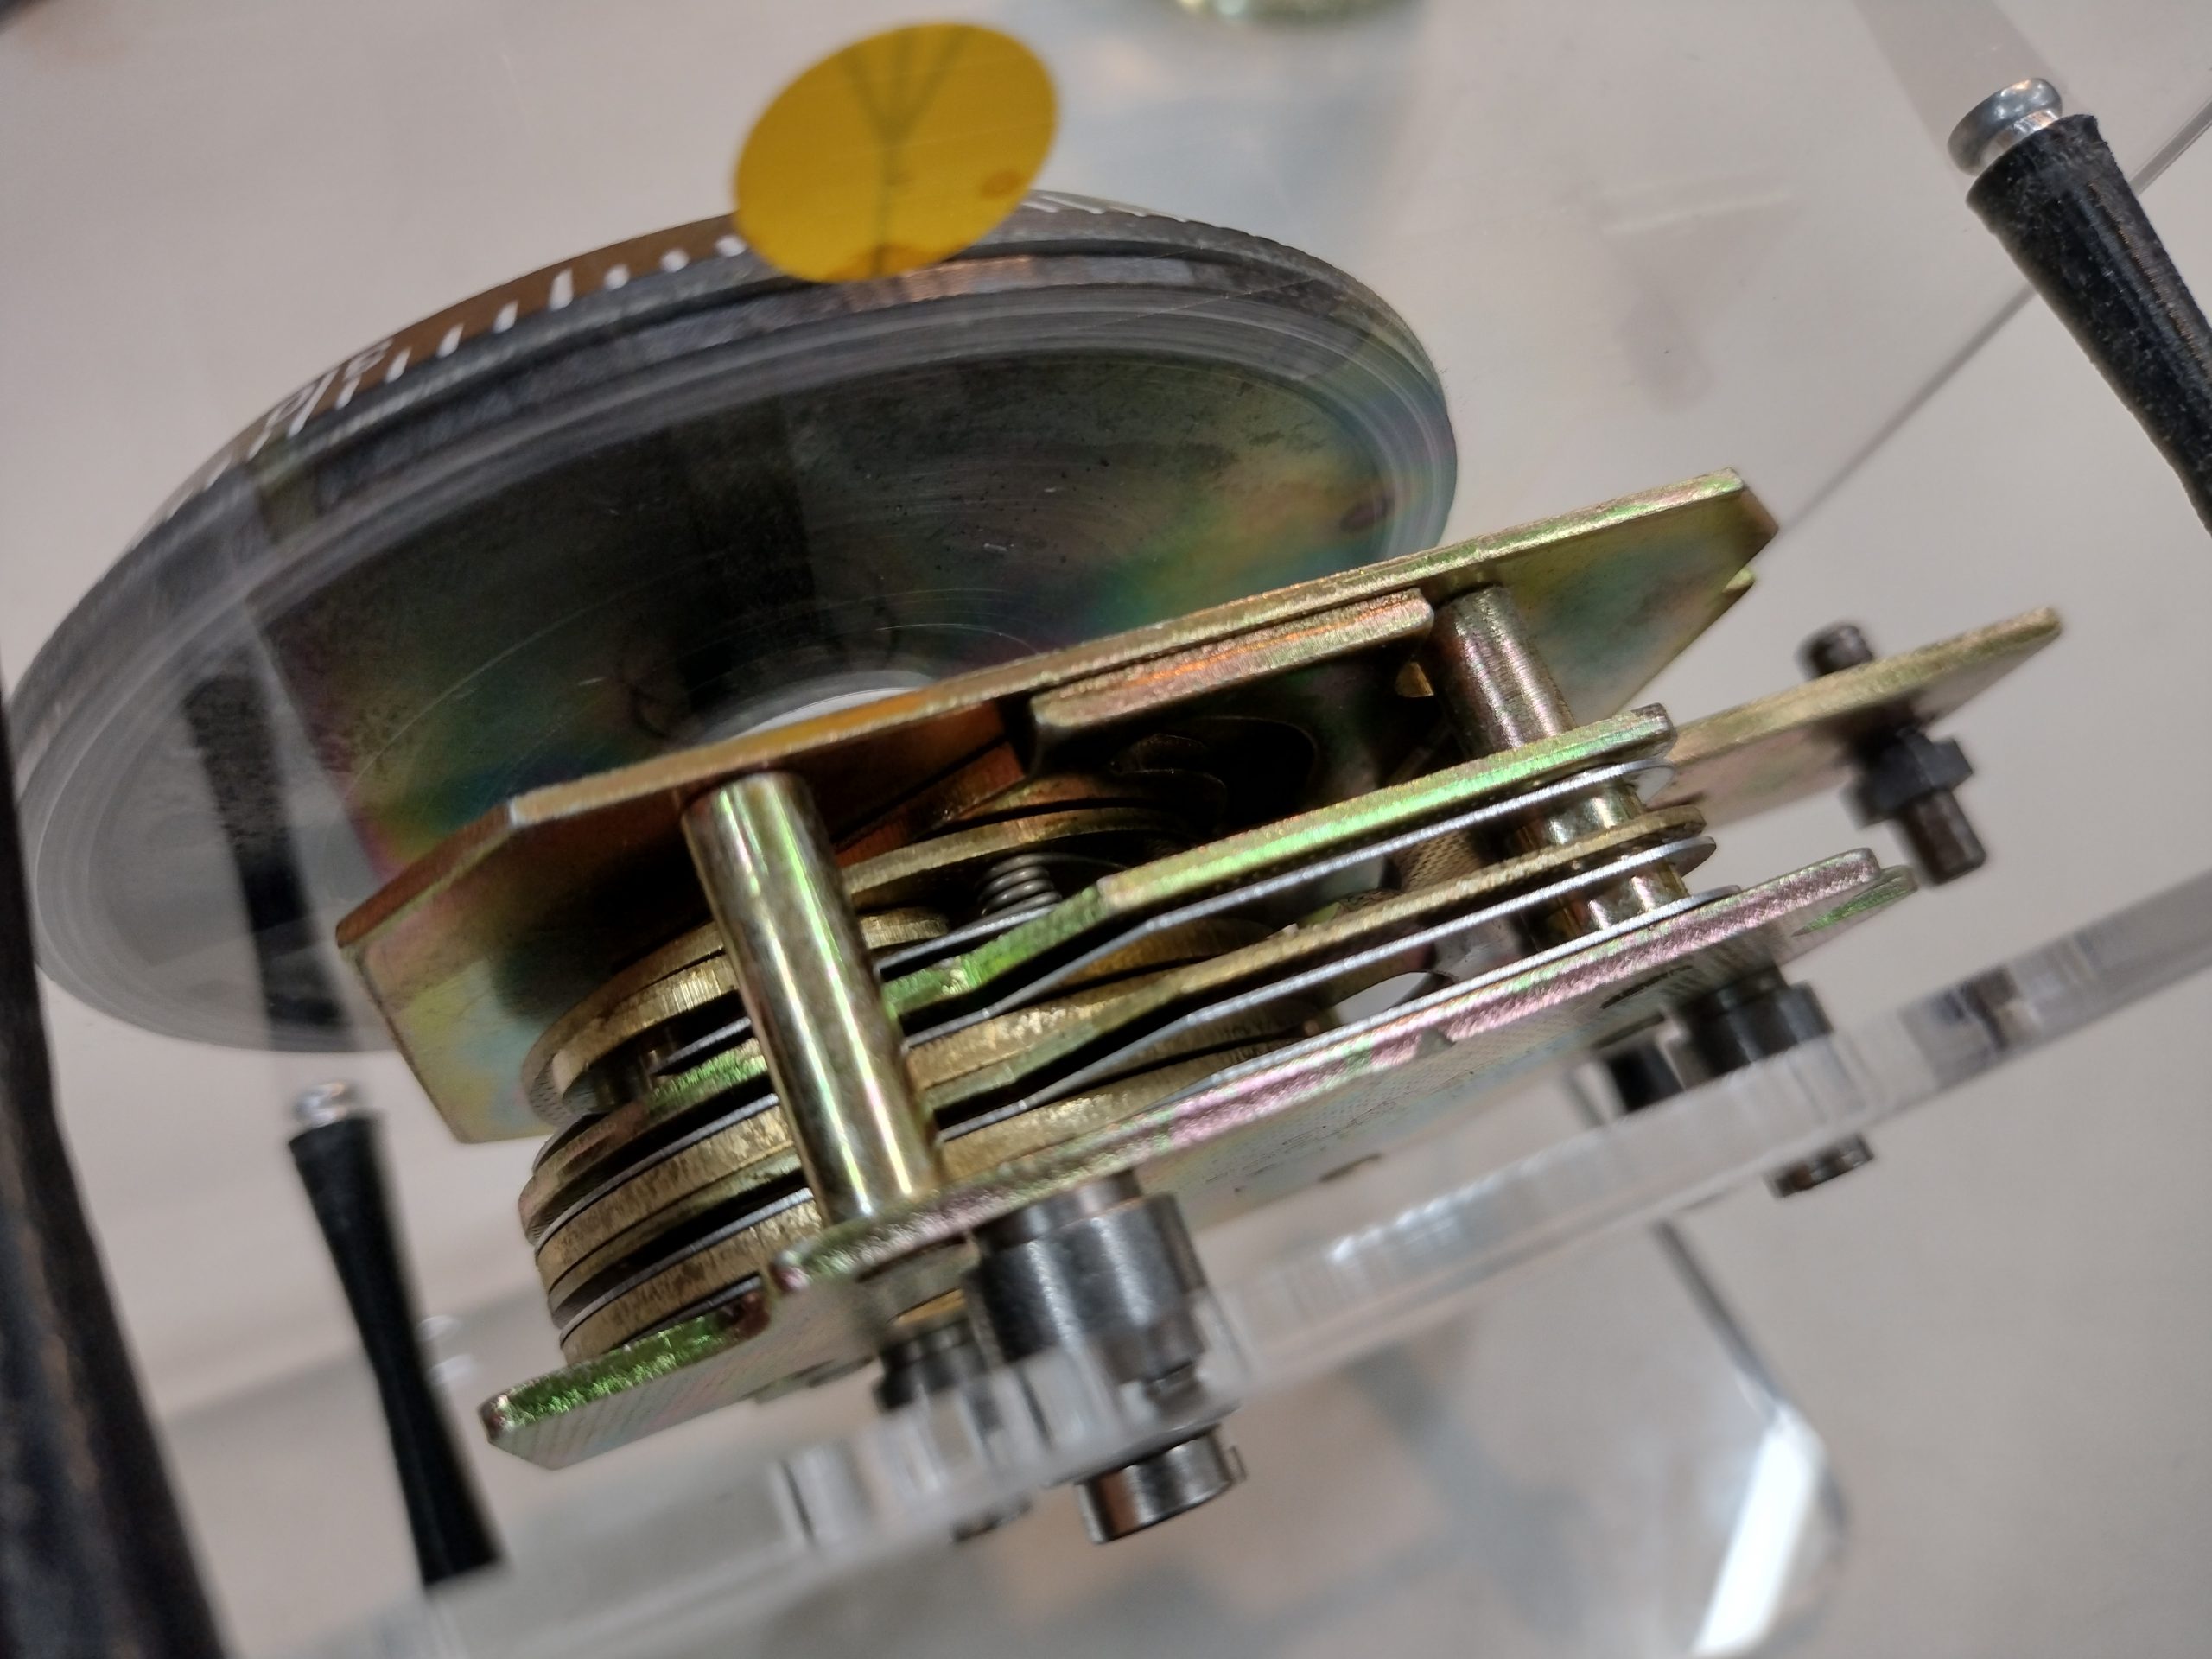
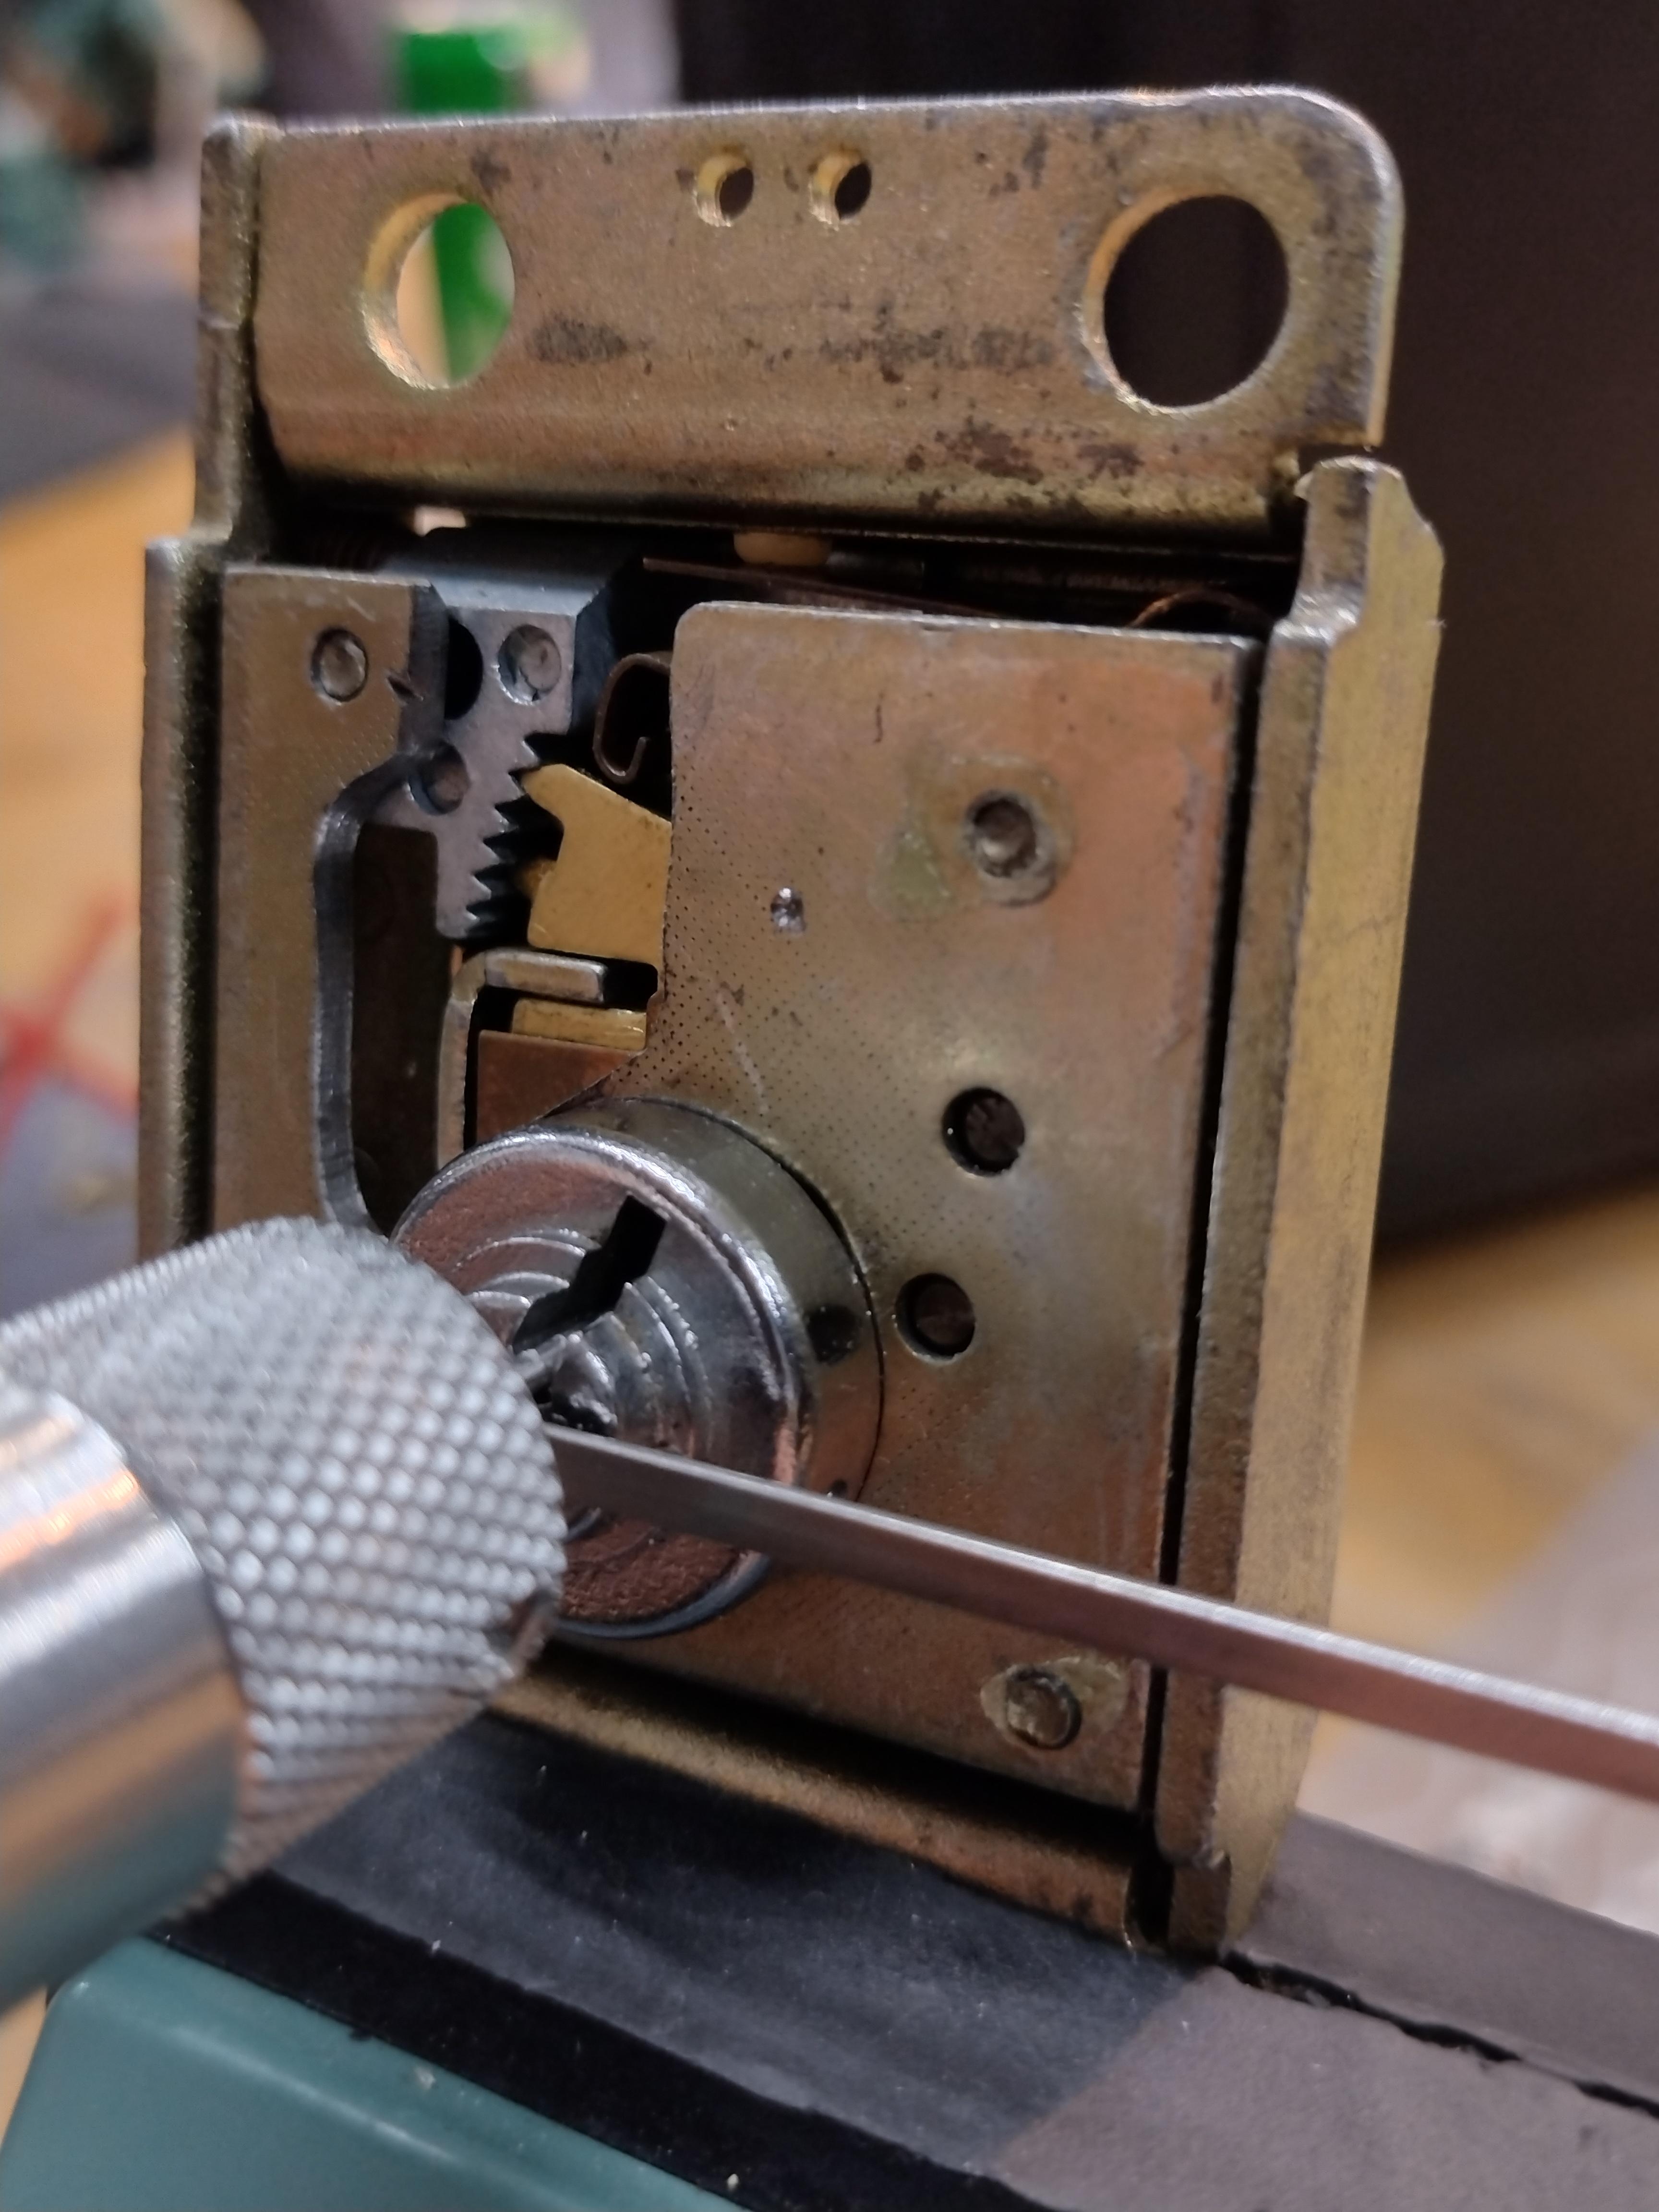
The WE30C also made its appearance, one night. The lock was used on pay phones, and is remarkably hard to lockpick due to the lever blocking system, shown in the top right. As torque is applied, the blocking system engages with the levers, making all levers bind up before the lever tests the gate.