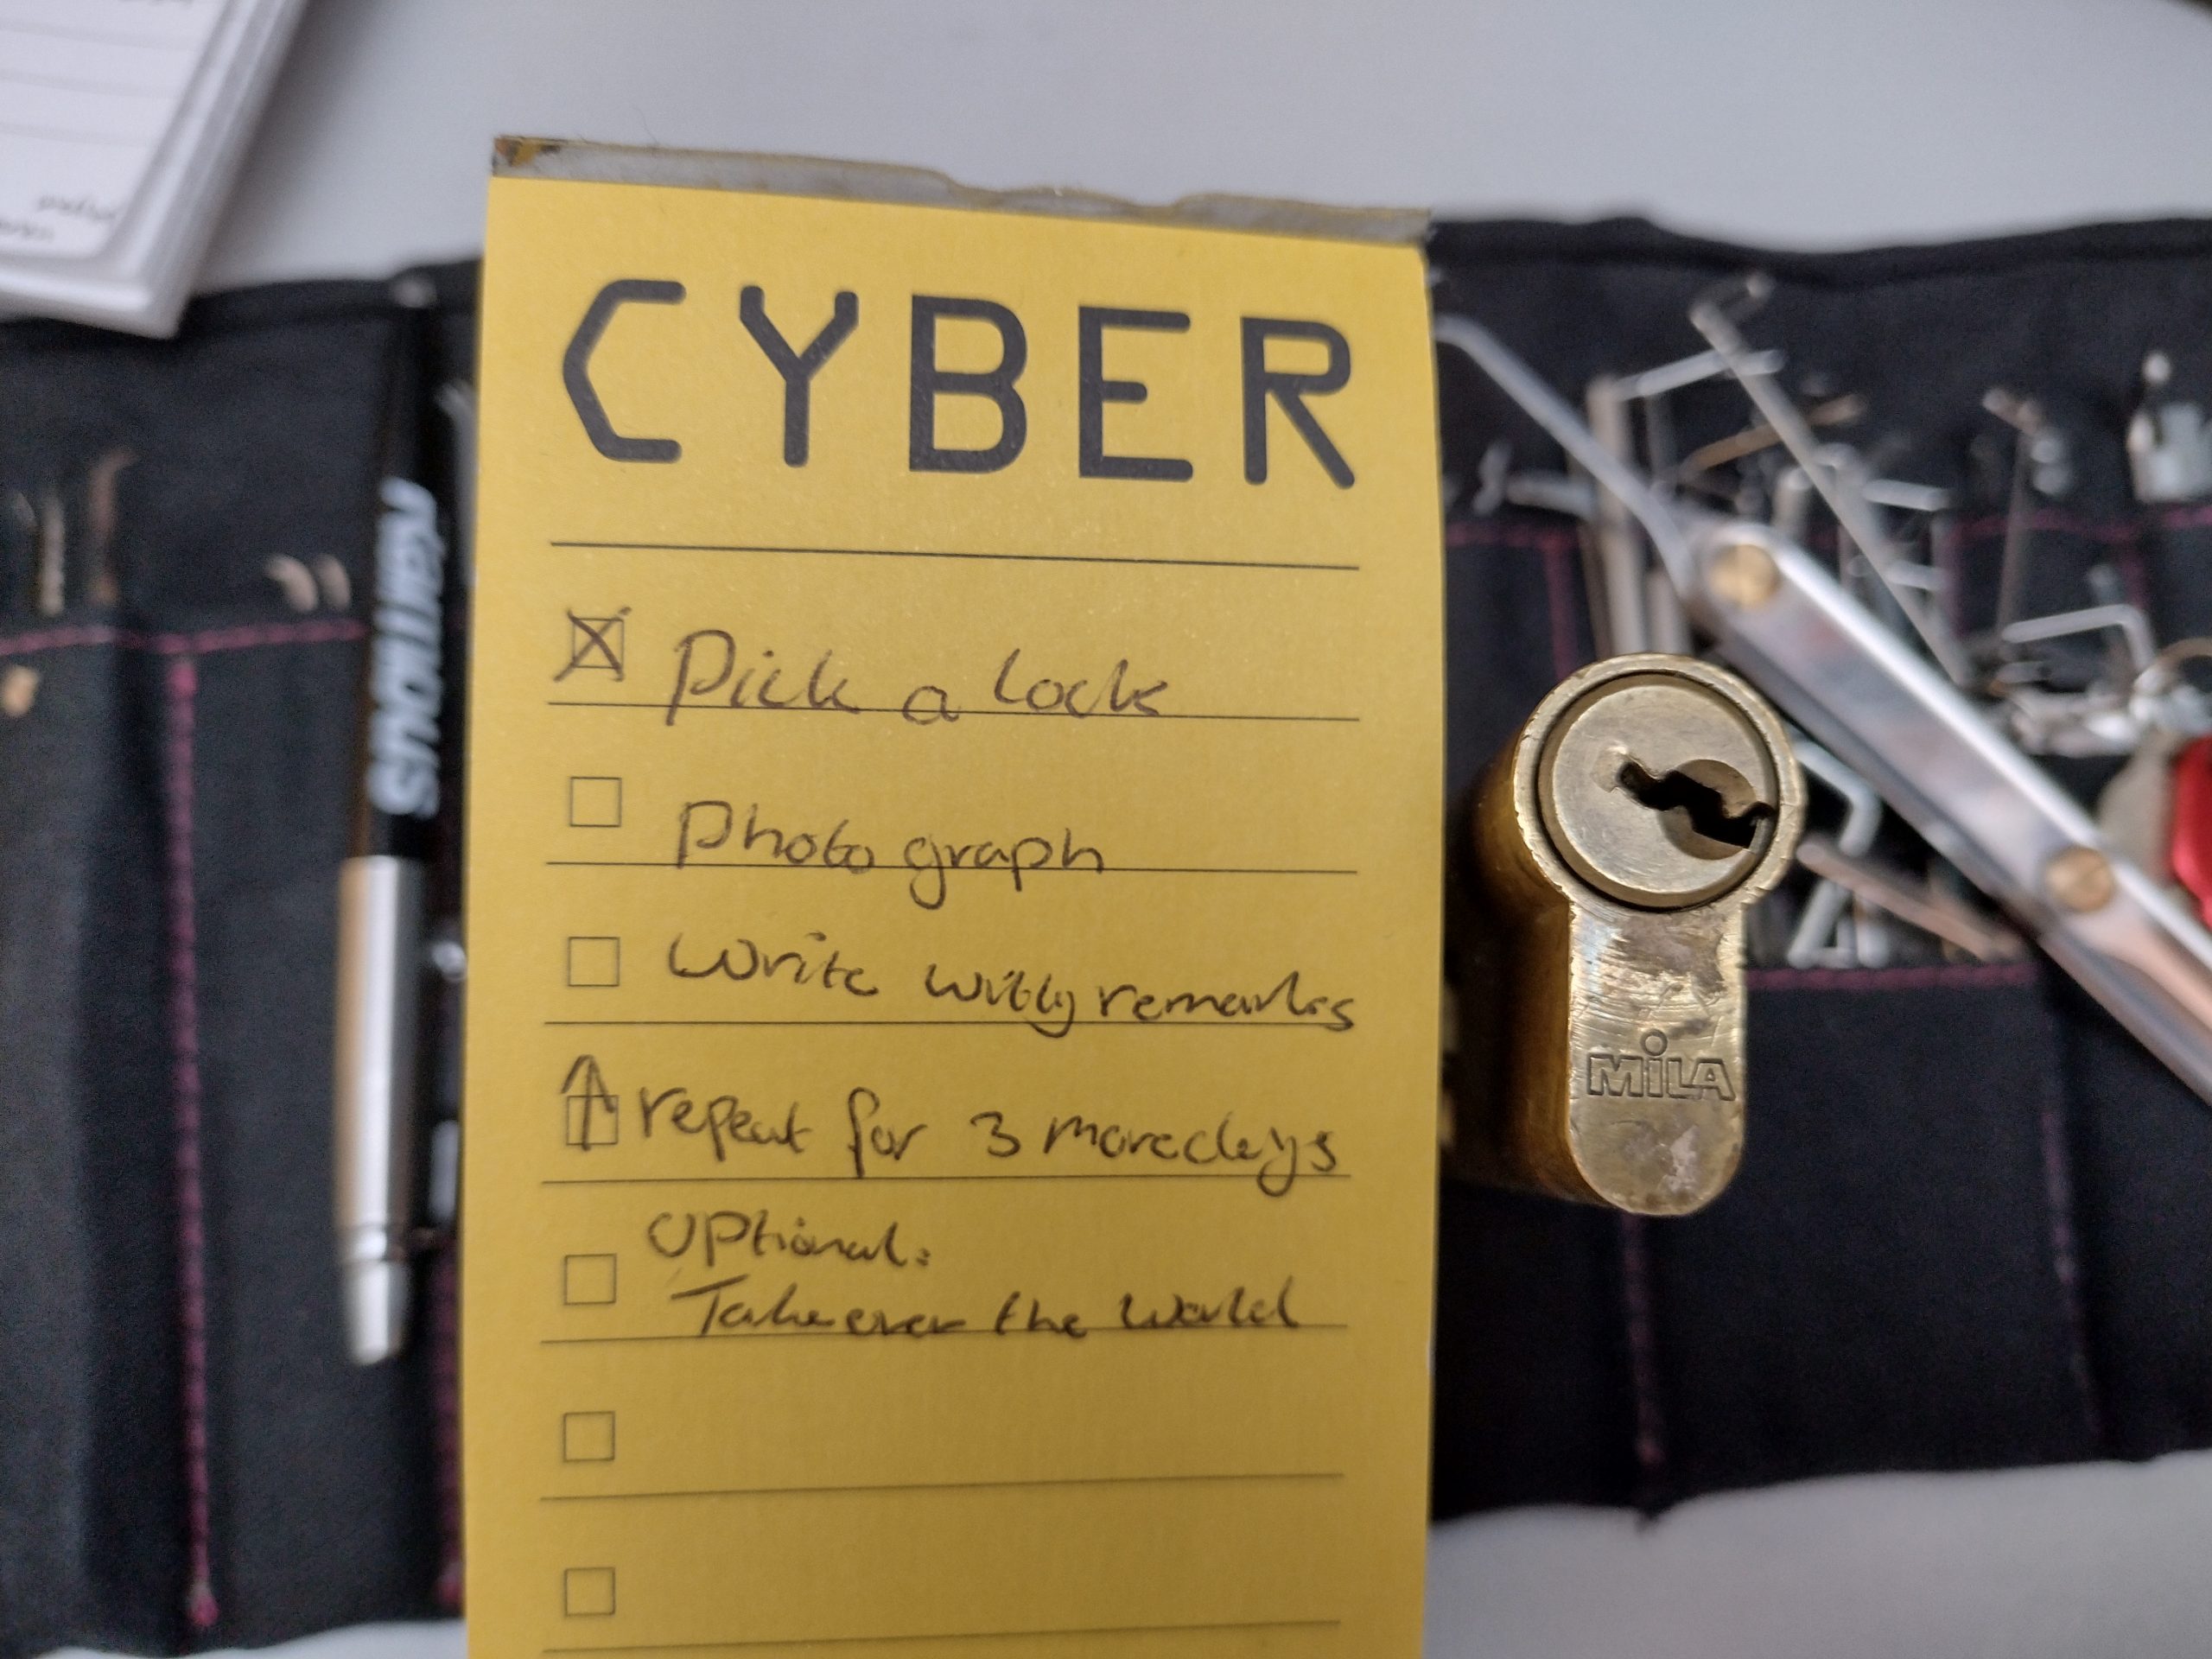
Yuri brought a dual custody money box to the What Hackers Yearn 2025 (WHY2025) lockpicking village, and challenged us to pick it. Several lockpickers gave it a fair attempt, but with limited tooling the box remained shut. After WHY2025 I’ve brought it home, made custom lockpicks, and eventually managed to pick it and open the box. This blog is the complete story, from receiving the box to making a key for it.
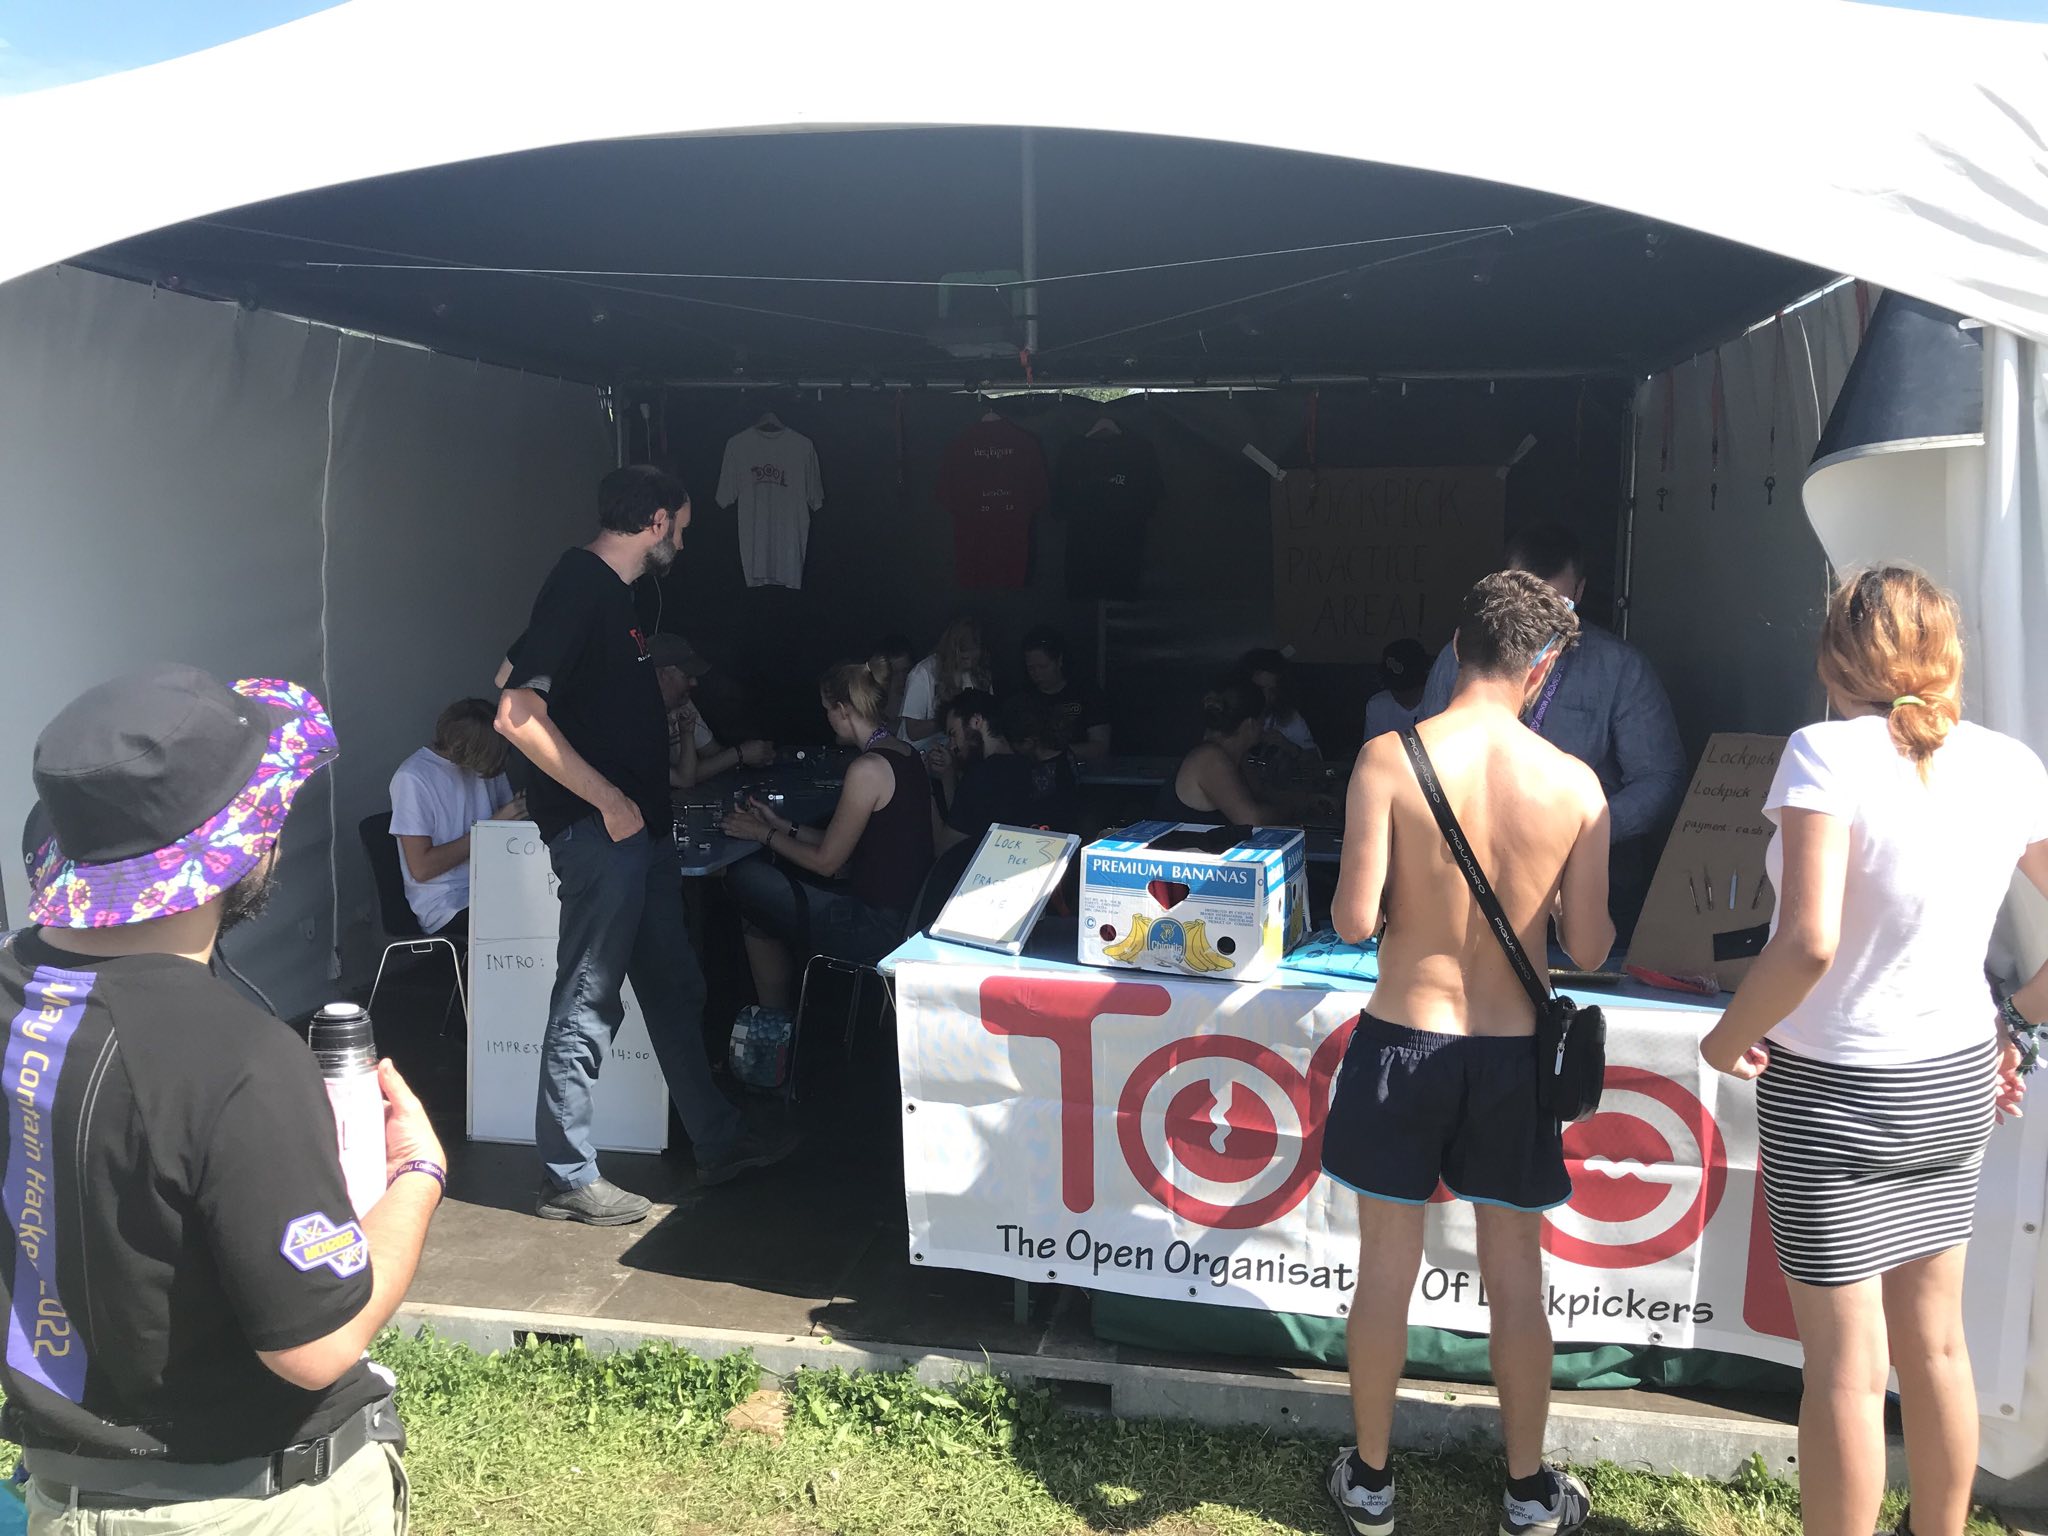
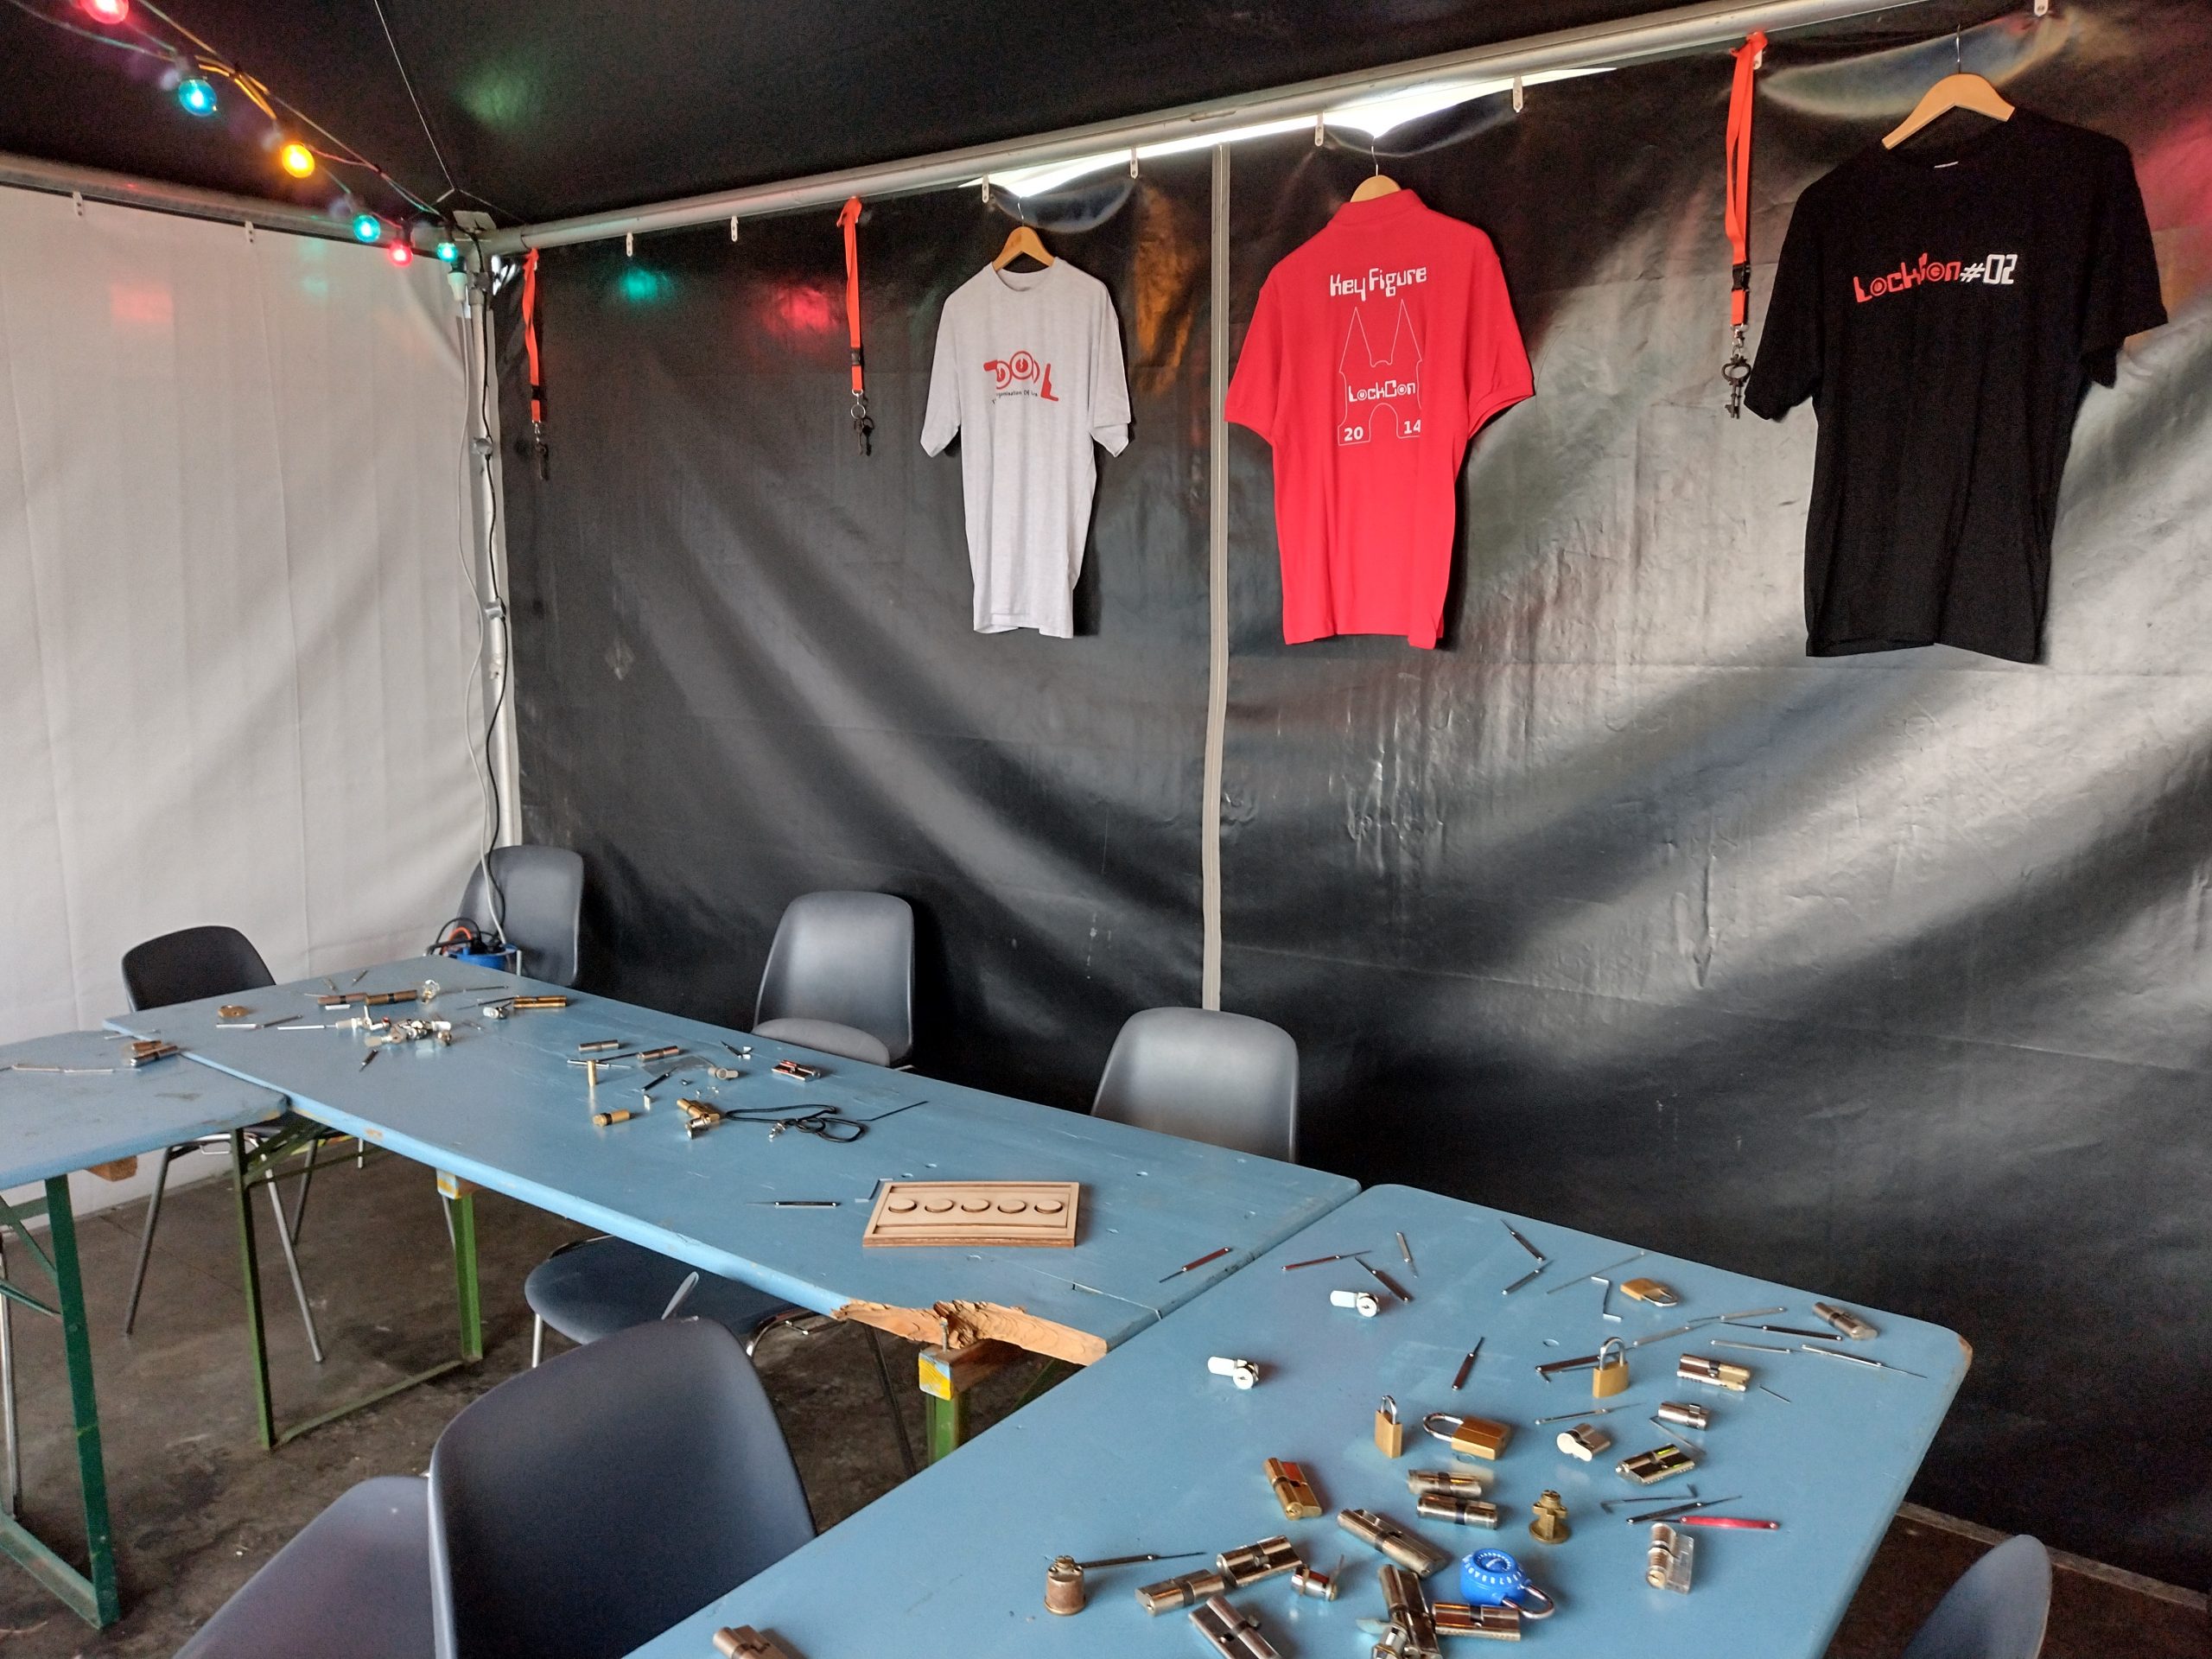
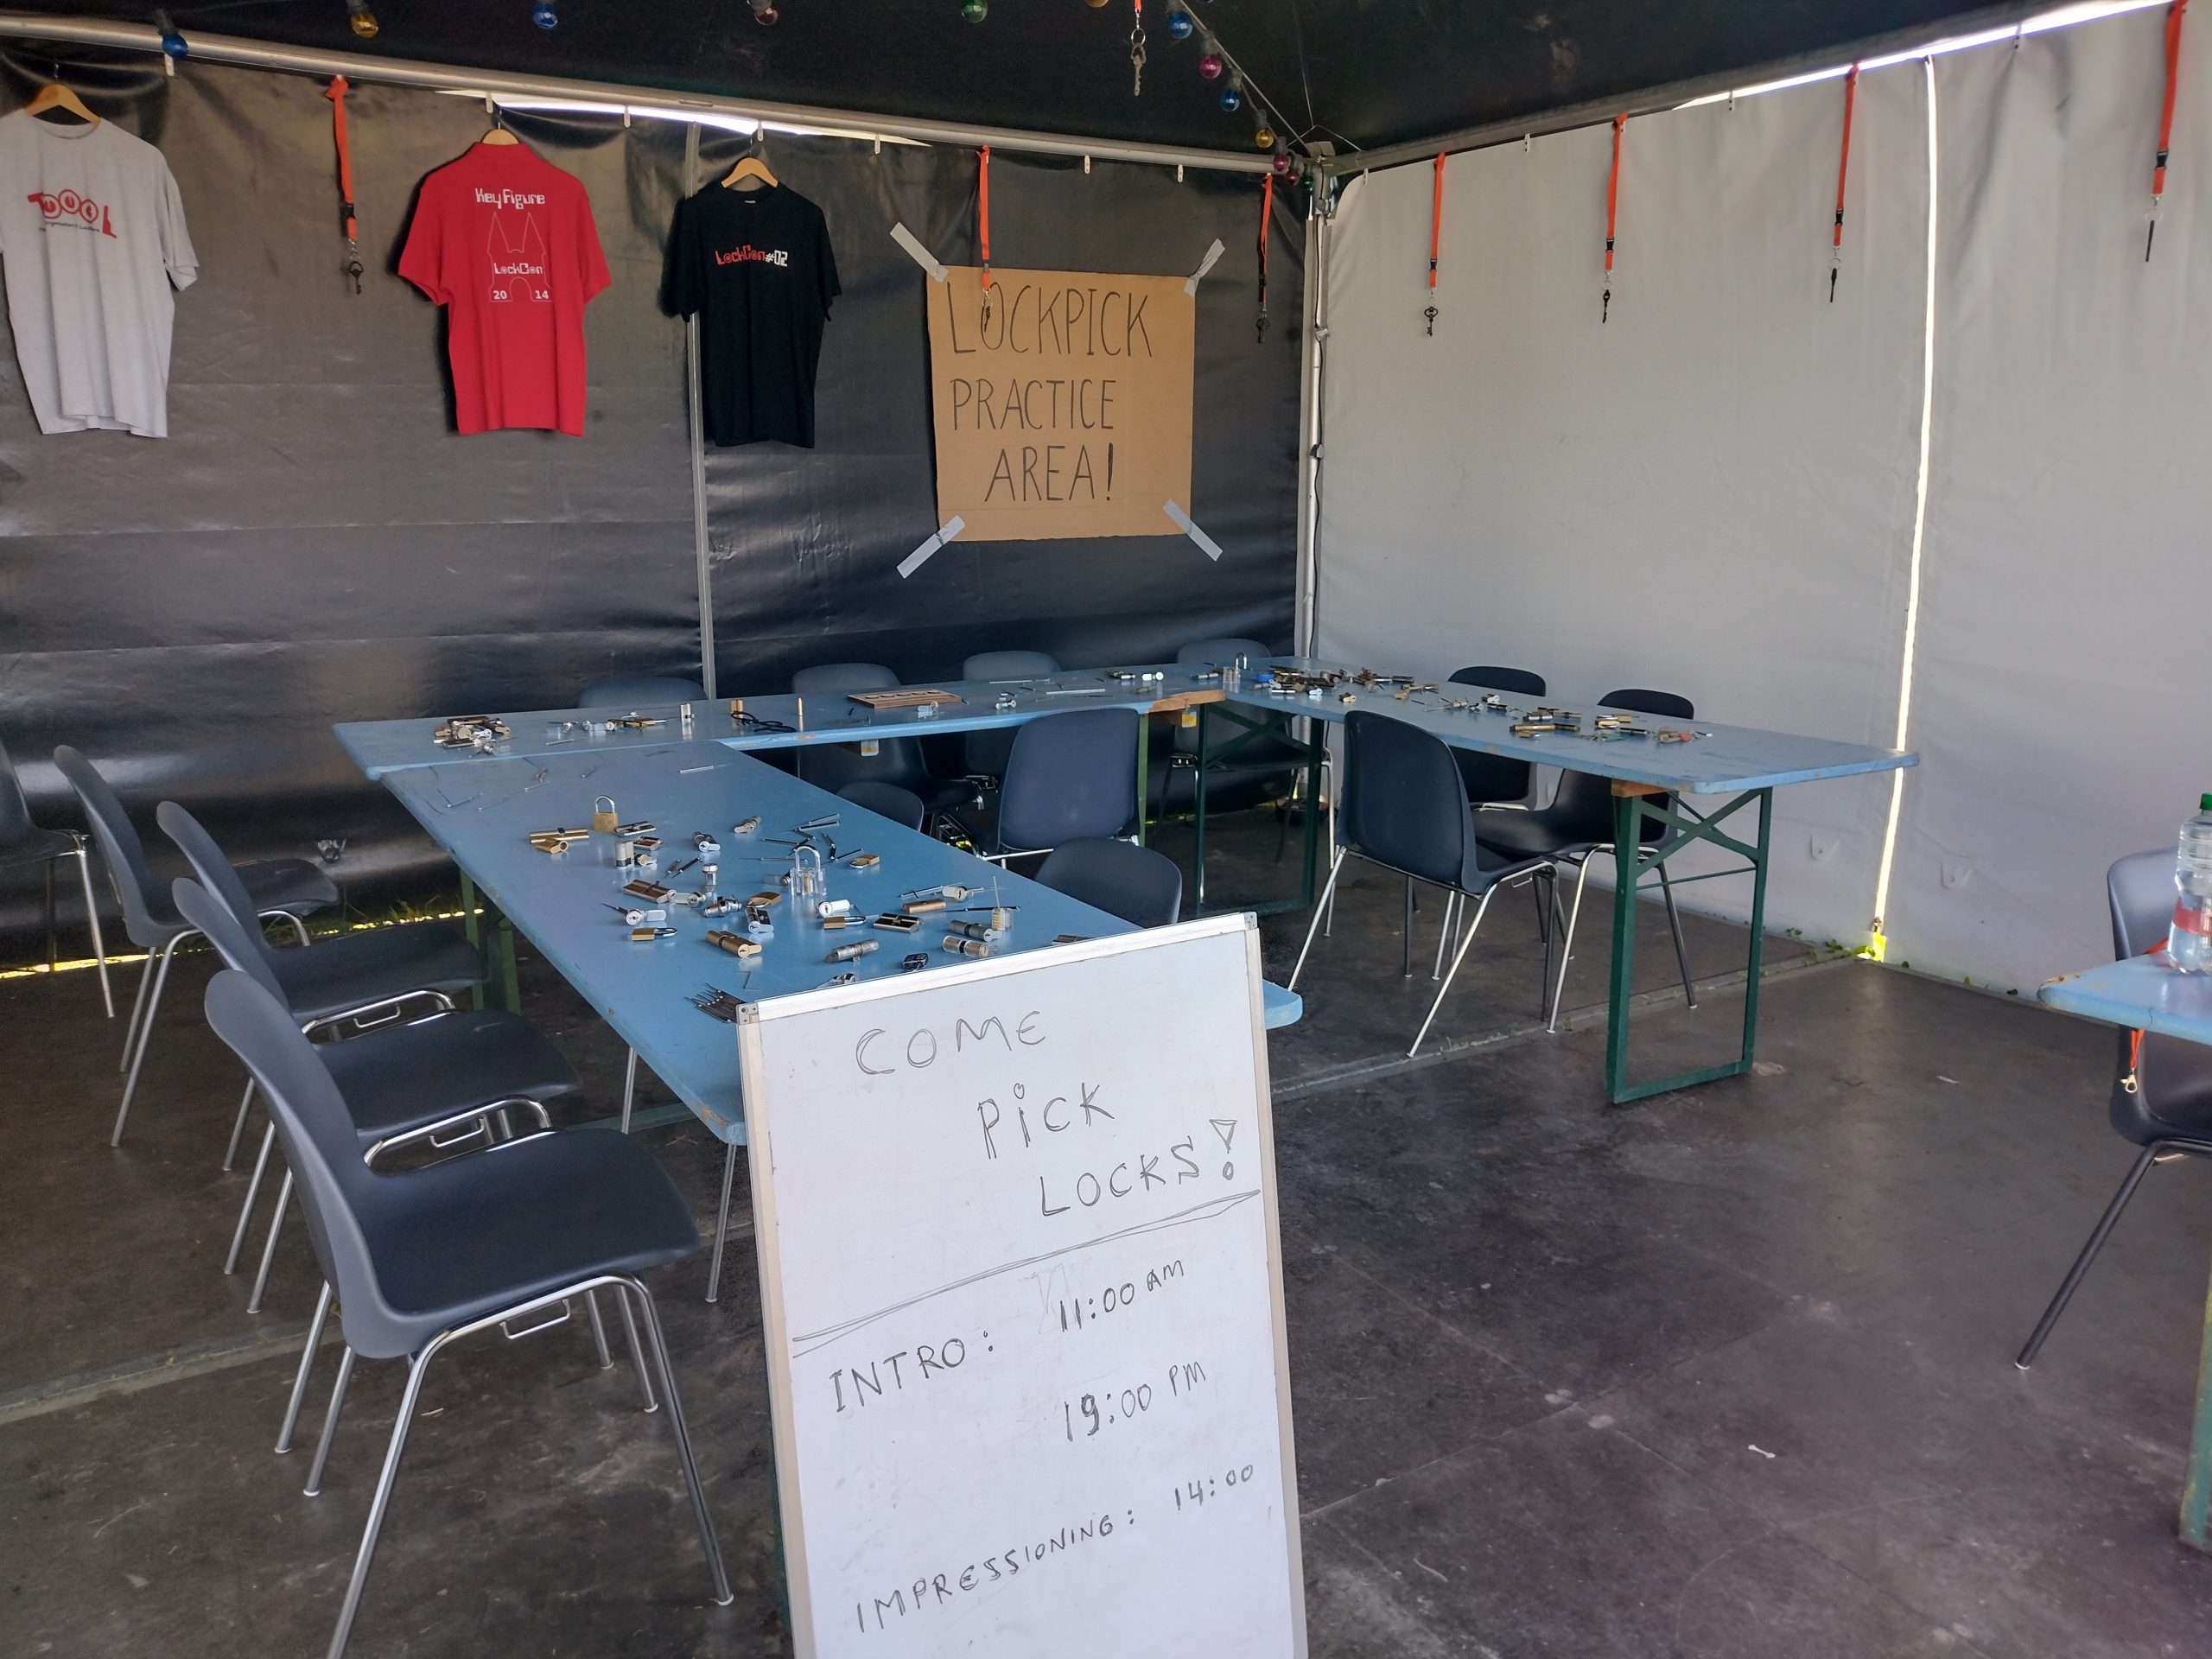
WHY2025 (https://why2025.org/) is a quadrennial outdoors hacker event, a conference where people teach other people. This edition was from the 8th to 12th of August 2025 in Geestmerambacht in the Netherlands. Toool has a long track record of teaching lockpicking at these events. When you become a regular, others will start to plan for it as well. Several hackers brought the locked objects for us to pick.
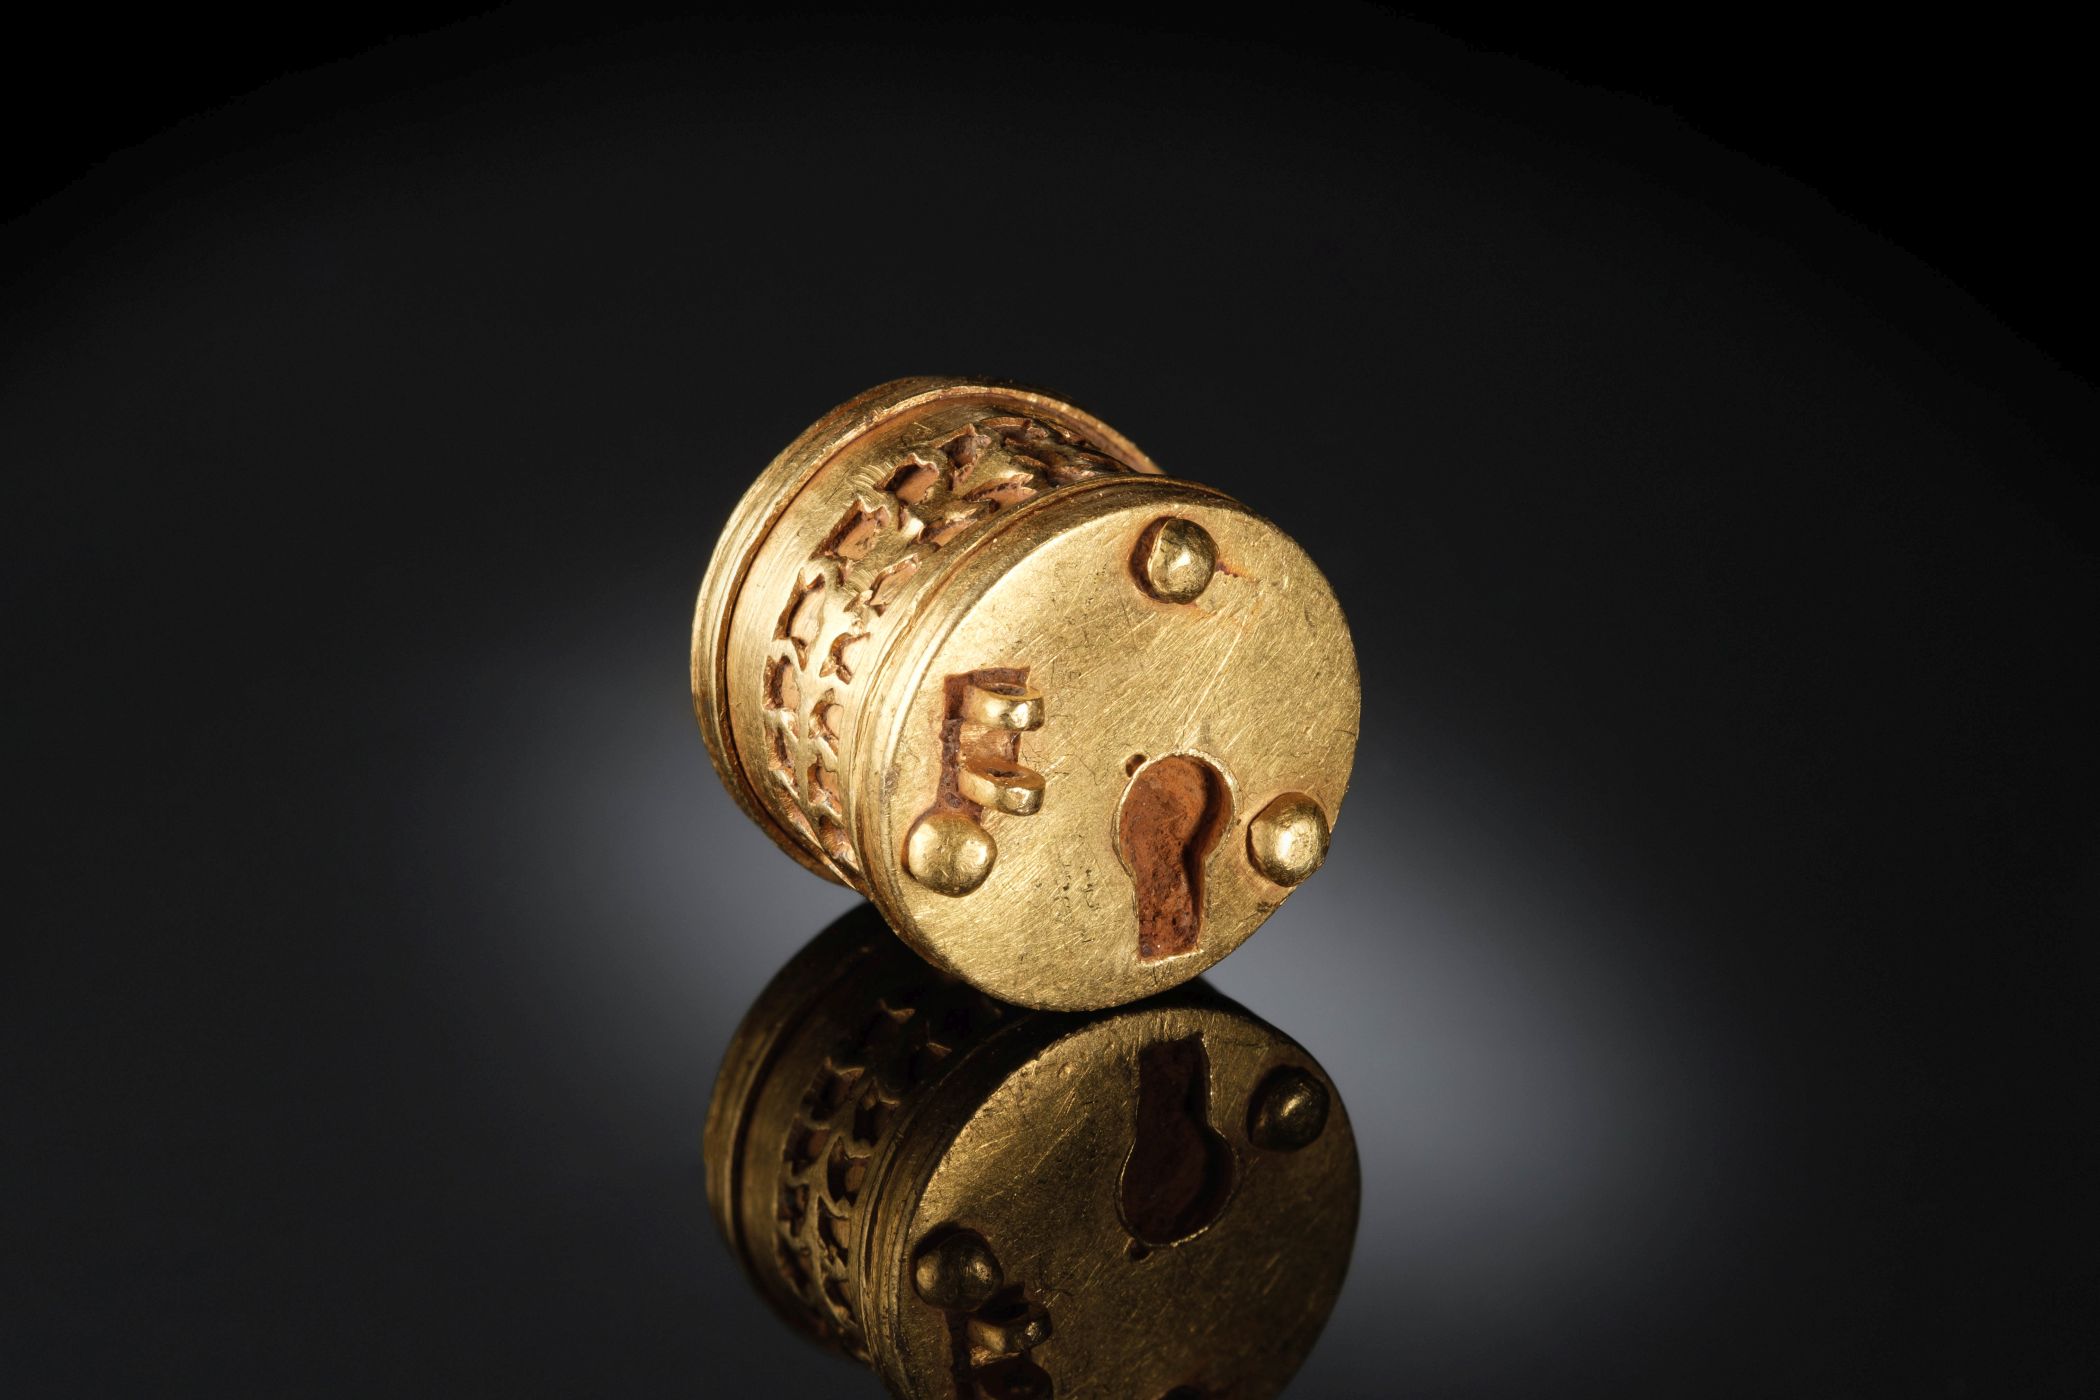
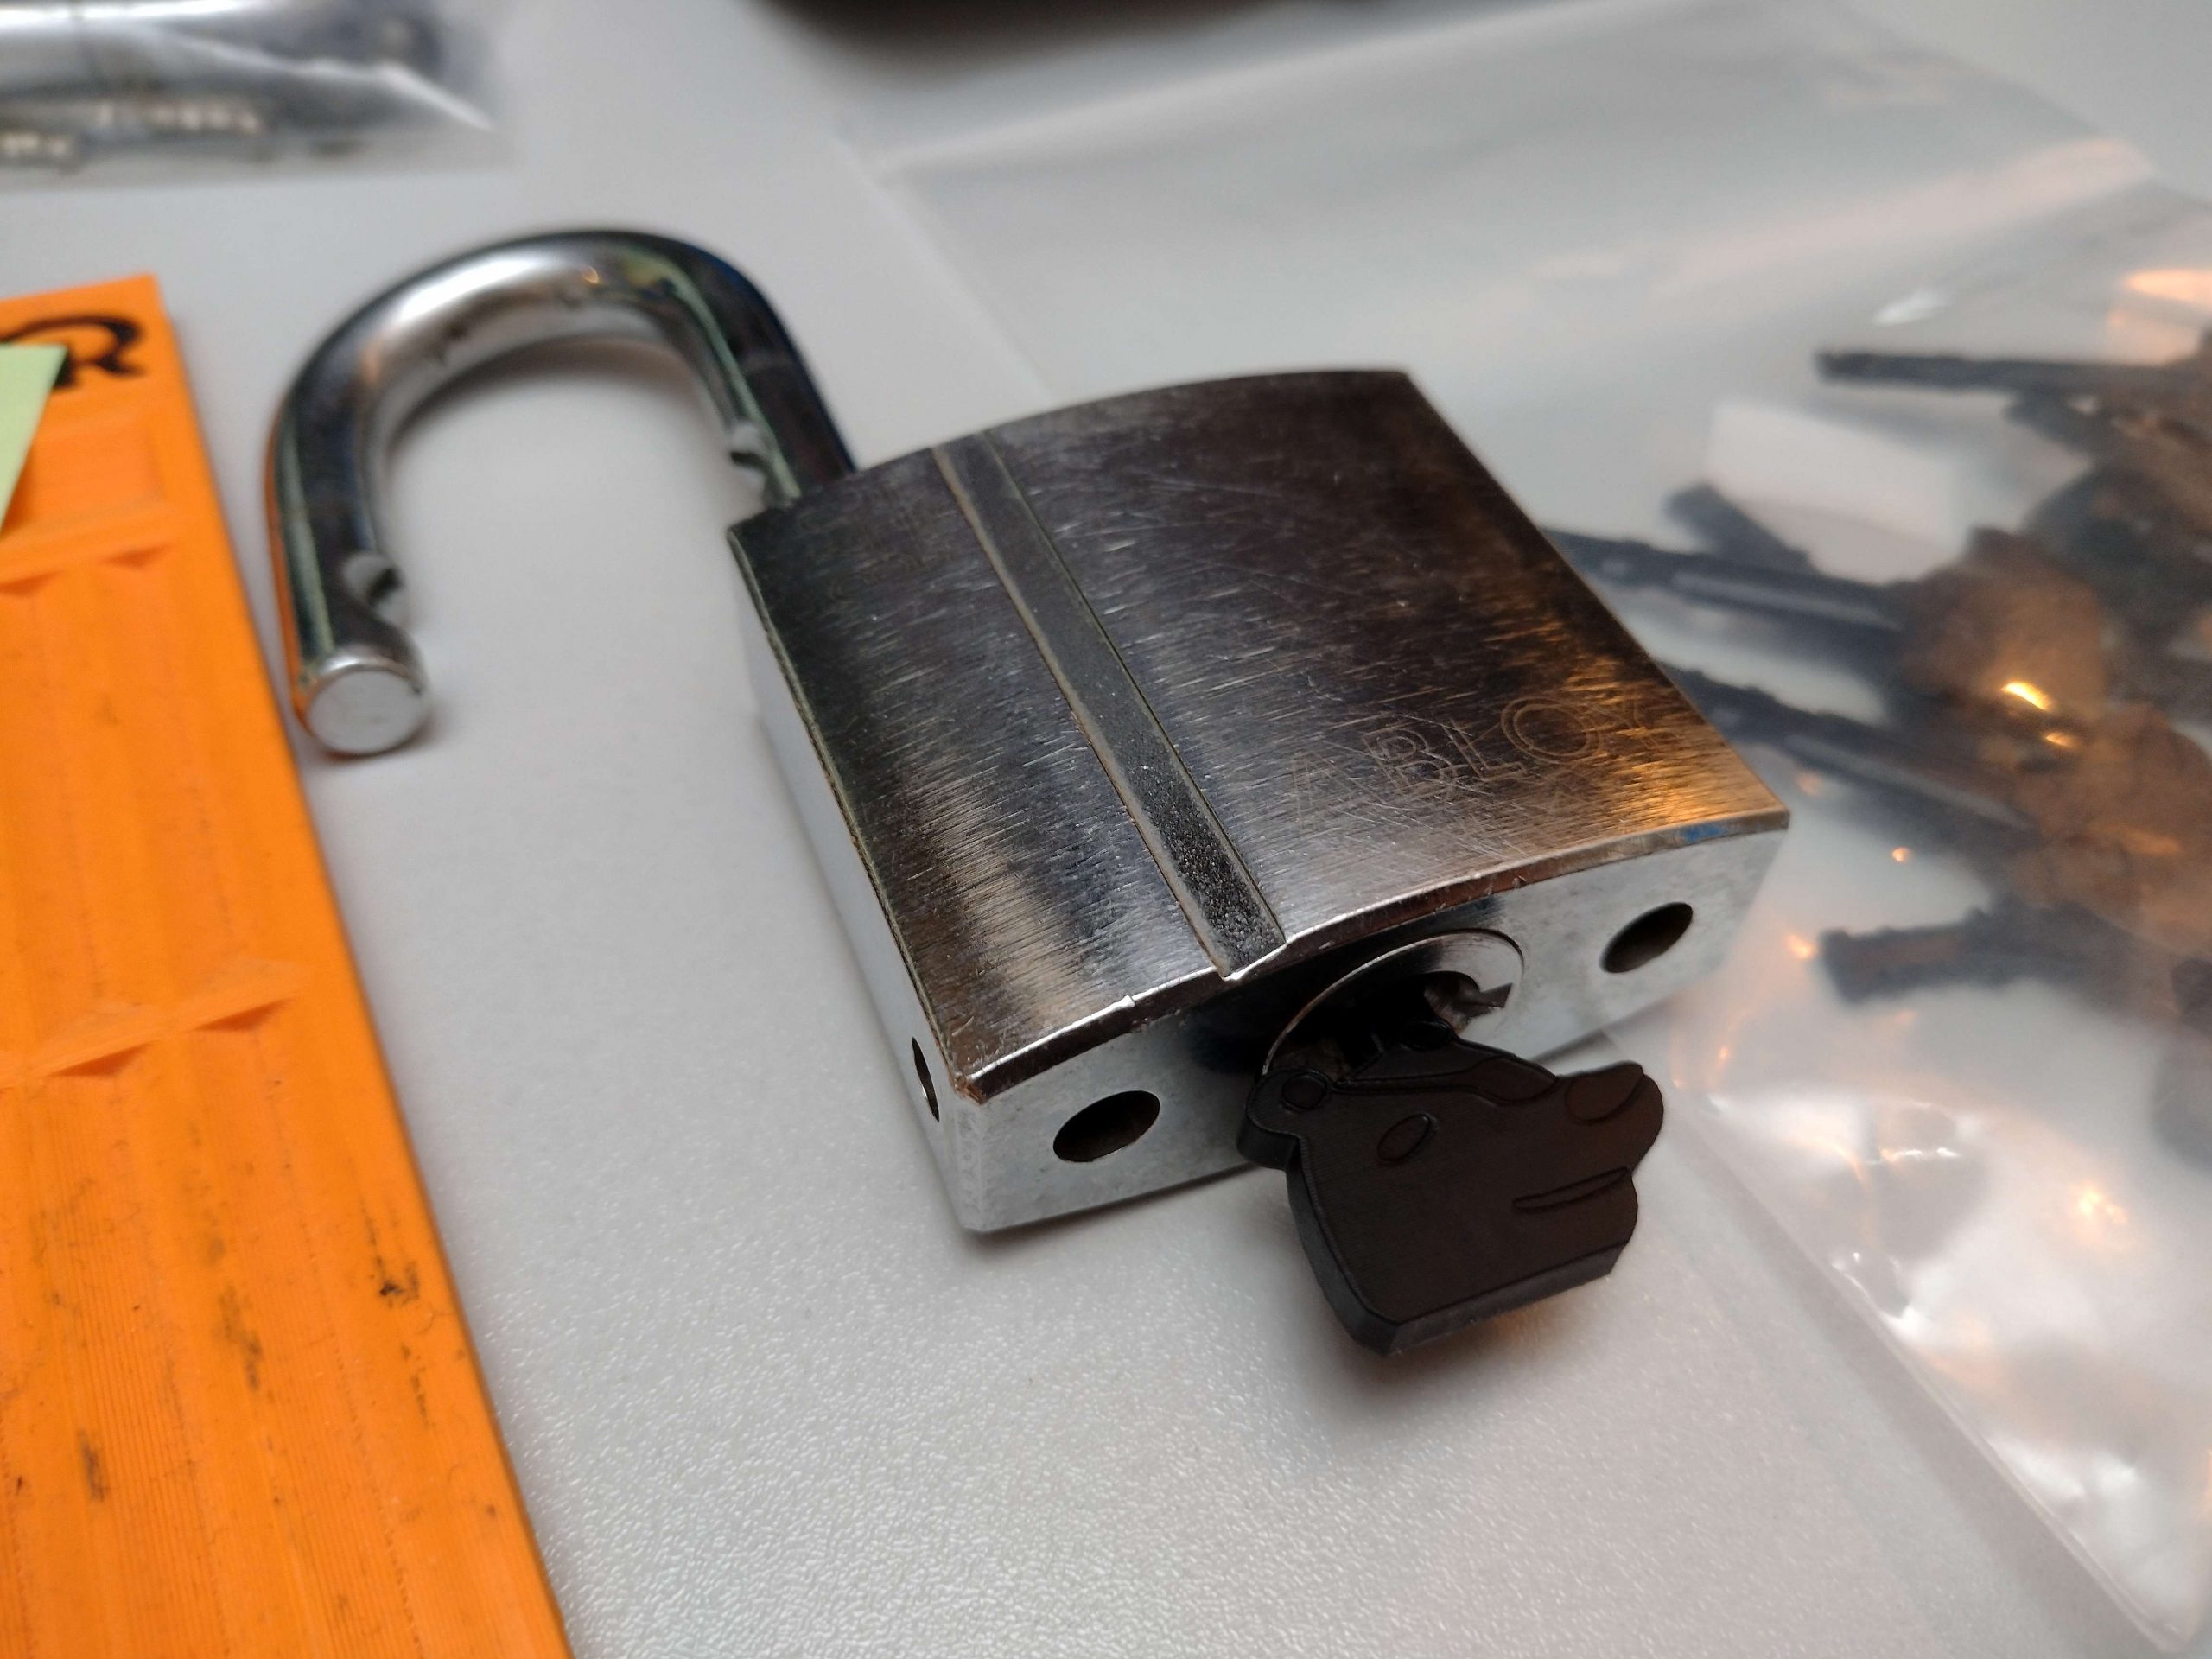
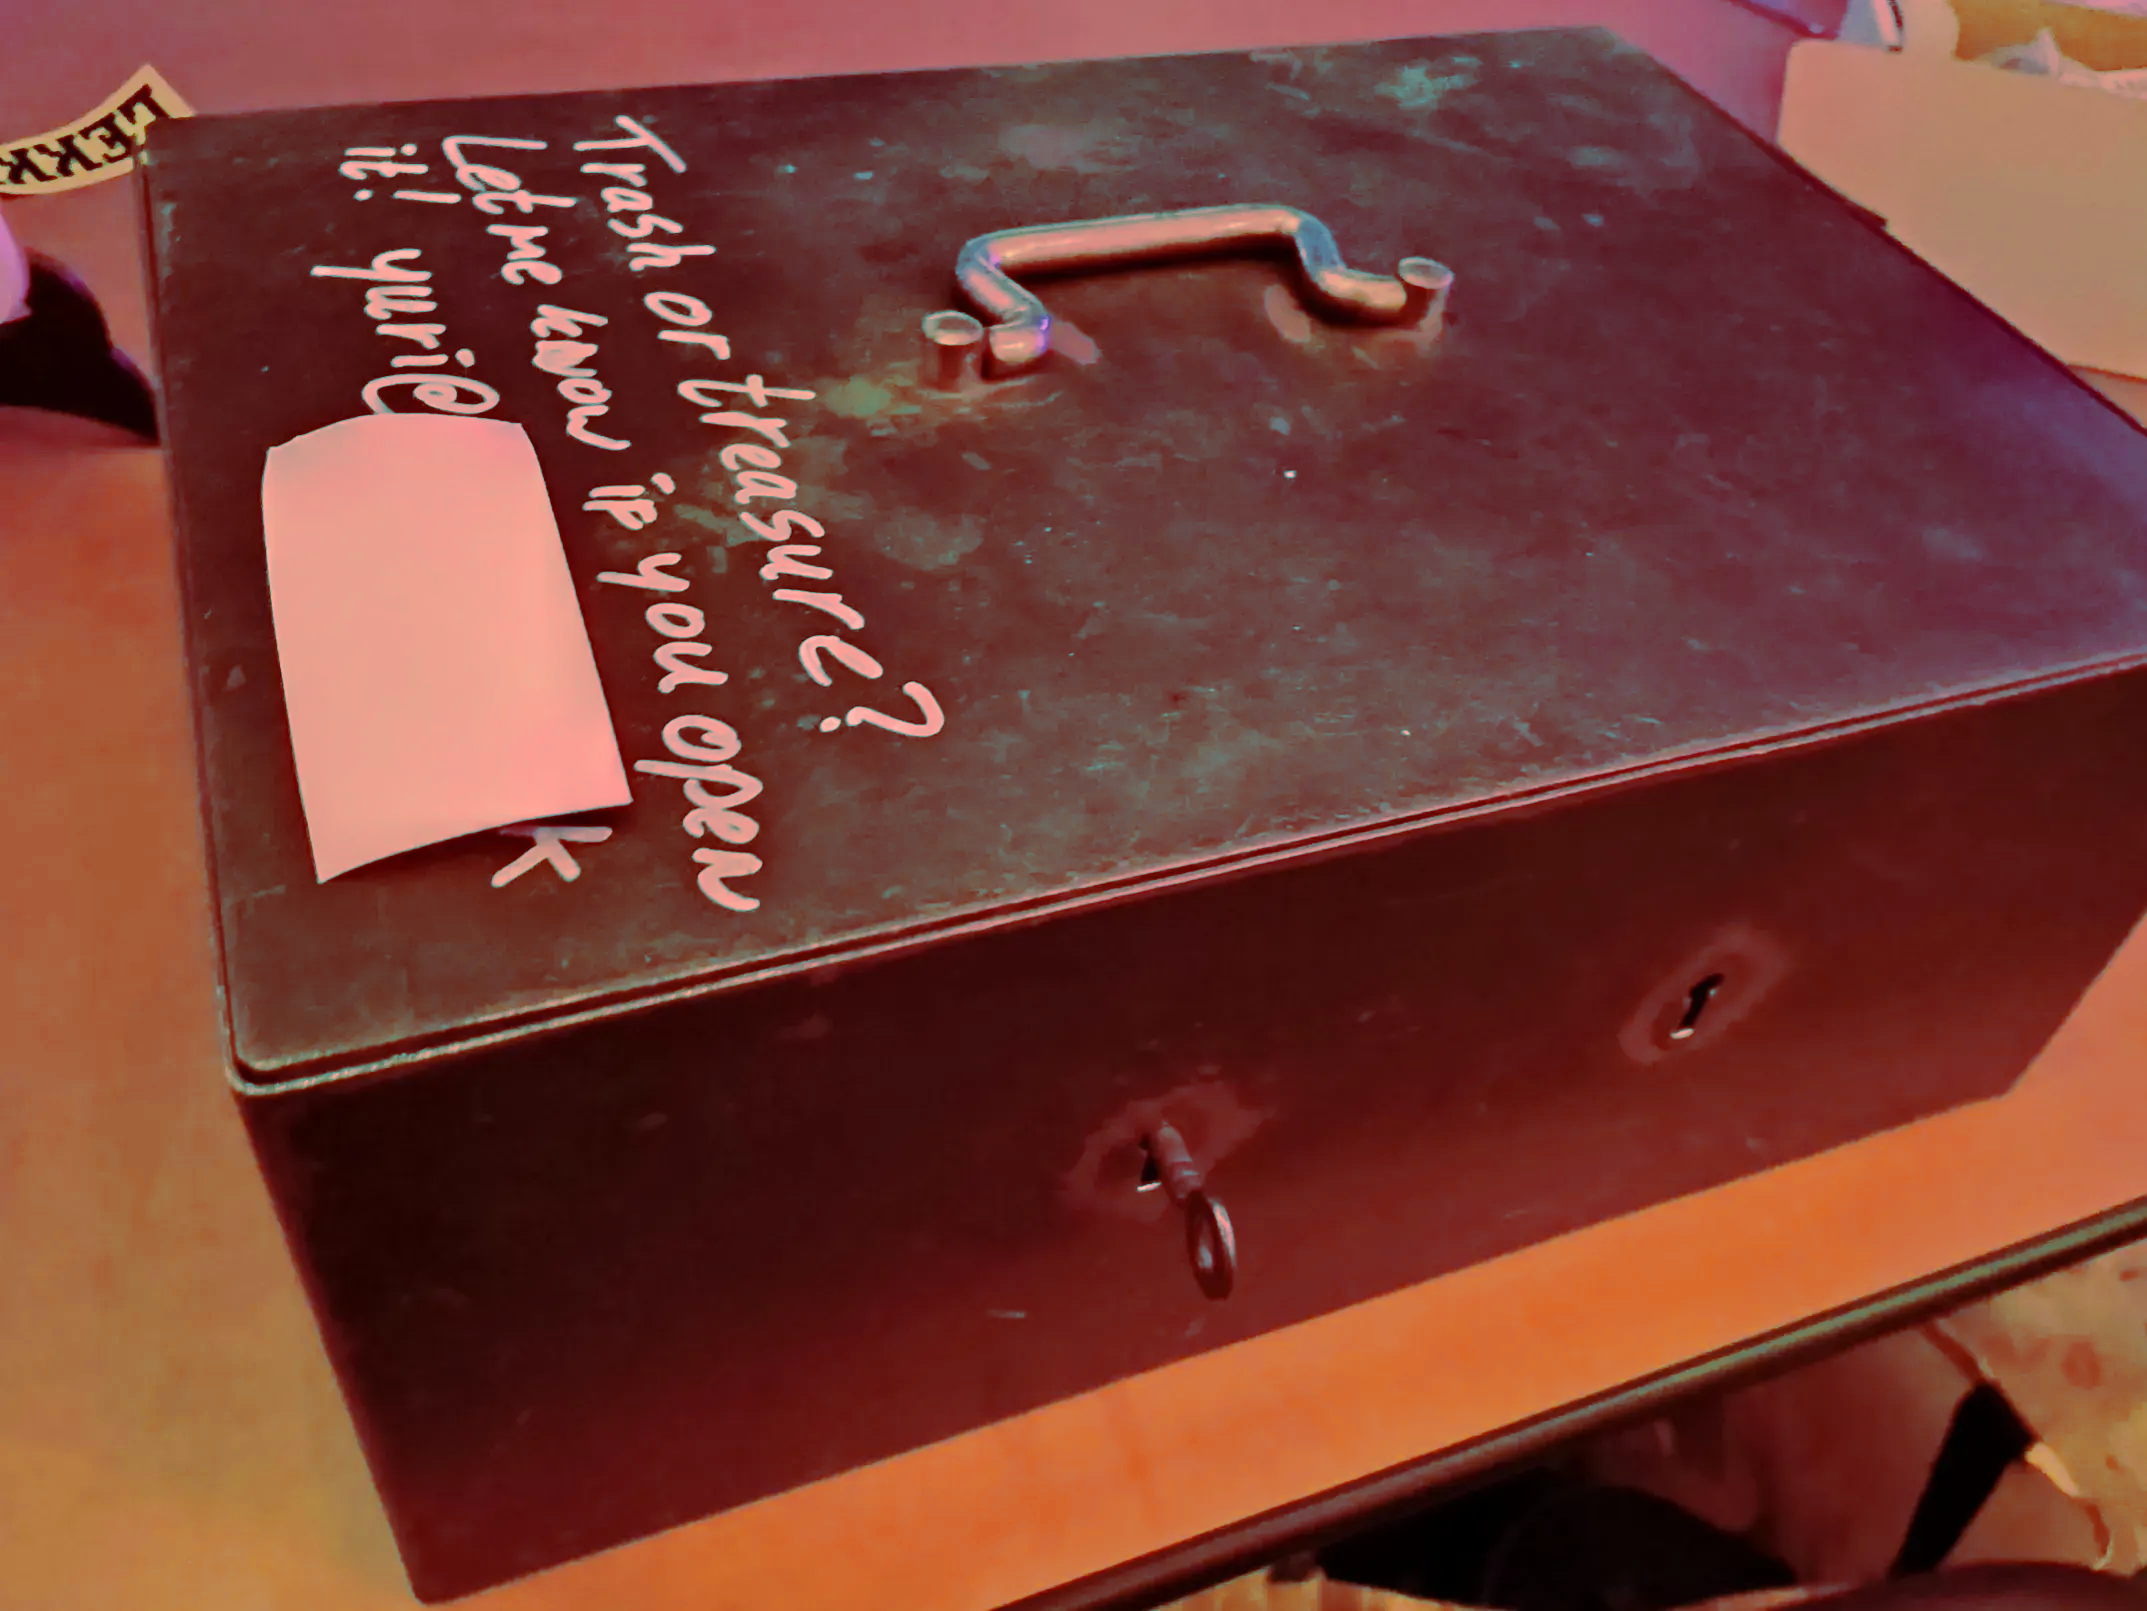
One such challenge, Yuri’s box with two keyholes and just one key, appeared in the village. Yuri wrote on the chest, ‘Trash or treasure? Let me know if you open it!’ and included their contact details. After several people attempted the box, we were nearing the end of the event. I’ve contacted Yuri and discussed options. Them was fine with me bringing the box home to give it a fair attempt.
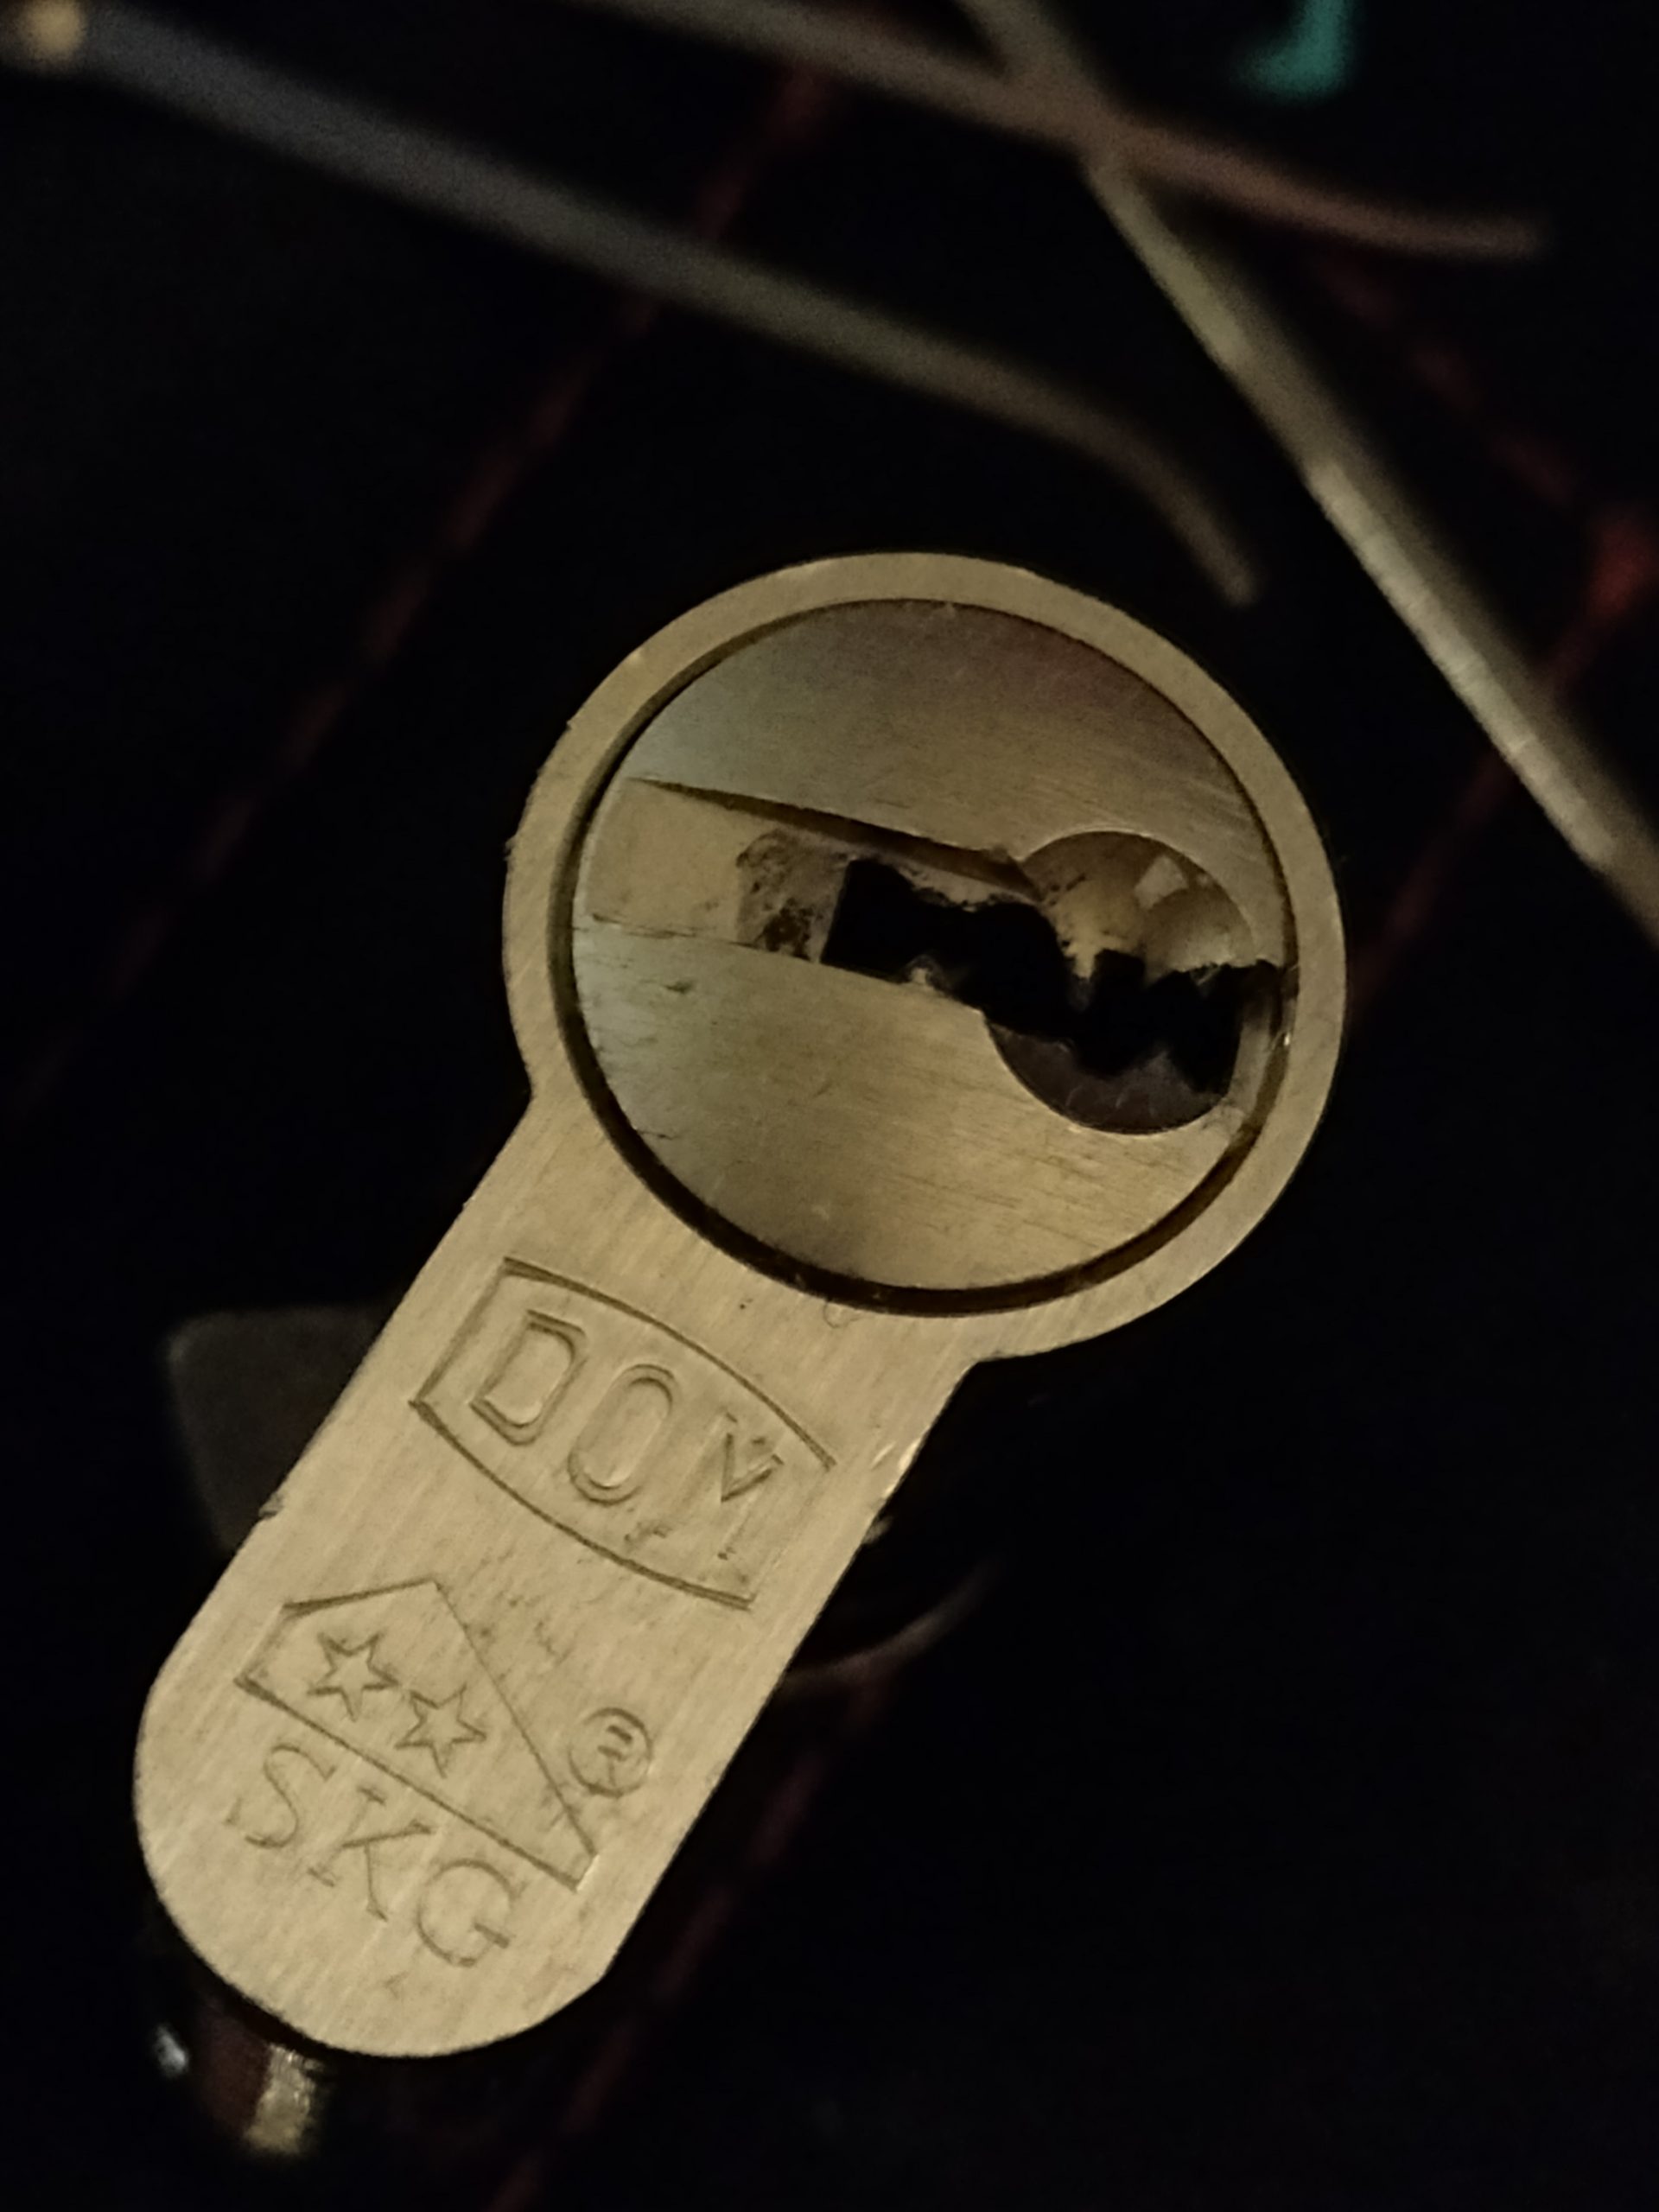
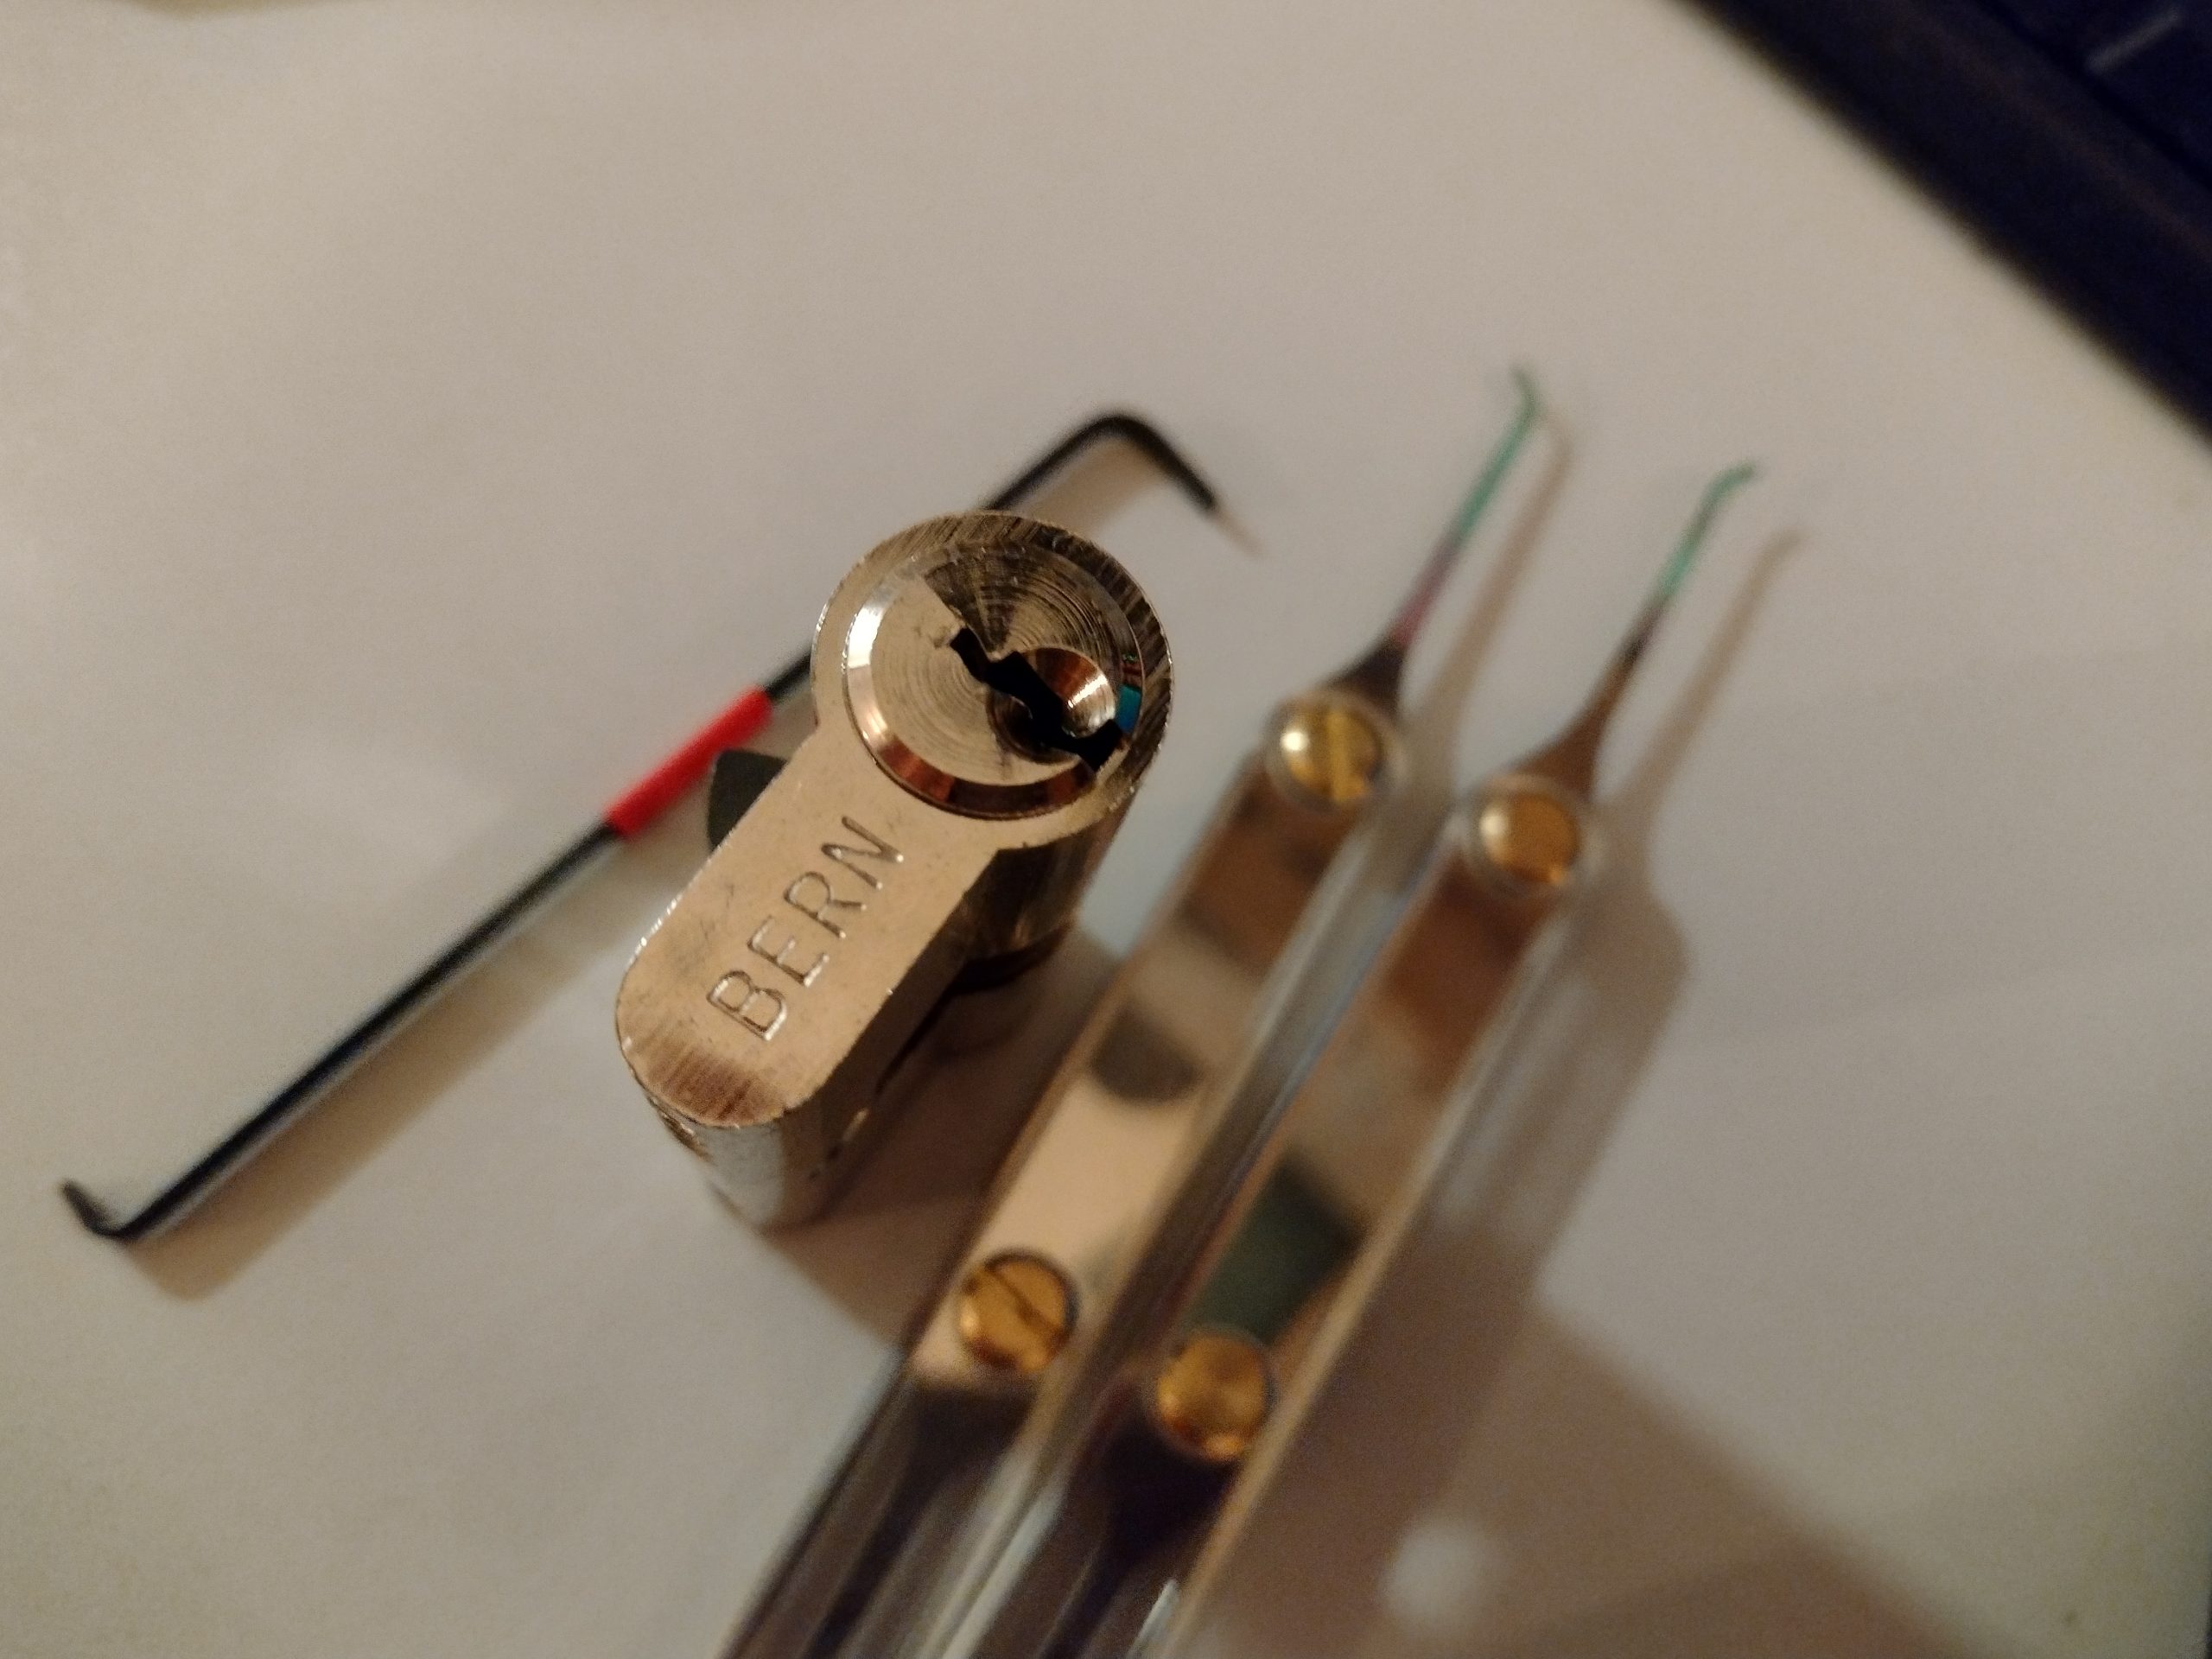
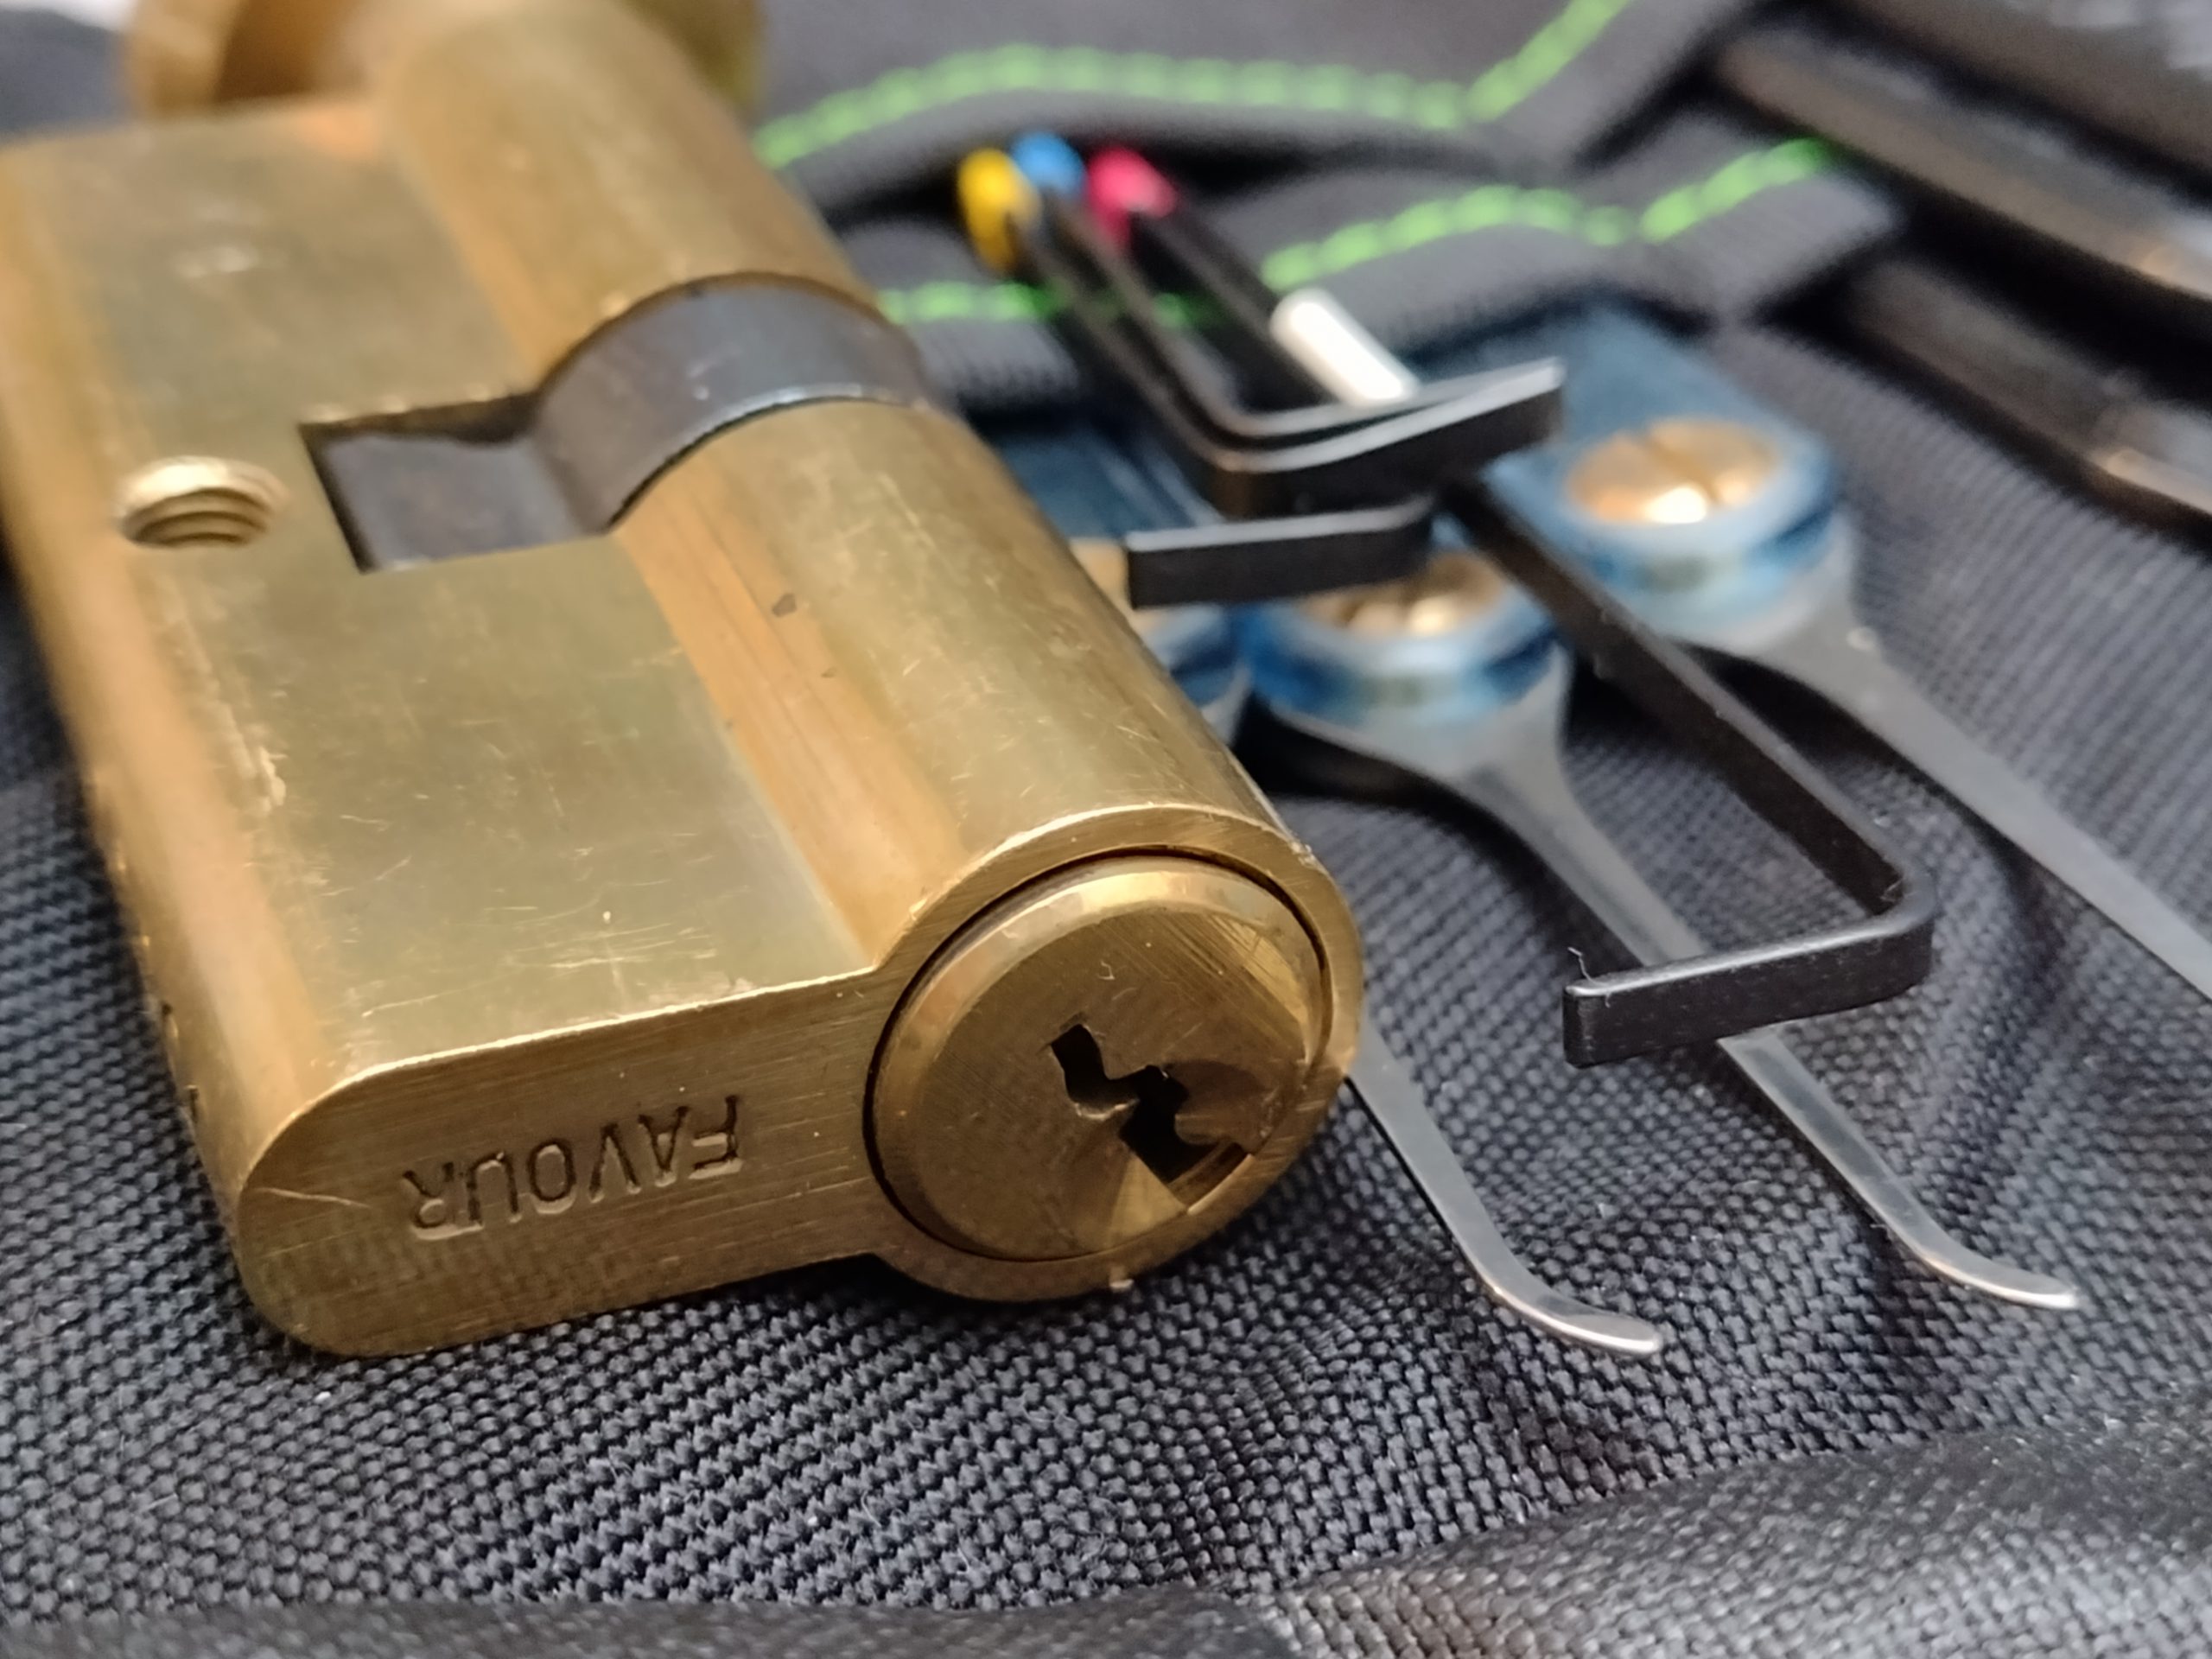
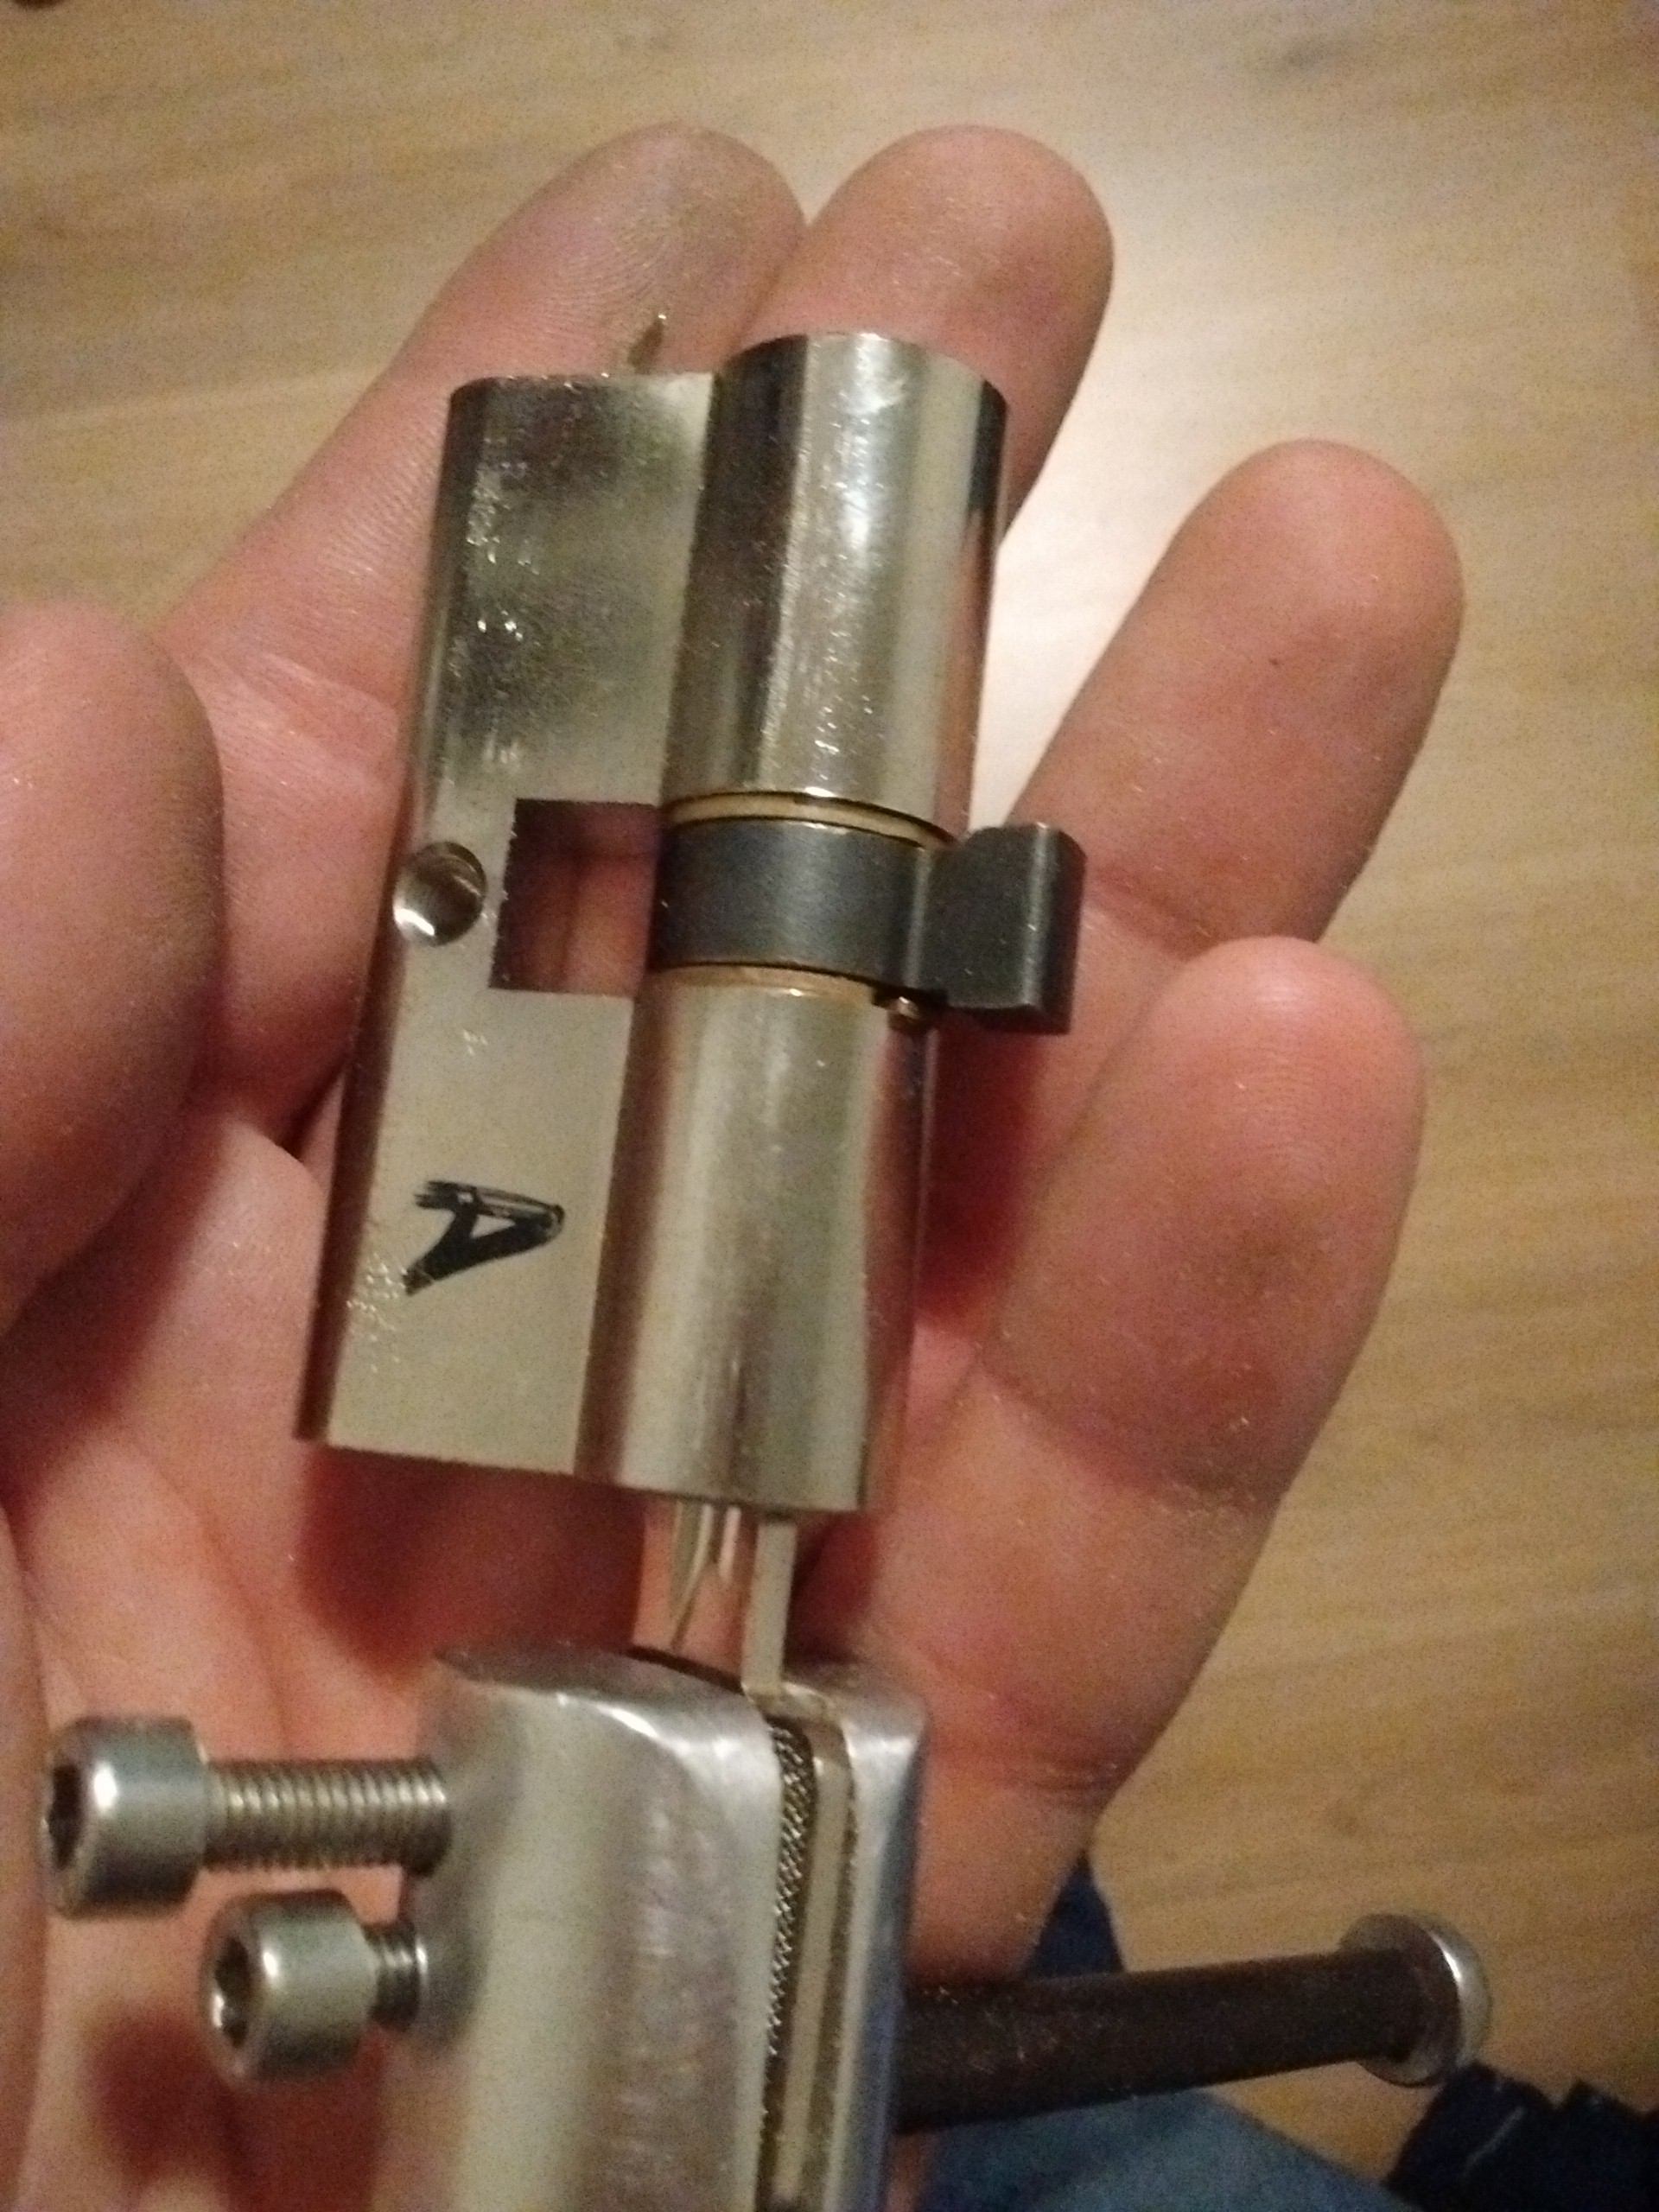
The chest was curious to me as it has two keyholes, which can be a dual custody, a mechanical version of the four eyes principle. To open such a system, both key owners need to be present with their key. Several variations exist. Either where key A or B open the box, where key B is used after key A, and very rarely the dual custody where key A and key B need to be present at the same time. Without any knowledge of the internals of this specific chest, your guess will be as good as mine. My guesses were that the key didn’t belong to the chest, second that both locks are independent, and third that one lock rotated clockwise, and the other counterclockwise. Of course, all three assumptions were wrong, as we’ll see later.
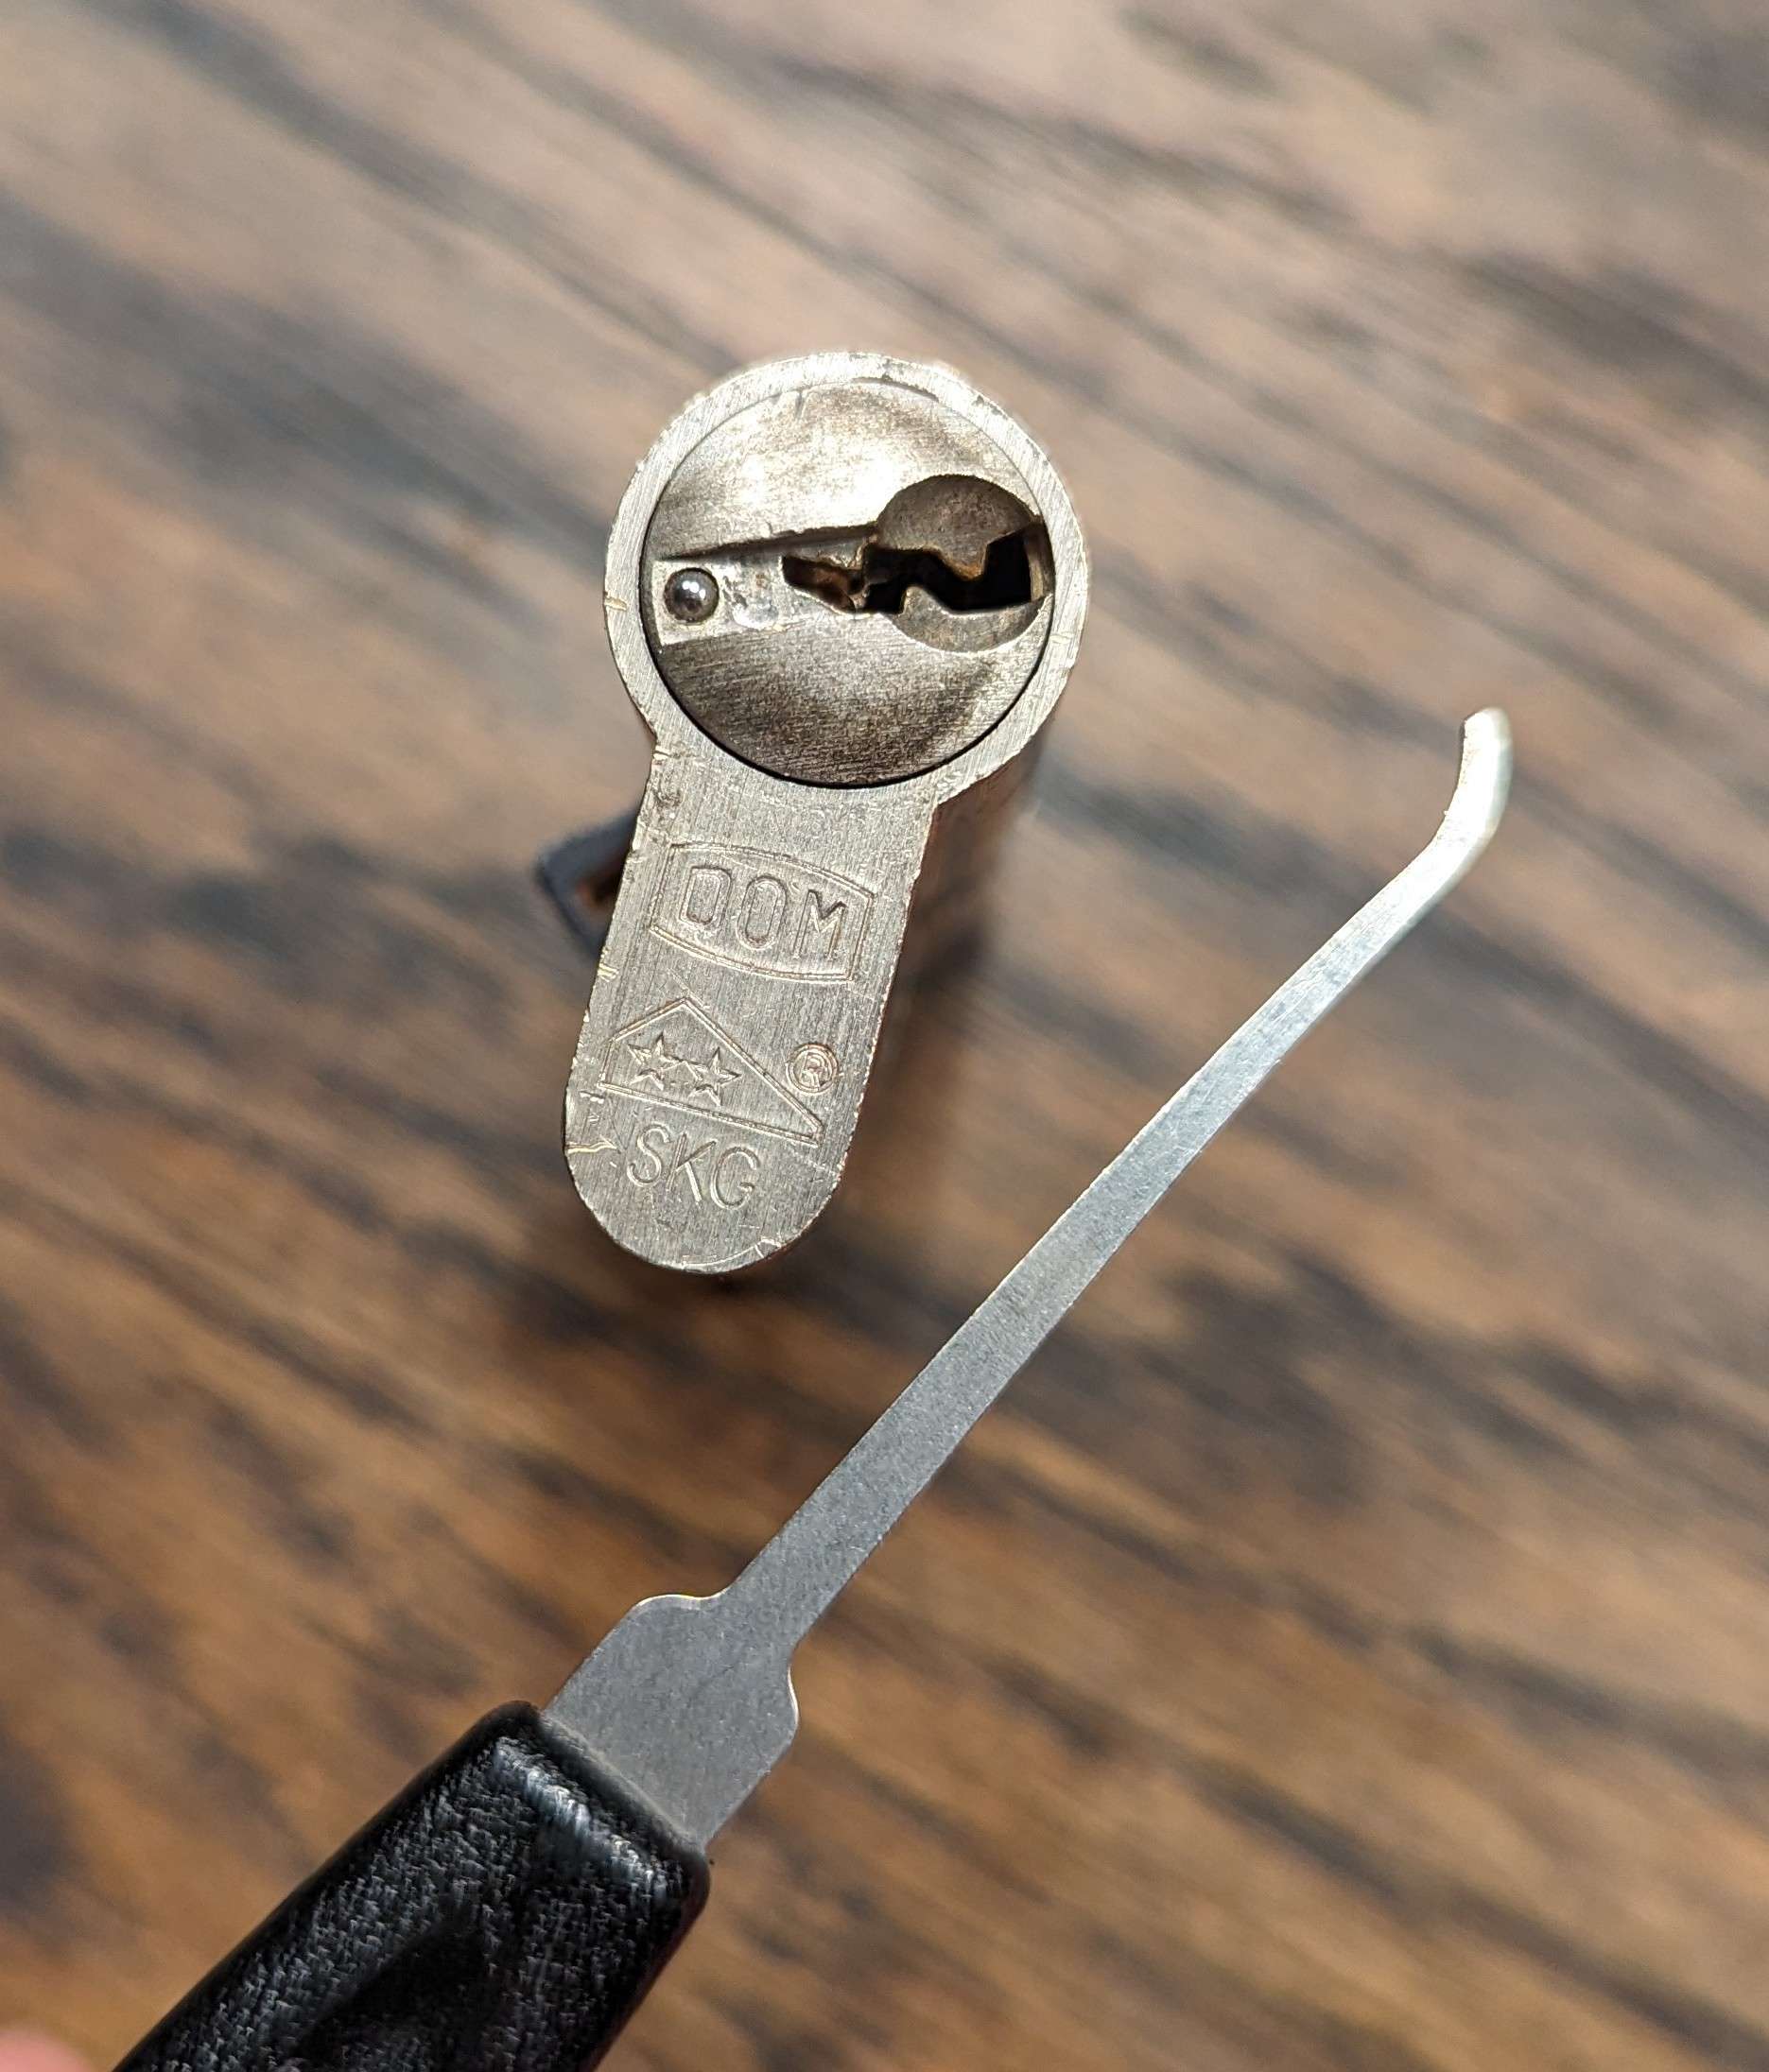
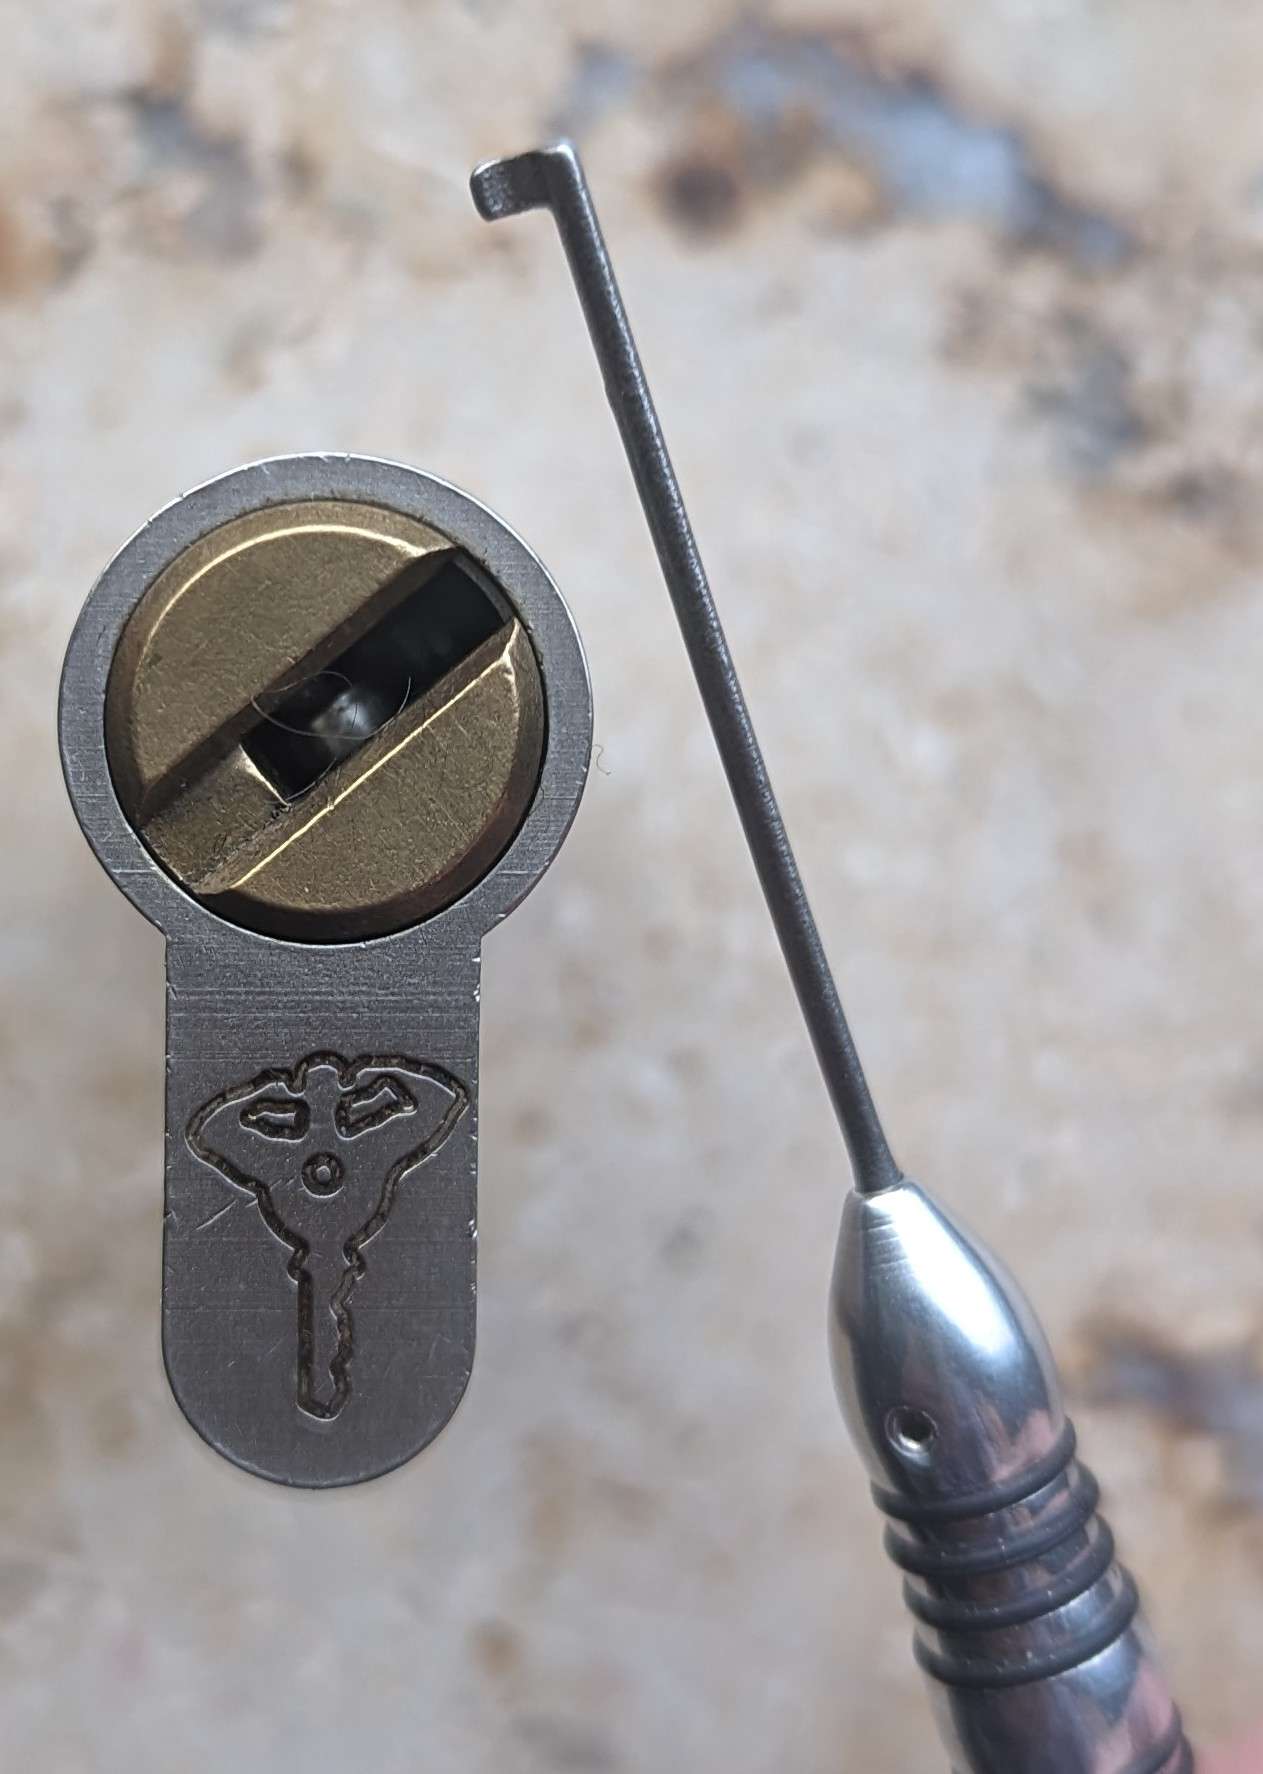
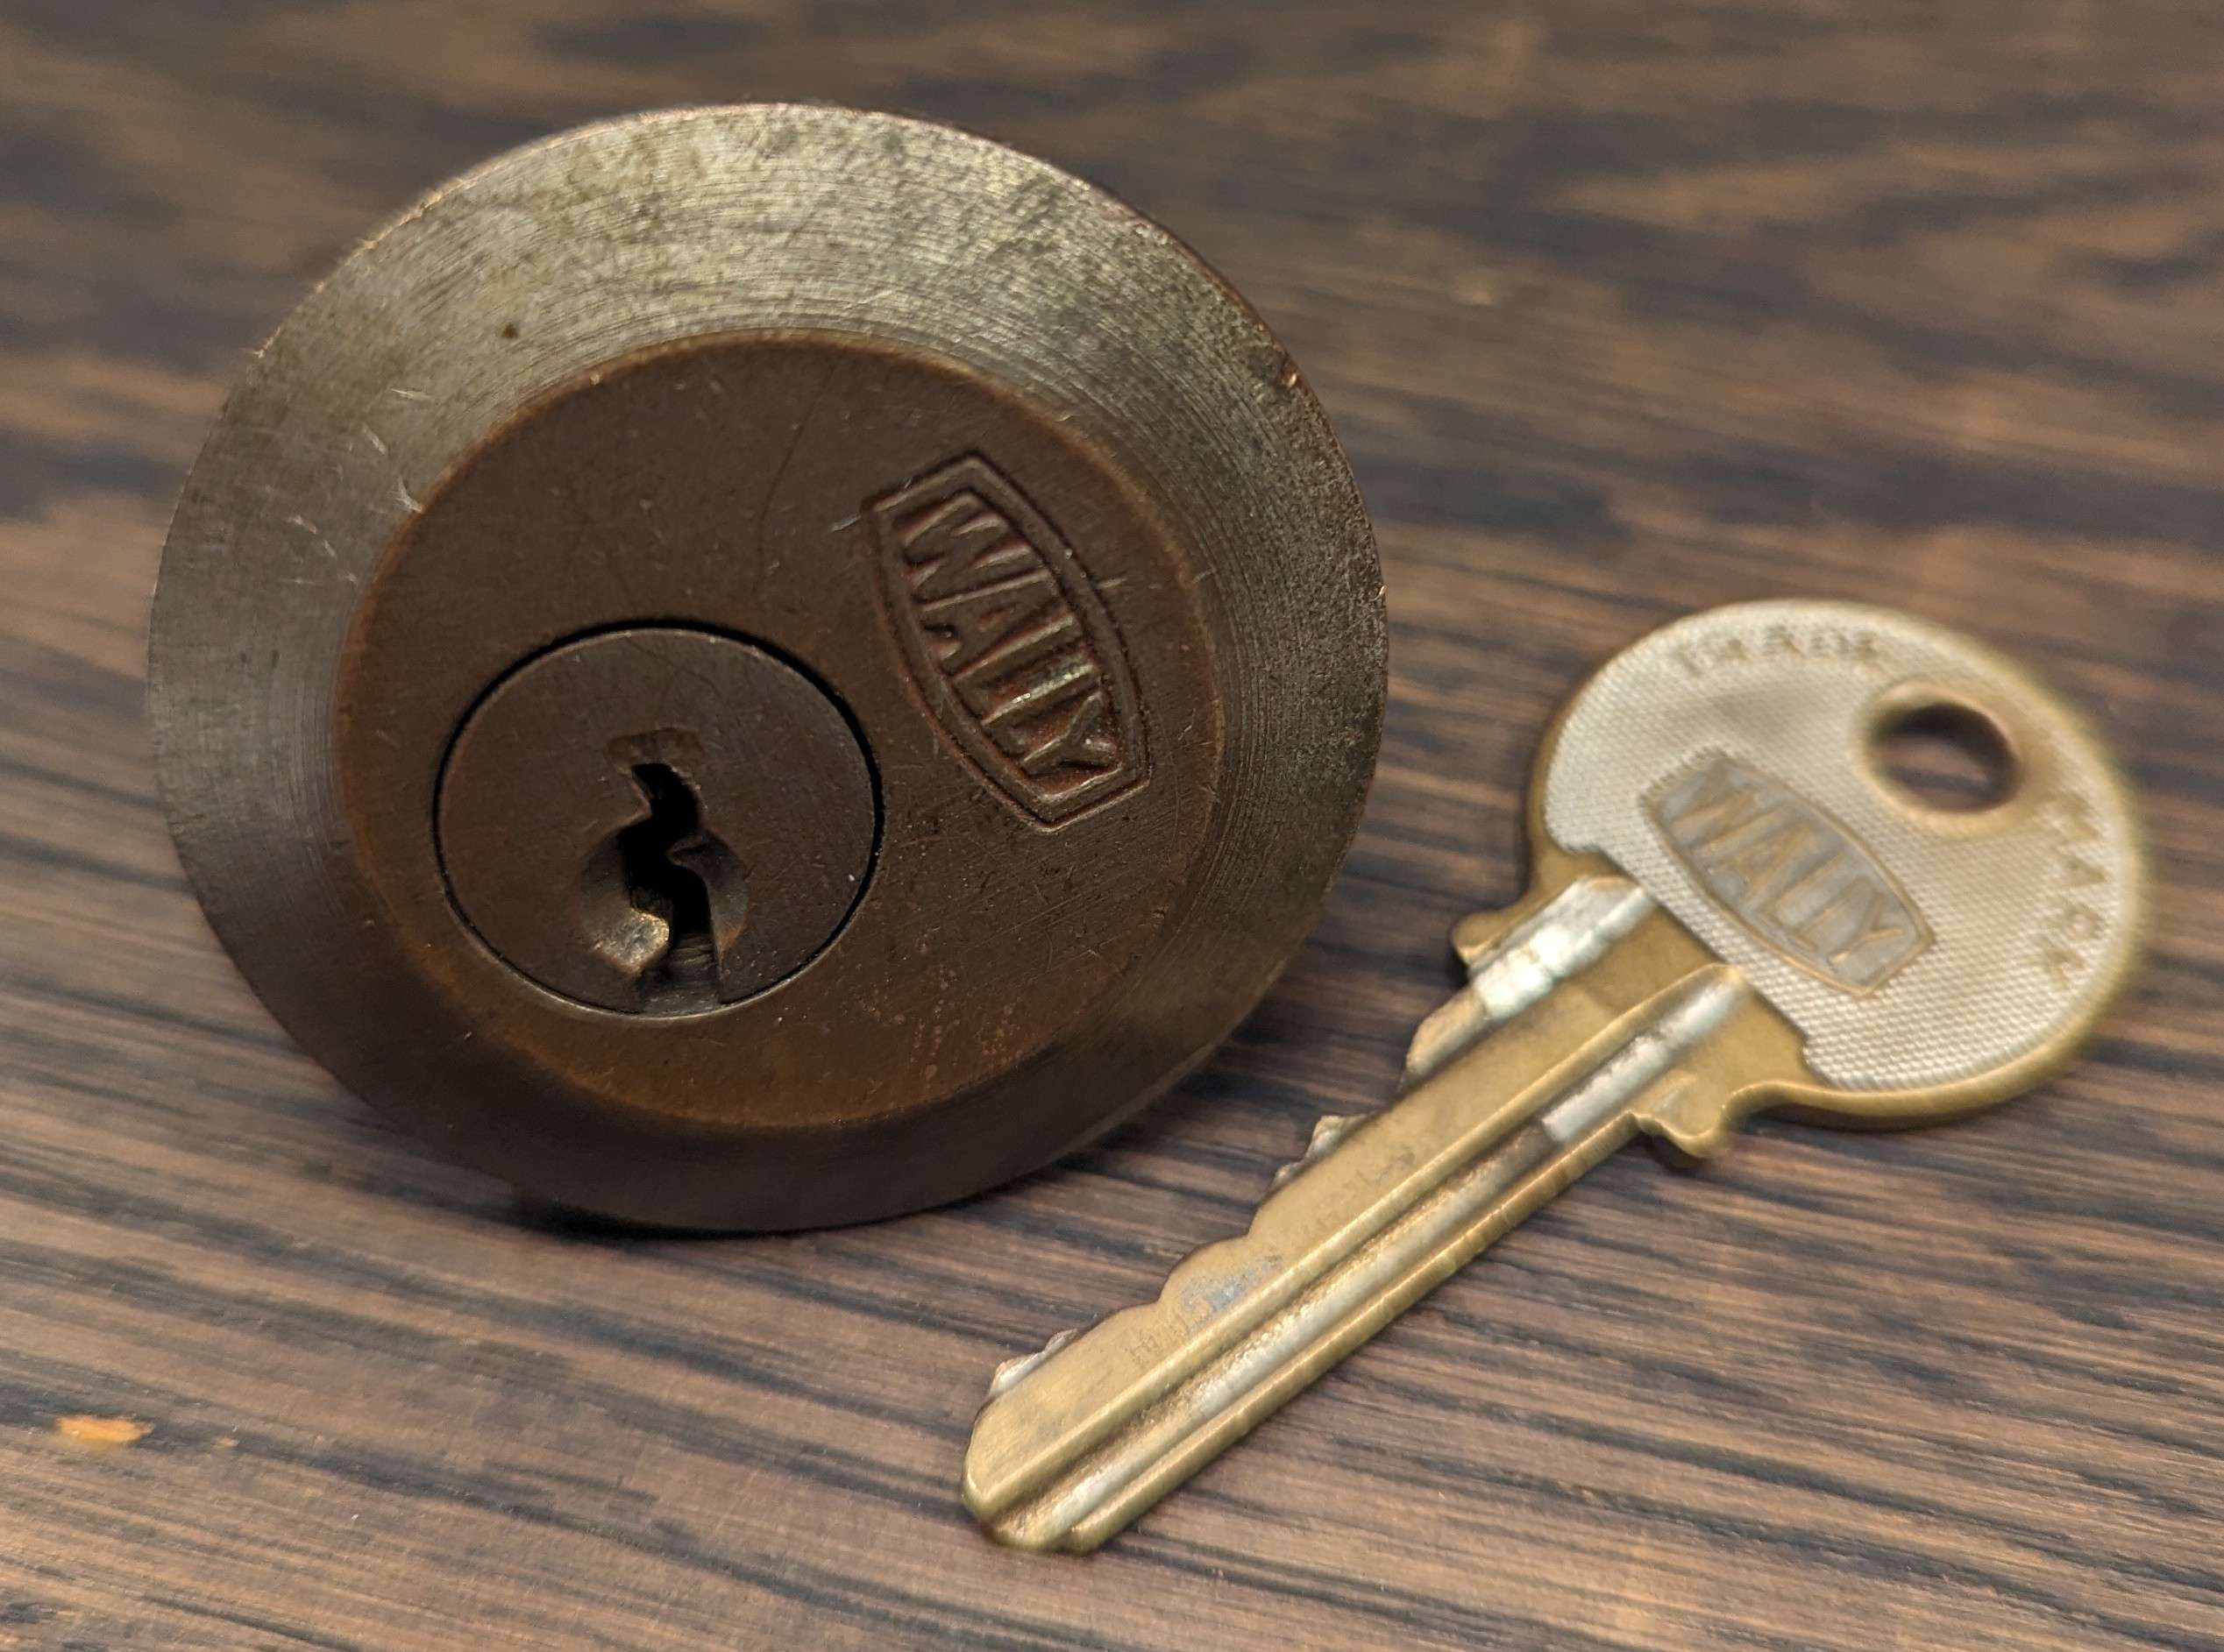
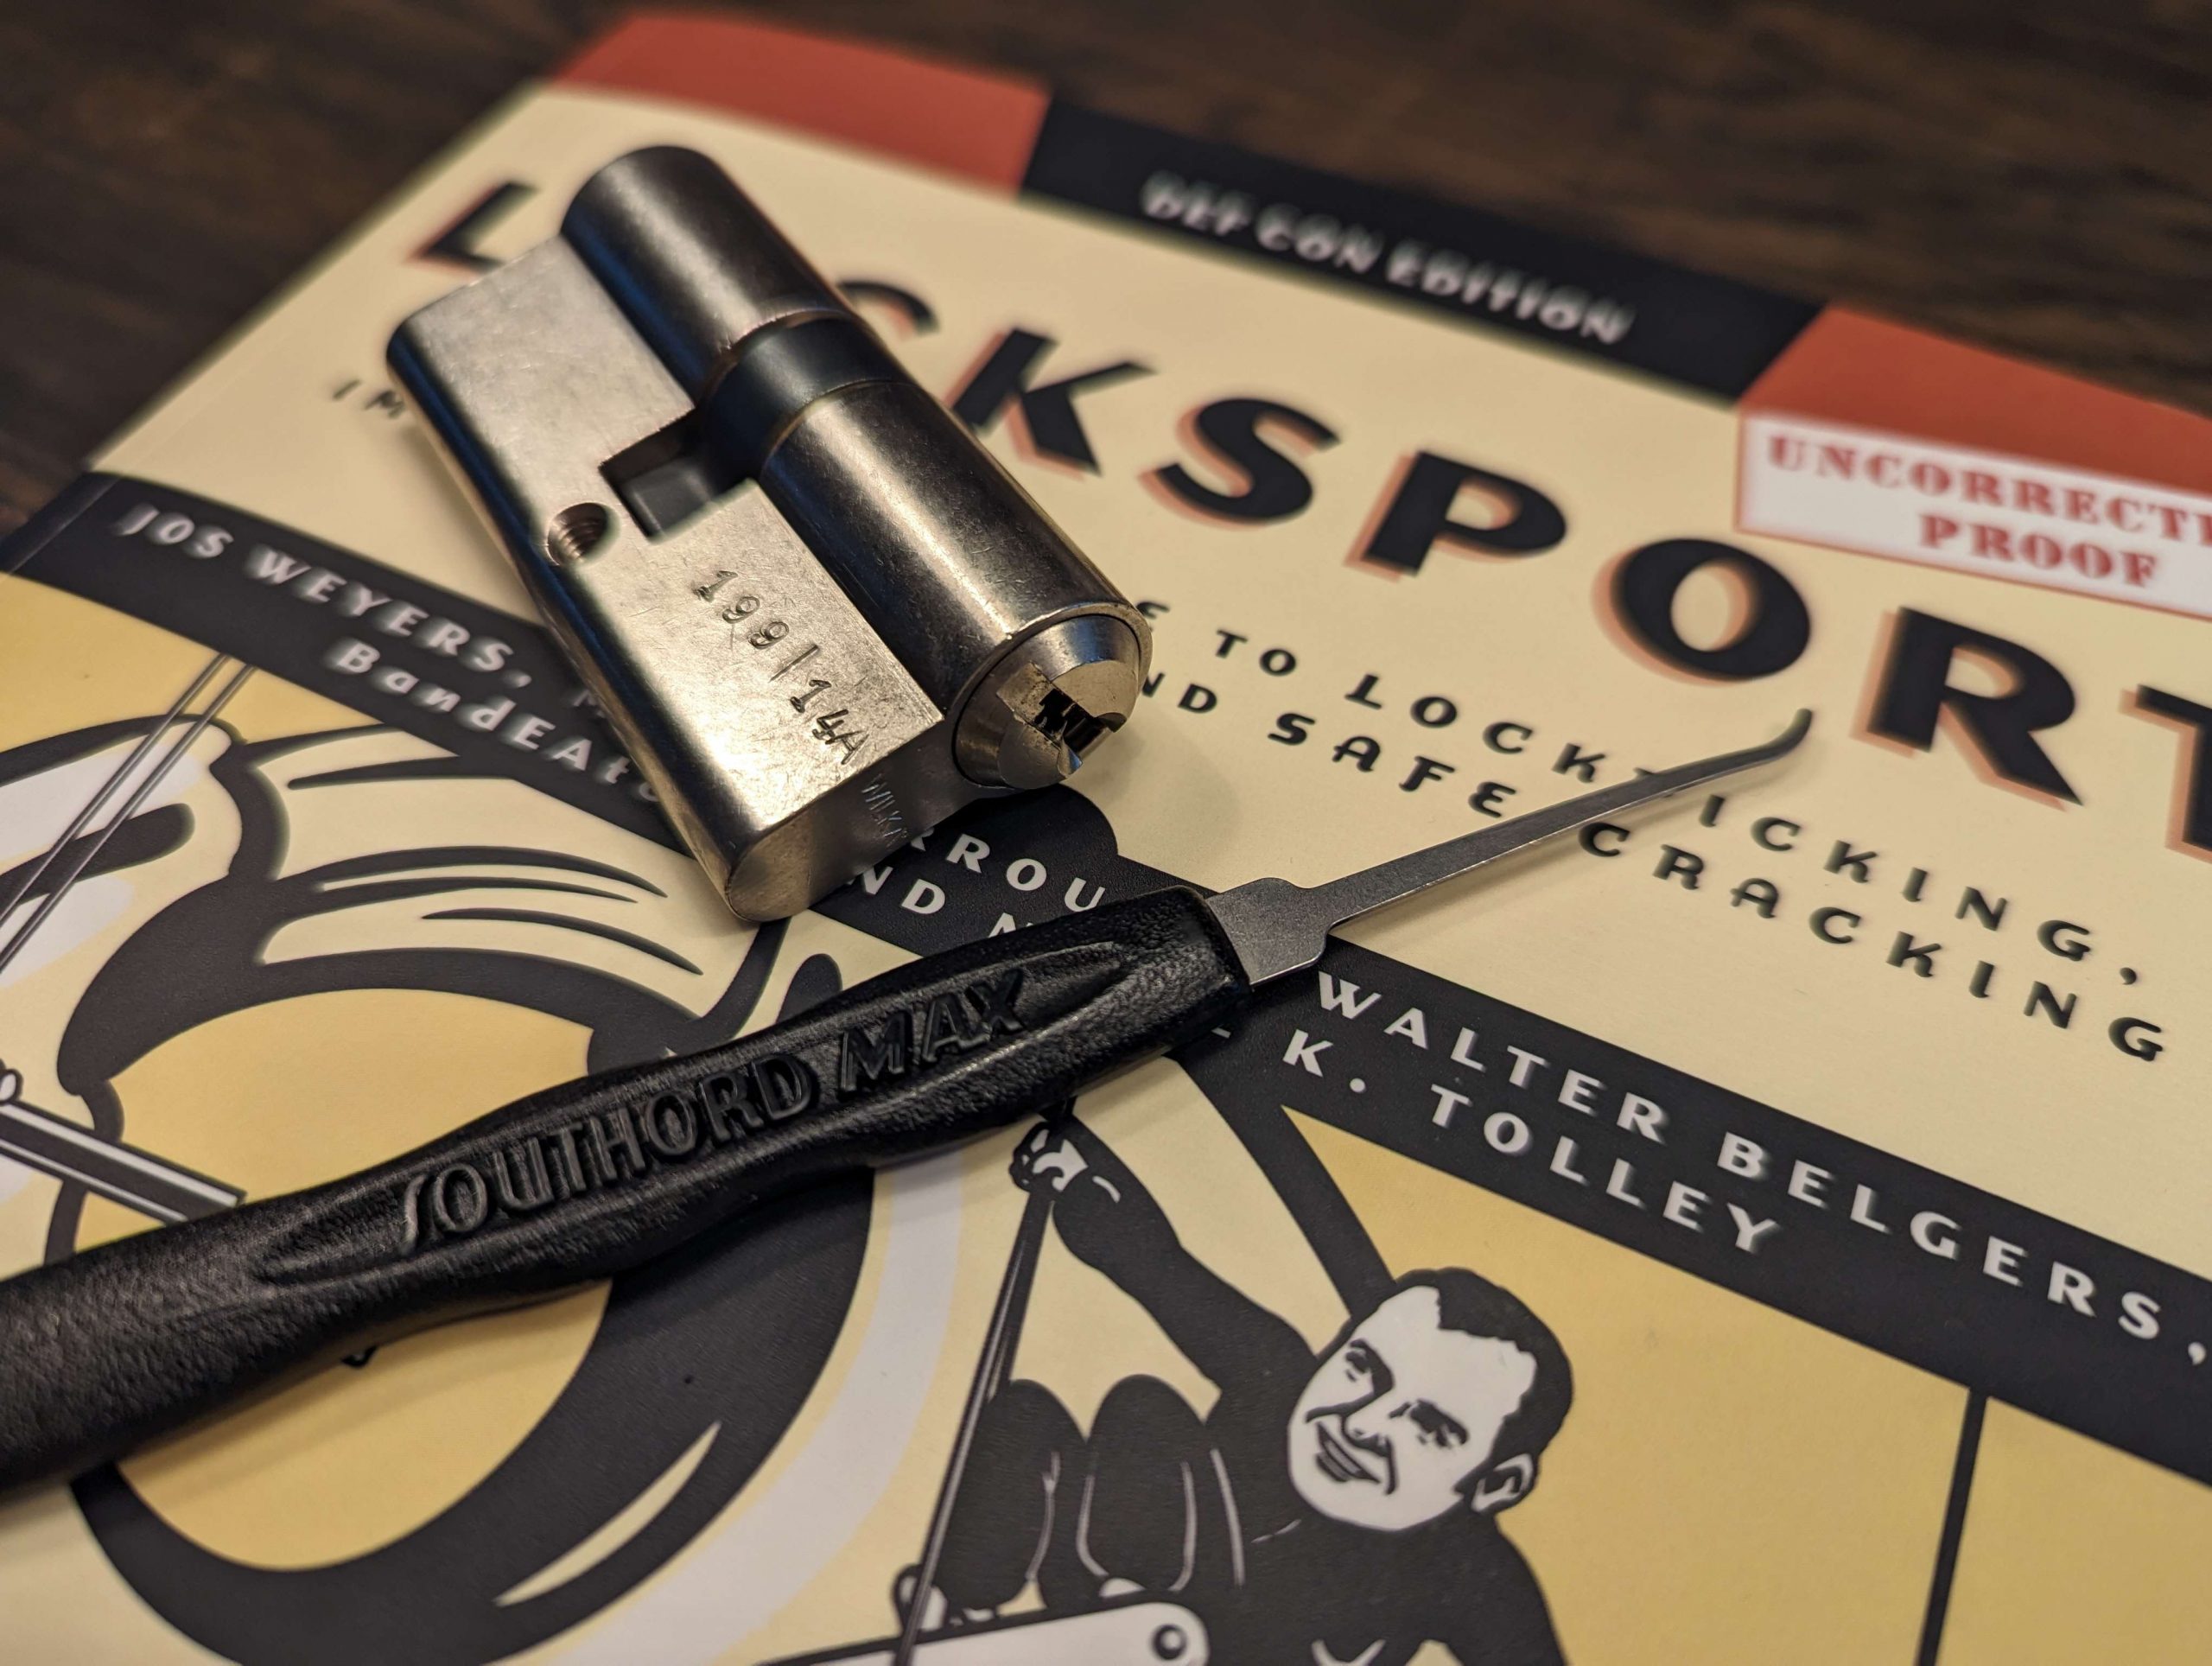
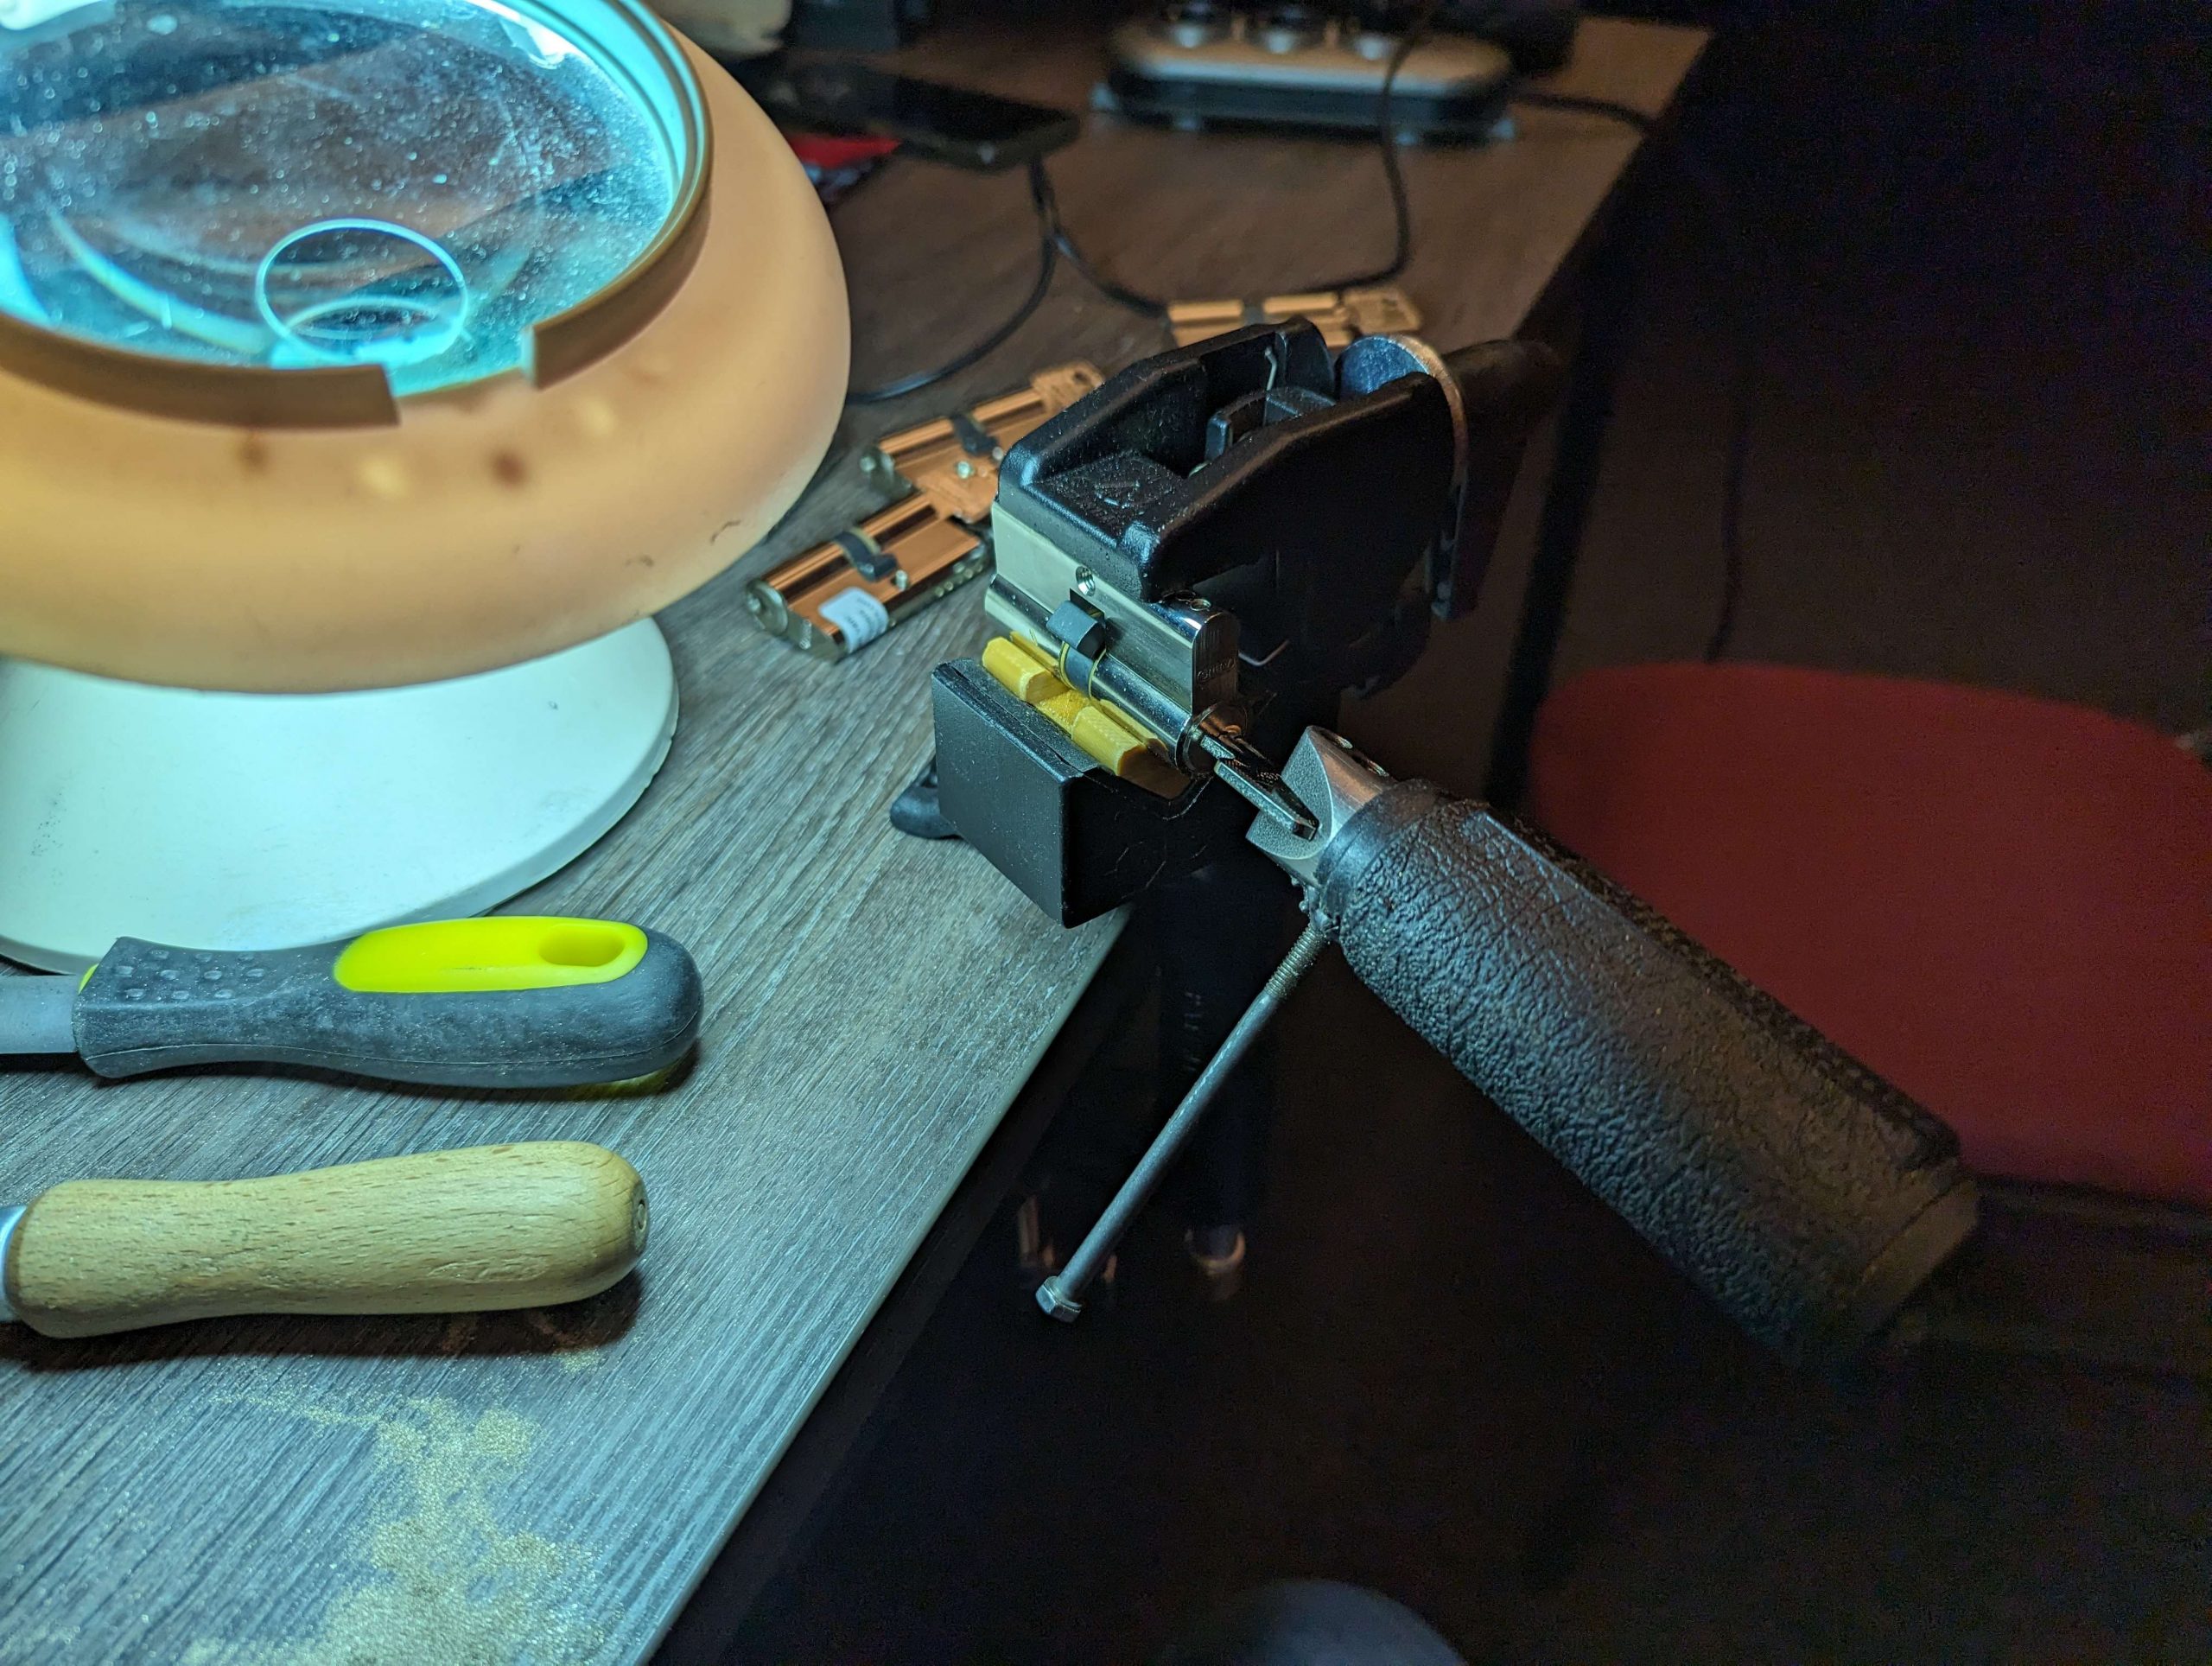
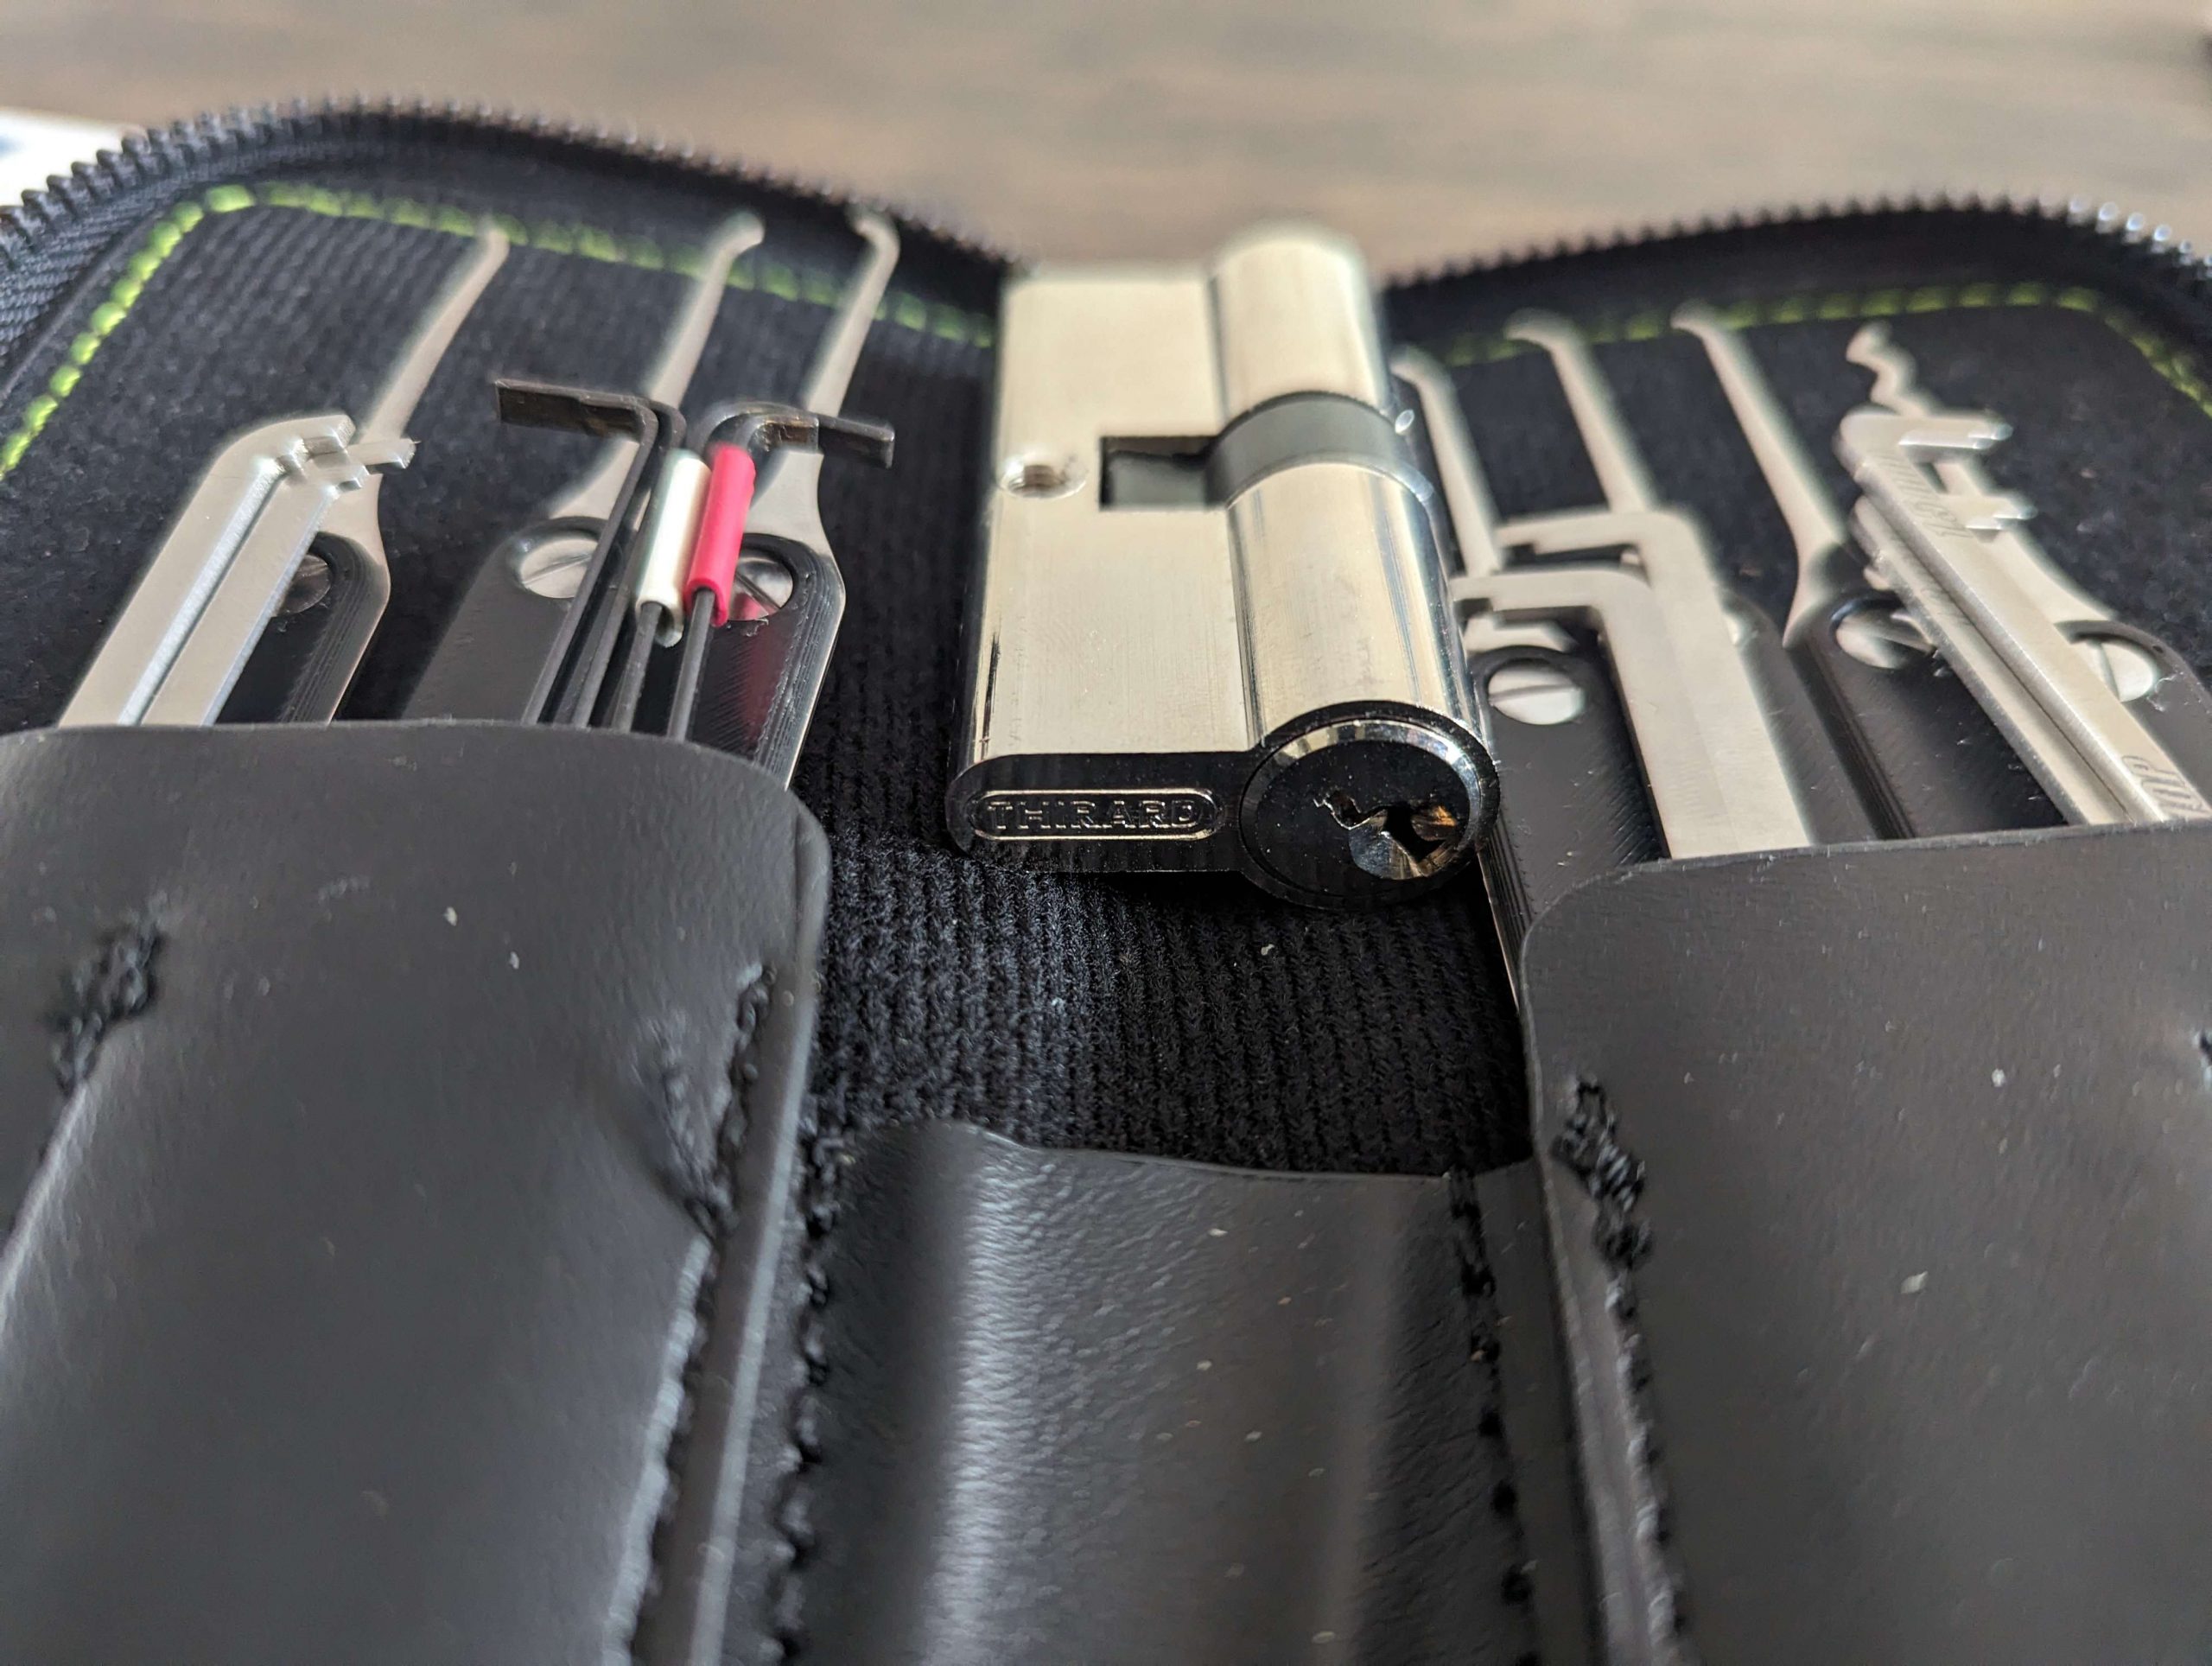
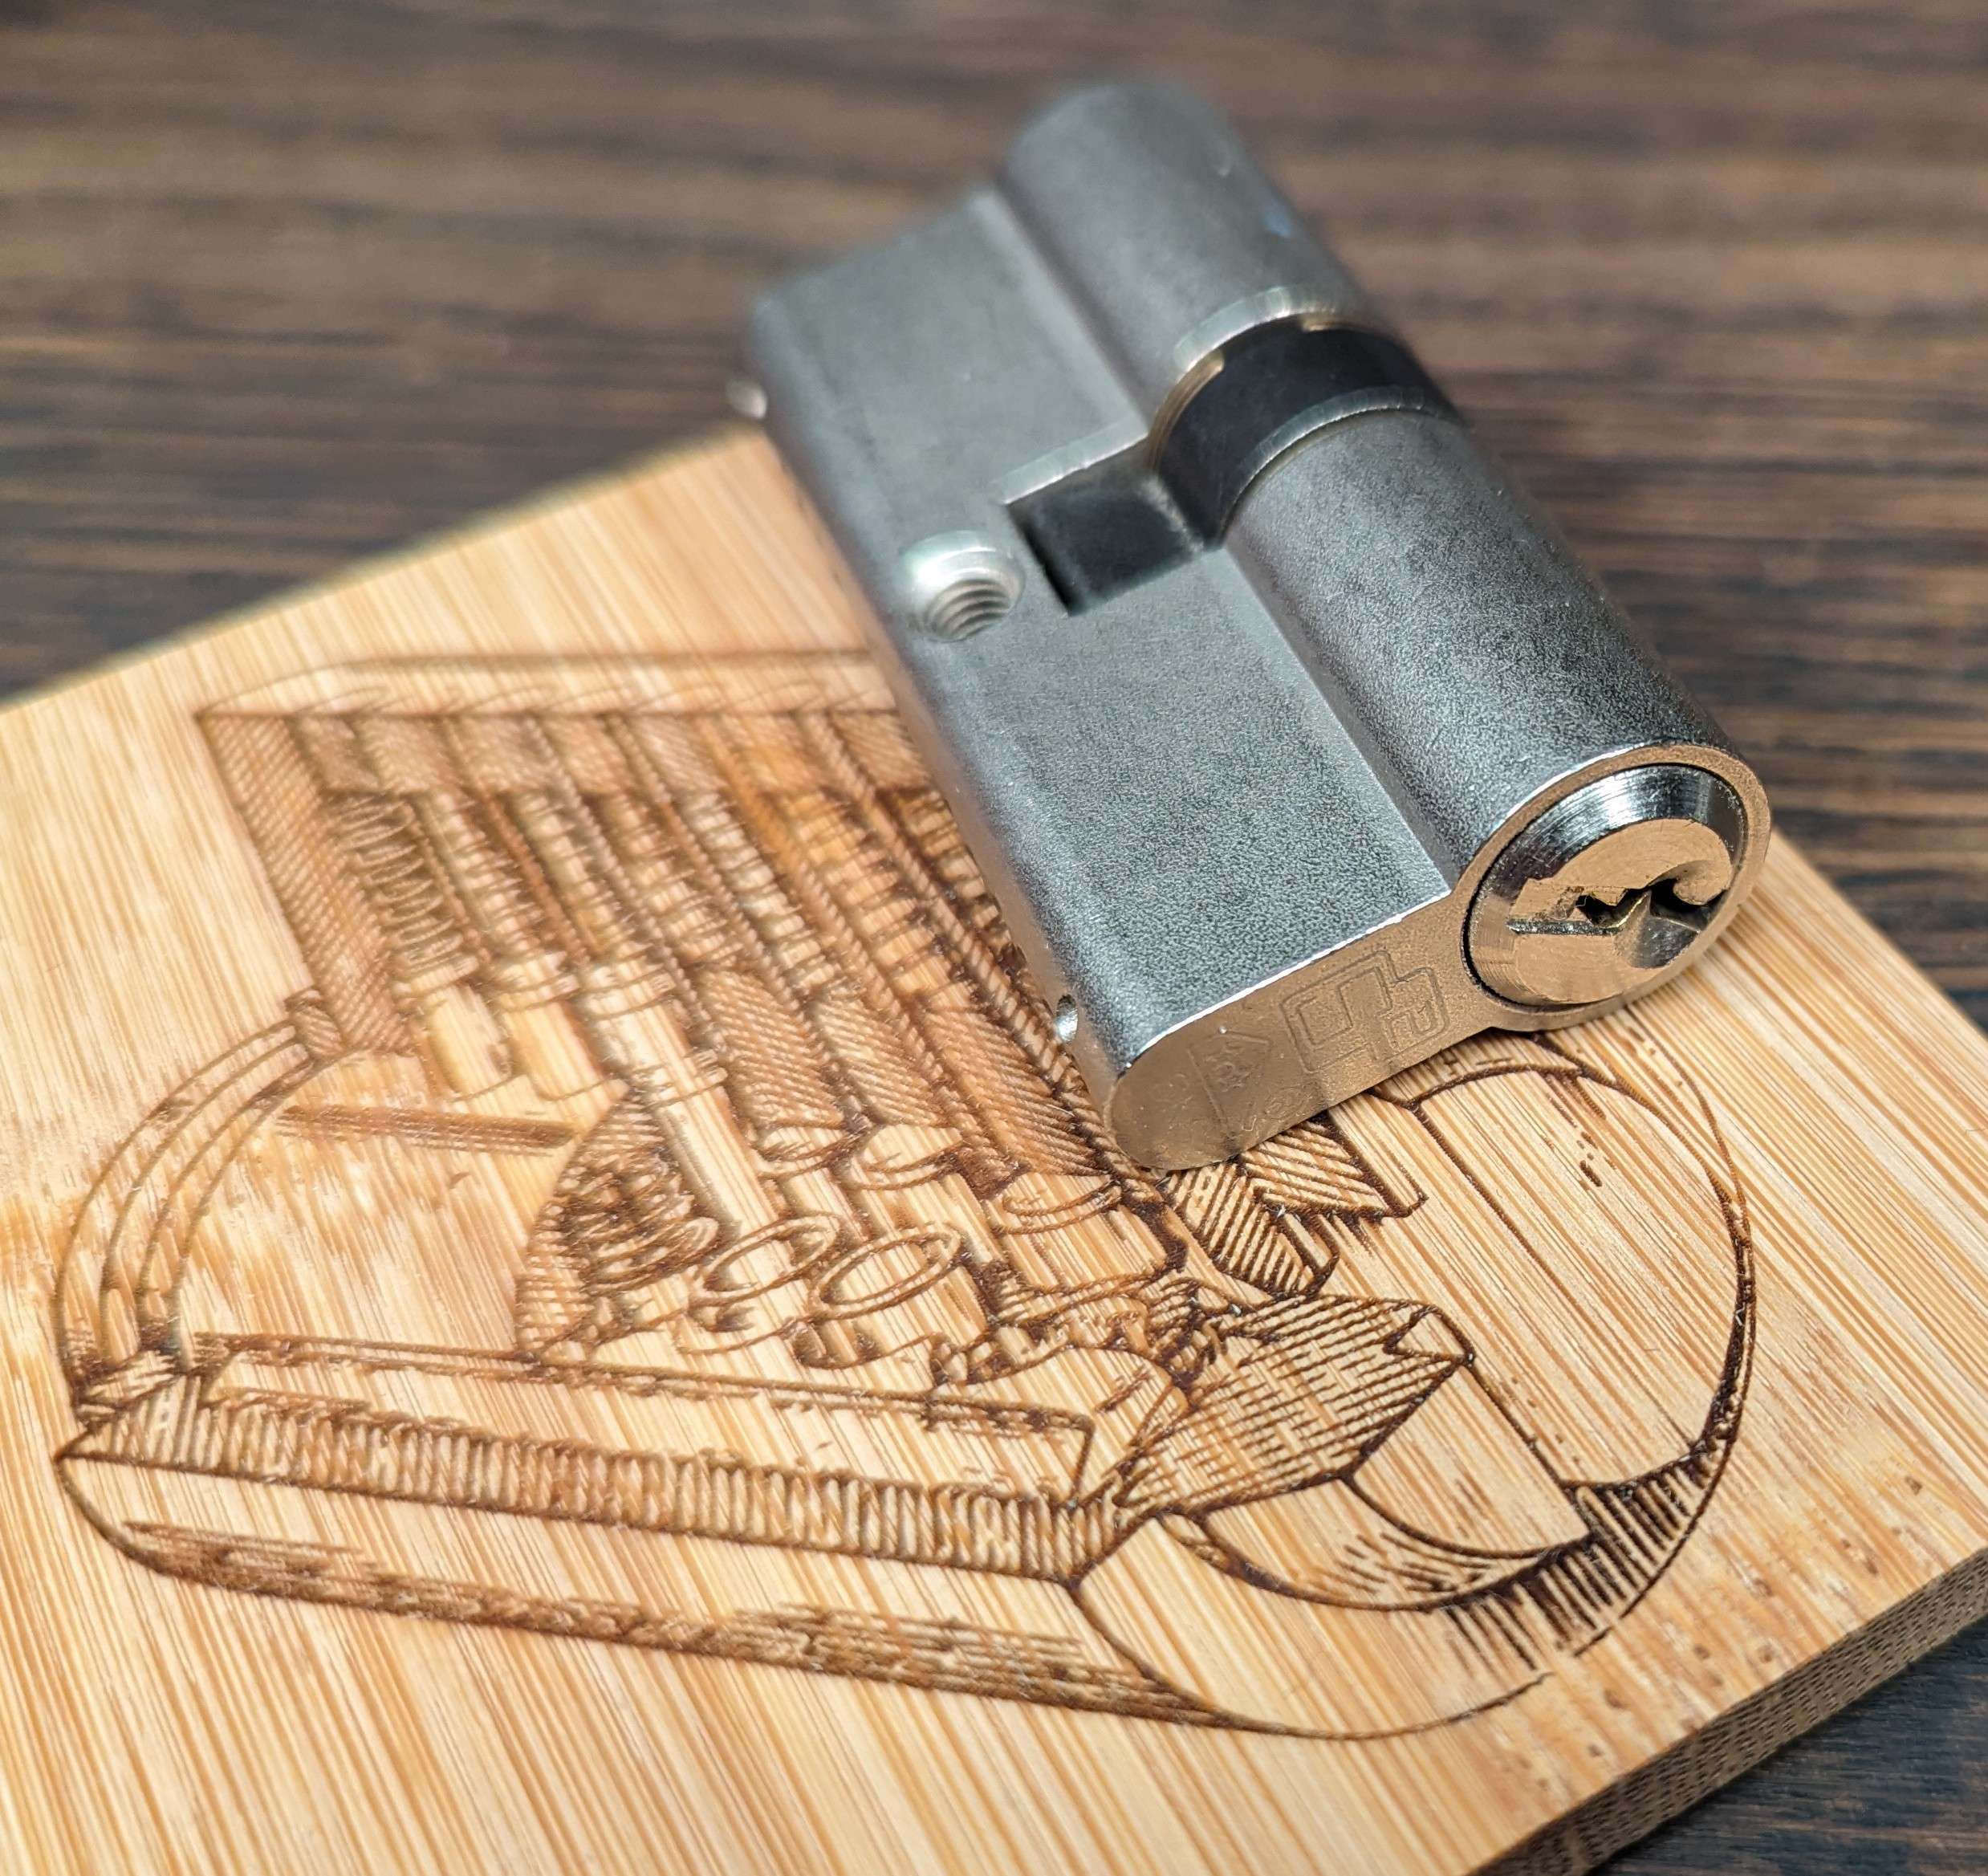
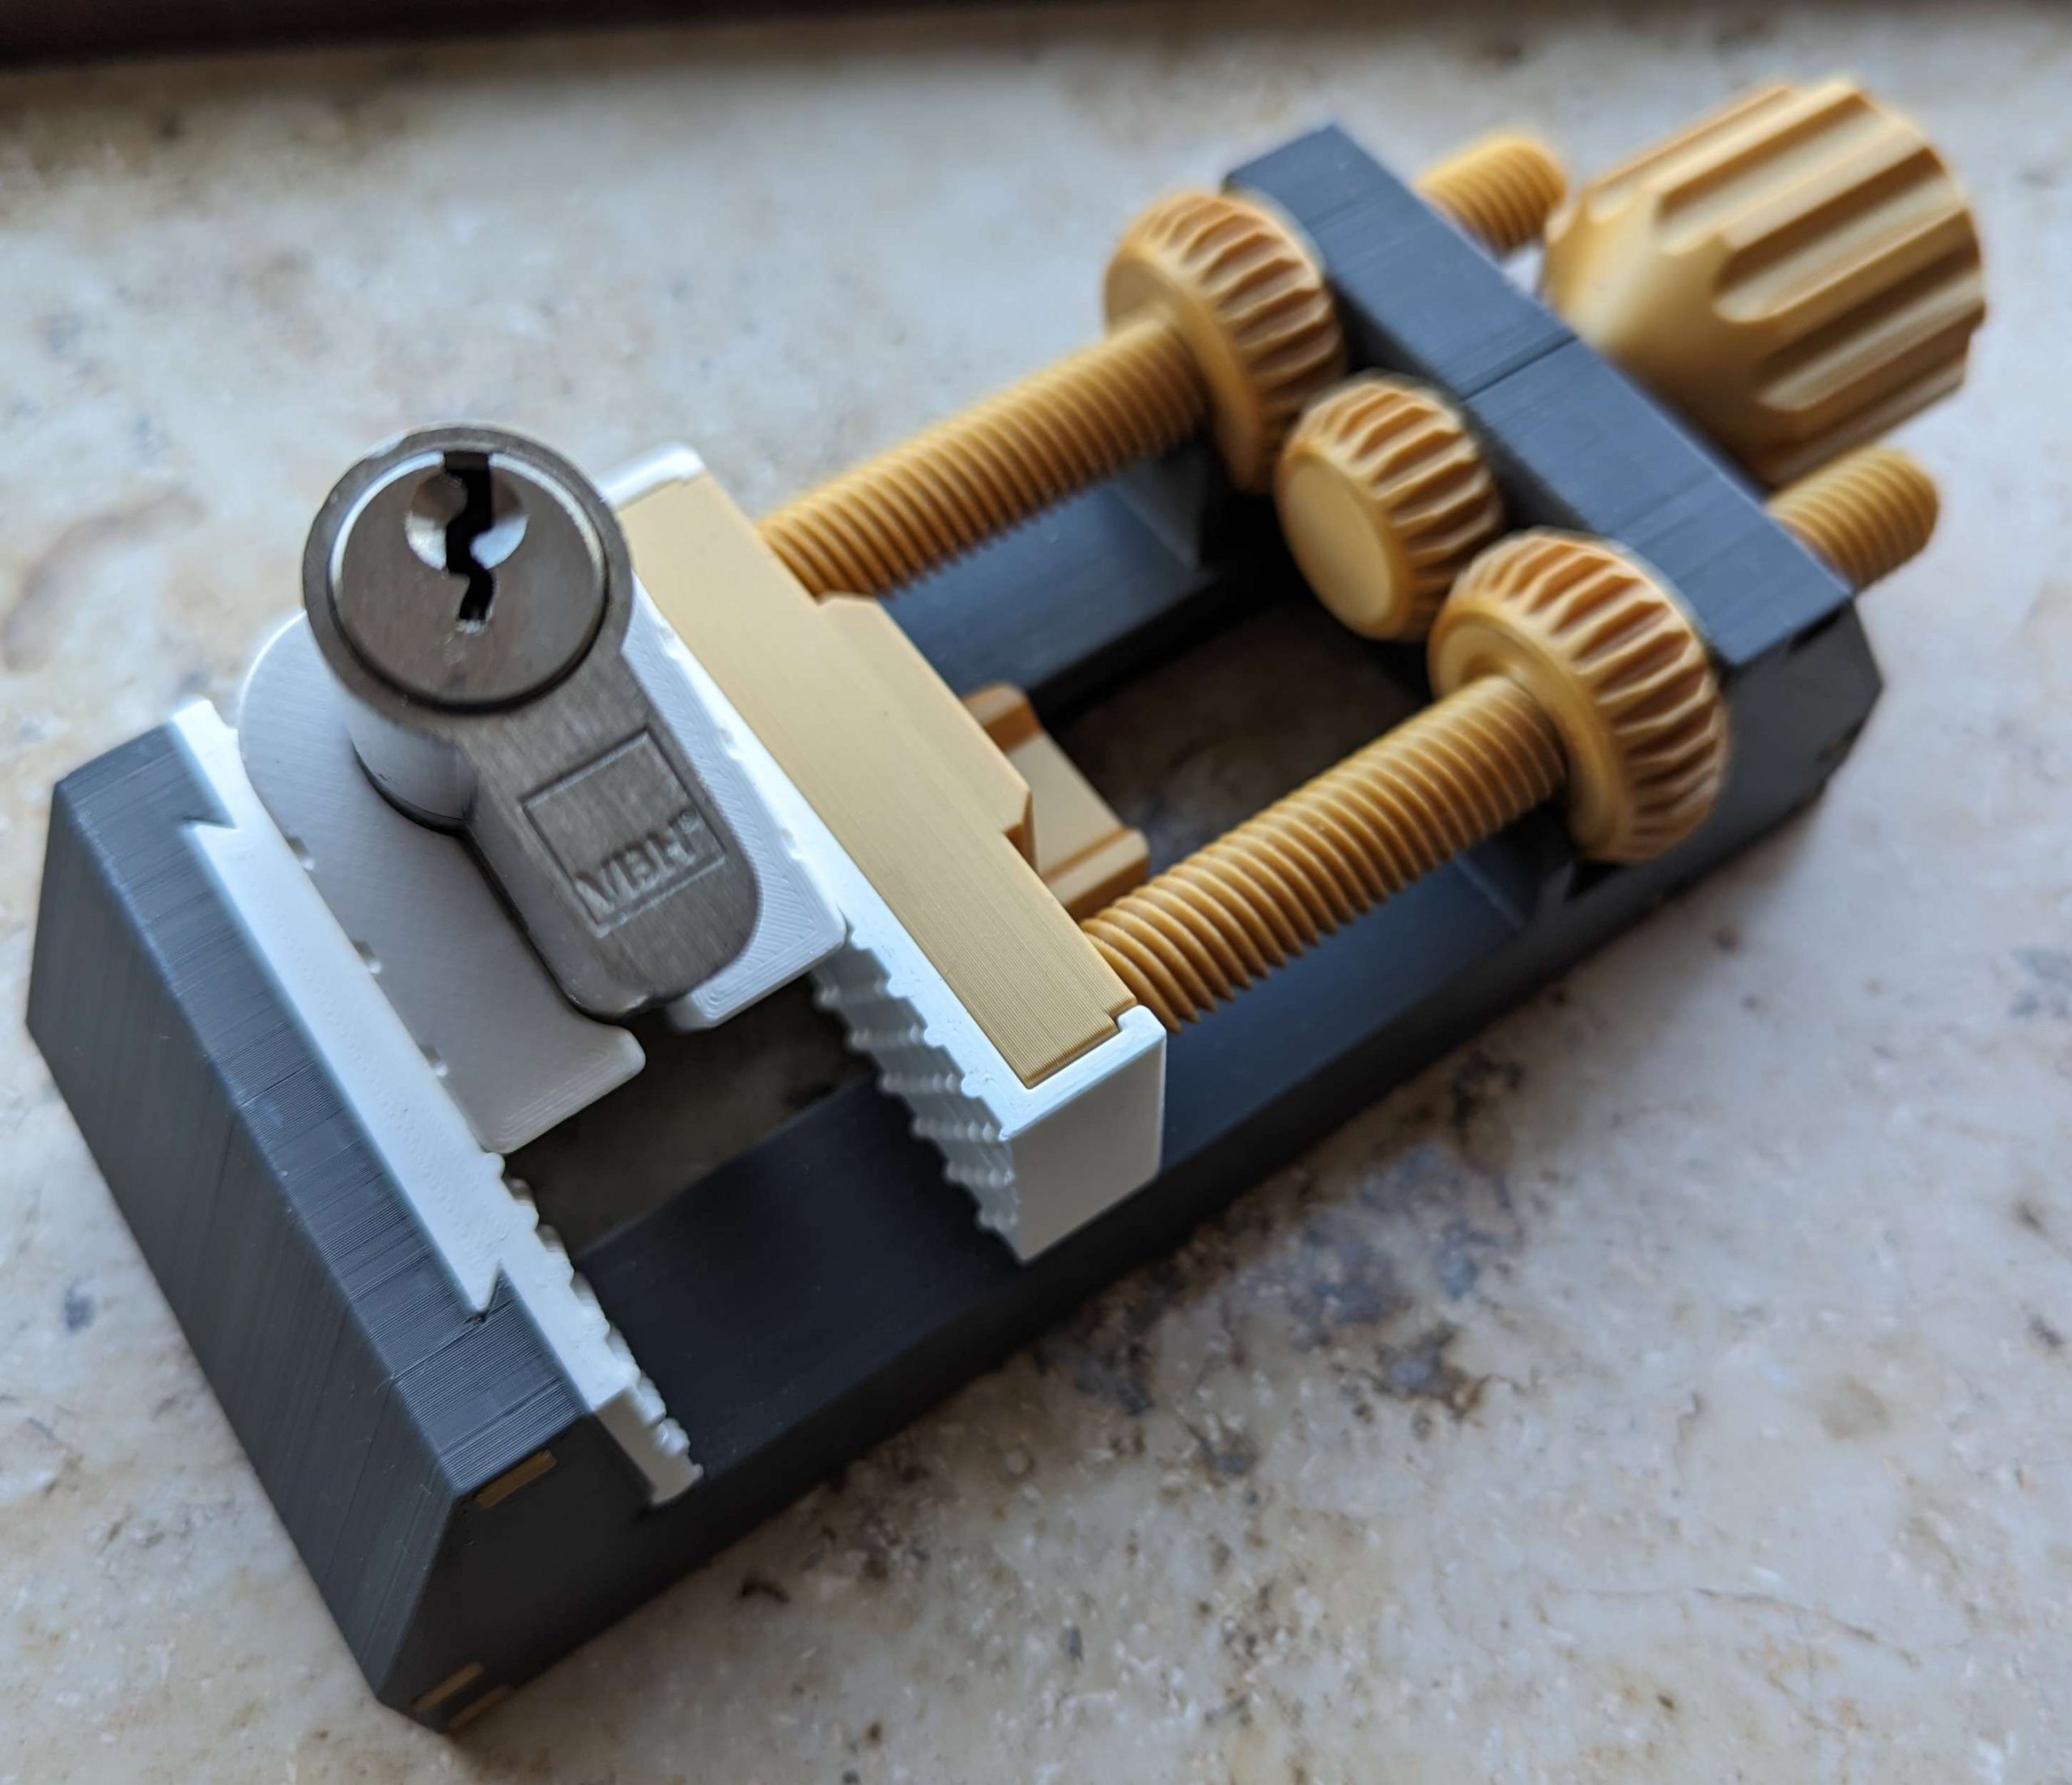
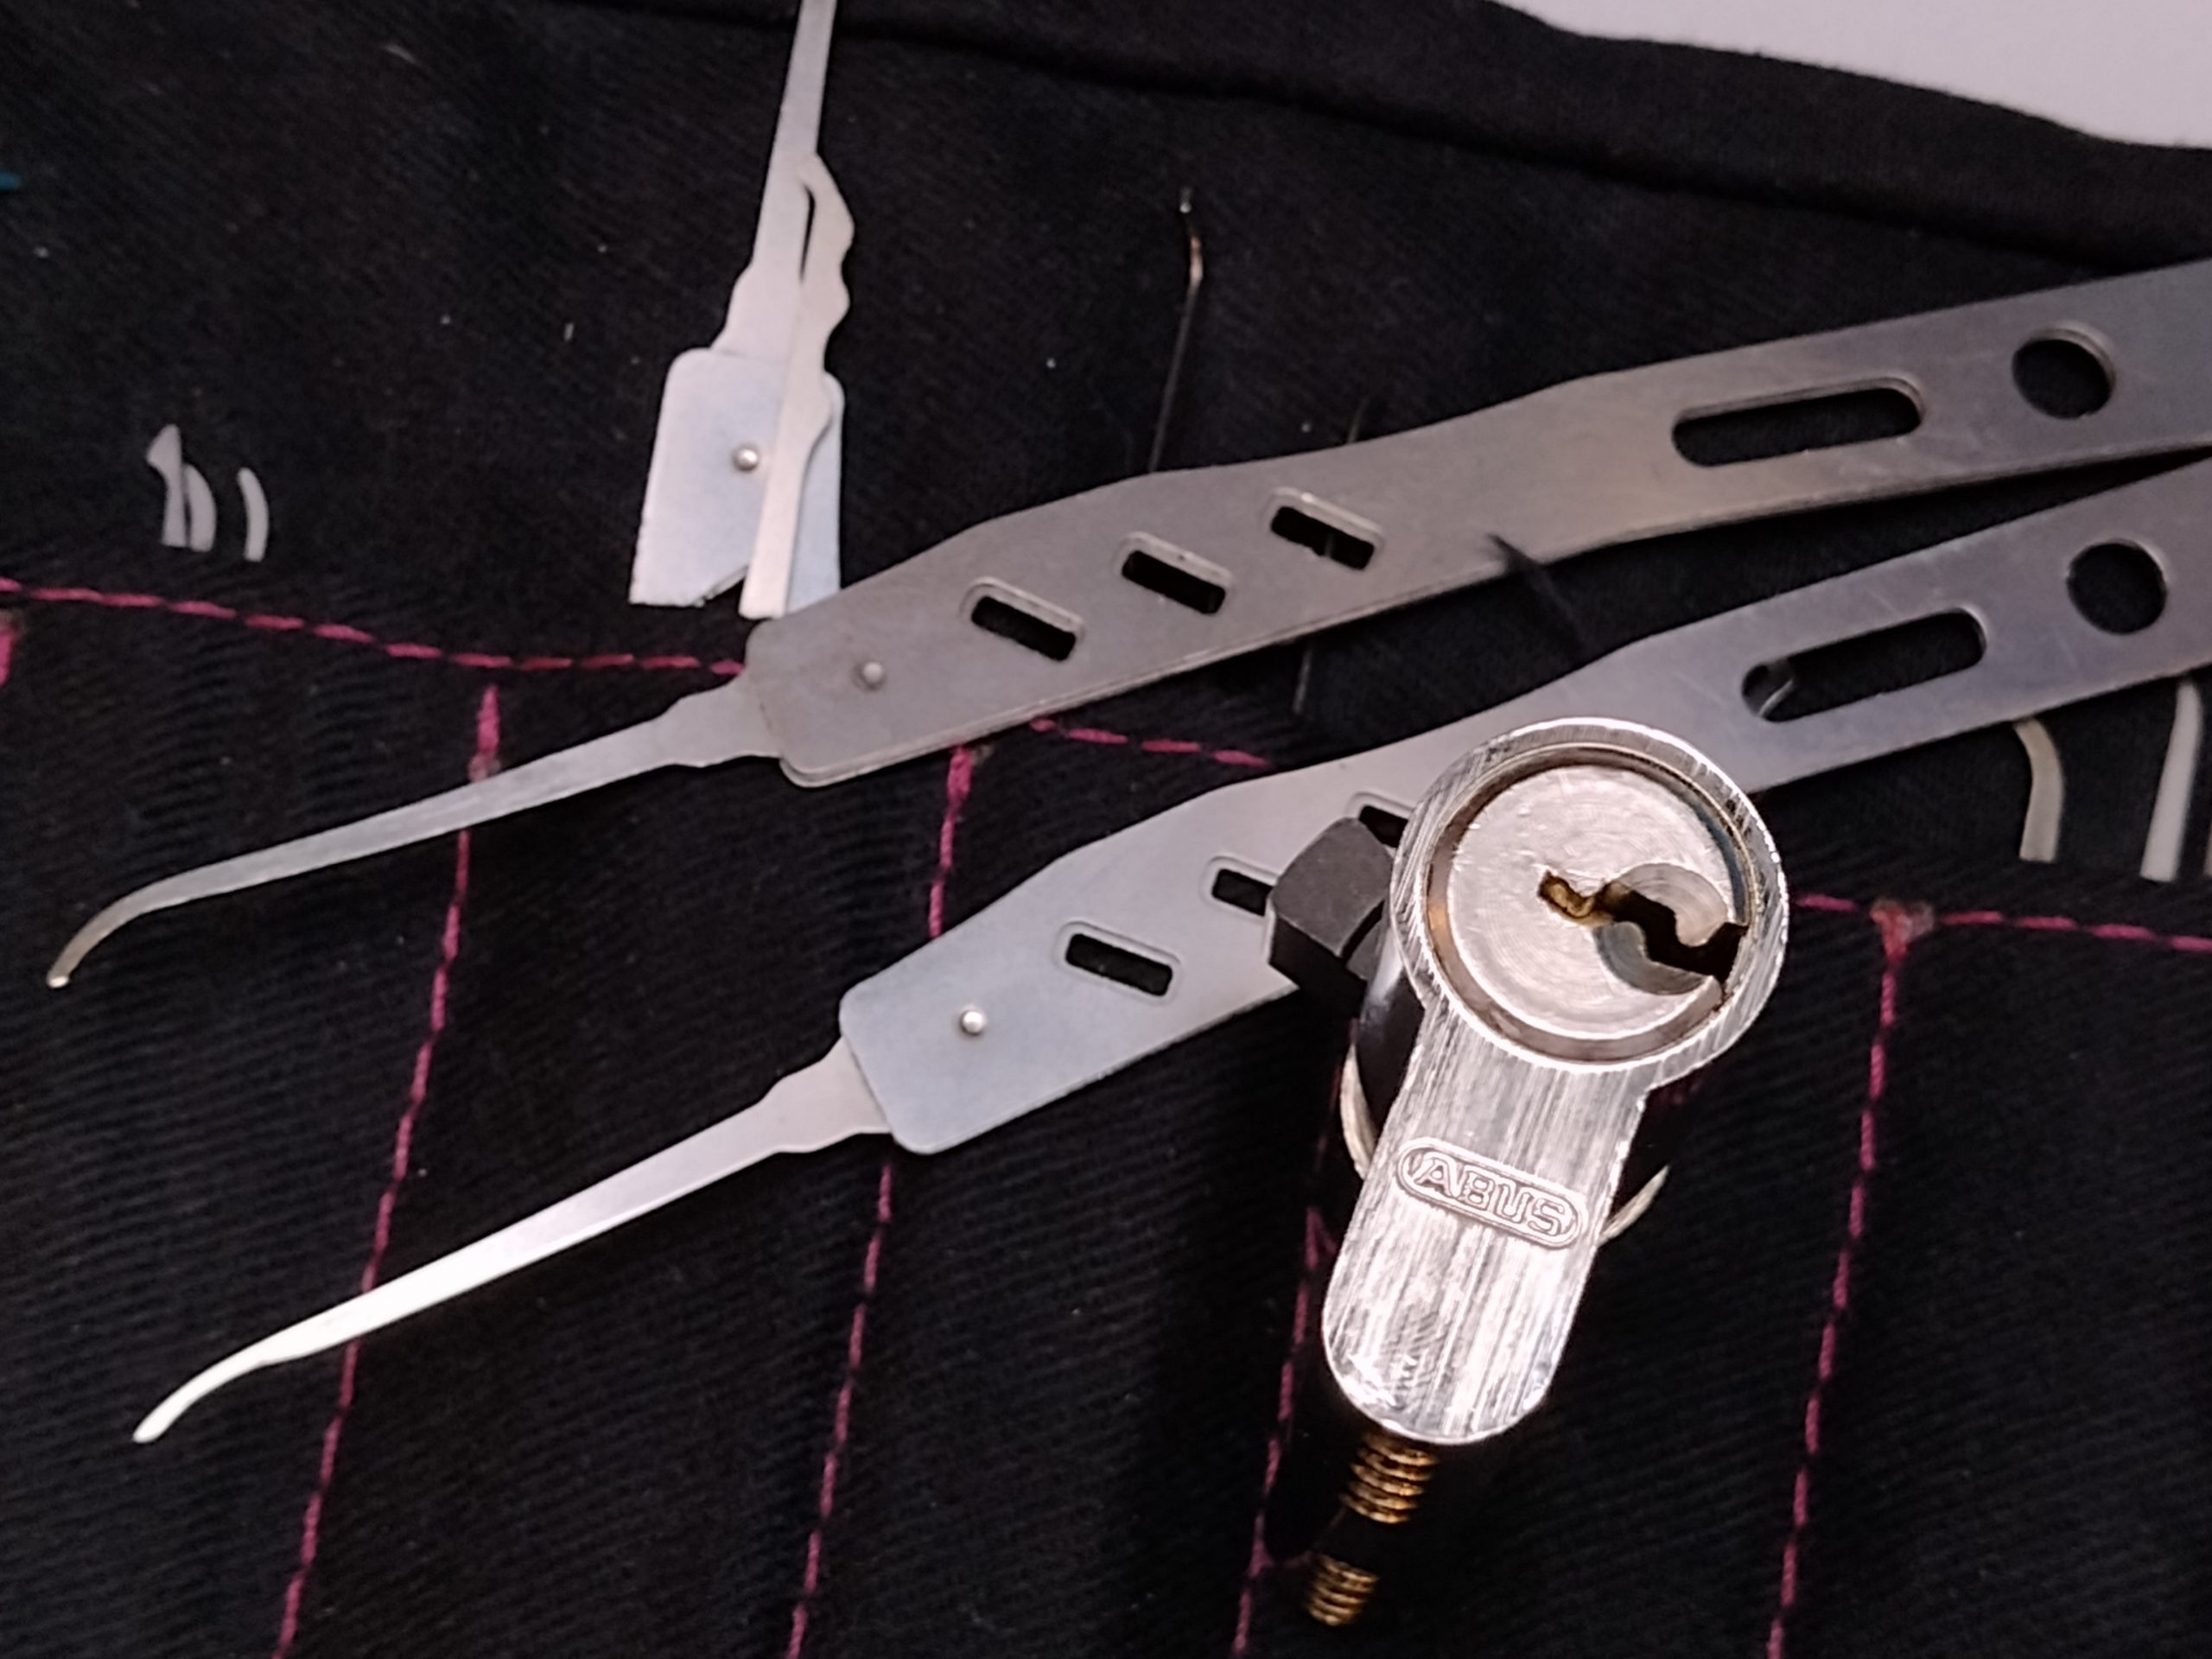
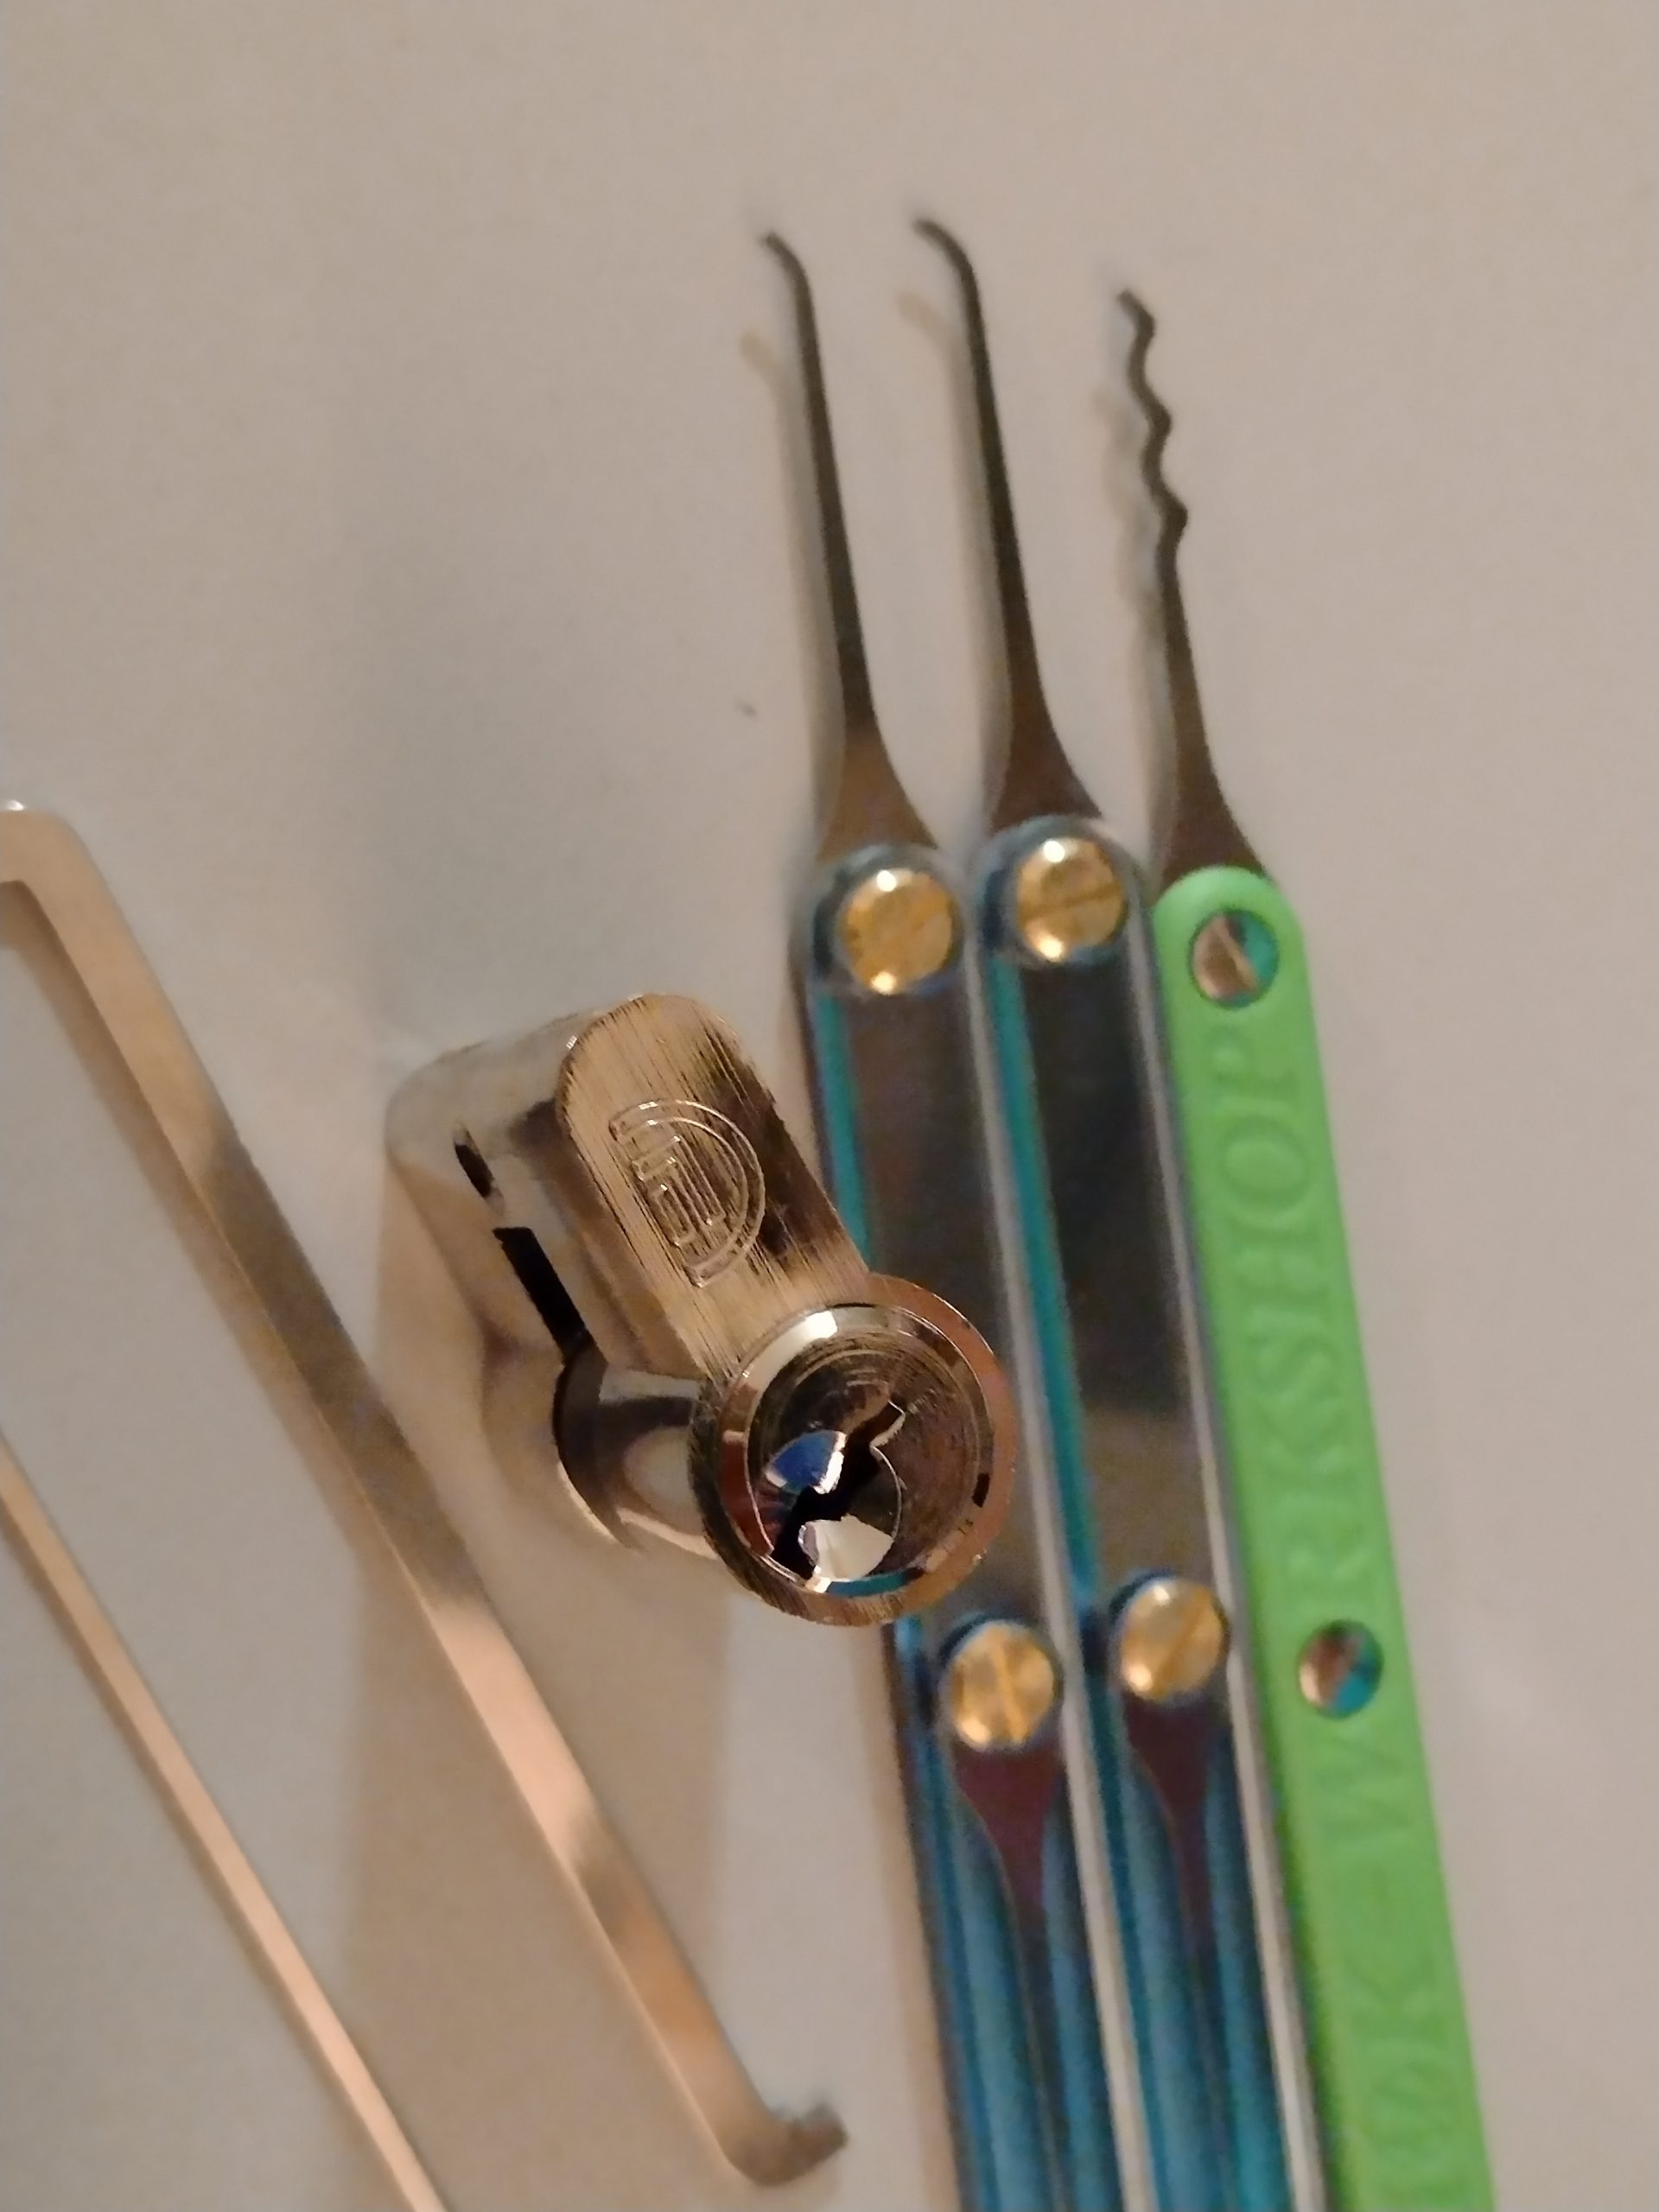
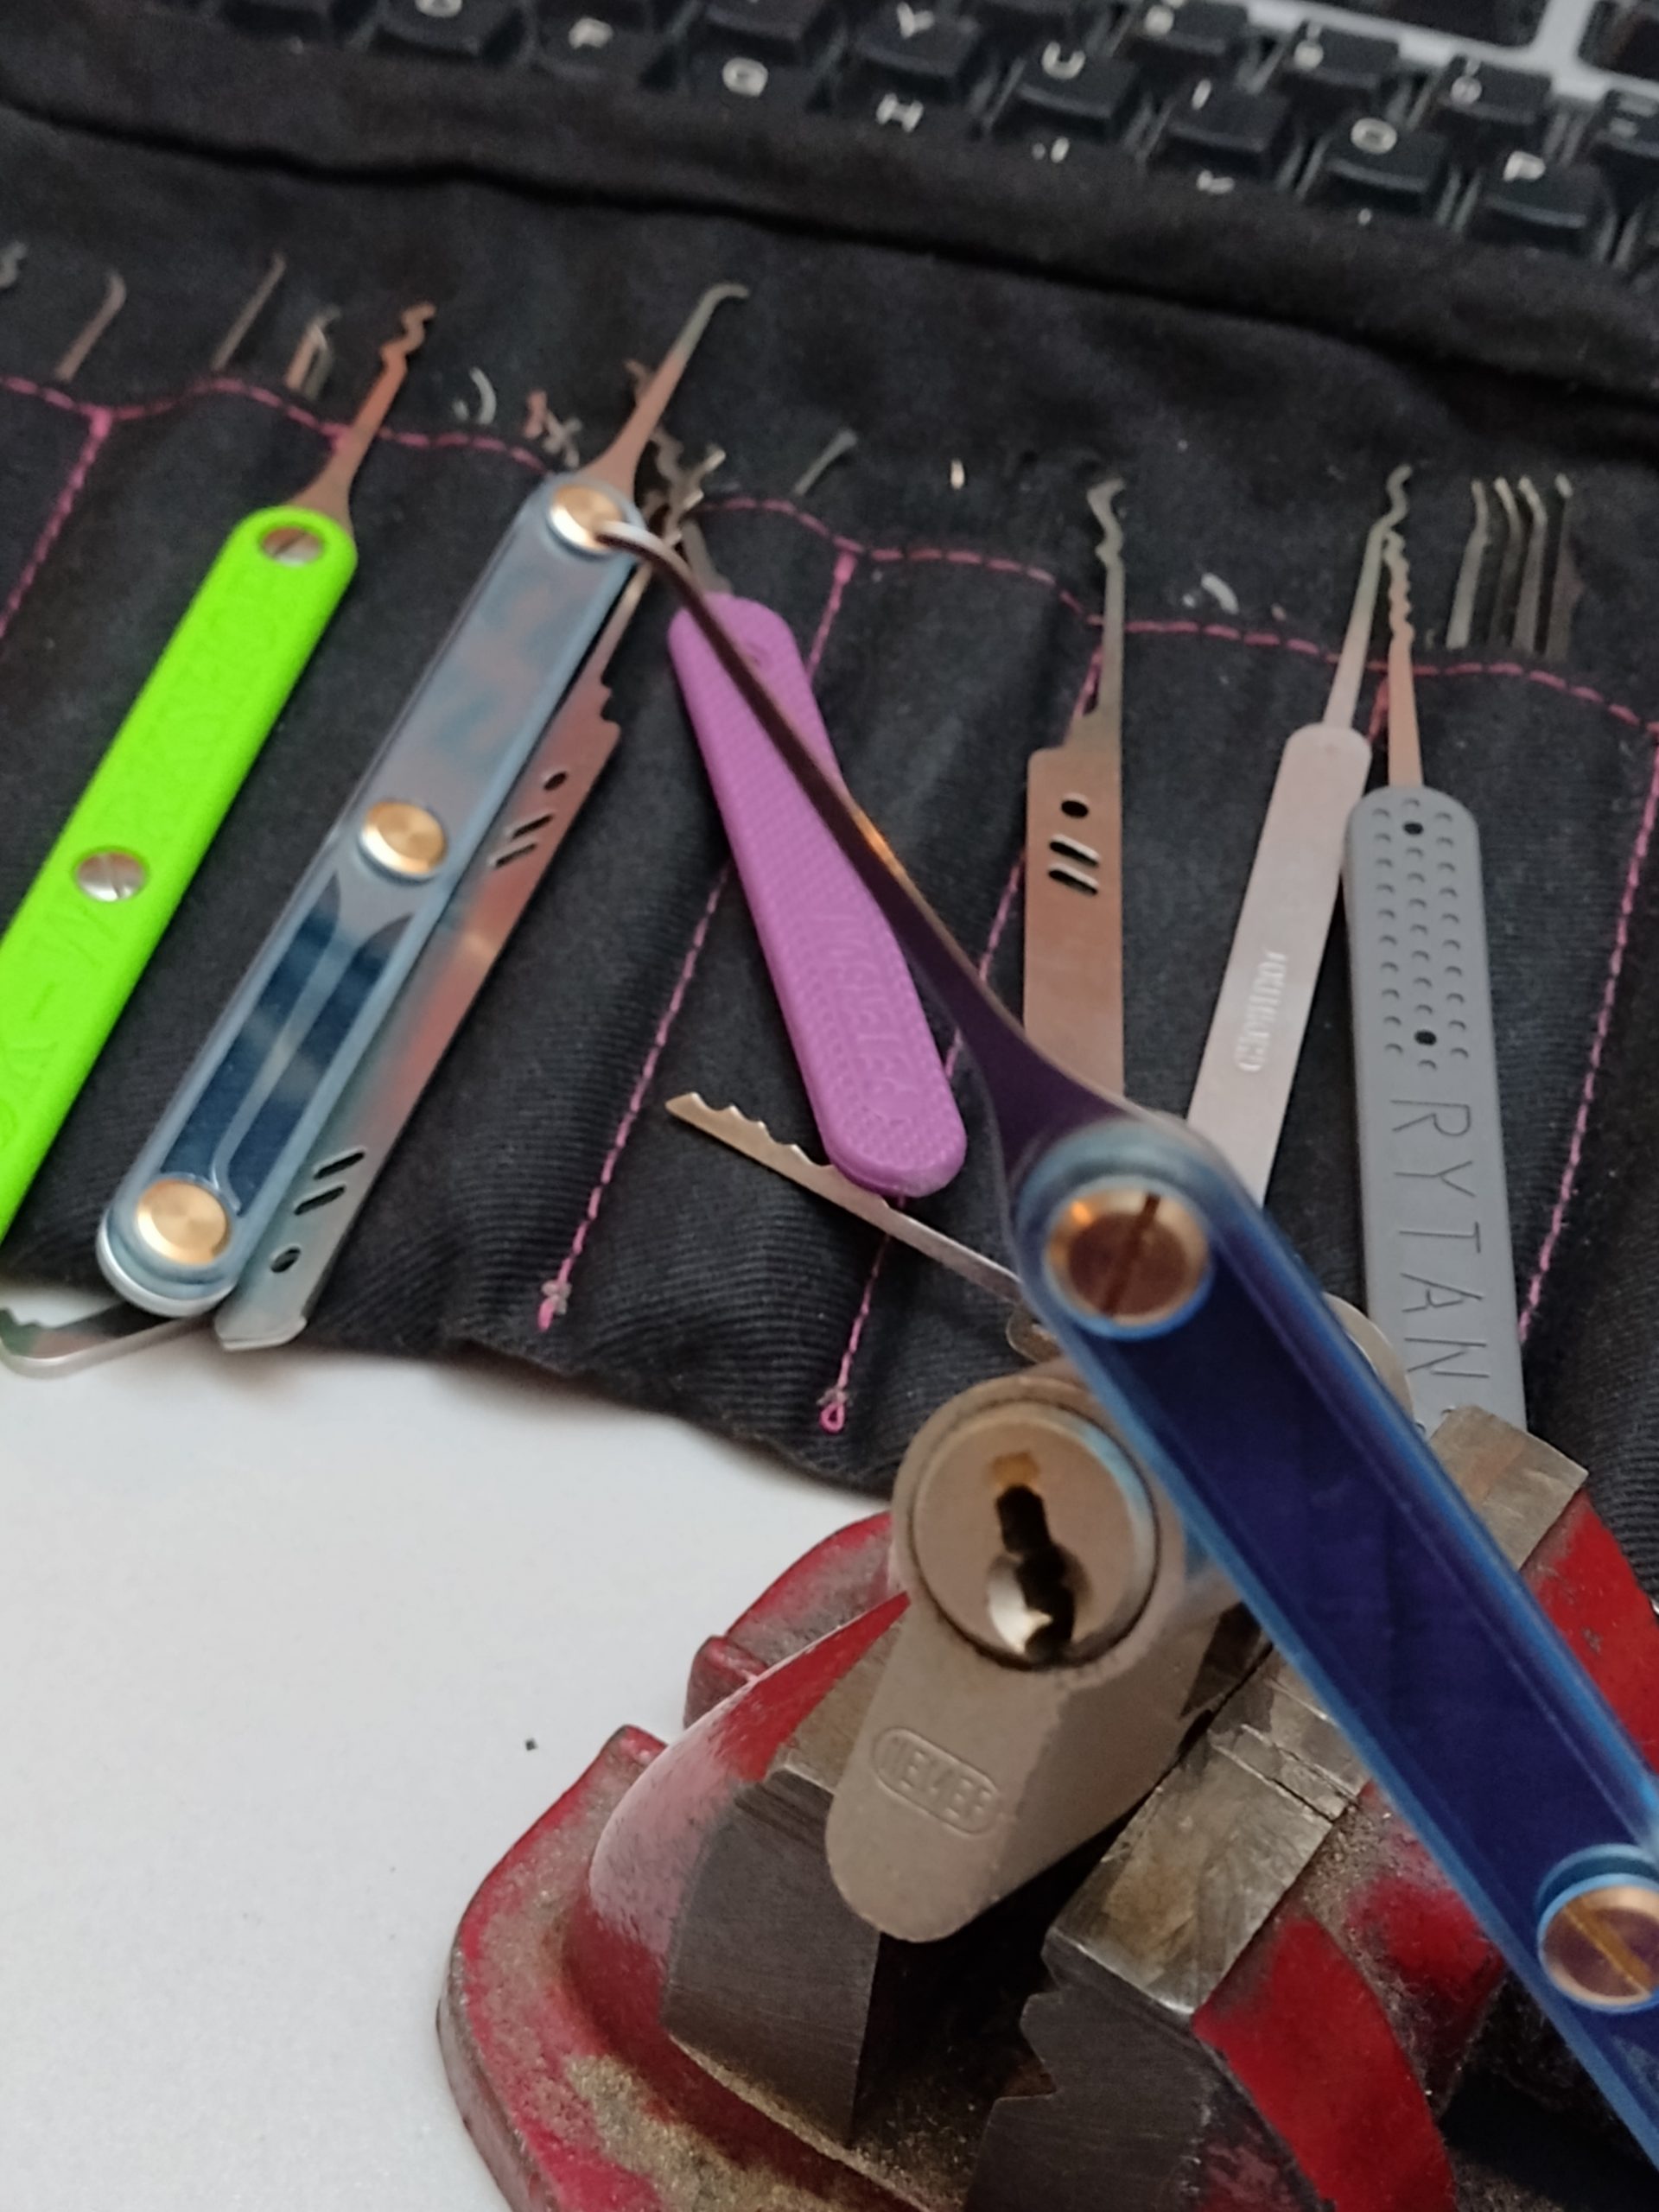
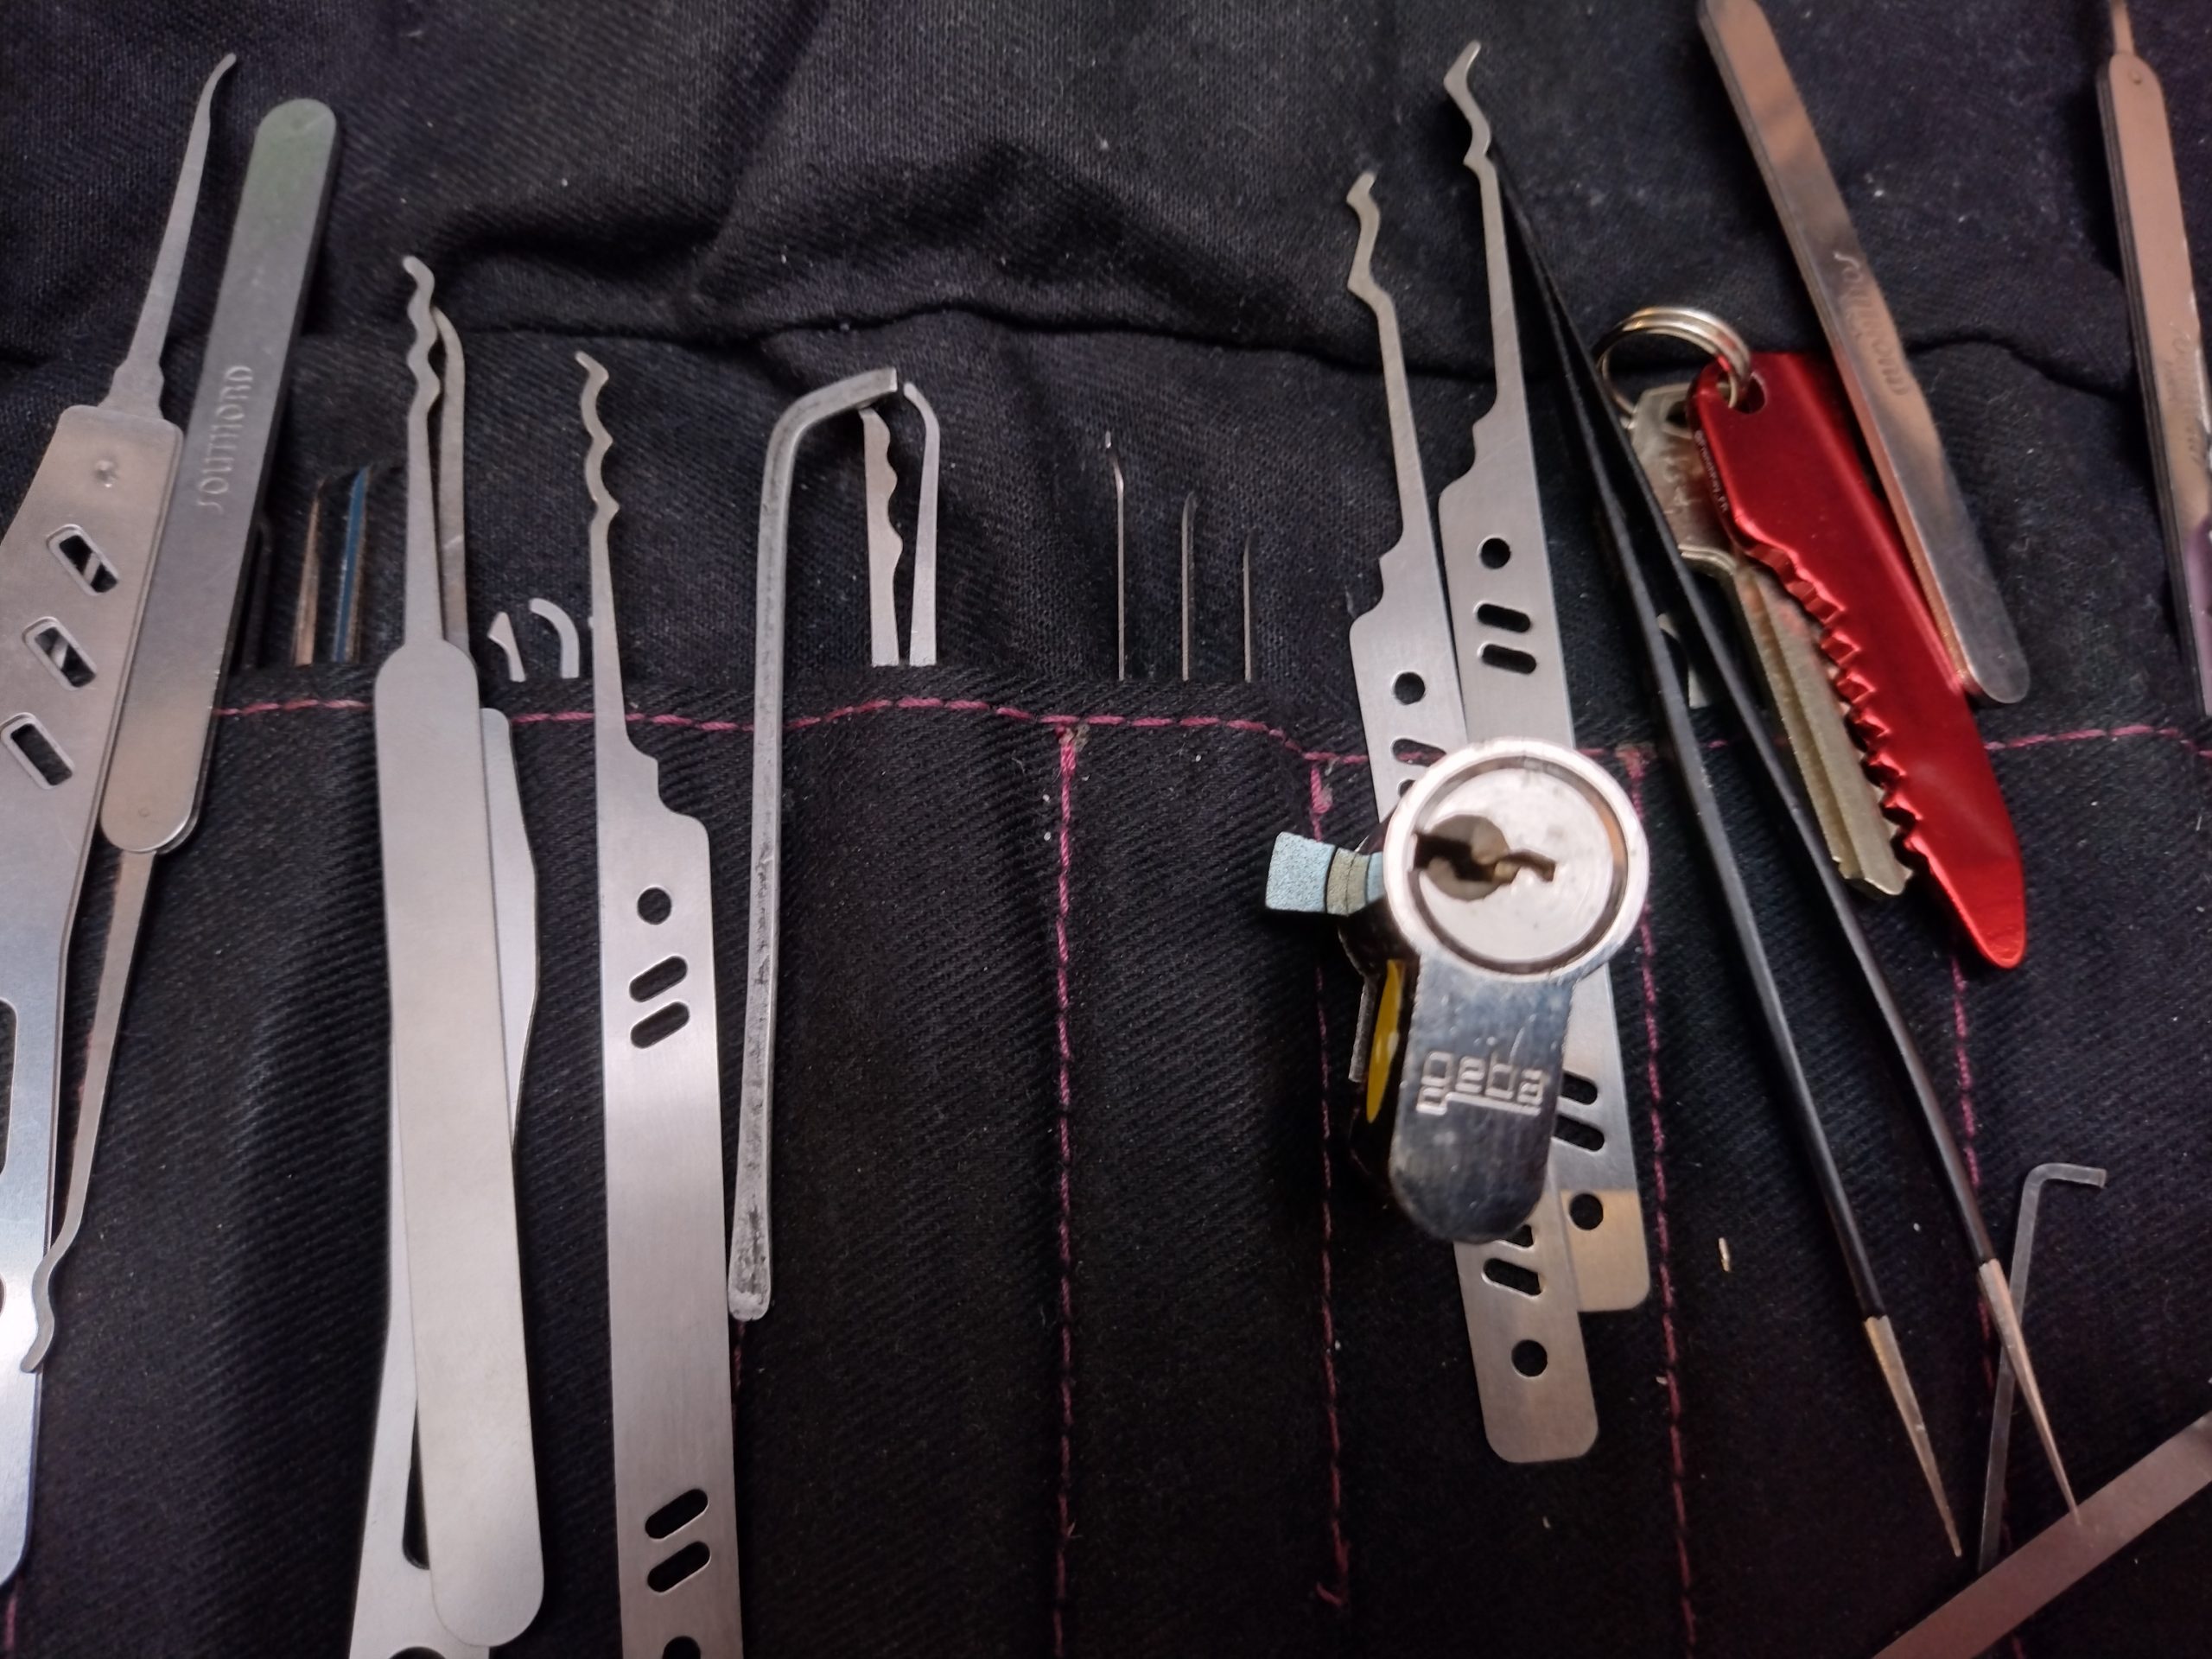
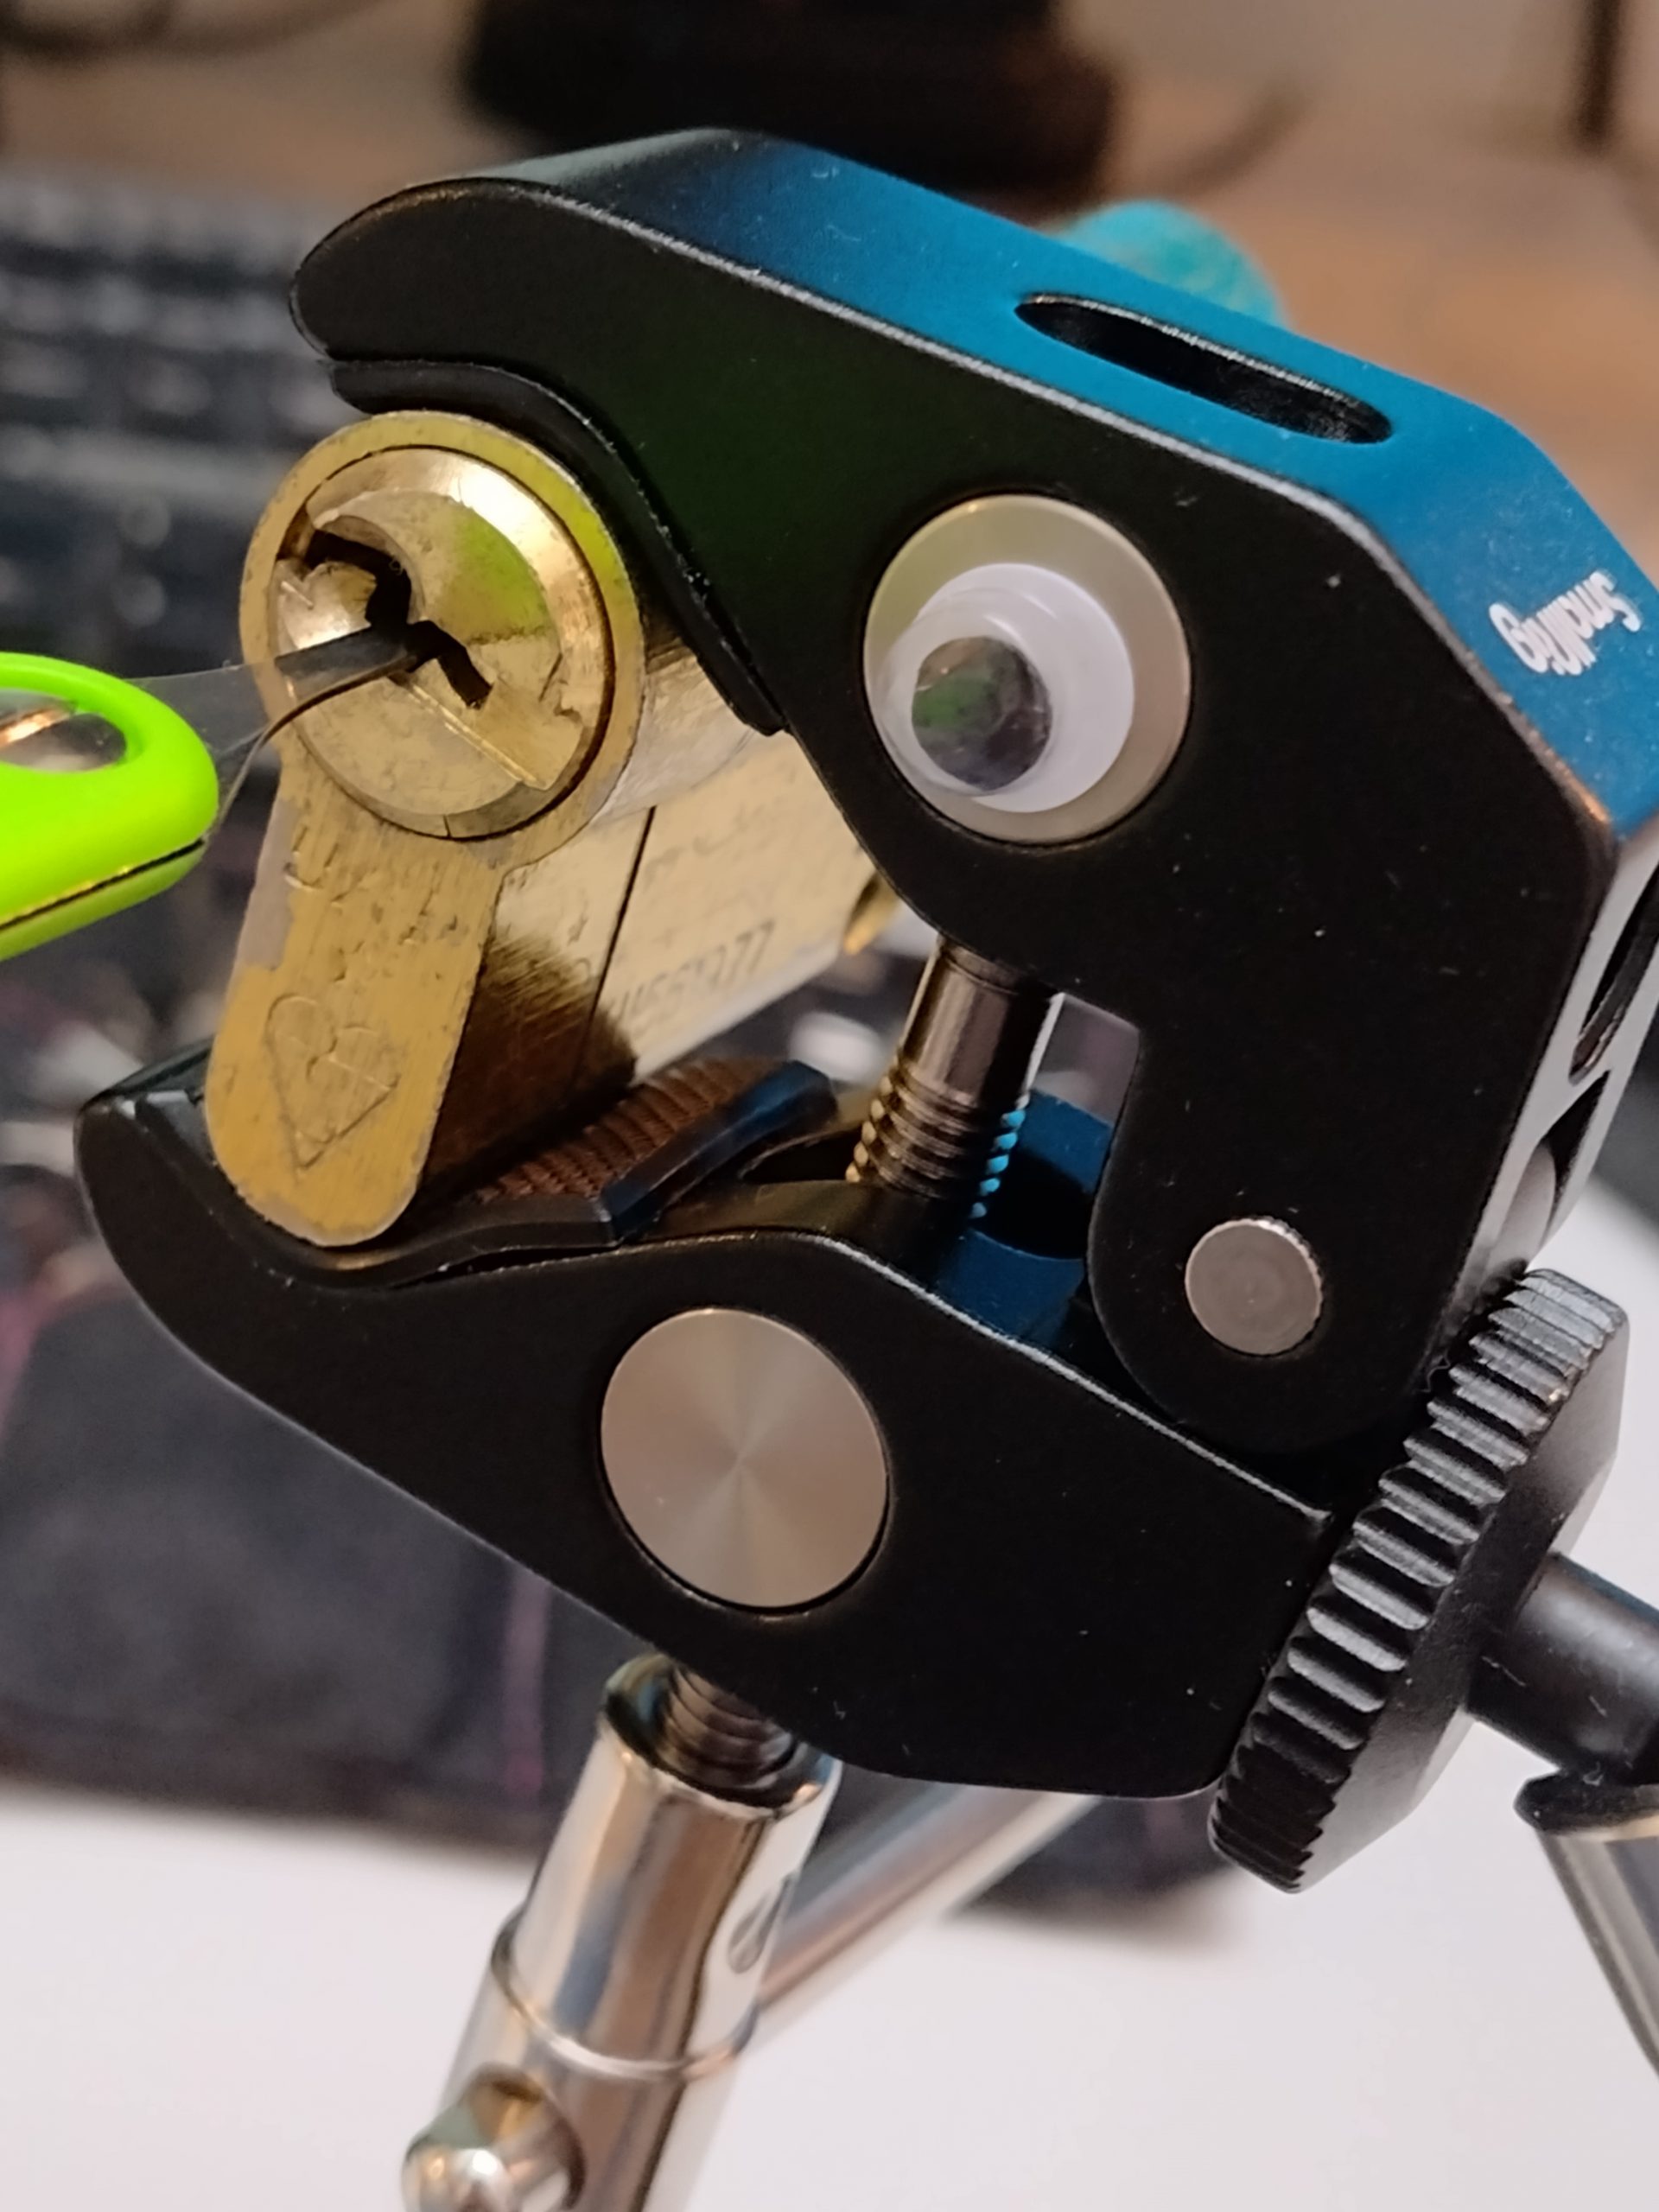
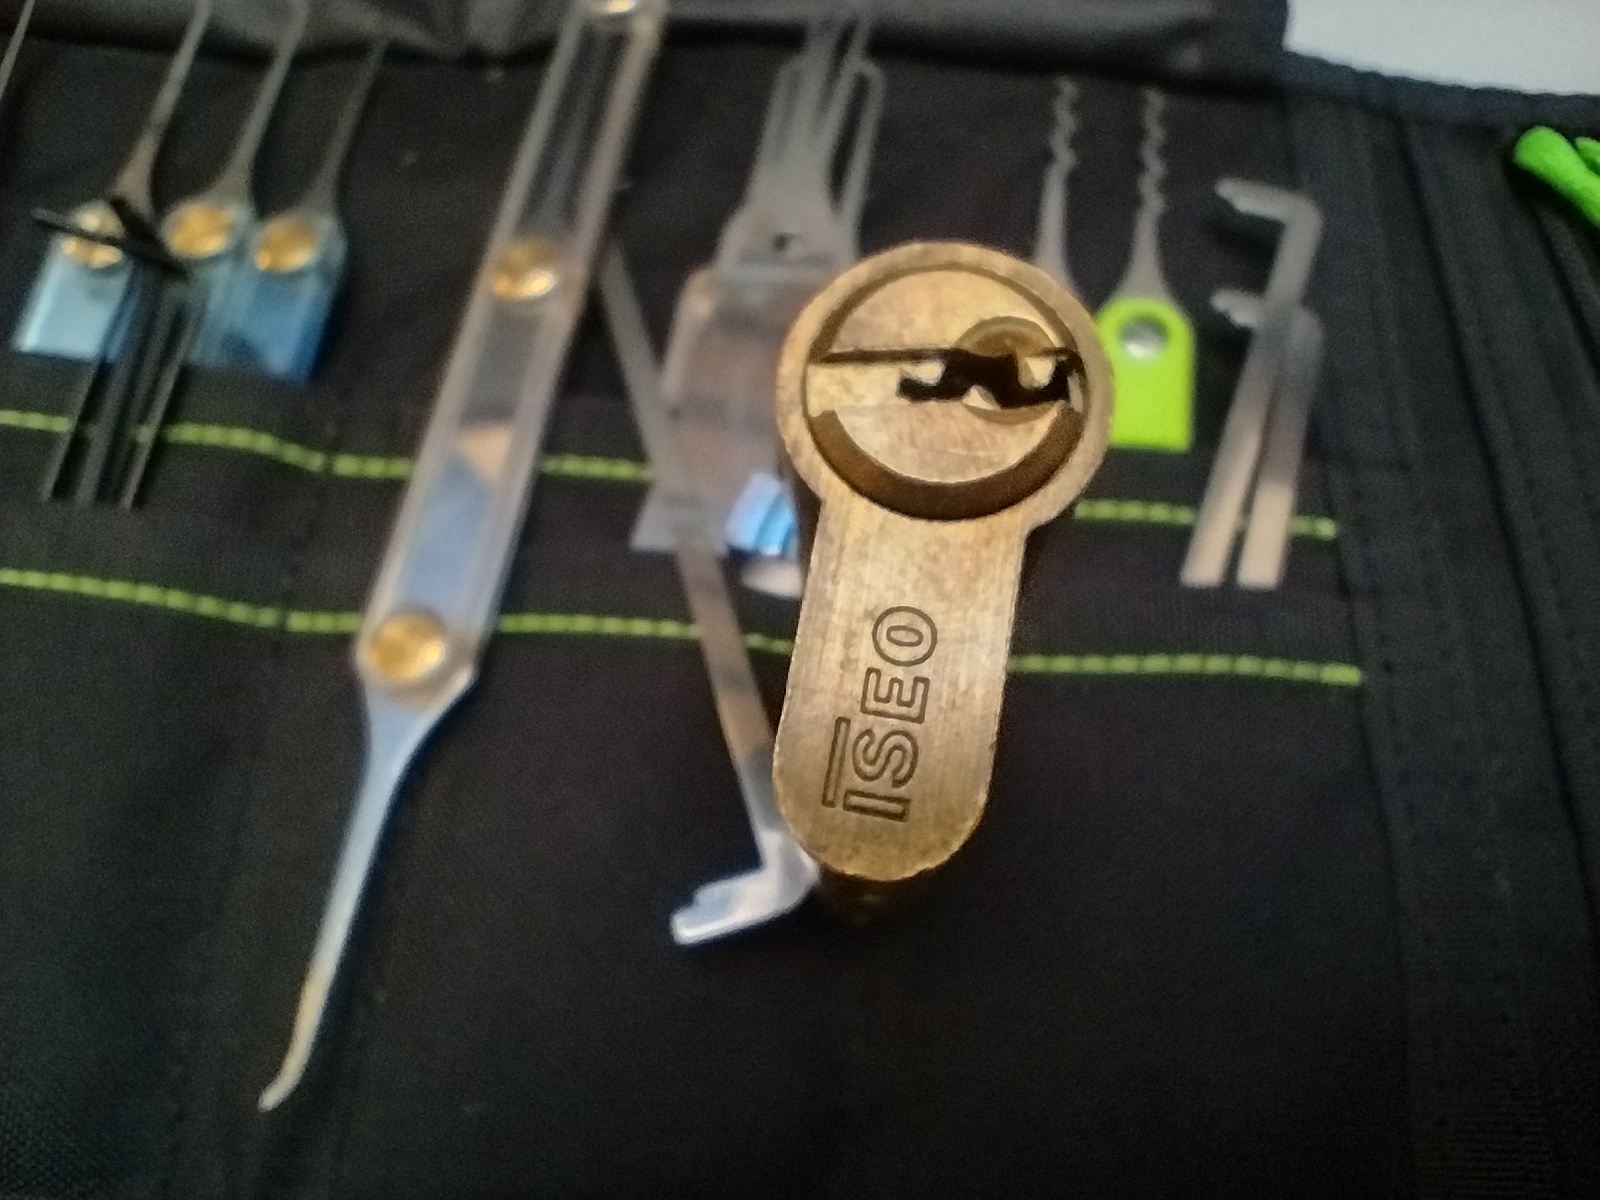
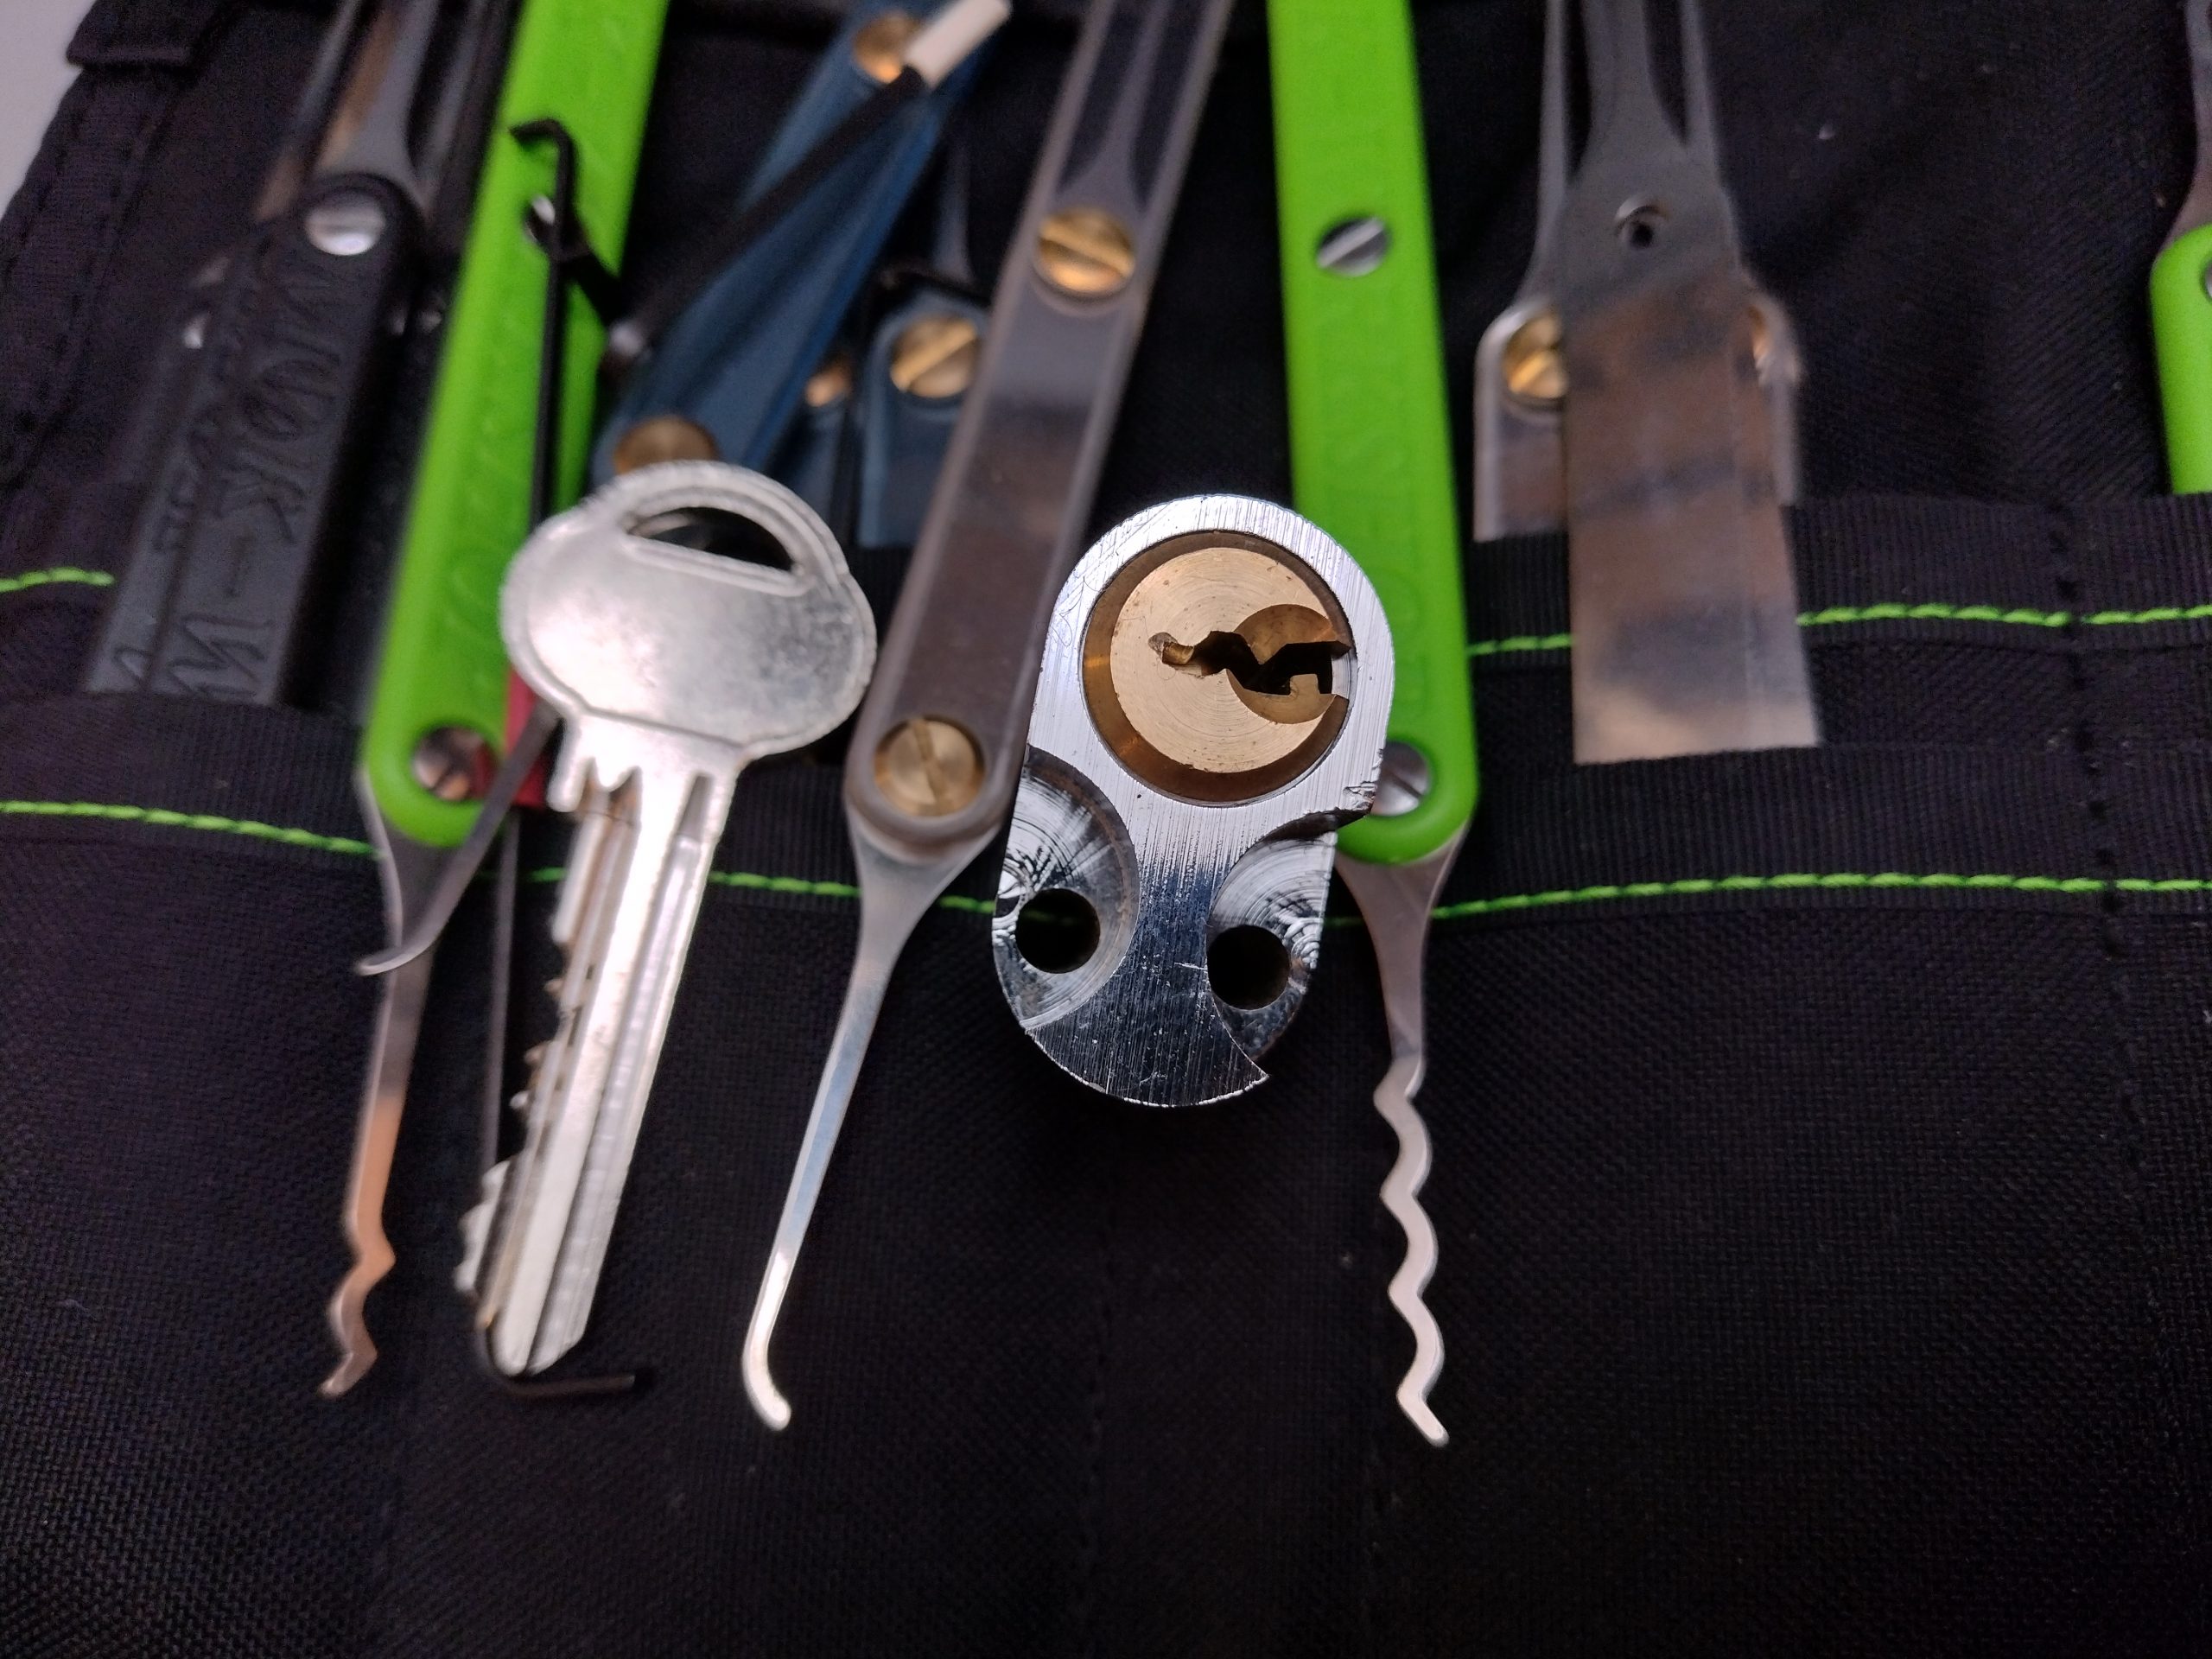
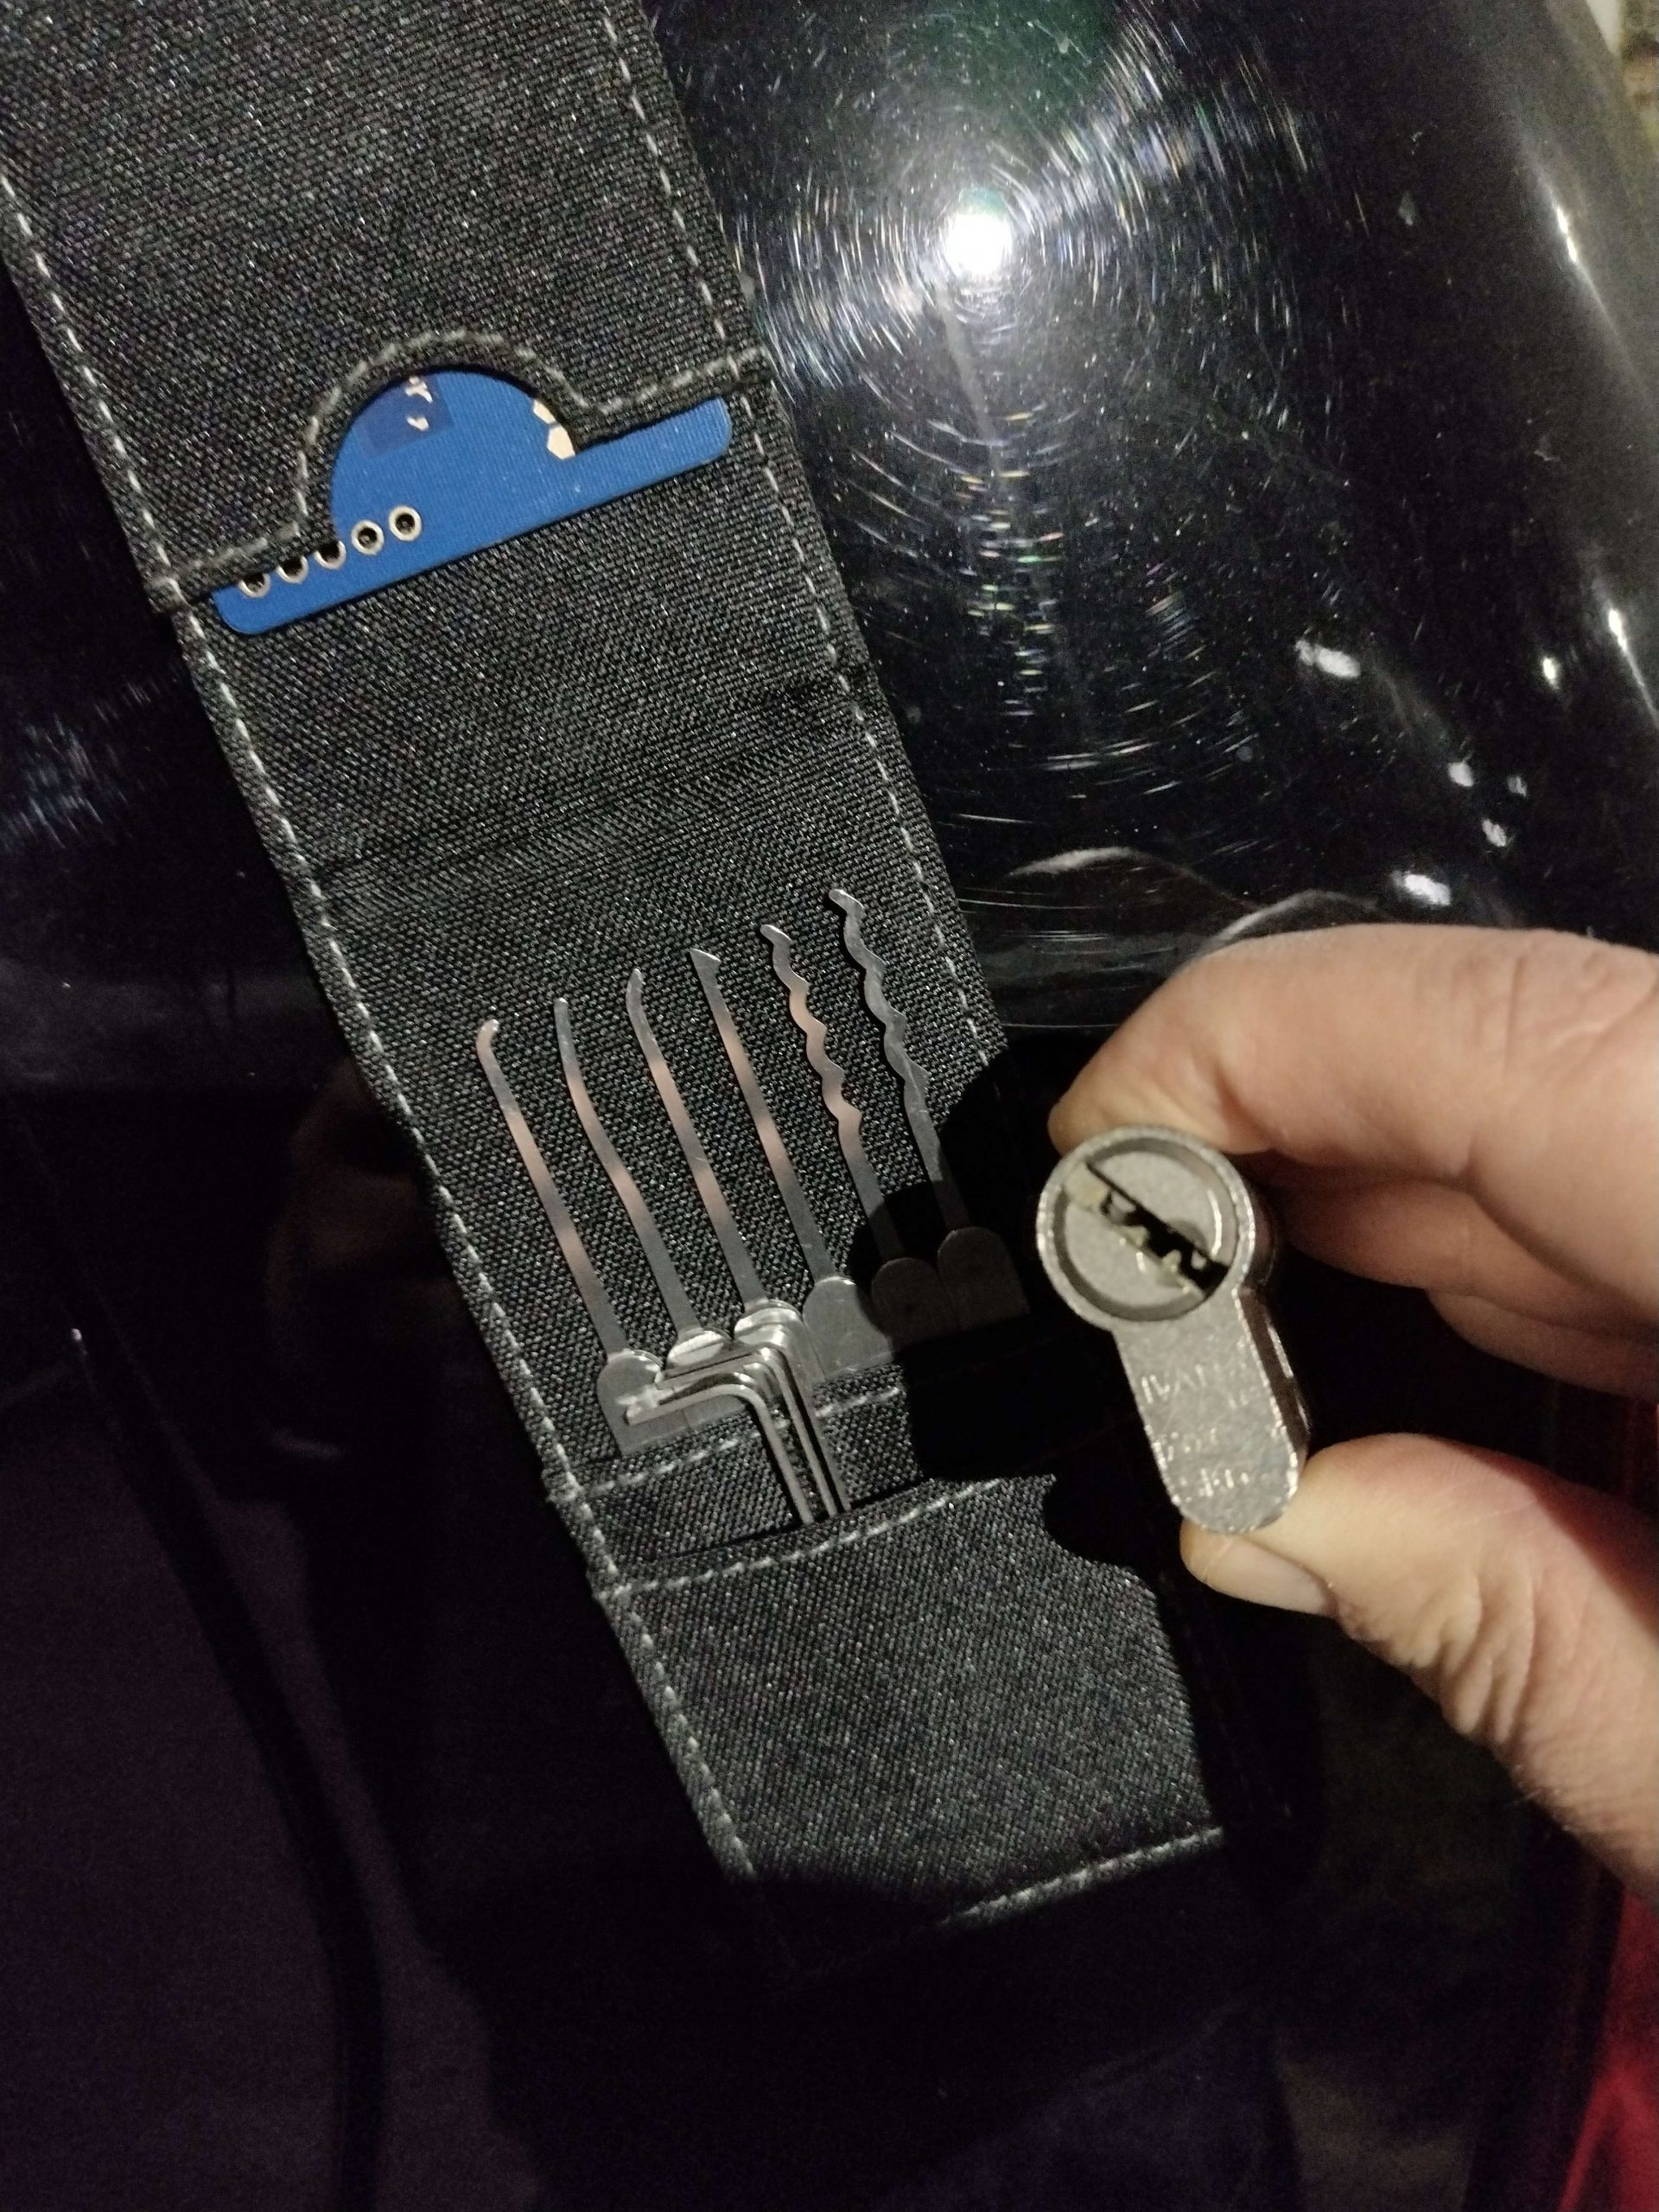
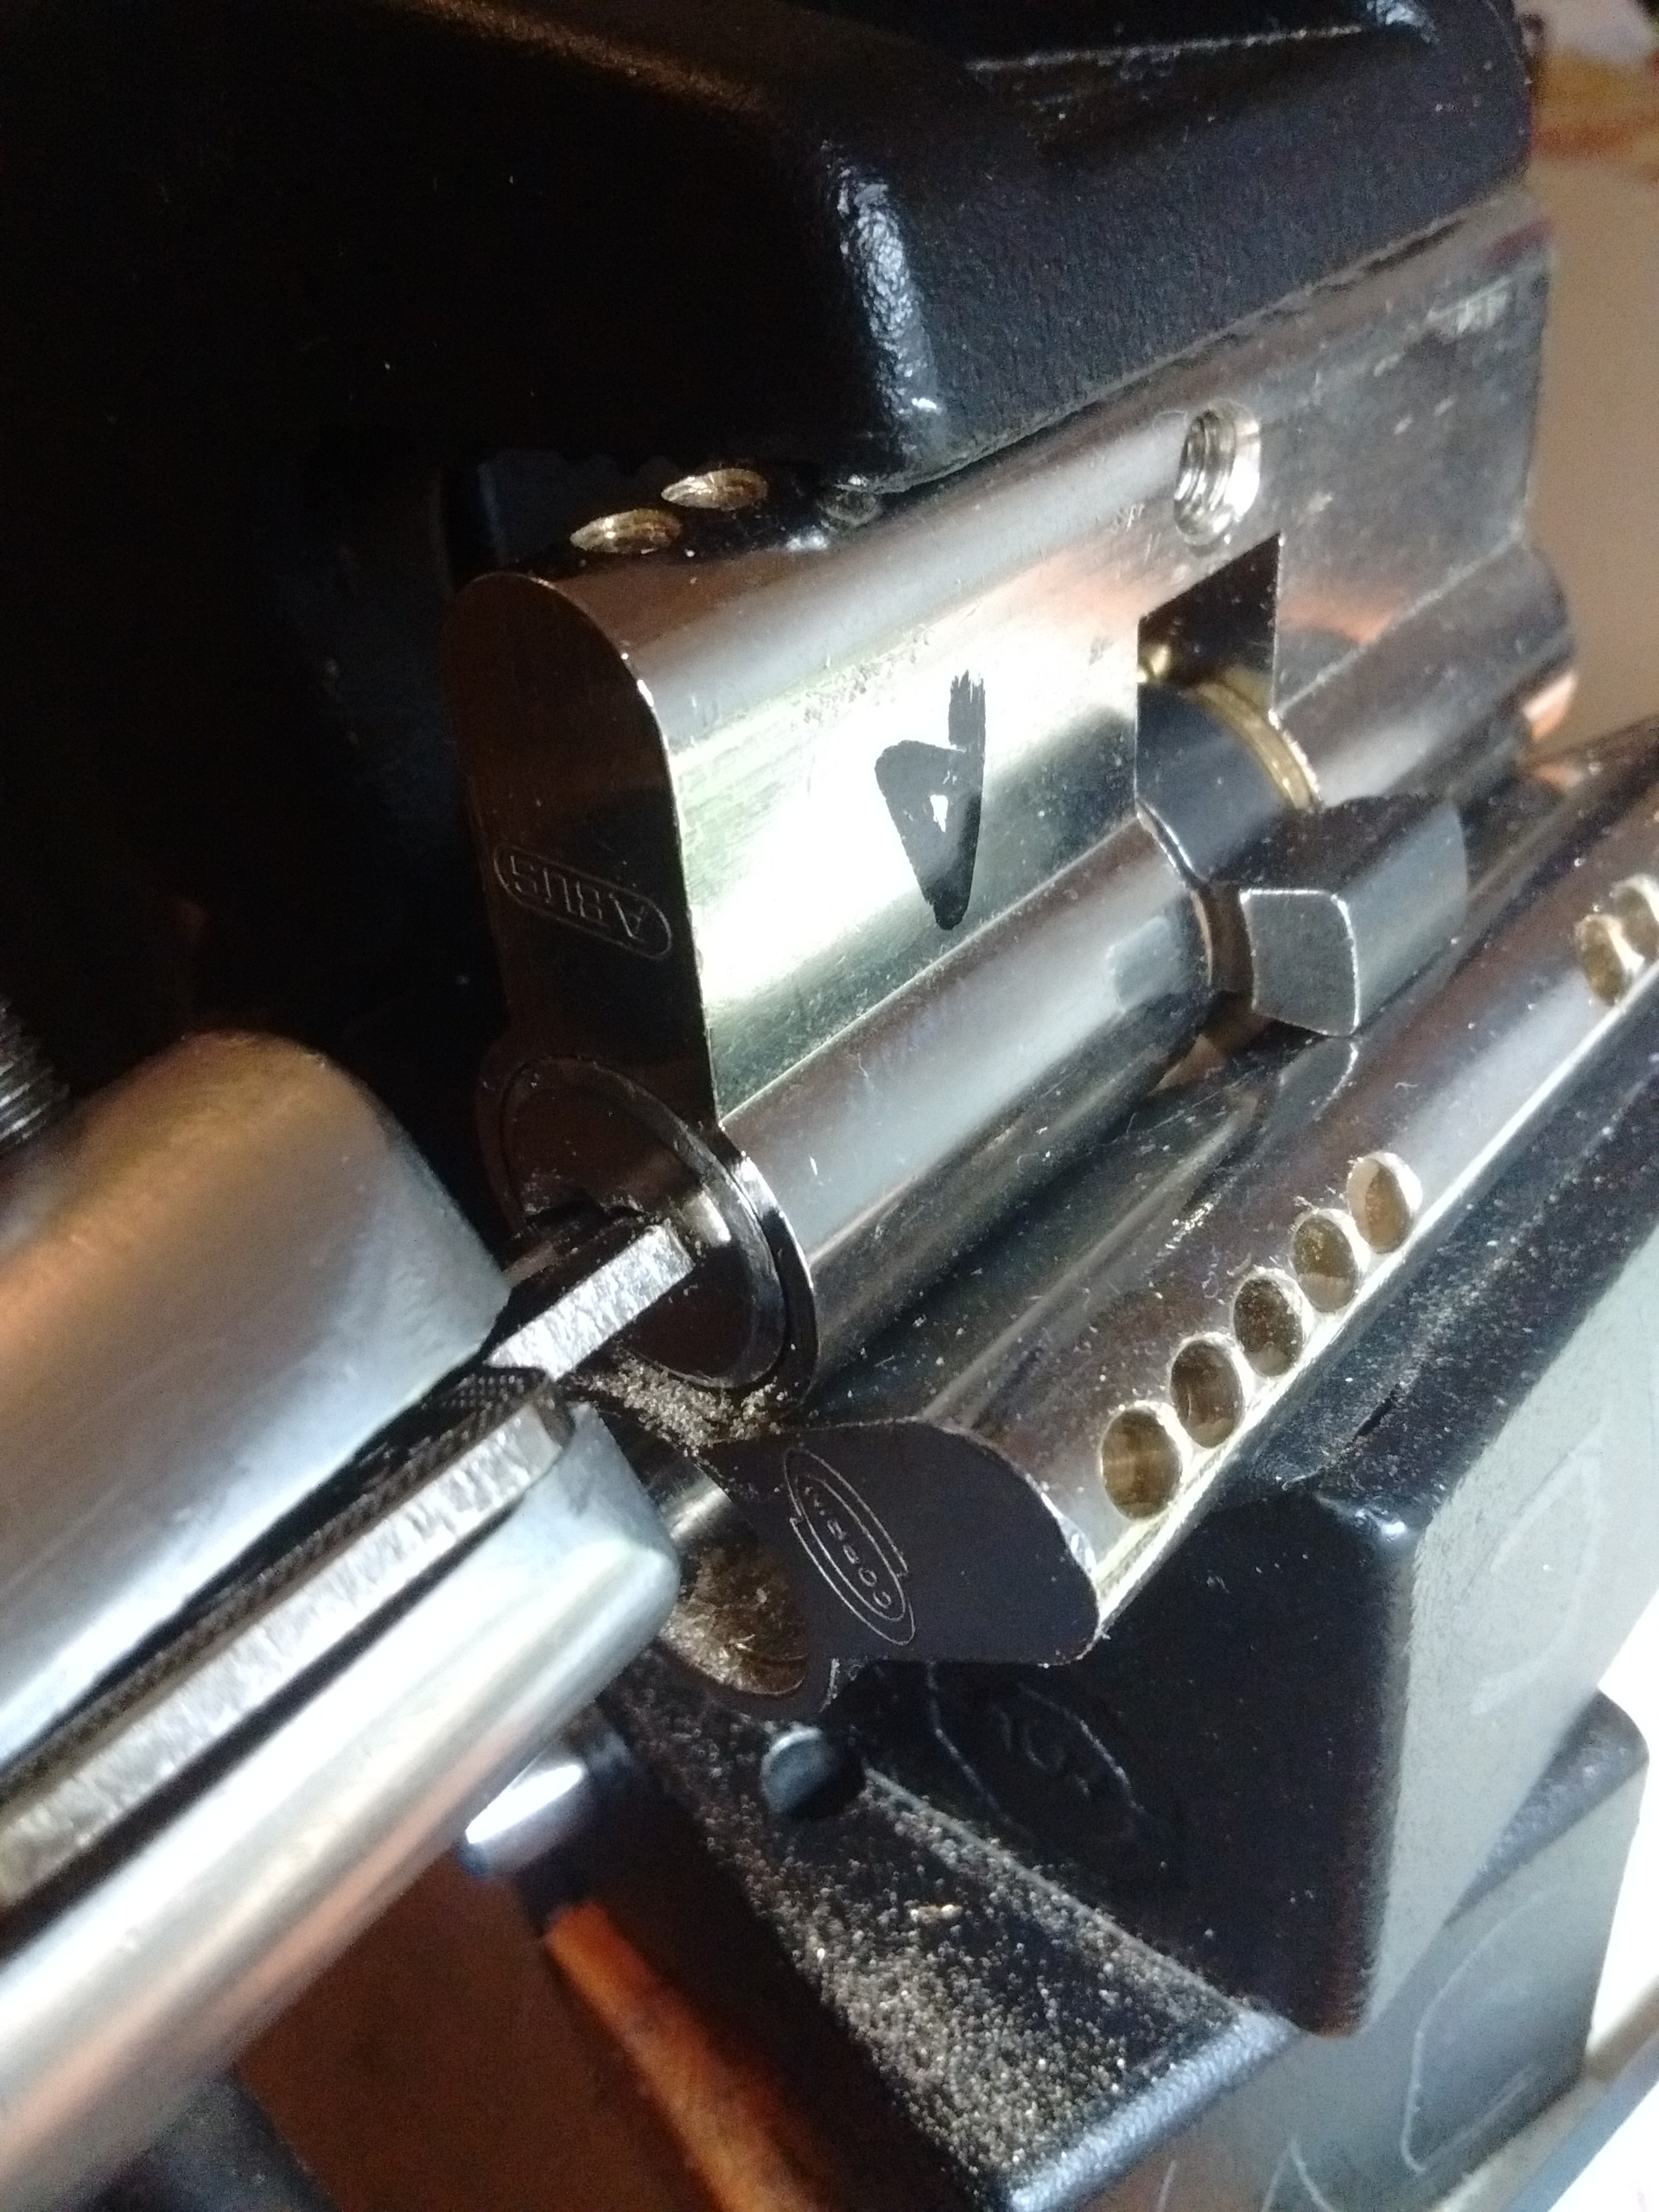
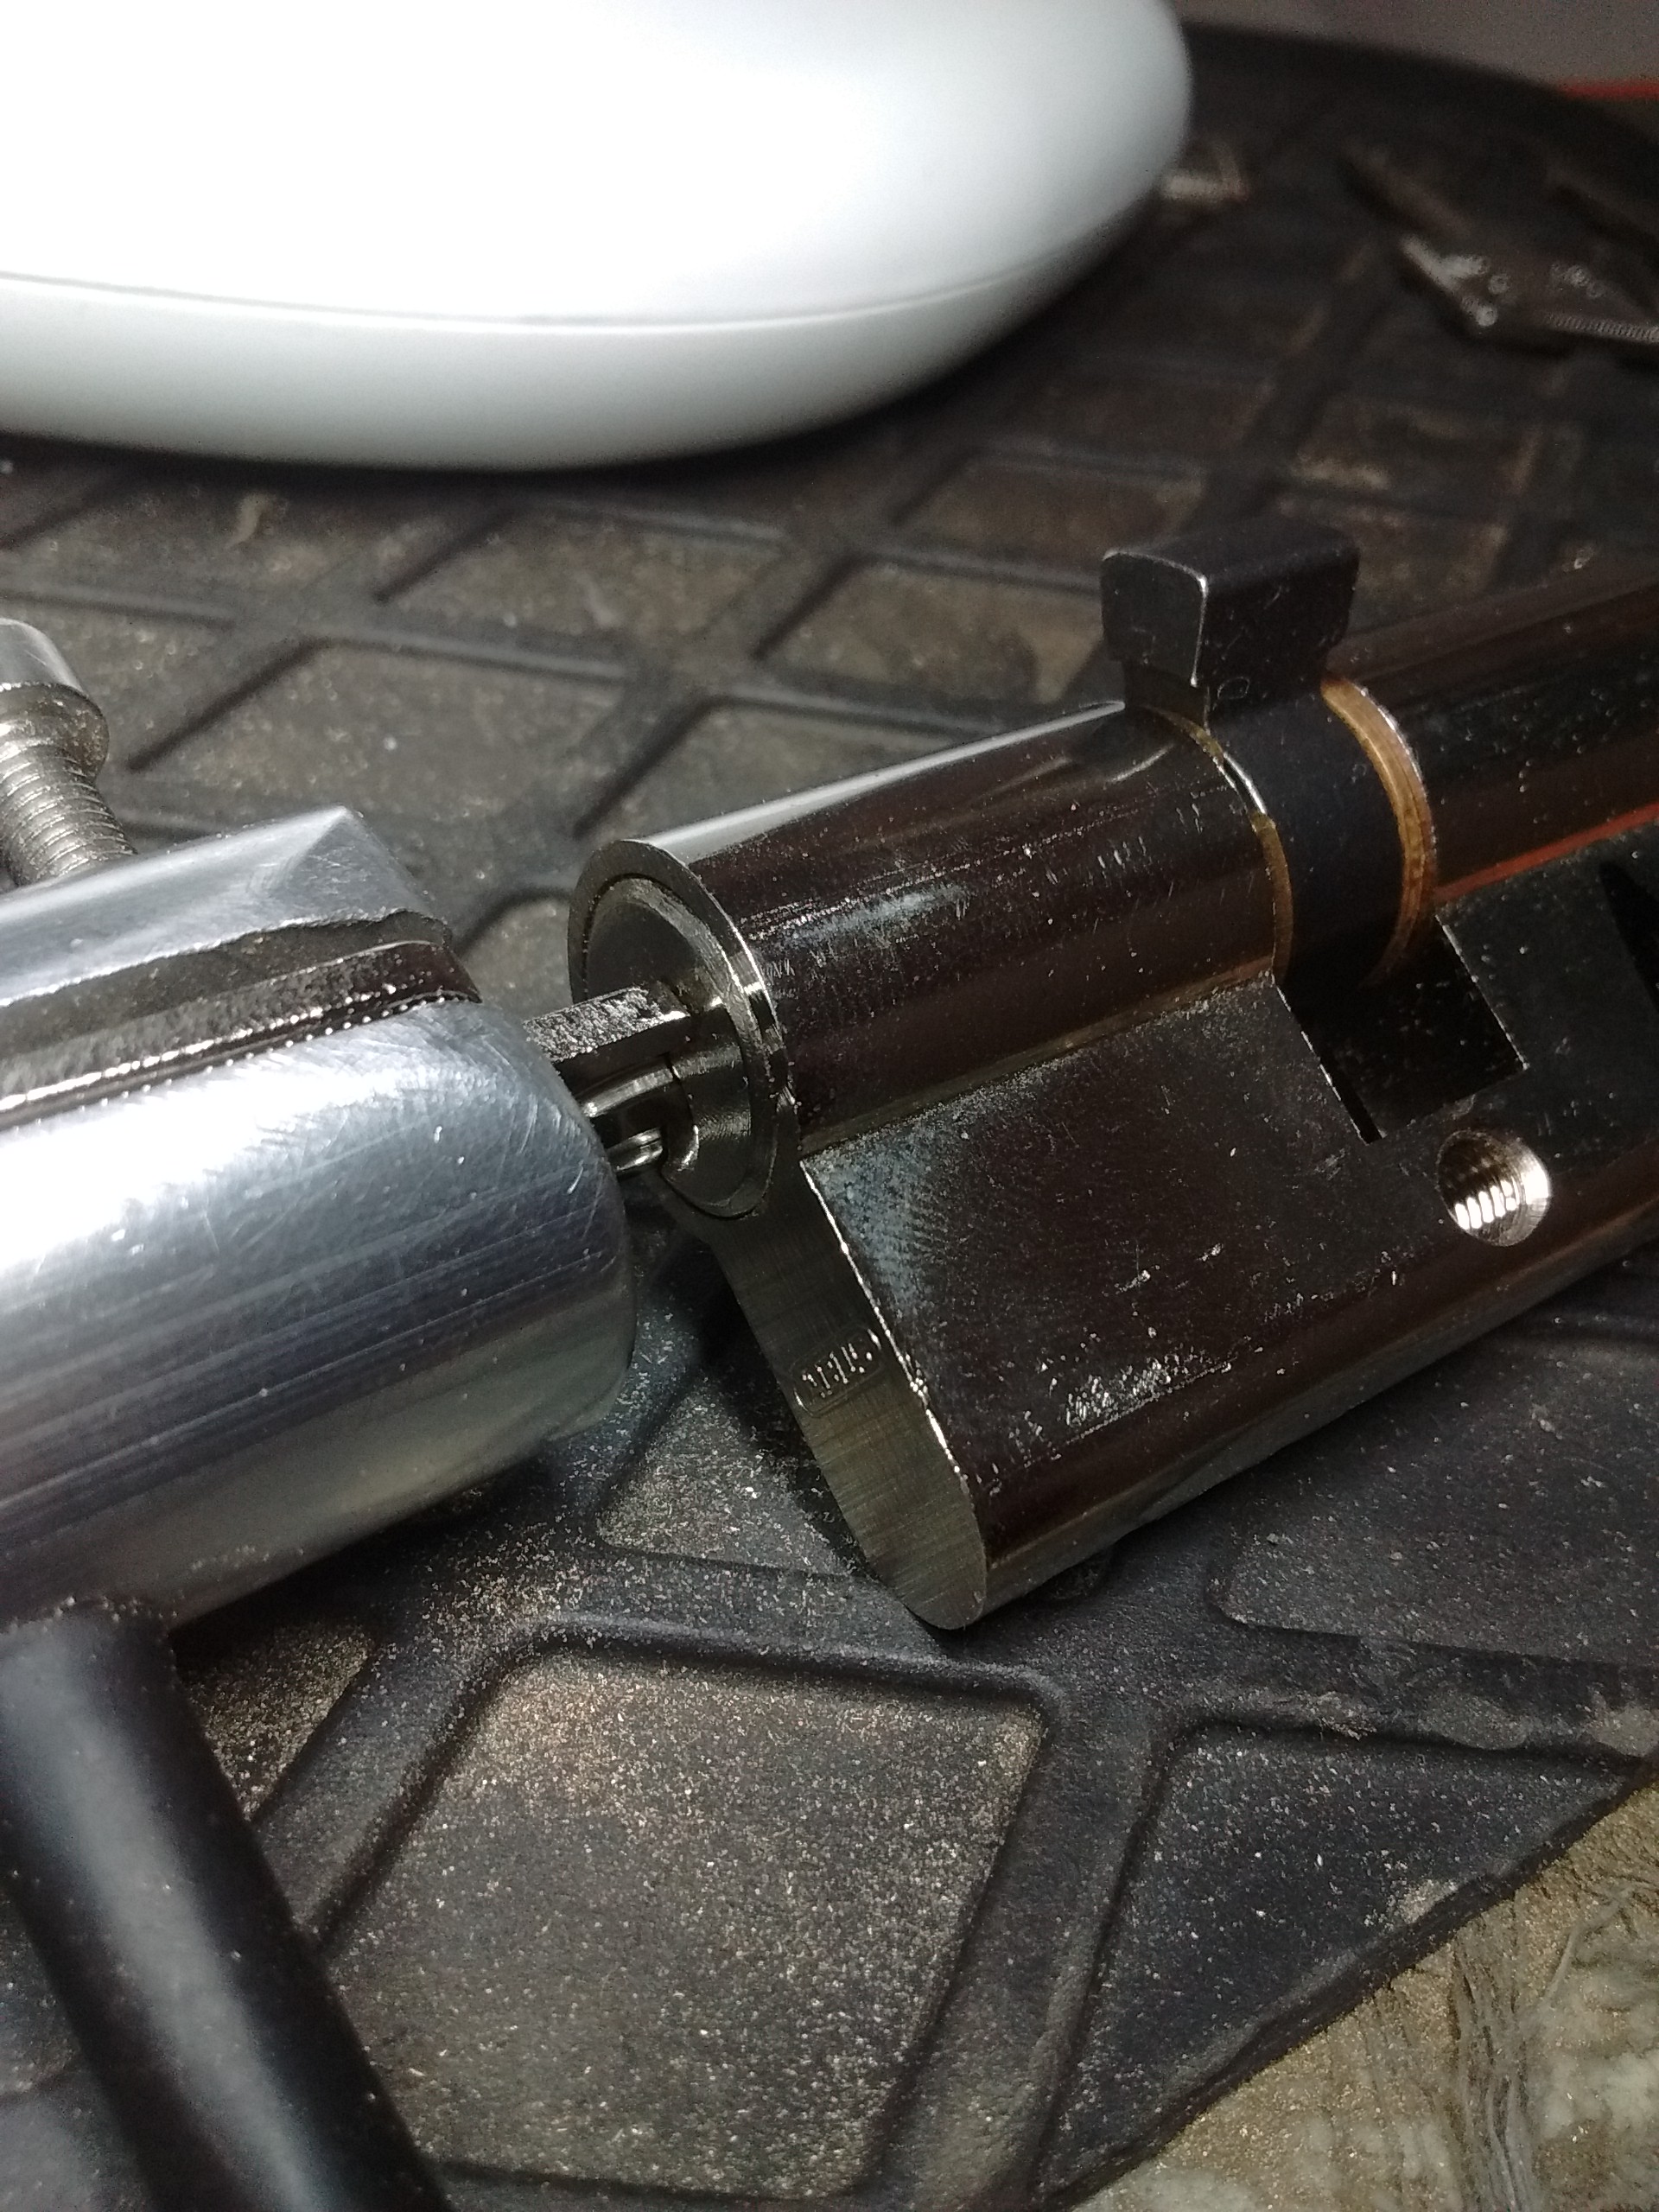
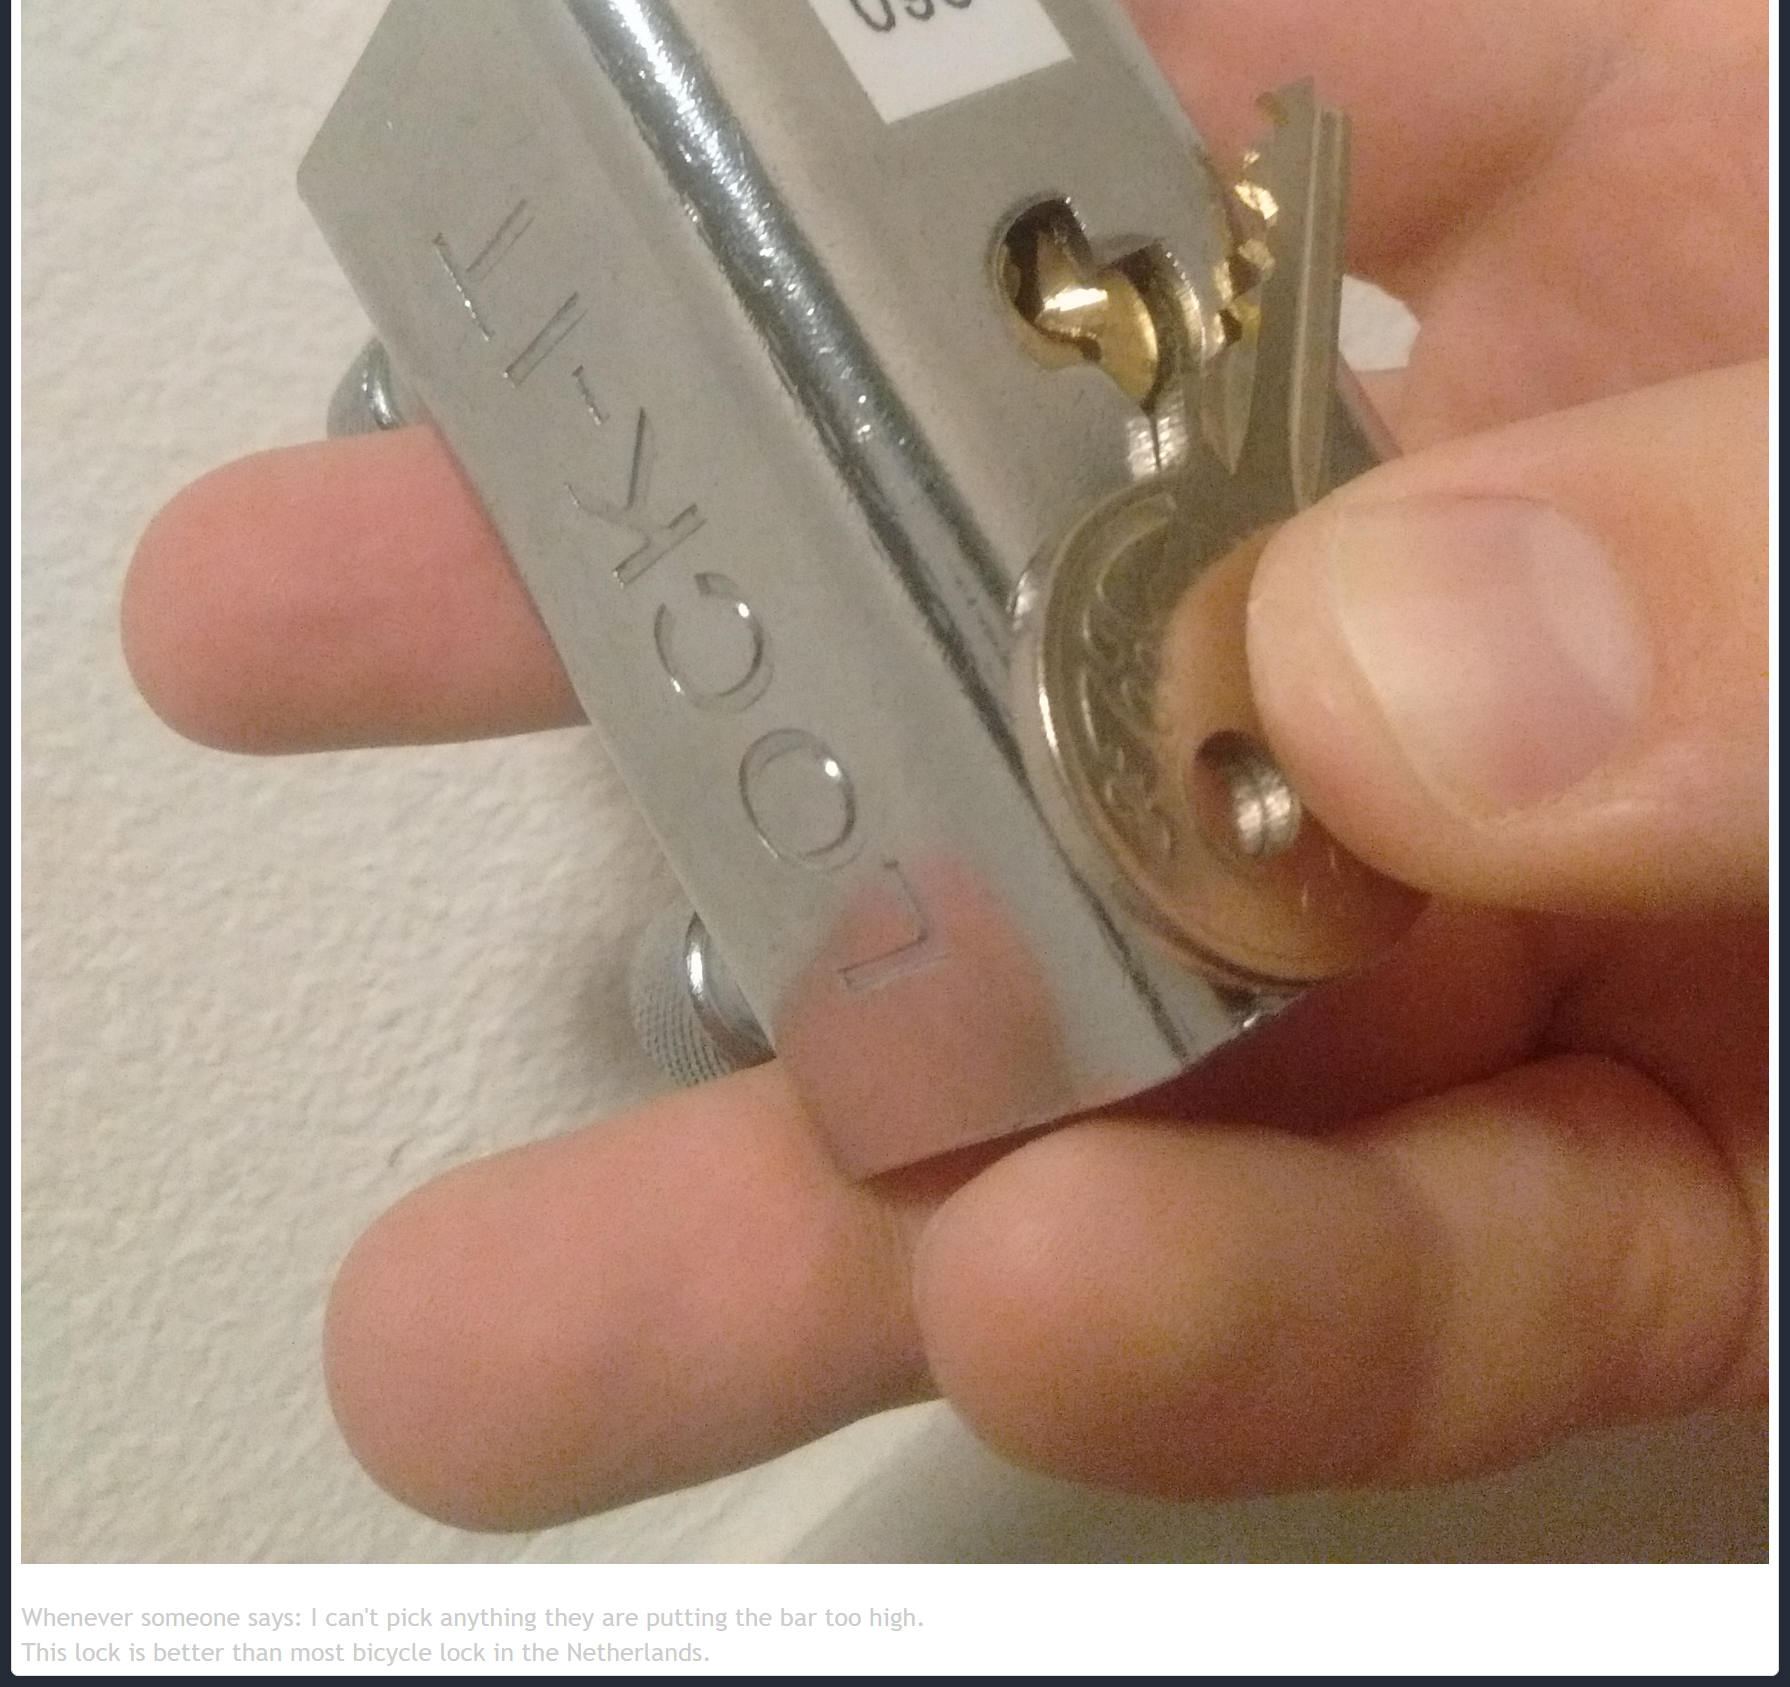
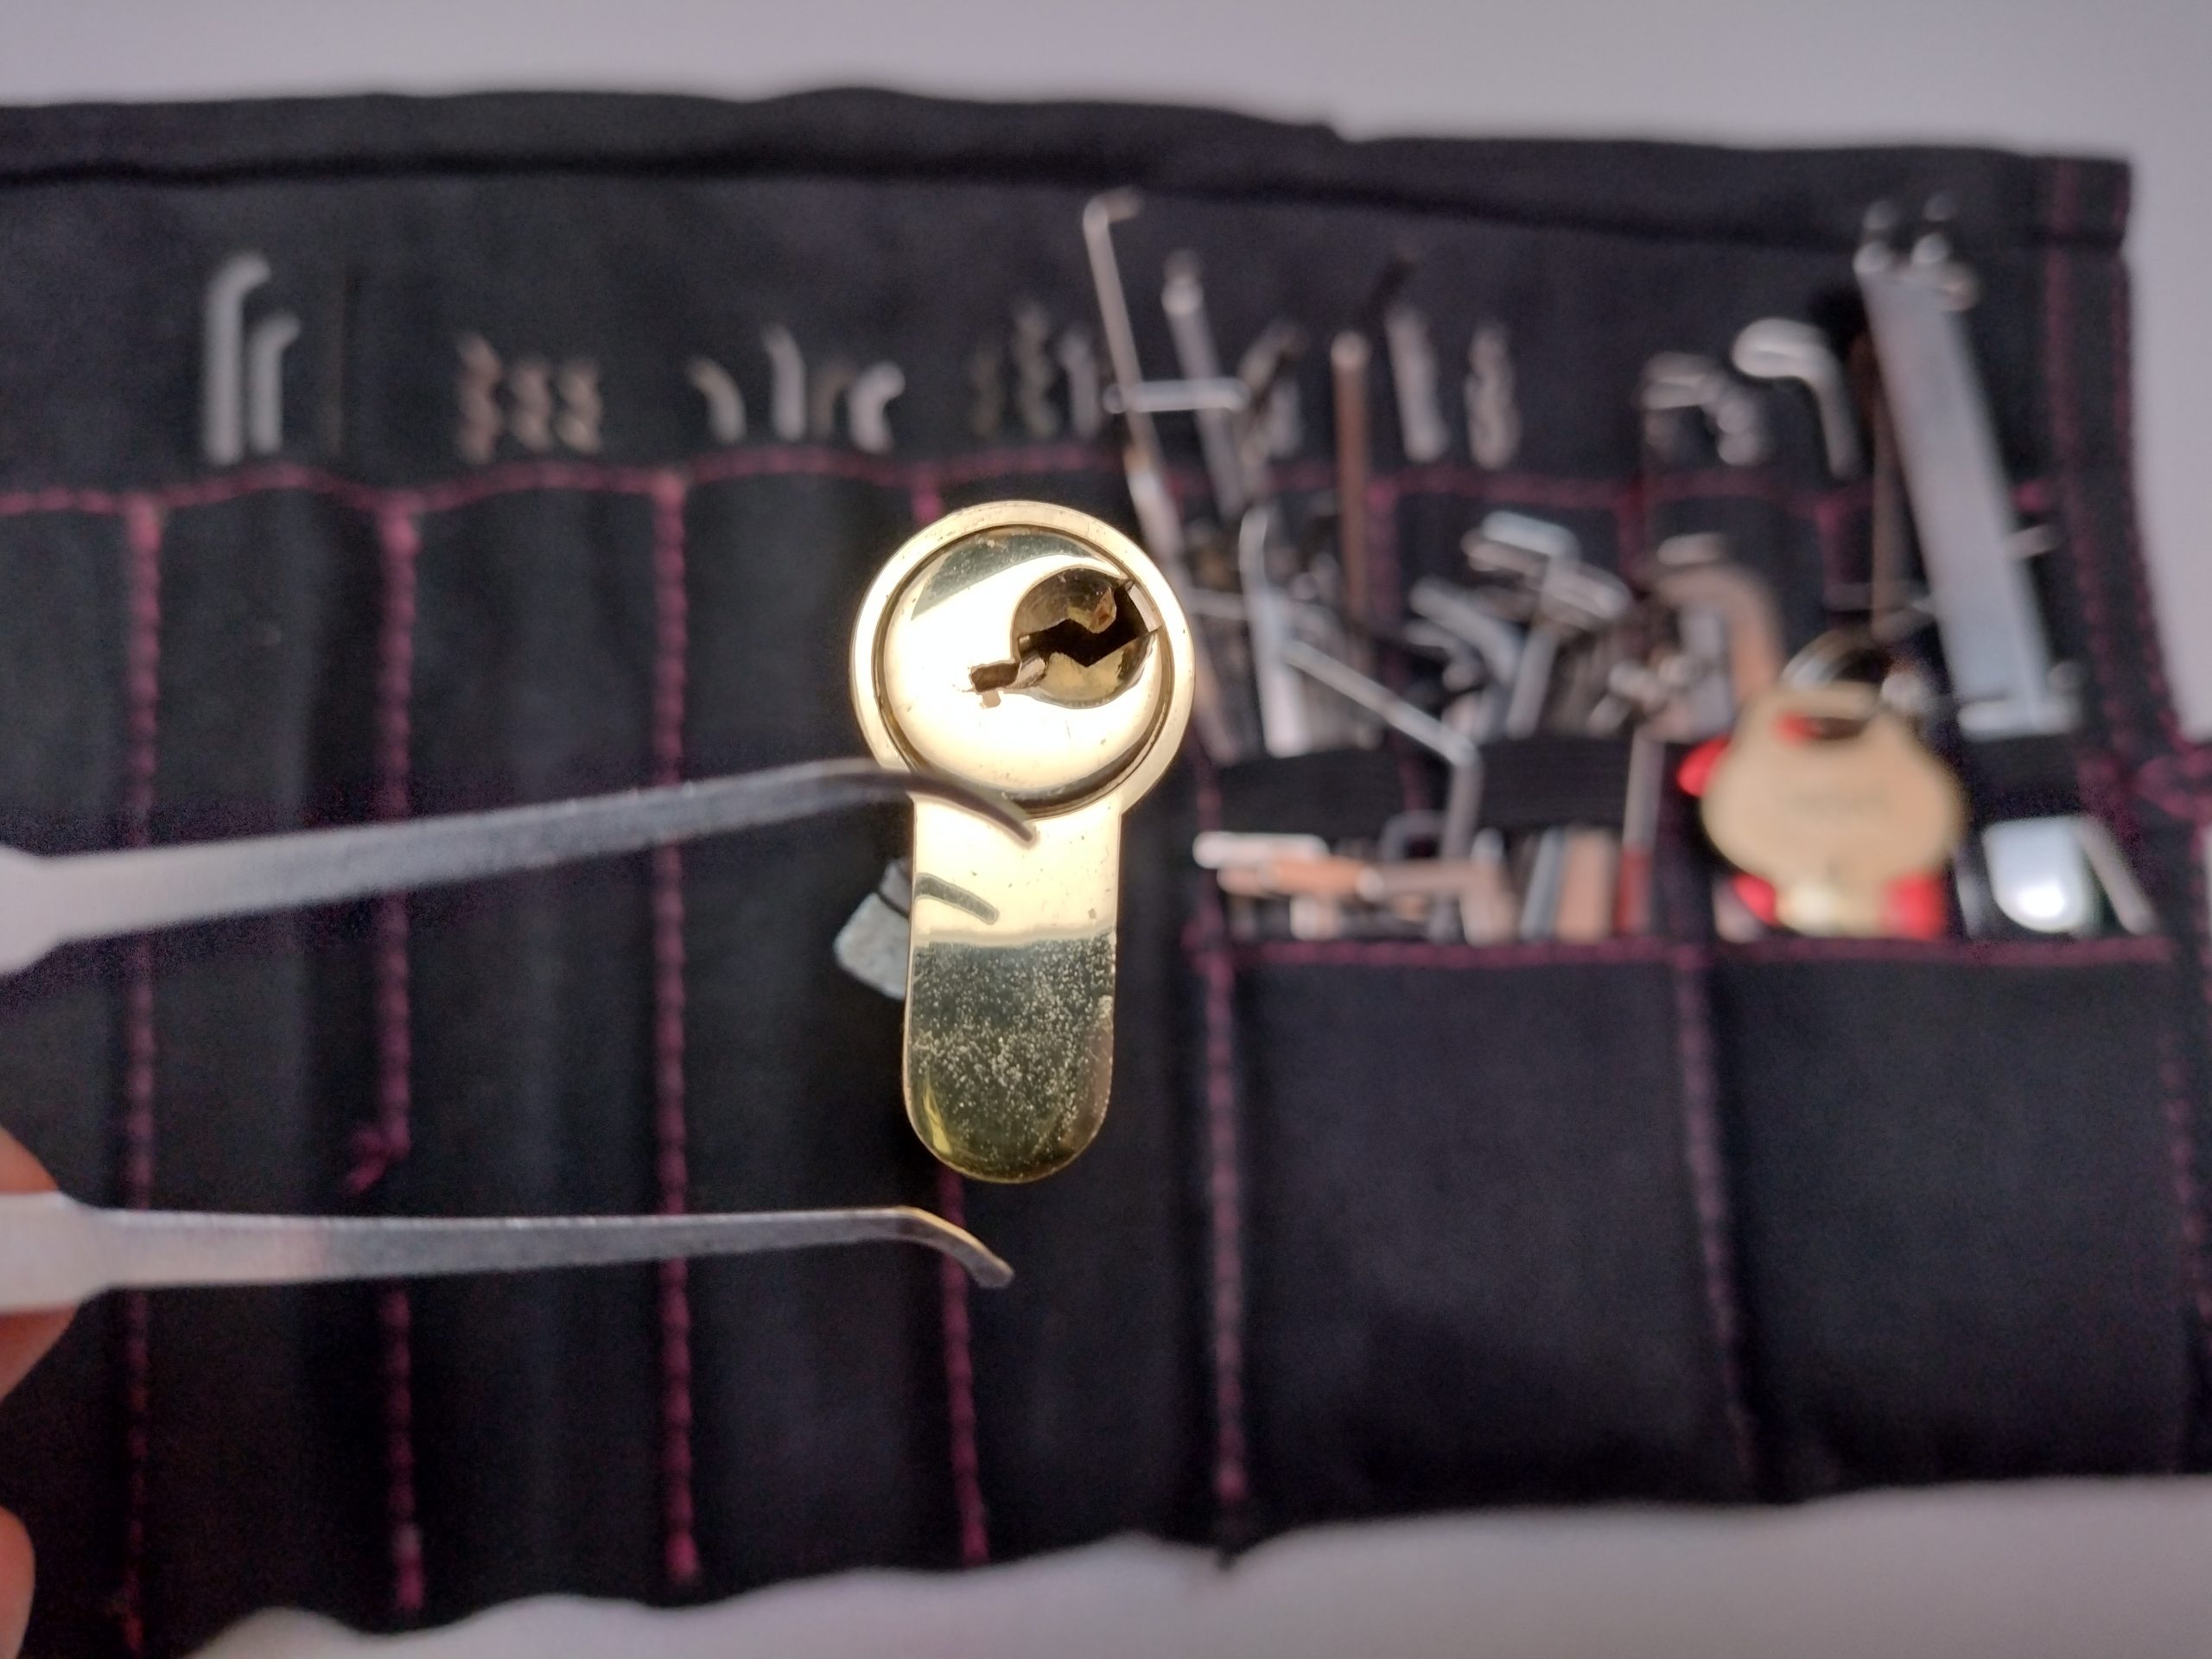
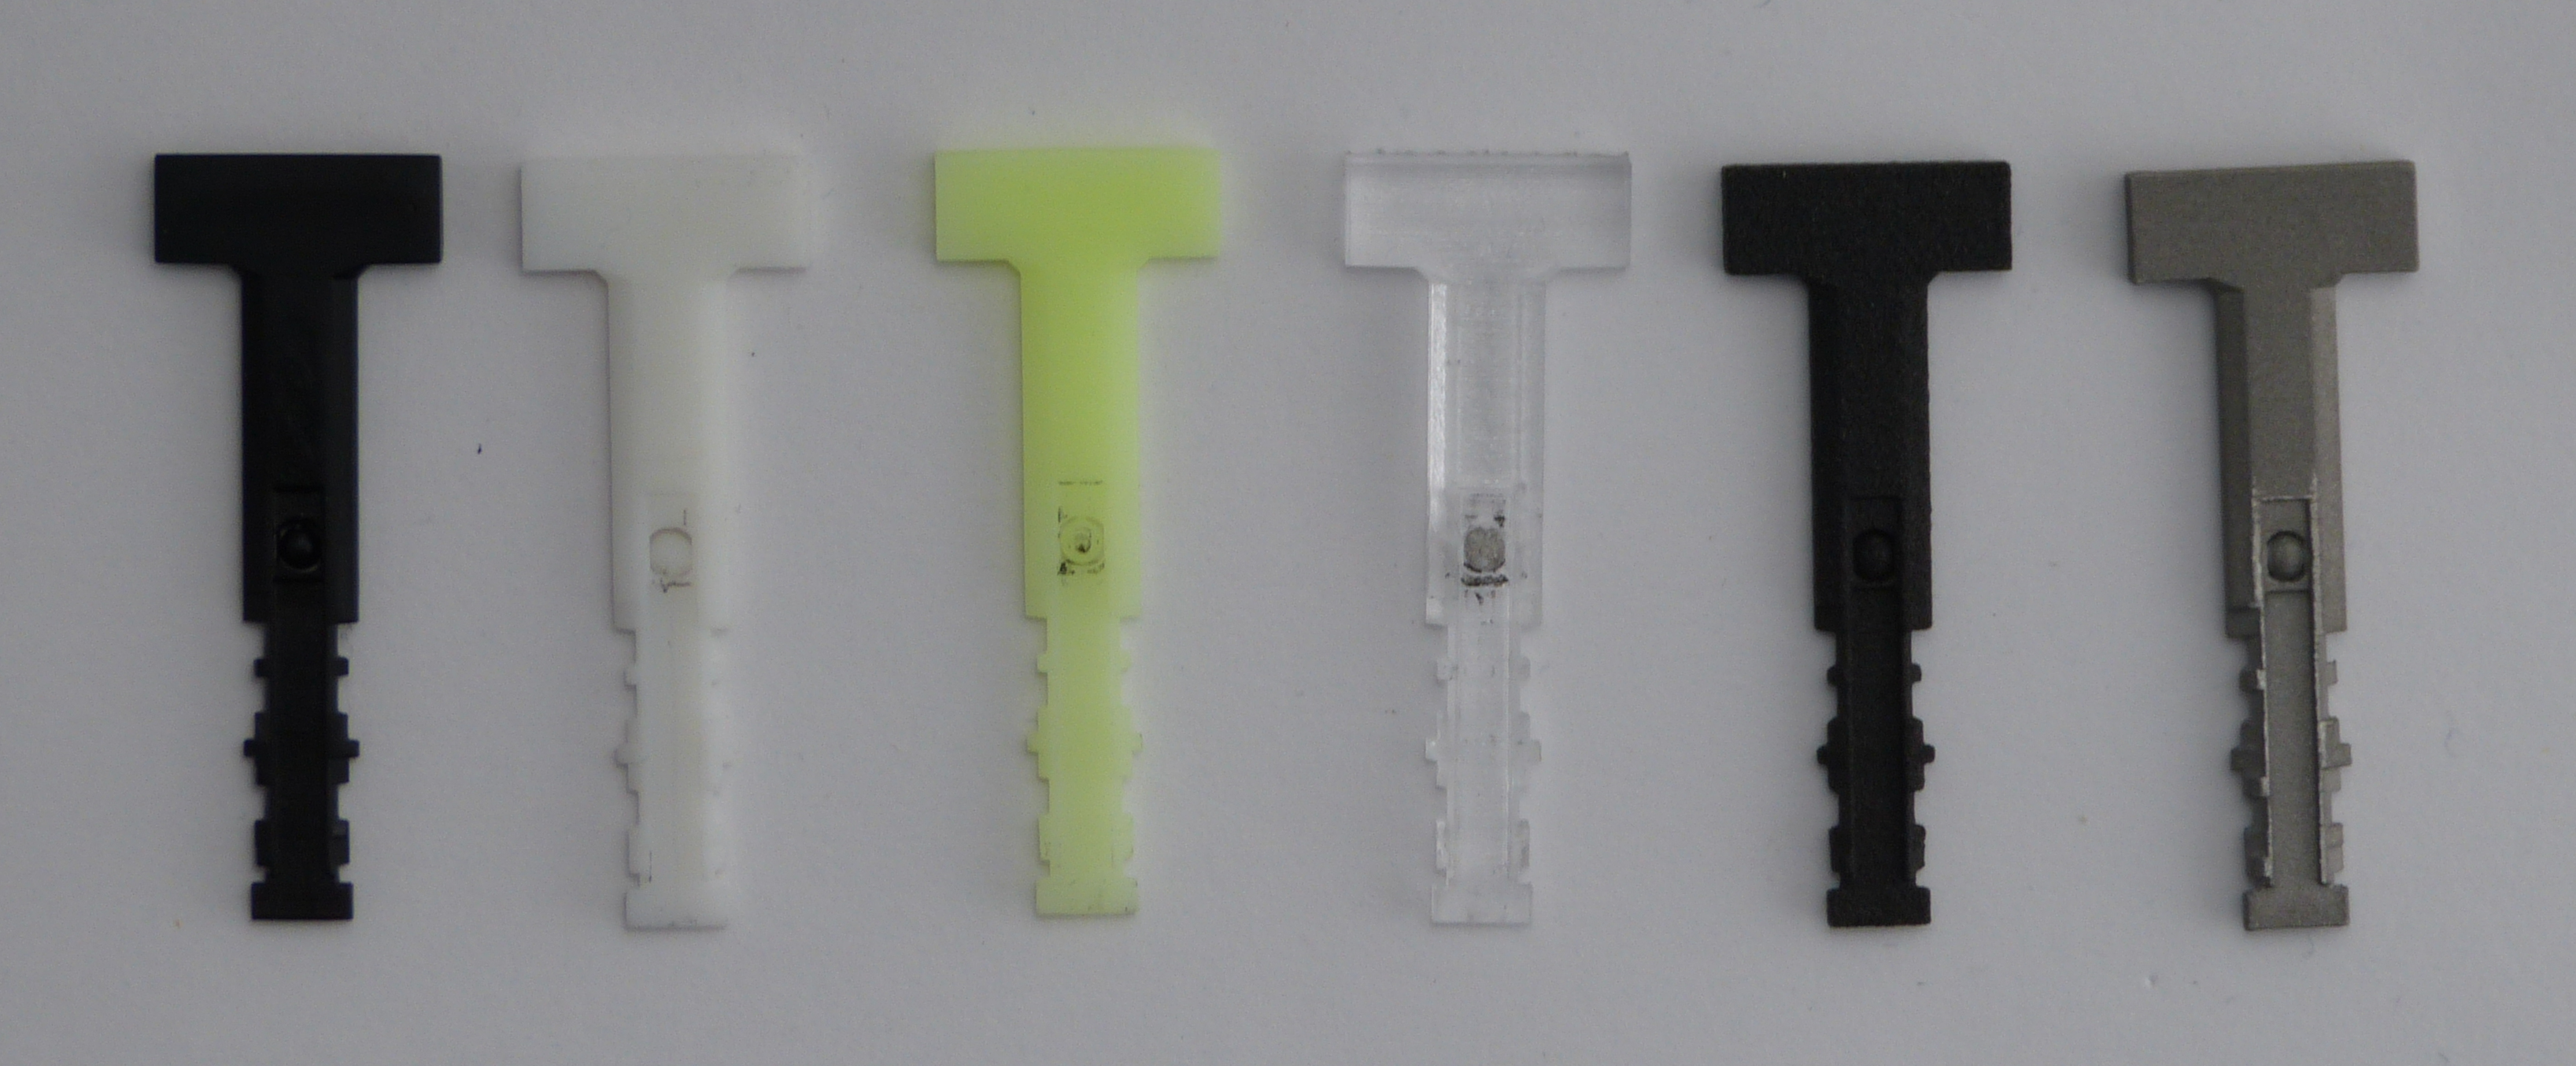
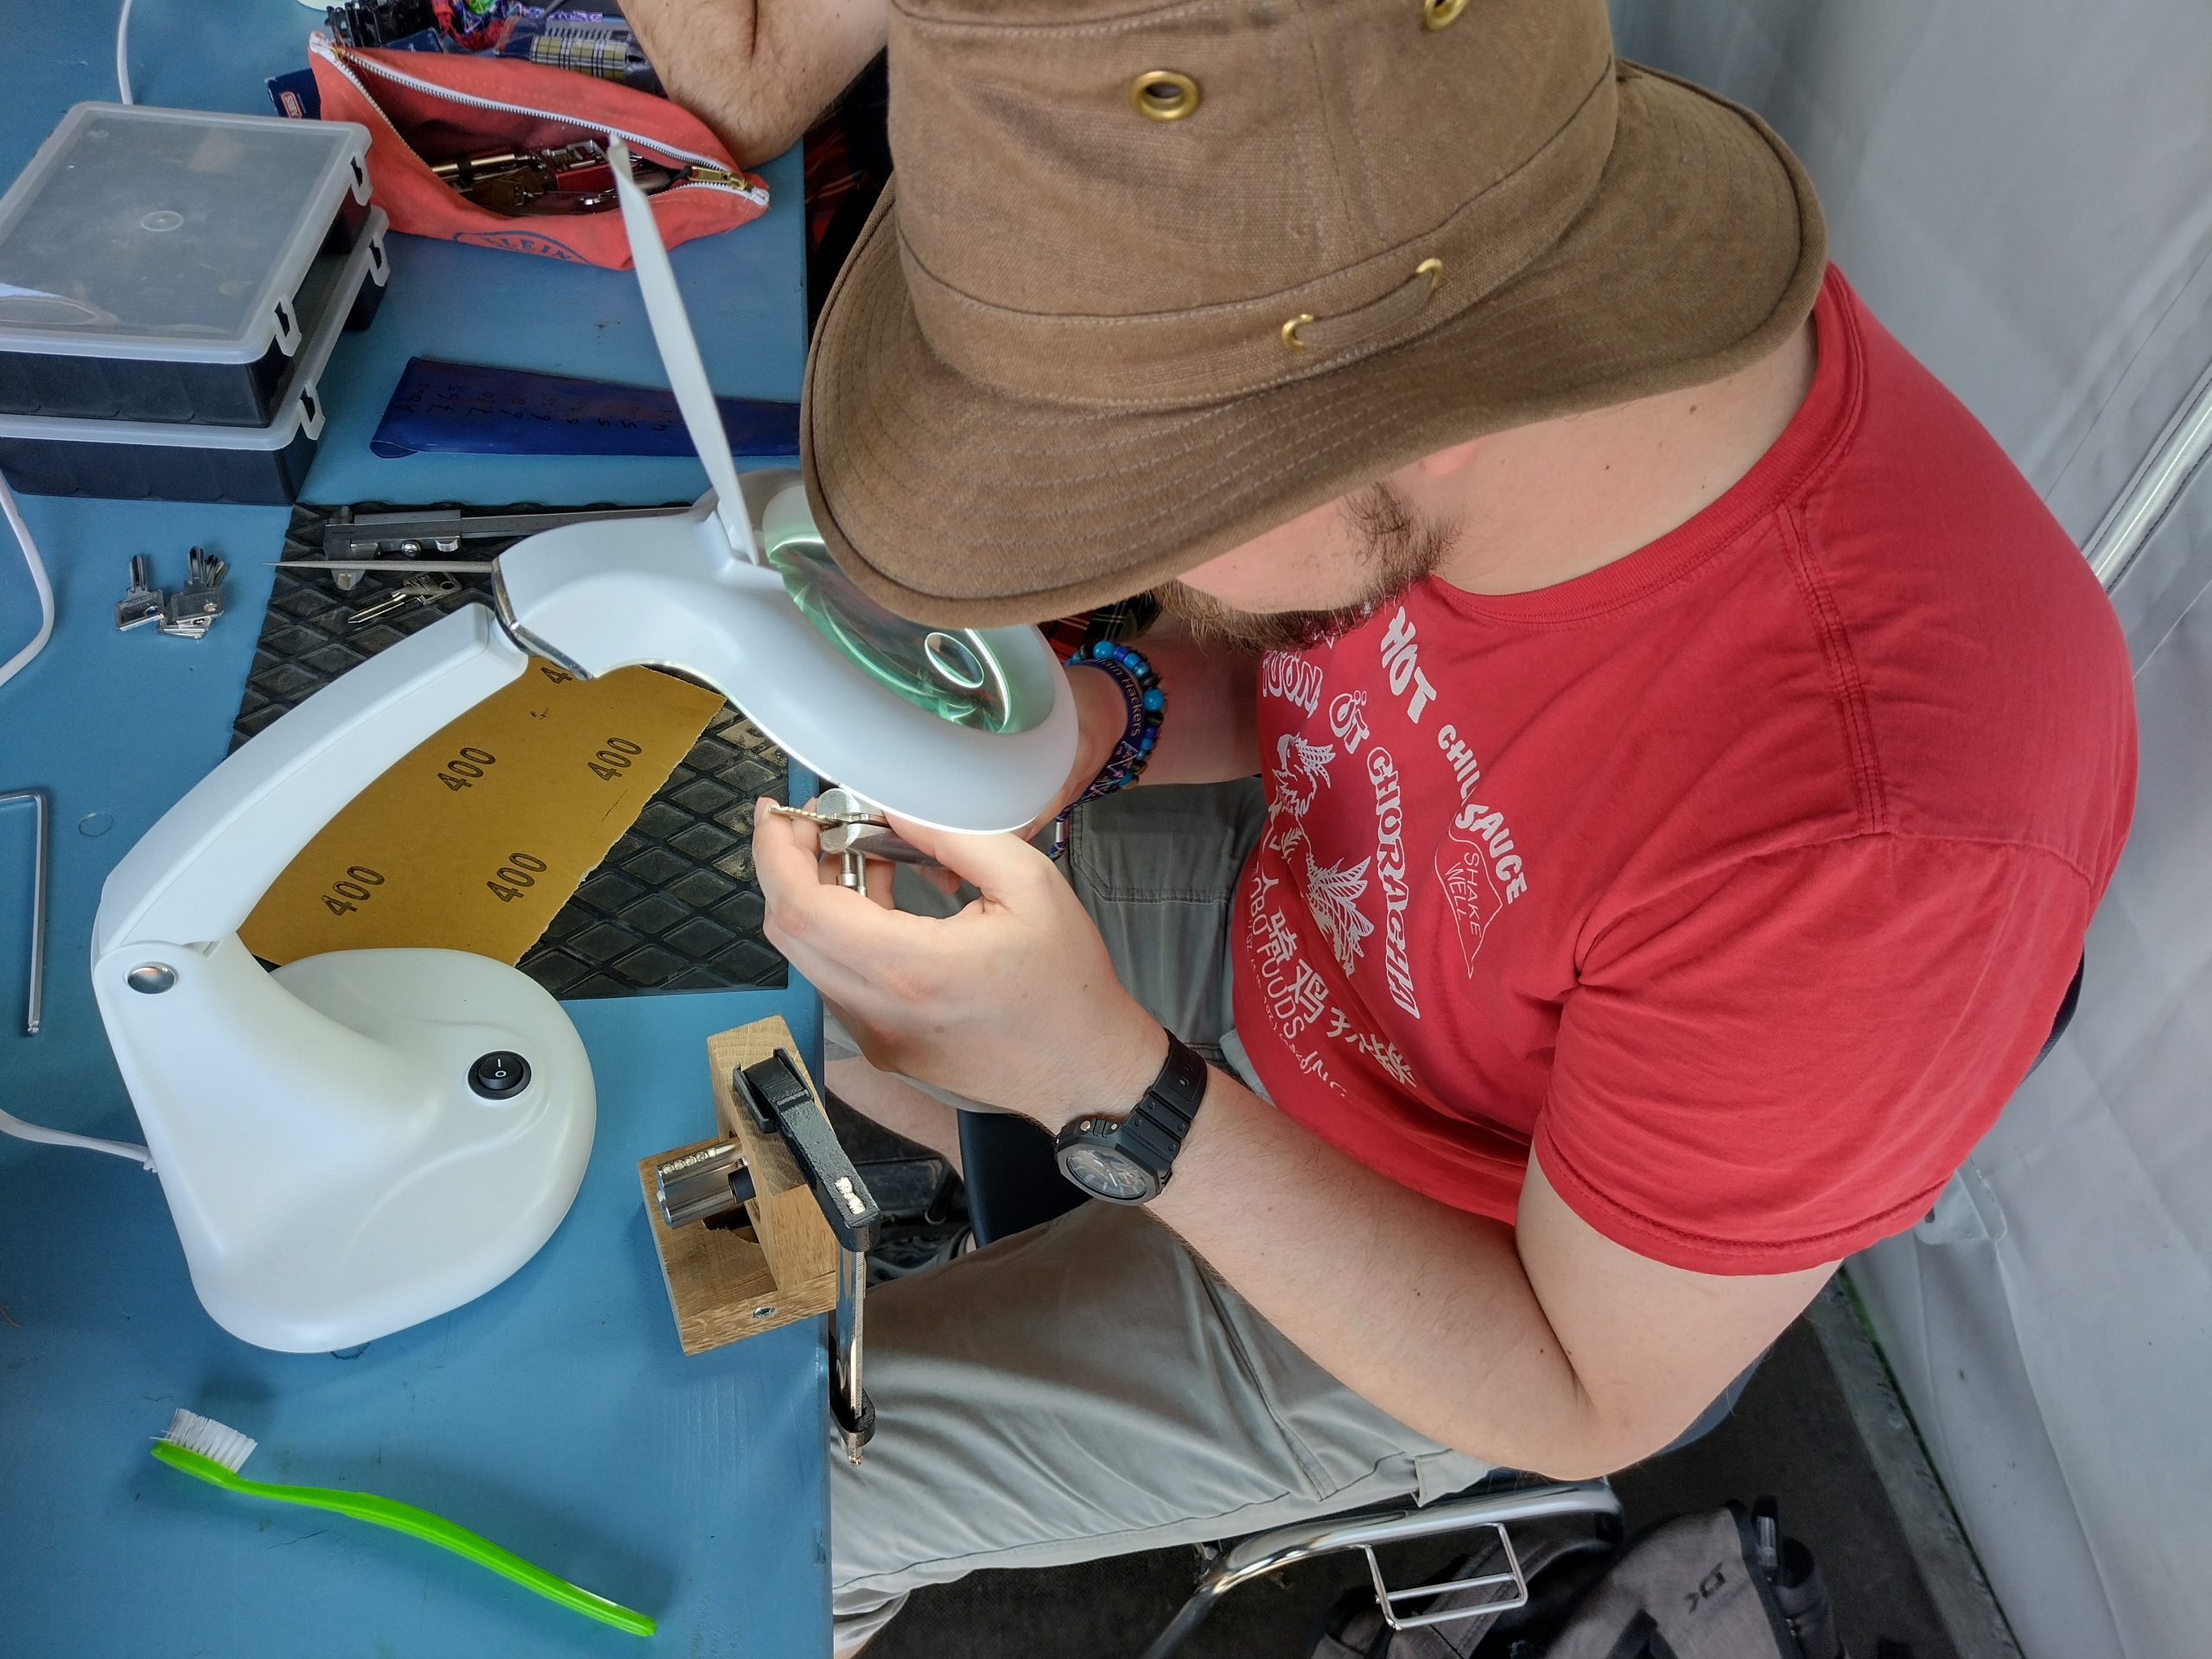
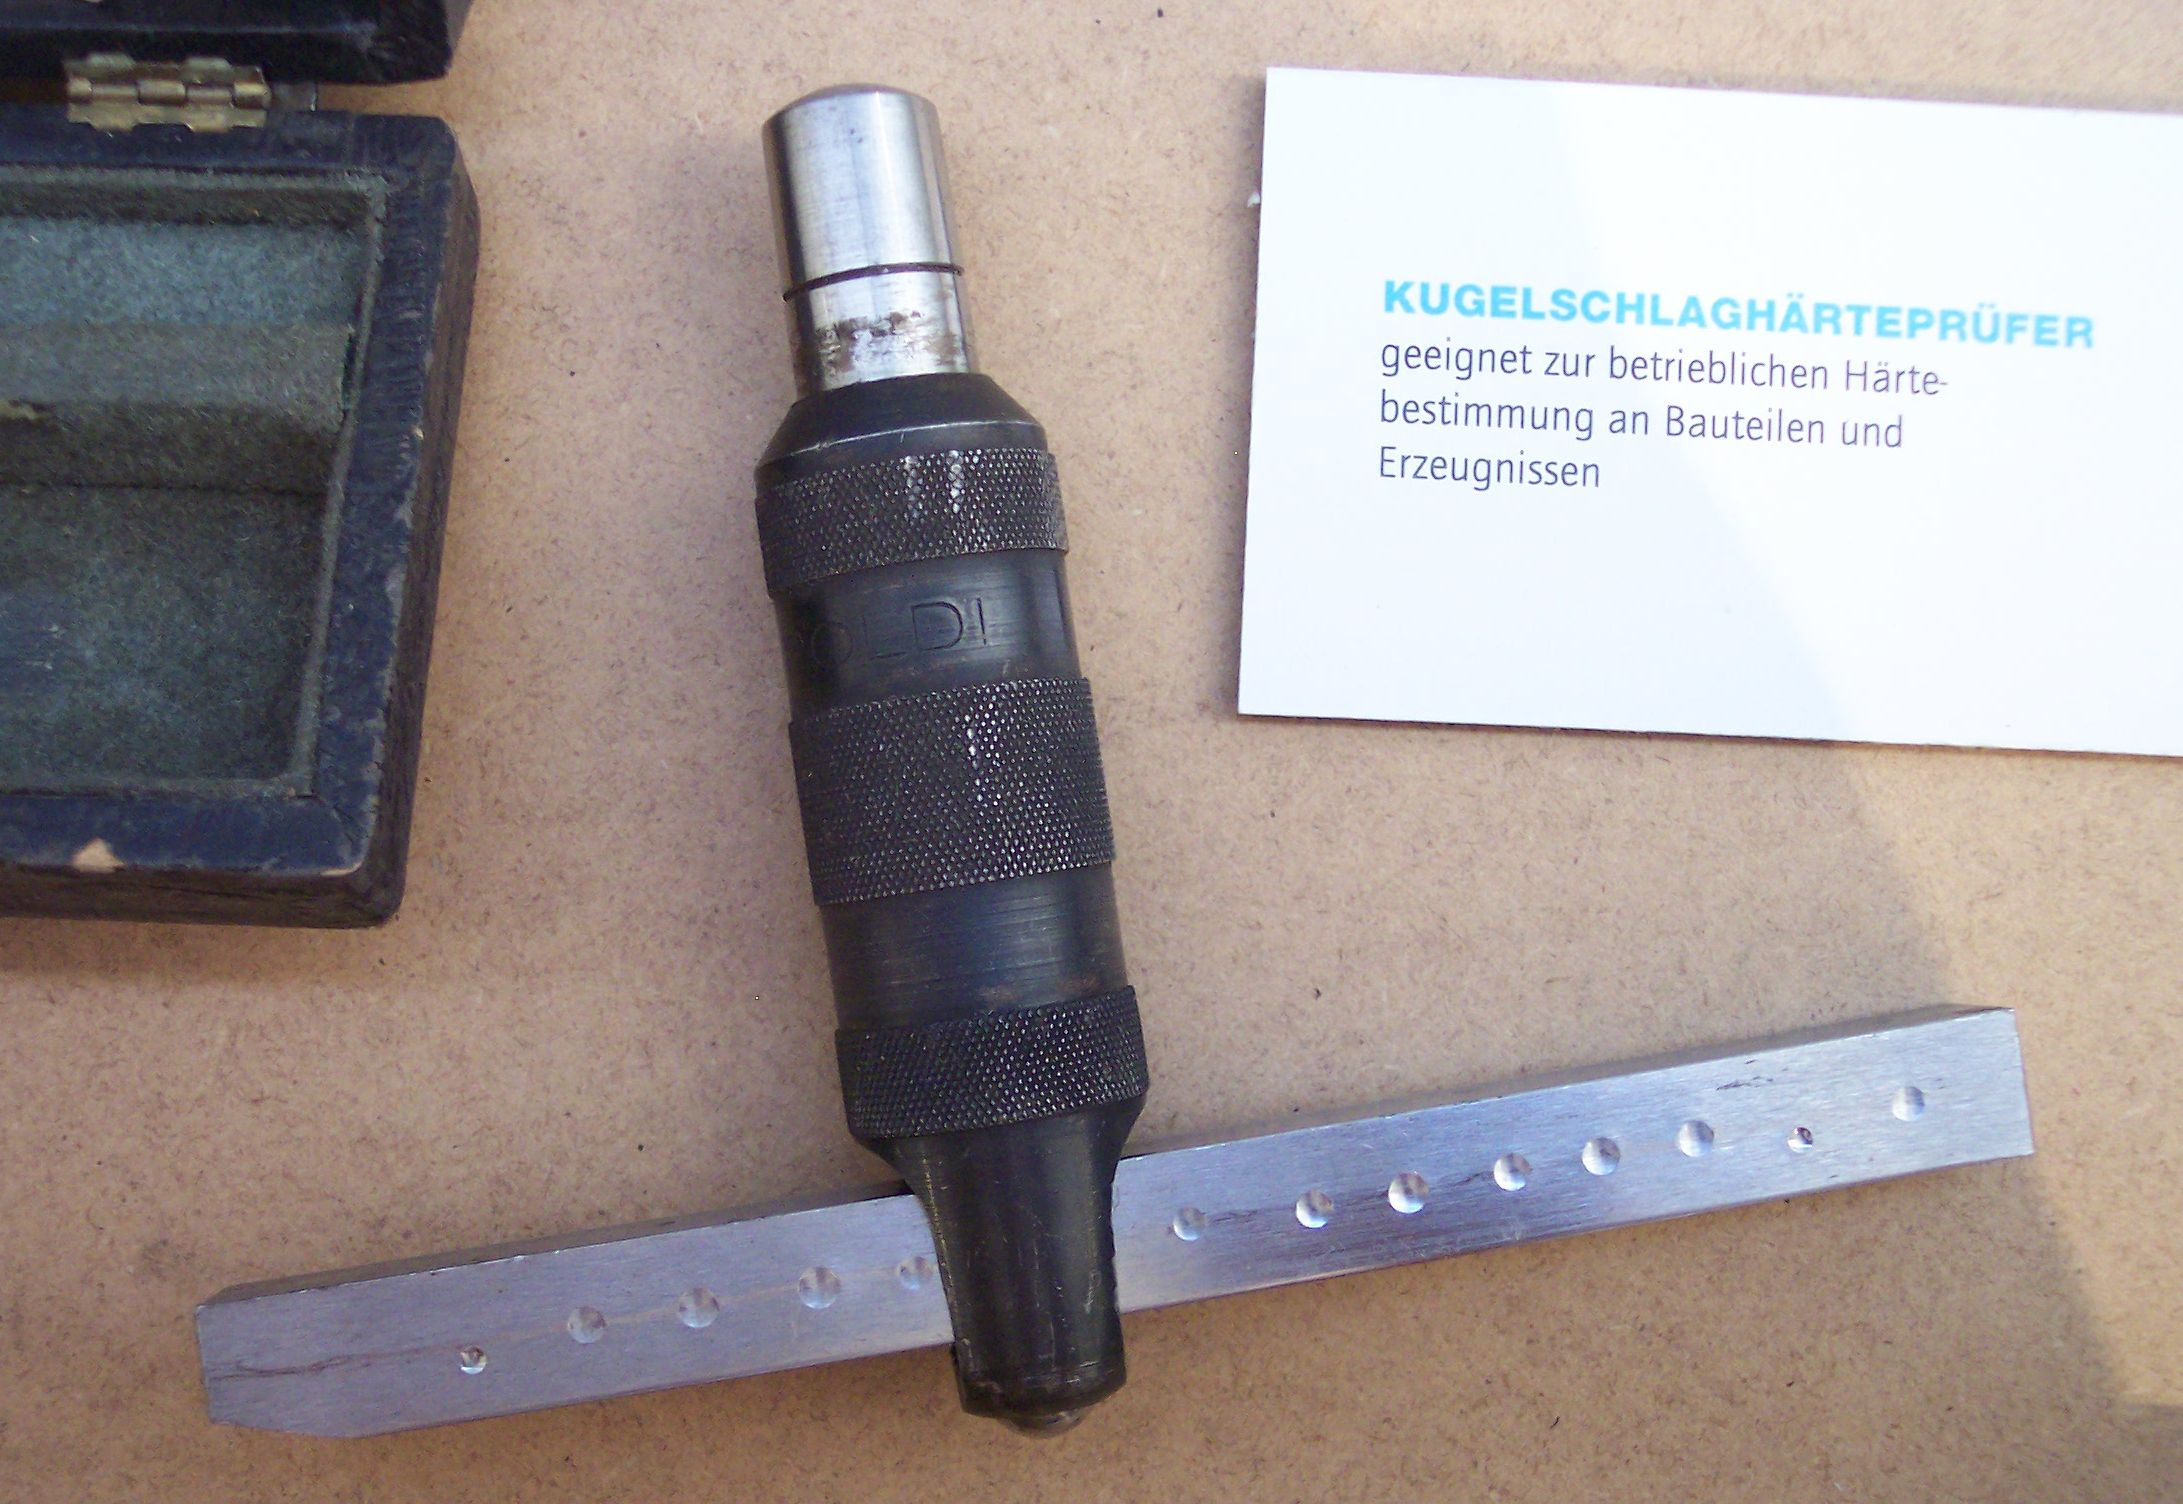
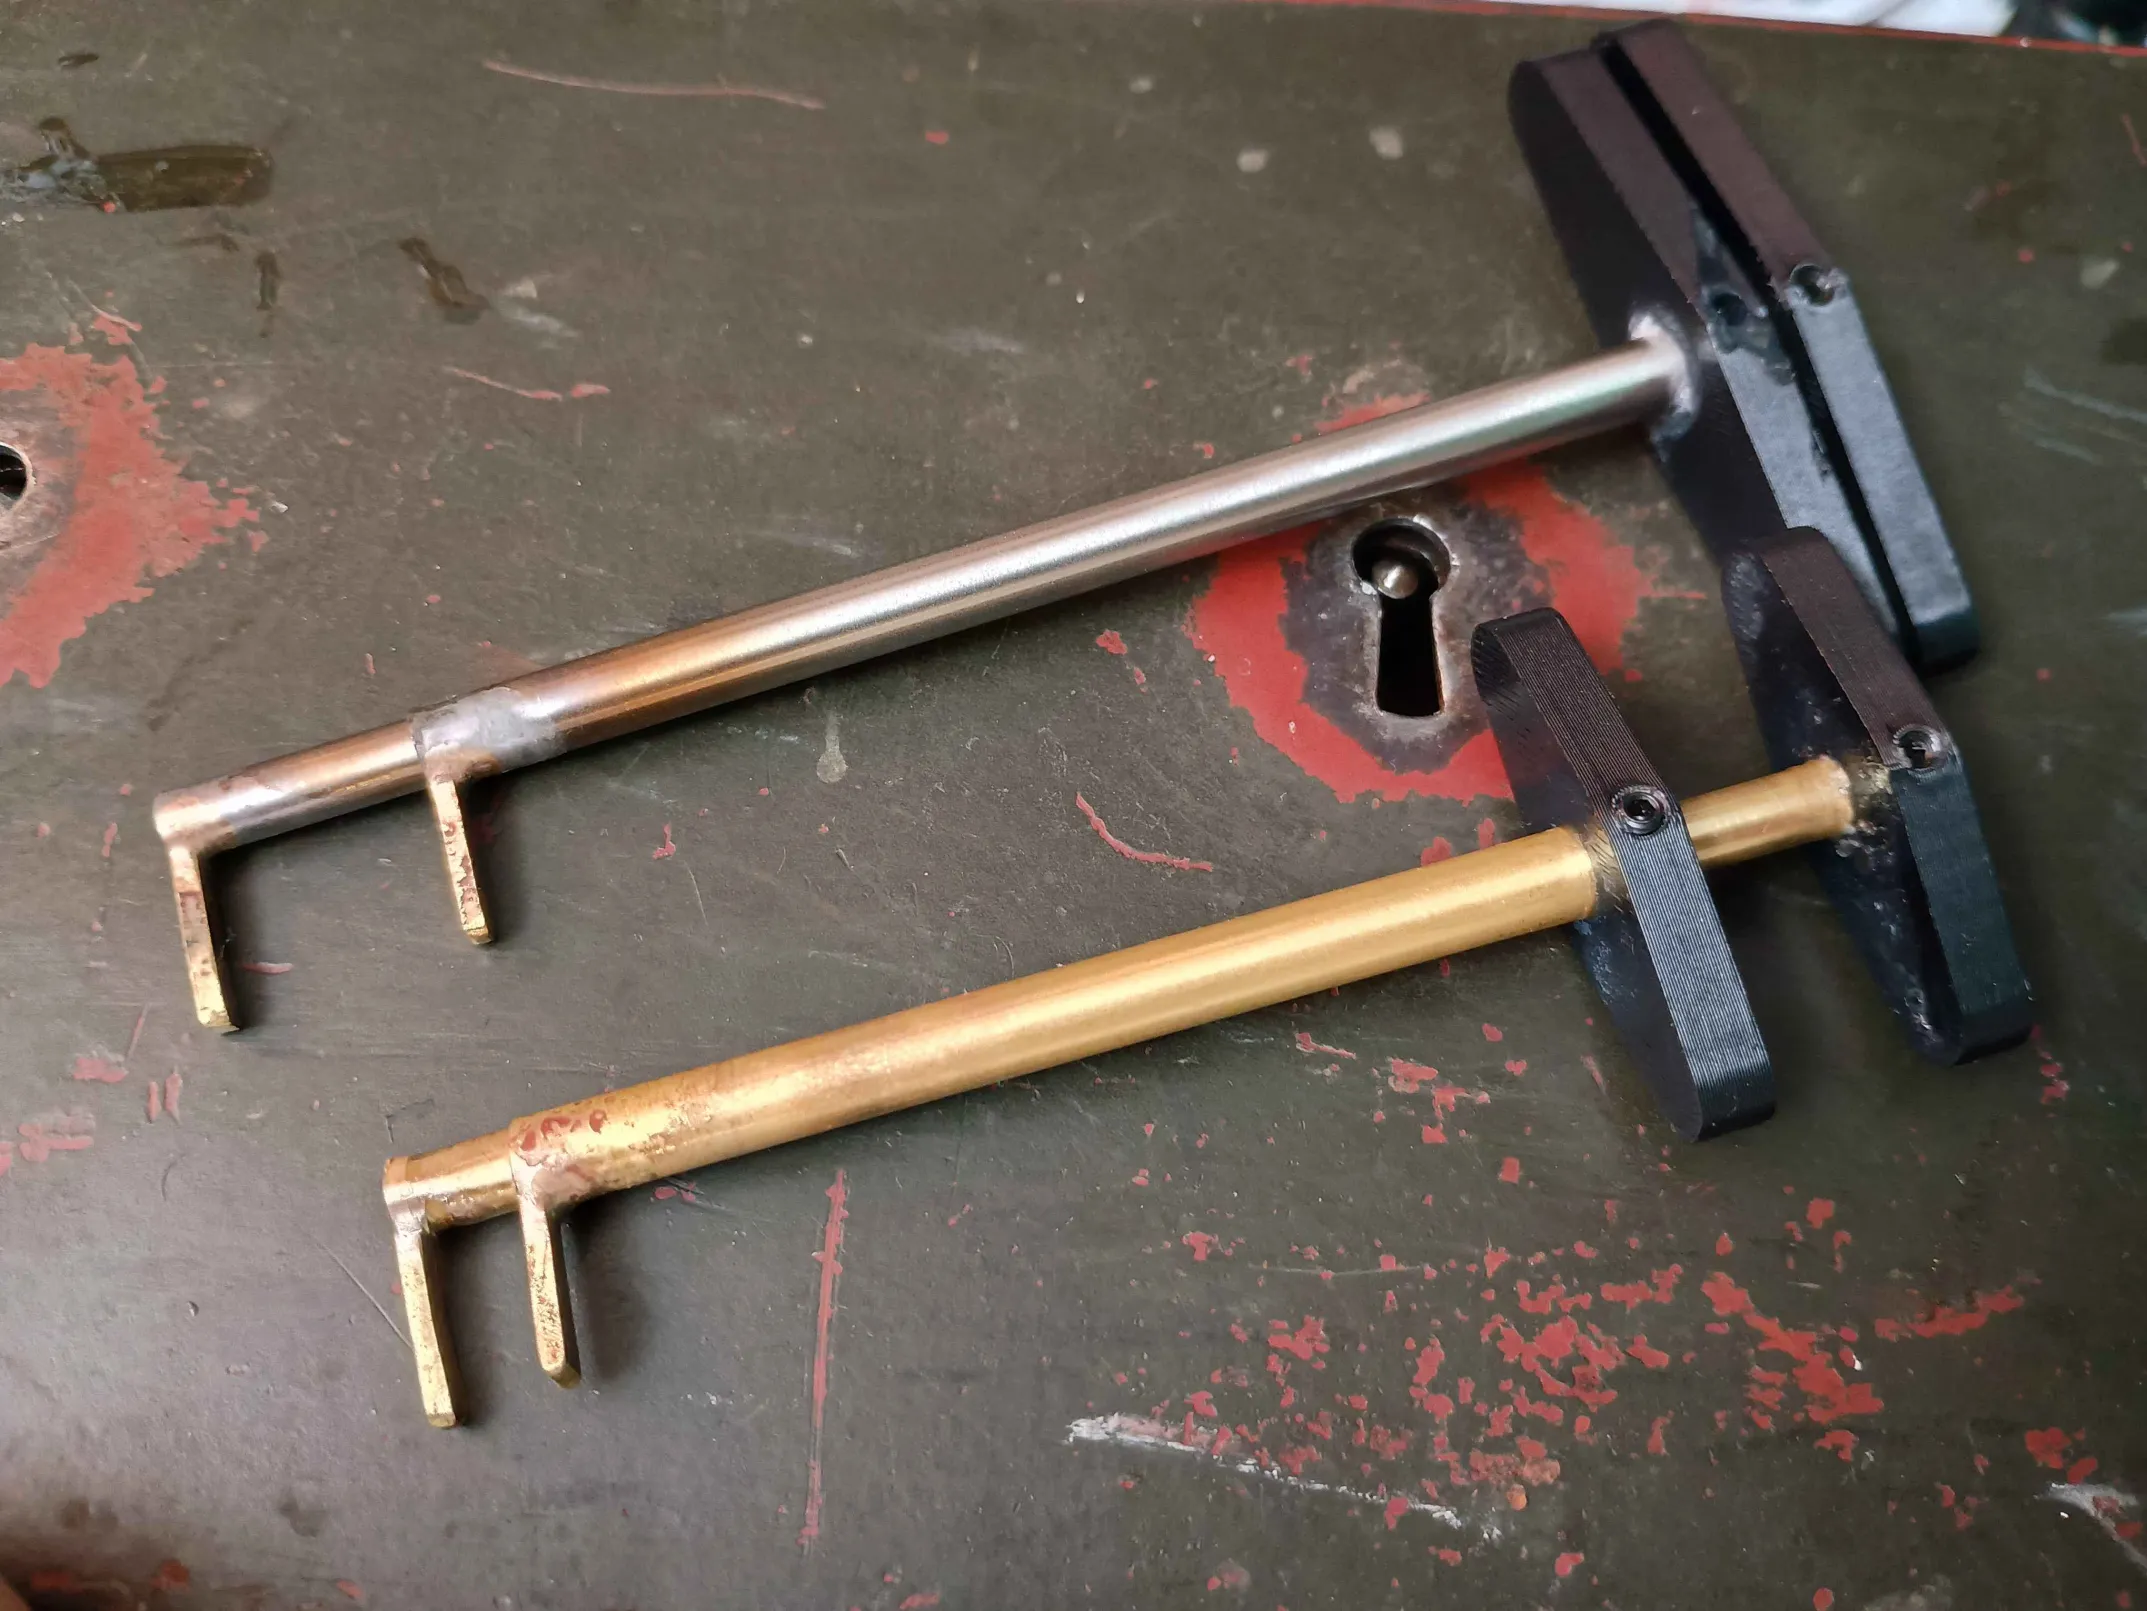
I’ve started my investigation by making a few simple lever wire picks, and quickly progressed to making custom 2-in-1 lever tools. The process is quite nice, even if it takes some trial and error to get right. I’ve ended up making two, one from brass and one from 304 stainless tubing. For the picking tips, 1.5 mm thick brass was cut into 4mm wide strips. One side gets a concave cutout to match the shape of the tube, to which it is silver soldered with high heat. The tips are then cut to the correct length, and rounded over with a file. While these tips can be shaped with needle files, it’s a tradeoff as they can’t stand much abuse.
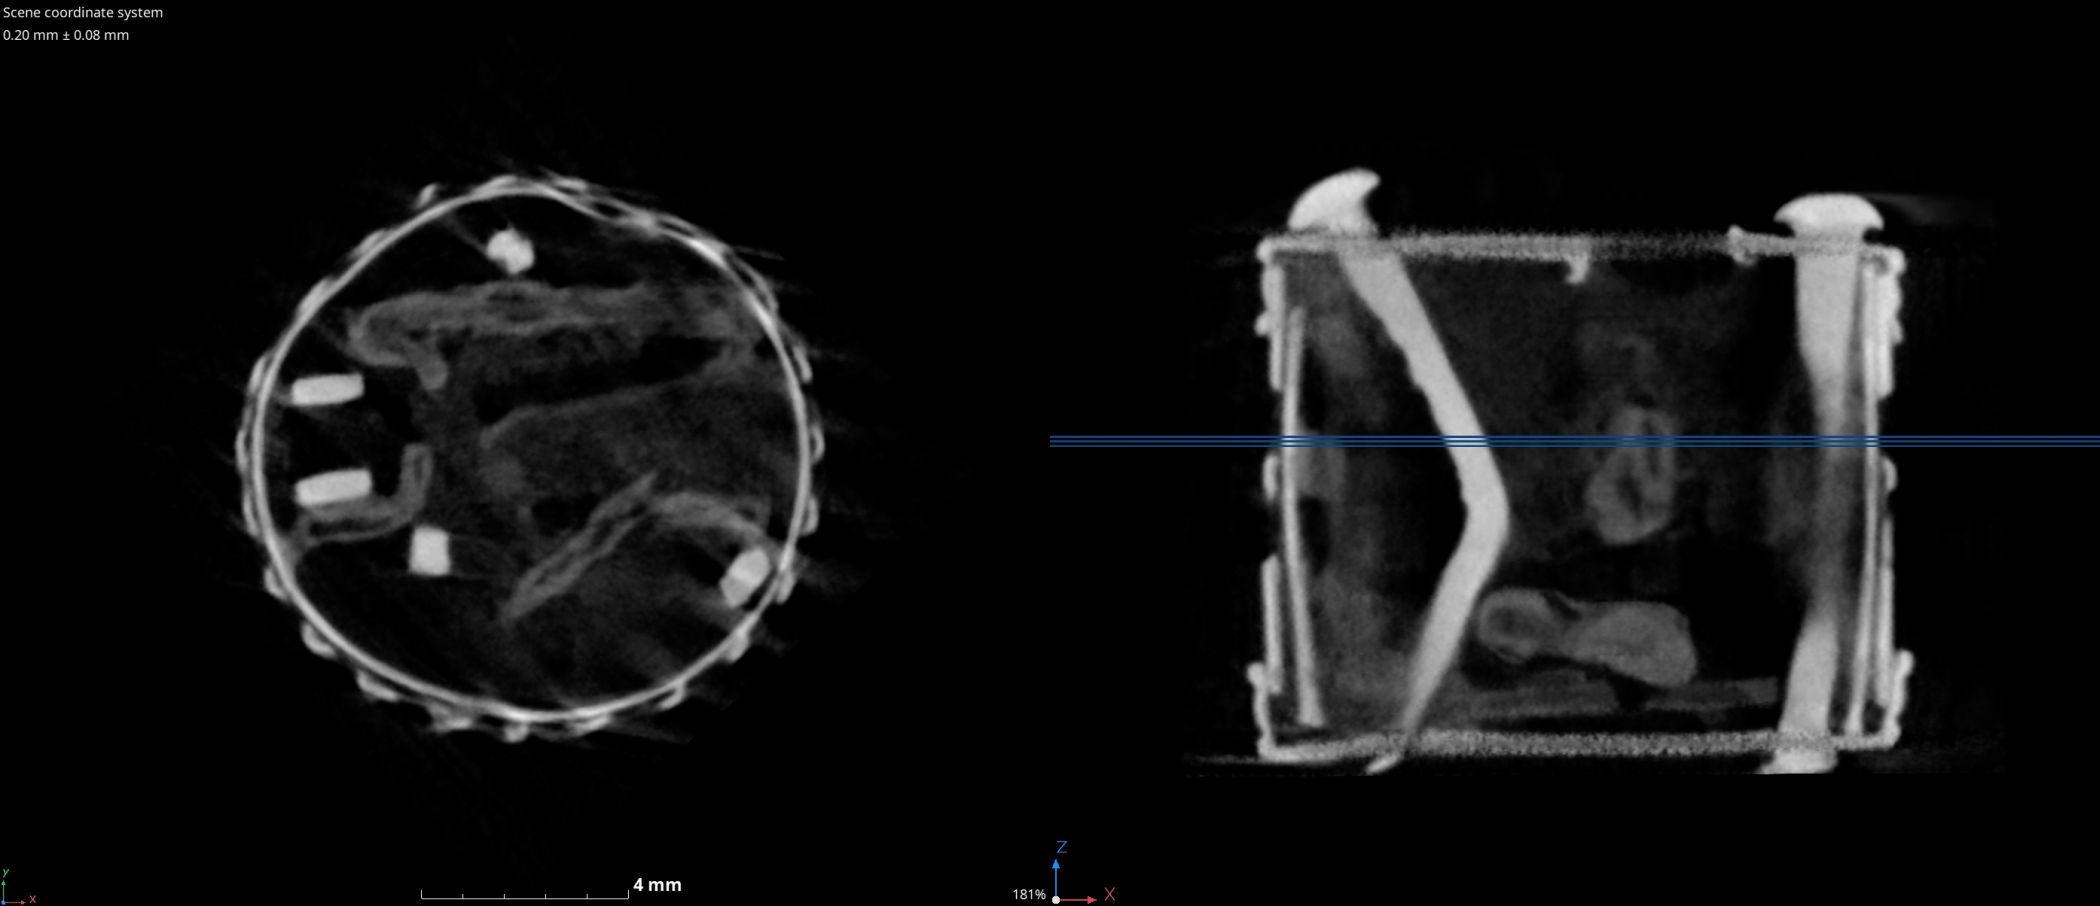
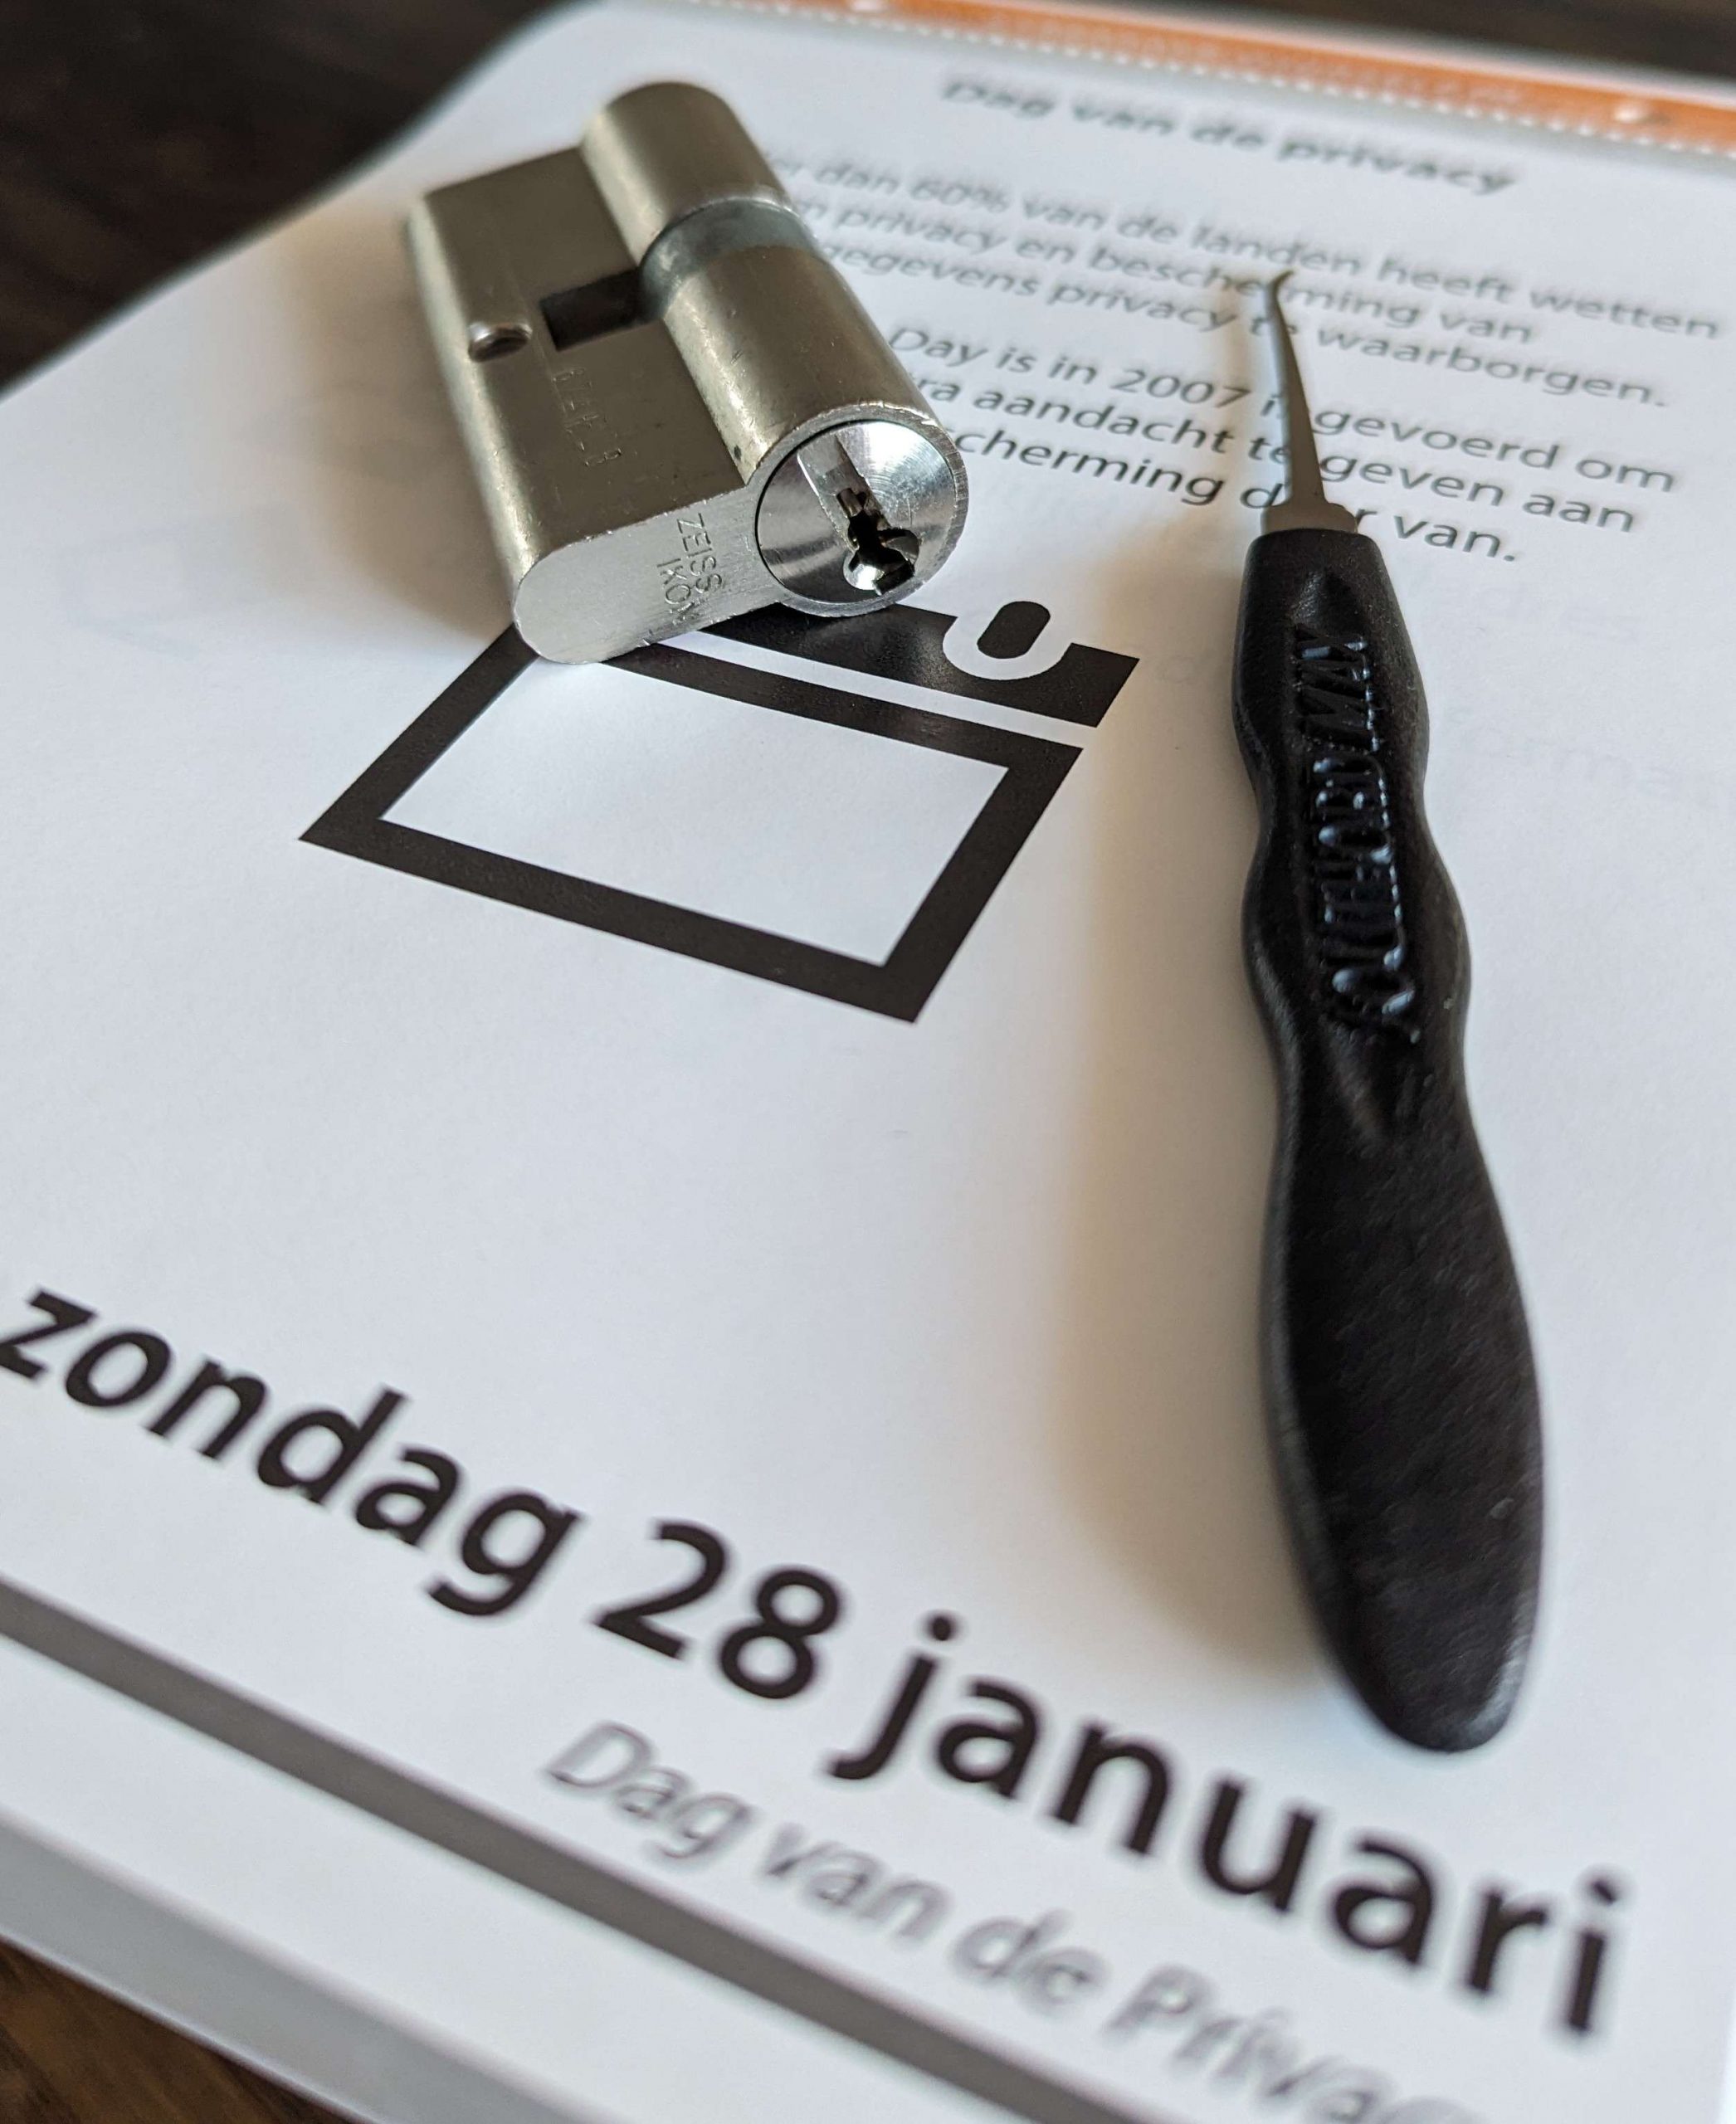
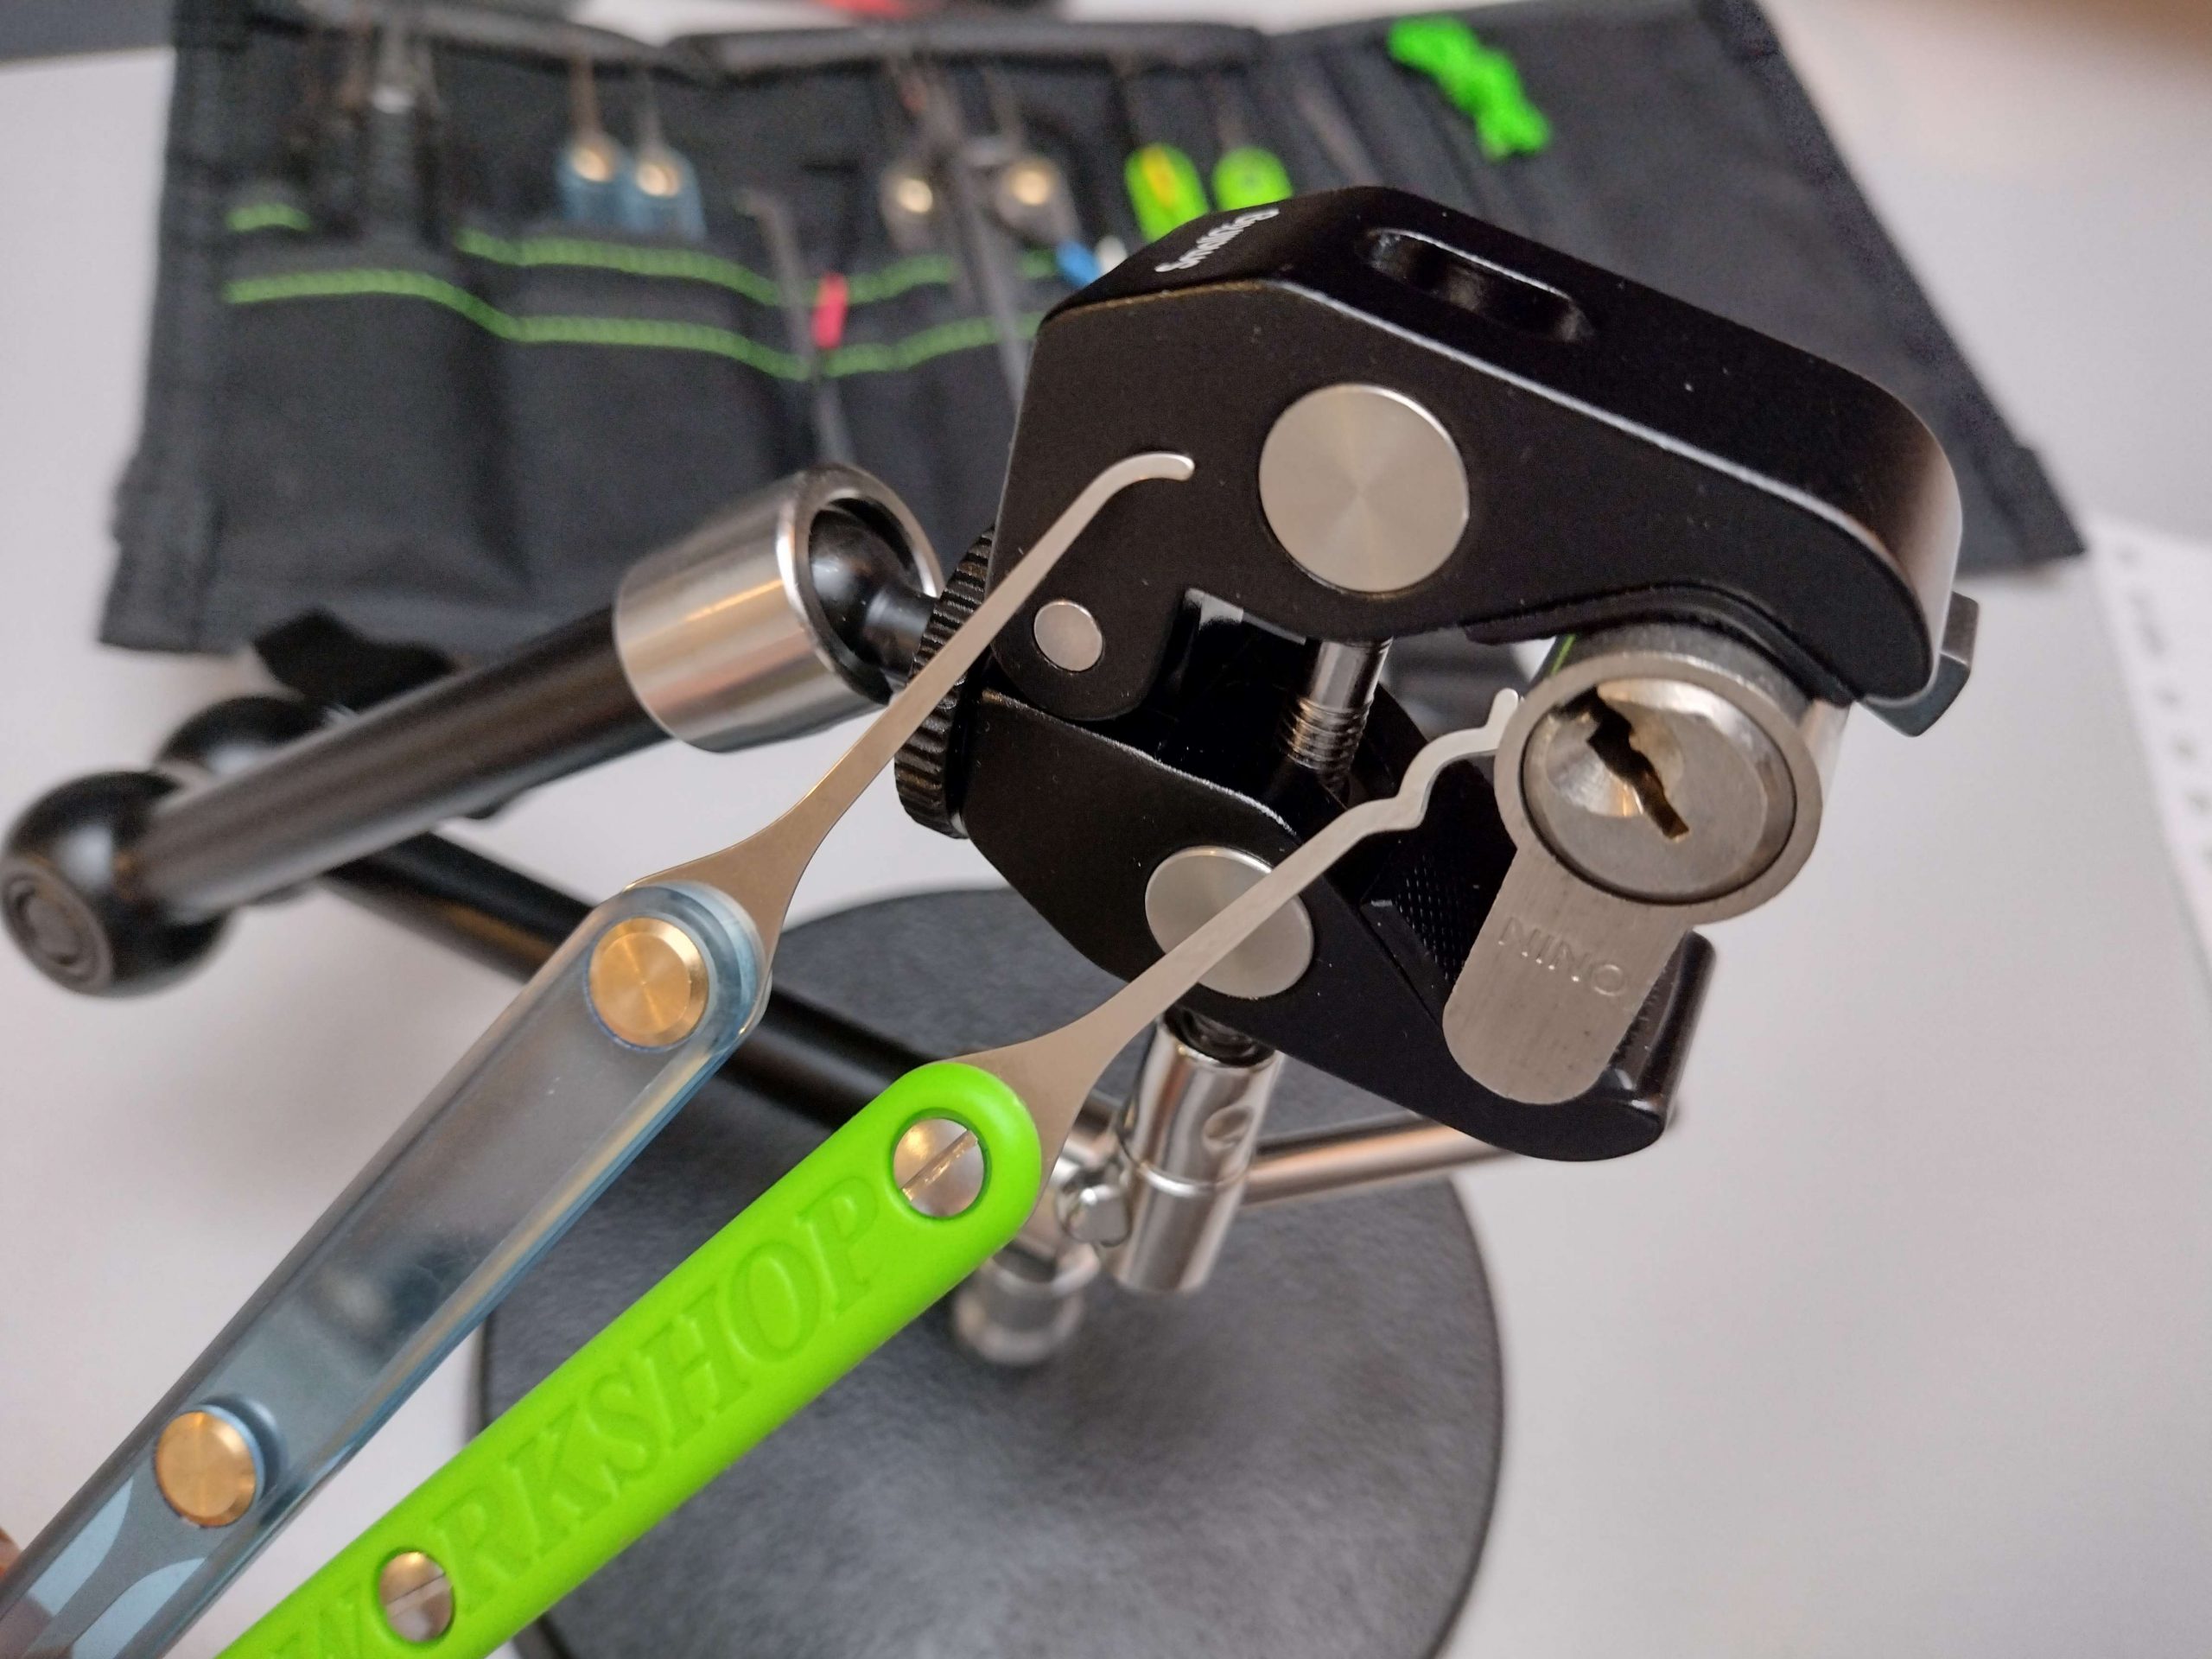
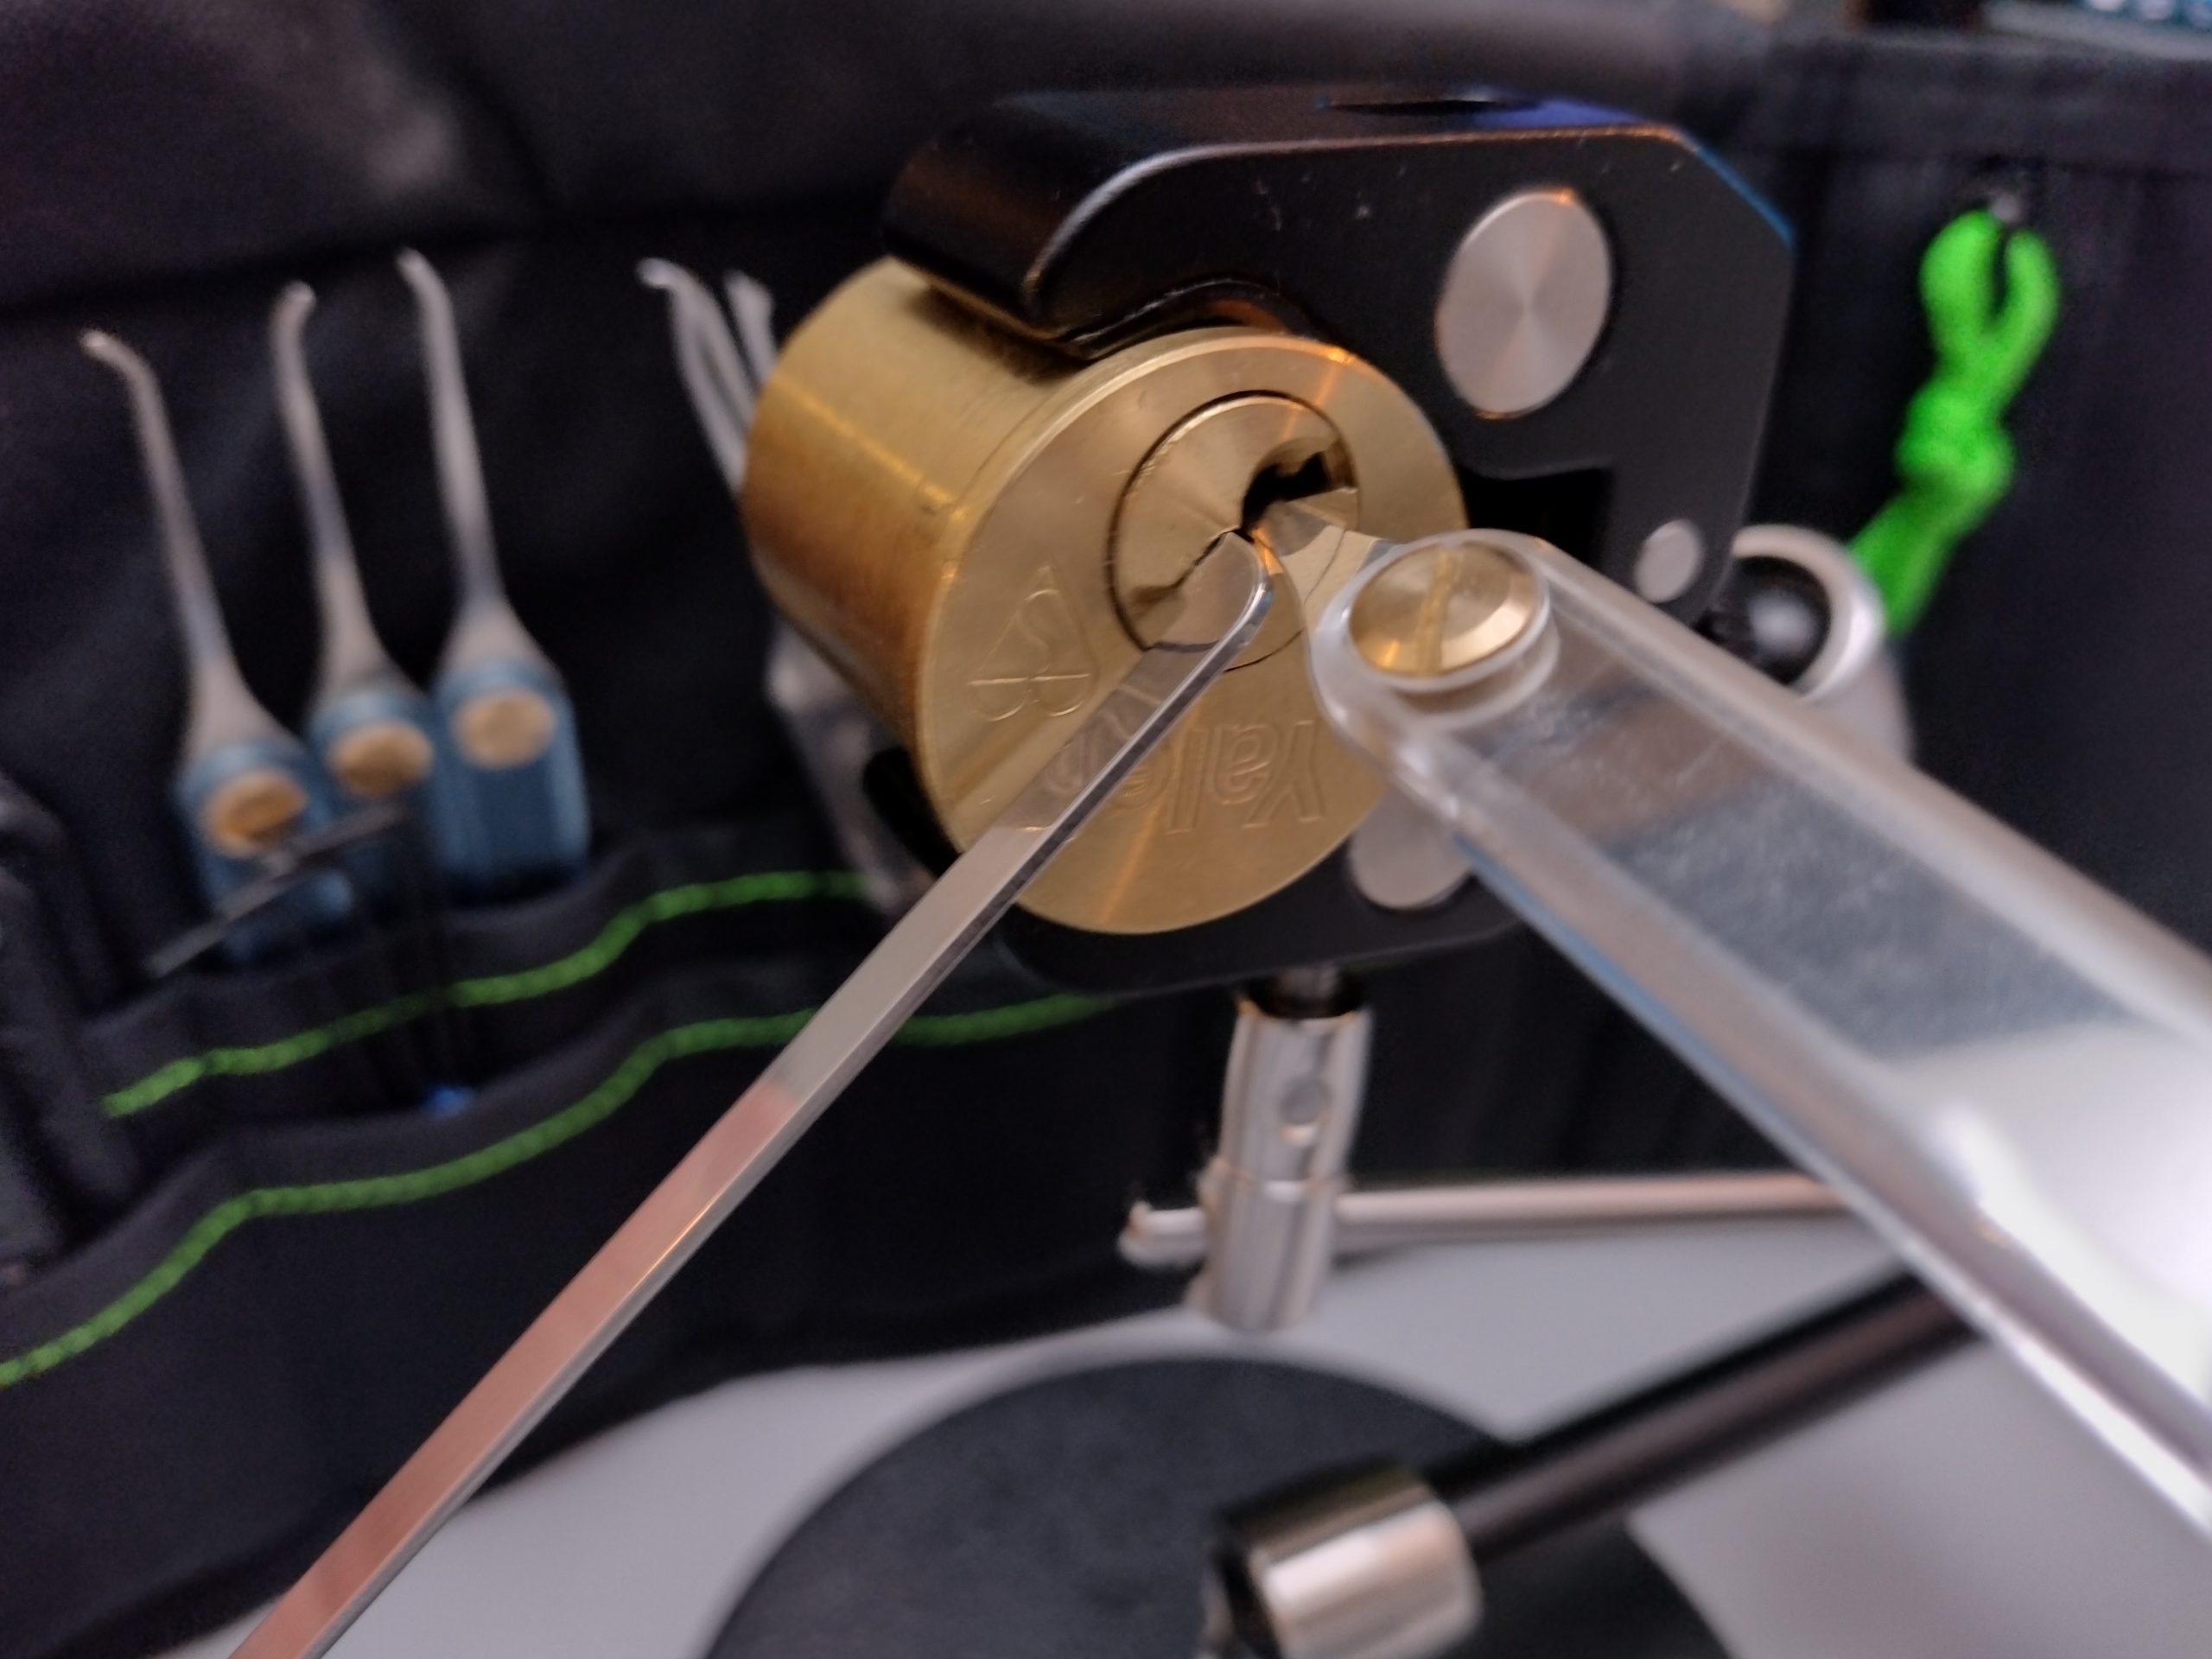
After attempting for an evening without luck, picking, I chose to use a fiber scope to look inside the lock. It was slightly tricky to position the fiber and interpret what I was looking at, but I eventually determined there was just one bolt and both locks should rotate clockwise. I was slightly confused by the left-hand side (LHS), which appeared to have a form of warding in the keyway. This turned out to be a stop for the LHS key.
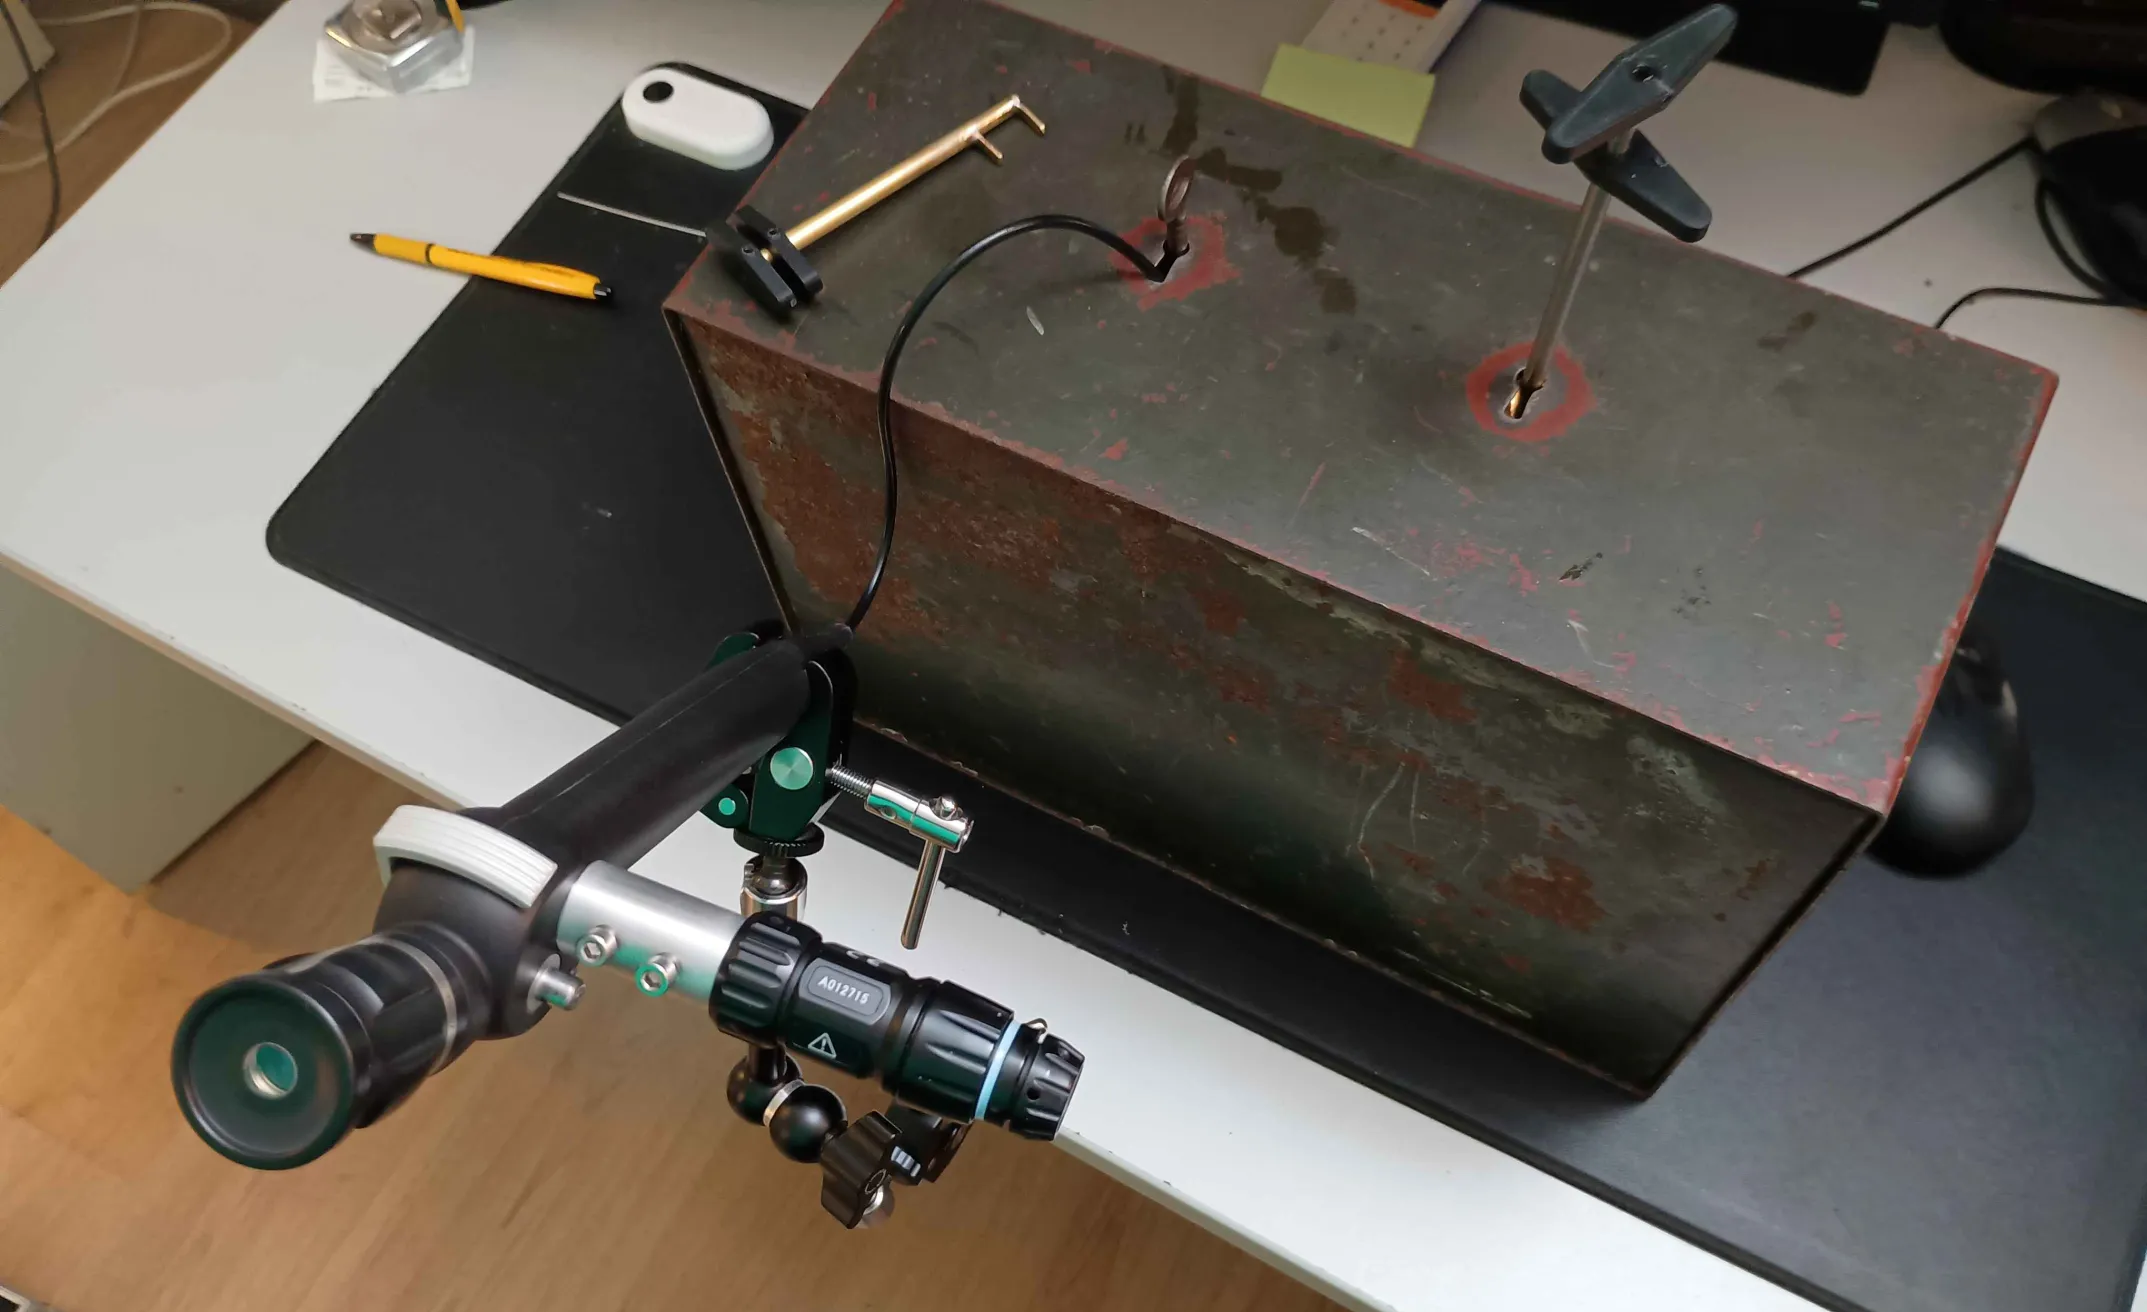

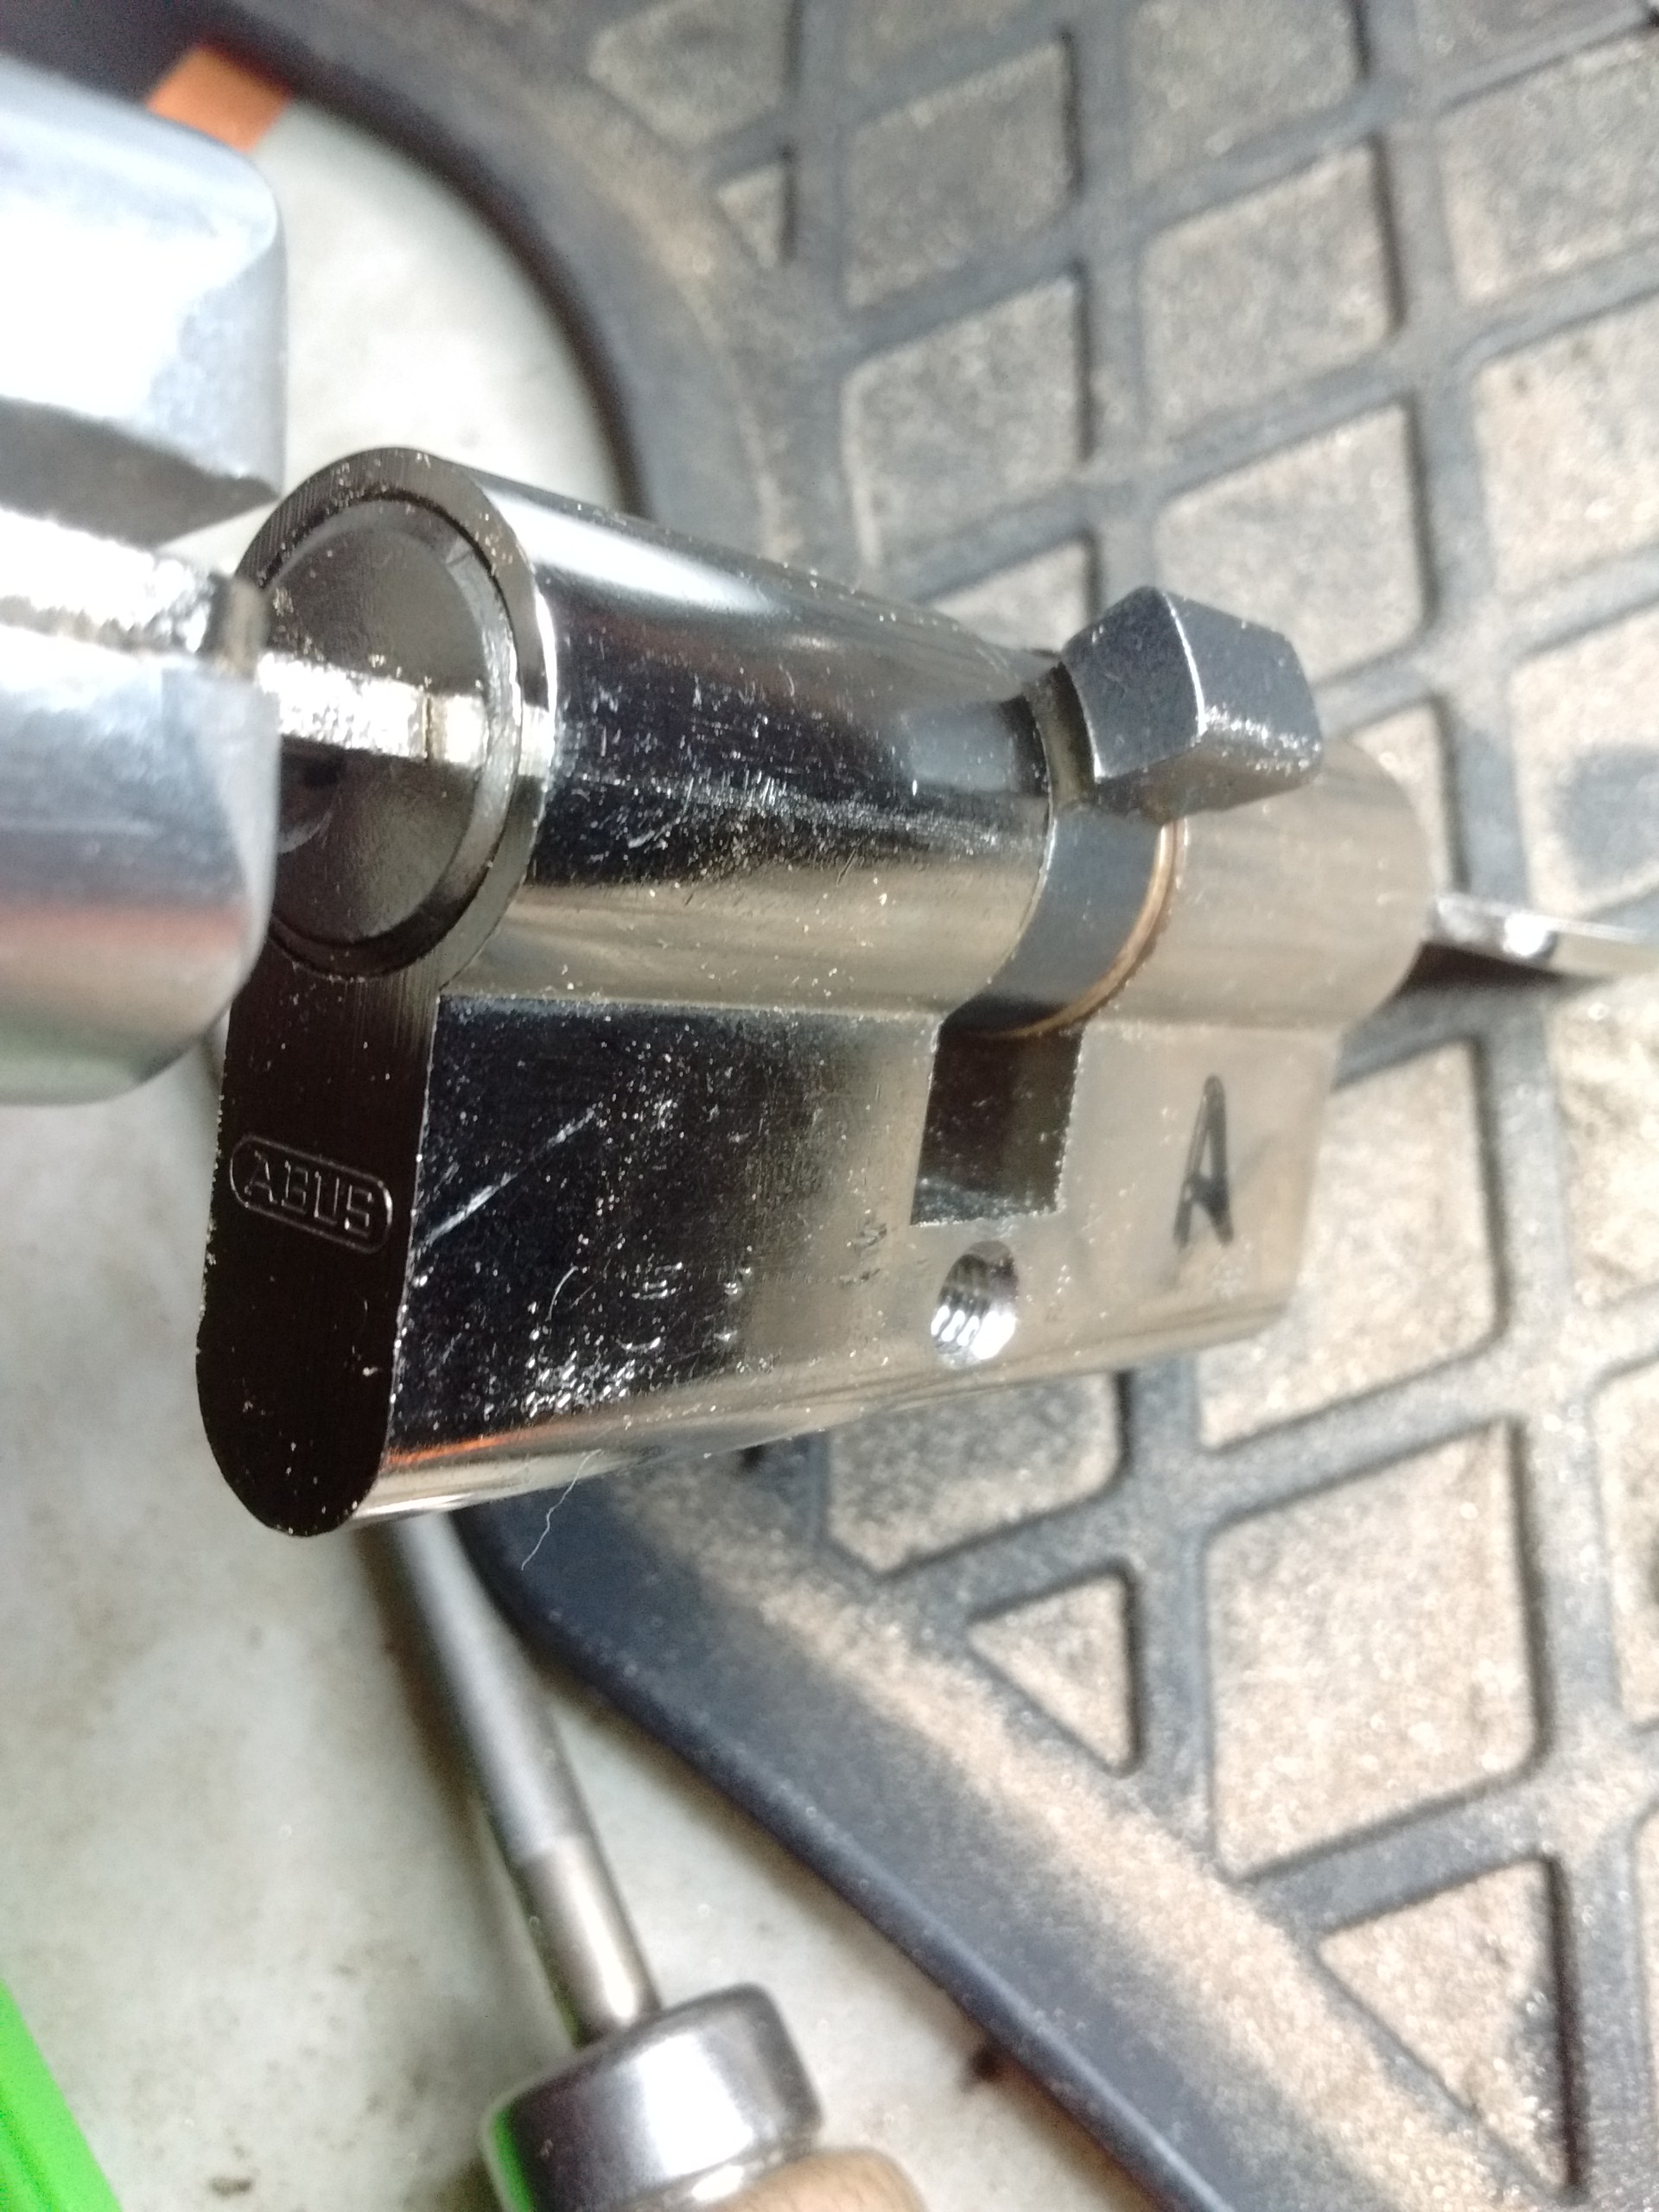
I’ve managed to pick the lock by inserting and rotating the key in the LHS clockwise, and inserting the fiber through the same keyhole to observe the lever at the RHS. With this, I’ve managed to pick the RHS of the lock. Even with all of this, it still is not an easy lock to pick.
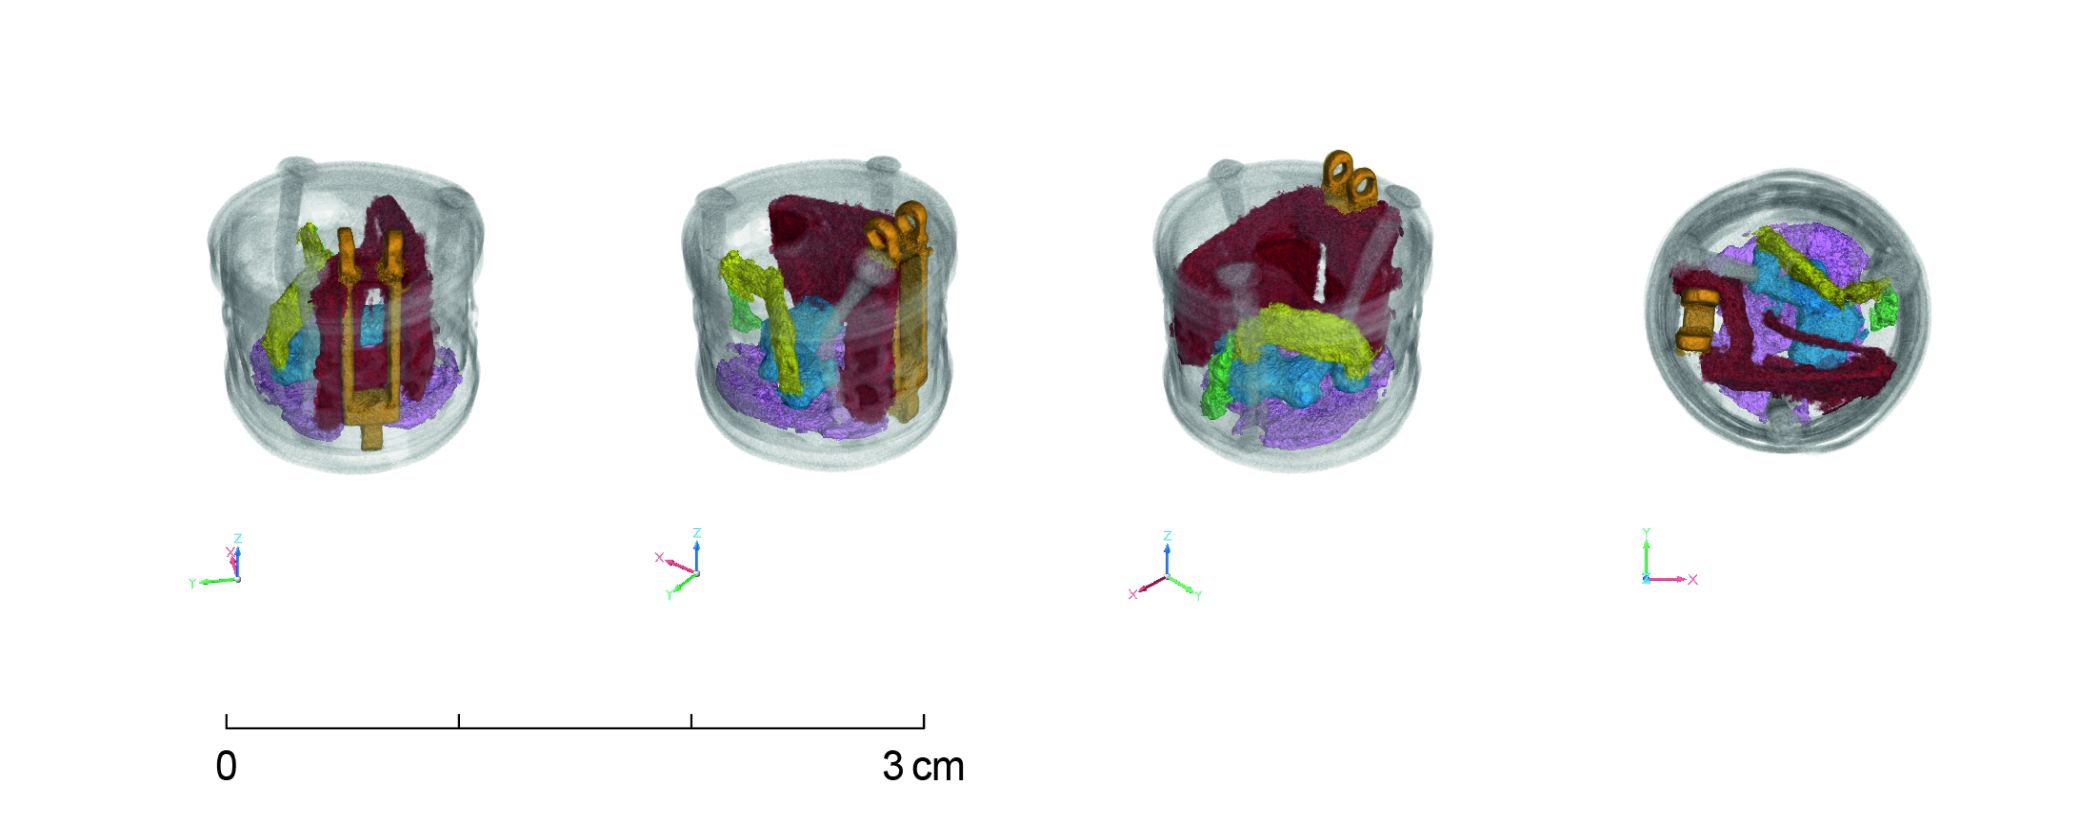
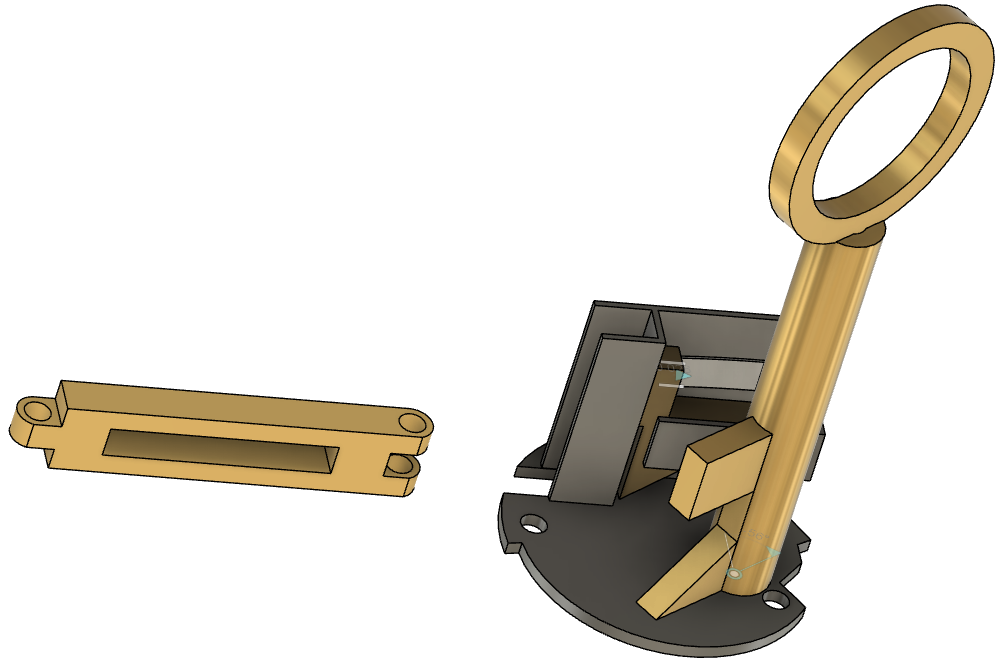
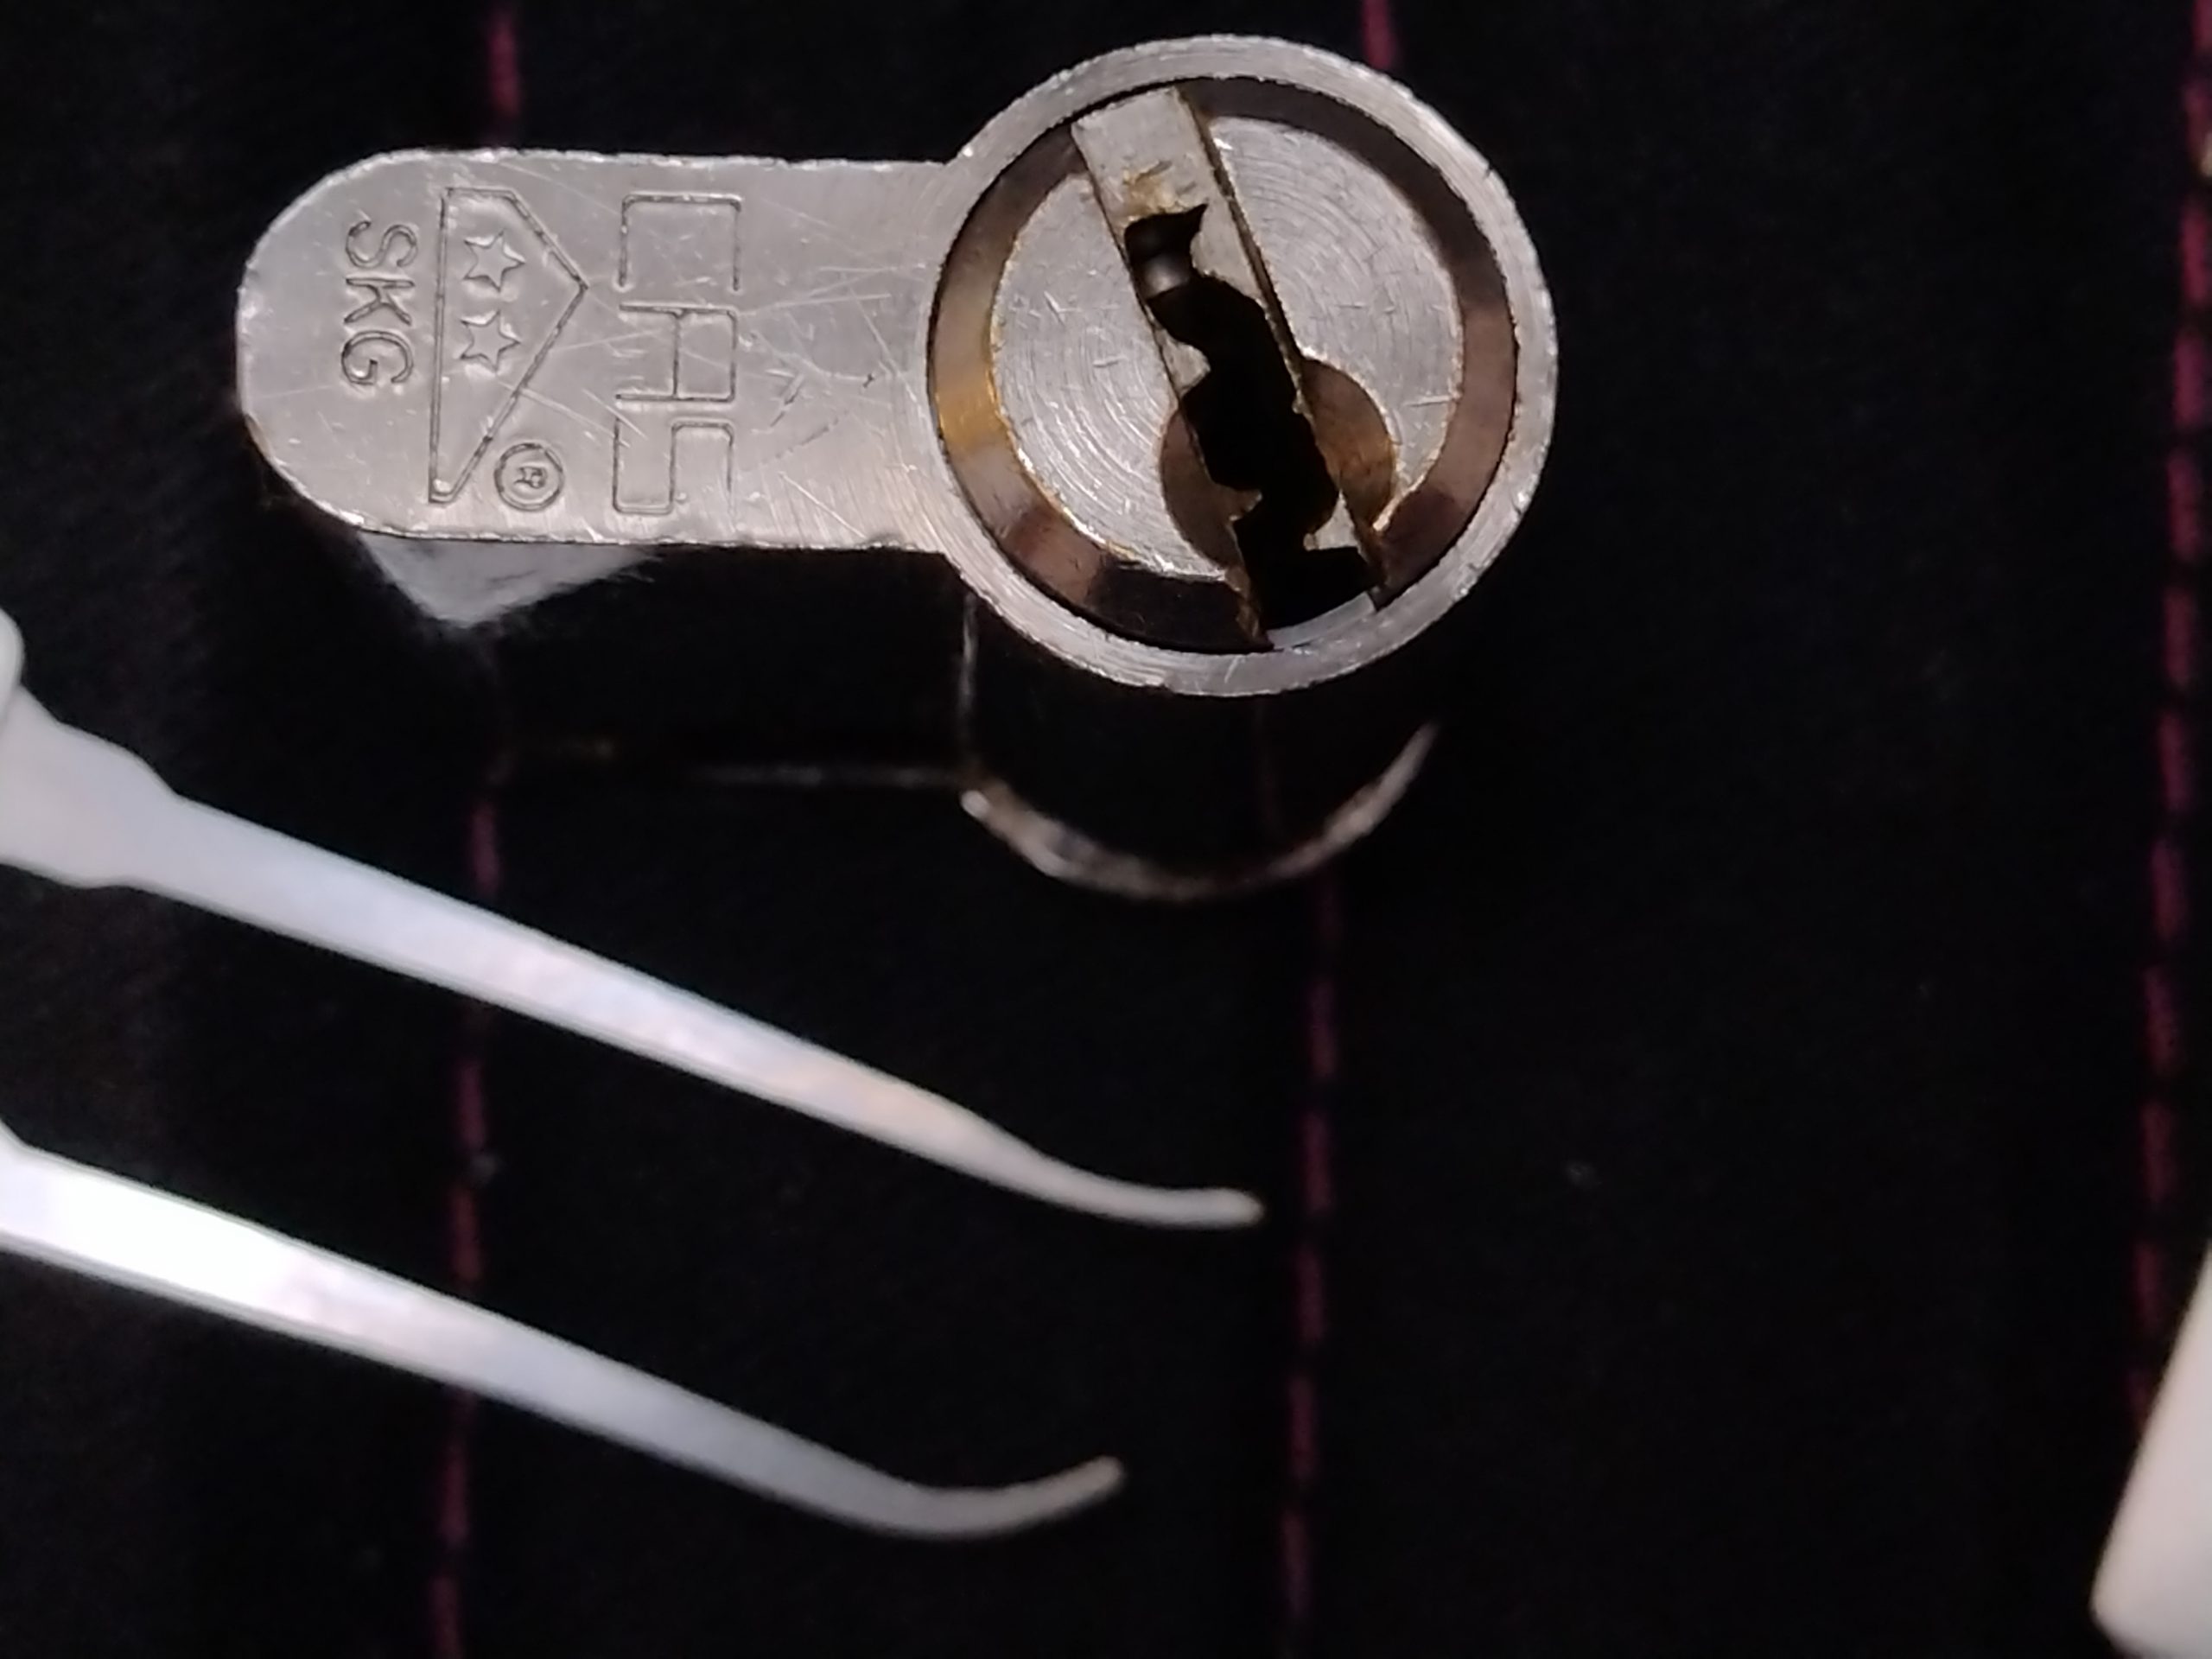
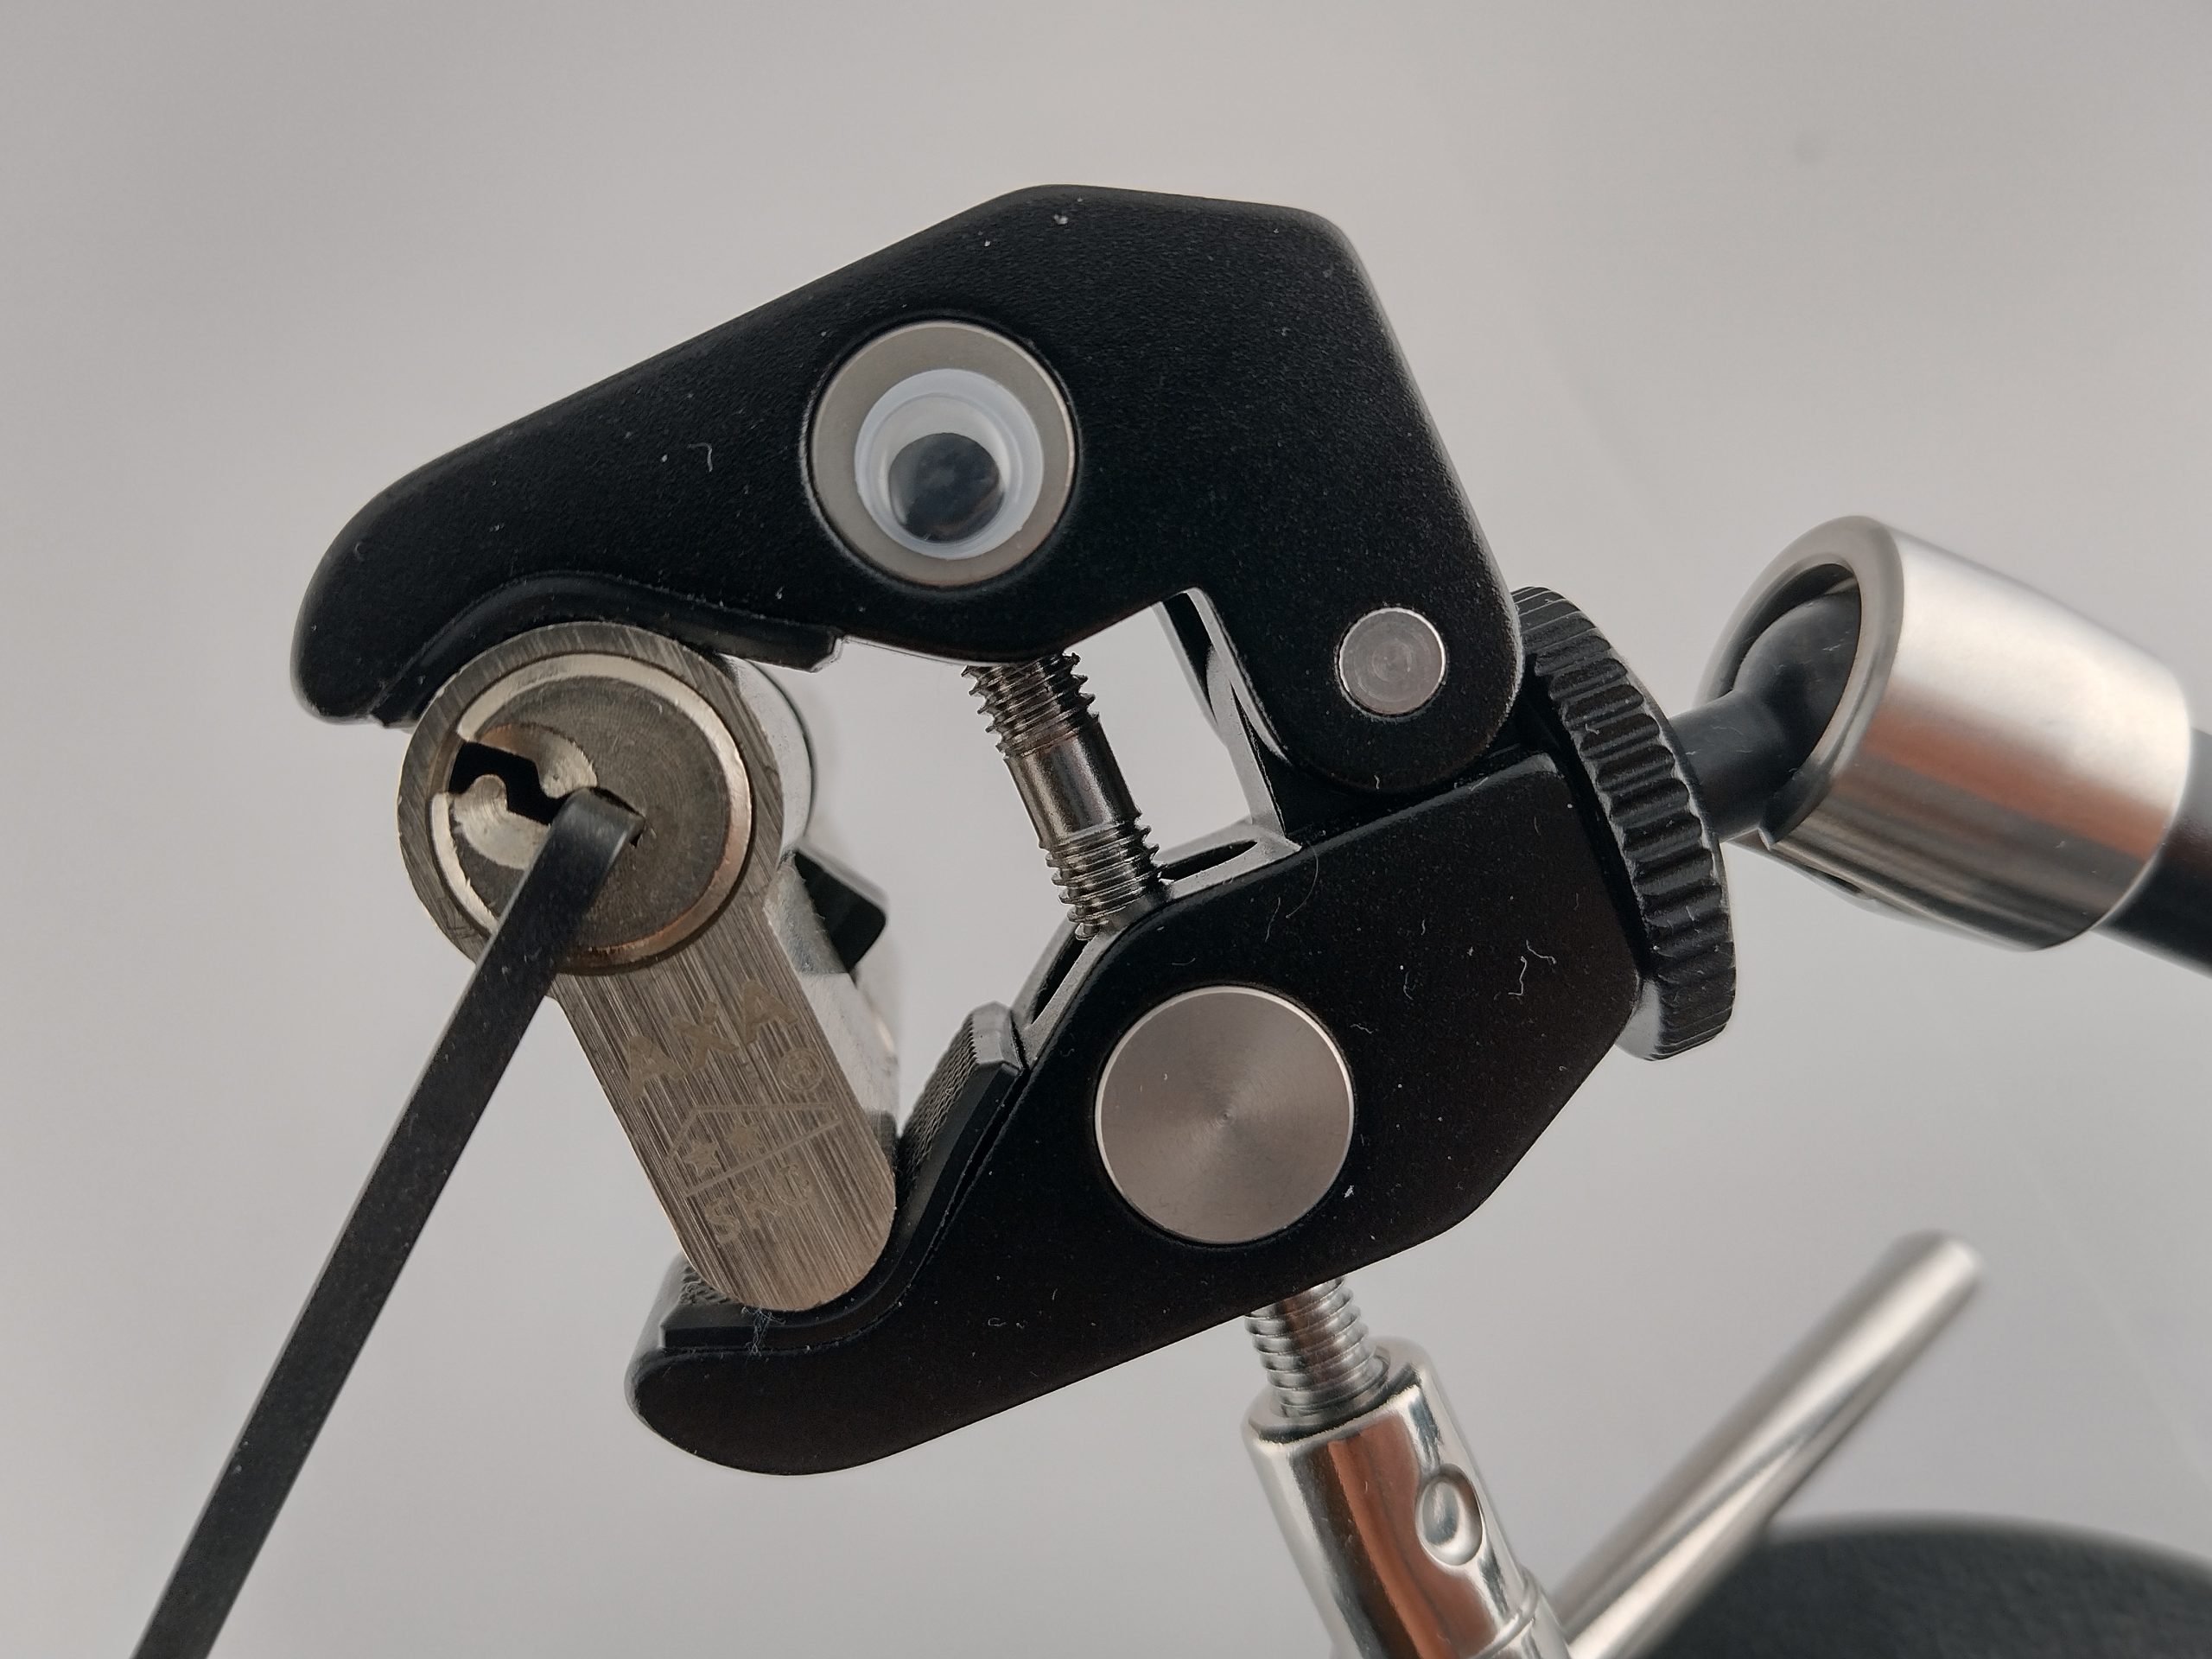
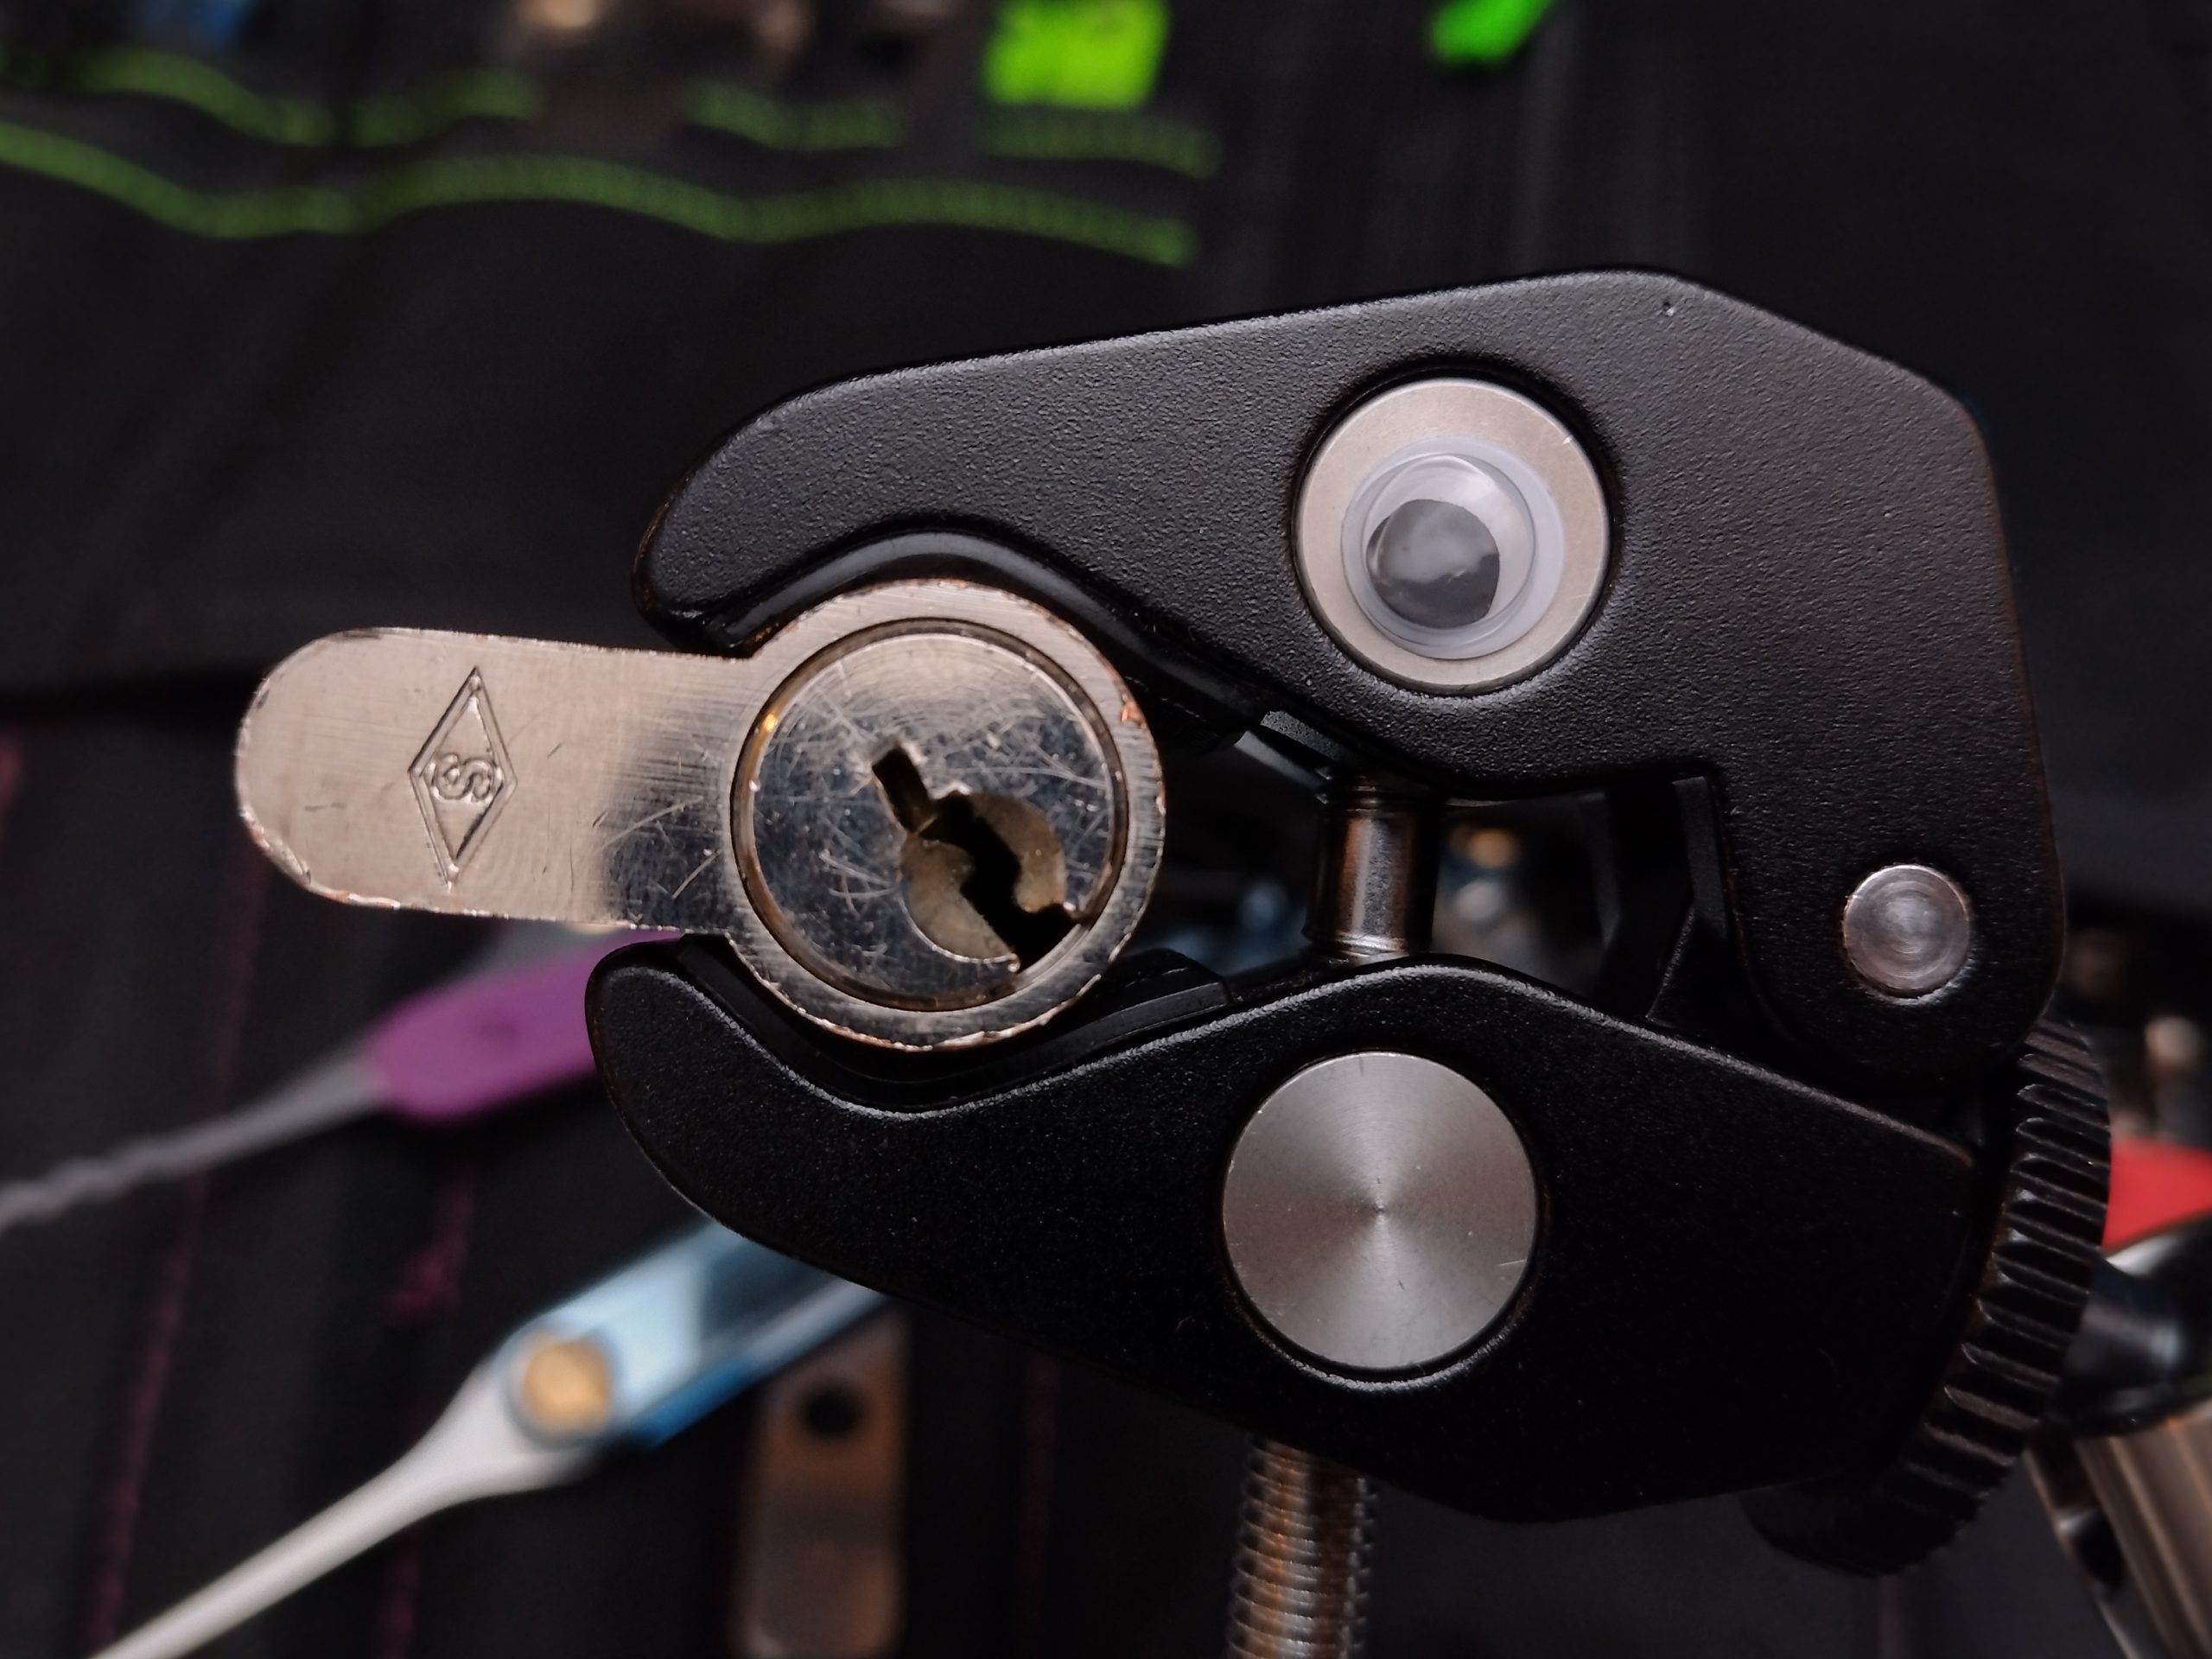
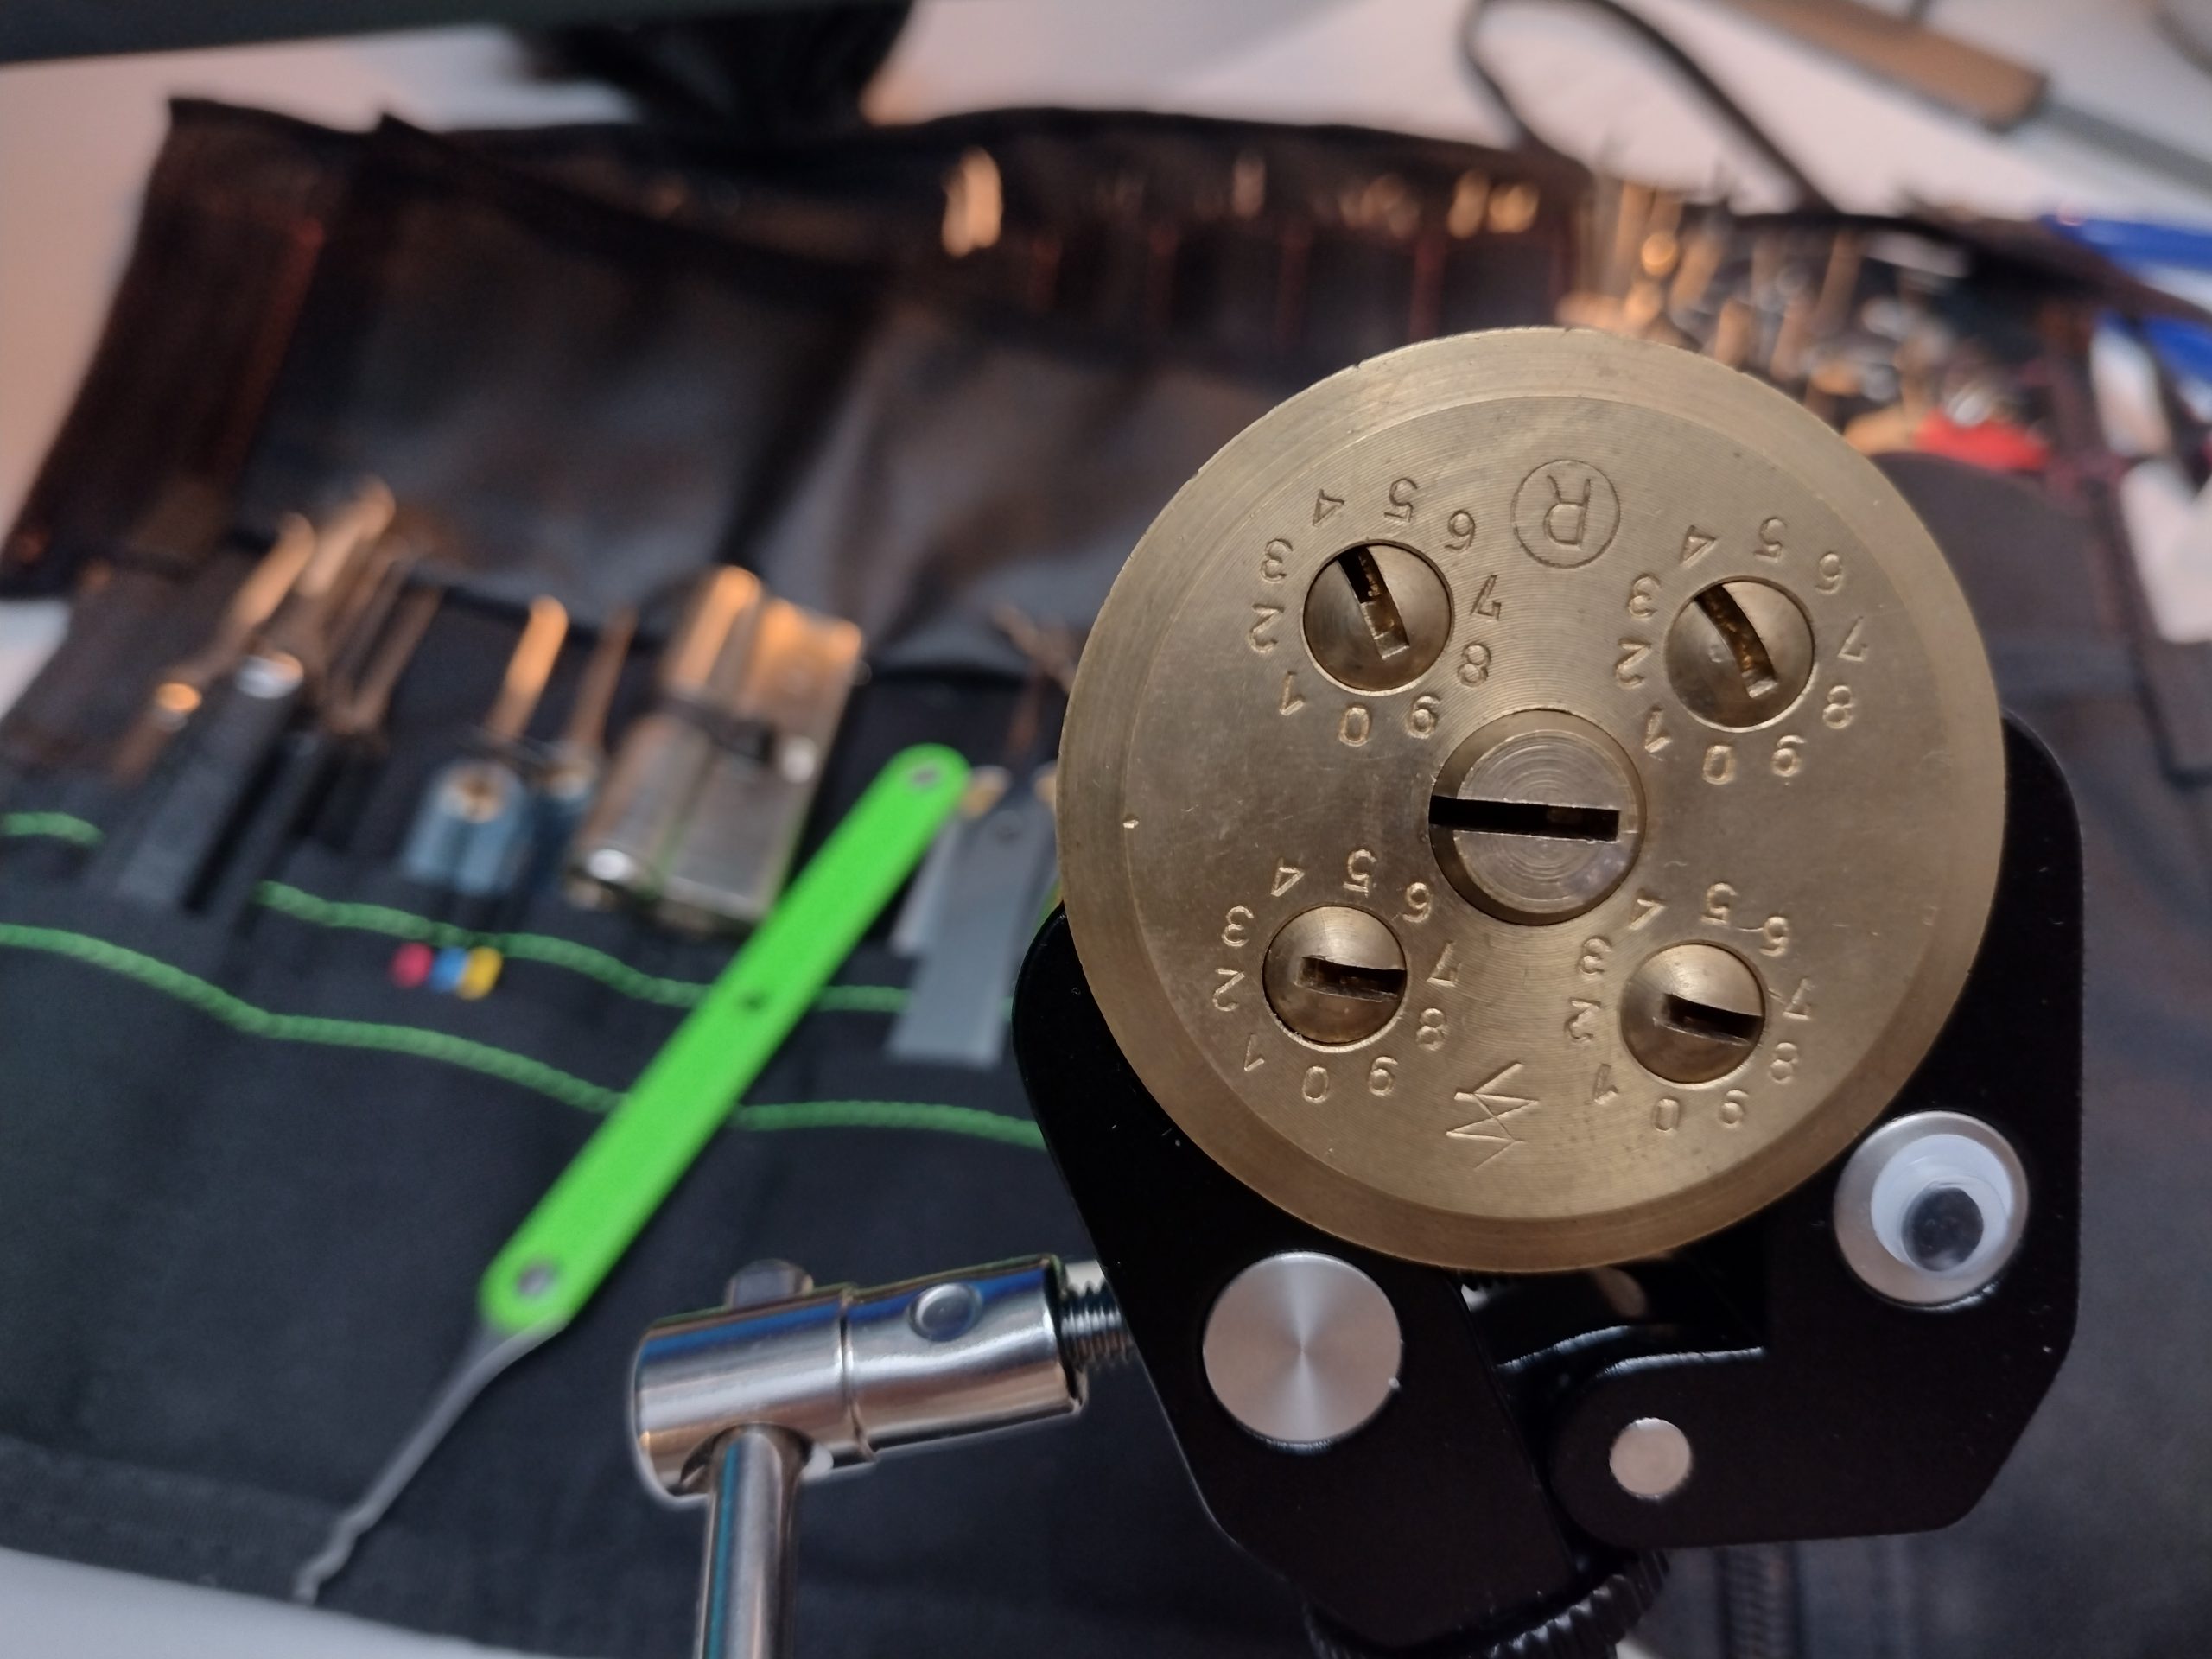
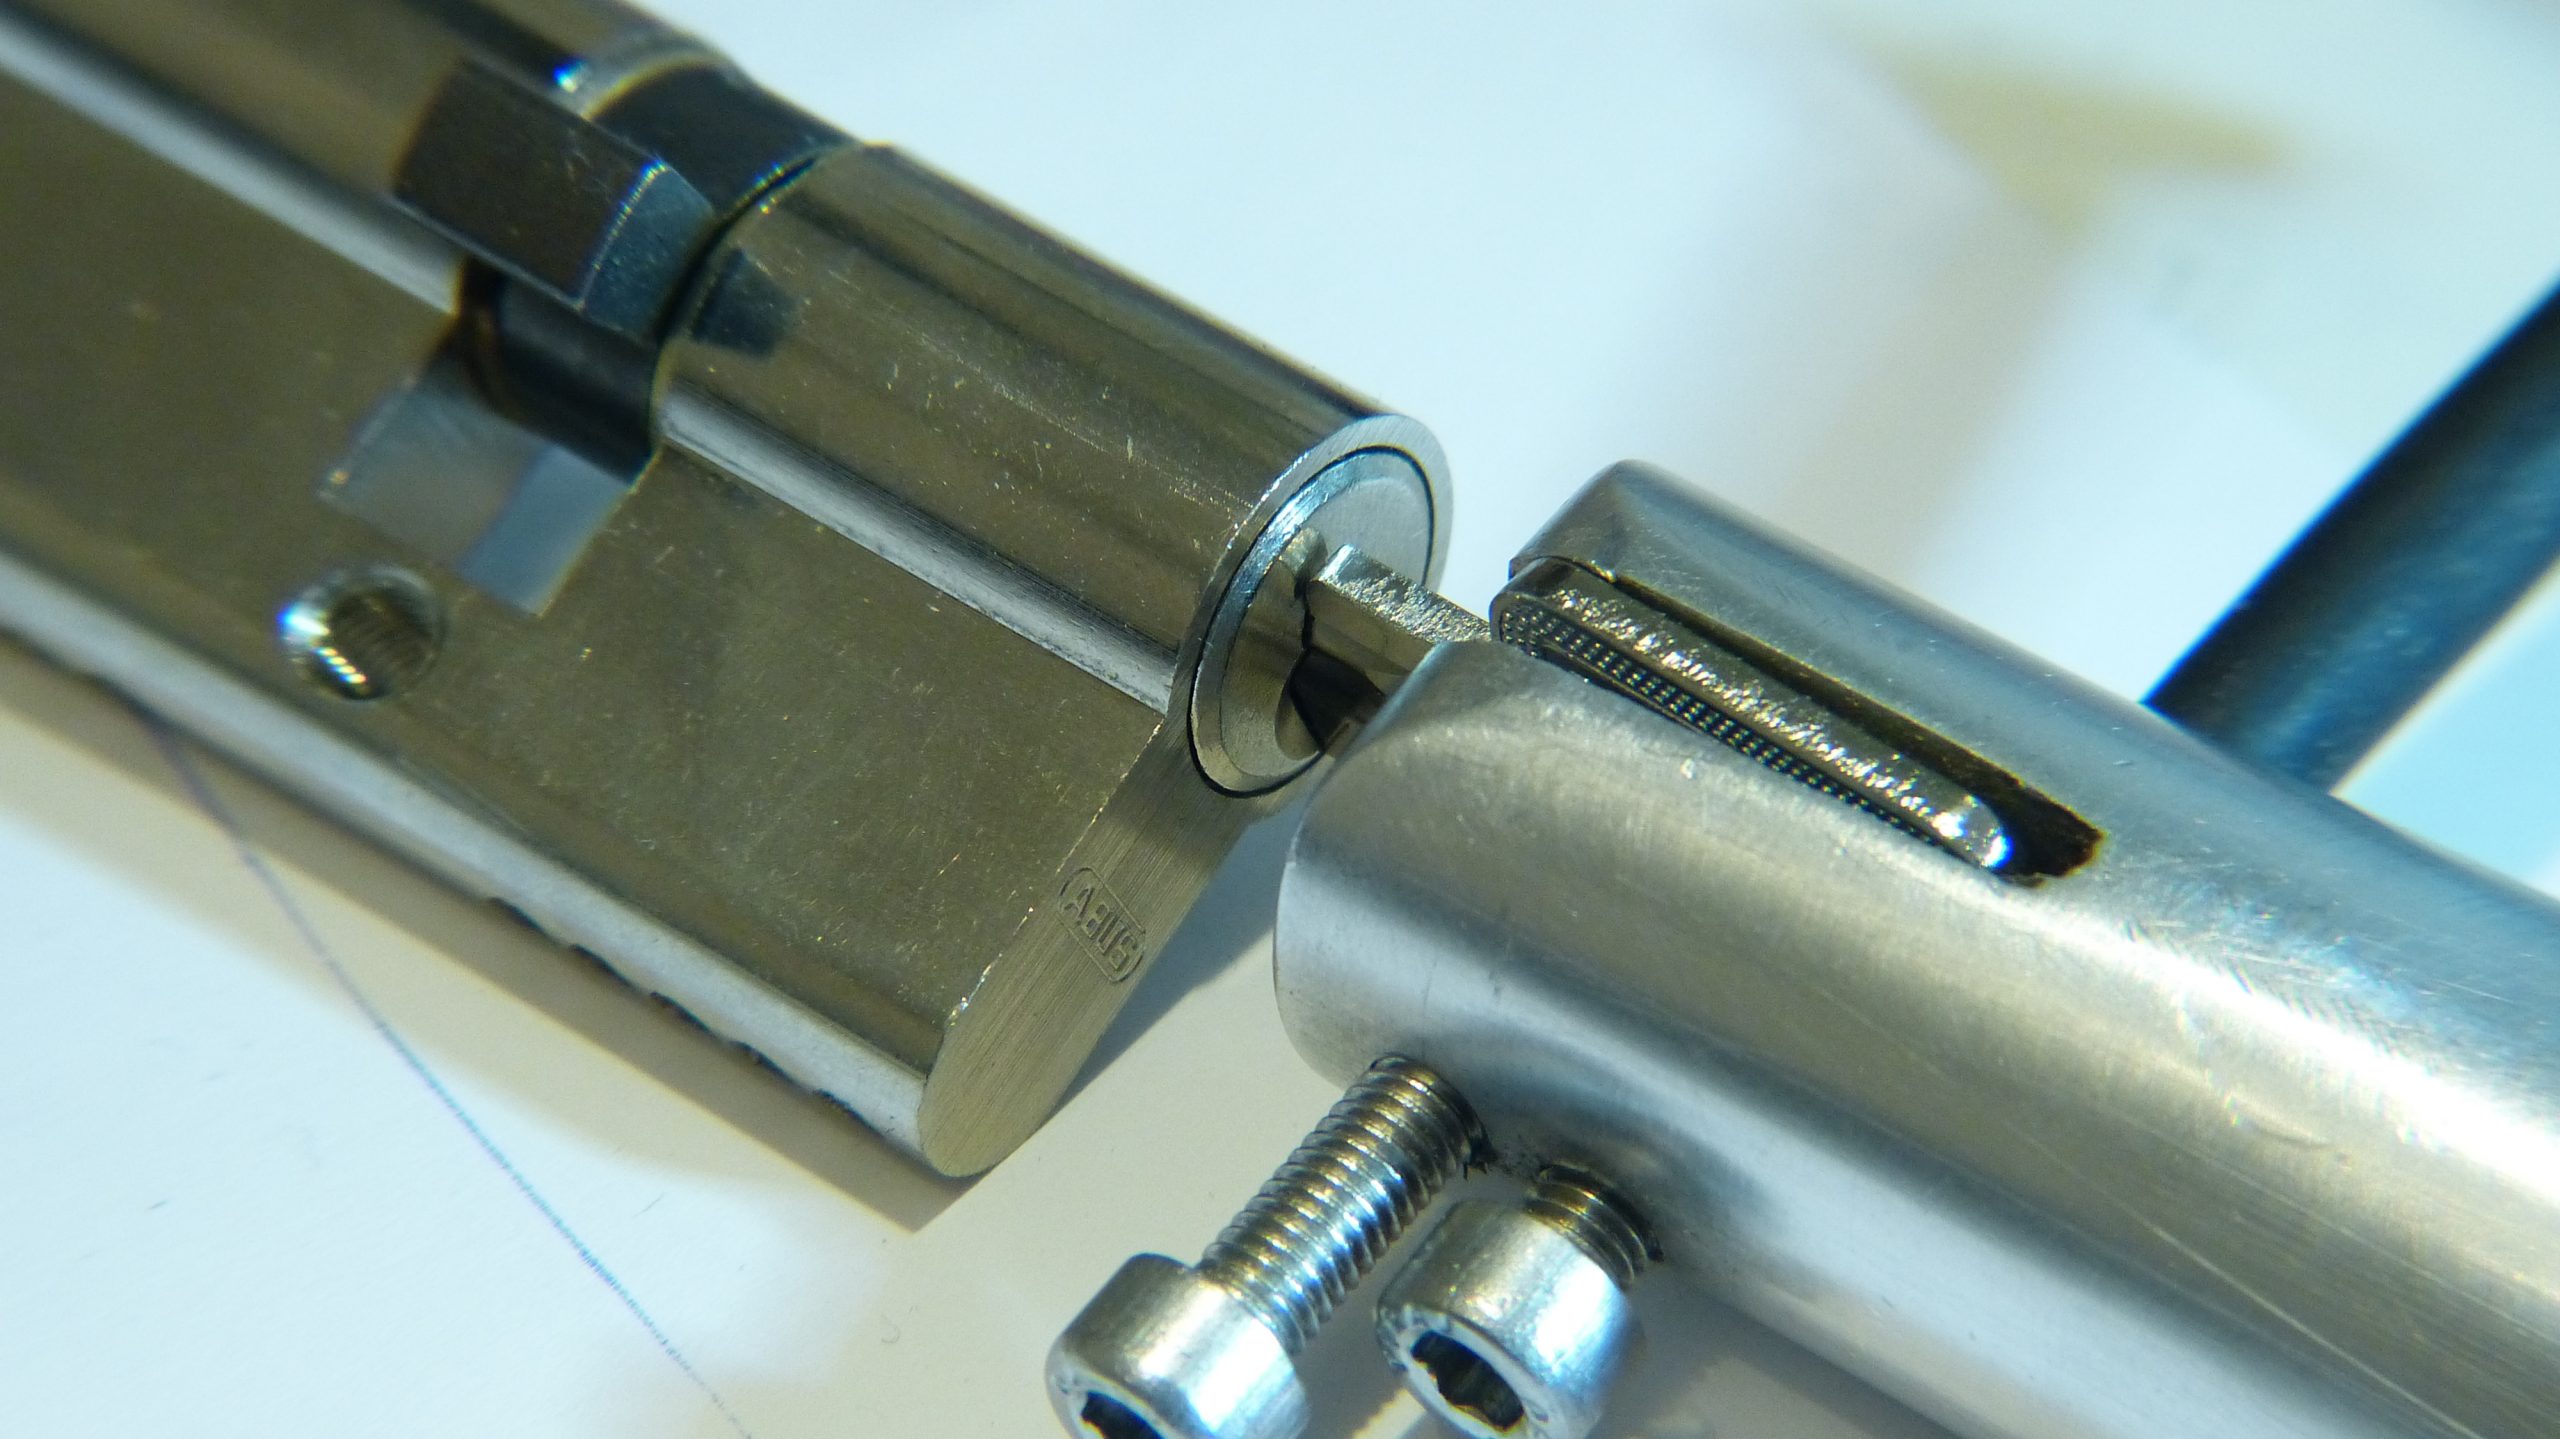
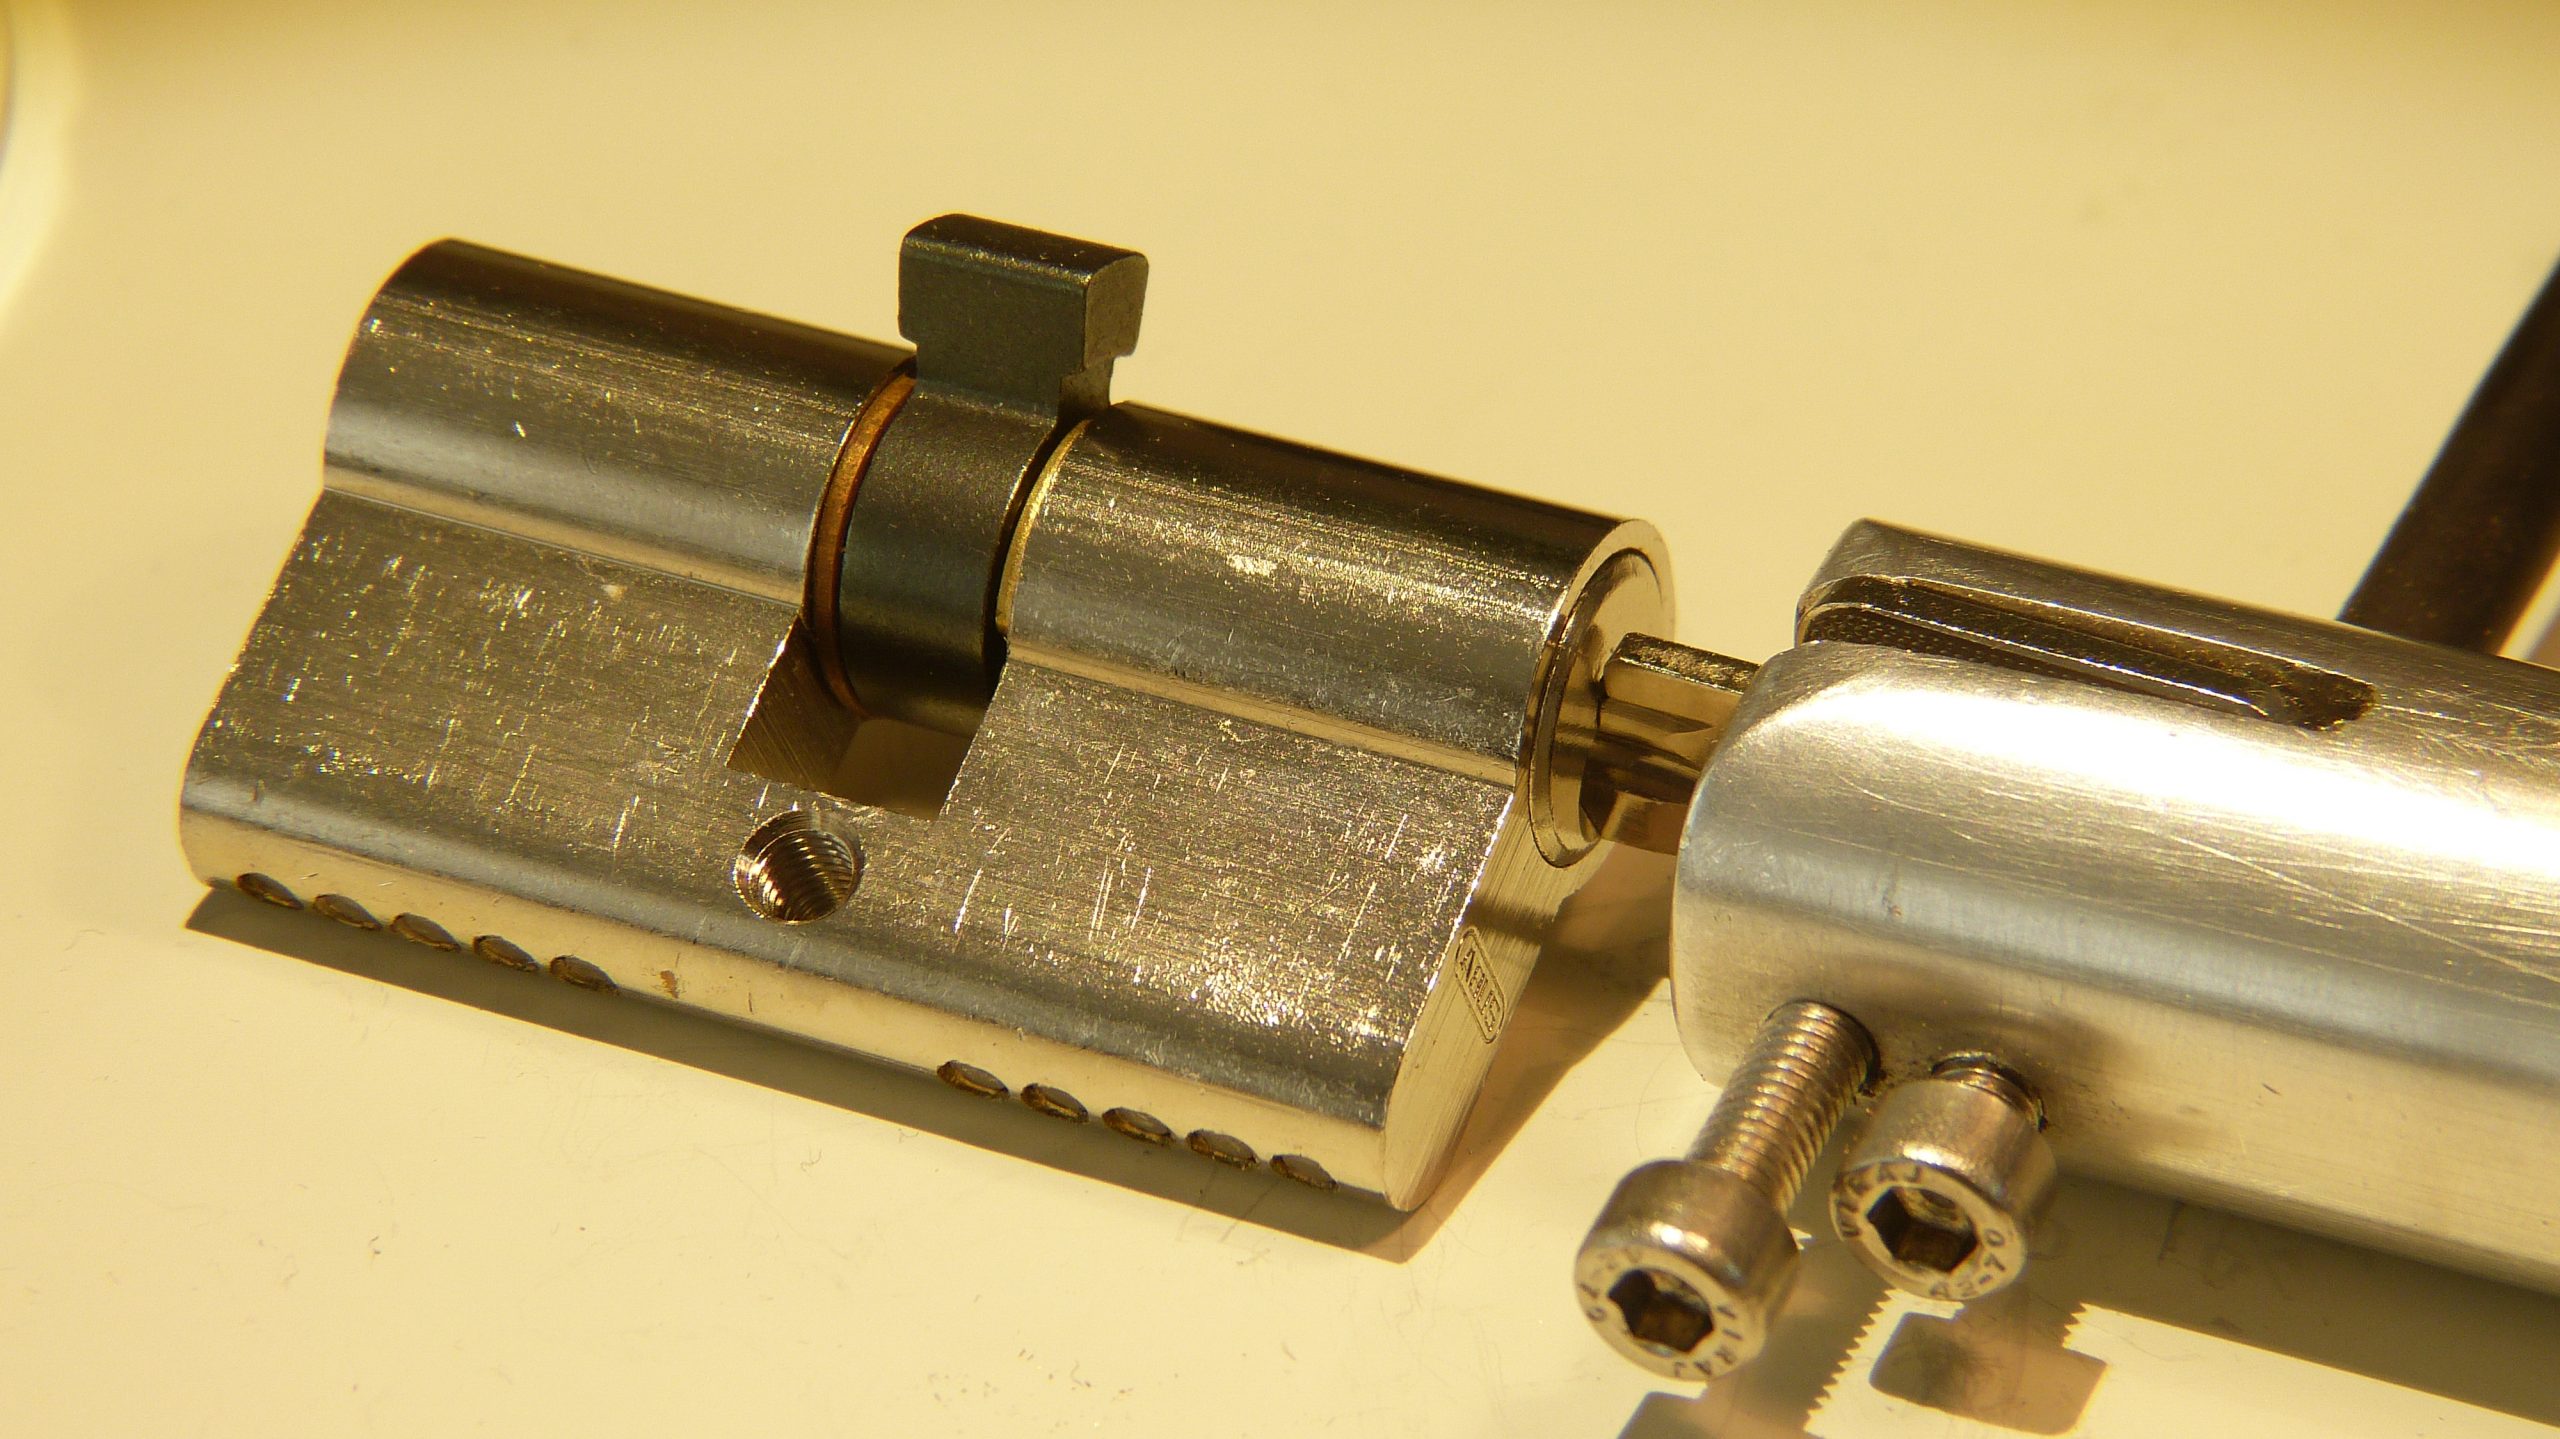
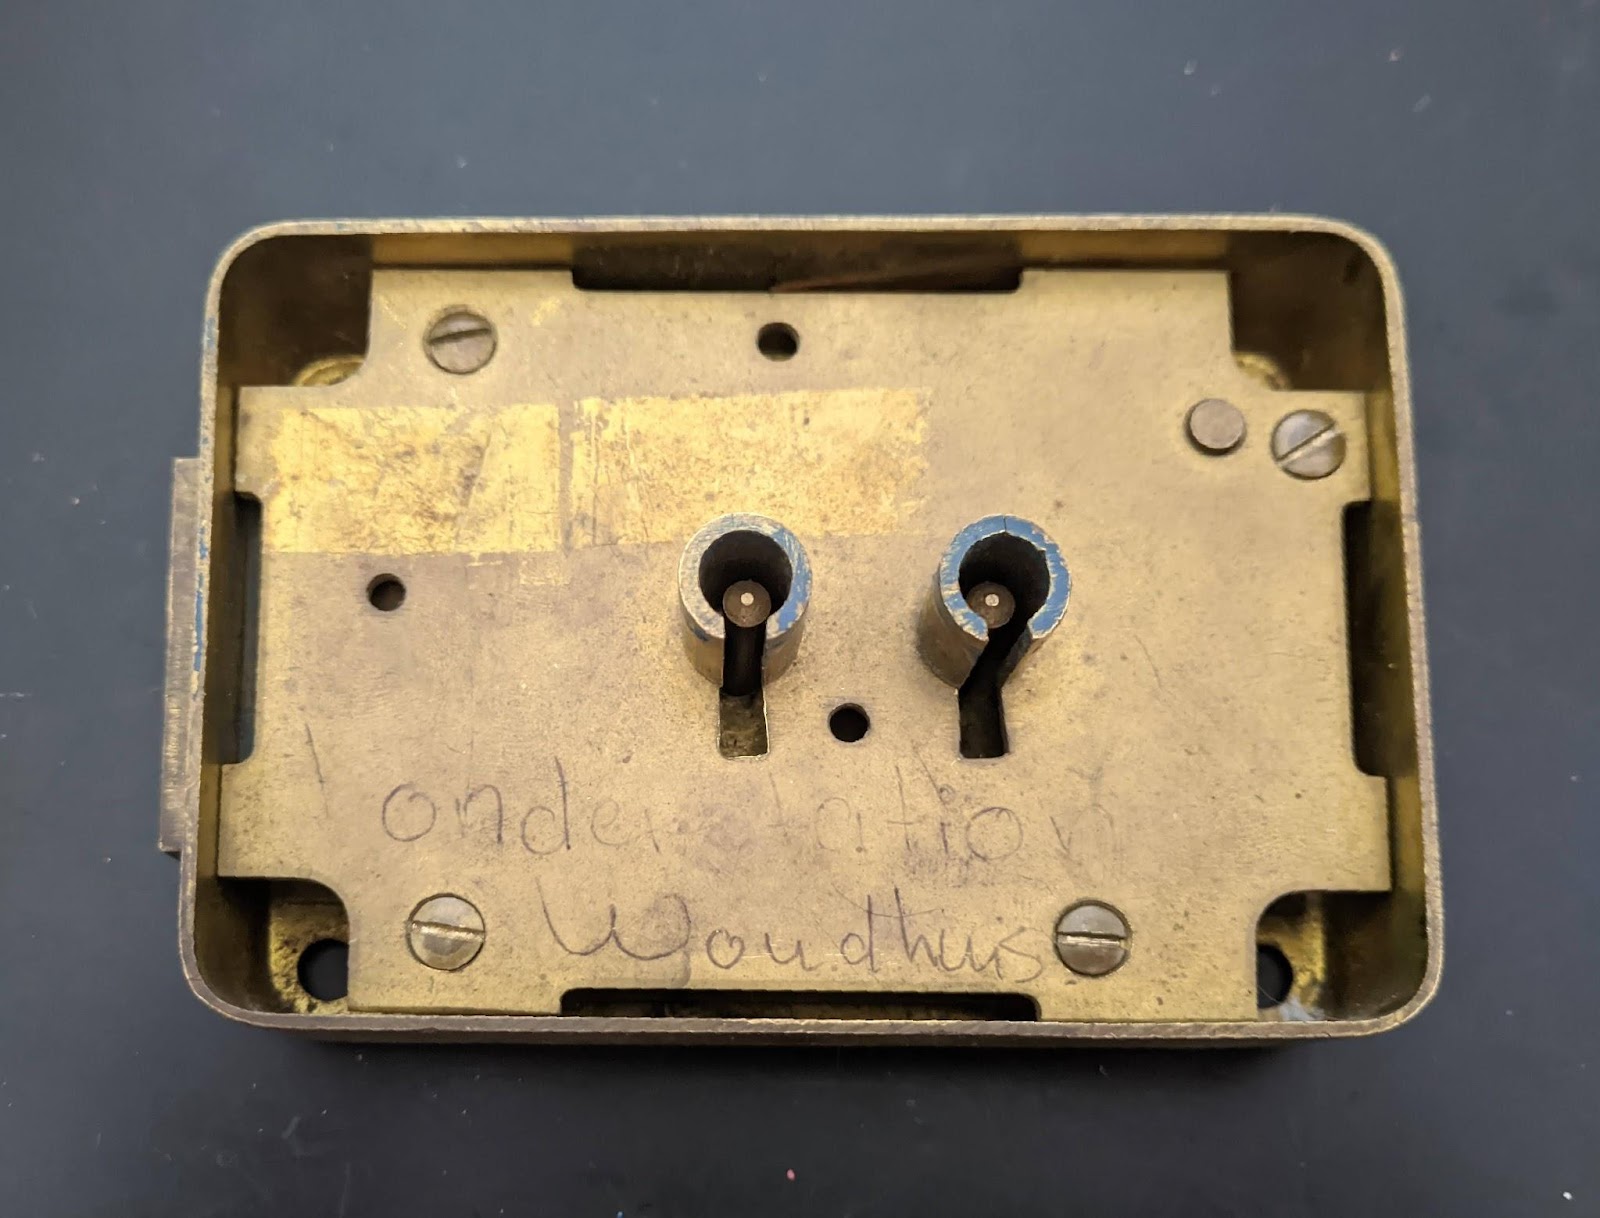
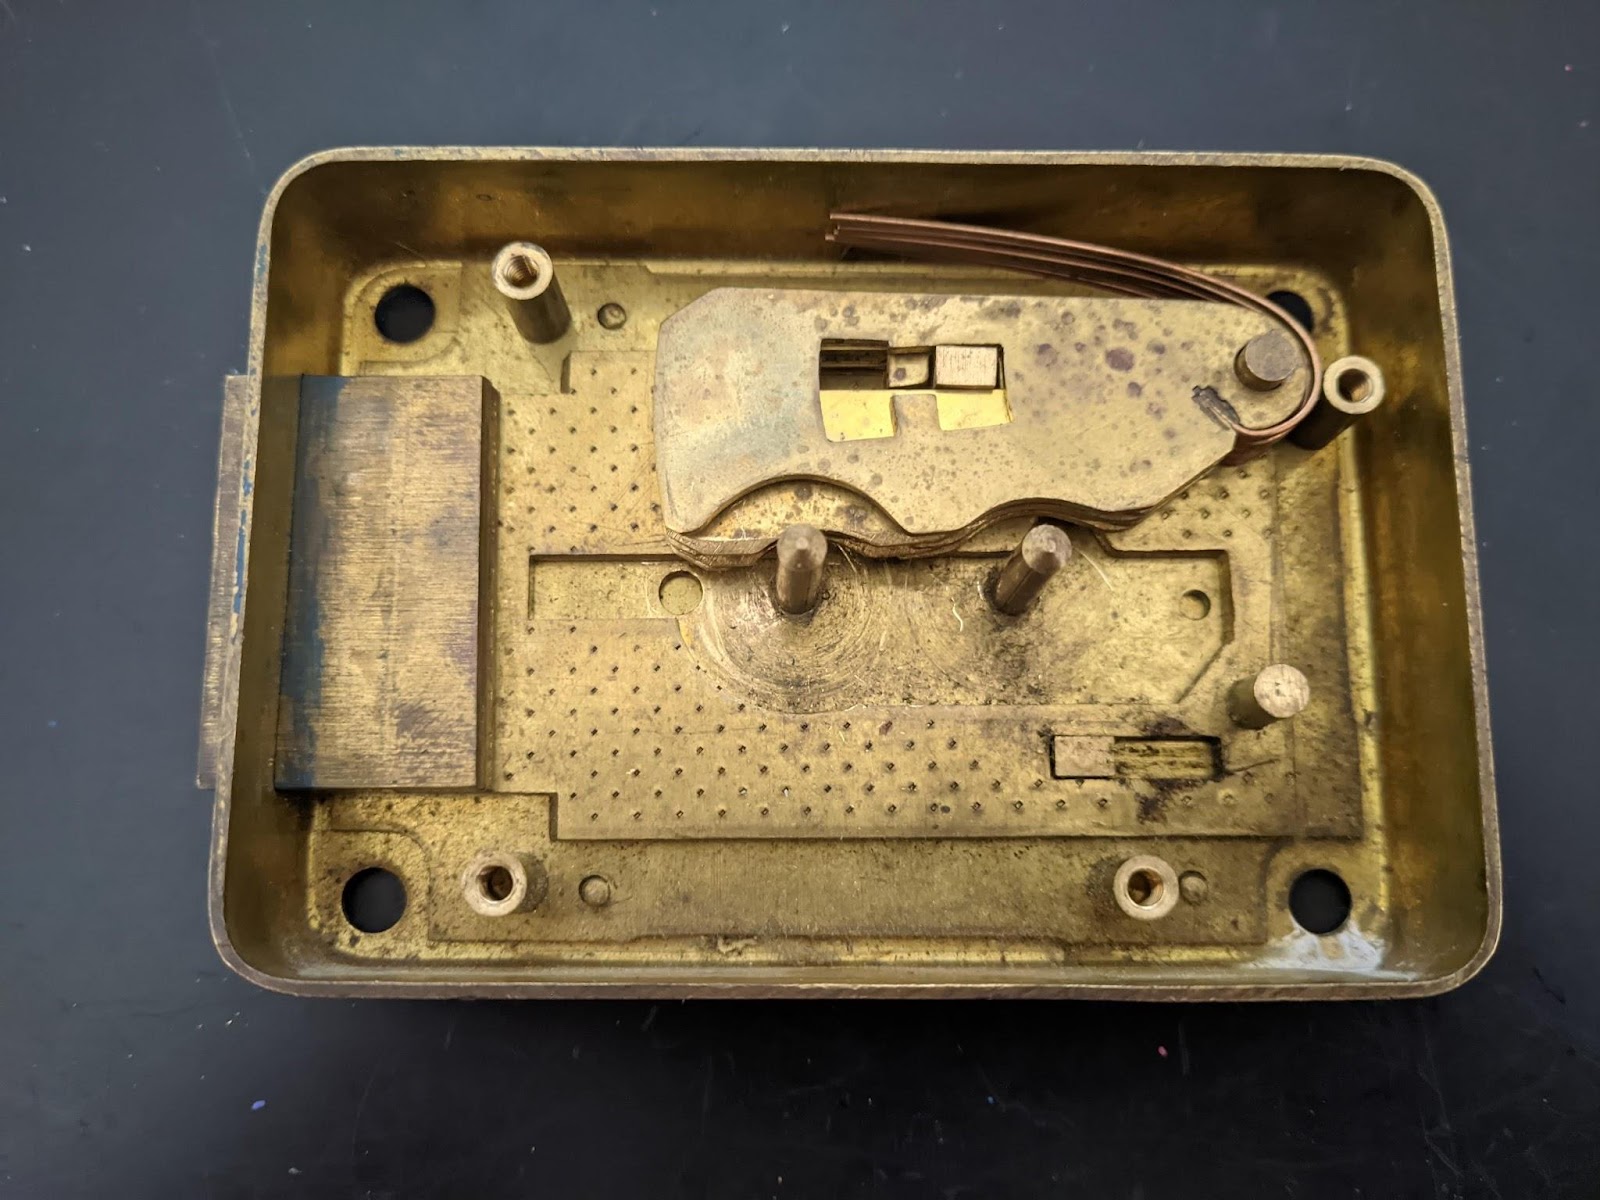
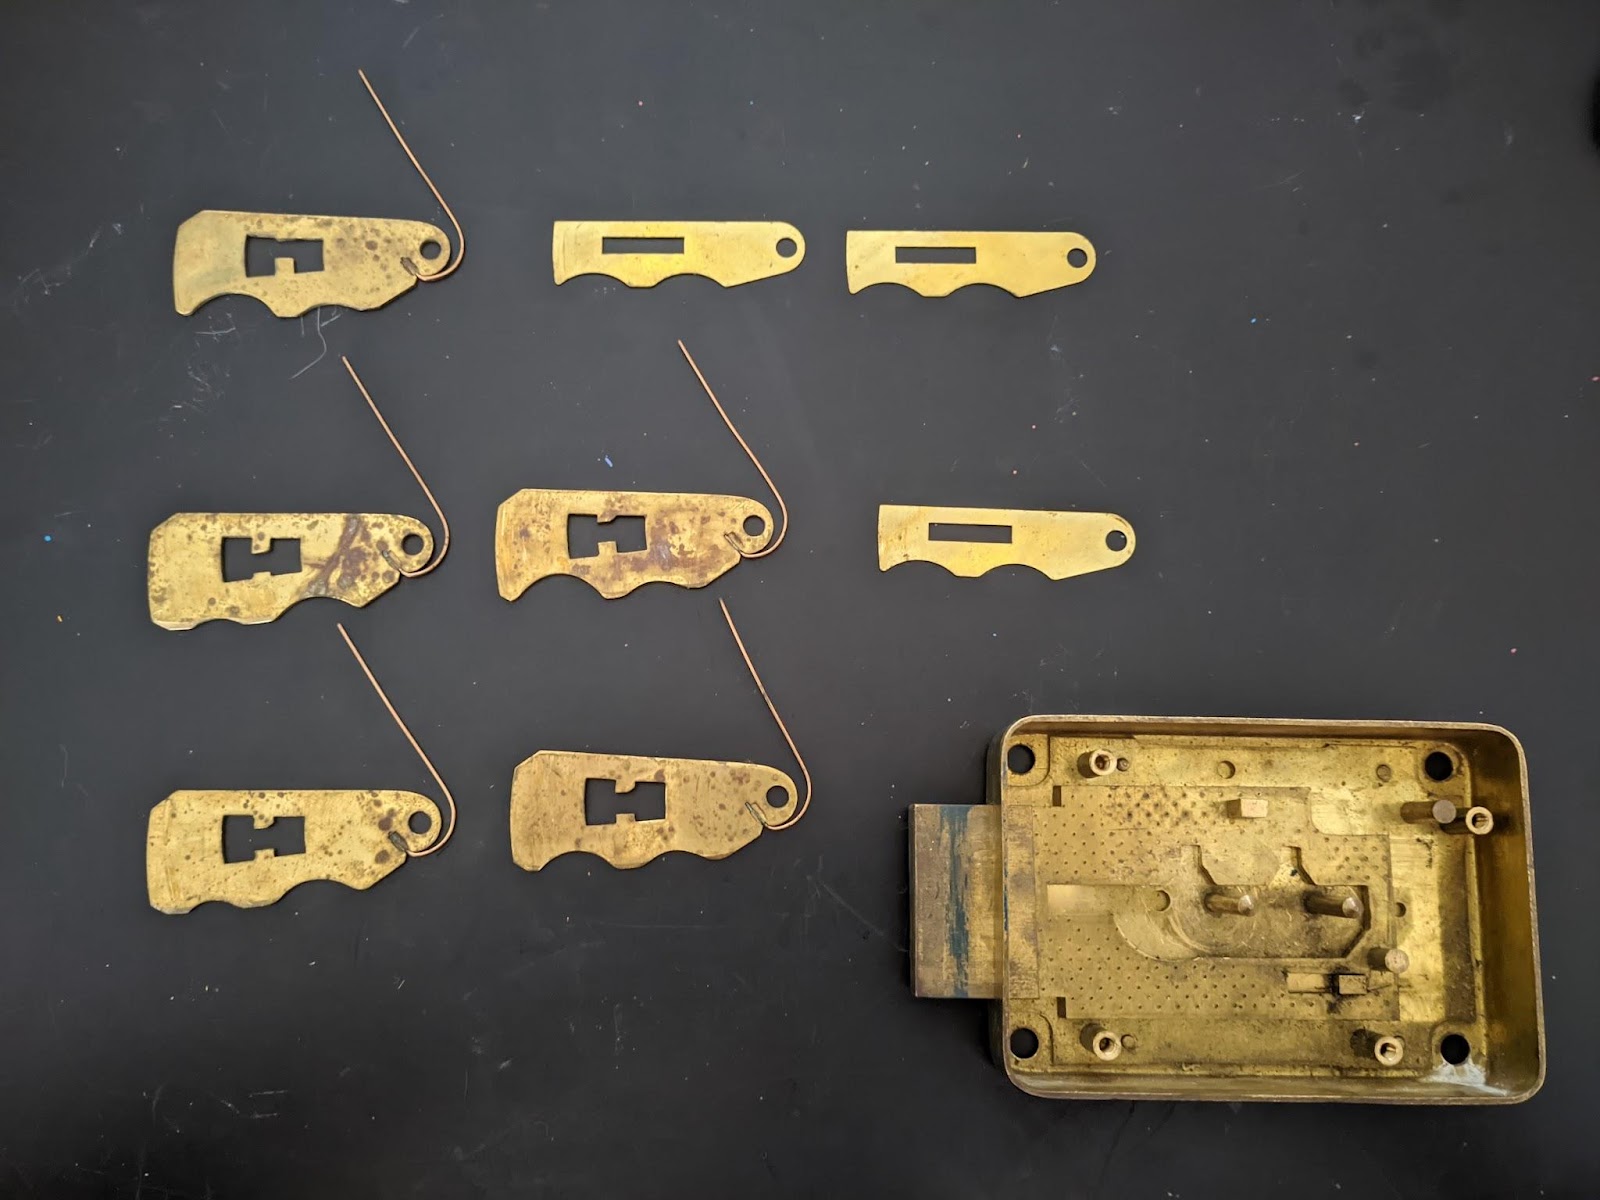
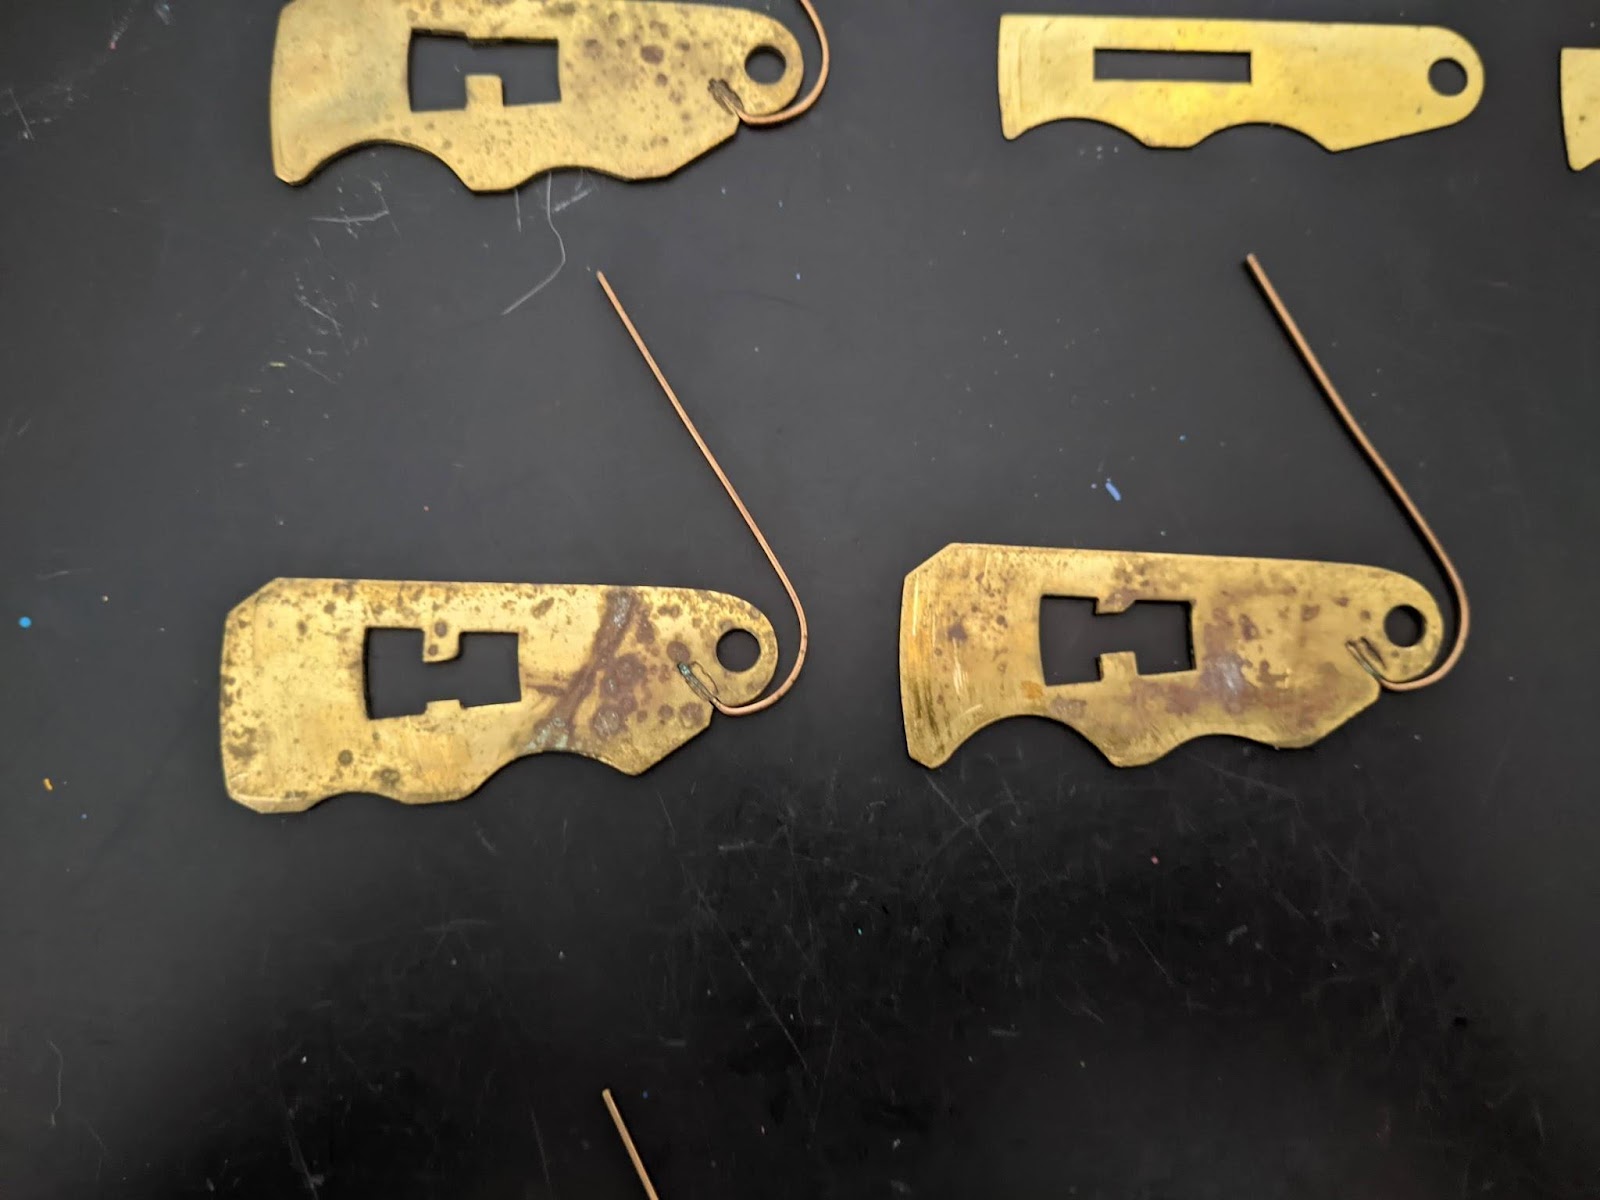
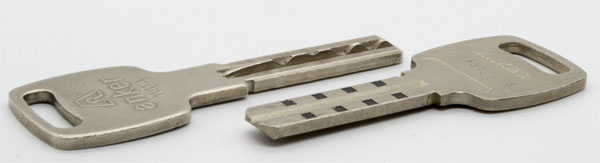
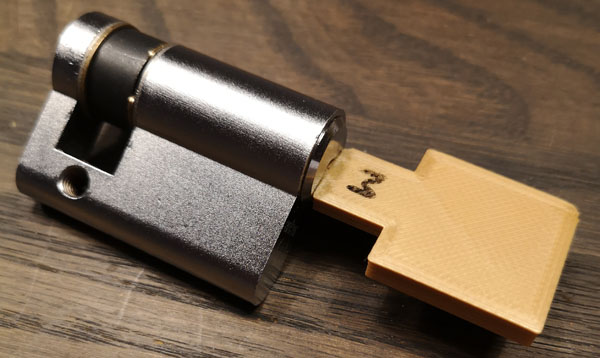
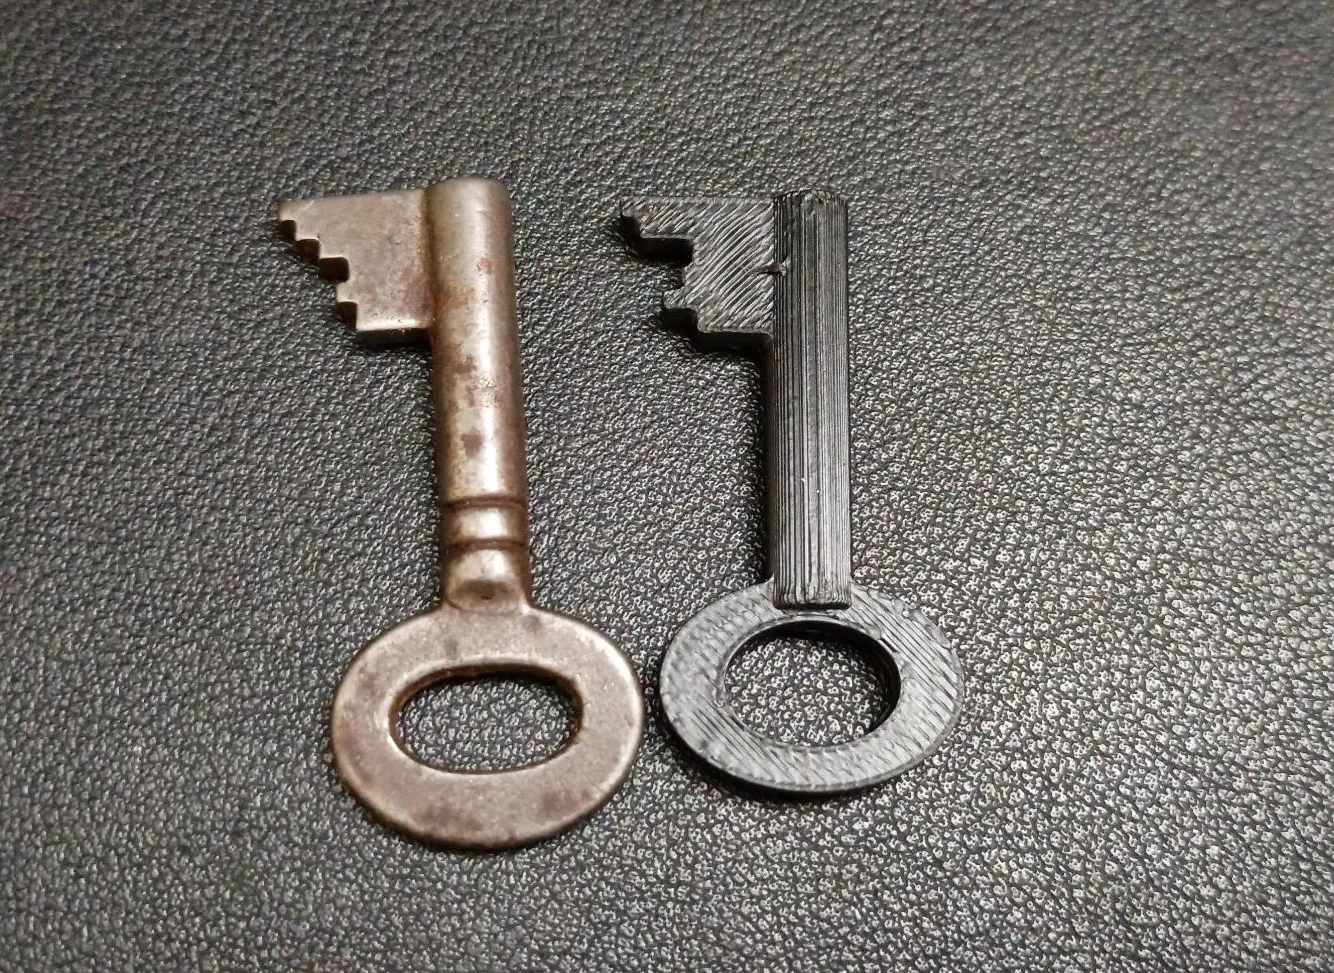
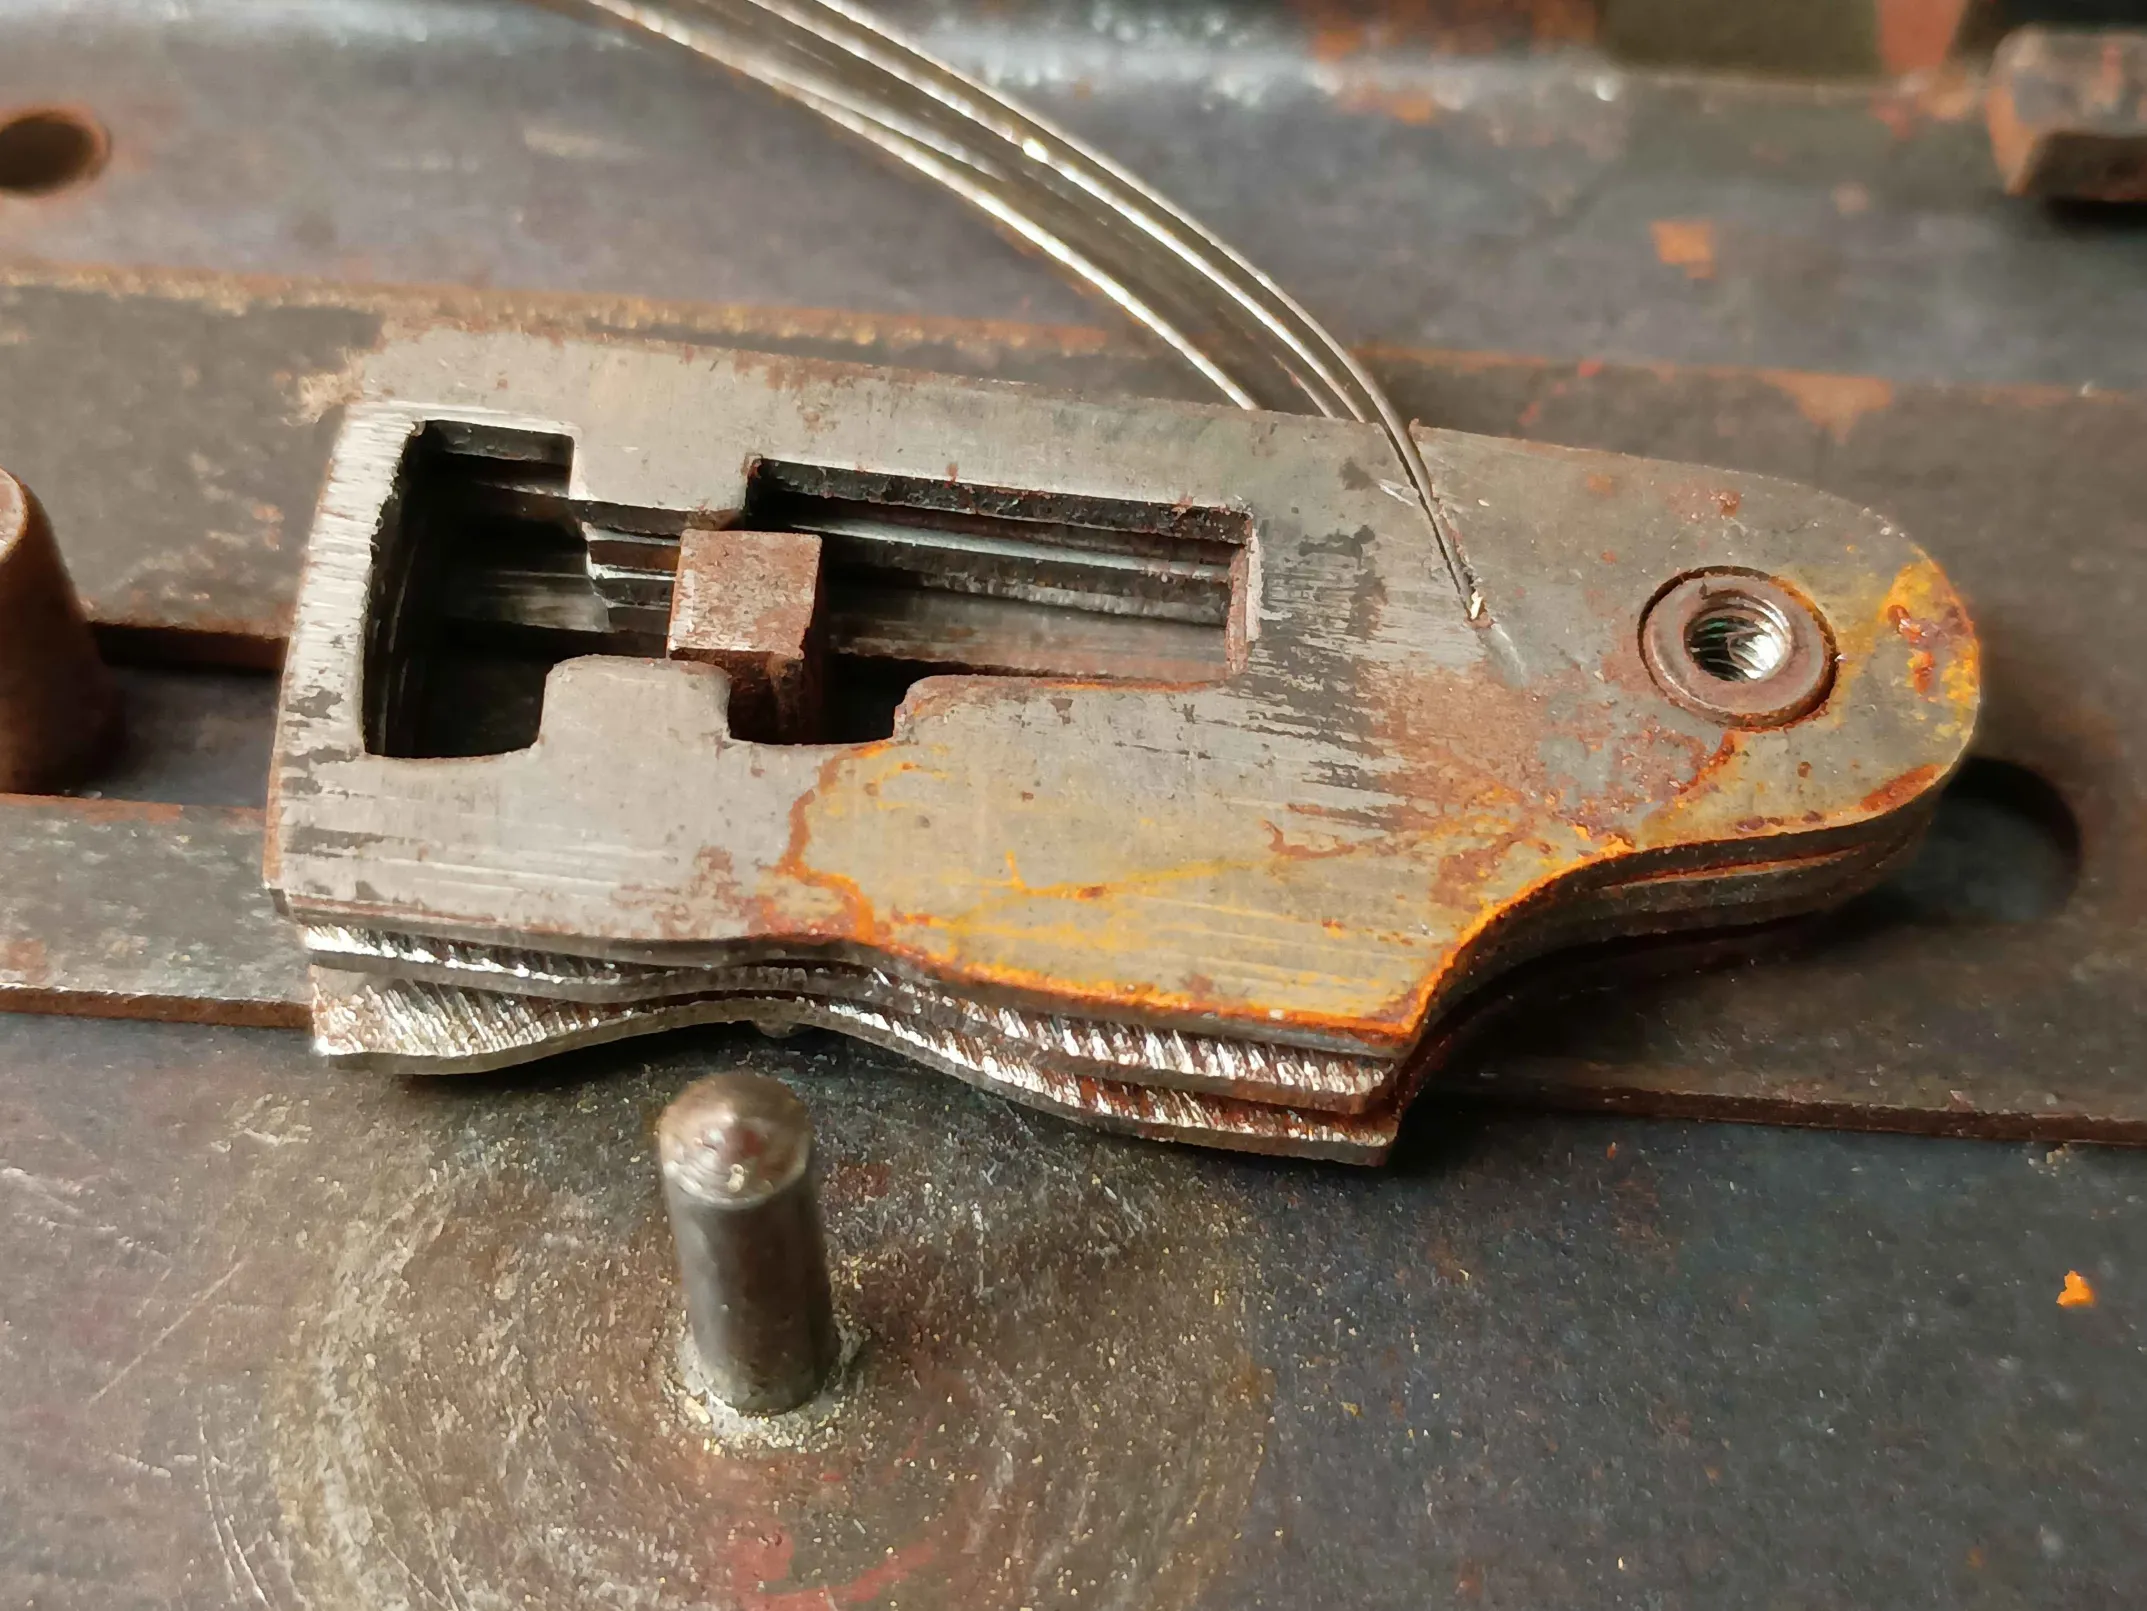
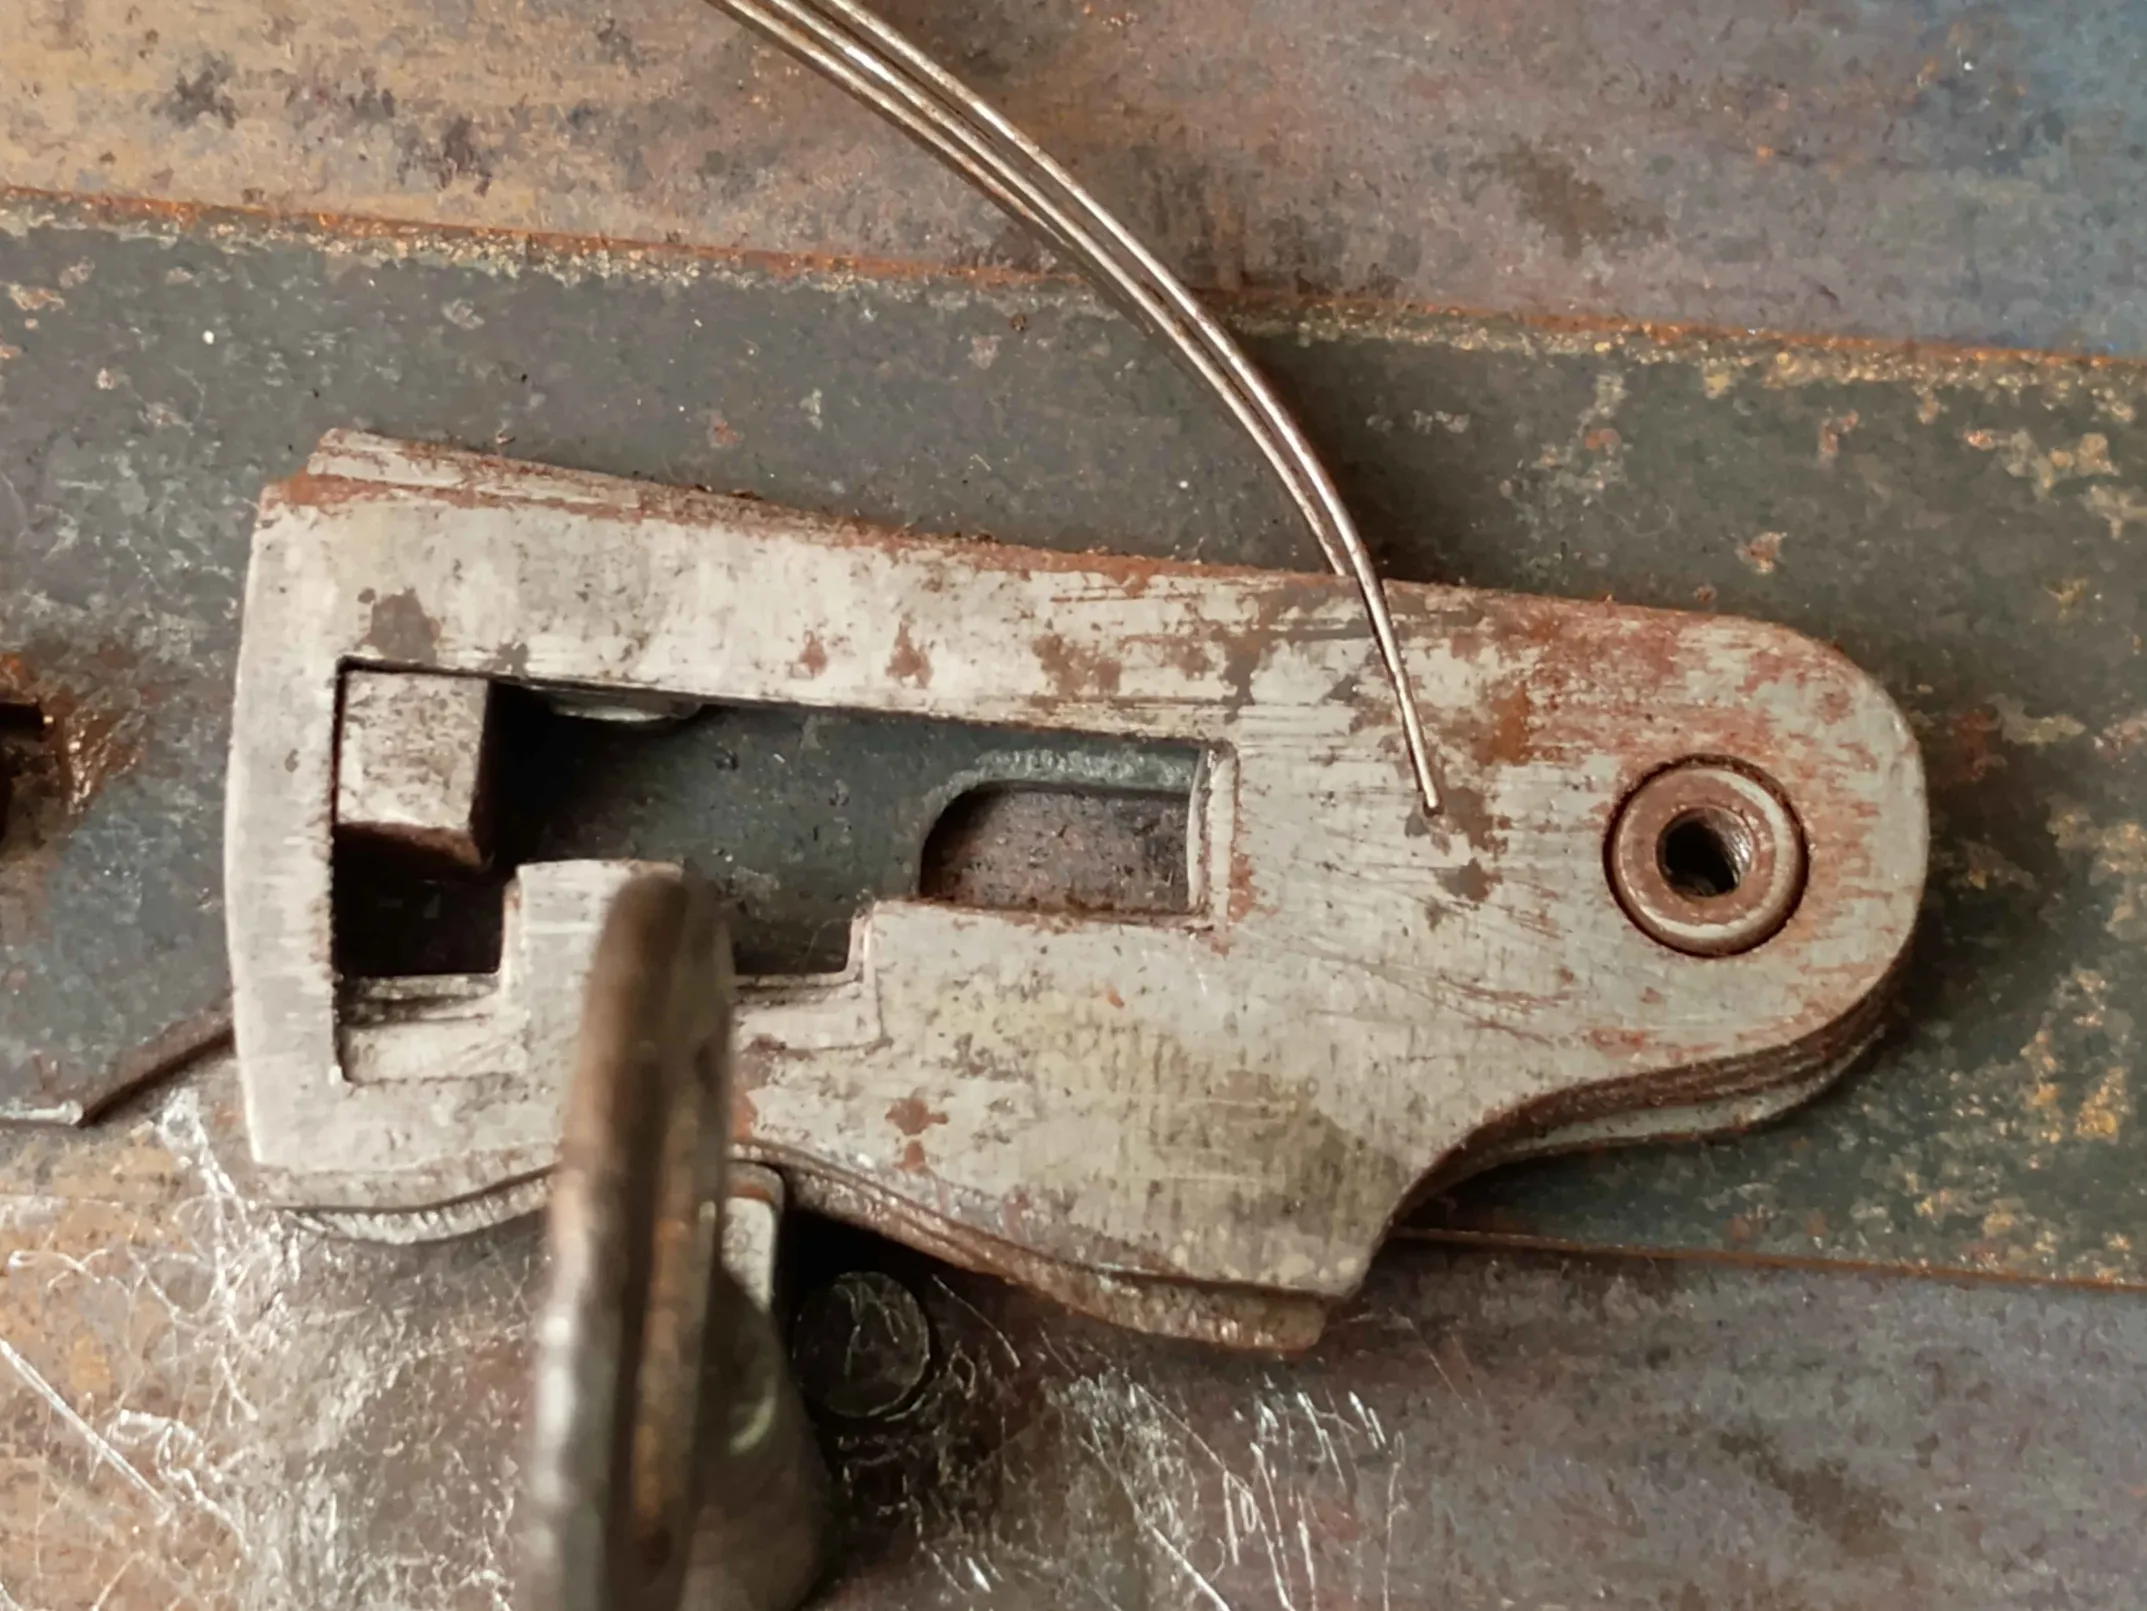
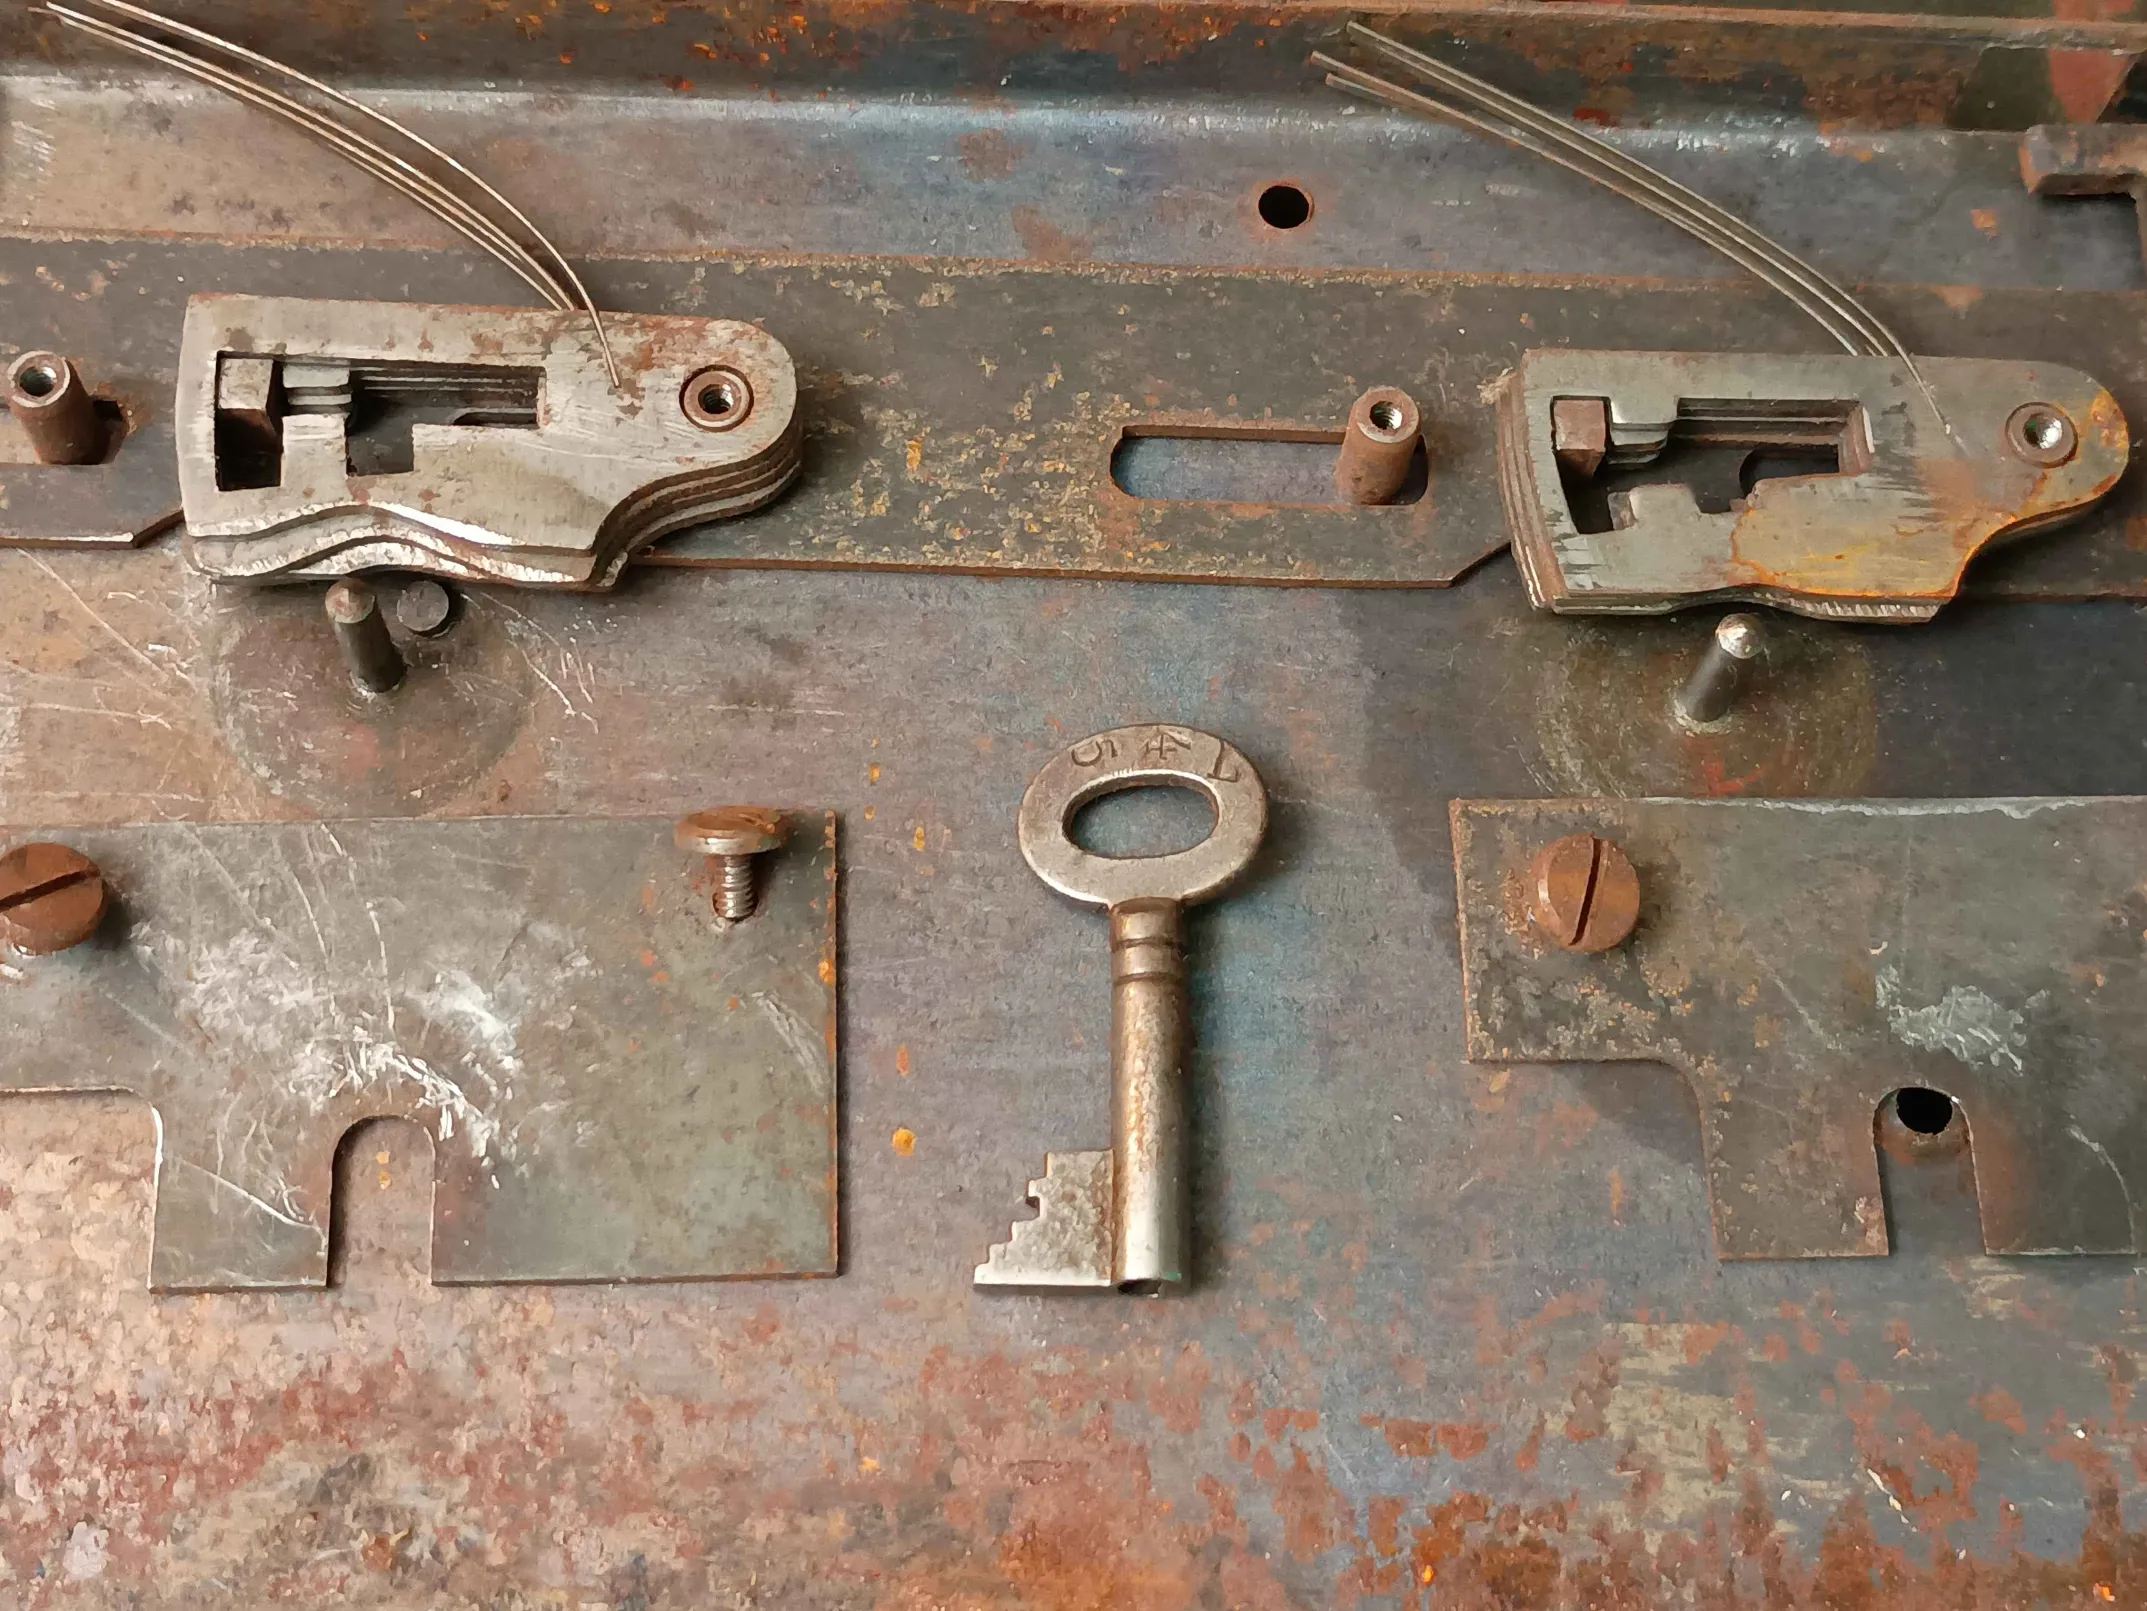
The box was quite dirty inside and required a quick clean and some disassembly. In the pictures below, you can clearly see the mechanism, a ten lever lock spread over two keyways. With the lock open, I’ve opted to design a quick lever lock key builder in OpenSCAD and printed a fully functioning key. While not the most durable, in the correct printing orientation, PETG is fine for a temporary key. The key can later be copied to a metal blank.
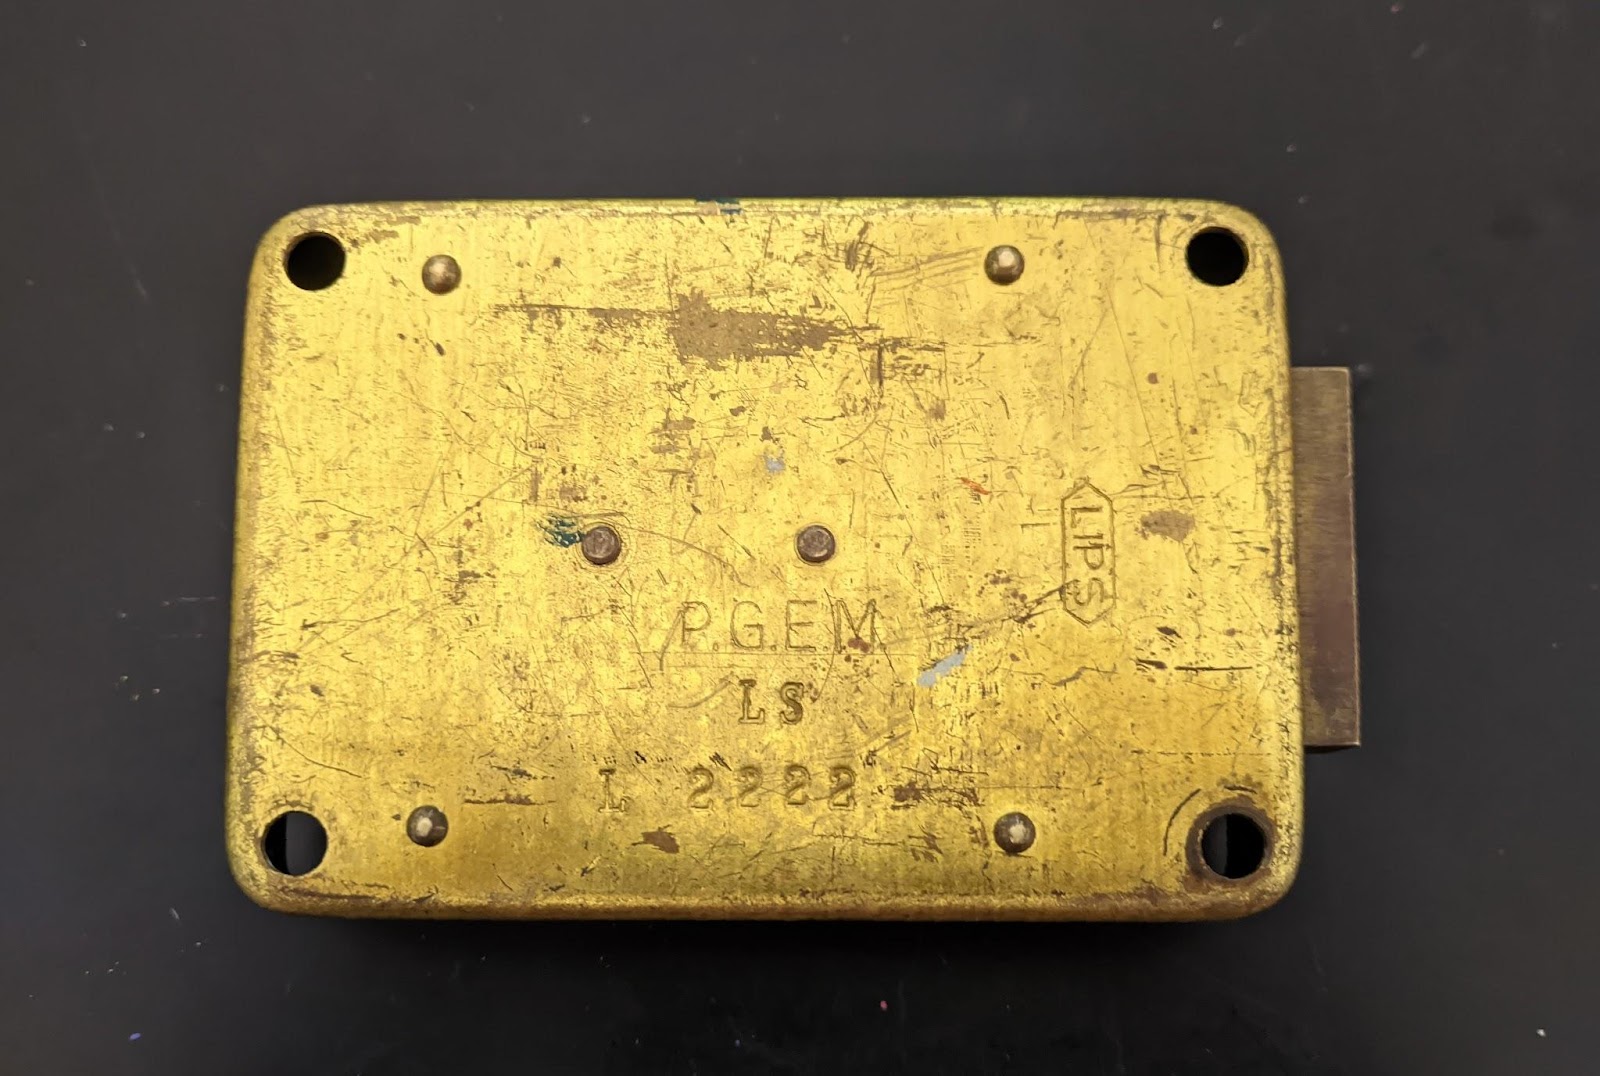
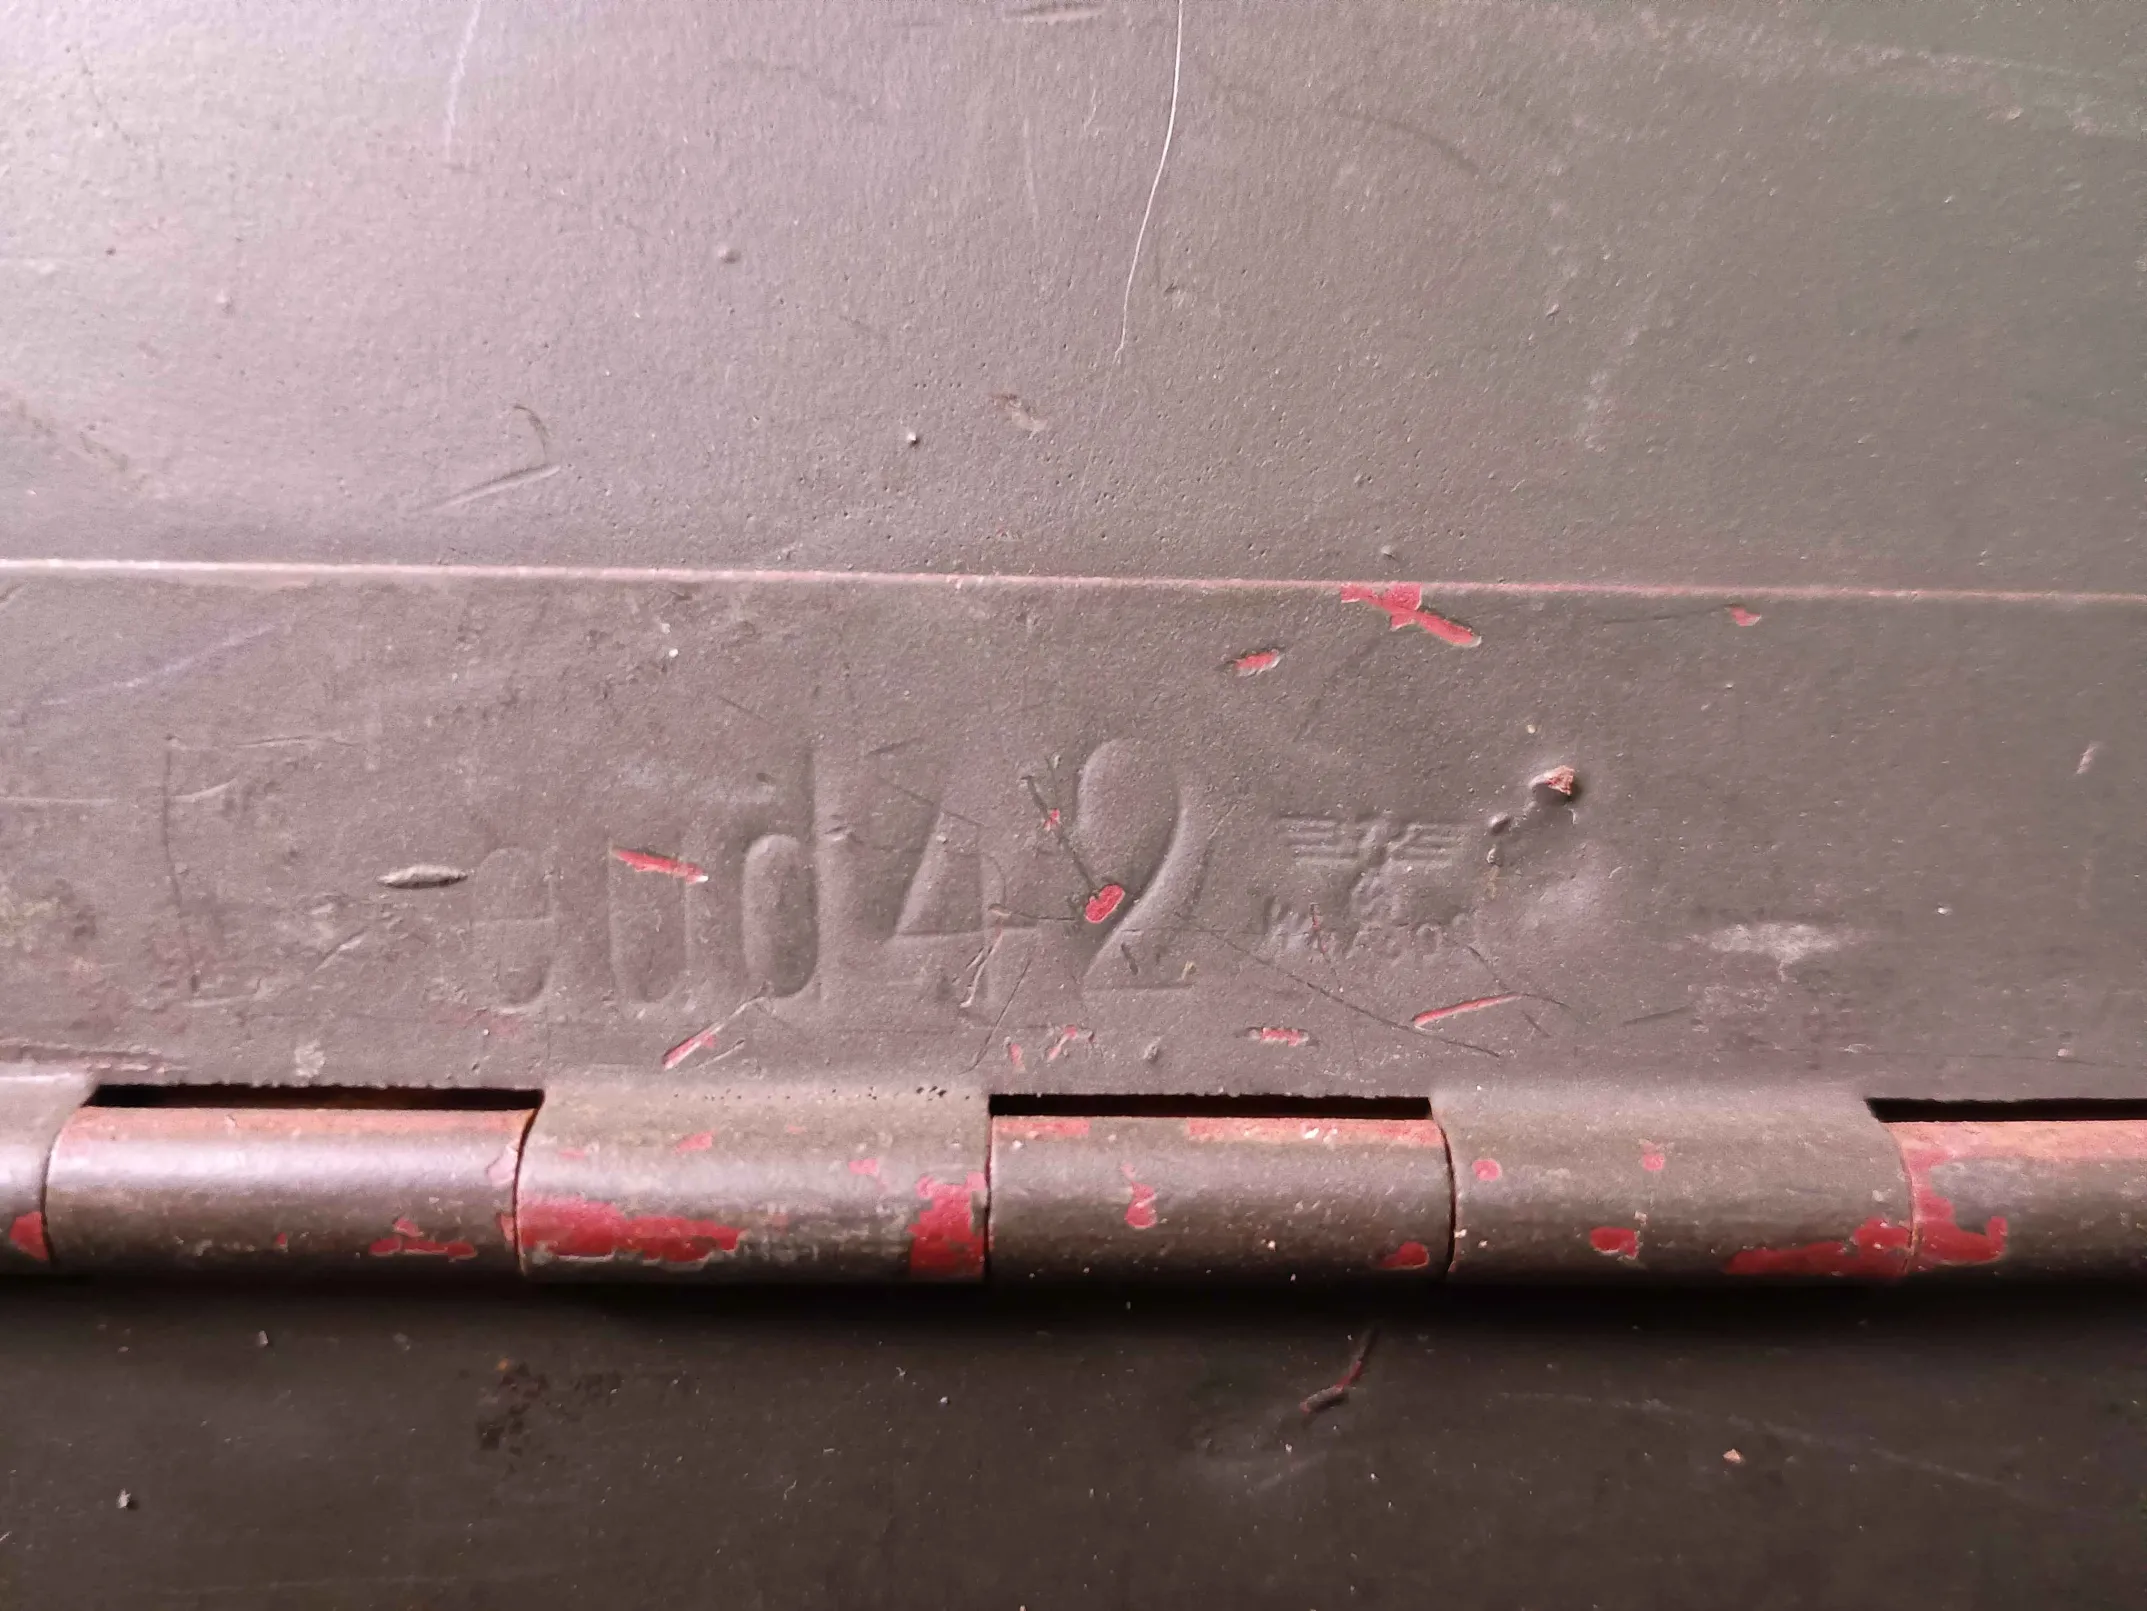
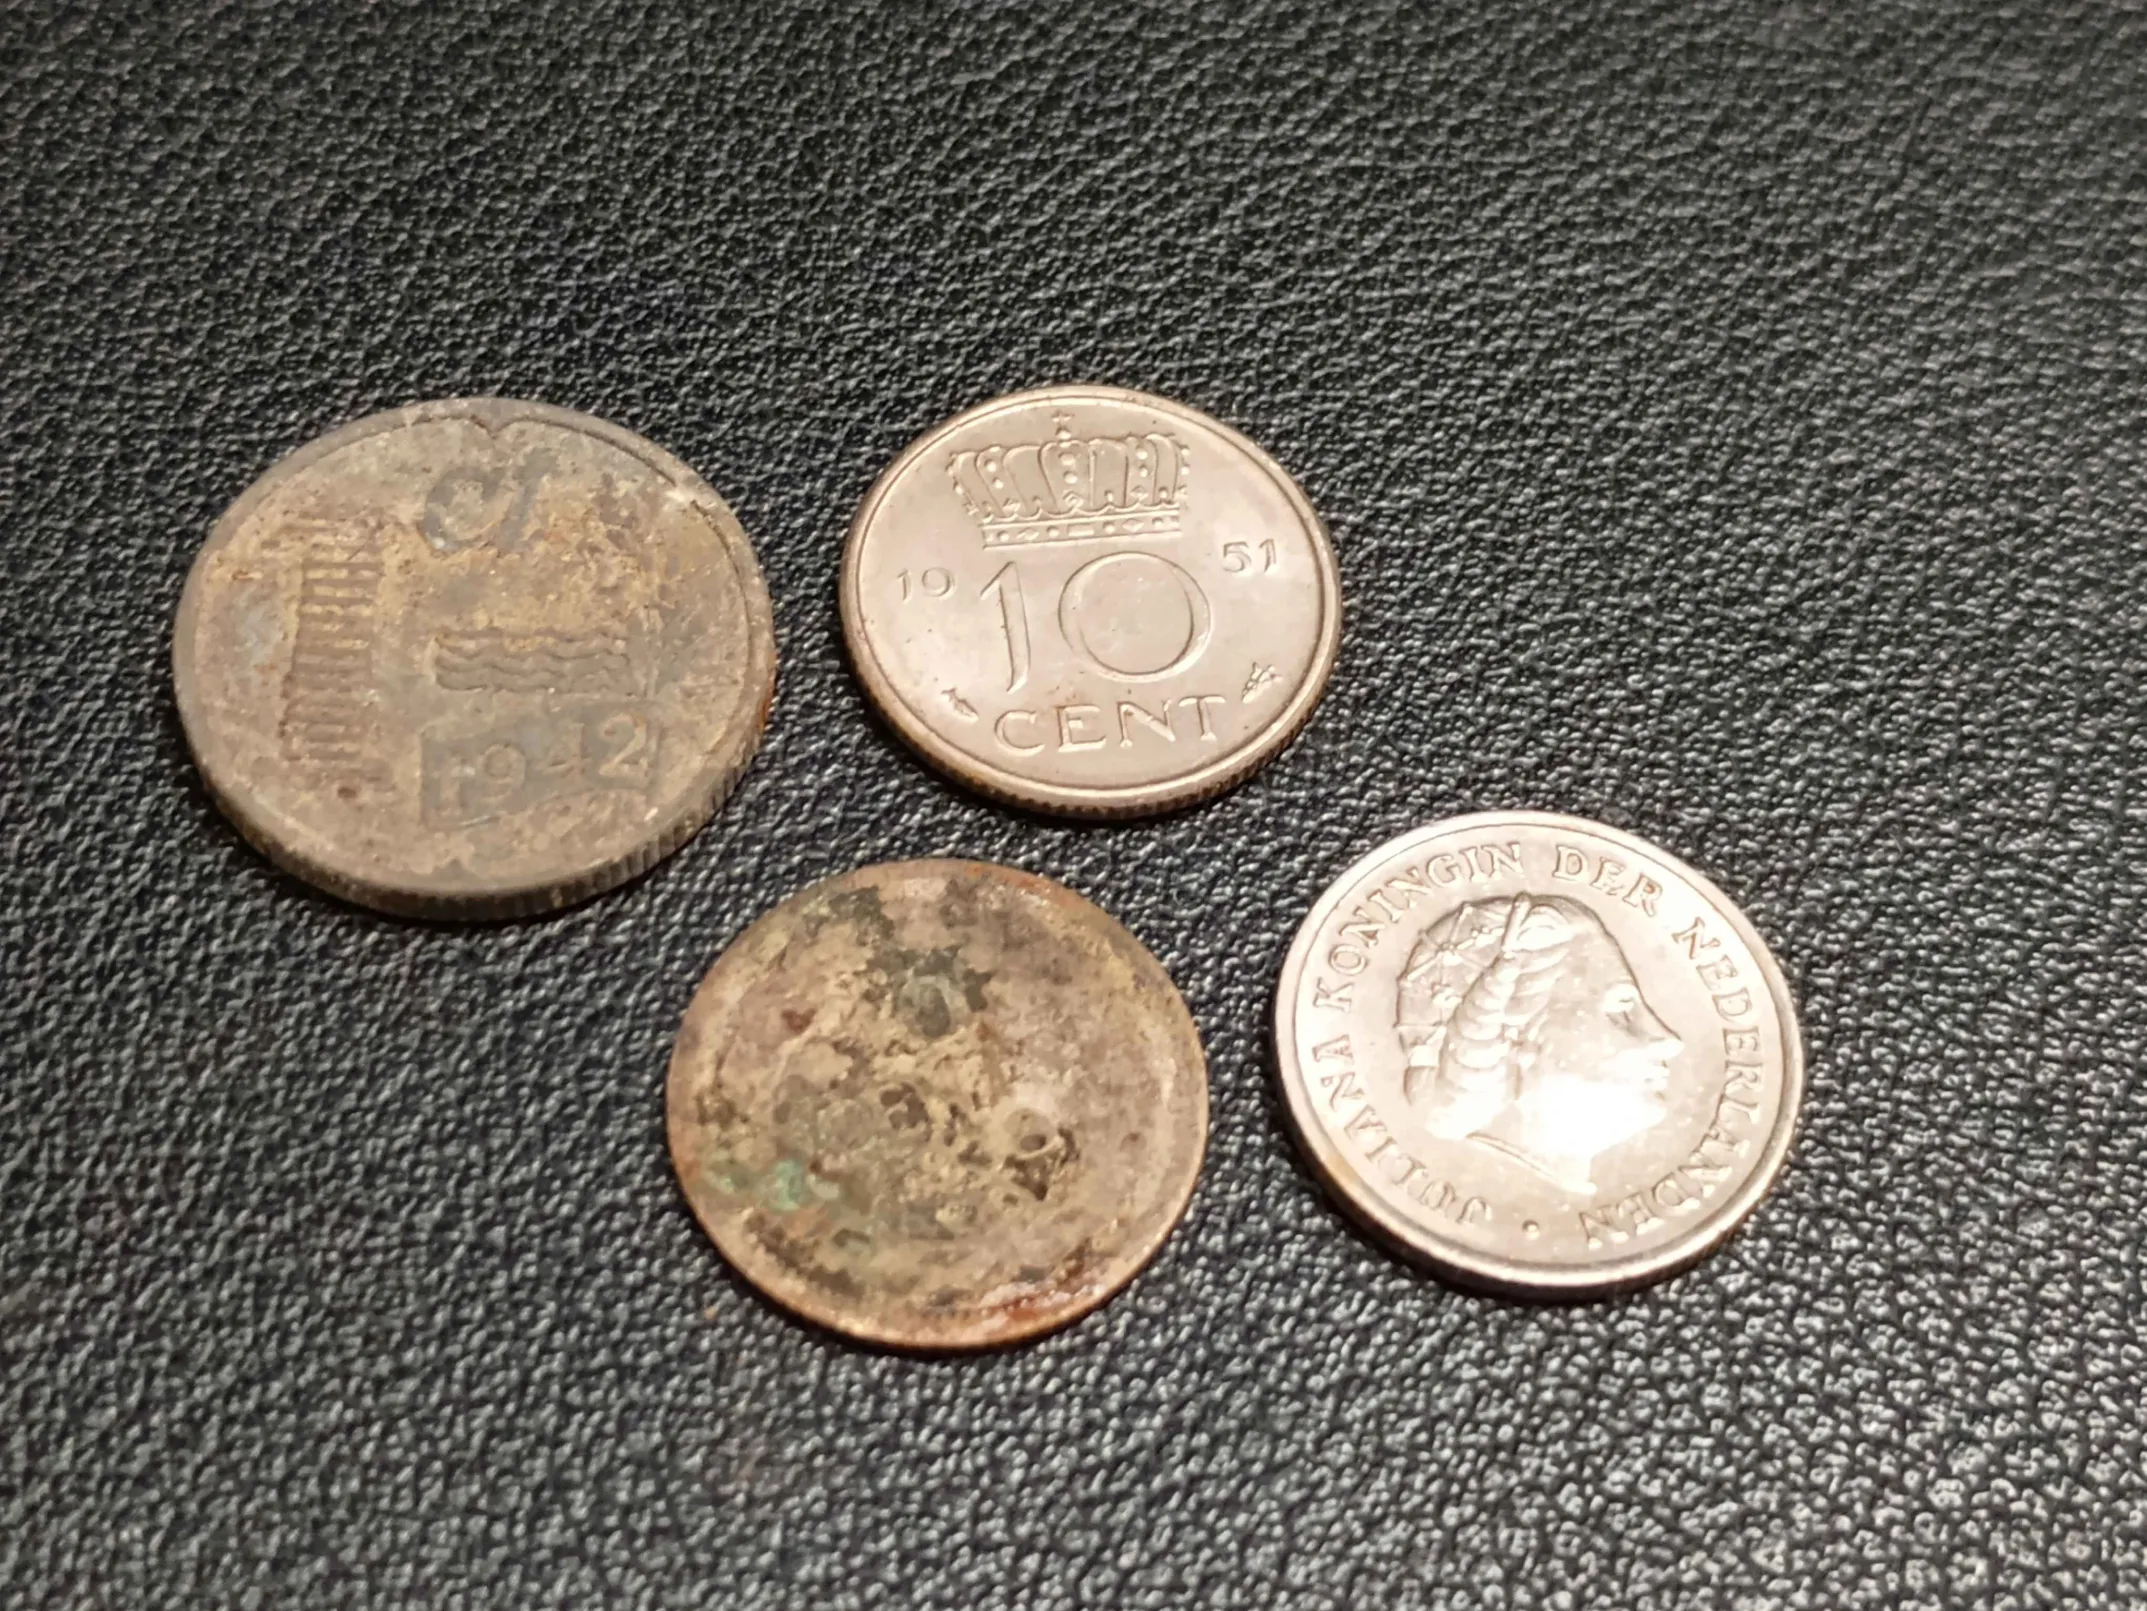
The box is a treasure, and the box held Fl. 0.31 inside. Three dubbeltjes, and a cent. This would be about €1 in 2025 after inflation. The newest coin was from 1959, which usually means that the manufacturing date is before ’59. Digging further, I’ve found the markings “D.R.G.M. 1468402” – which is the German patent number from 1939 according to Wikipedia. Other scribbles were not too useful. However, a tiny bird, not even five by five millimeter, whispered the chest was made during WWII.
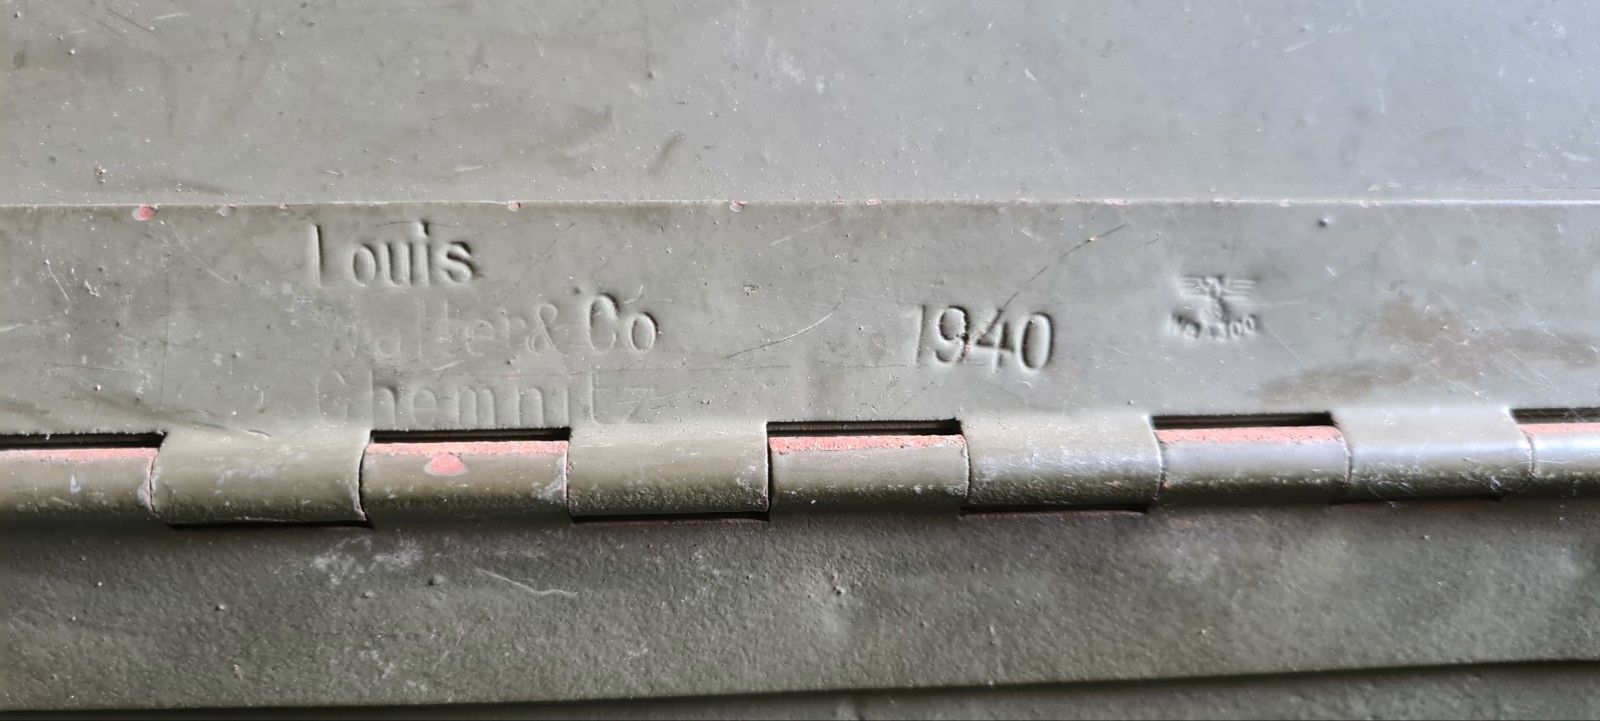
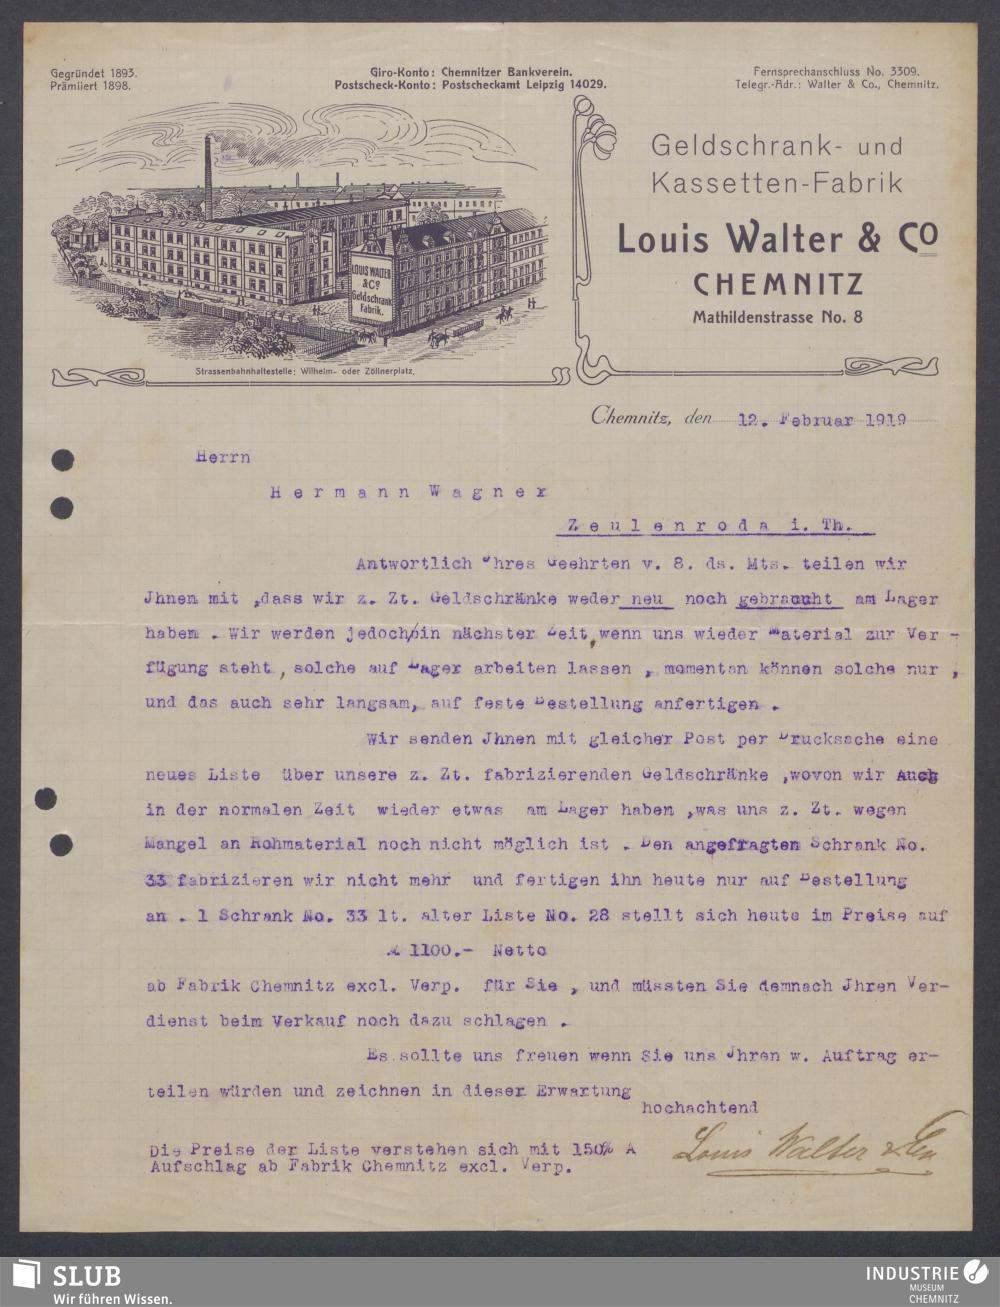
Through the great invention called the internet, I’ve found an owner of a similar chest. Their box was stamped 1940, with the ugly bird, and the full name of the factory, “Louis Walther & co, Chemnitz”. The document below from https://sachsen.digital/werkansicht/233660/1 completes the history for me. While we still don’t know why Germany desperately needed dual custody geldschranken, what the patent was for, or how it traveled to eventually end up with me.
Blog CCBY4.0 Jan-Willem Markus @ Toool Blackbag. If you want to play with the chest someday, do let me know. You may borrow it without keys, nor tools, so you can open it from scratch 🙂