( Post by Tom Eklöf )
So what do you do with a really rare collectable lock that comes with no documentation, has no documentation and practically nobody knows anything about? YOU GUT THE HELL OUT OF IT.
I’m not going to be going over RKS basics in this doc; check out Han Fey’s “RKS Robo-Key System” doc from 2007. But long story short is that it’s a cam lock with 5 wheel combination lock guts, and it’s meant to be dialed with an electronic dialer but can be dialed with a manual “emergency dialer” as well.
Note that the latest generation locks (IV) detailed in Han Fey’s doc are different than what I have. How exactly? Beats the hell out of me. Let’s find out!
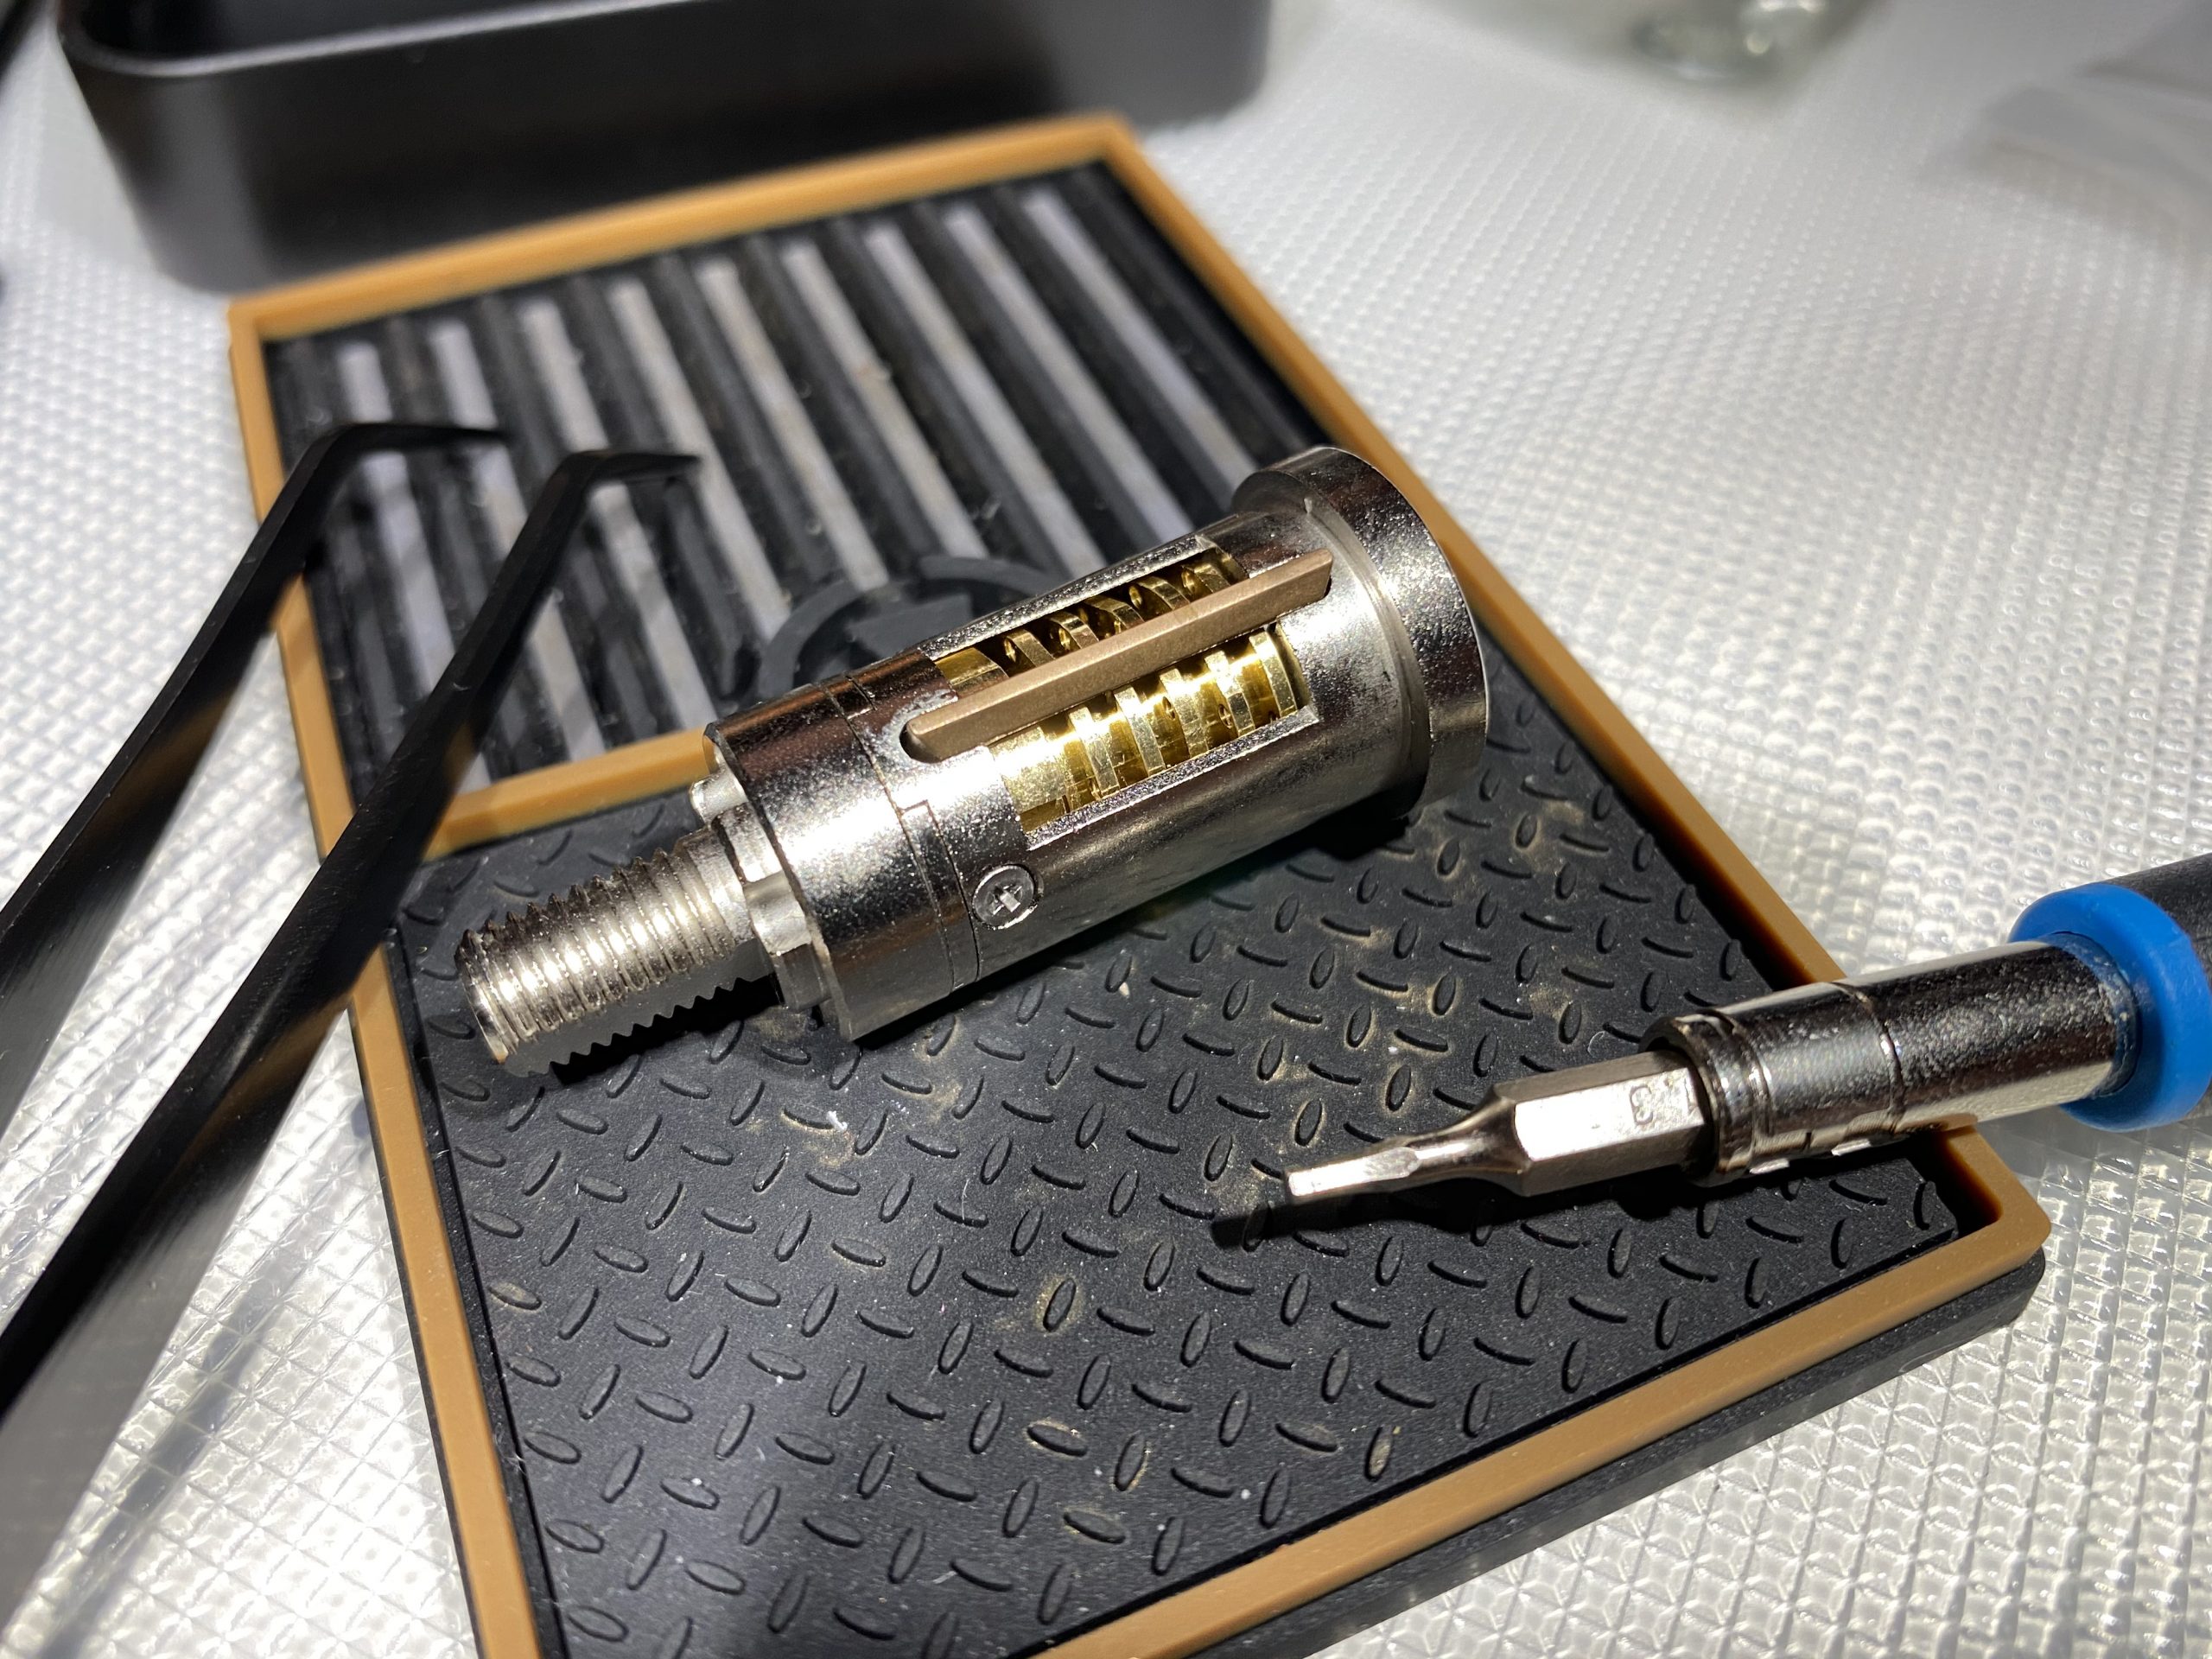
I’ve been told that the core’s in a repurposed Protec cam, and it does look familiar.
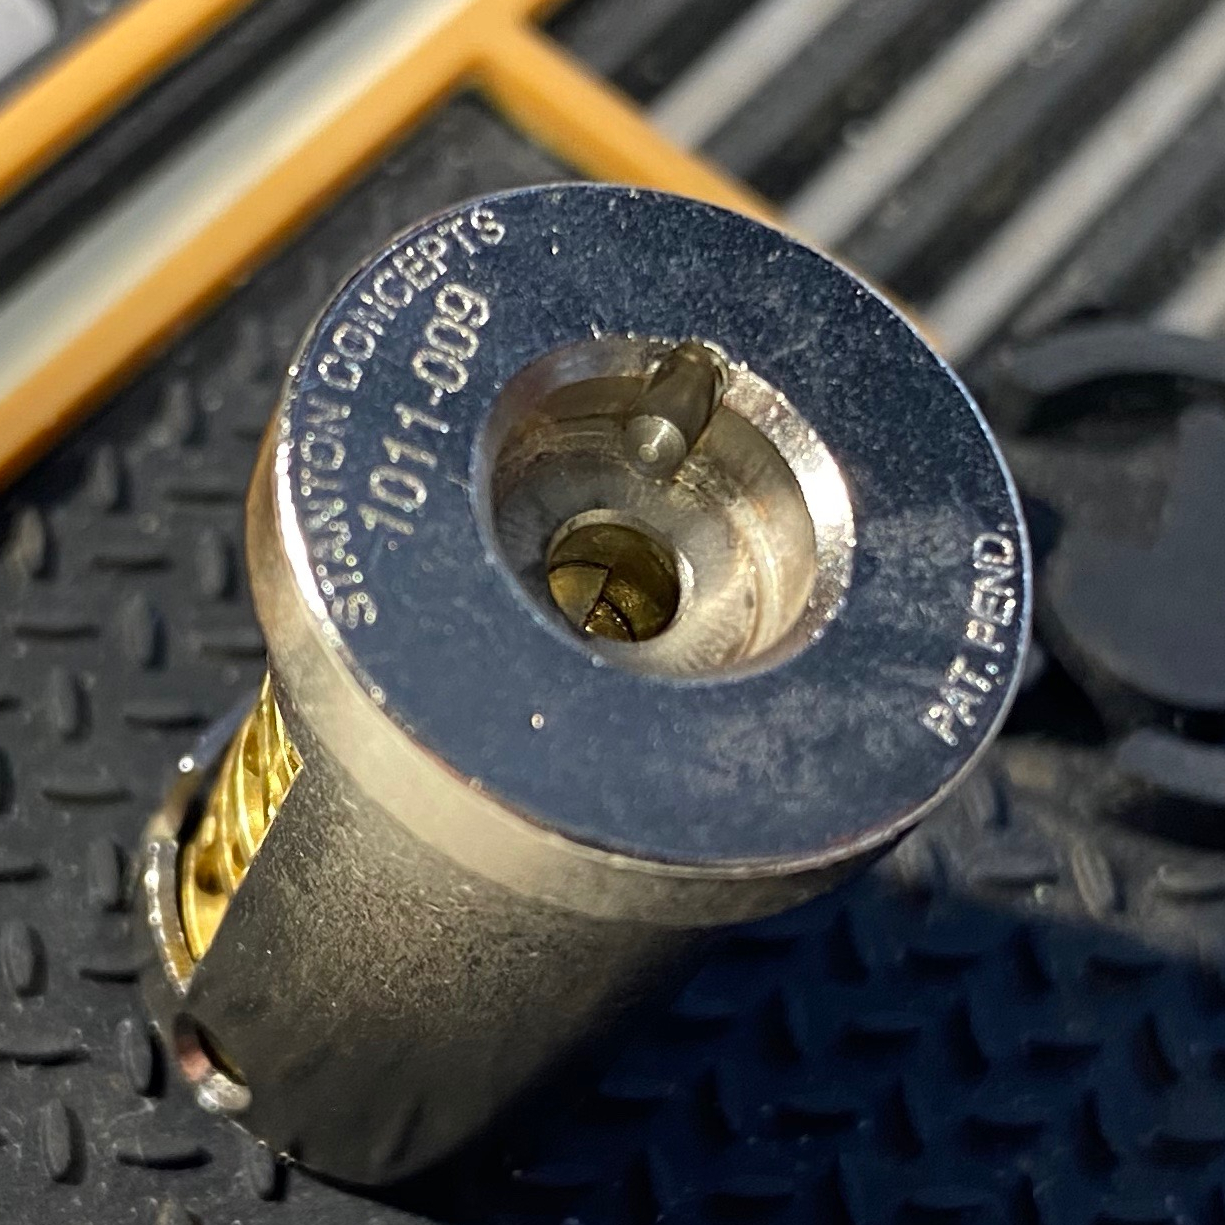
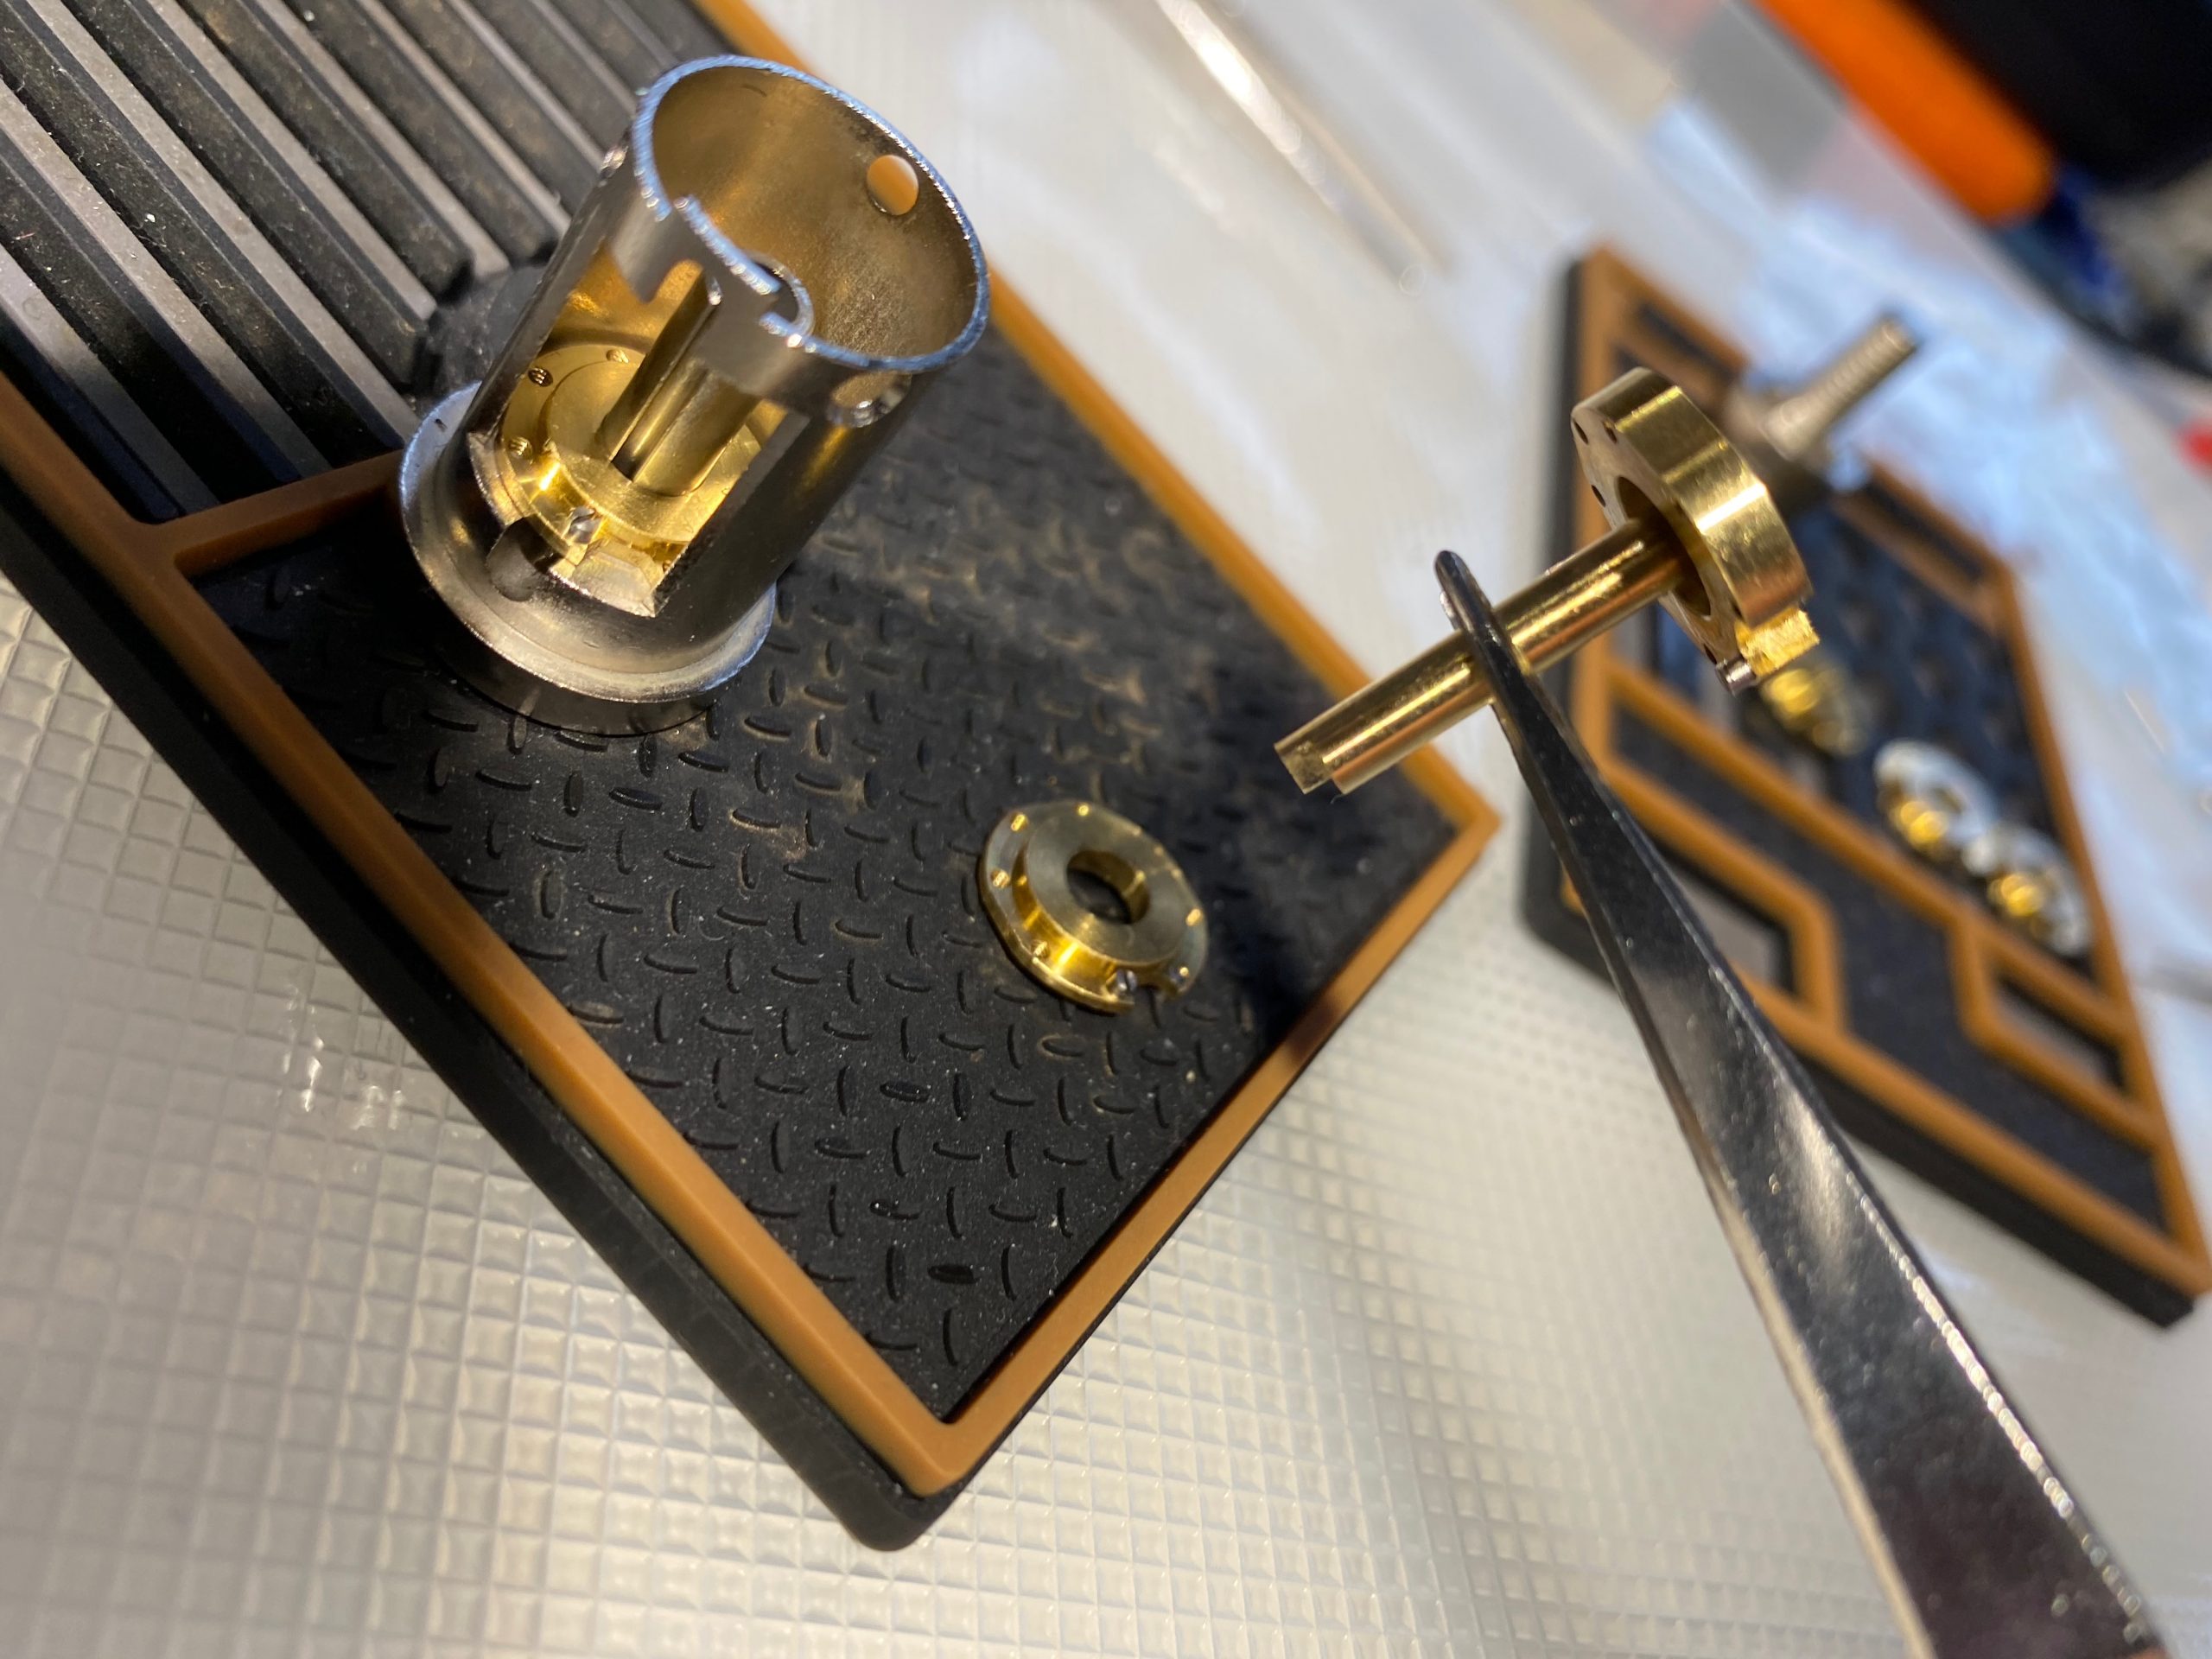
Core’s easy to plop out, just remove the nut in the endplug and that’s it. The sidebar’s not attached to anything so be careful it doesn’t fall off.
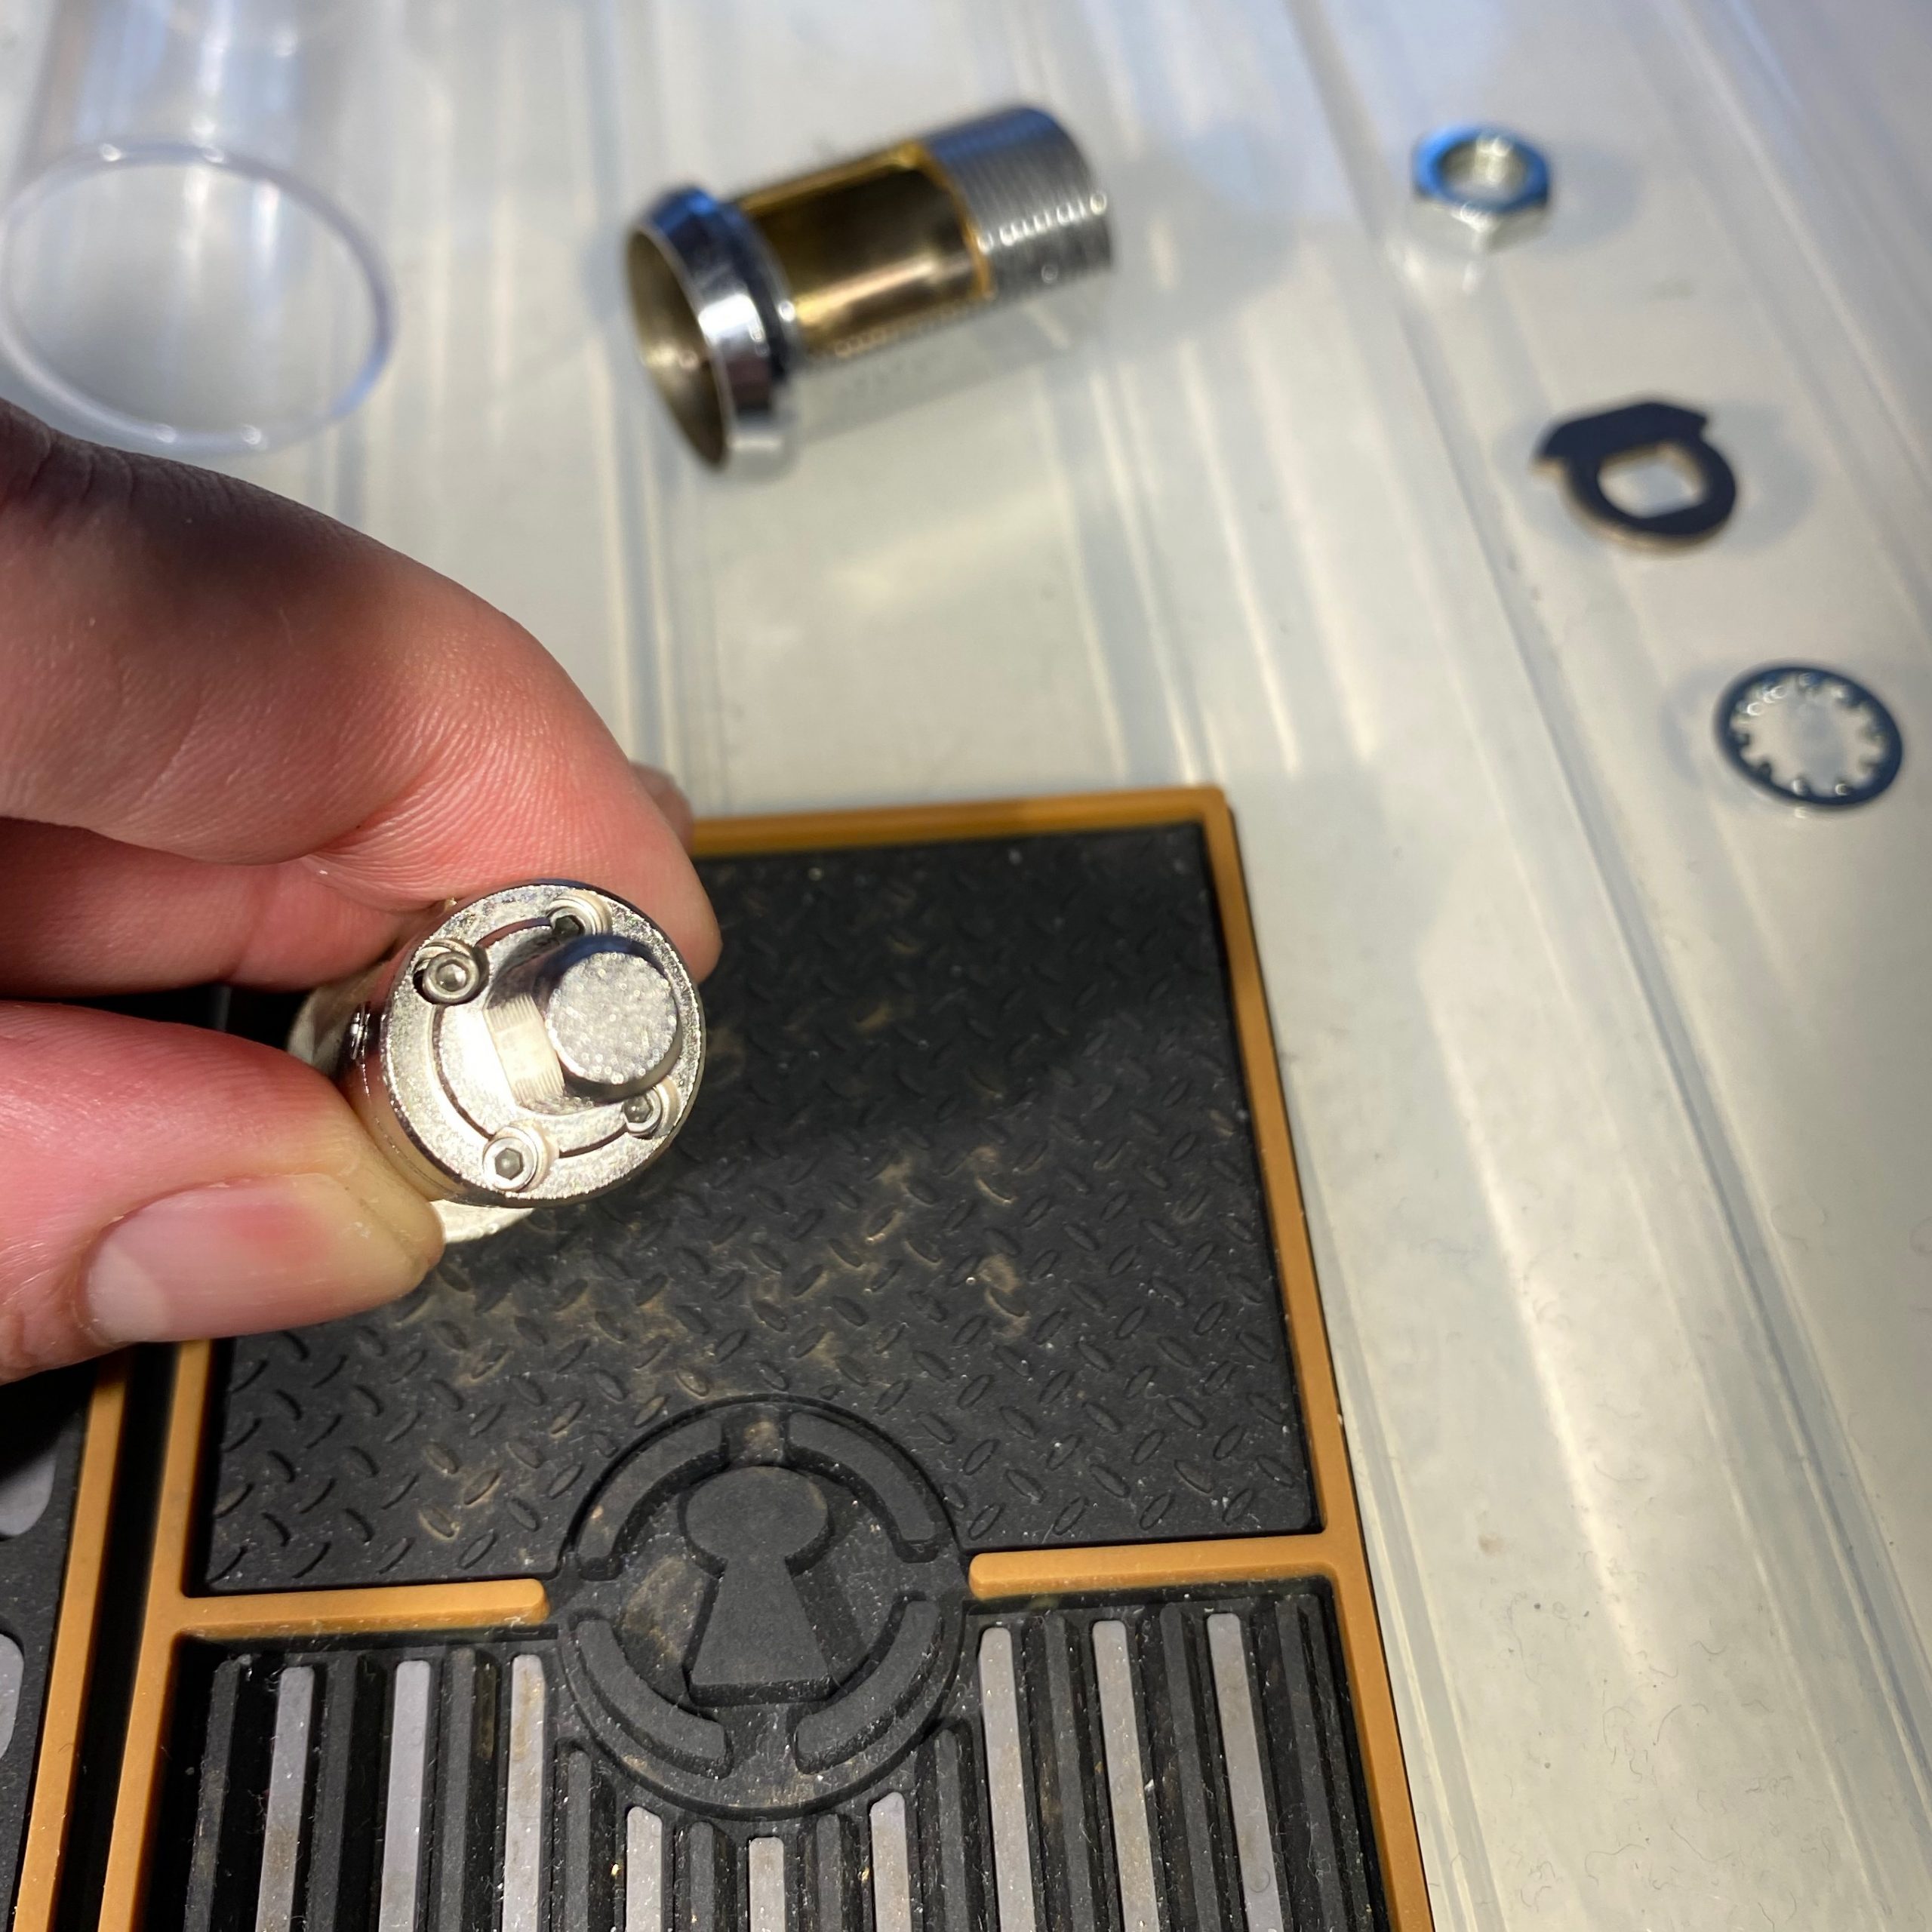
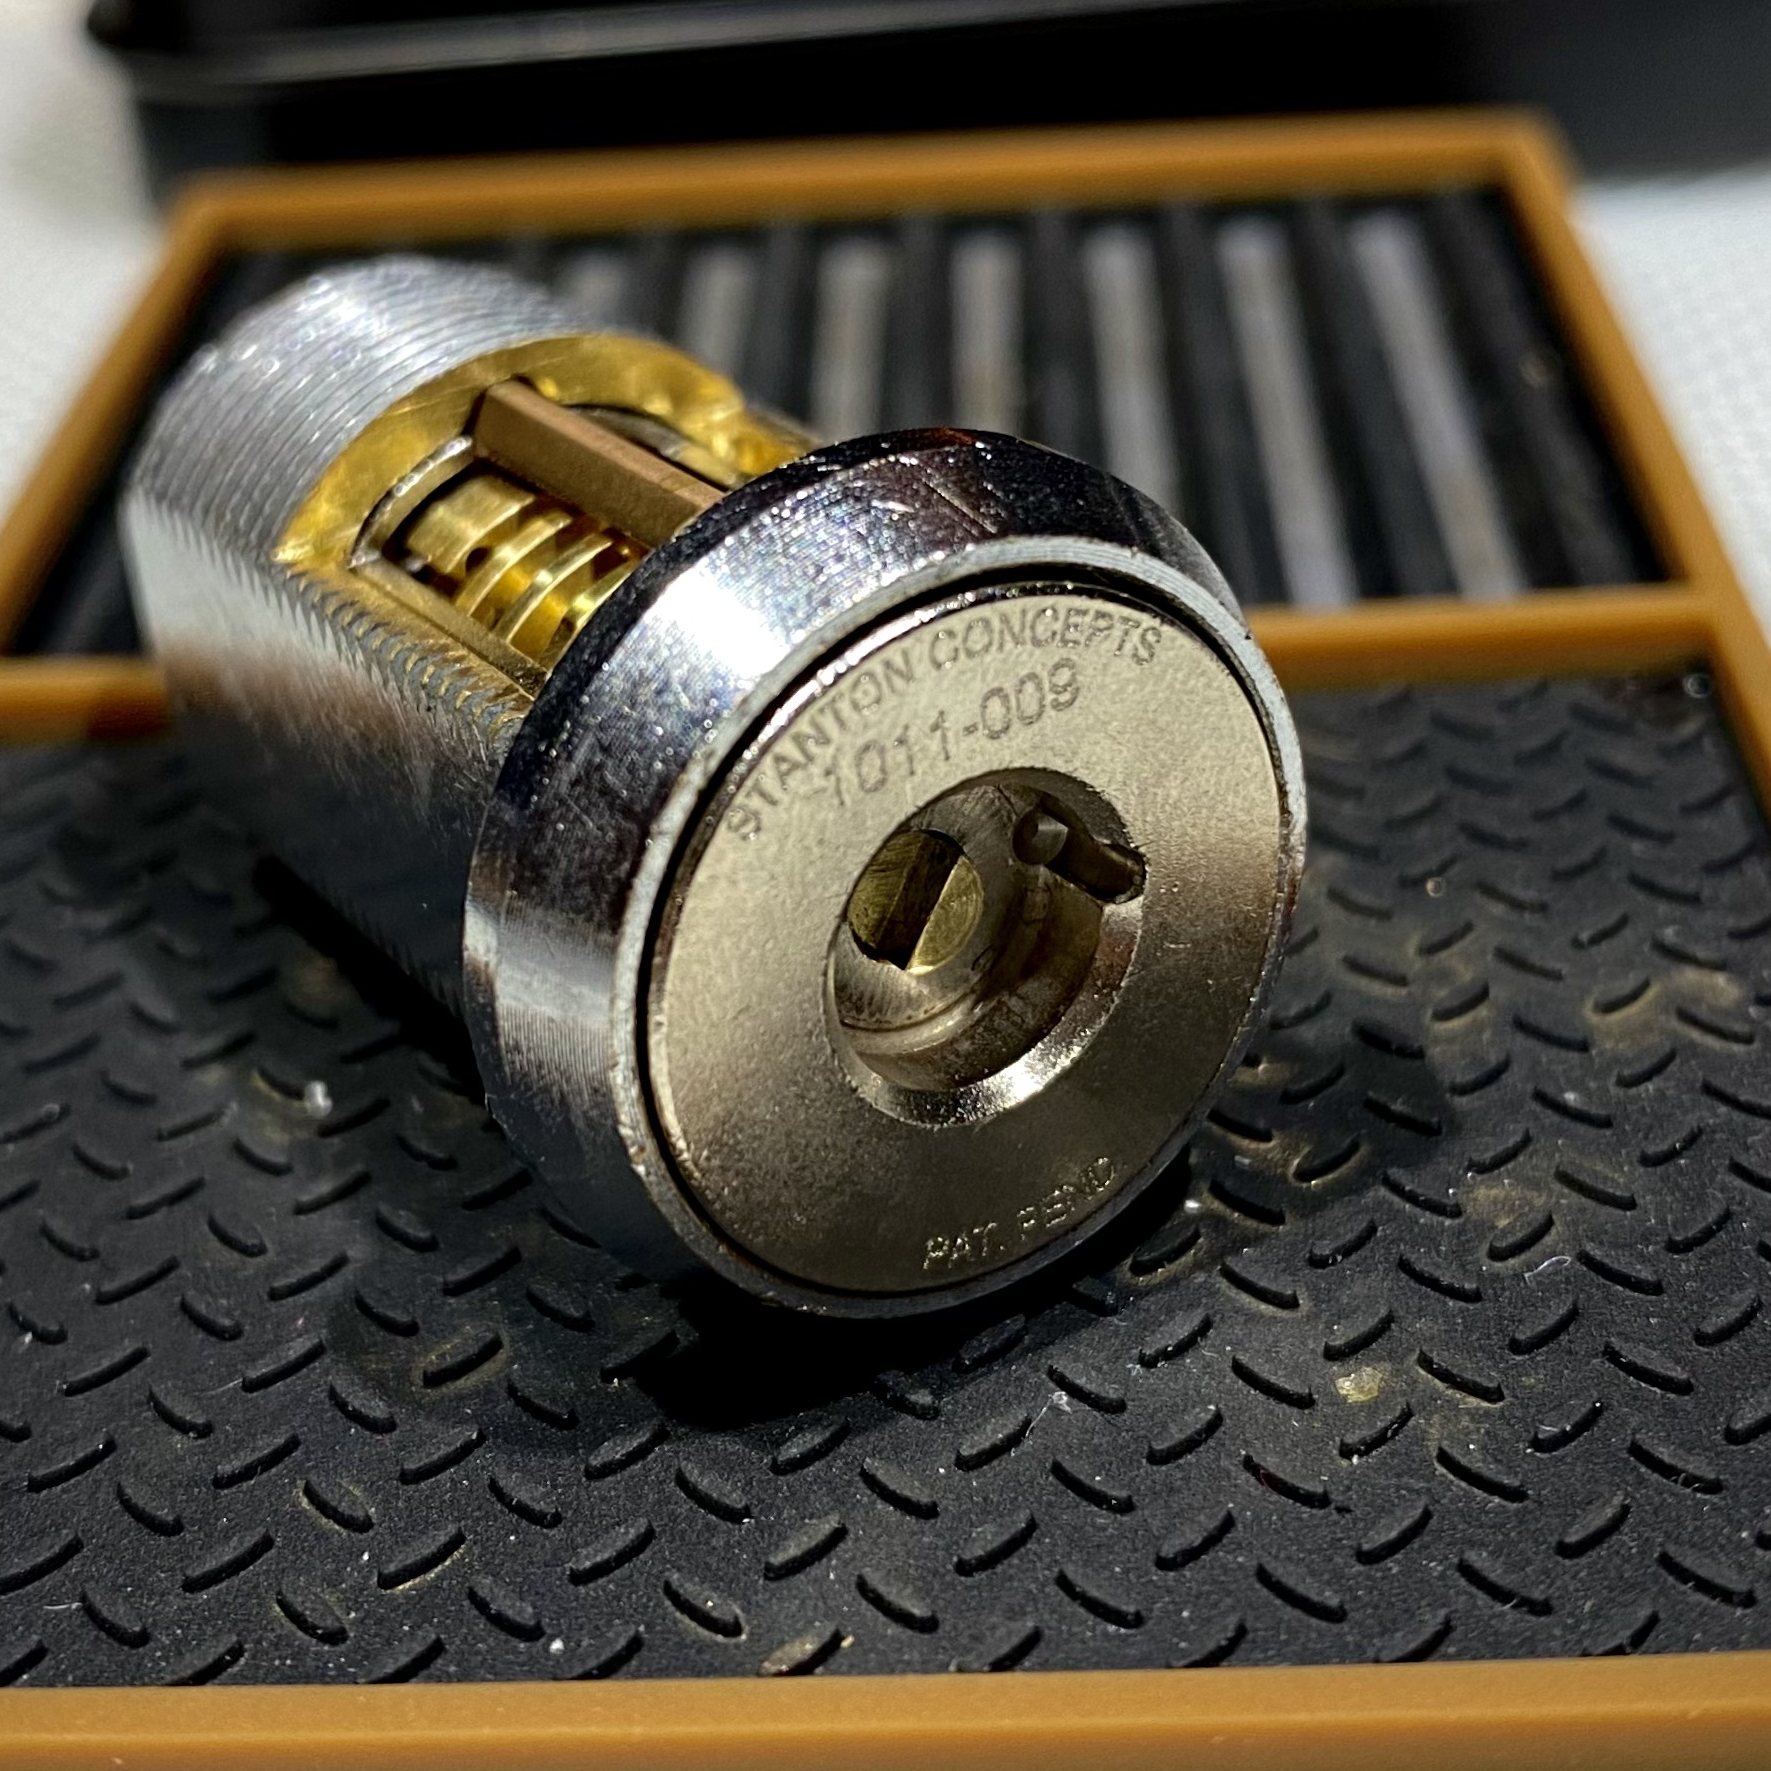
There’s 4 hex screws inset in the endplug that a 1.5mm key was too big for and that’s the smallest one I have, so I figured I’d leave them alone if I can.
You can see that one of them was loose; it promptly fell out when I tilted the core. Welp. As far as I can tell they hold the part with the threads to the rest of the endplug.
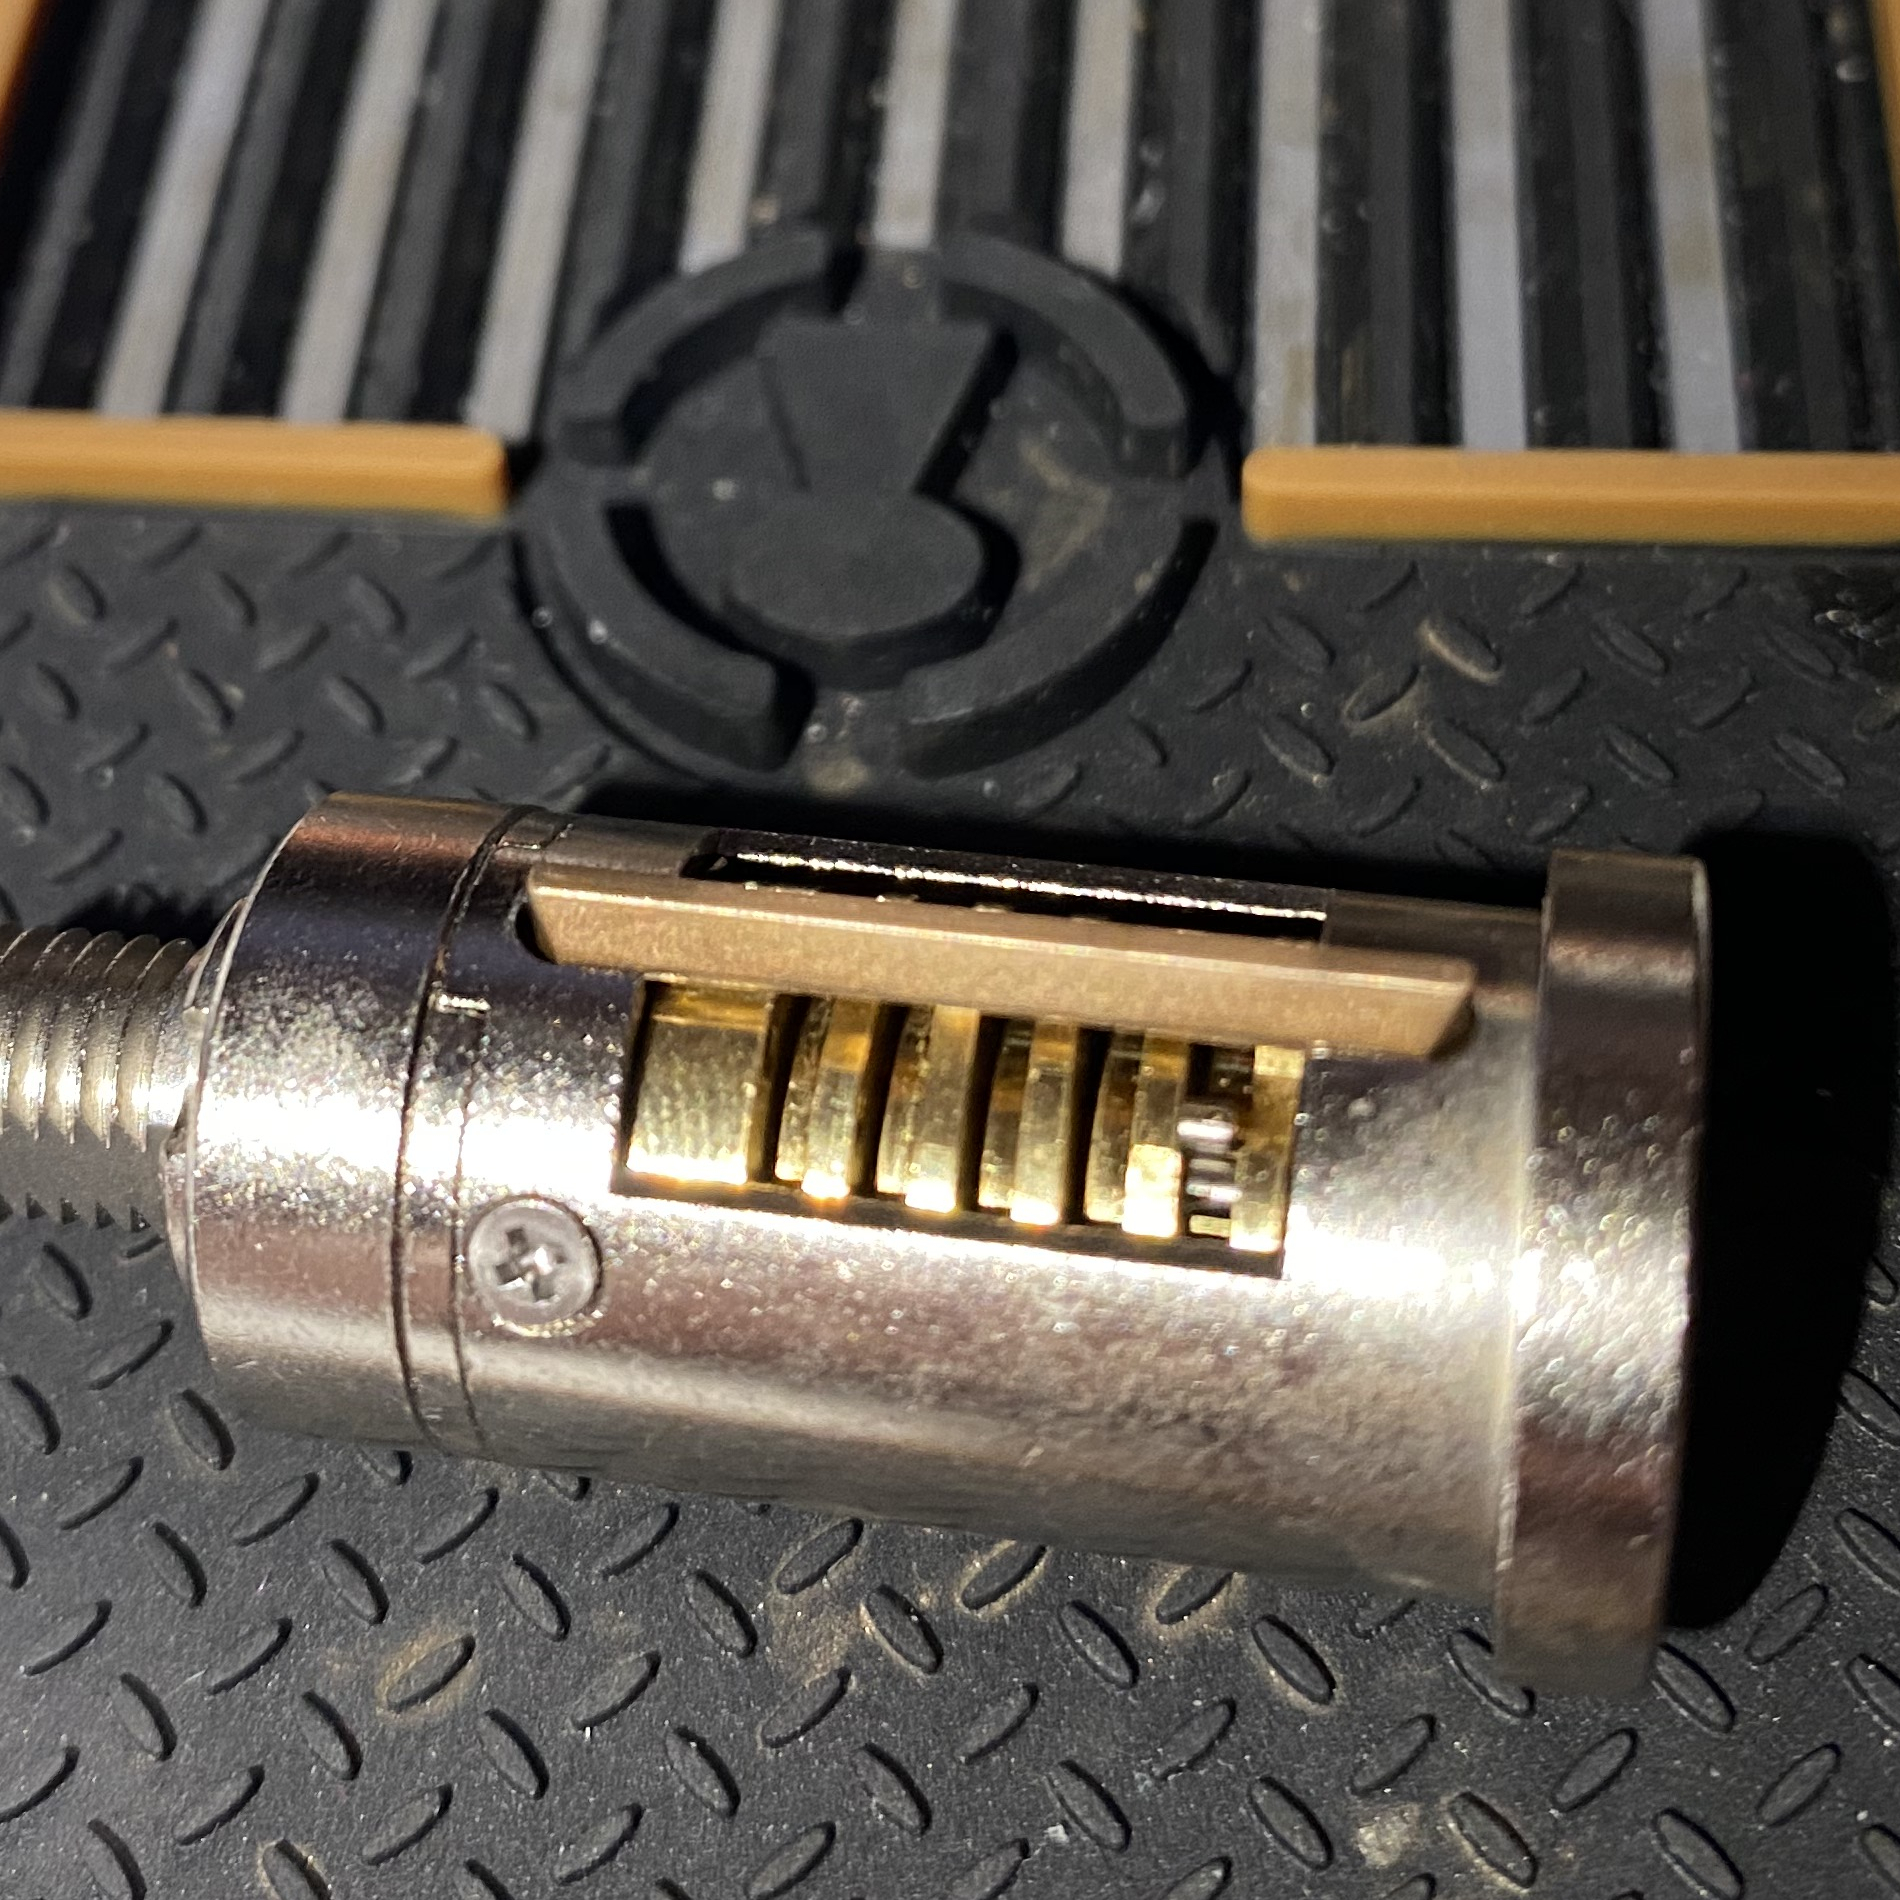
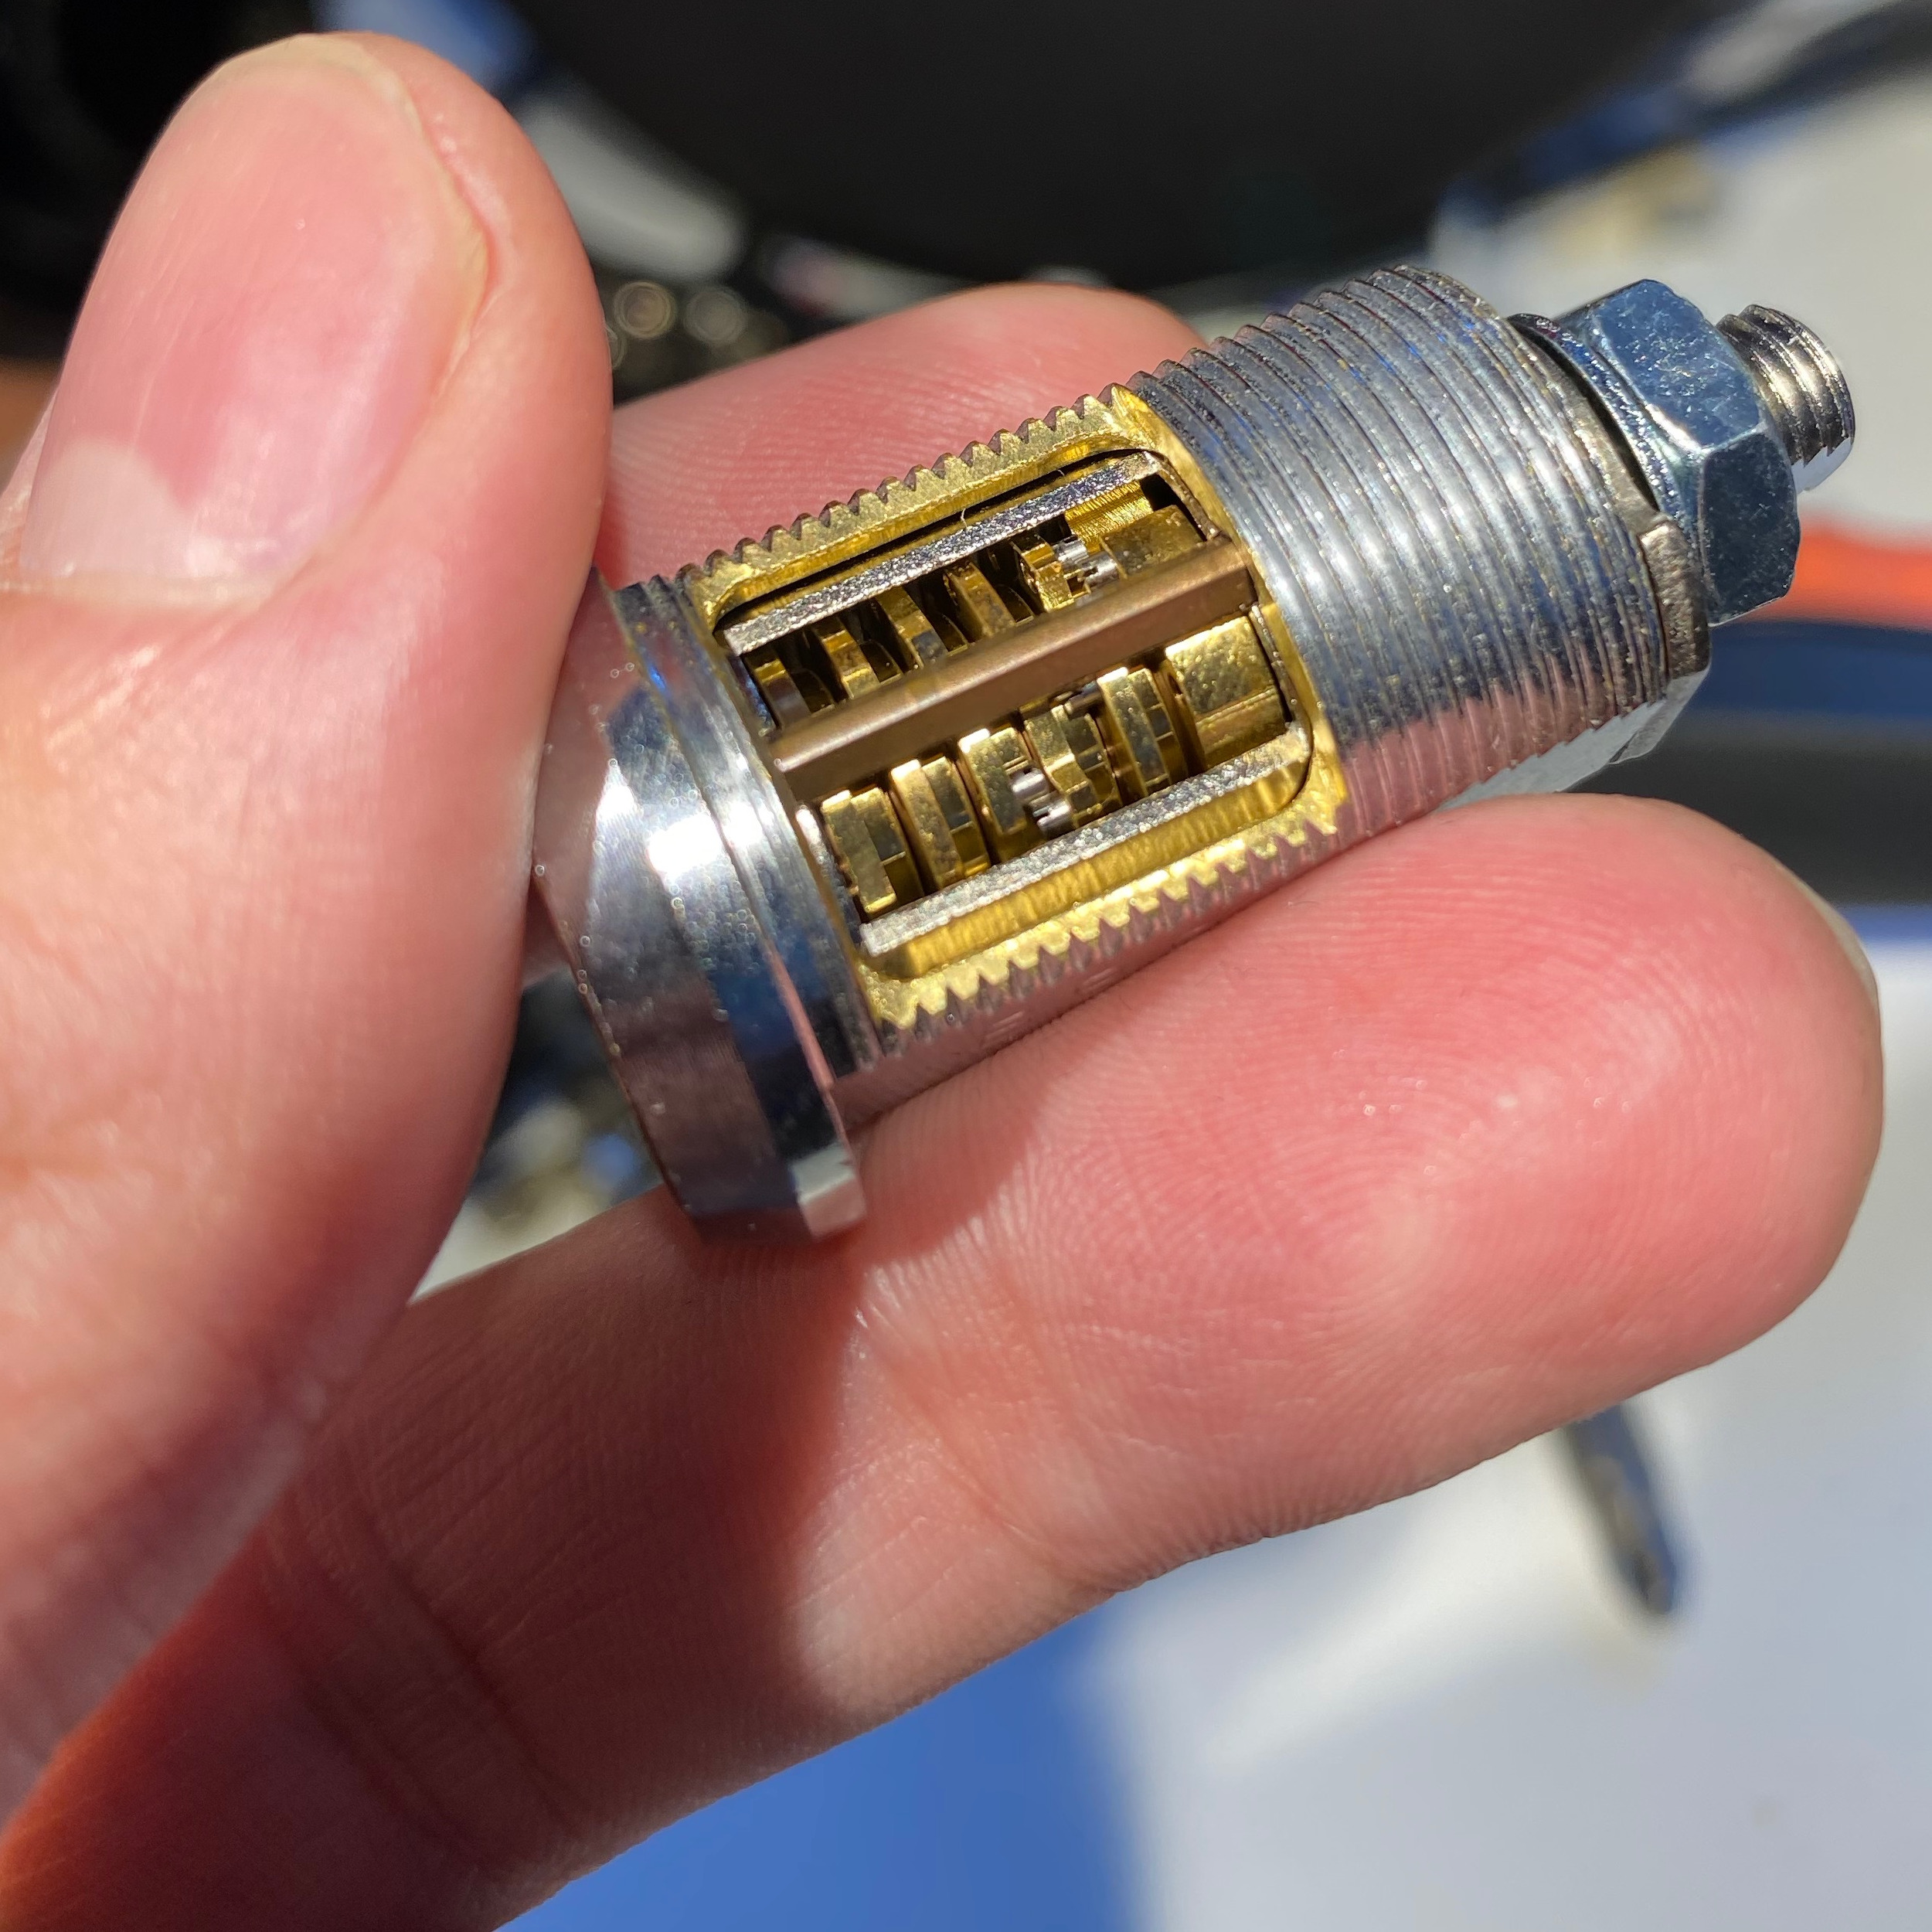
The sidebar’s got springs on both ends, attached the sidebar. The endplug is attached to the plug casing with 3 screws with PH000 heads (although PH00 will probably do too.) Note that those screws were only very weakly magnetic, so don’t trust them to stay on a magnetized screwdriver.
Disk pack ahoy!
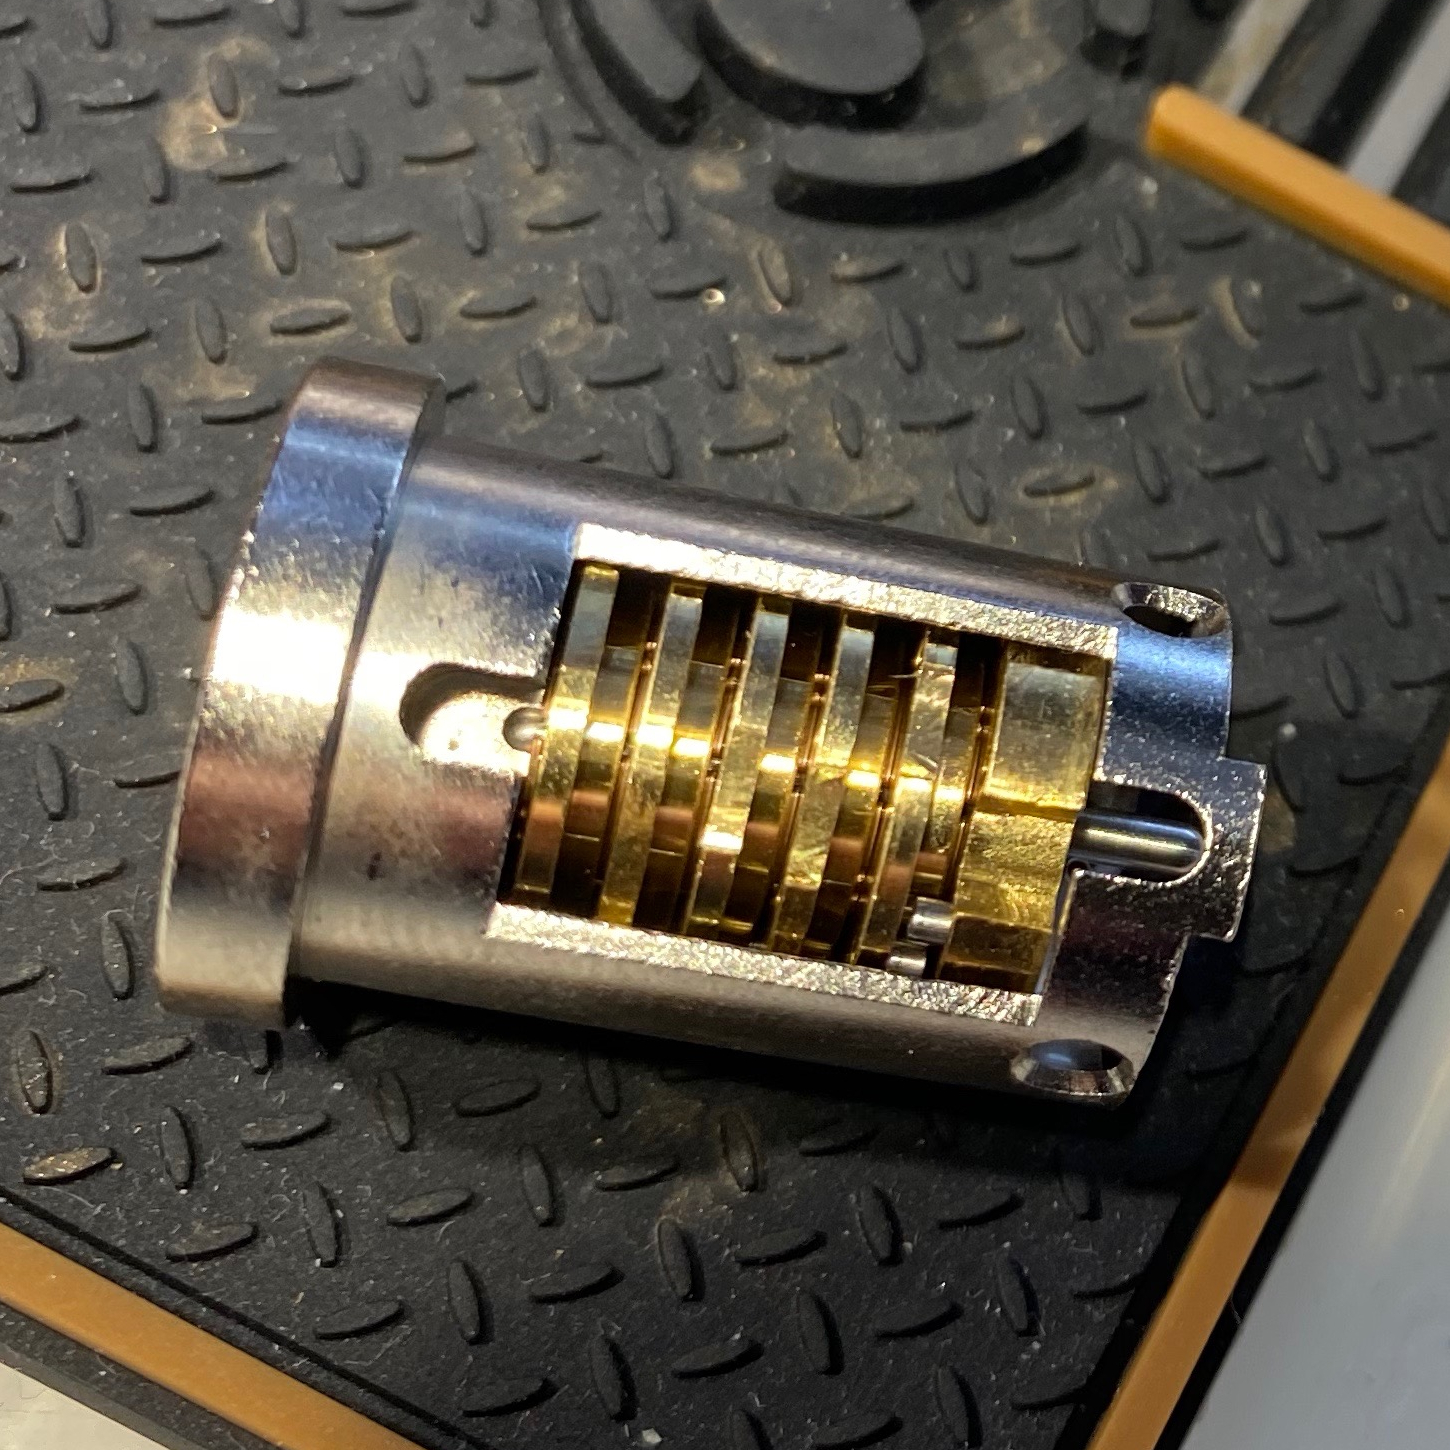
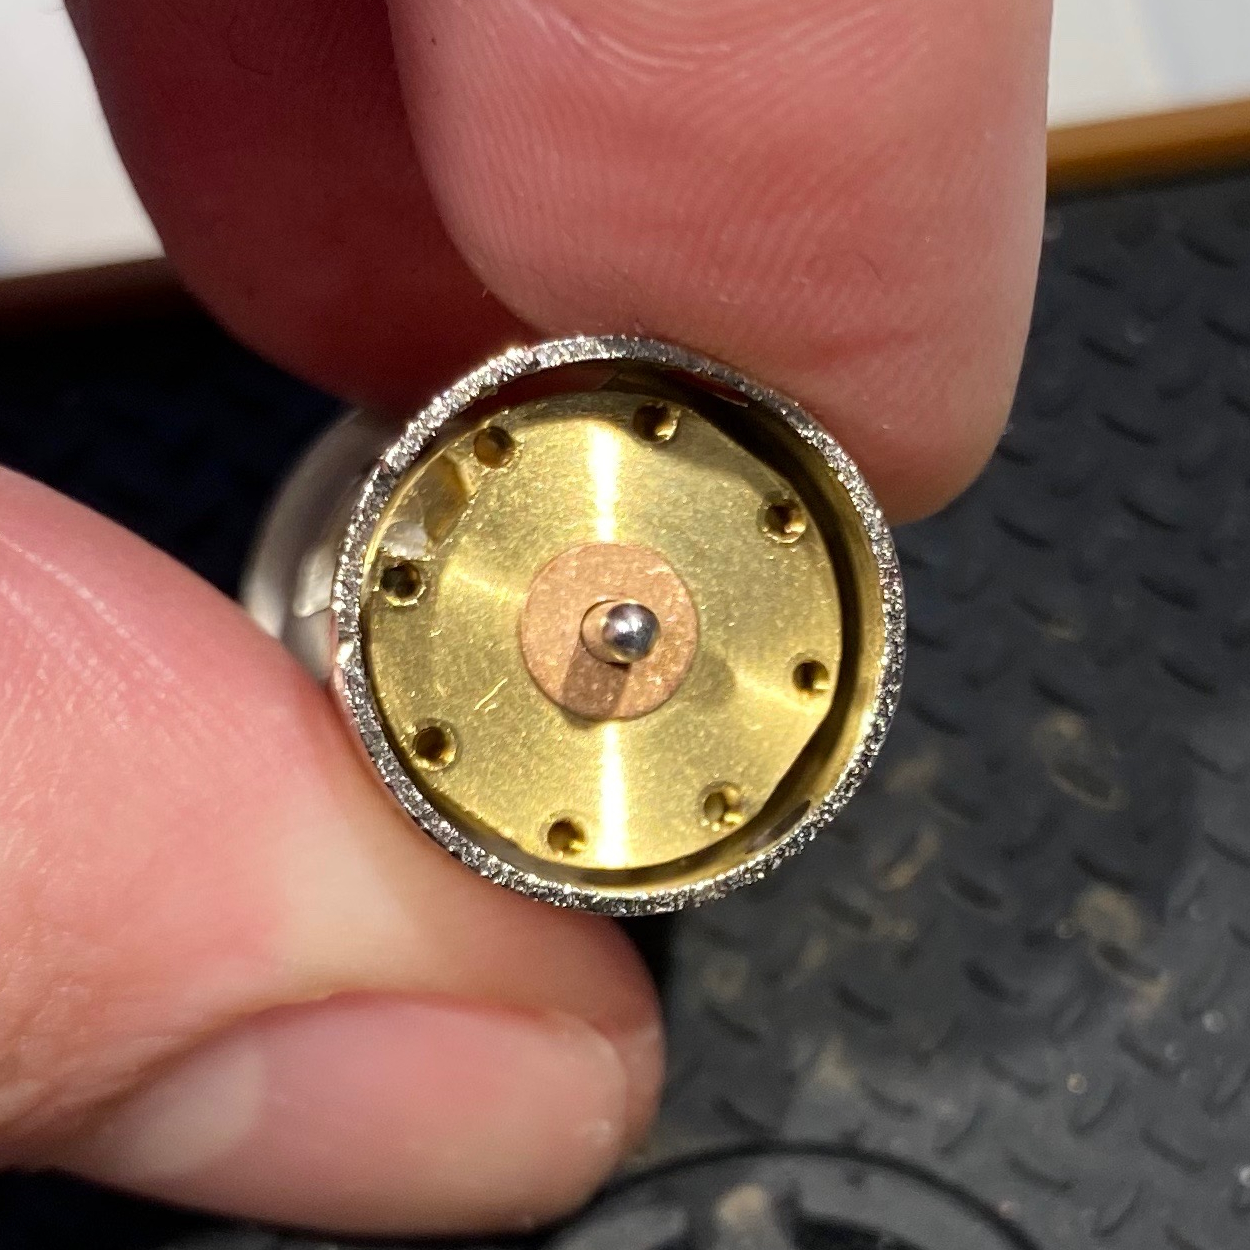
That pin you see on the drive disk sits on a spring. Two washers although it looks like just one.
Showing drive pin holes in drive disk, with gate pointing to the upper left, although obviously no pin on this side.
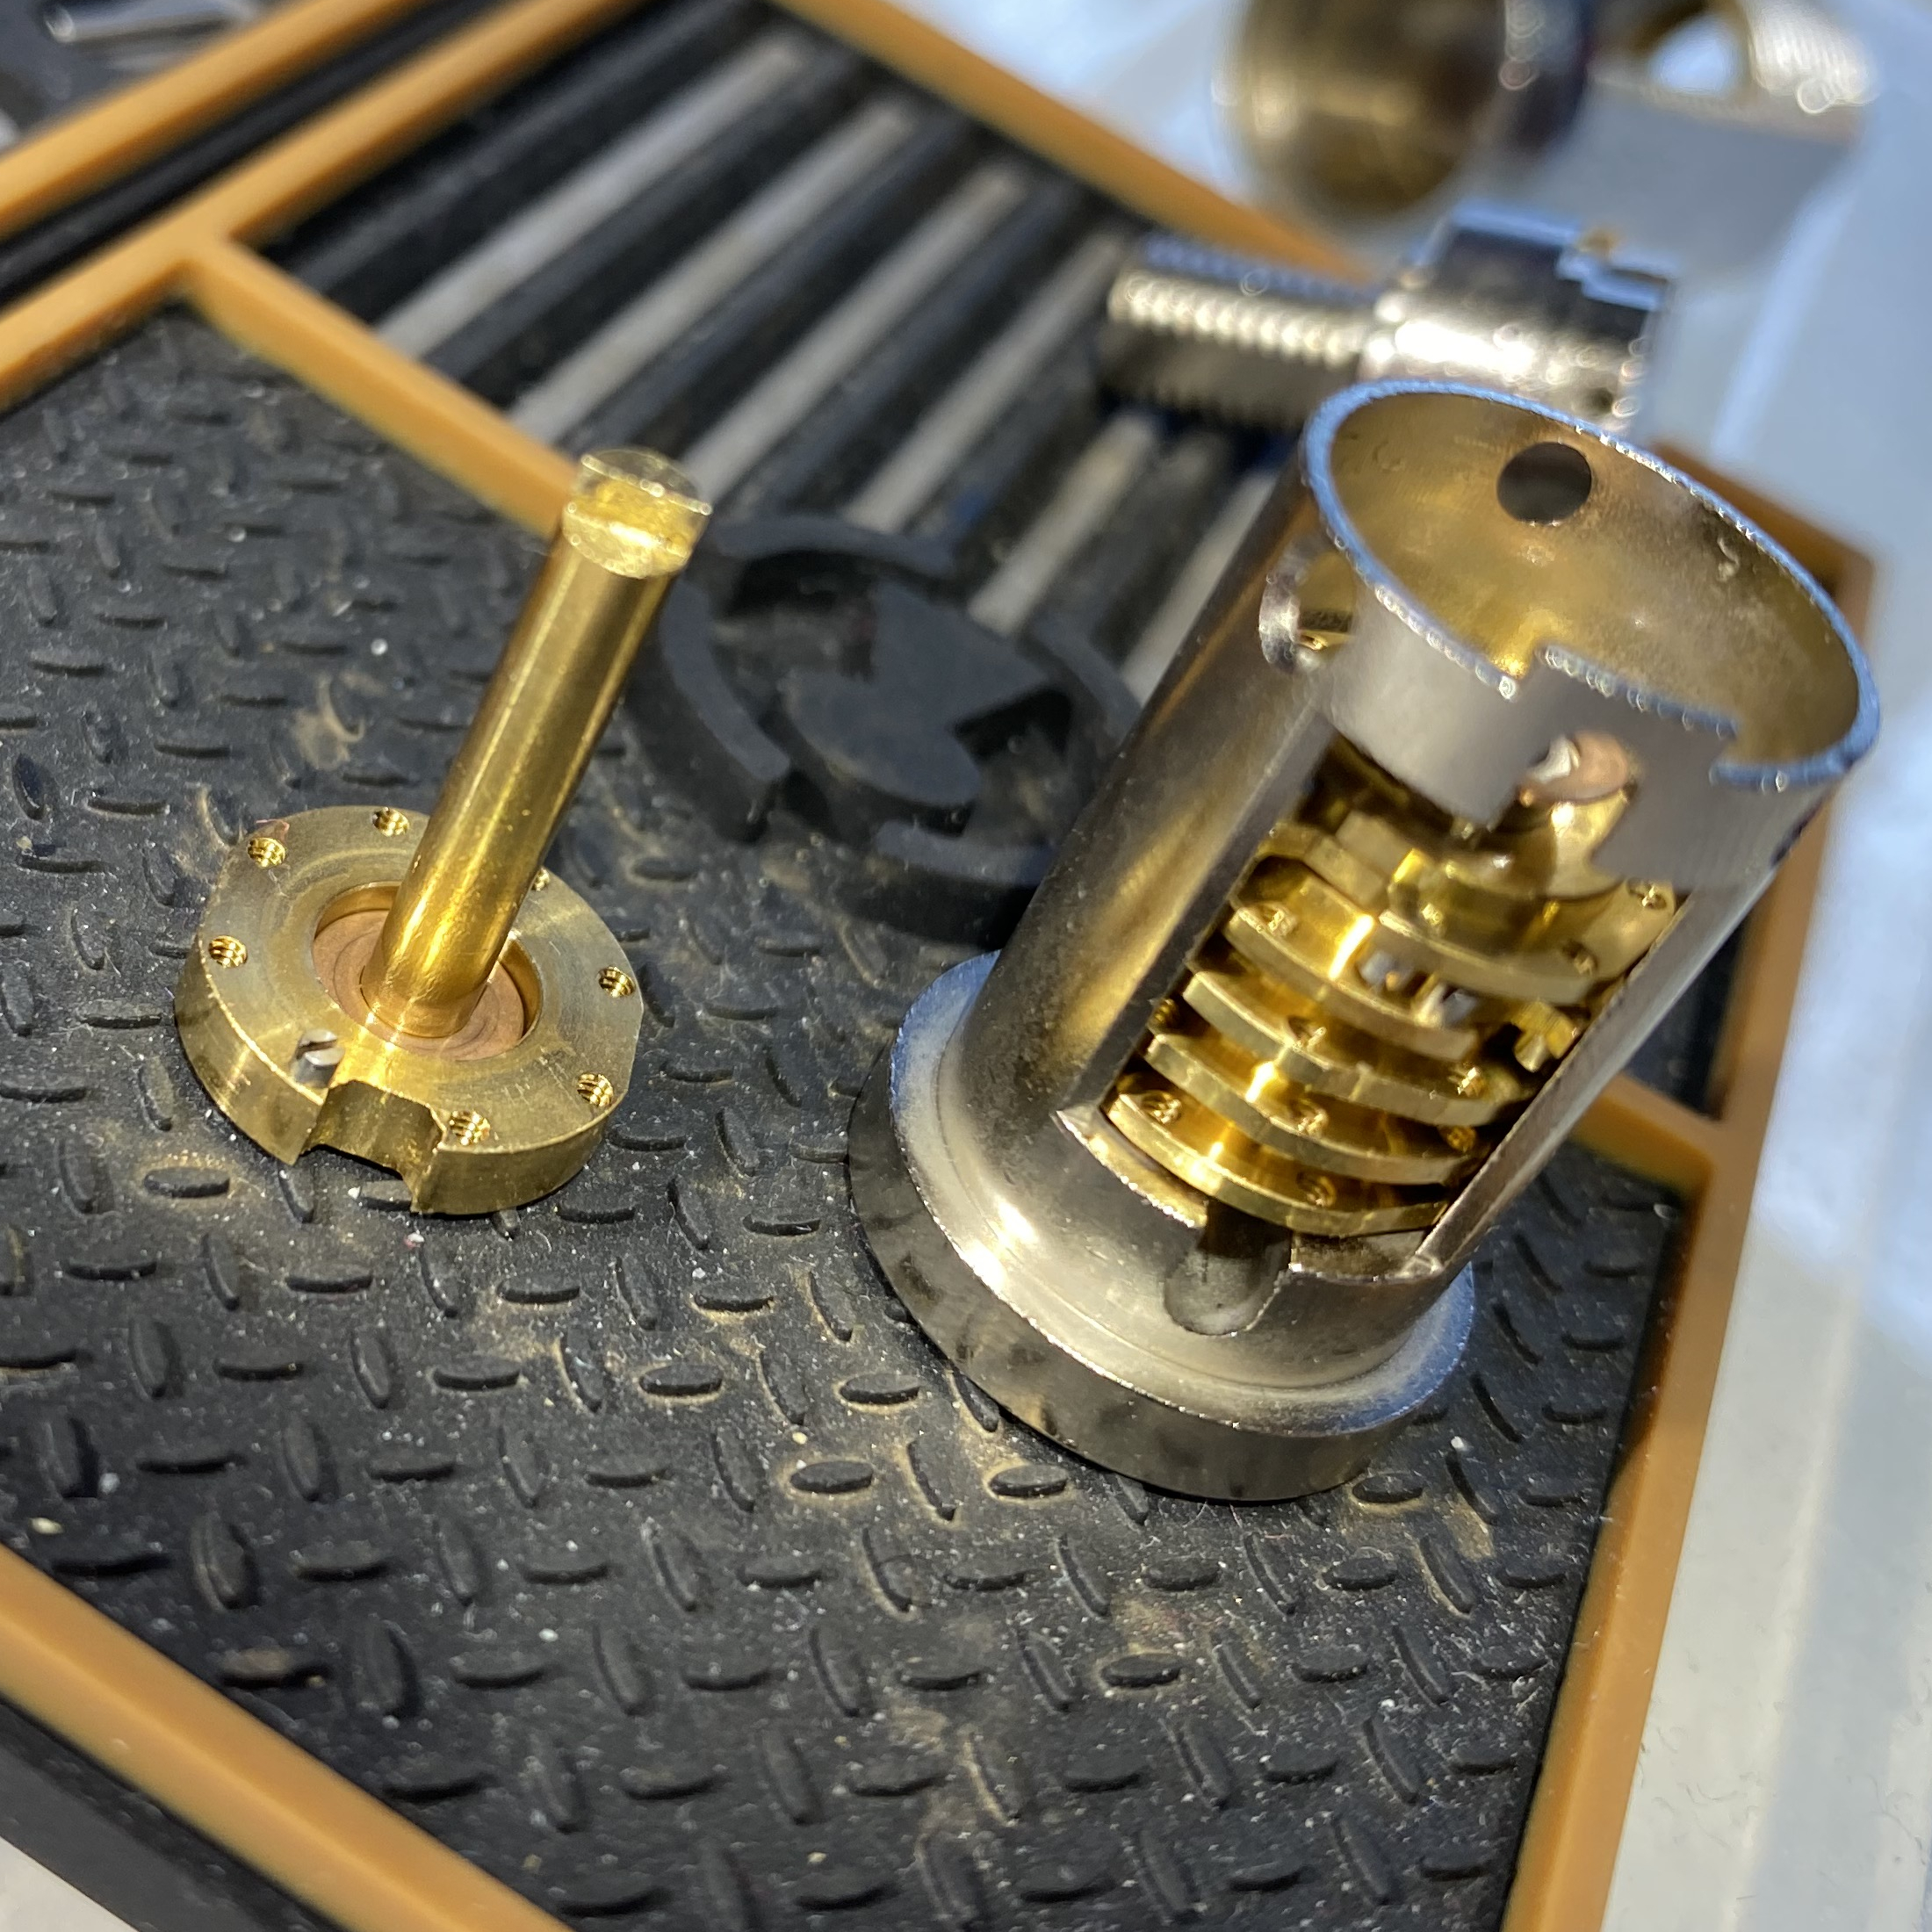
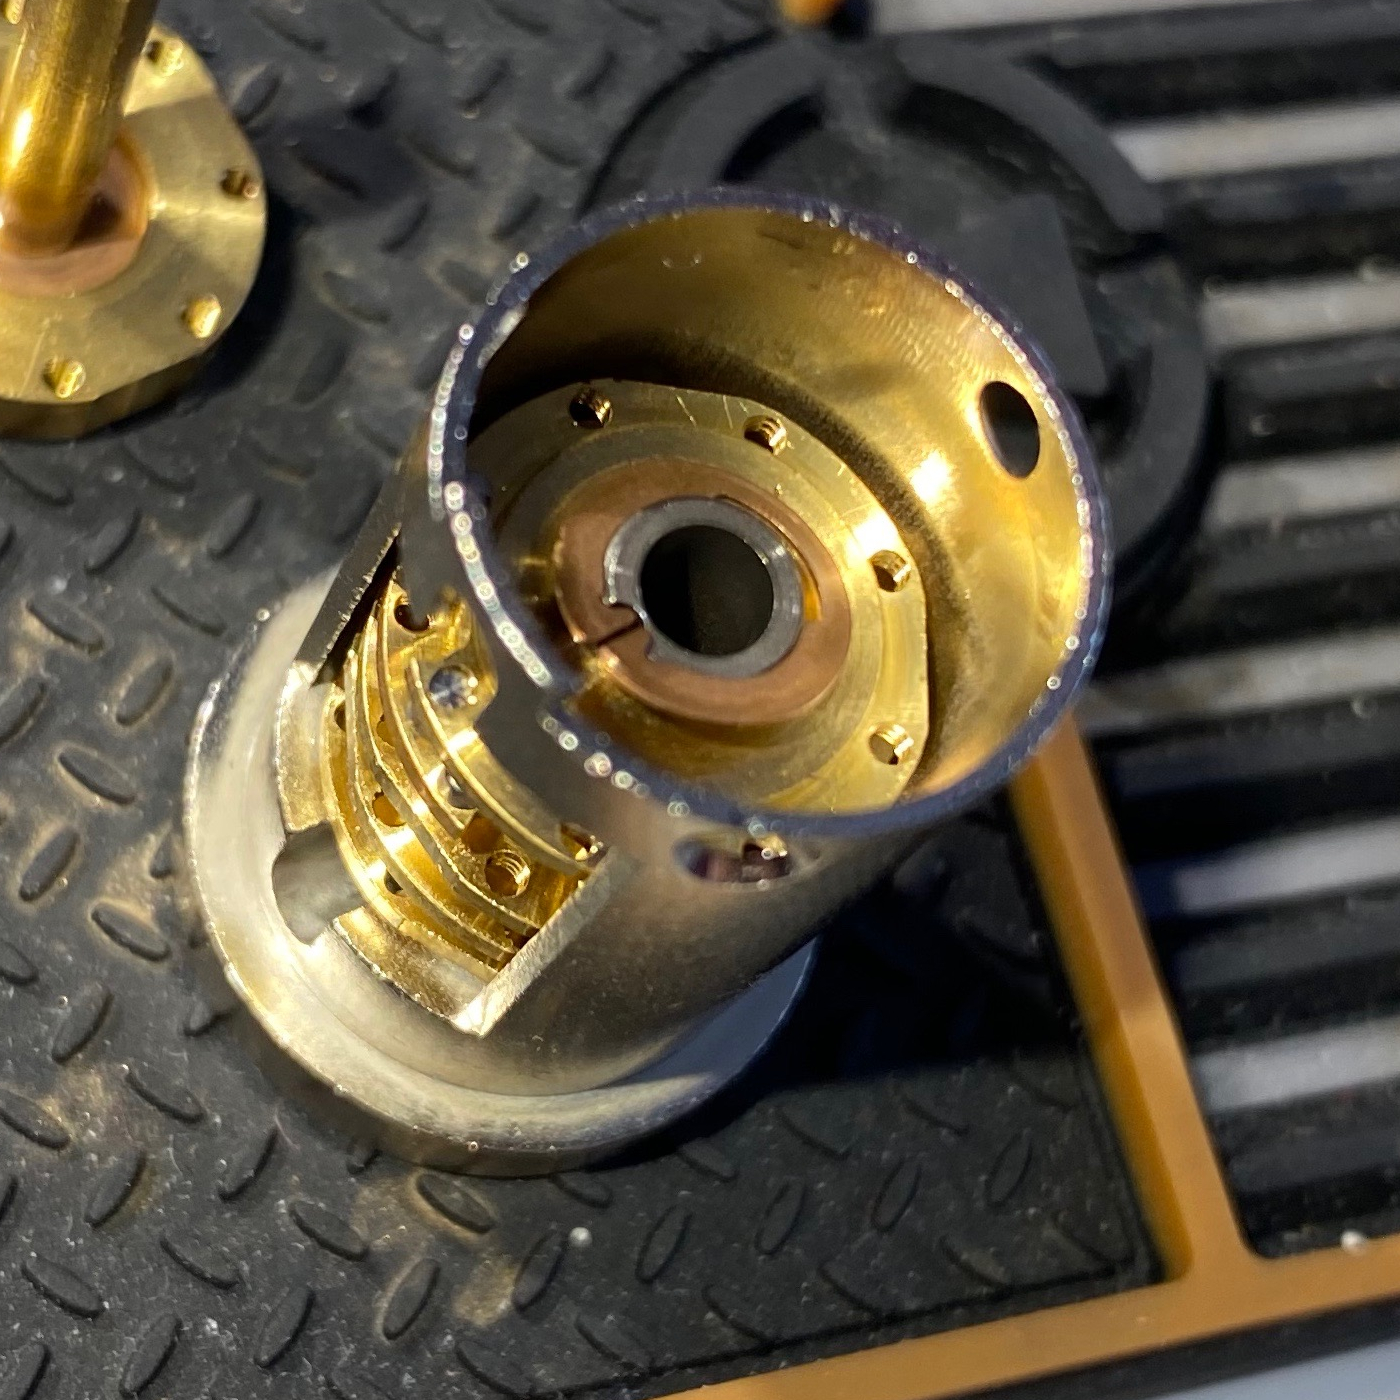
The disks sit pretty snugly in the casing, and they’re proving hard to remove. Trying to nudge them from the side just tilts them so the sides snag.
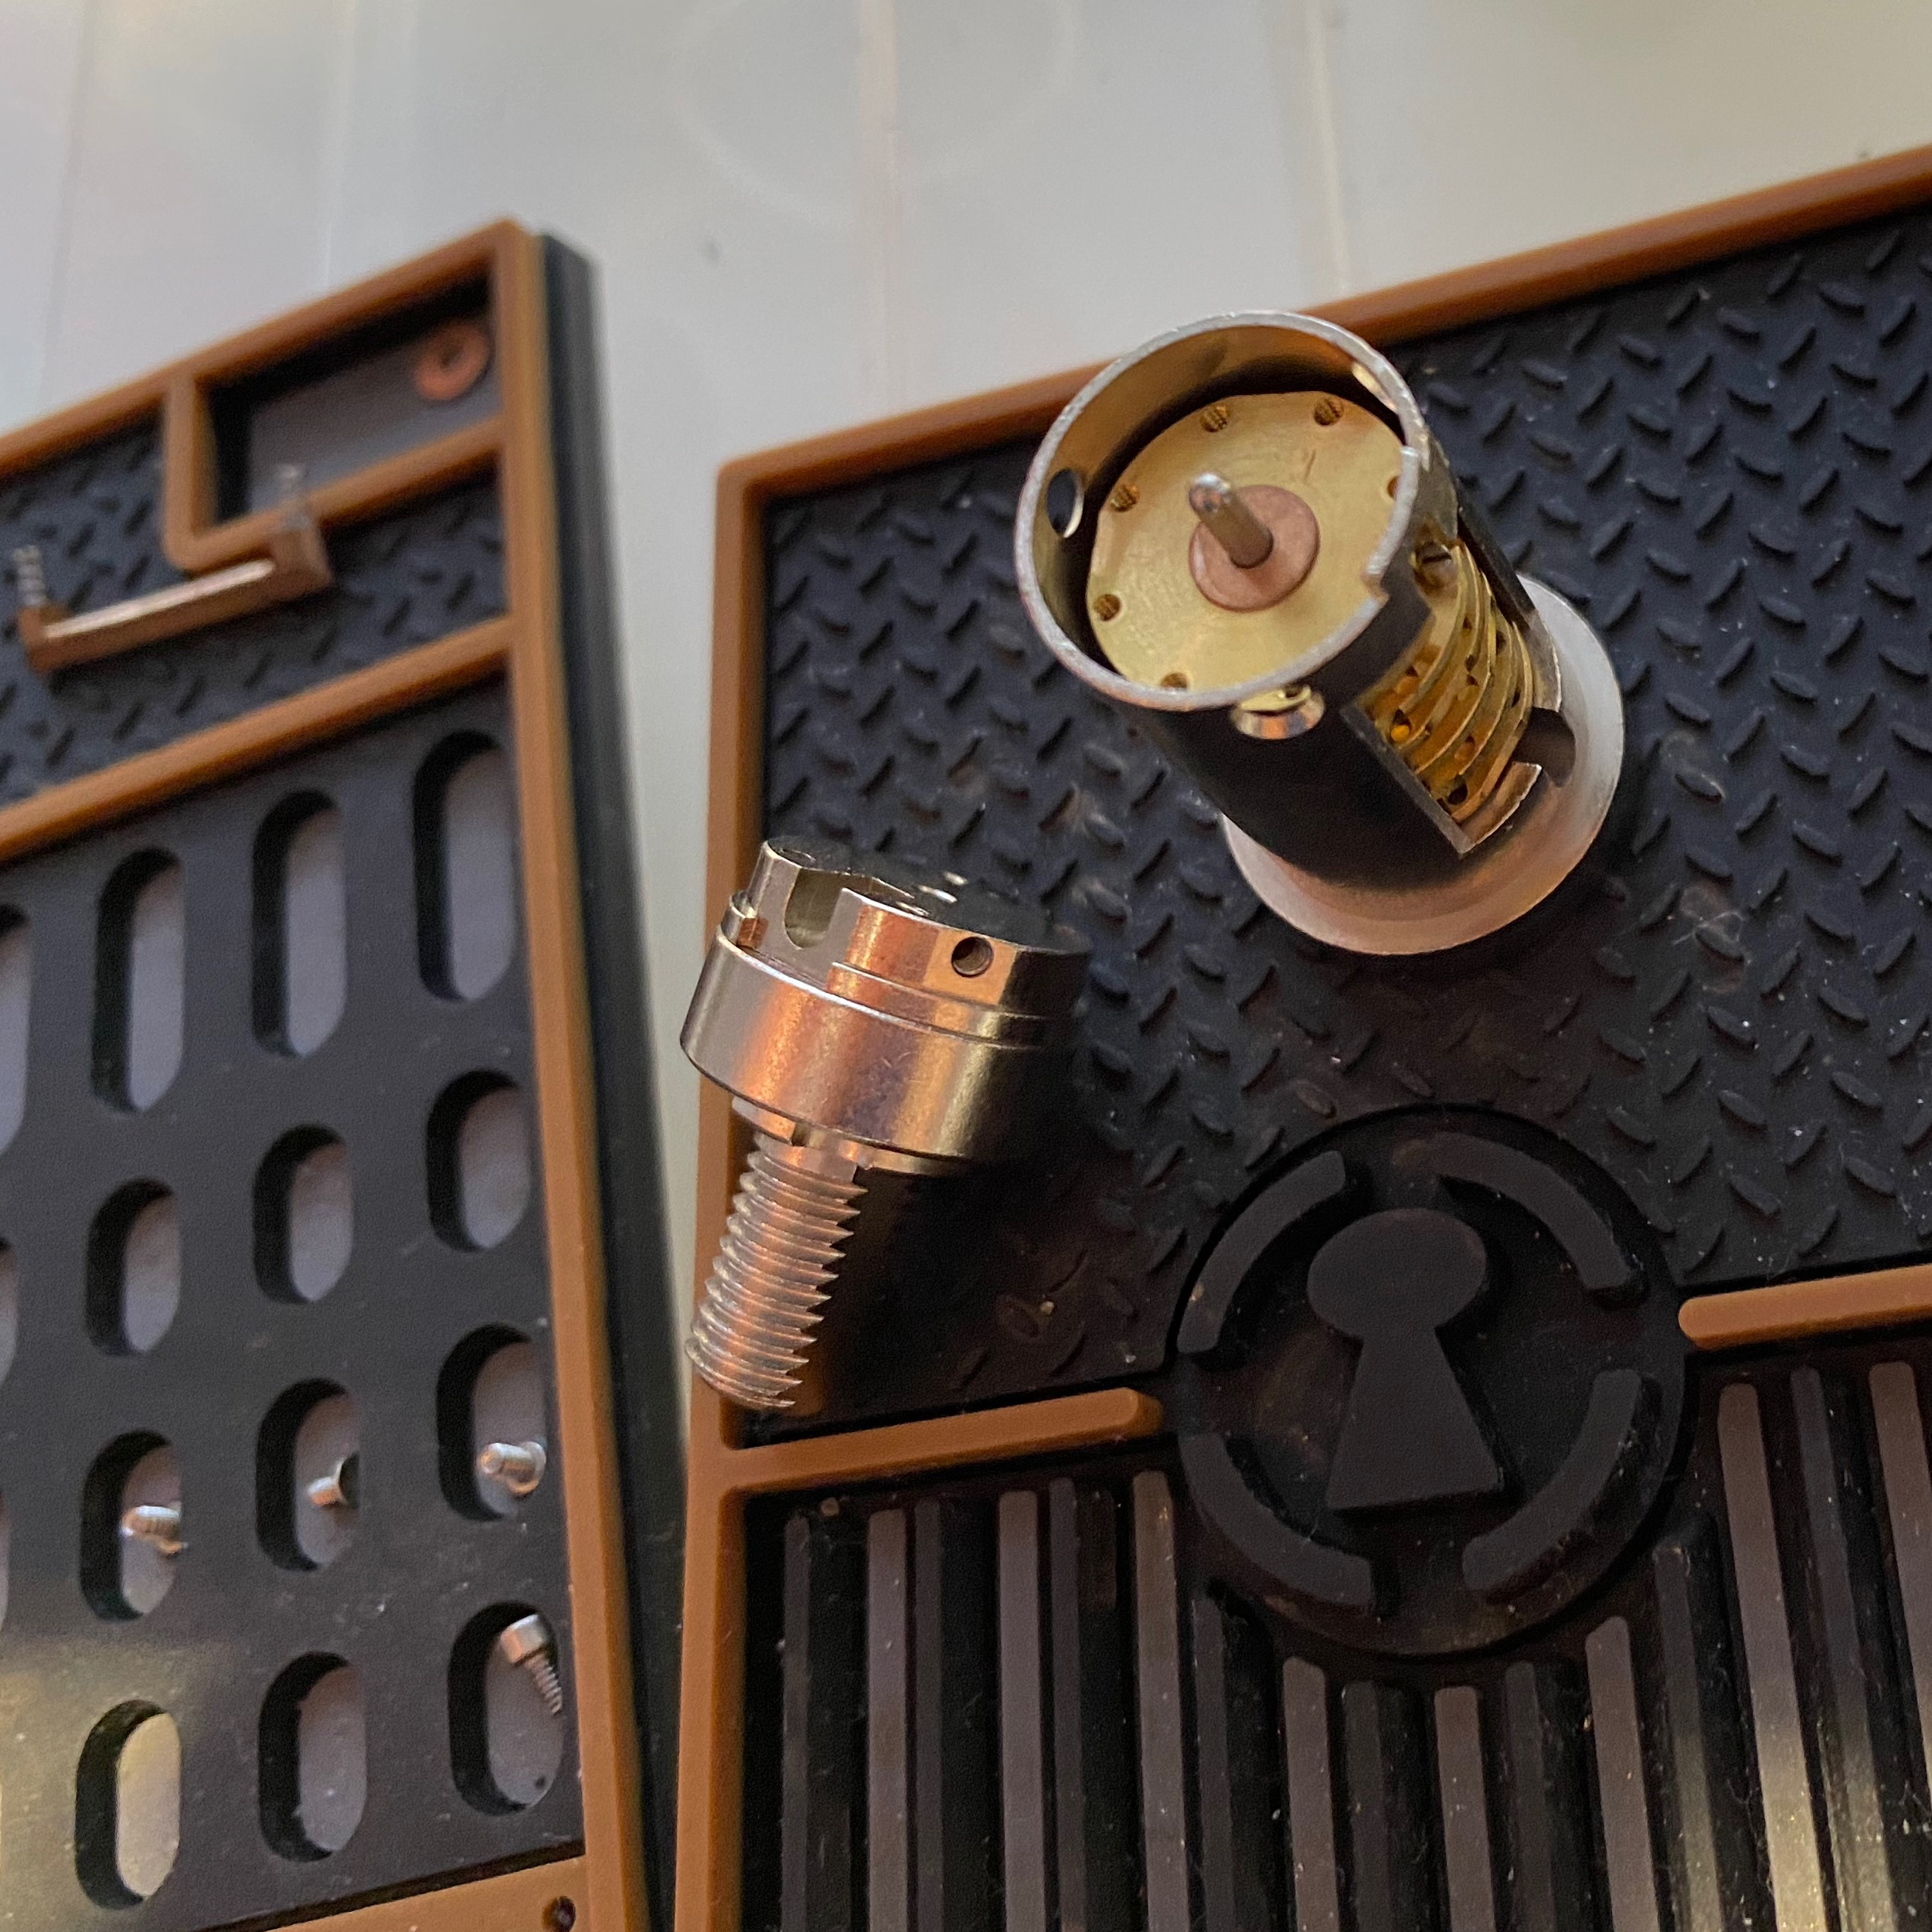
Then I thought to push at the drive shaft from the dialer side with a screwdriver, which got got things moving. This disk pack is now going places!
Your friendly neighbourhood drive disk and their trusty pin.
Note that in some of the subsequent comments I’ll be talking about “top” and “bottom” pins. They refer to the orientation the lock is in, in the picture below, so “keyway” (dialerway?) down, and the wide part of the disk goes “down.”
Before I even started taking this apart I was thinking that my smallest screwdriver might not have a thin enough head. It didn’t. And no way am I doing anything to those pins without better tweezers.
Circlip washers from hell. Getting those back on will be interesting, but if I manage the pins these should feel like a walk in the park.

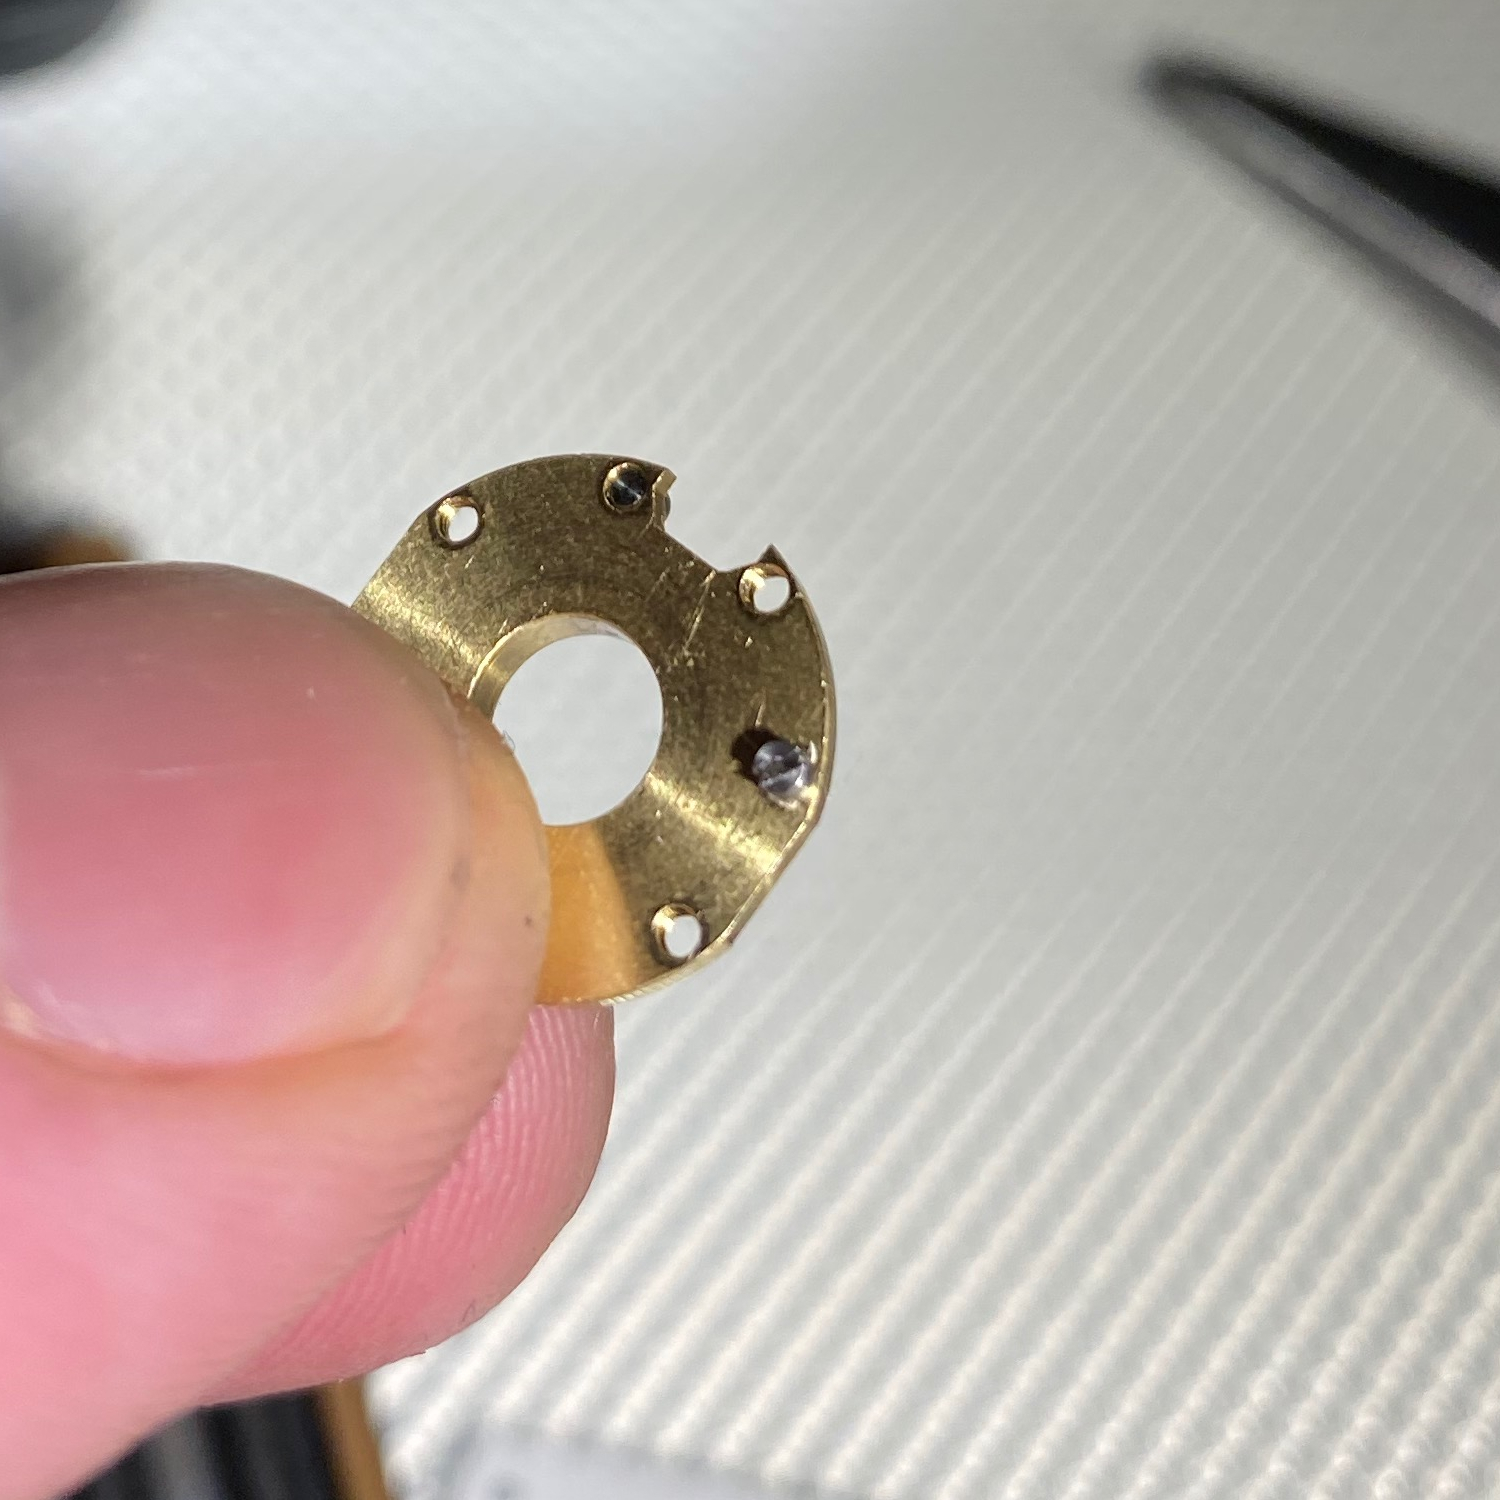
Disks. You can see that the gates are always 90° apart and the pin positions are 45° apart and at the edges of the gates. All disks except 1 (lower right) have 2 pins, and disk 1 only has the top pin (it’s top down in the picture).
The drive pin screws are 1.2mm wide at the head and they’re around 1.9mm long but they’re nontrivial to measure.
The disks were about 1.2cm at the widest part. Unfortunately I forgot to write down the measurements and only realized this after I’d reassembled the lock. Oh well.
Looking at the pins got me wondering if the combo change is supposed to be done so that you can change the positions of both of the pins, or is the top pin fixed? Why I thought it’d be the top pin (i.e. the one sticking up towards the drive disk in this orientation) was that the drive disk only has a bottom disk and it has pin holes, so its pin likely isn’t fixed.
7 gate positions per disk sounds very small compared to the RKS doc, though, but who knows if that applies to this version. The other option would be that both pins are actually movable, but I’m not entirely sure how much that’d increase the keyspace. We’ll hopefully find out once I get my grubby mitts on a smaller
screwdriver.

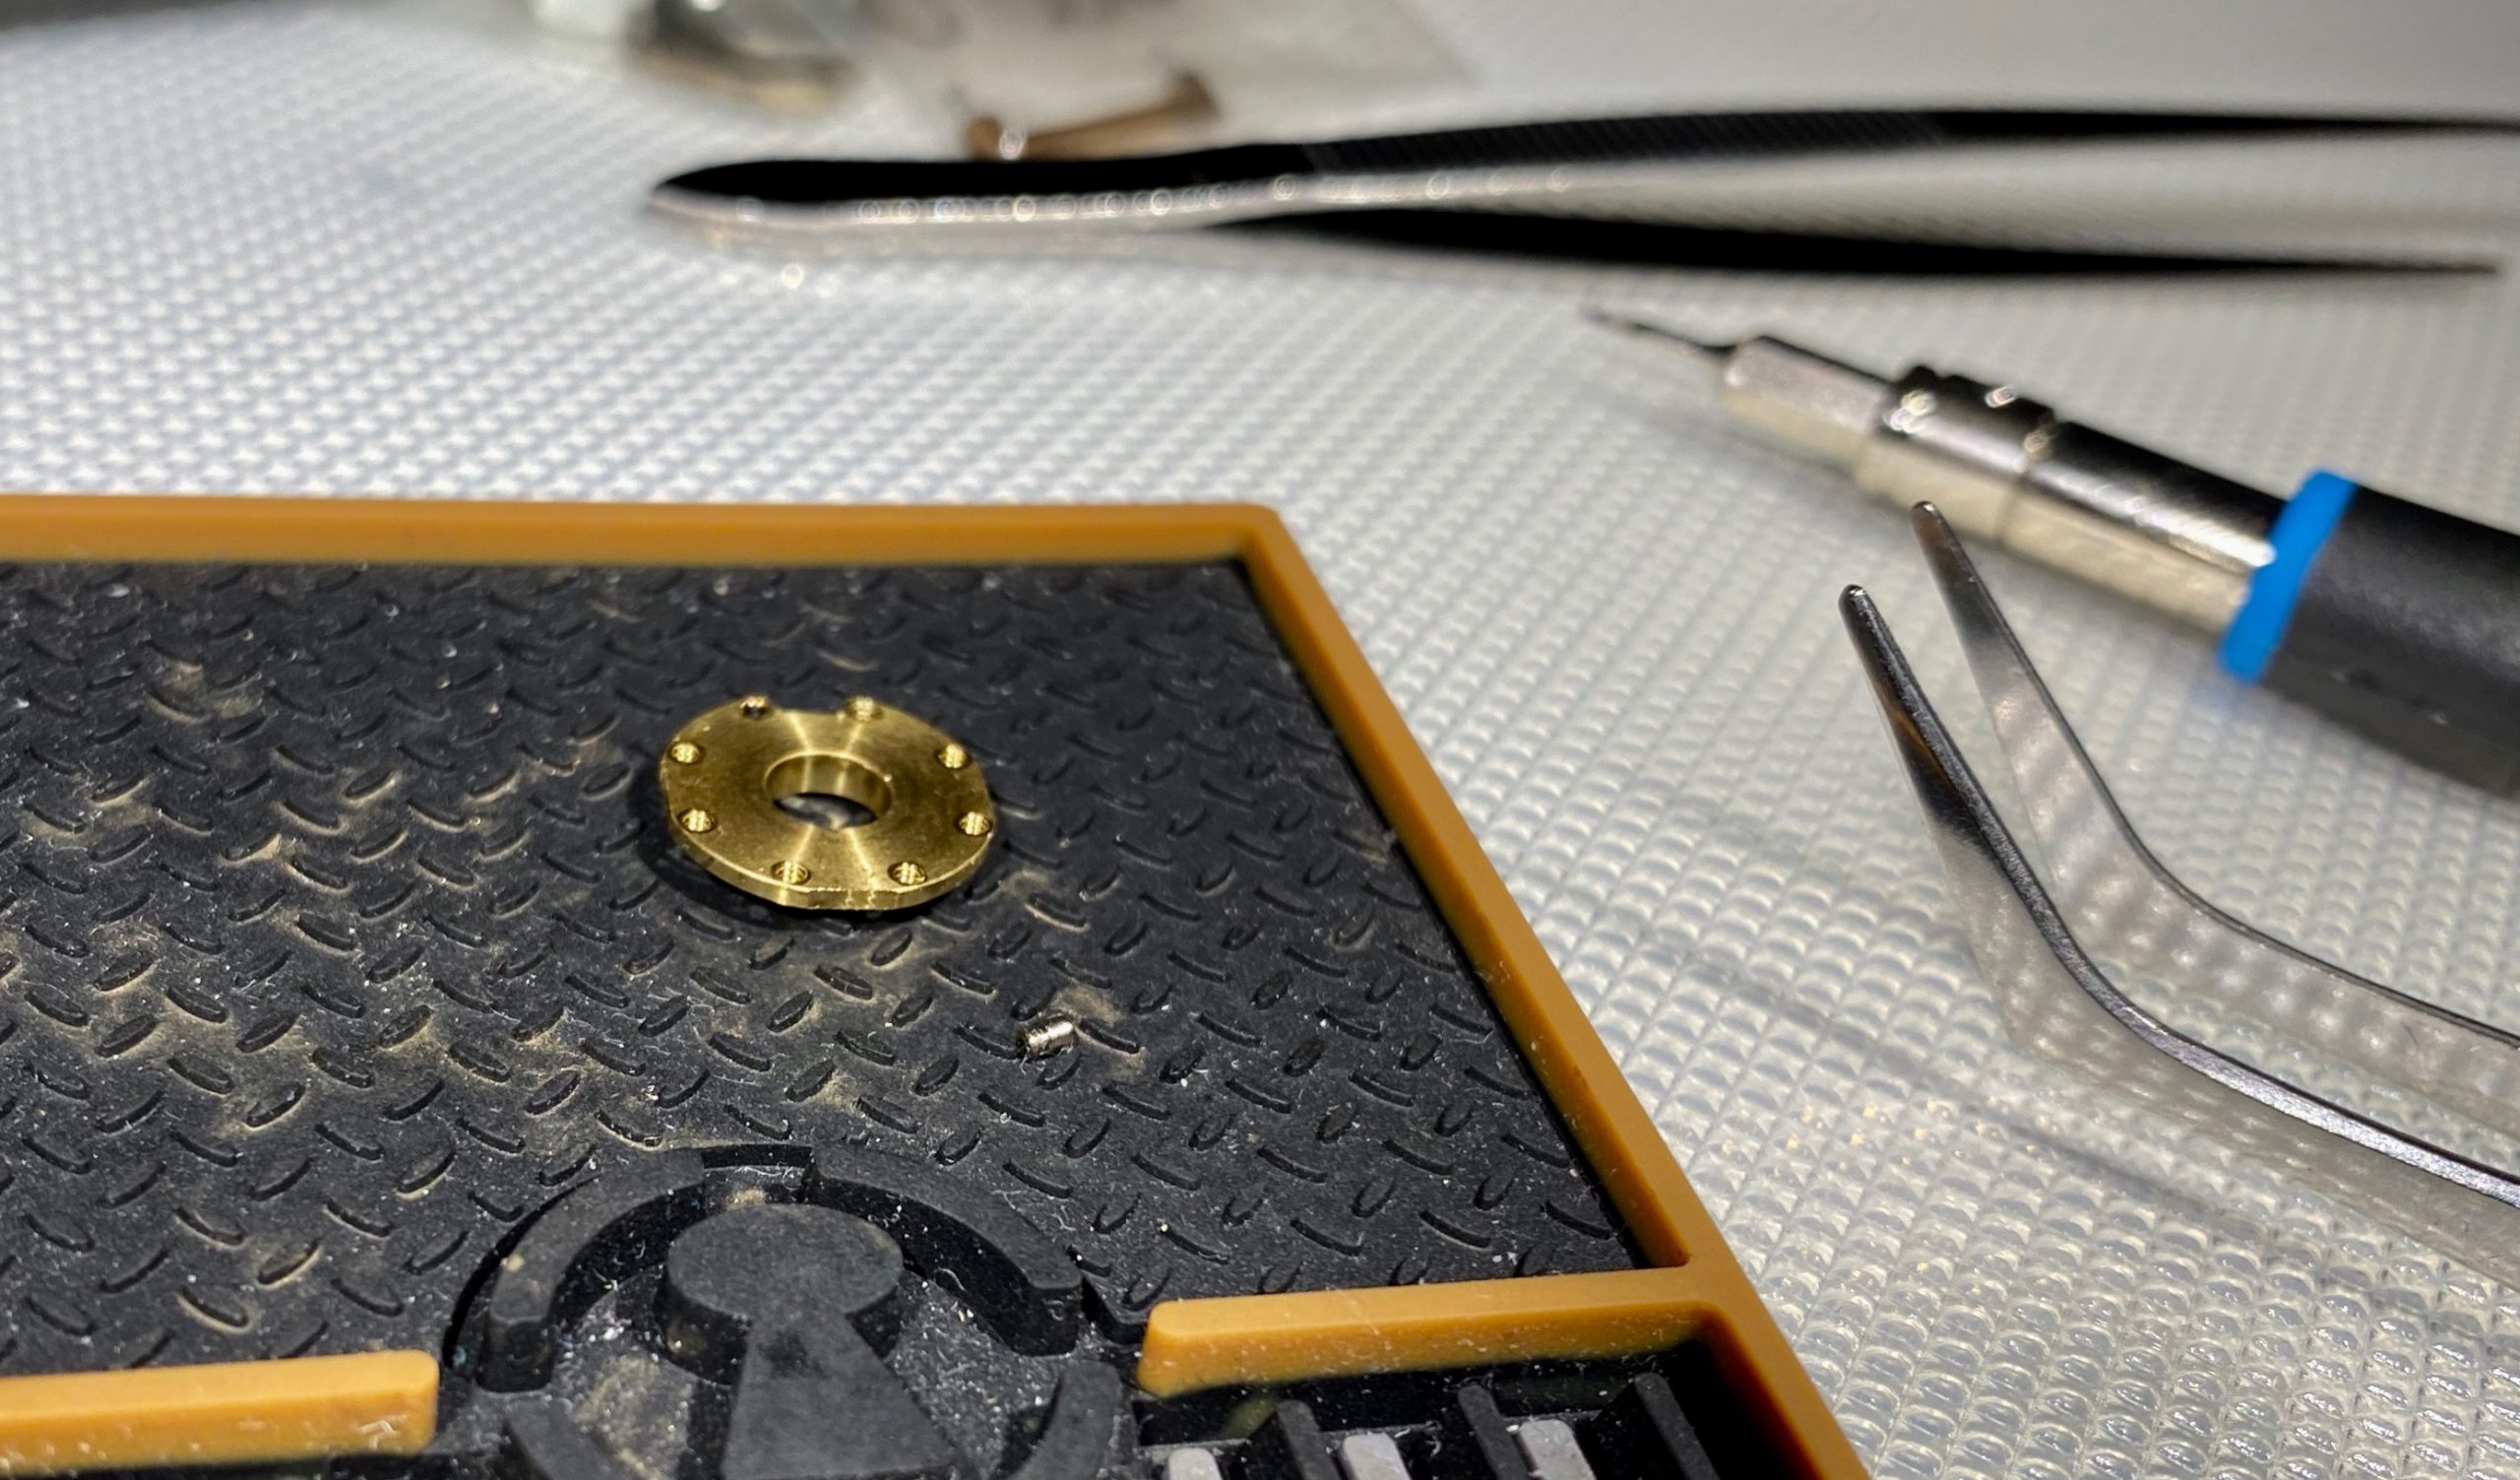
Closeup of a disk, “bottom” side up. The lock is currently on a “factory default” pinning where both pins are next to the gate.
When you go all disks left / right and spin the core, you can see that the gates just follow each other at regular intervals, i.e. each separated by two drive pin widths. That’s actually surprisingly hard to see when not moving the core because you generally see at most 3 gates and even then one of them’s under the side bar, so it took me a while to realize the gates were just sequential even after having figured out the combination.
Intermission
“But obrotund, how could you not notice a rising sequence? Shouldn’t it be obvious if it’s something like L0 R6 L12 … ?”.
If you go ADL to 0 and then continue left, the gate for each disk (from the drive down to 1) will be at roughly L0, L6, L12, L17, L23, L29 – fairly obvious they’re sequential when done like that. Since the lock came with no instructions or anything, I eyeballed the correct combo to be 6x L29 5x R40 4x L17 3x R19 2x L6 R0; that didn’t exactly scream “sequential” at me.
To see how much of an effect the stacking of drive pins has on something with 6 wheels we can go ADL 0 and then start dialing right so that we note the index where each disk gets picked up, and get something like:
d5: R2
d4: R5, after going around once, of course. So already at d4, pickup is happening 5 indices earlier because there’s now a bunch of drive pins there
d3: R10
d2: R15
d1: R20
So the difference is 20 increments at the last disk, which is about 30% of the dial’s range of 0 – 63. To drive the point home, the correct combination but starting from R is 6x R49 5x L23 4x R30 3x L12 2x R10 L0.
Act II, the Screws
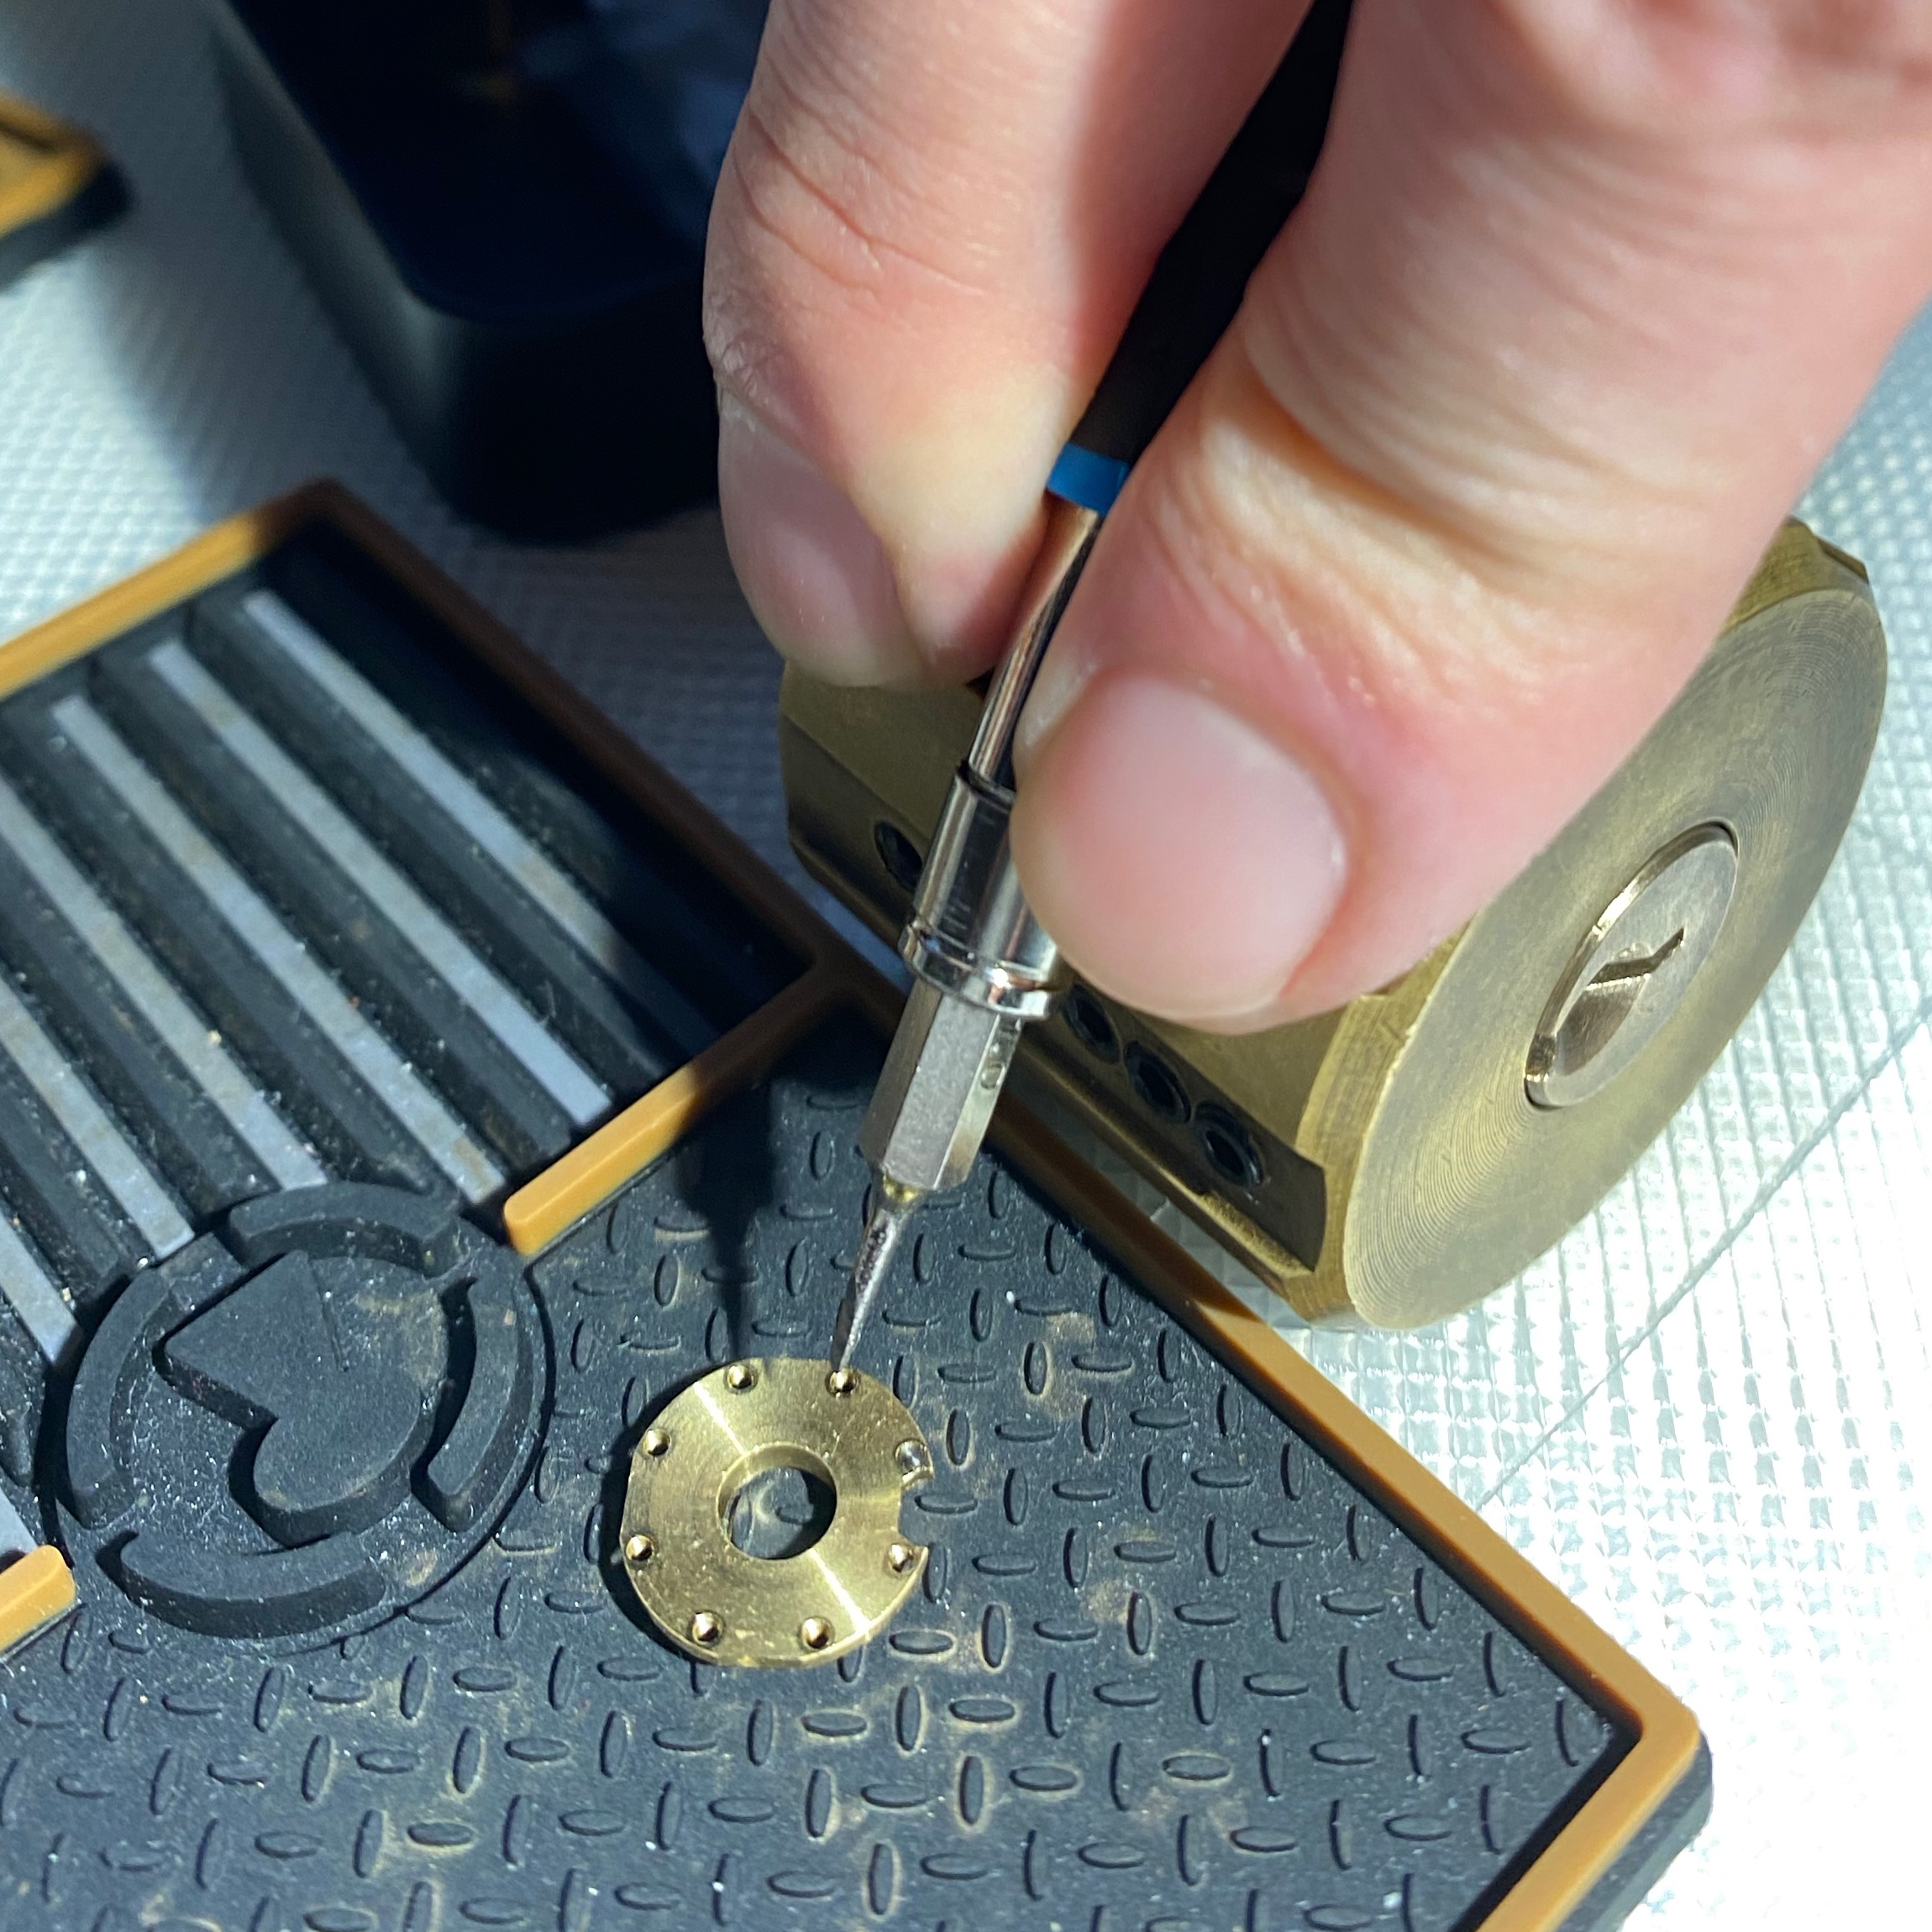
So, now I was ready to actually start dealing with the drive pin screws. Note that if you happen to have an RKS or manage to get your hands on one, this probably won’t be as difficult for you, but I’ve got a tremor that makes dealing with screws this small a bit of a challenge. Luckily for me I enjoy challenges, so I headed over to a hardware store and bought a set with the smallest screwdrivers they had, some tweezers, and a “helping hand” that I knew to have a fantastically useless base but with alligator clips and such that I could put to use.
Note that you’ll really want to have good angled tweezers; you likely won’t be using them for the drive pin screws, but the washers between disks and then the 3 . The ones in the picture were cheap but extremely annoying to use and stuff had a tendency of slipping out of them, and ended up getting Tamiya’s angled tweezers the next day.
You’ll definitely want a magnetized screwdriver; I used a neodymium magnet I had lying around.
Easy part’s done, so now for the hard part. I held the disk in locking tweezers and somehow managed to get the screw in on the first try. Victory!
Armed with a false sense of confidence, I attacked the next disk. The same locking tweezer technique failed to work. I tried it a few times and after almost losing the screw because the disk had a tendency of starting to slip from the tweezers, I changed tactics.

Helping hand time. As said, the base is absolute crap so I duct taped it to the desk. That worked about as well as you’d expect.
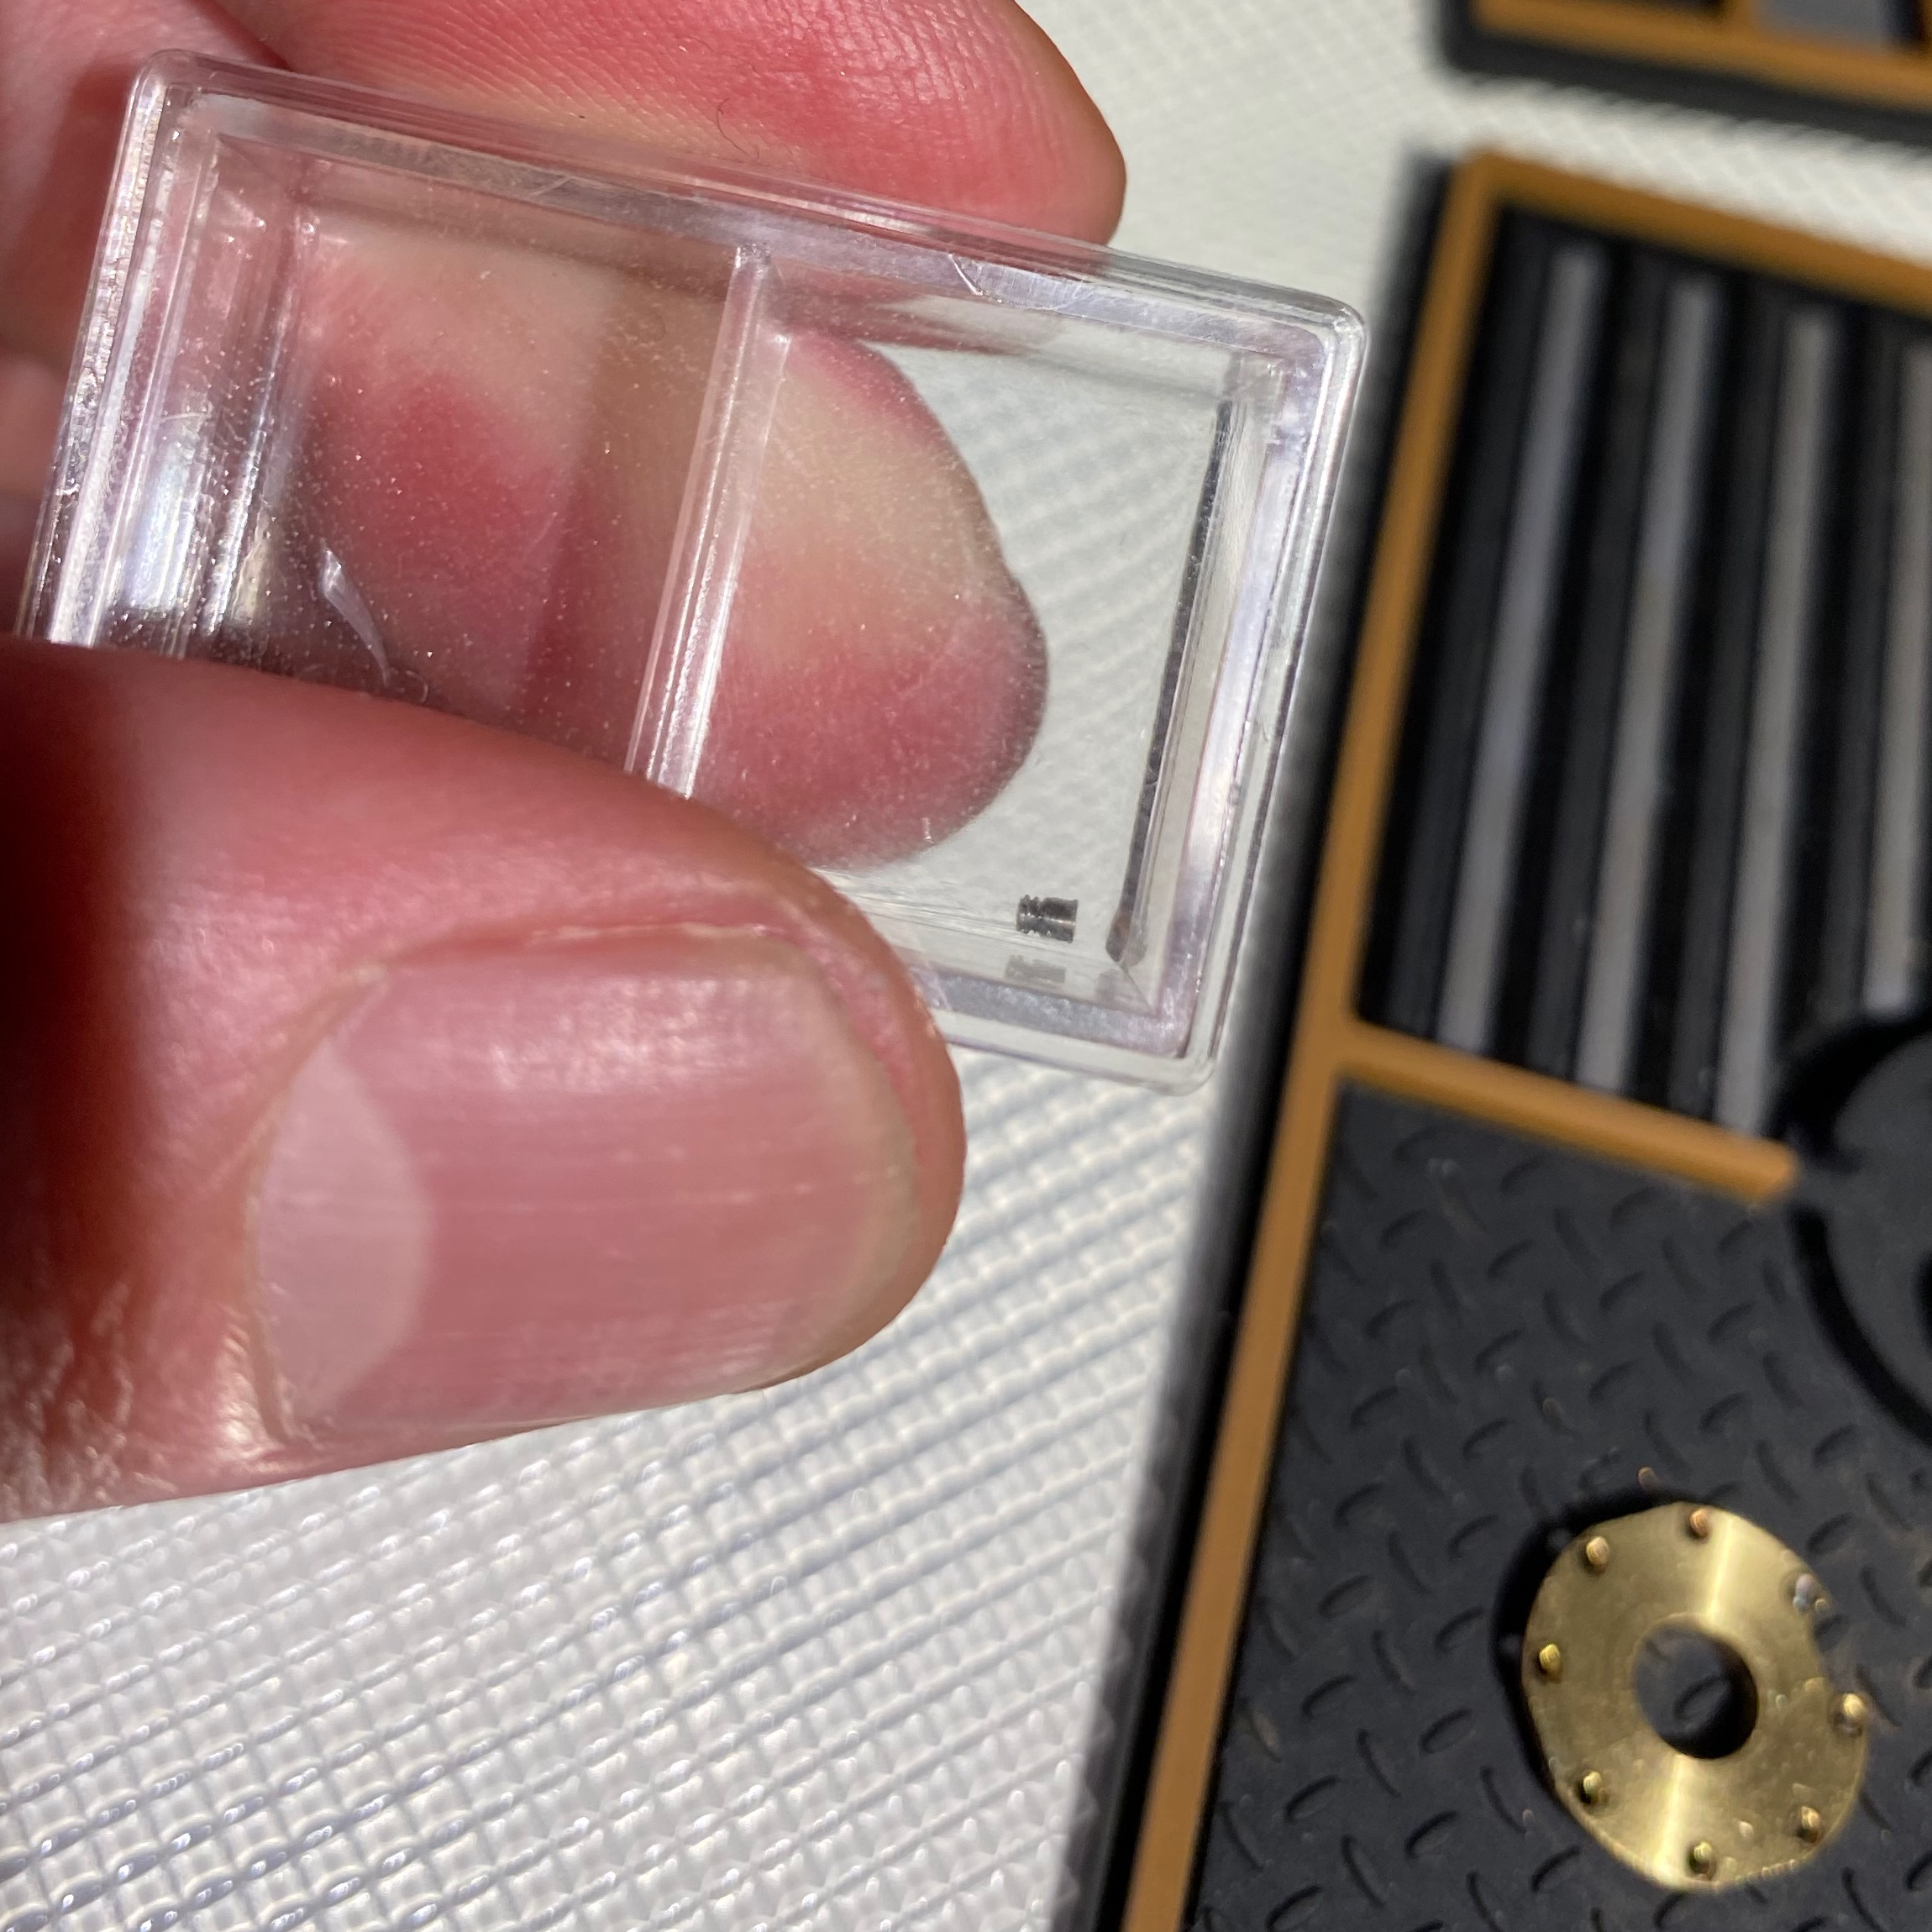
I was extremely paranoid about losing parts, so I kept everything in minigrip bags that I made sure to close.

OK, so that was a no-go. I headed over to Discord to see if anybody had any advice.
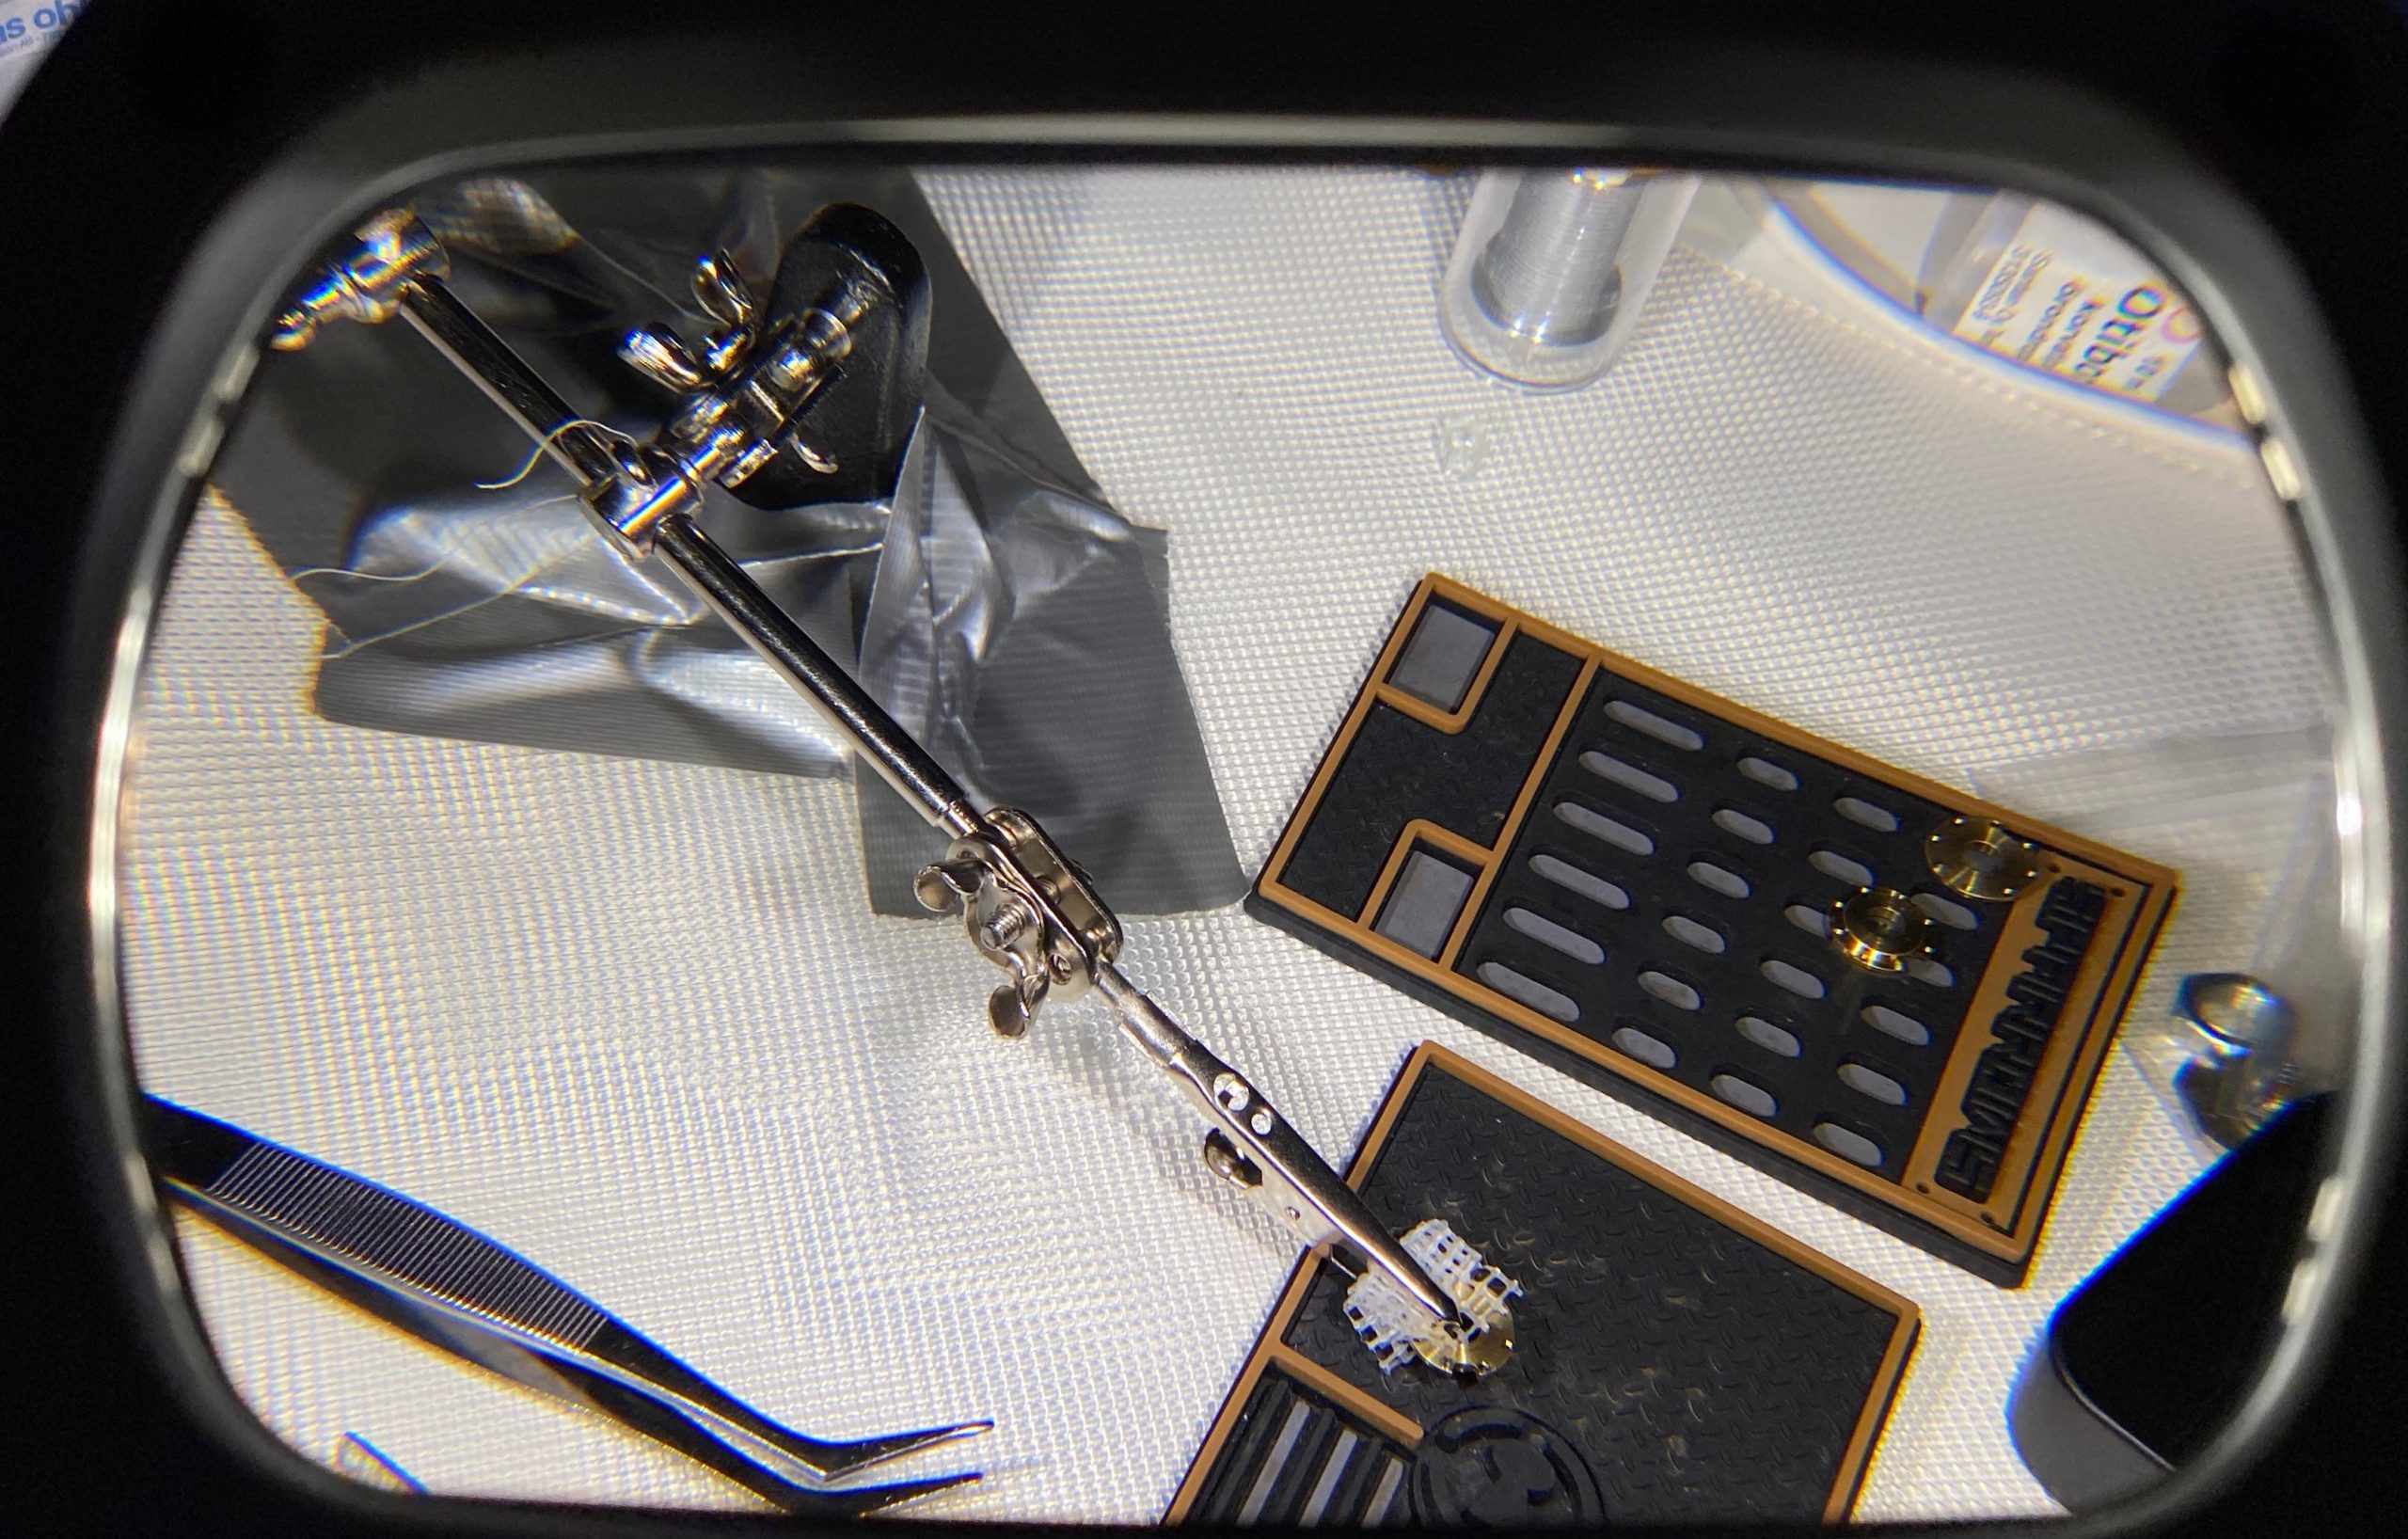
NKT gave me the idea of using something cylindrical for stablizing the screwdriver, and I gave that a go. I grabbed my Revolver, stuck it to the table with some two-sided mounting tape and tried the concept out – this could work.
Narrator: “it didn’t.”
At that point I gave up for the day and put the screw in the naughty box.
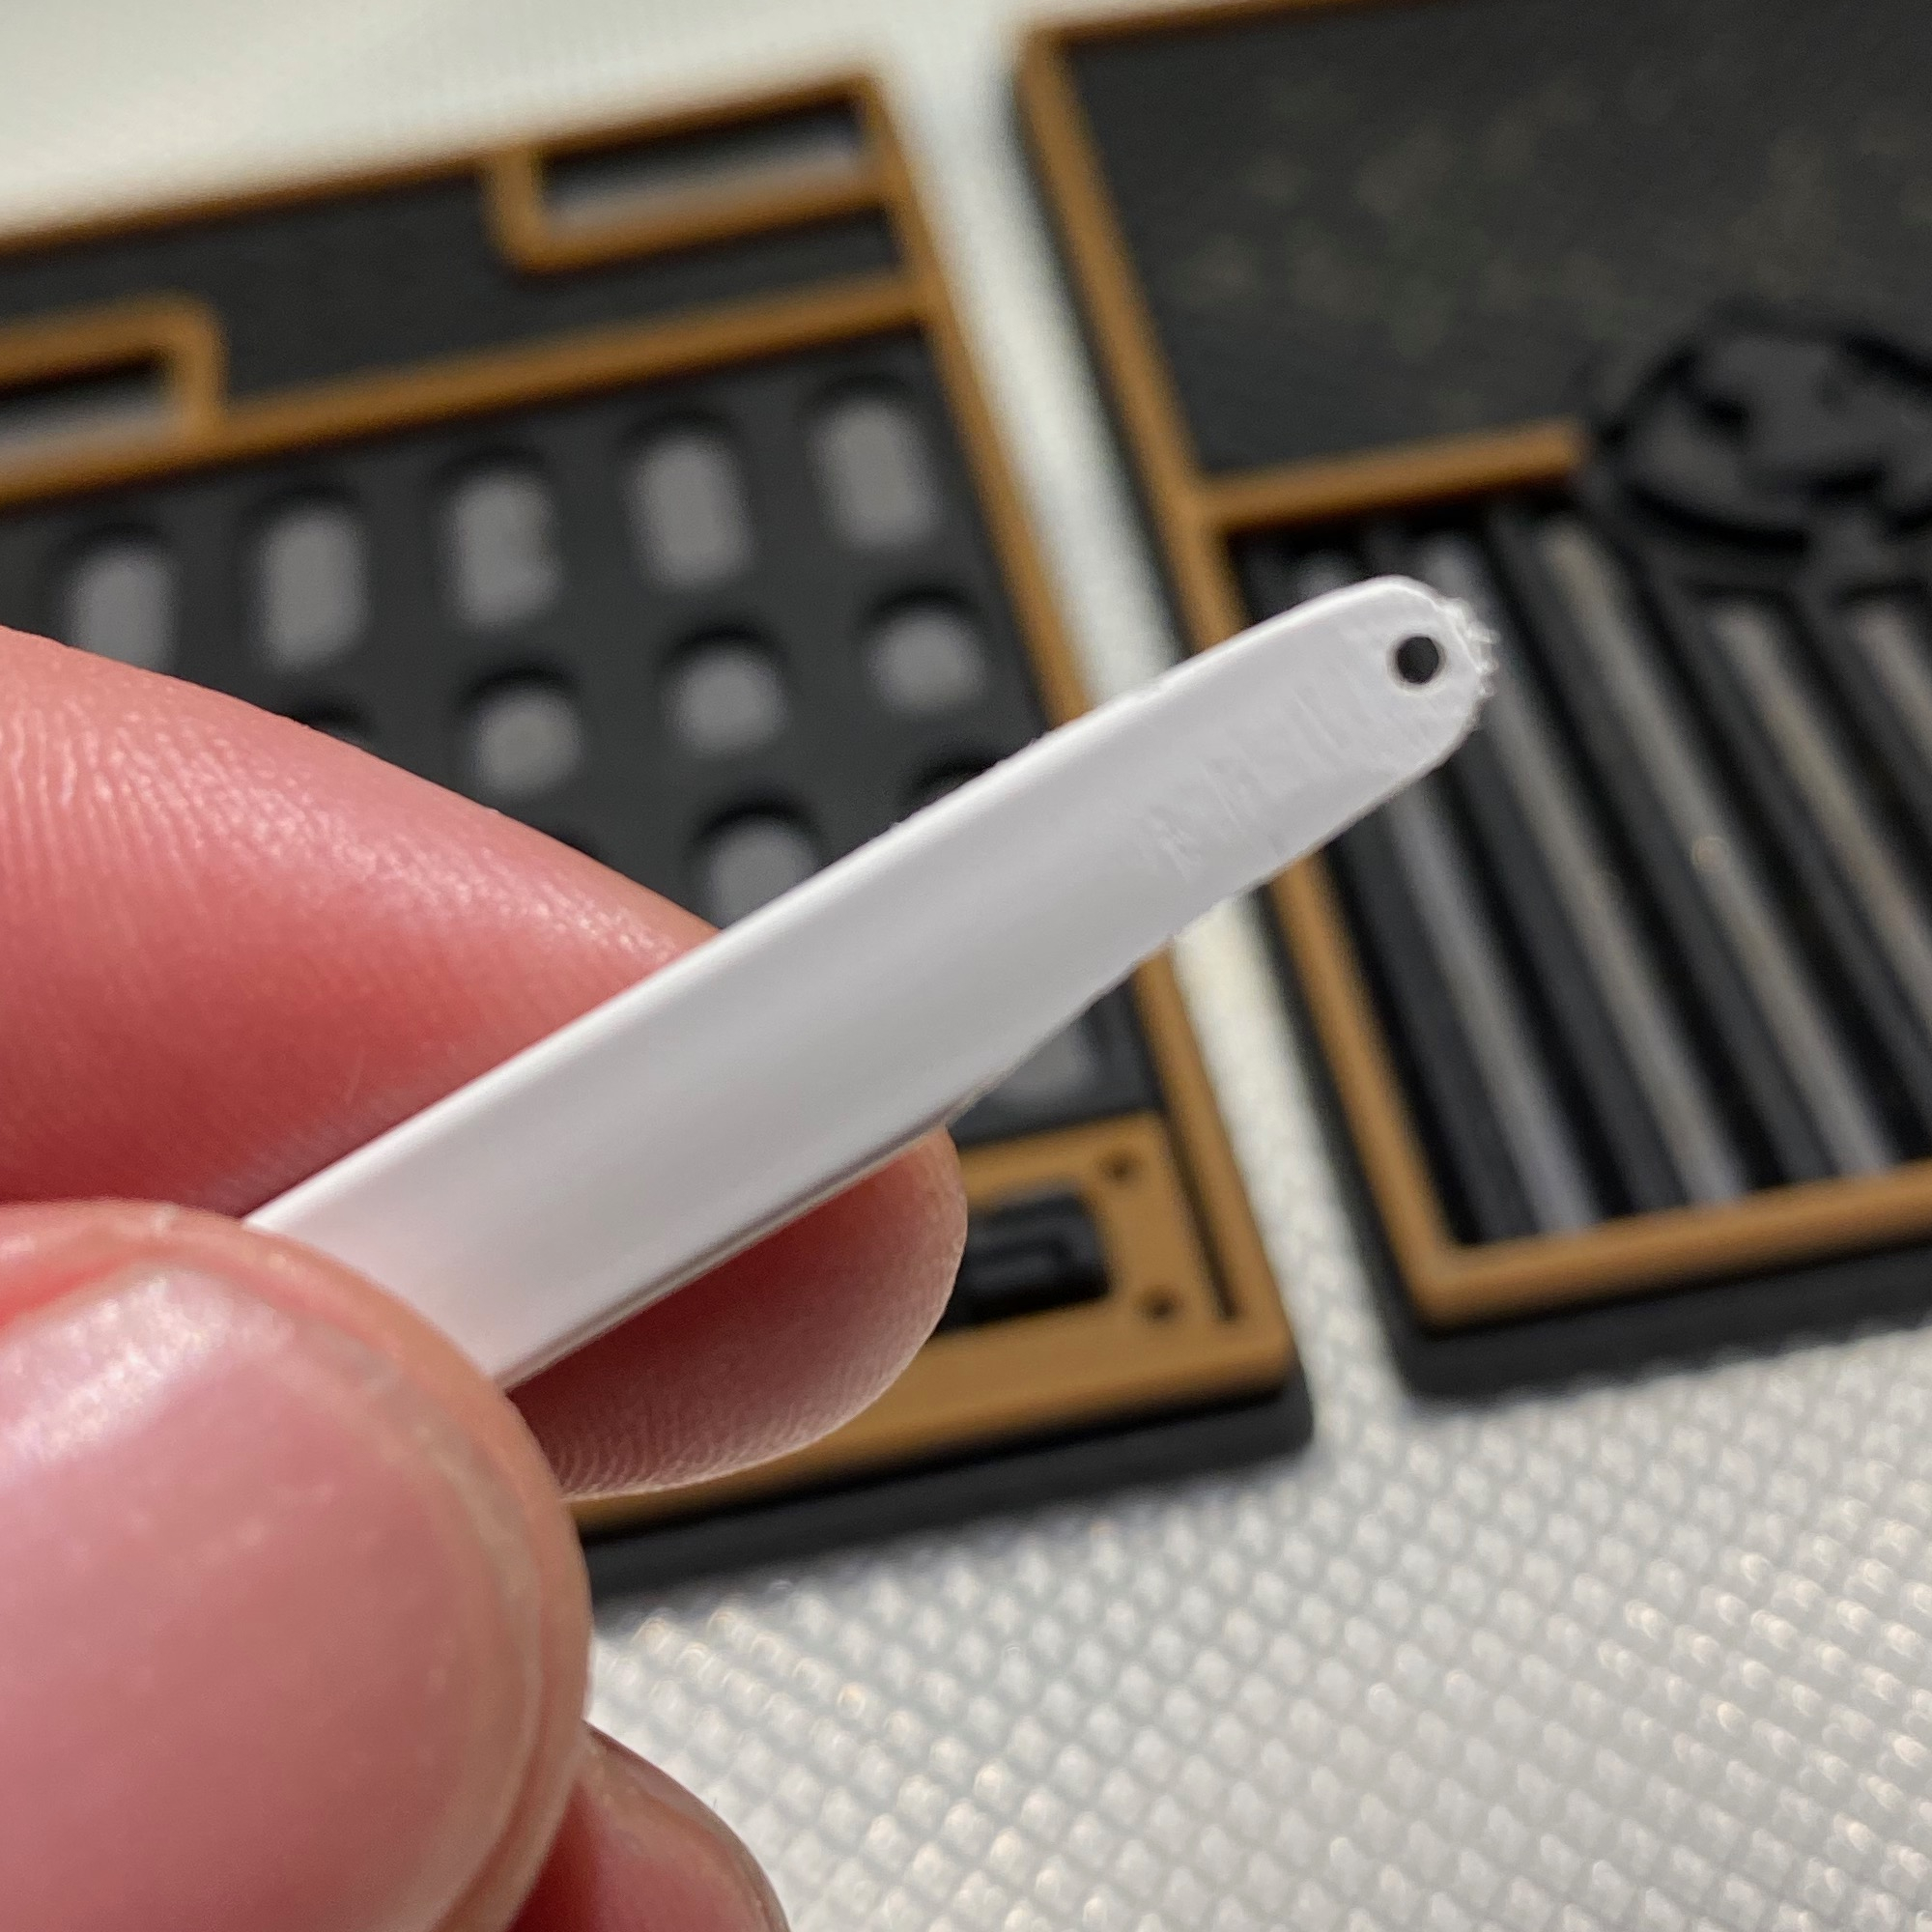
On Monday I headed over to a hobby store, and the guy there suggested drilling a hole into a piece of plastic and then using that as a screw holder, and it sounded like it might work so I decided to give it a go. I got a 1.6mm thick rod of plastic, a 1.2mm drill bit and a handle for it, and the Tamiya tweezers.
After some experimenting it looked like the plastic was just a bit too thick (should have gone with eg. 1.2mm) and it was hard to see if I was anywhere near the screw hole, so I thinned it a bit with a file and rounded the head. In hindsight I should probably have taken even more of the head off. While it was easy to get the screw onto the plastic “handle”, getting the screw positioned properly was a pain and the screw had a tendency of falling out, but I suspect a 1.1mm bit would have already been too small. I tried different ways of clamping the disk in place but eventually gave up. I was starting to doubt I’d get this done.
Act III, Rustling up Some Screws
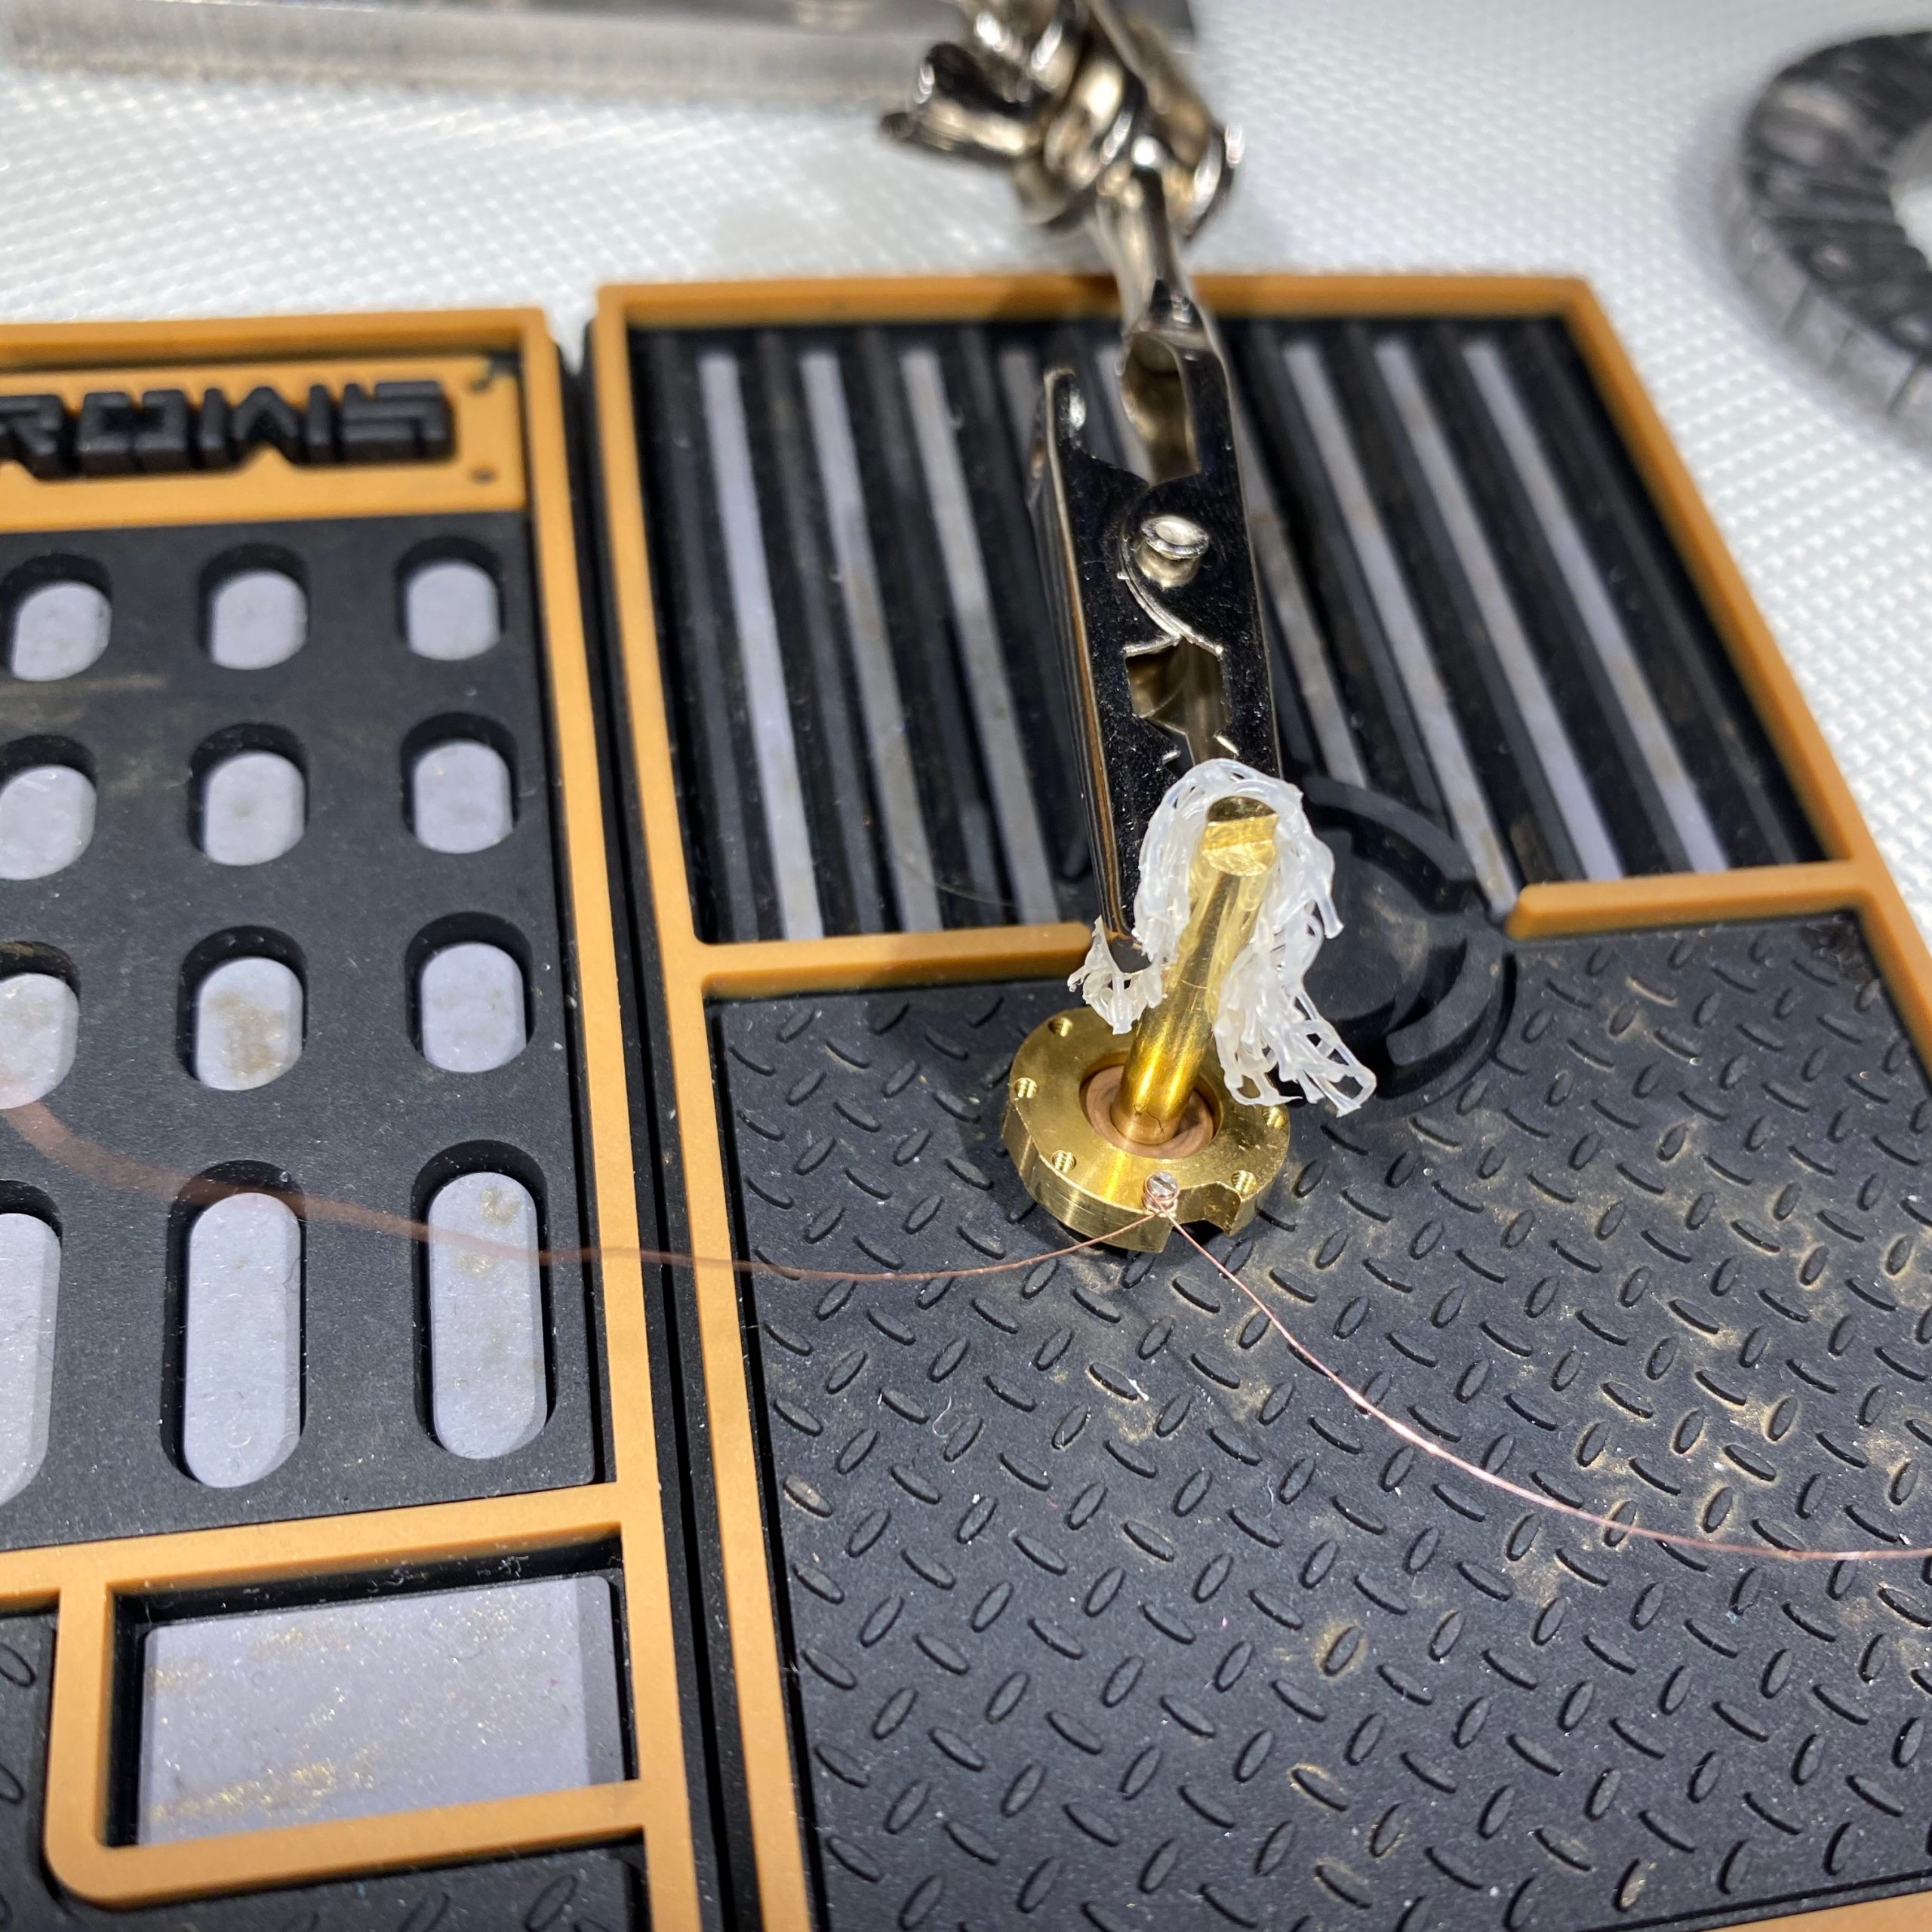
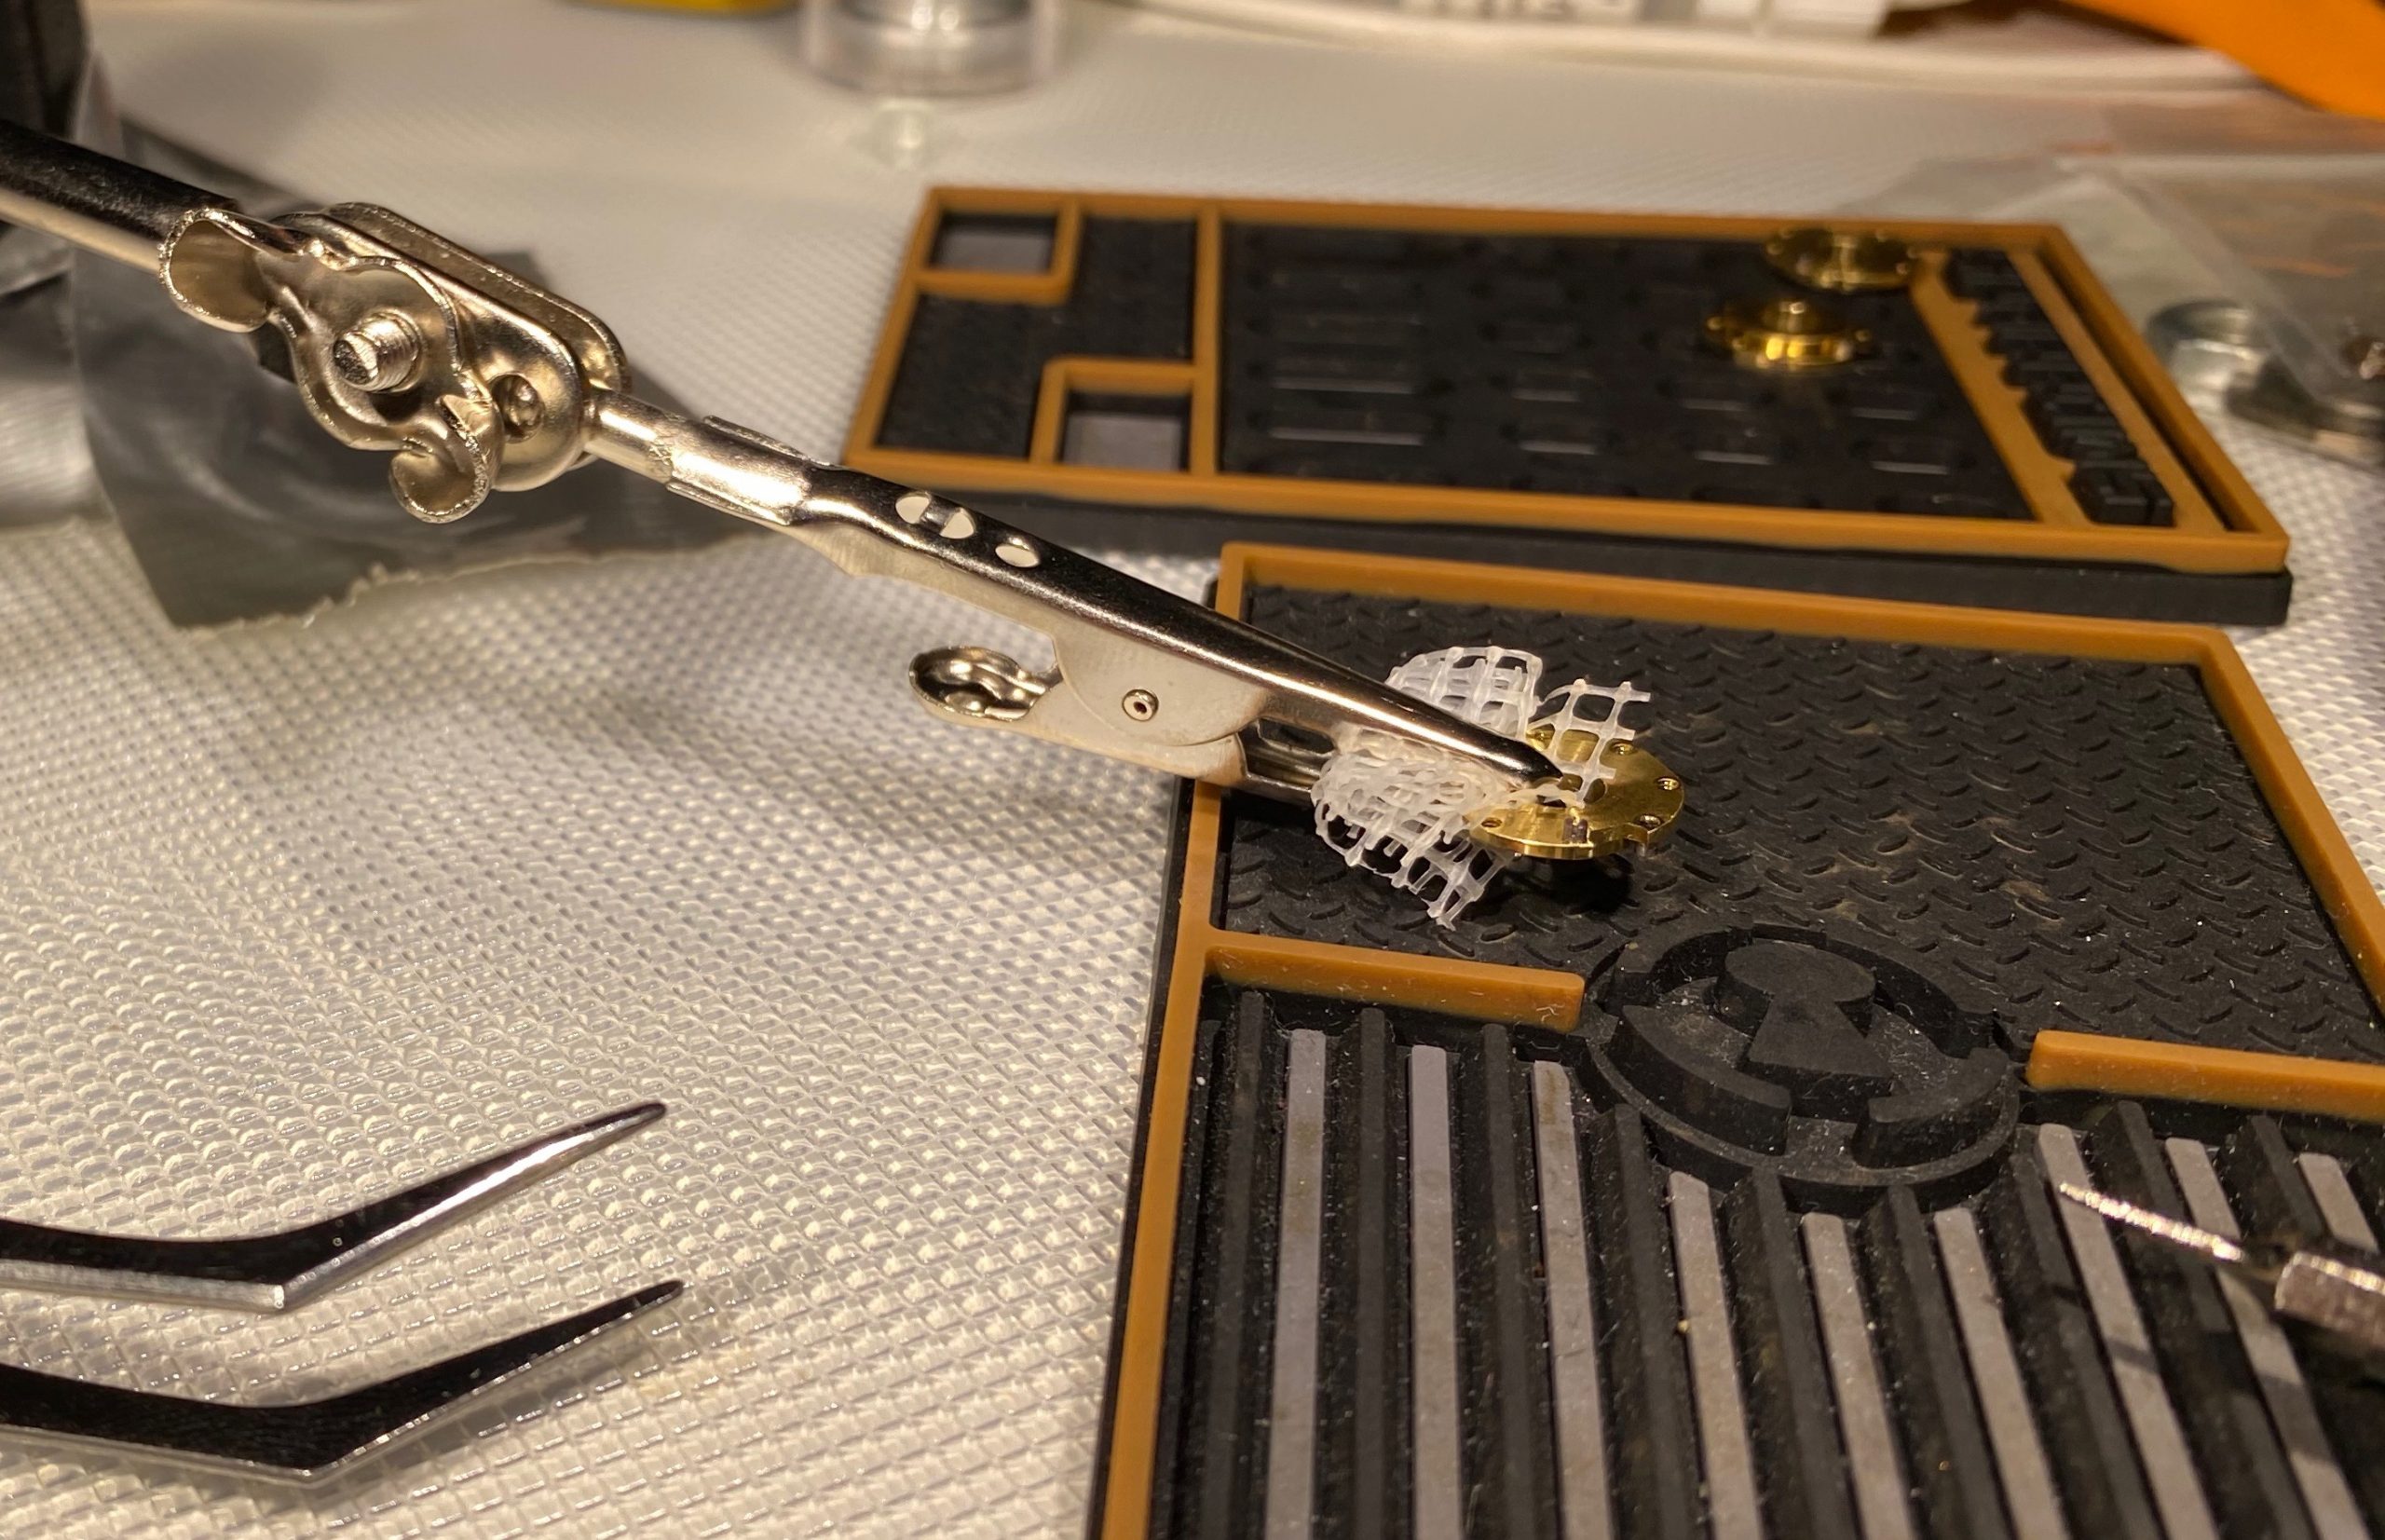
On Tuesday I asked around on Discord if people had any further ideas, and legendofthesamurai suggested using thin copper wire to make a lasso around the threads of the screw and then using that wire as a handle. That’d solve the problem of not being able to see where I was putting the screw, and I could use the plastic tool to hold the currently detached screw for lassoing.
After I had the screw in the lasso, it was downright easy to get it in the disk.
OK, not so easy that I wanted to do all disks so I left one at the default position, but I did change the pin on the drive disk, which was challenging due to the drive shaft.
Getting the washers back in took me a while, and I don’t think I could have done it without two tweezers, but I eventually got there. The last step was tightening those 3 screws in the plug casing, but they were big enough that I could hold them with the tweezers to screw them in, so that was an absolute breeze. Used a 1.3mm hex head to reattach the loose screw on the endplug, and plopped the sidebar back on.
And there we have it. 3 days later I have an assembled lock again.
It does seem like there’s a little more friction than there used to be; I think I dinged some of the circlip washers as I was putting them back in, but there’s
no way I’m popping it open in a while and not much I could do about those washers anyhow. I put very small amounts of PTFE-based lock oil between the disks which helped a lot.