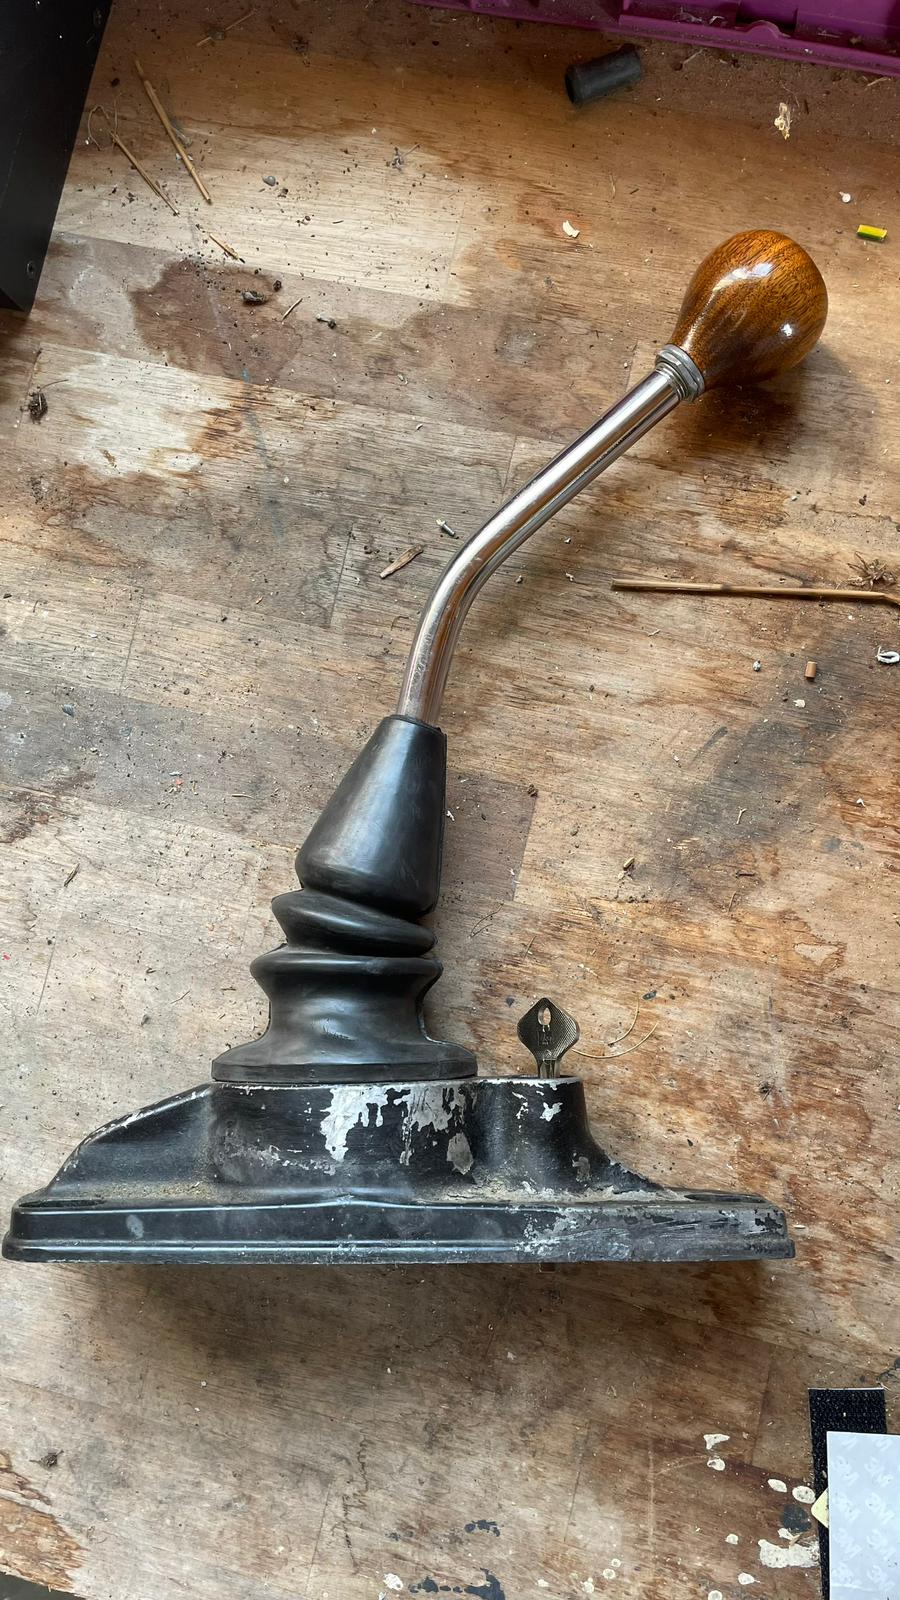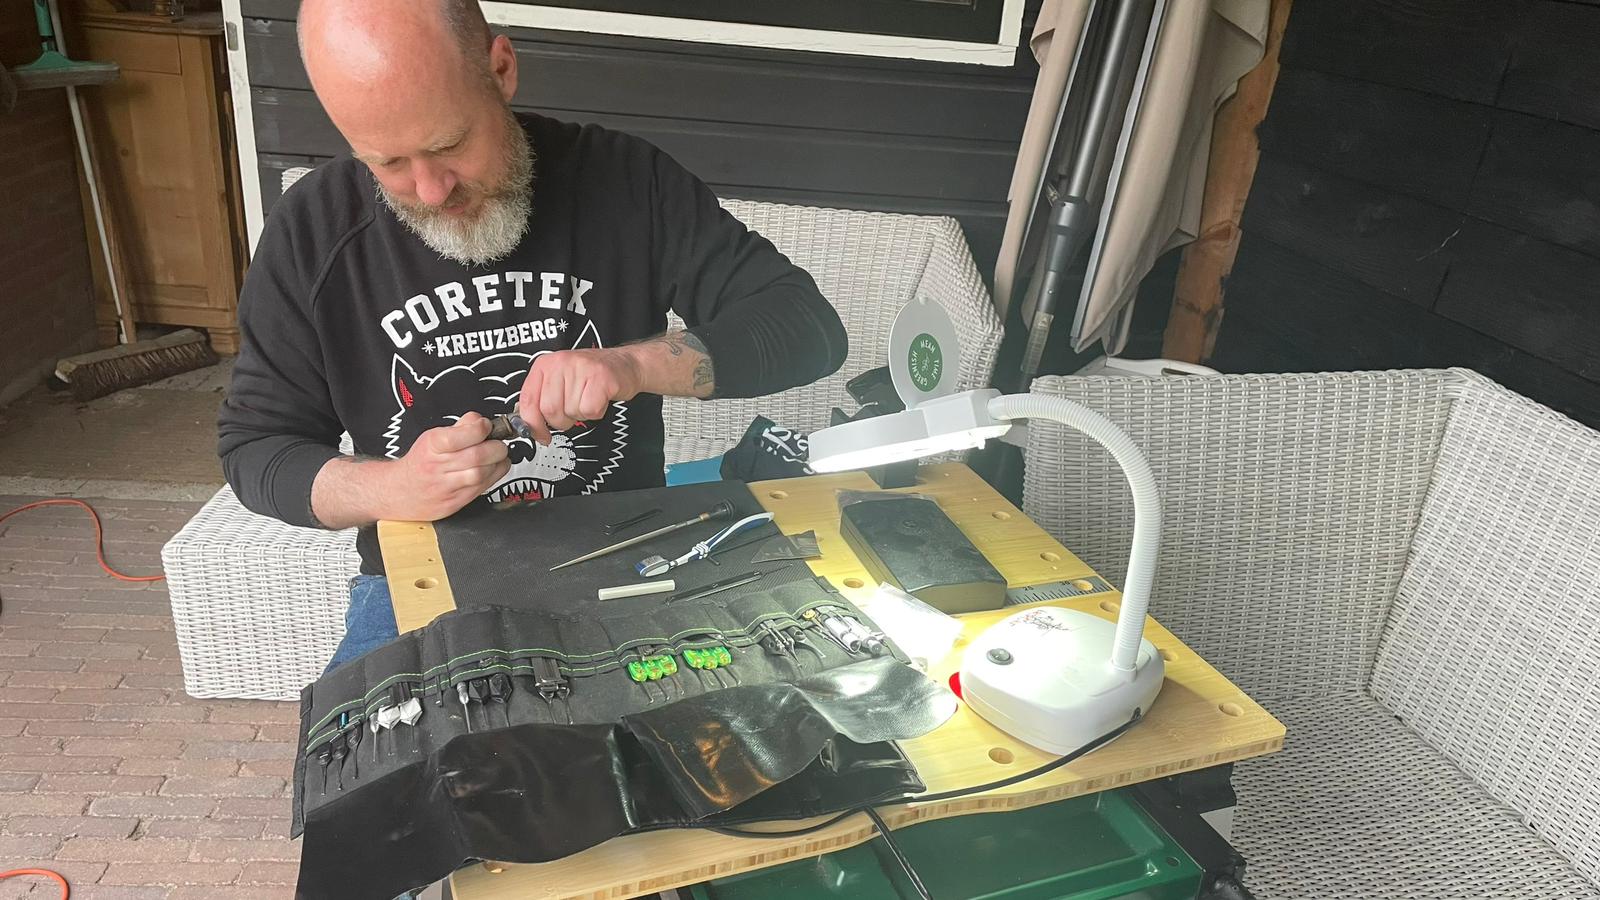
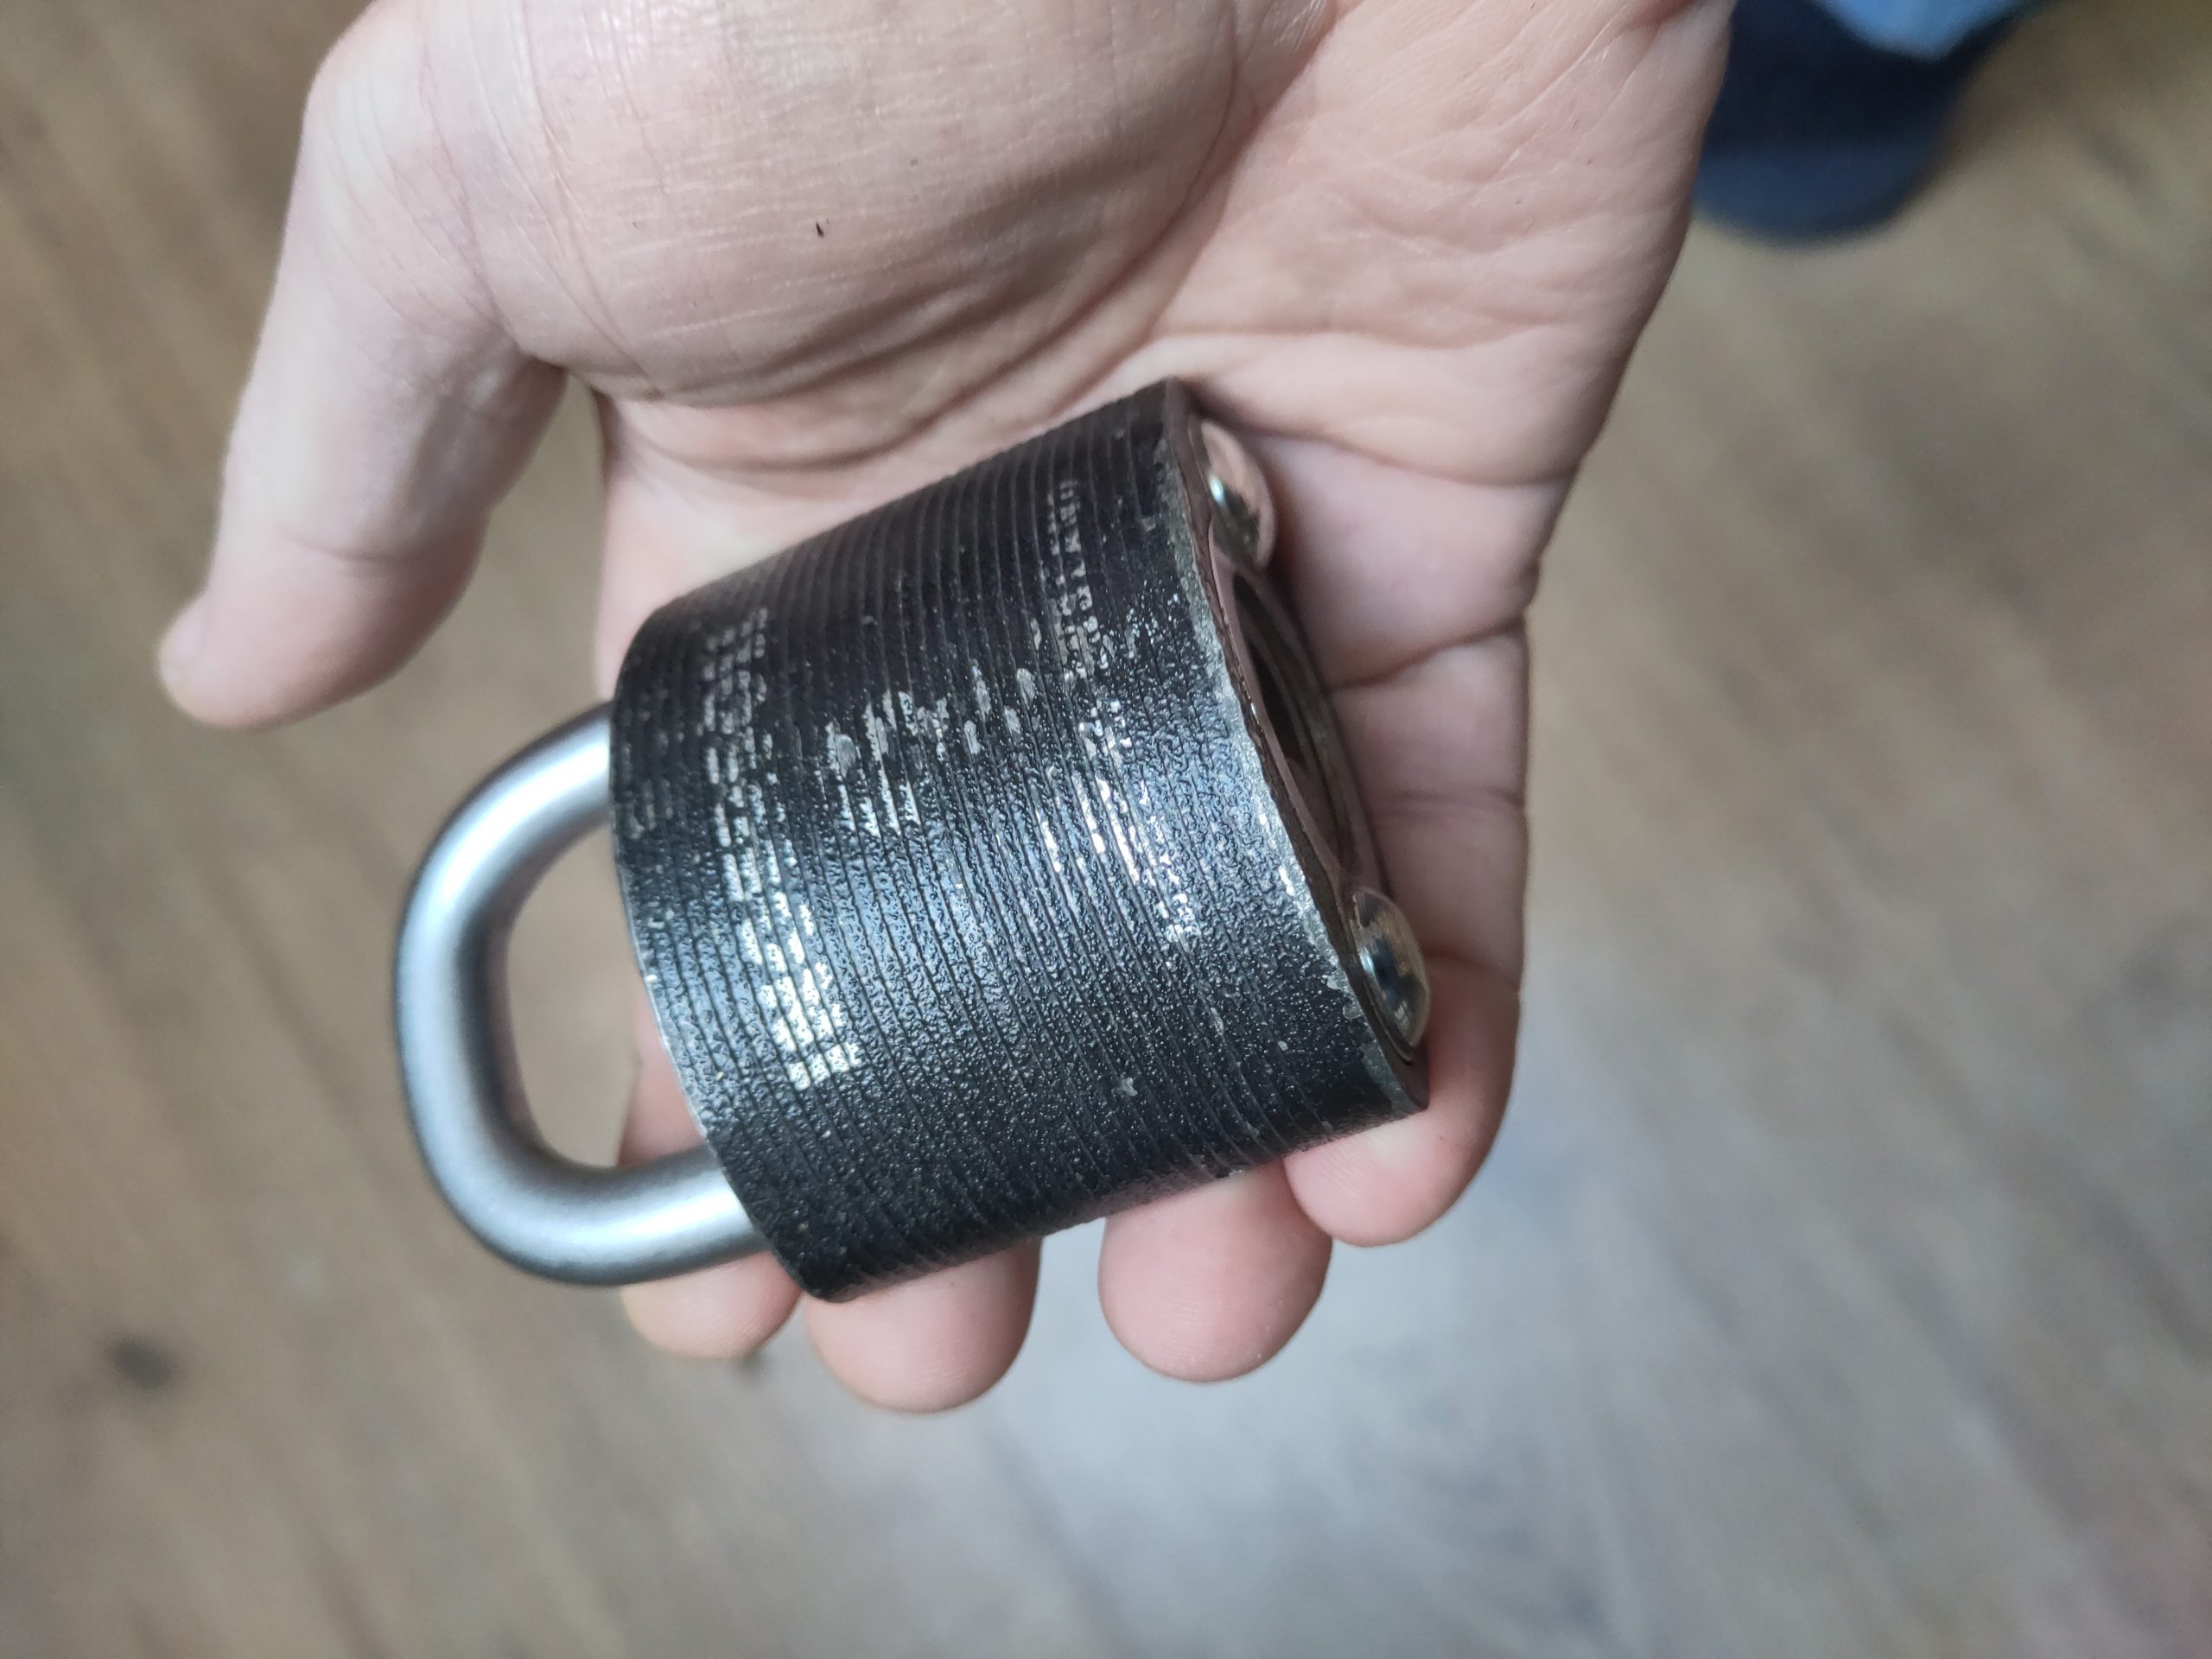
This keyless padlock was sent to me by a friend as an impressioning challenge a while ago. At LockCon 2024 I was able to get some fitting blanks from a friend, so I could finally get to work. Below you can read about my experience with impressioning a key for this lock.
First two attempts
Starting out I approached the impressioning like I would with a pin tumbler cylinder, by preparing the blank. Since the blanks were steel, I didn’t need to remove any plating, but the surface was very rough so I made it smooth (a mistake, but more about that later).
Tried to figure out the spacing, but it was difficult to see so I tried to get some marks. The first mark was not difficult to find, because the levers bite in the edge of the blank. Marks stayed on the edge, but switched sides from time to time. As cuts got deeper, marks started to get wider and cover more of the surface of the edge.
From time to time marks reappeared on levers I worked on earlier, I think this might be caused by the shape of the levers. I remember from picking other locks with a similar mechanism (Miwa U9, PR) that before getting them open I spent some time tapping multiple levers to set them again. So I took the reappearing marks as a clue that I was getting closer to opening.
I decided to stop my first attempt after working on several levers like this for quite some time without feeling I was getting closer to opening the lock, so I decided I must have filed too deep somewhere earlier. When I tried to figure out the spacing earlier, I removed some material on the first cut on the left and I suspected that might have been too much.
I started the second attempt by preparing the blank again, but didn’t try to find the spacing. Instead I use the key from my first attempt as a reference to make some guiding marks on the side with a marker. Most of that second attempt went like the first, and when I decided to take a break I was looking at two near identical attempts.
Time to think
With only one blank left I decided to take some time to work on other projects and think about possible mistakes I had made in the first two tries.
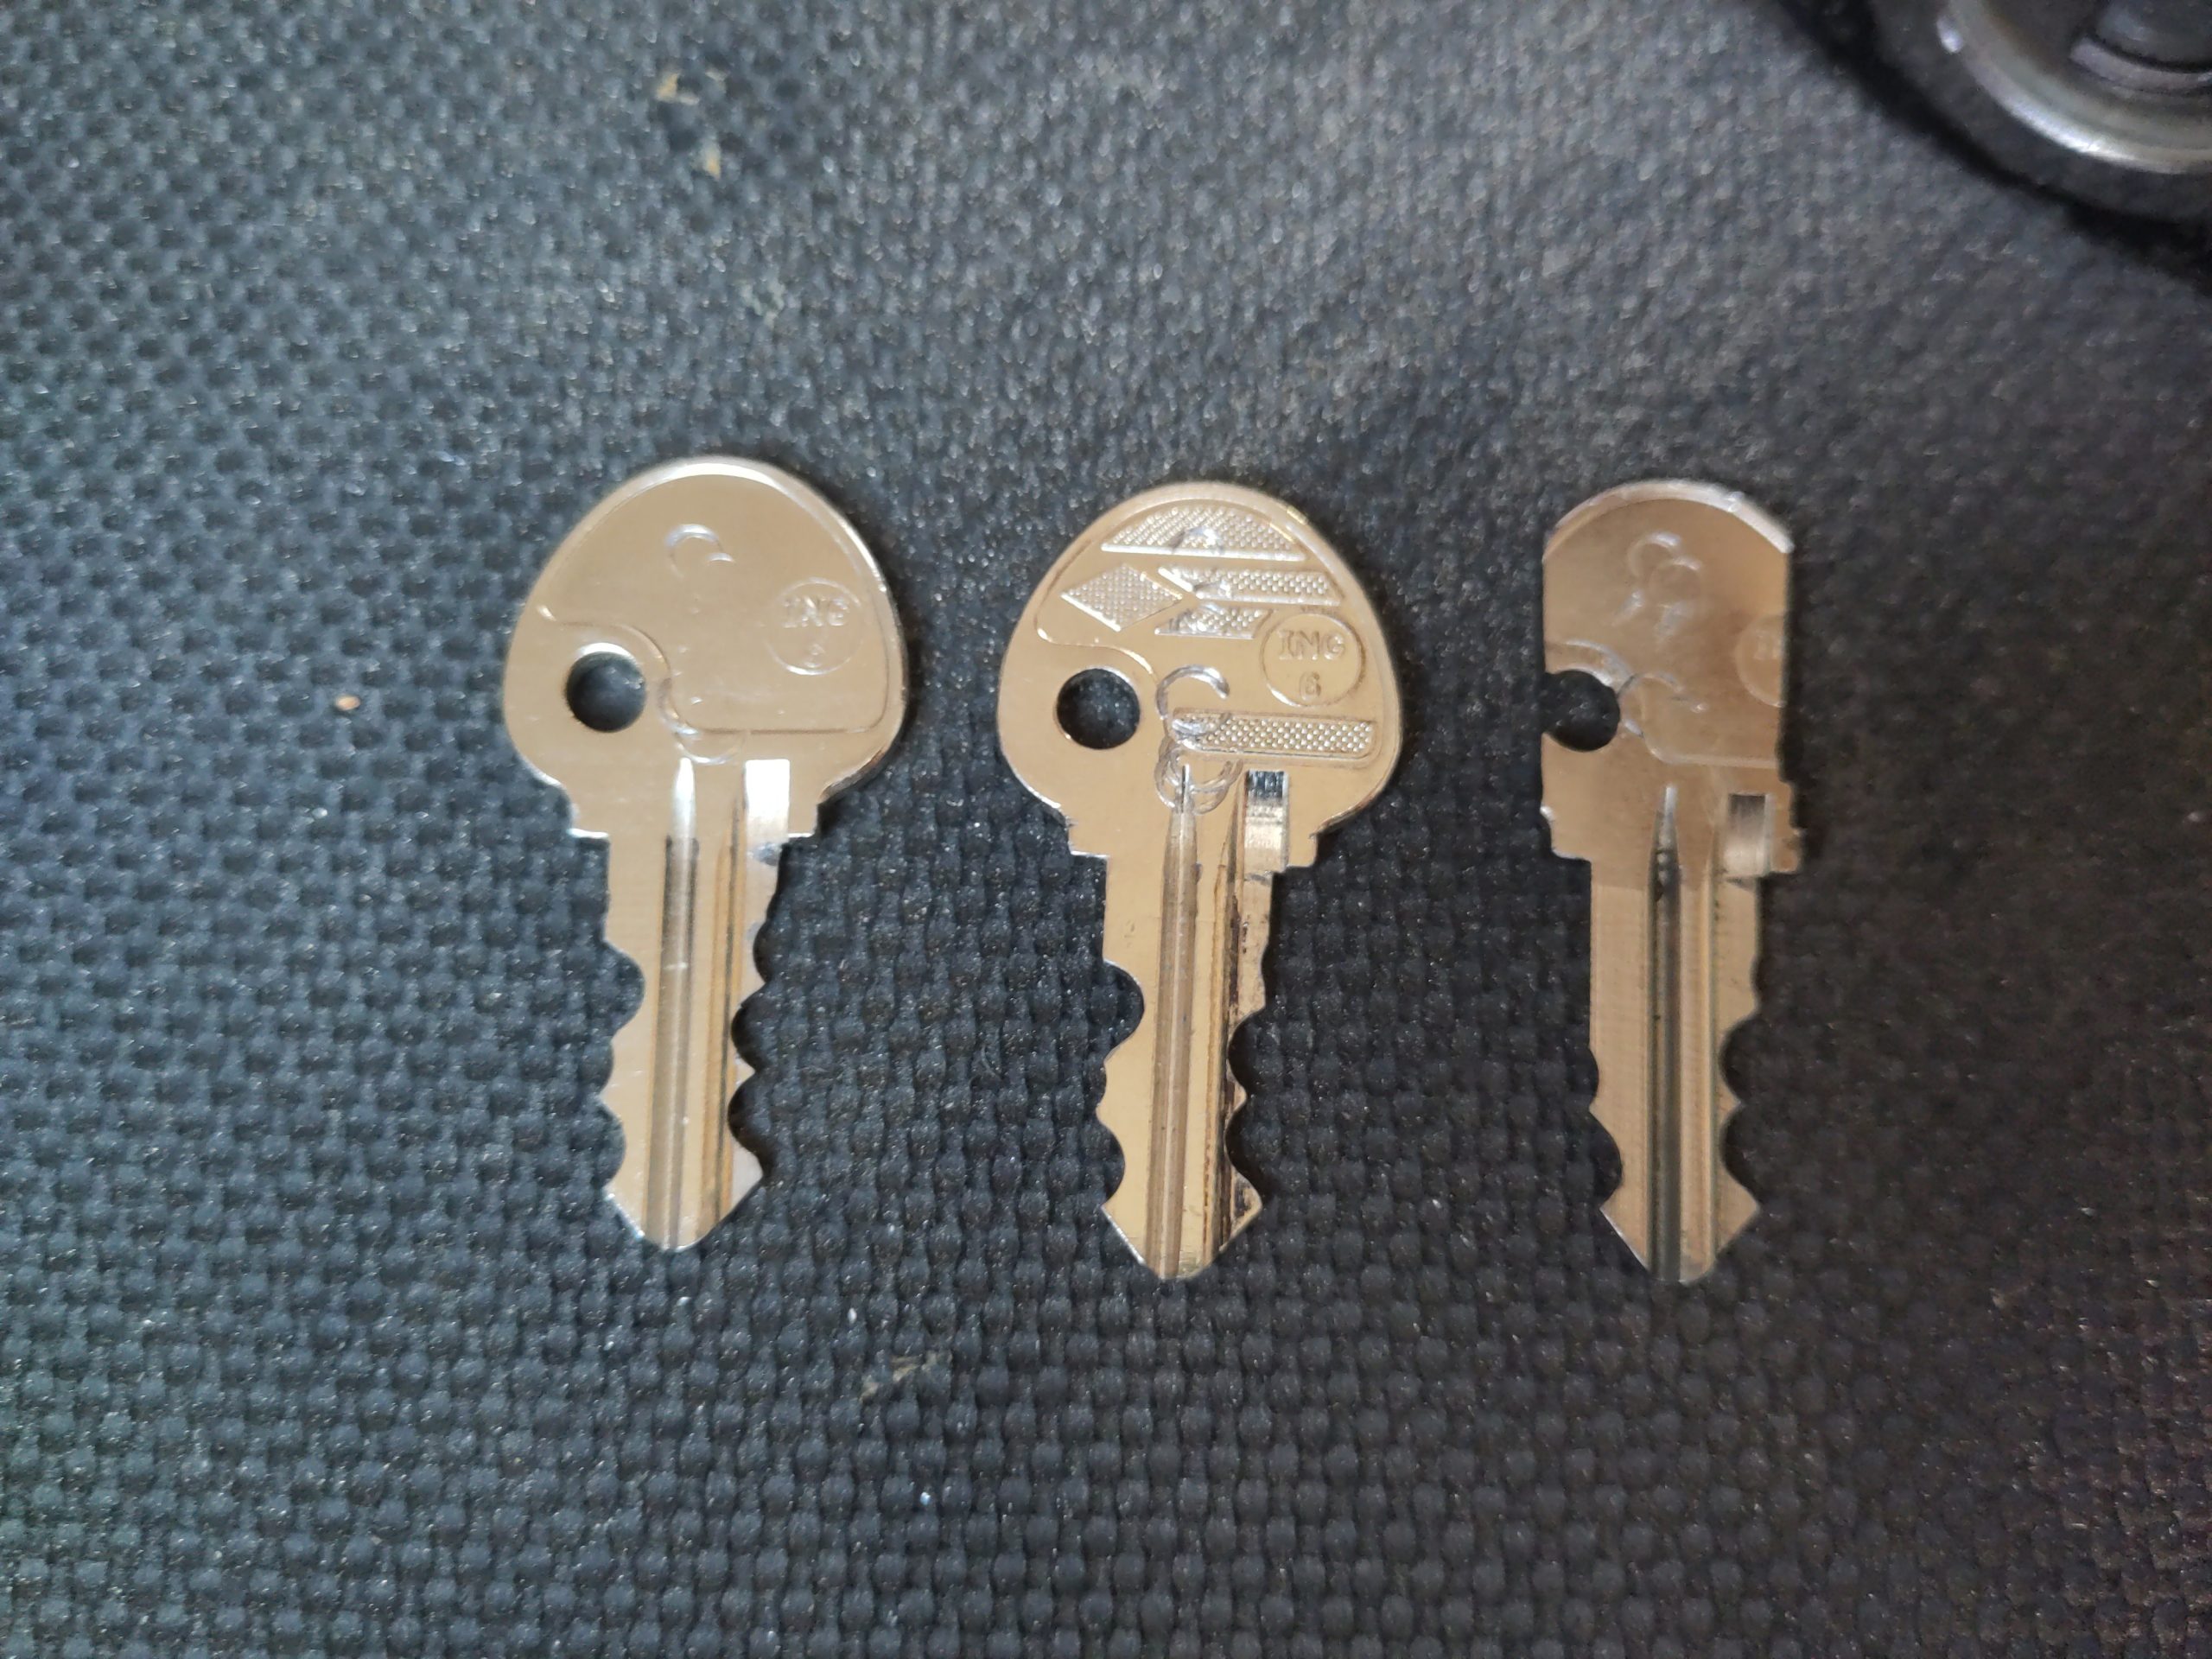
A conversation with someone about the blanks used in the SSdeV impressioning competition at the Wendt Hausmesse earlier this year finally put me in the right direction. During that competition, in the final round we had to try to make keys for several different cylinder models. Obtaining blanks for some of those had turned to be difficult so on those we had to use universal blanks. One of the downsides we encountered was that sometimes preparing the blank like we were used to, left us with a blank already below the zero cut height. Since I already suspected there could be zero cuts on Ingersoll keys, could it be that I had been setting myself up for failure by preparing the blanks?
Third attempt
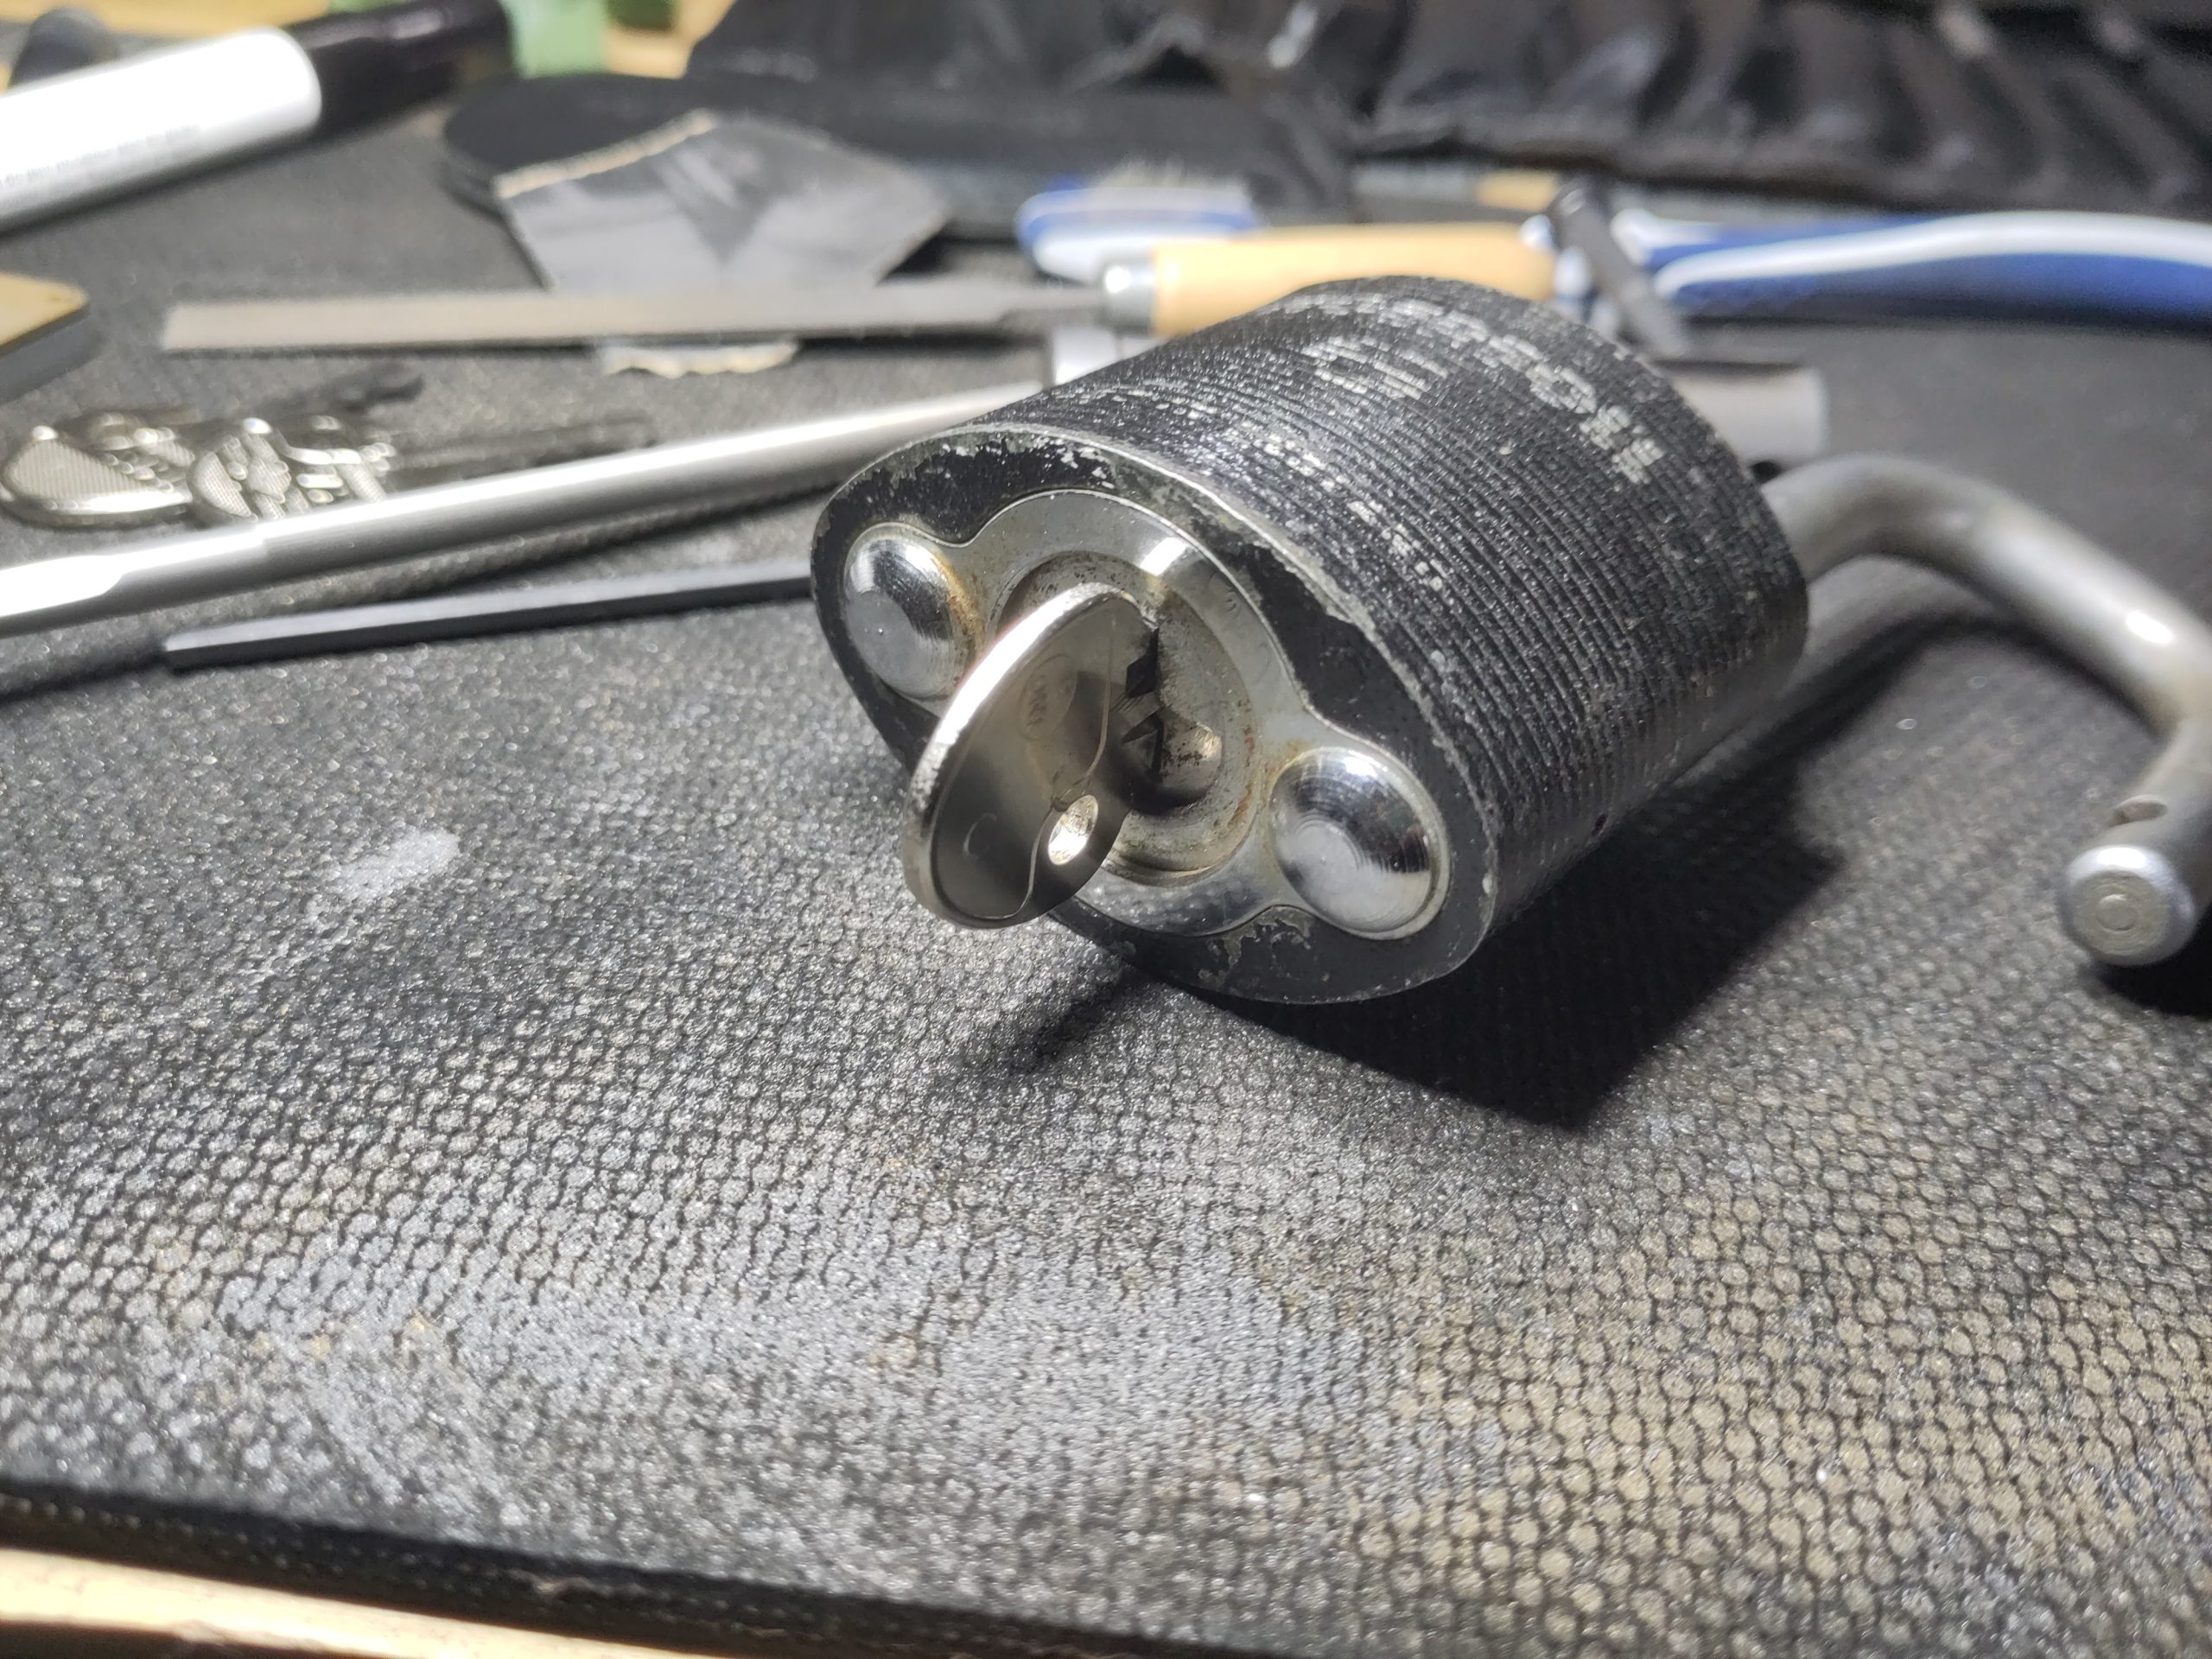
Feeling motivated again, I decided to clamp up that final blank. Not having prepared the blank, I took my time finding the first mark. It was a pretty clear “bite”, but before I started filing I wanted to make sure I didn’t miss any other obvious marks. After this the impressioning was very similar to the previous two attempts. I just had to remind myself to check if new levers started to make marks from time to time. And of course the biggest difference was the key finally turning. I did encounter an unexpected surprise though: the key turned freely but I was unable to remove it.
Troubleshooting
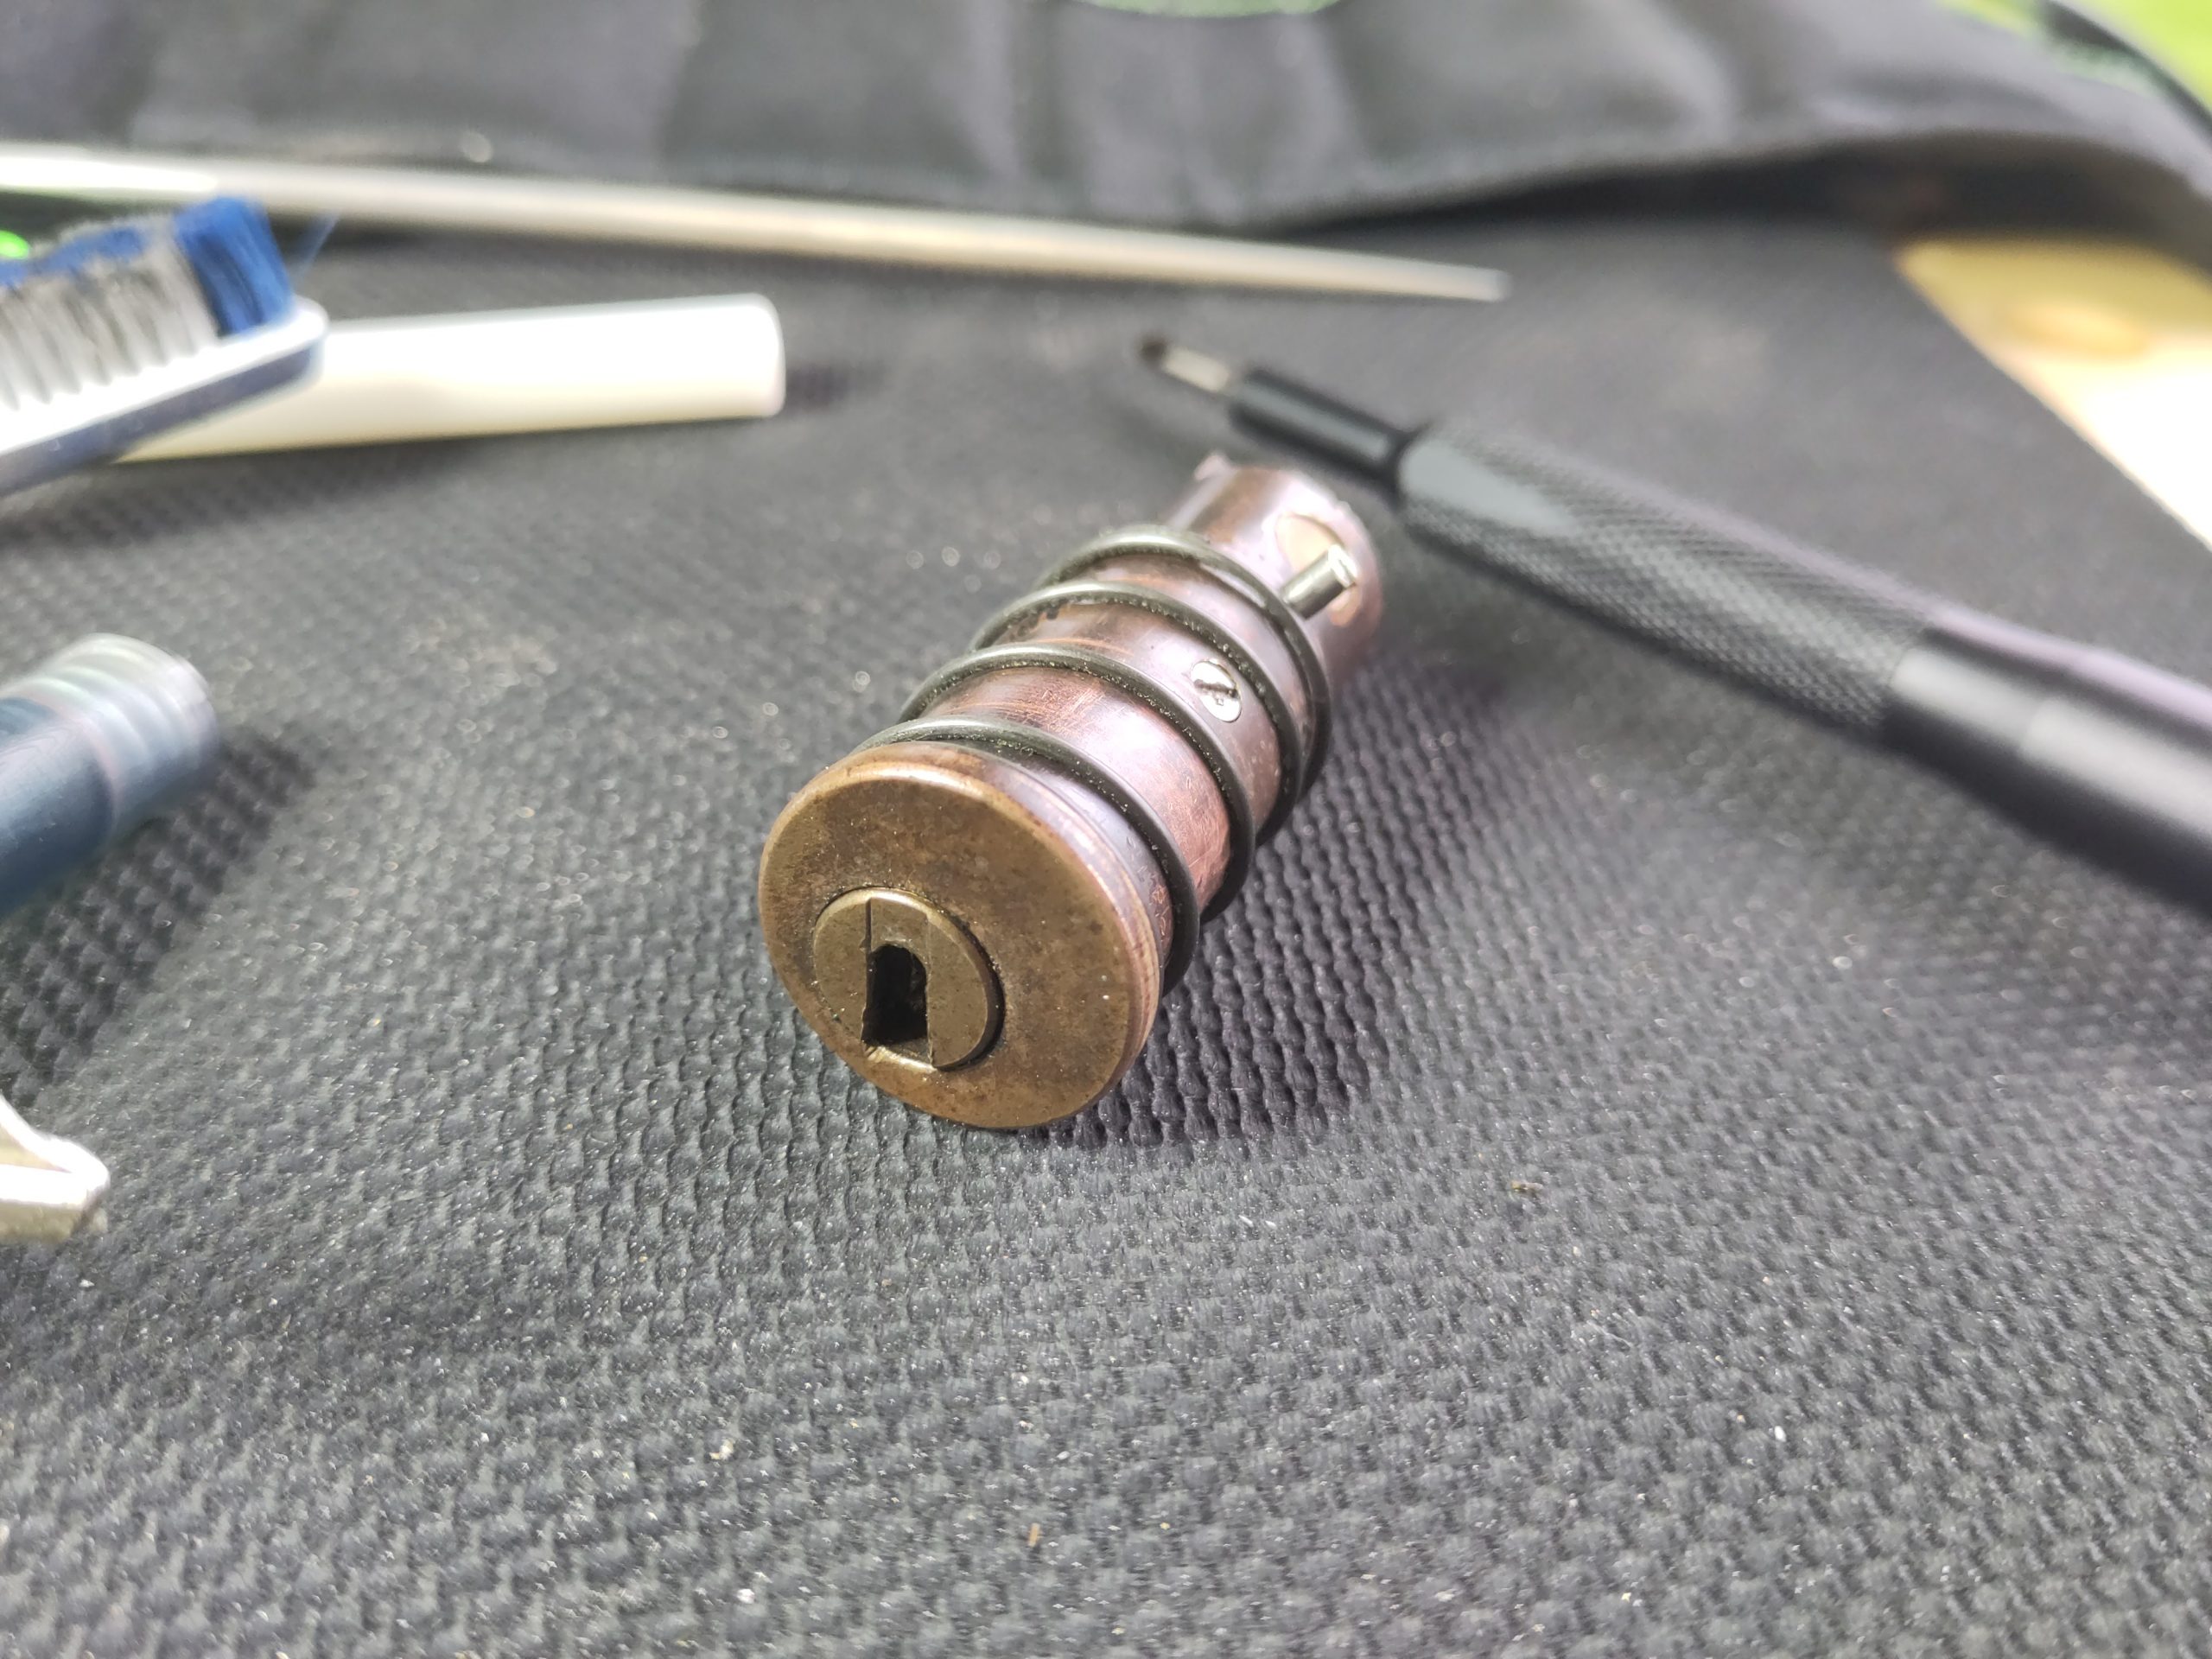
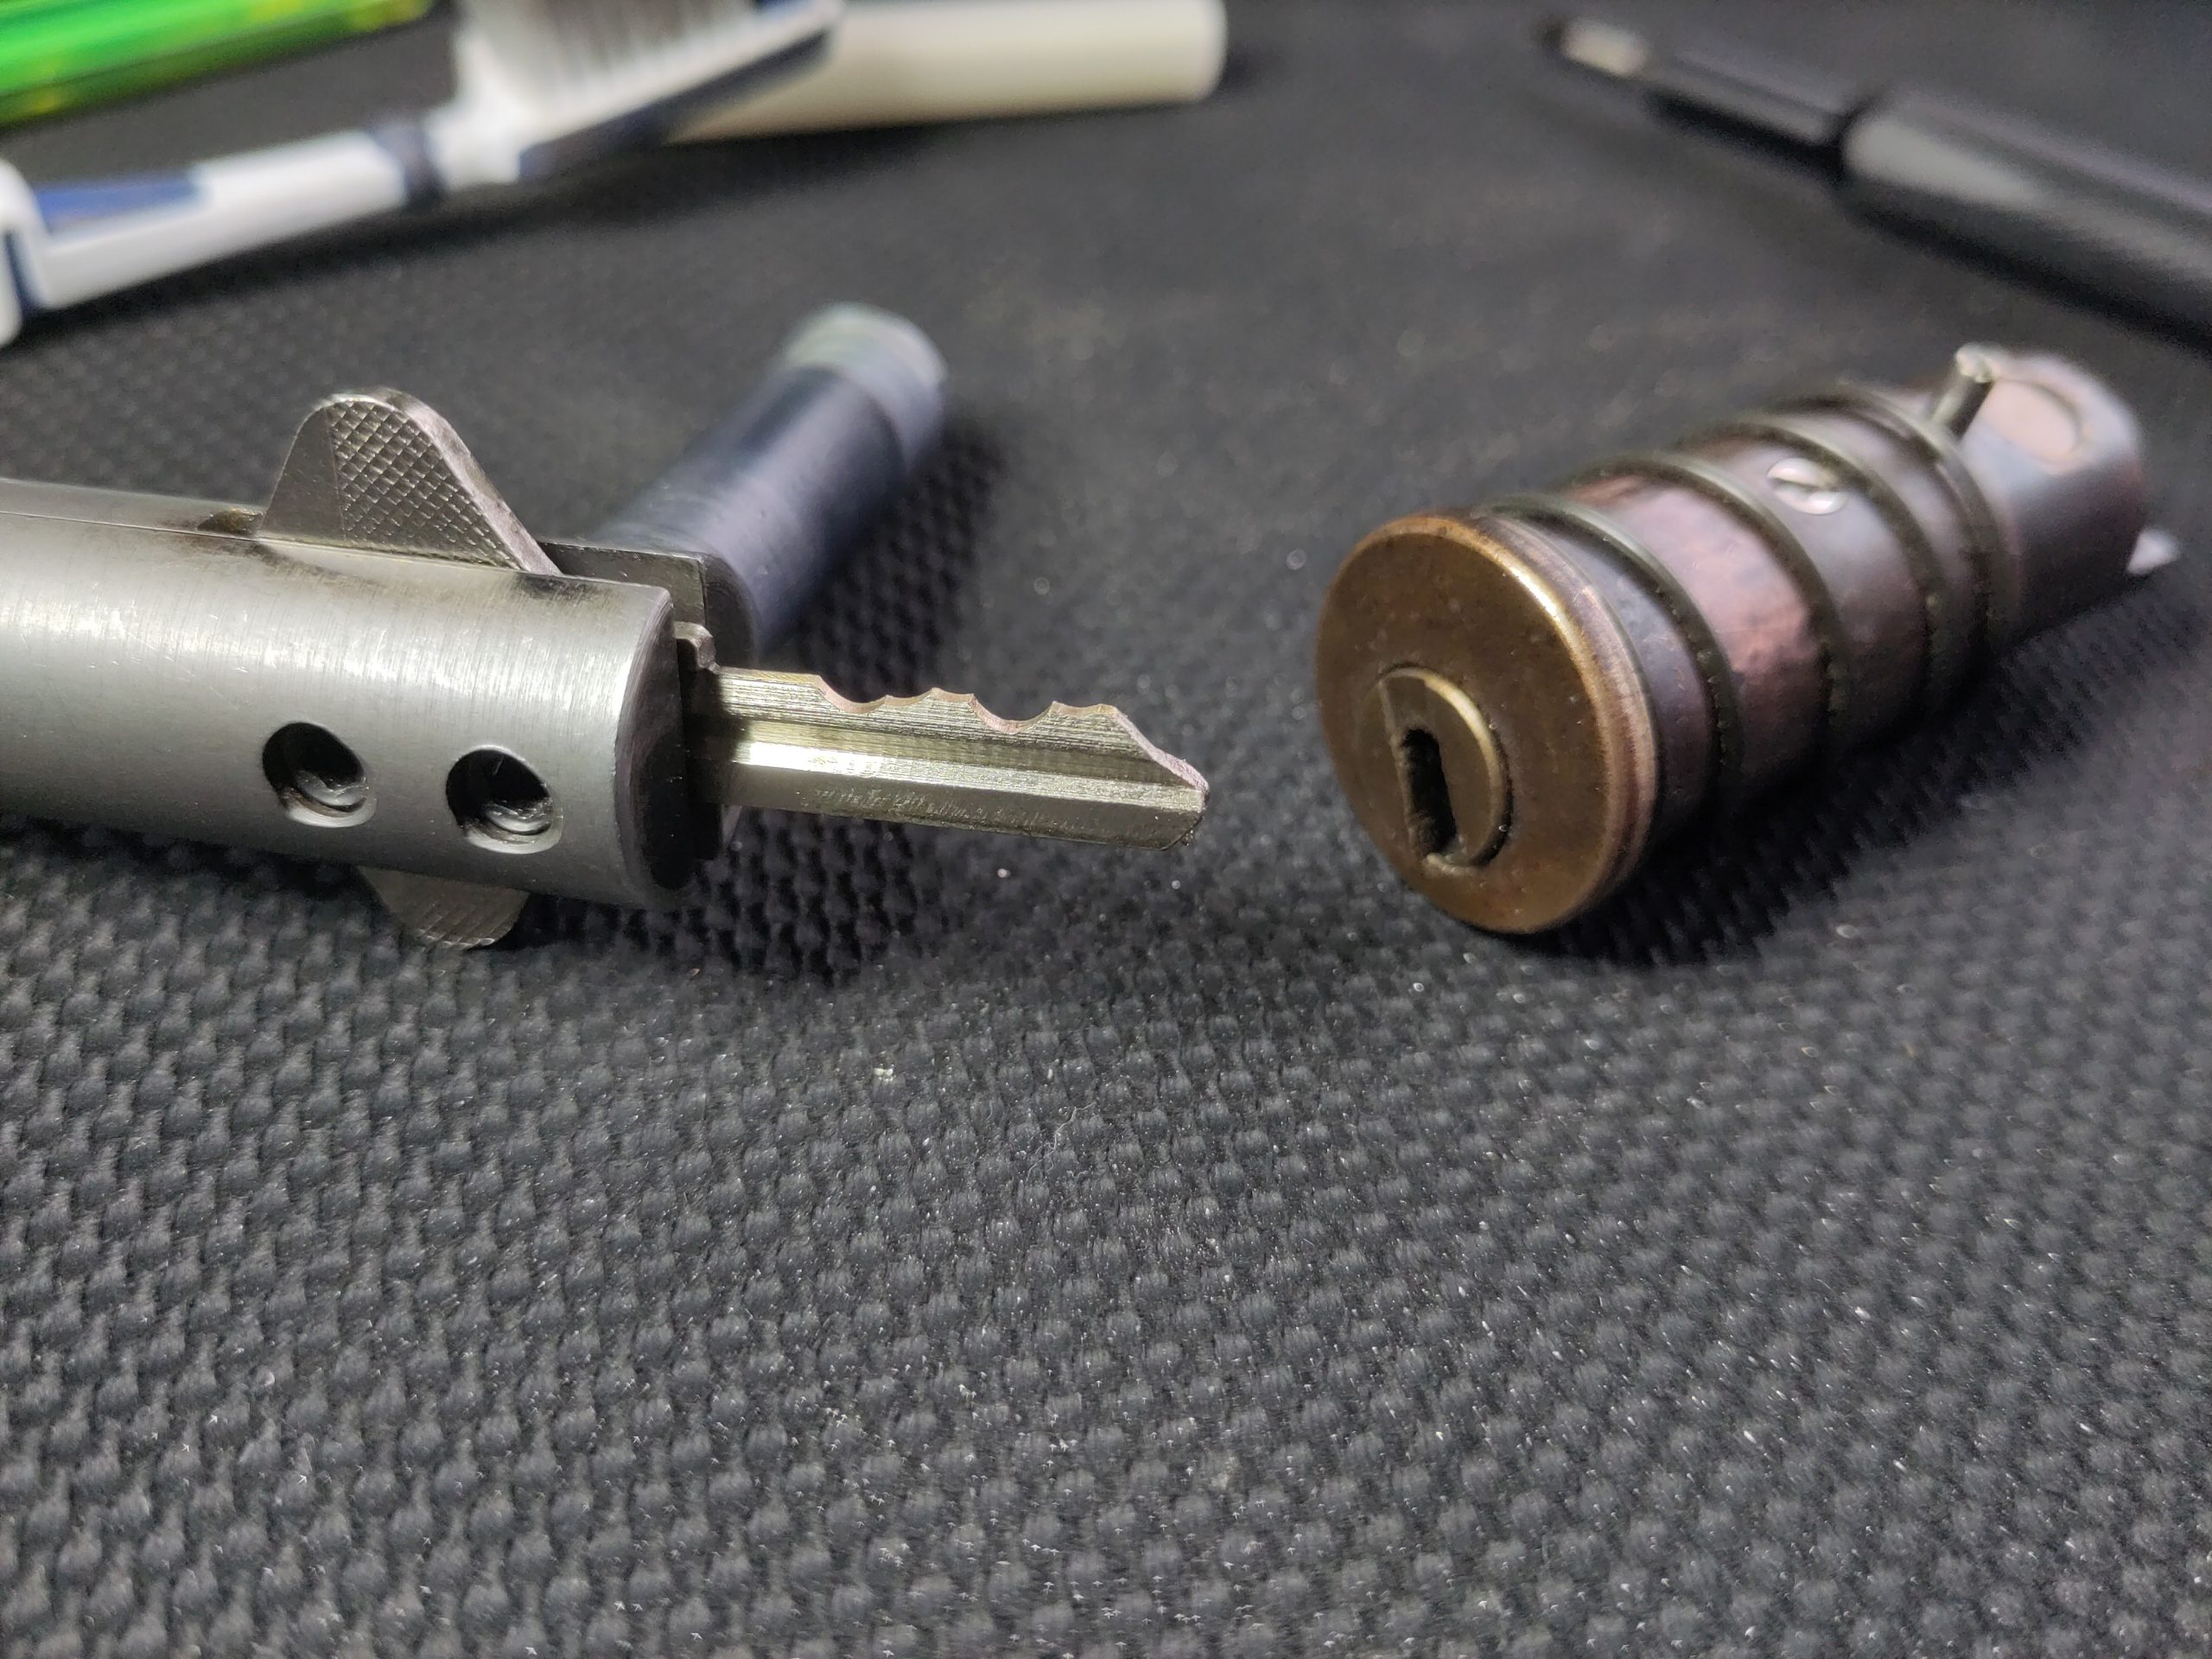
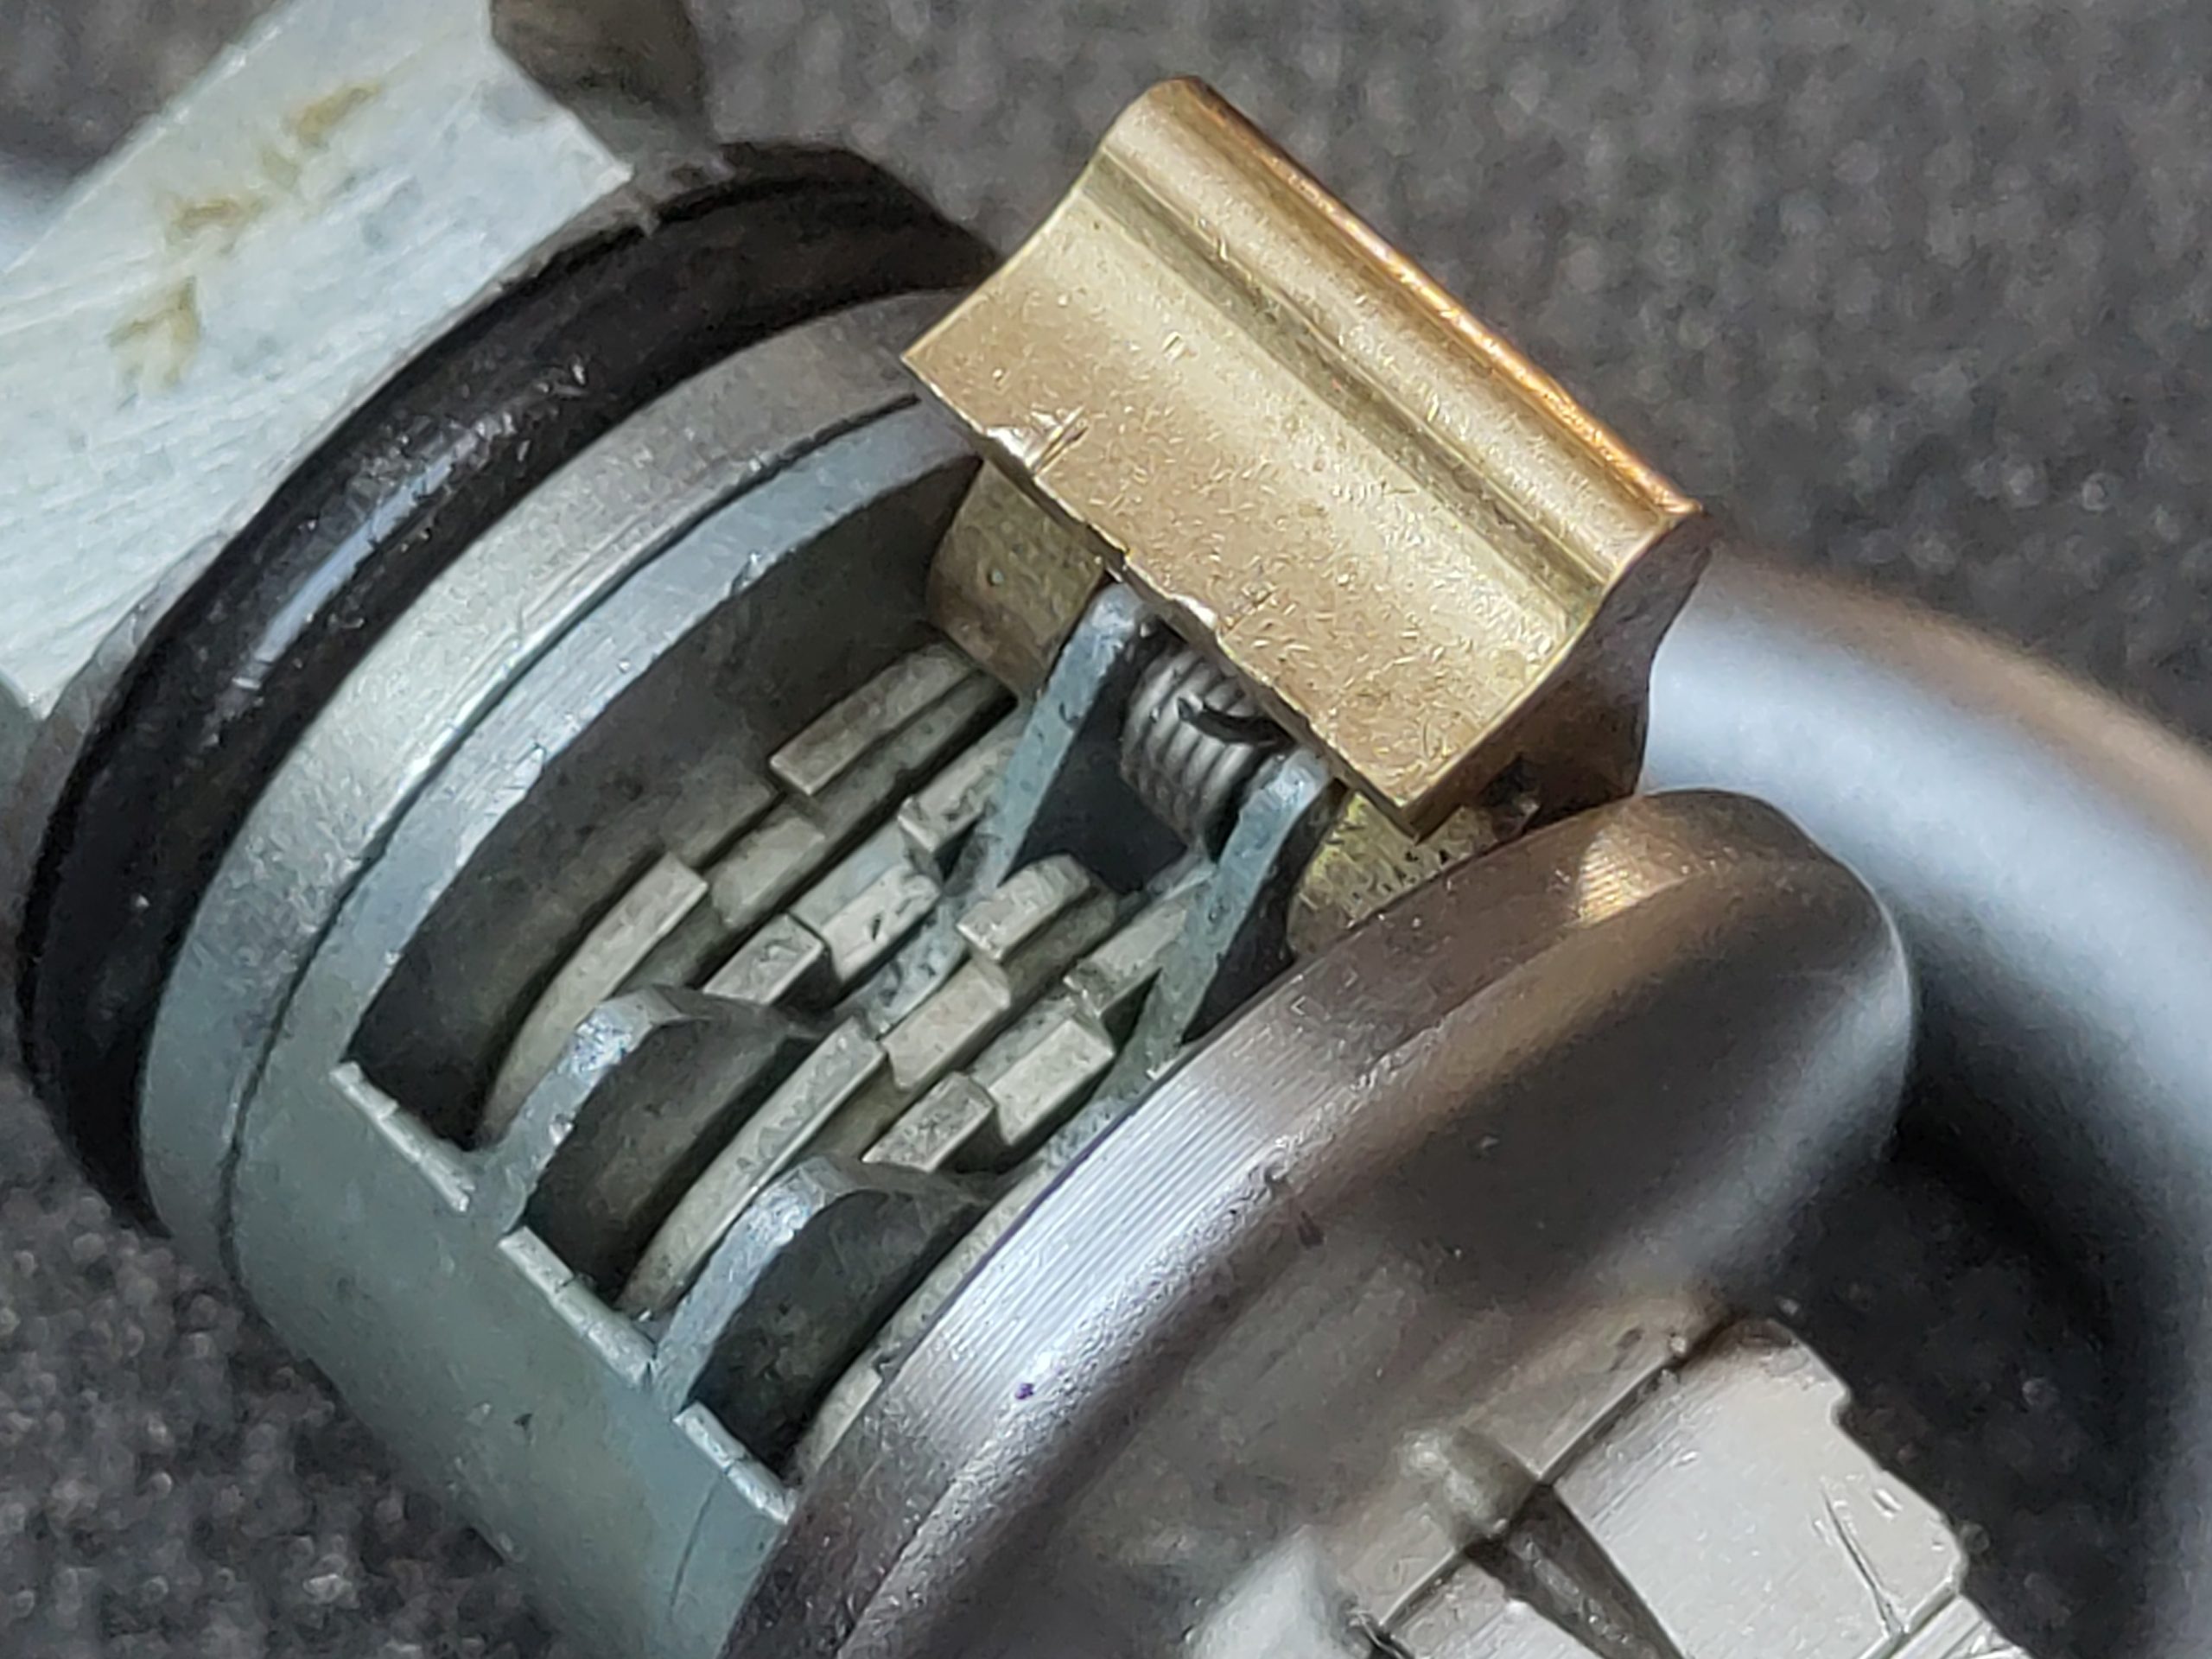
After some online research and asking around, I managed to remove the shackle from the padlock, so I was able to remove the core and find out what prevented the key from being removed. My initial thought was canyoning, even though I kept an eye out for that during the impressioning. The real cause was totally different, and not really something I could have prevented. The key wasn’t perfect, but had allowed the gates to align just enough for the sidebar to drop in under tension. After that though, It was stuck so tight that the sidebar springs were too weak to lift the sidebar out again.
Conclusion
I think the only thing that might have prevented this from happening is having a list of all possible cut depths and making sure to file exactly to those depths on the exact right location of the blank. Should I ever try this again, obtaining a list of the cut depths and making some sort of jig or guide to help with the spacing would help out a lot.
Henri/Greenish