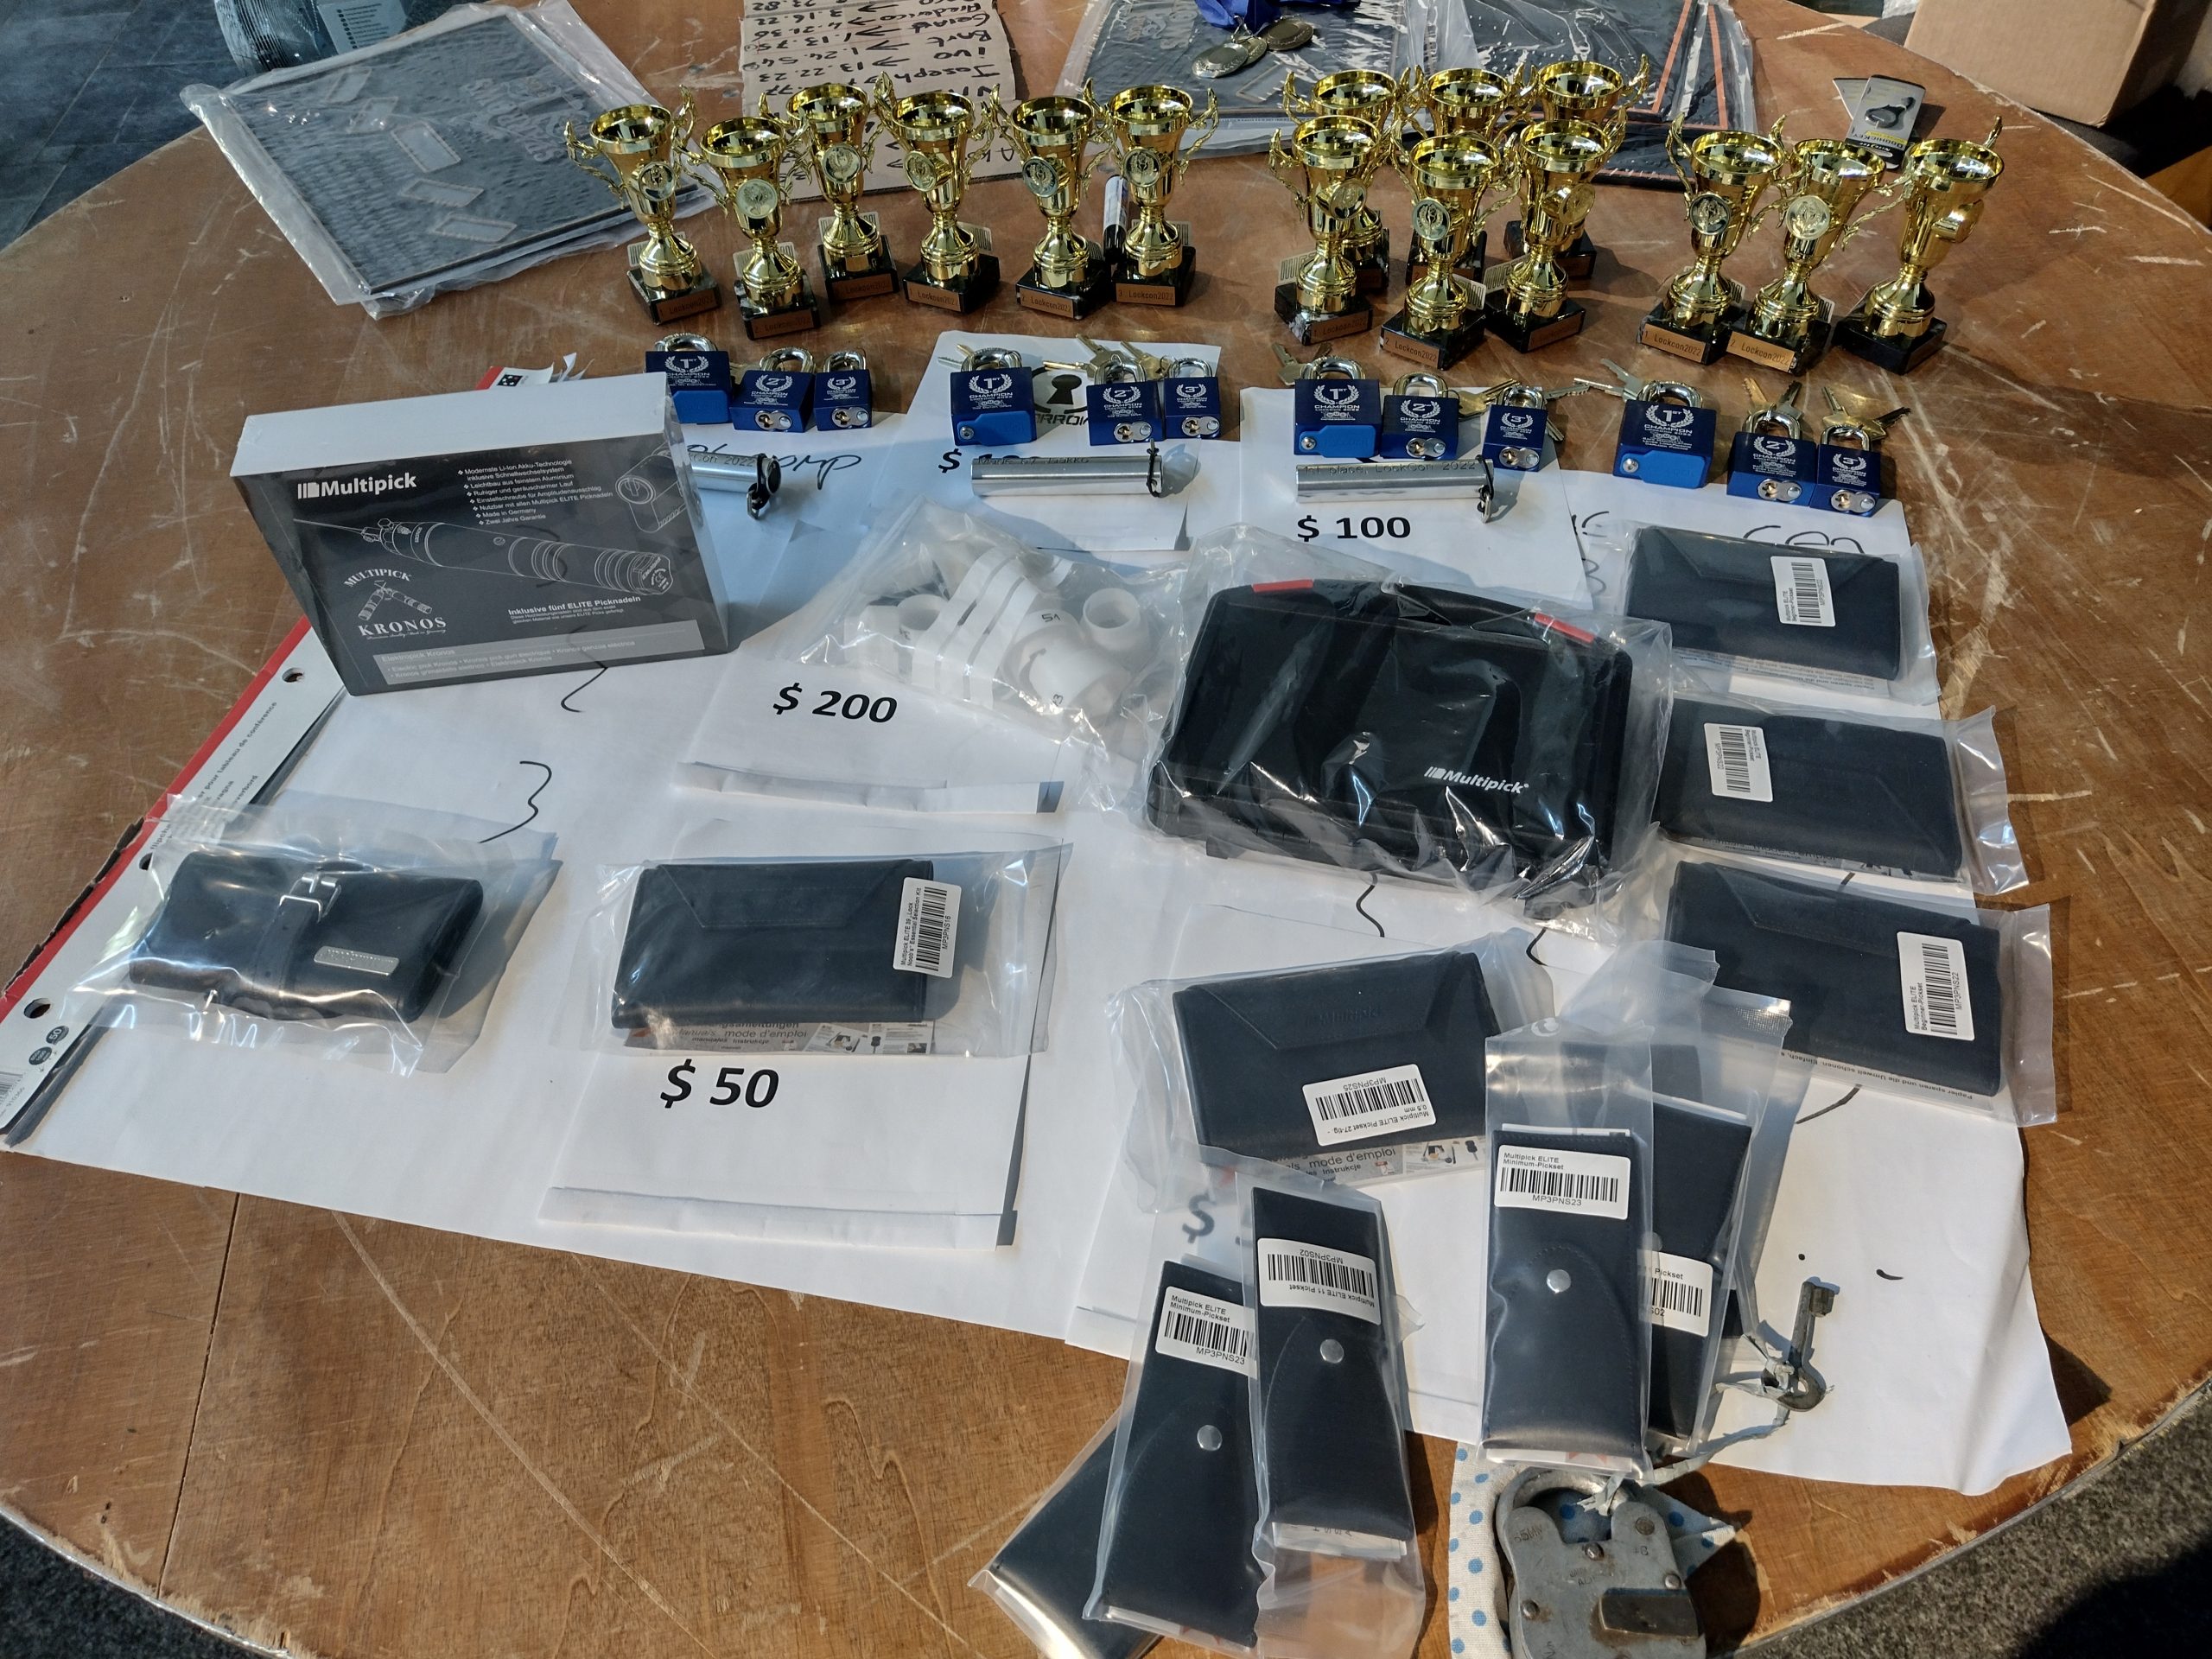
Toool NL has a competition with ~25 locks, which can be picked during Toool meetings. Each member times his opening attempts and points are awarded according to opening times. The competition ran from LockCon to LockCon, which was a bit longer than a year, this time.
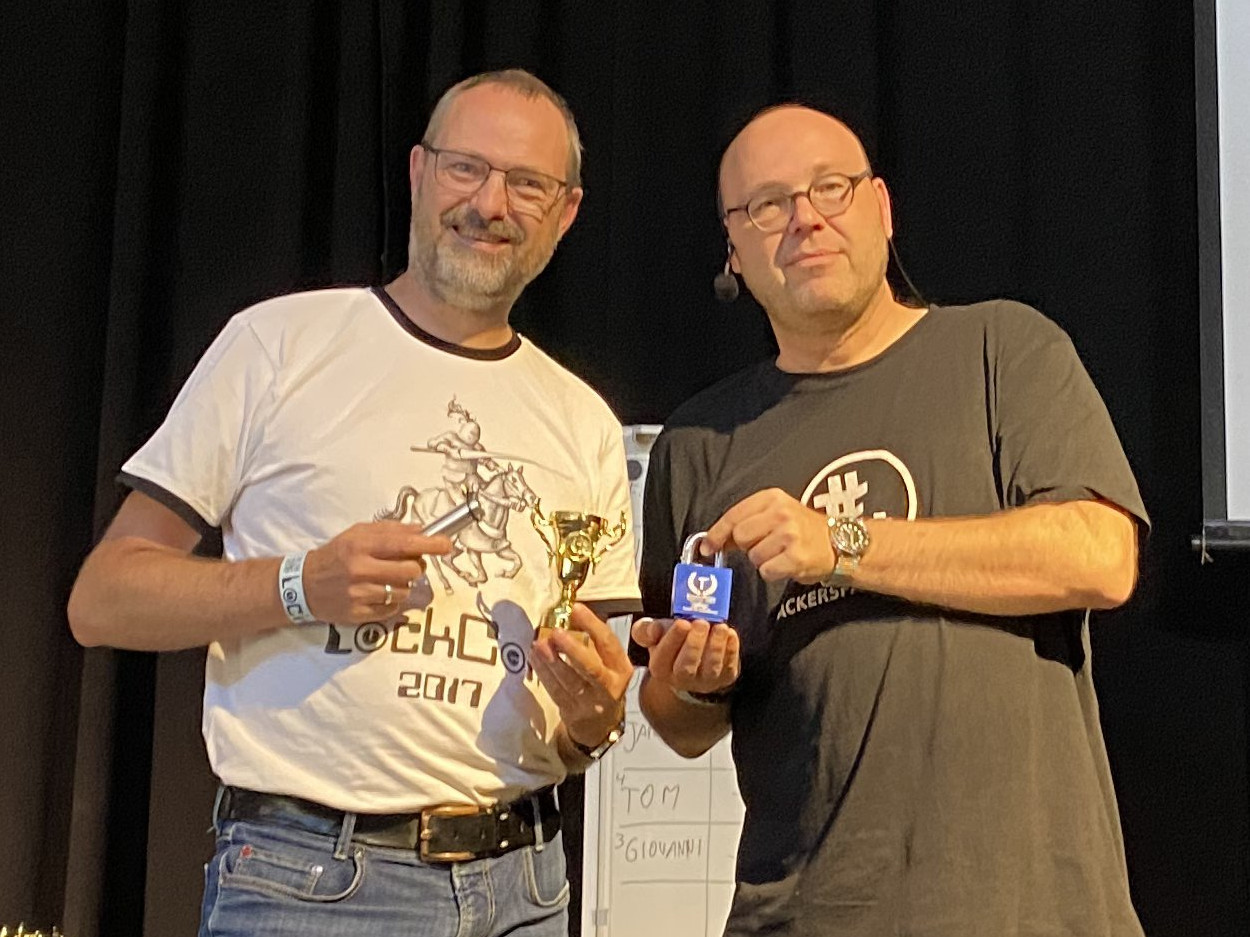
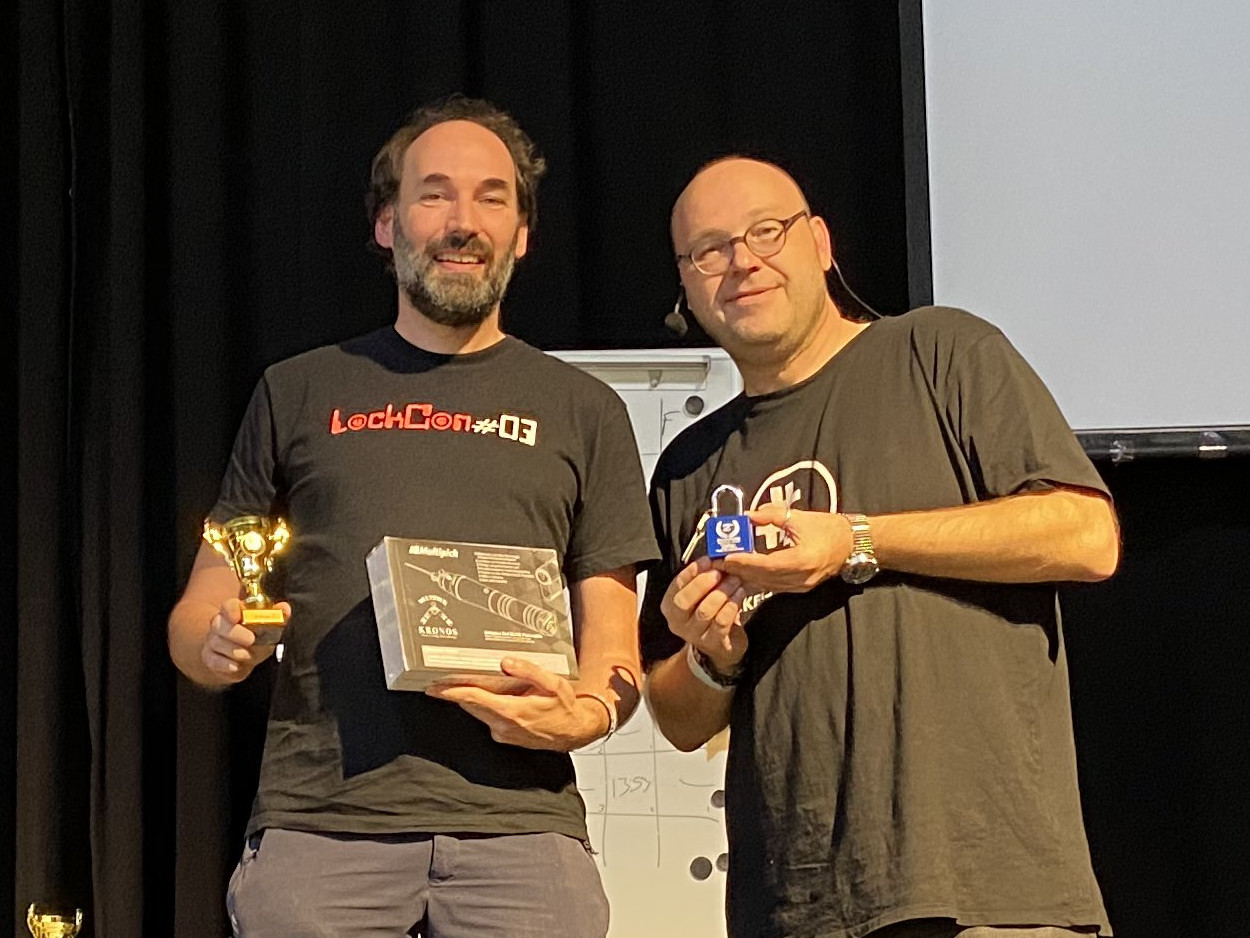
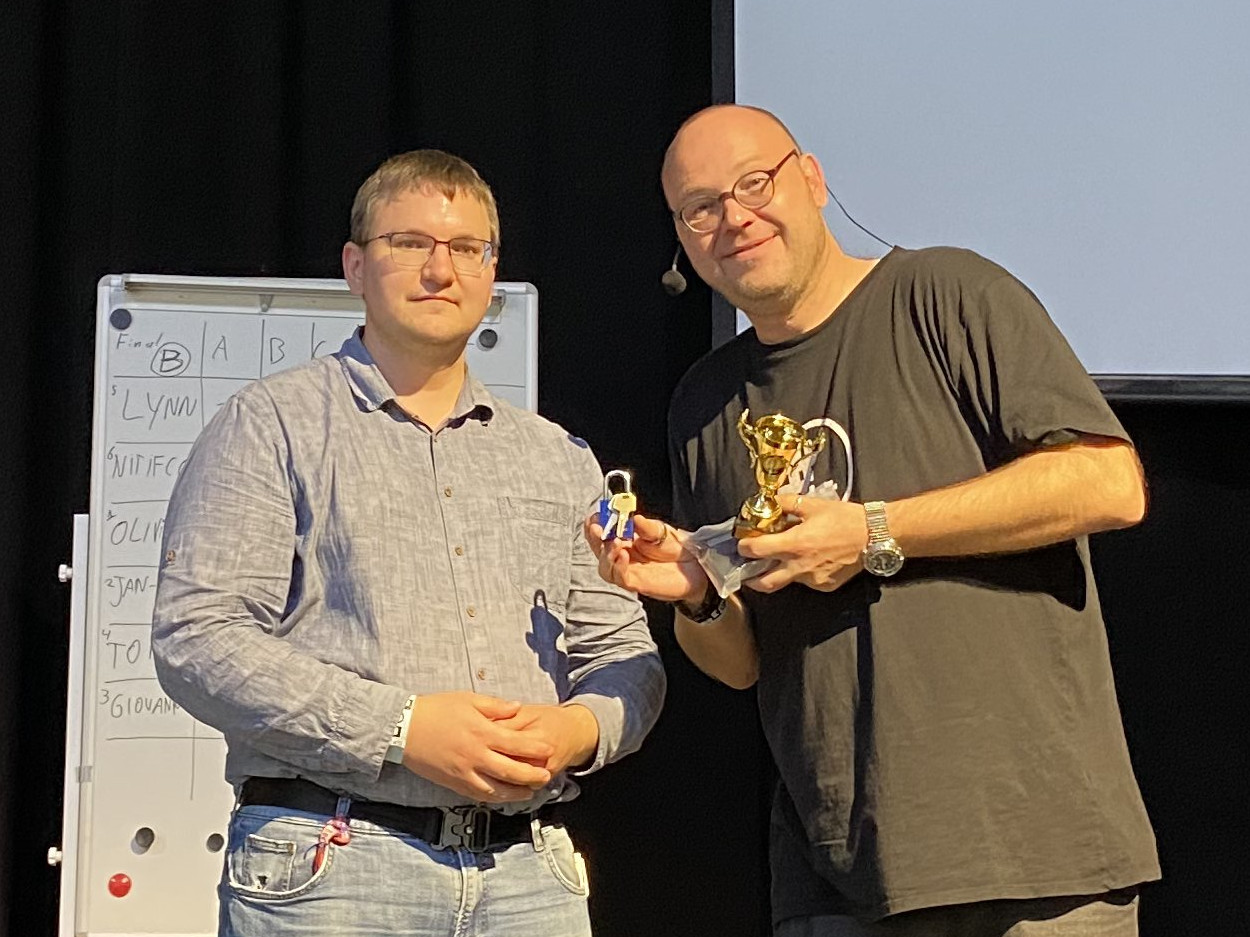
First place in the competition won a custom engraved Abloy Classic lockpick by Jaakko. Second place won a Multipick Kronos electropick. The third place won a set of Multipick dimple lockpicks. All winners got a trophy, and a custom engraved PACLOCK.
Congrats to the winners!
Walter got 1st place with 250 pointsTom got 2nd place with 176 pointsJos got 3rd price with 160 points
Last weekend was LockCon 2022, our annual conference about locksport. Throughout the conference we hosted talks about the hobby, in-depth analysis of Anker 3800, Zeiss Ikon WSW, Kromer Protector, just to name a few. We also hosted the DutchOpen competition on Impressioning, Lockpicking, and Car lock picking.
This year, we had attendees from Europe, Great Britain, USA, and Australia. It was great seeing many familiar faces, and meet new attendees. In between the program, we traded locks, and shared the information we have gathered over the years. Thanks Everyone for making LockCon a success.
We would also like to thank our sponsors. Abus has been sponsoring the impressioning competition for a long time. They helped us with Abus C83 locks and blanks for the impressioning competition.
We received vouchers for the price pool and pinning mats from Sparrows. A wide range of lockpicking tools are sponsored by Multipick, from Multipick essentials up to Artimis electropick. For the first prices, Jaakko made custom engraved Abloy classic lockpicks available. PACLOCK sponsored Paclock padlocks with the competition name. Parmakey organized the car picking competition, and sponsored the price pool for the competition with books and wine. mh made a set of his electronic lock bumping tools available (See talk: Electronic Locks: Bumping and Other Mischief). Henk sponsored an old padlock for nr. 10 of Impressioning. M&C sponsored pinning mats. Last but not least, NoStarchPress sponsored digital copies of the soon-to-be released Locksport book by Jos, Matt, Walter, BandEAtoZ, and Nigel.
Thanks to all the sponsors for making this event possible.
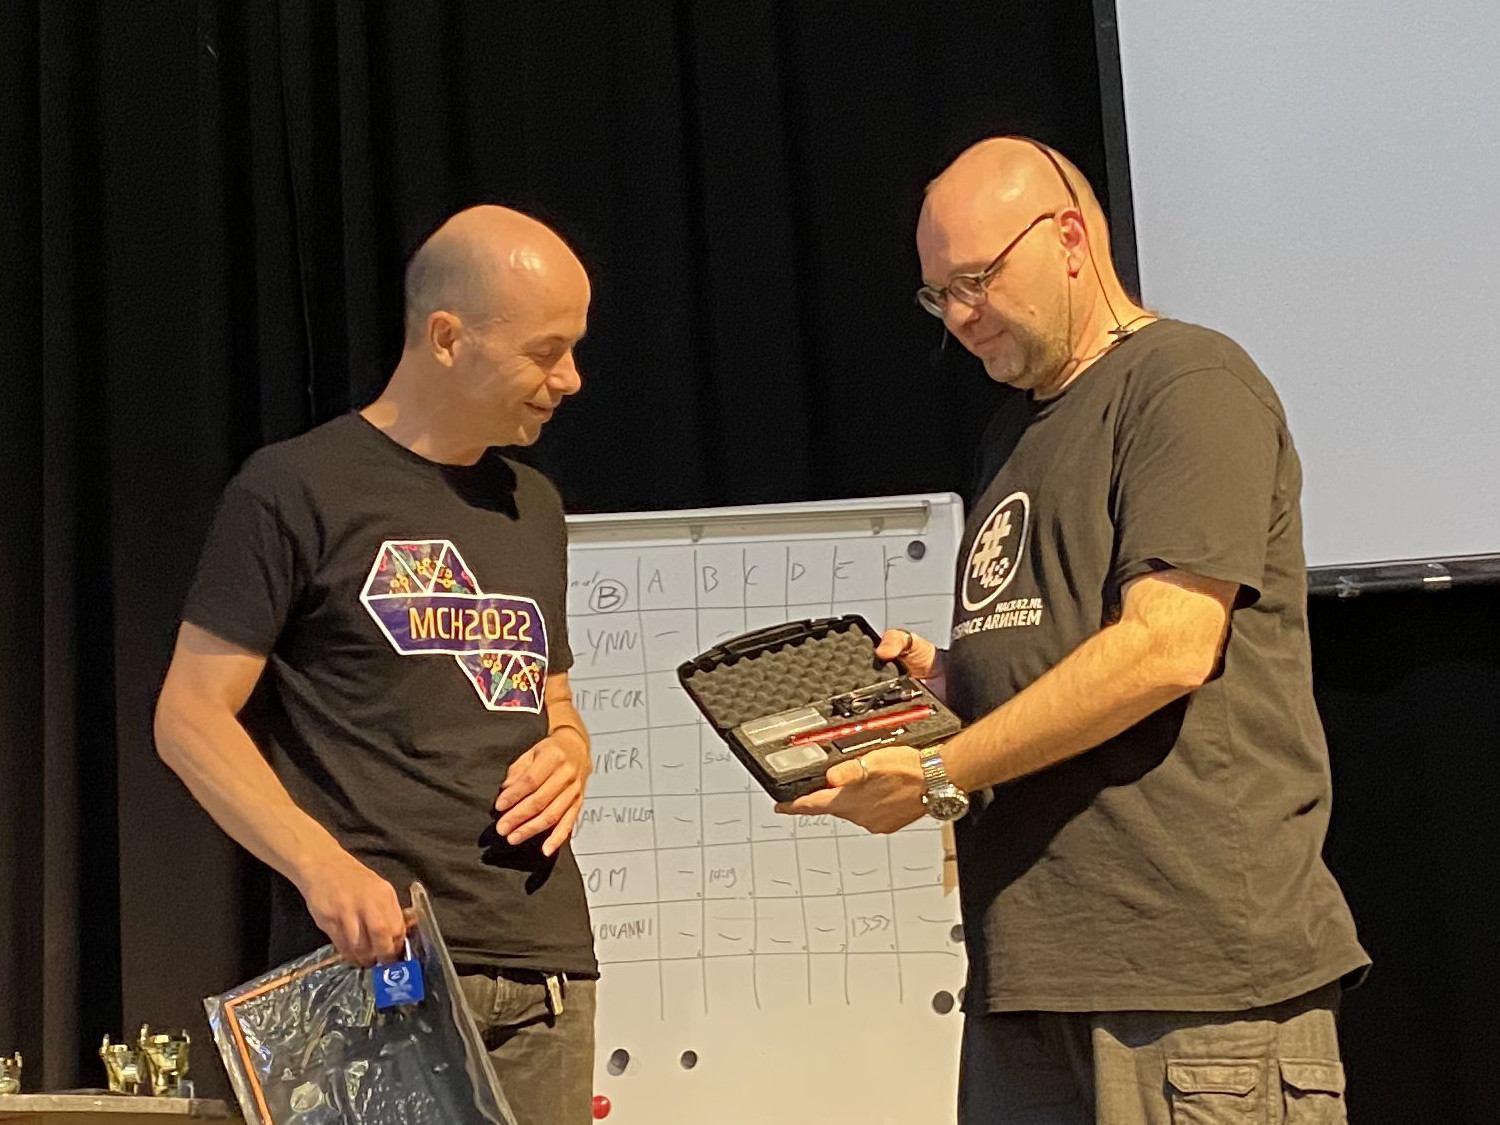
Showing off the Multipick Artimis, their newest electropick. It was handed to Torsten as the price for the 2nd place of Lockpicking.
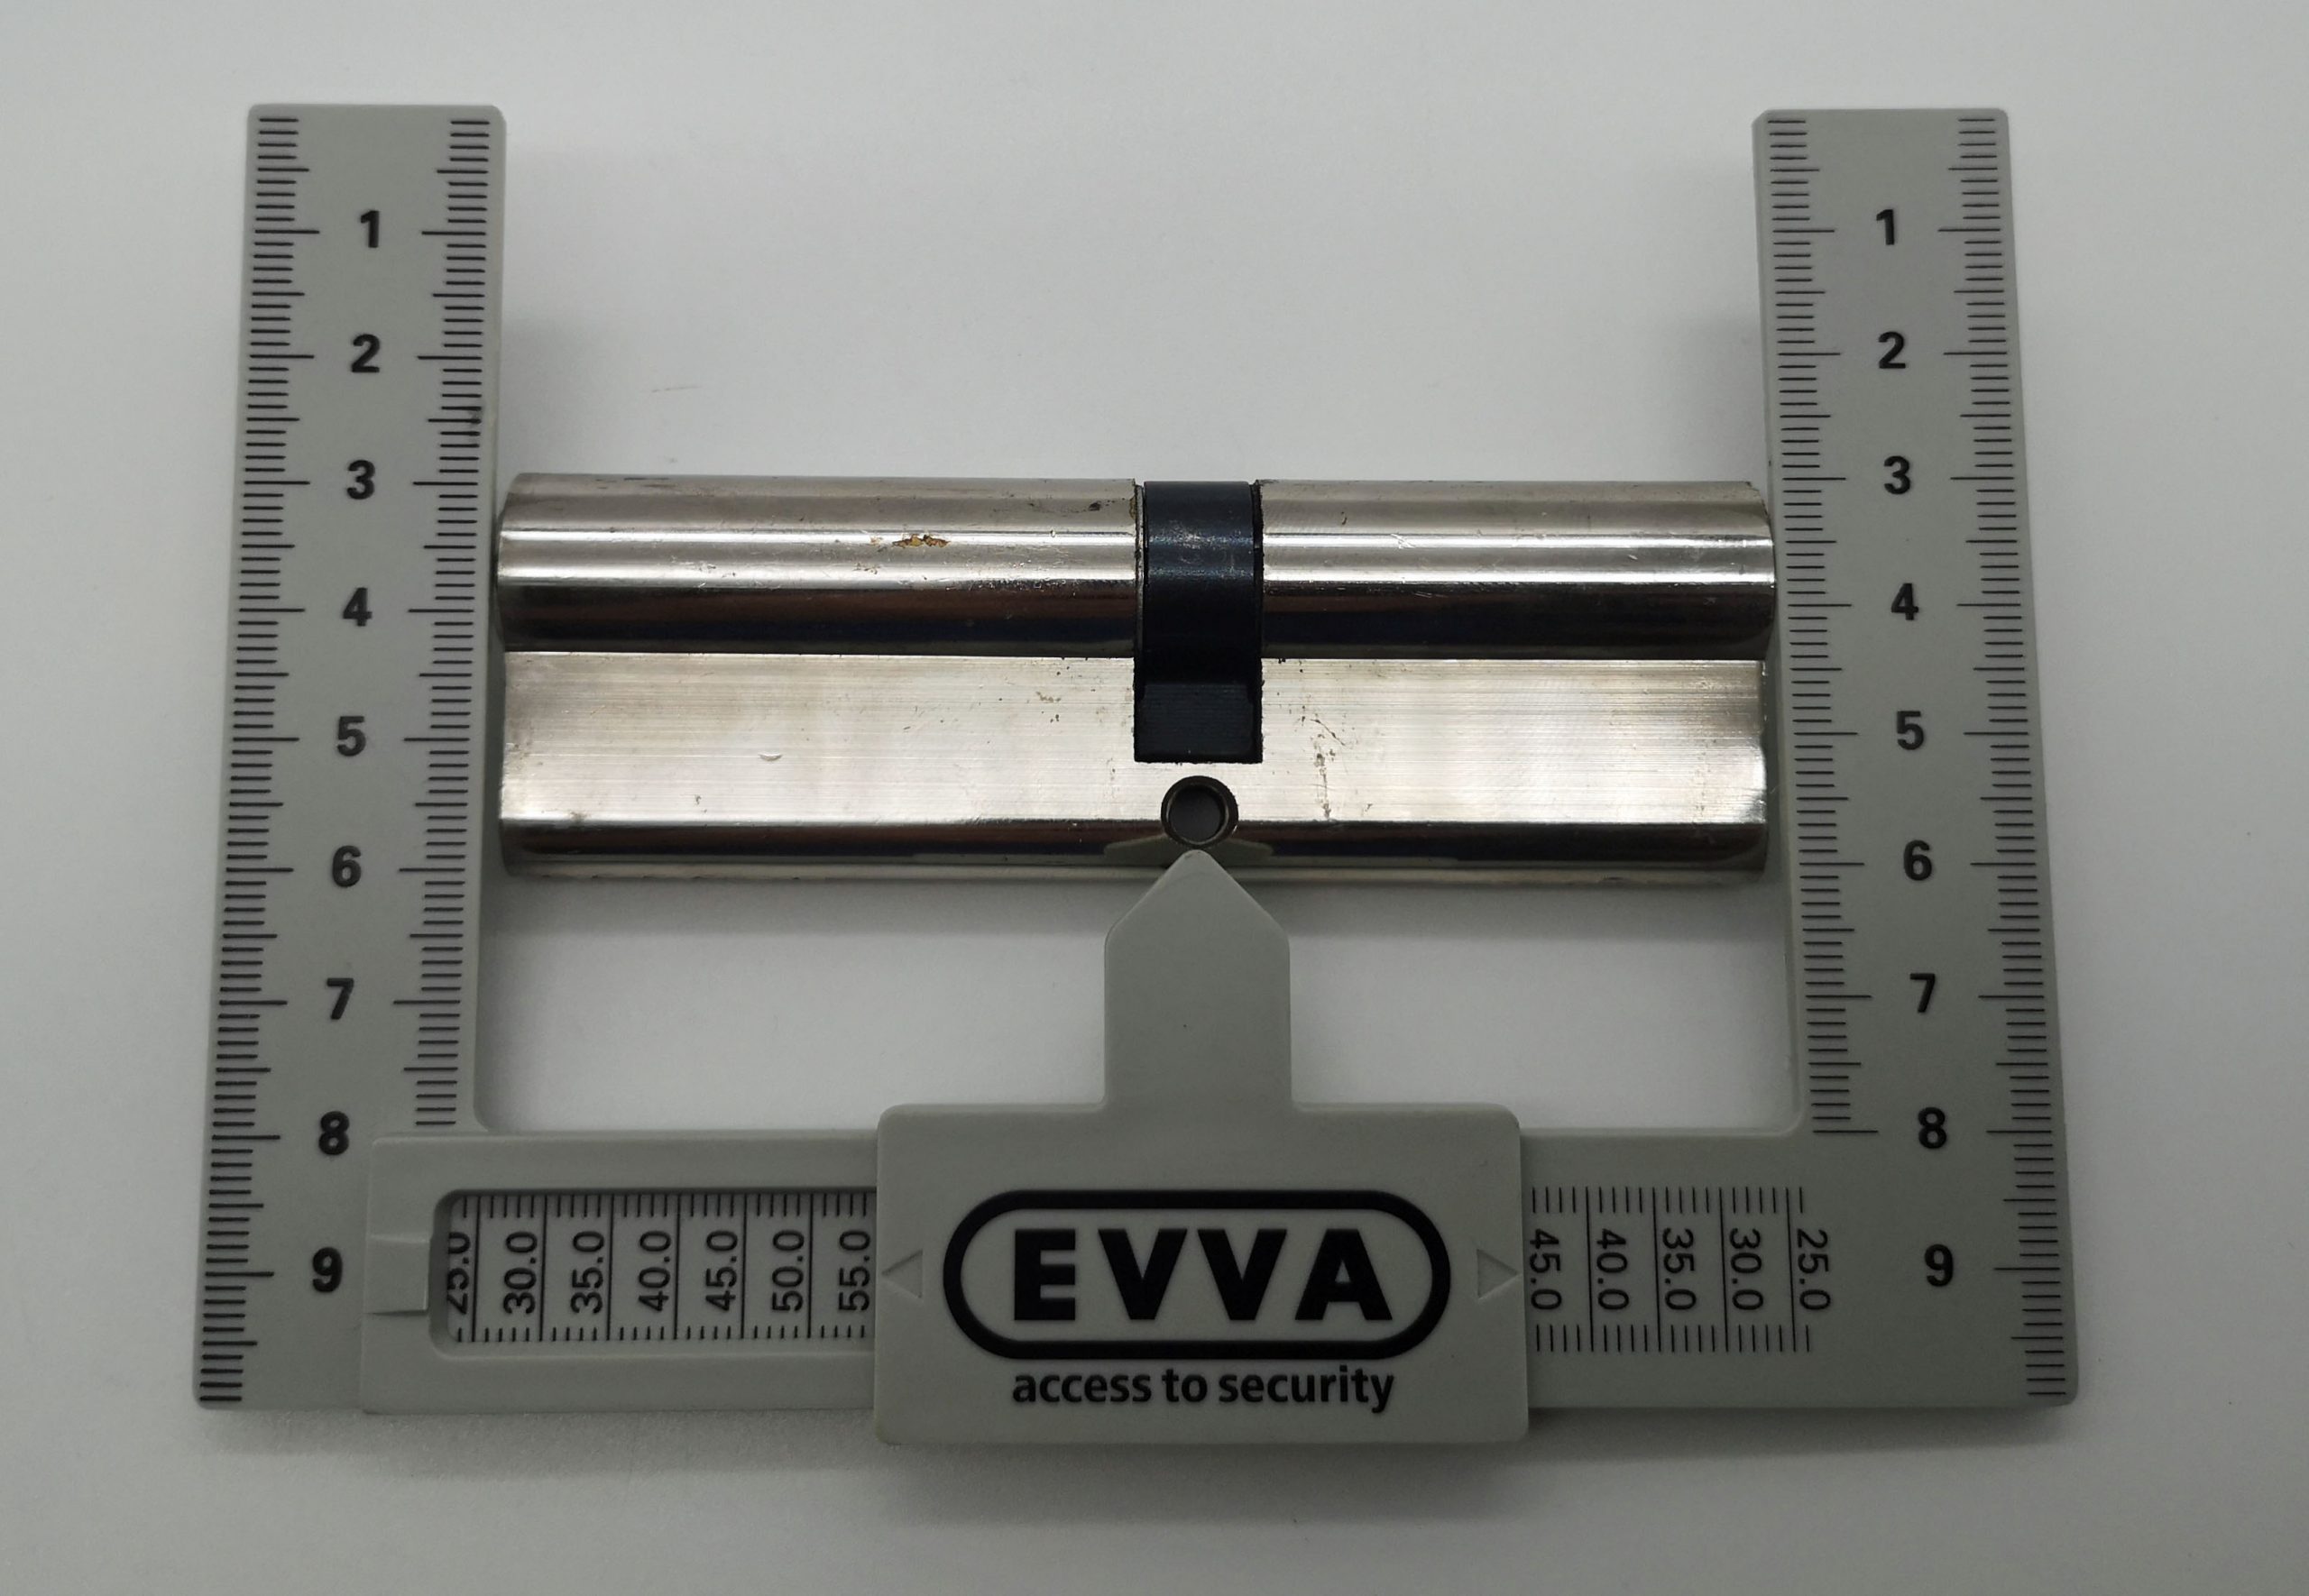
Eurocylinders have a standard form factor, but they come in different sizes. In the middle is the cam and the screw to attach the cylinder to the door. Measuring the lengths from the center of the cam to both ends gives you the length, for instance, 30/30 is a popular size. This means both ends are 30mm or 3cm for a total length of 6cm.
Although sizes of 30mm and 35mm (or combinations with 10mm for half cylinders) are pretty normal, there’s quite a variation in lengths, especially if you go to Belgium for instance.
A 45/55 cylinder
Very long ones such as the 45/55 above, are quite rare. Ones shorter than 30 are also rare. I had come across a 25/25 once, but a while ago, my favourite locksmith from Oostende (Birger) gave me a 20/20 cylinder.
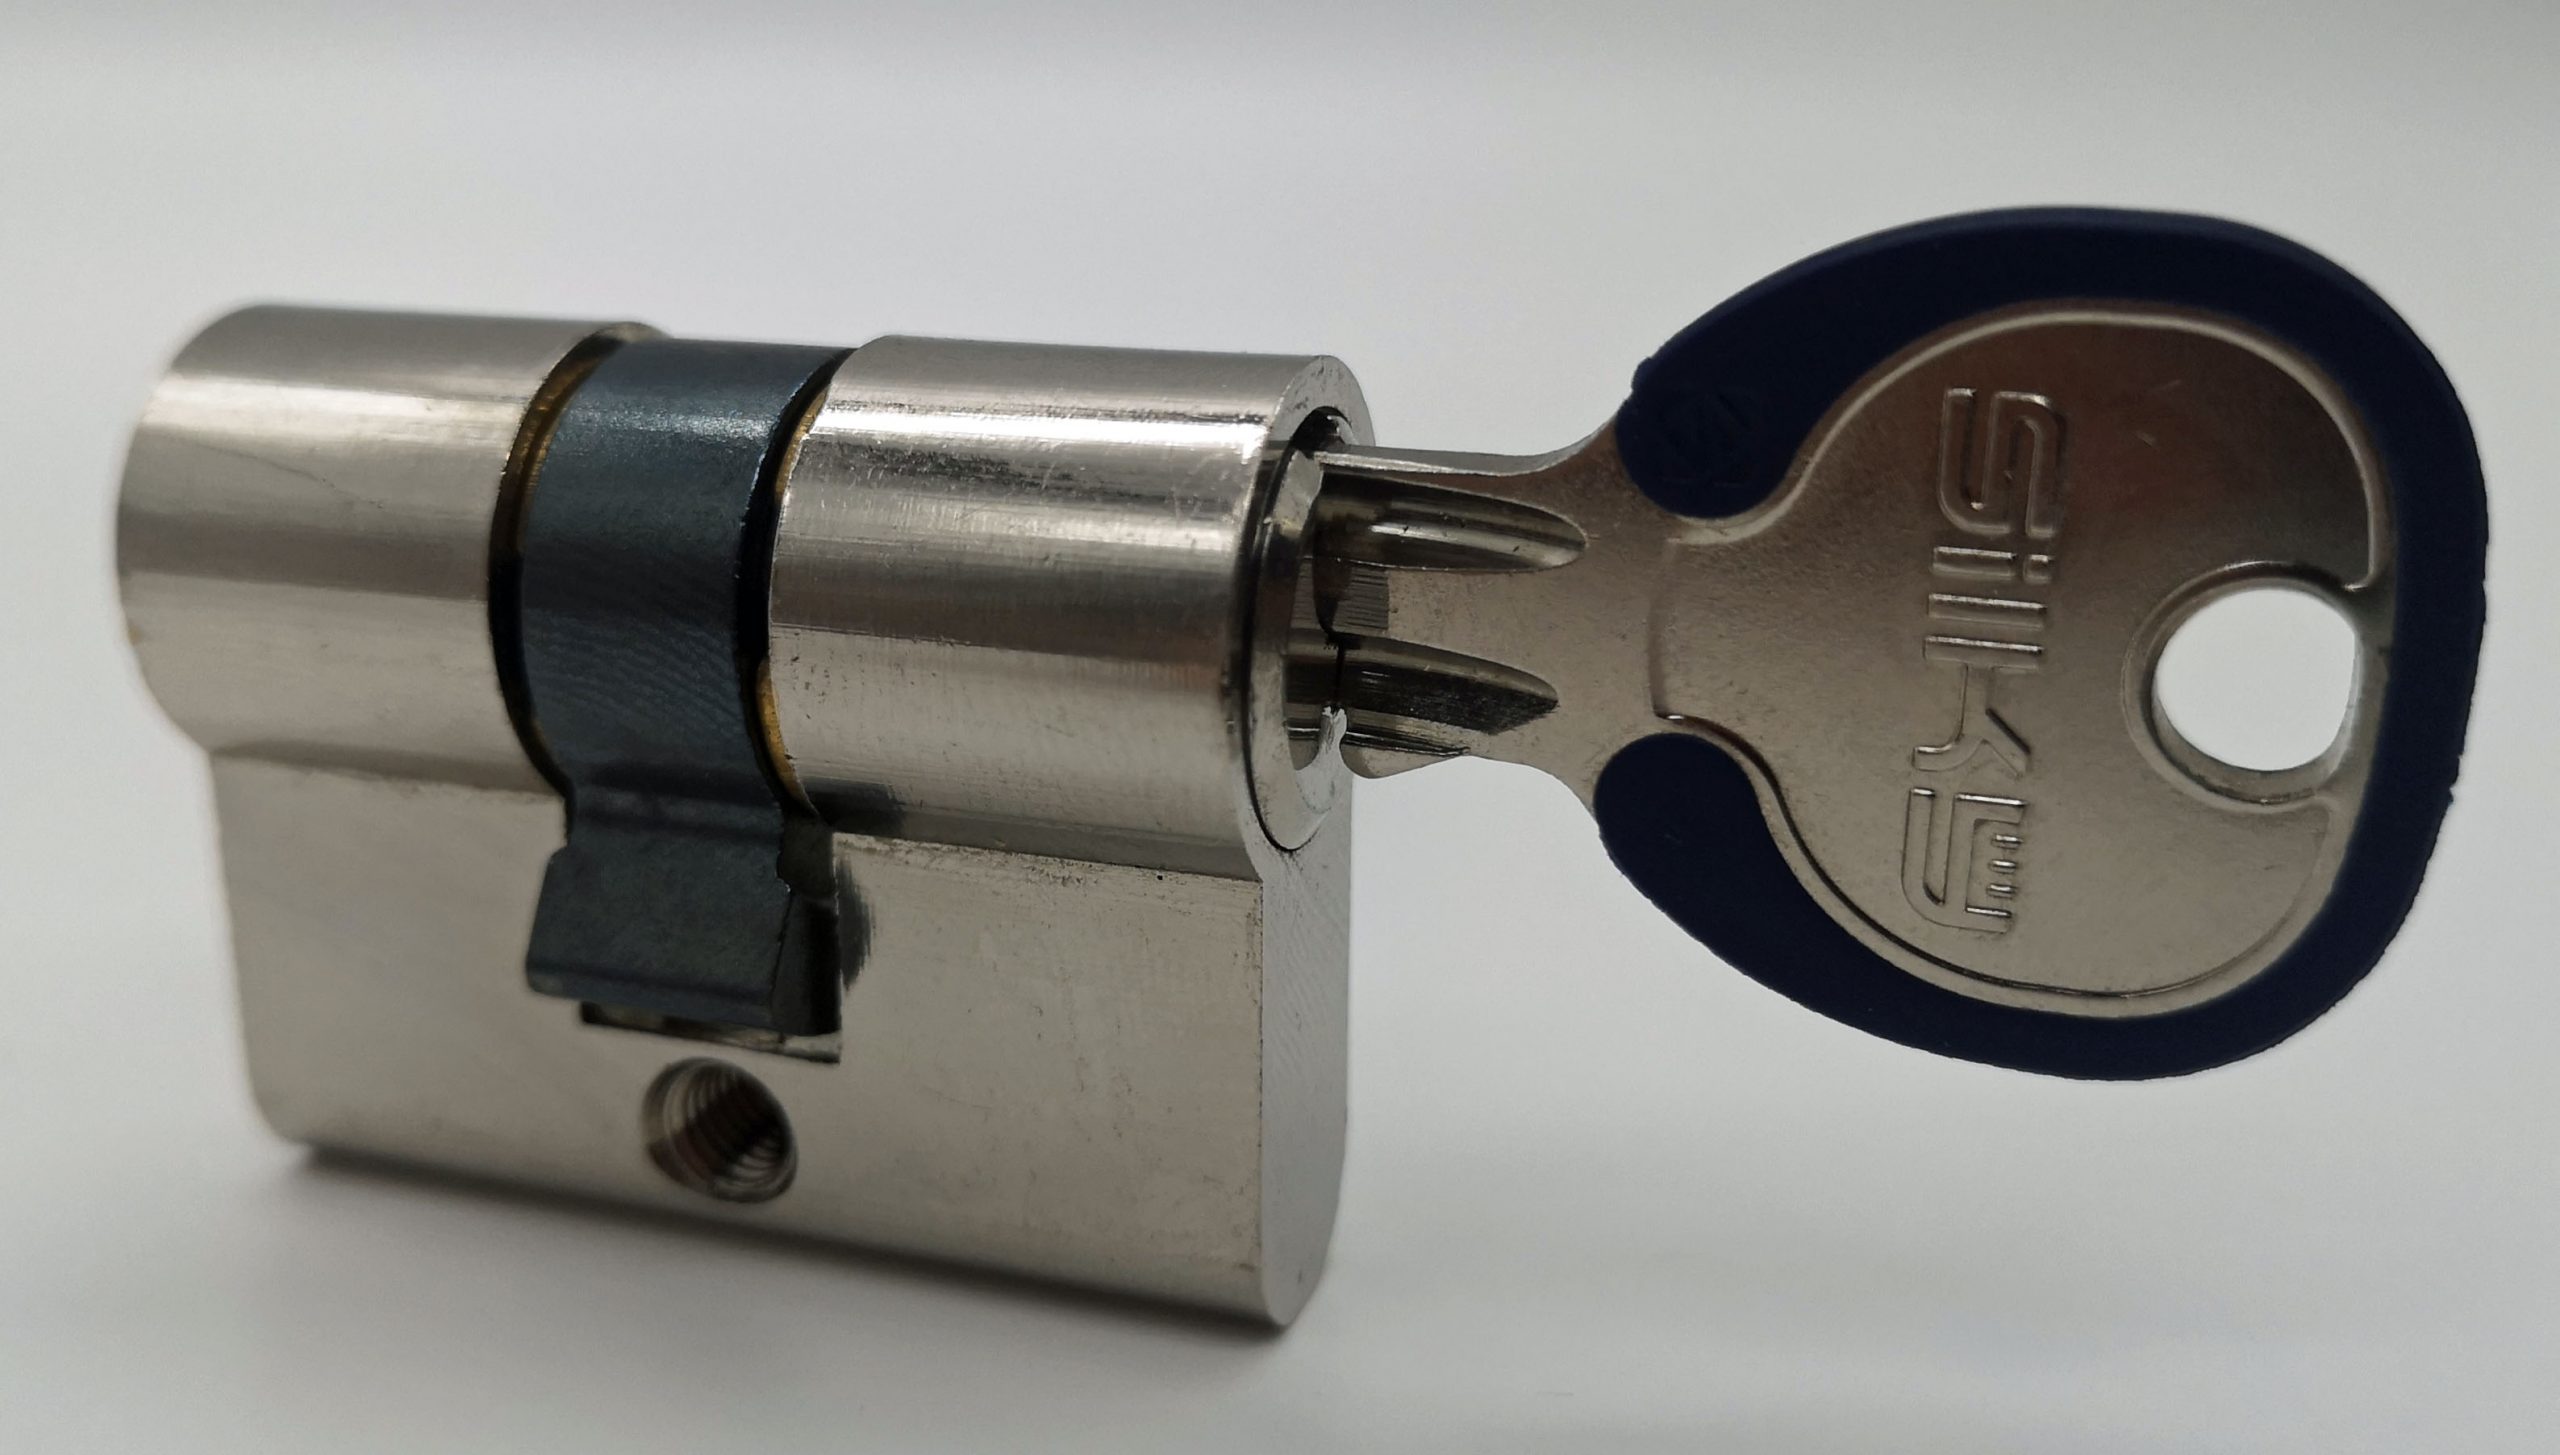
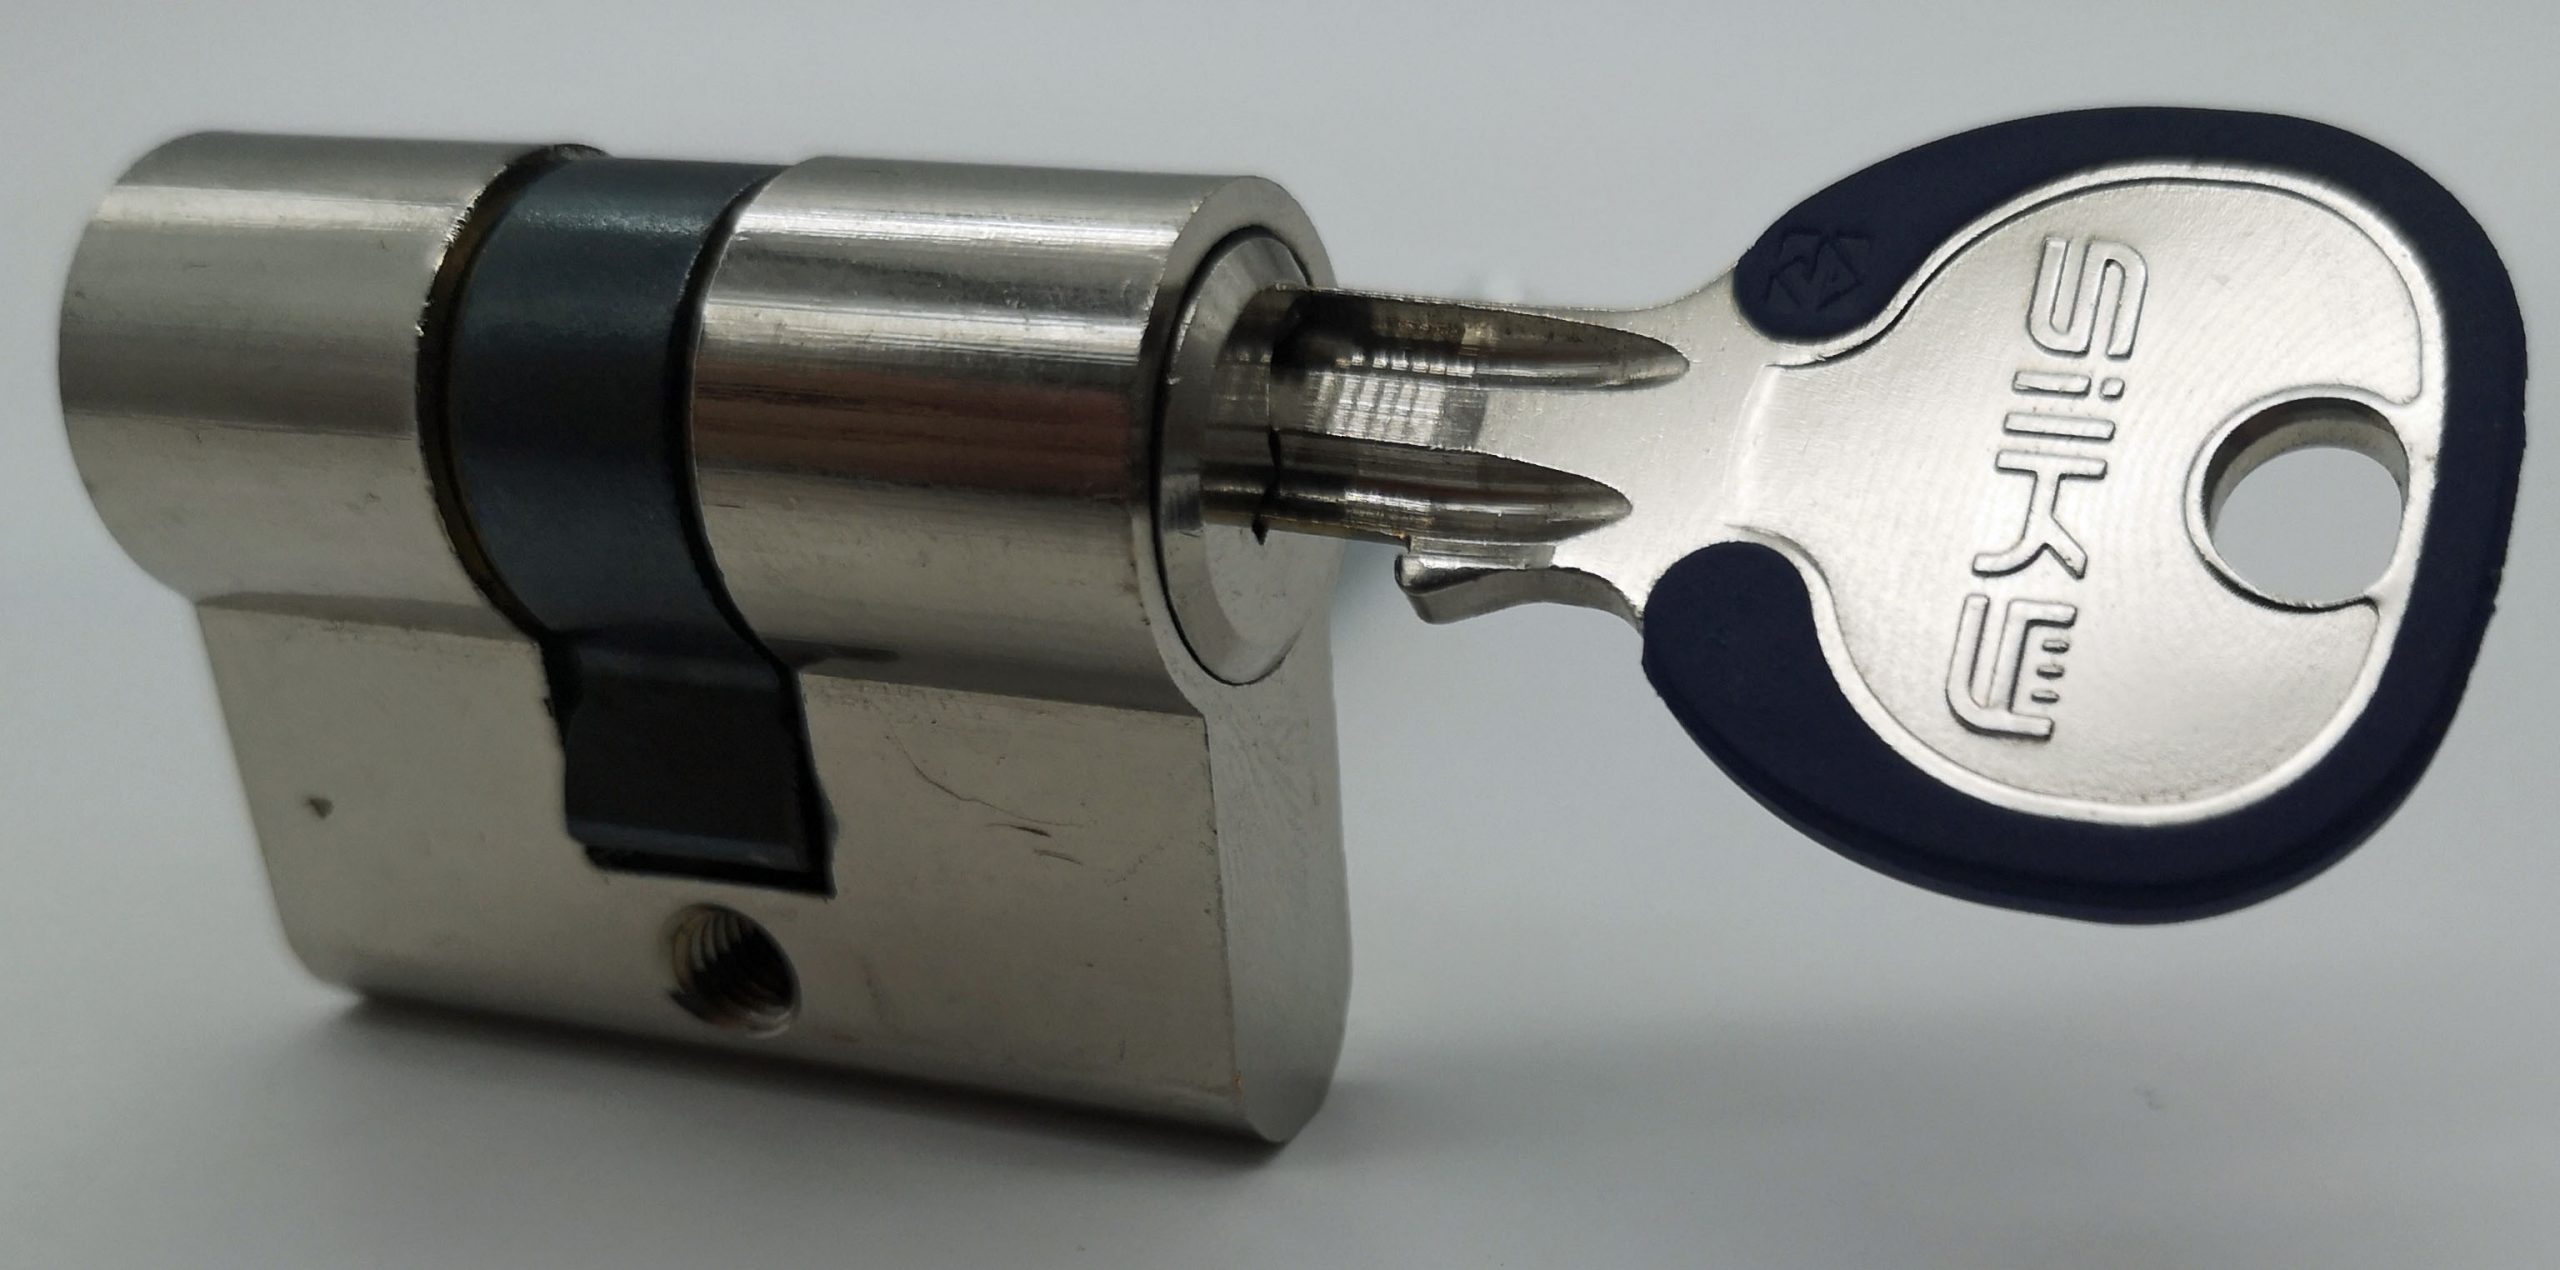
A 20/20 cylinder
It did not come with a key. The cylinder only has one pin! This means that any key that fits the keyway can be used to open it: just insert the slope of the key just far enough to push the pin to the shear line.
By not inserting the key fully, we can pick the one pin
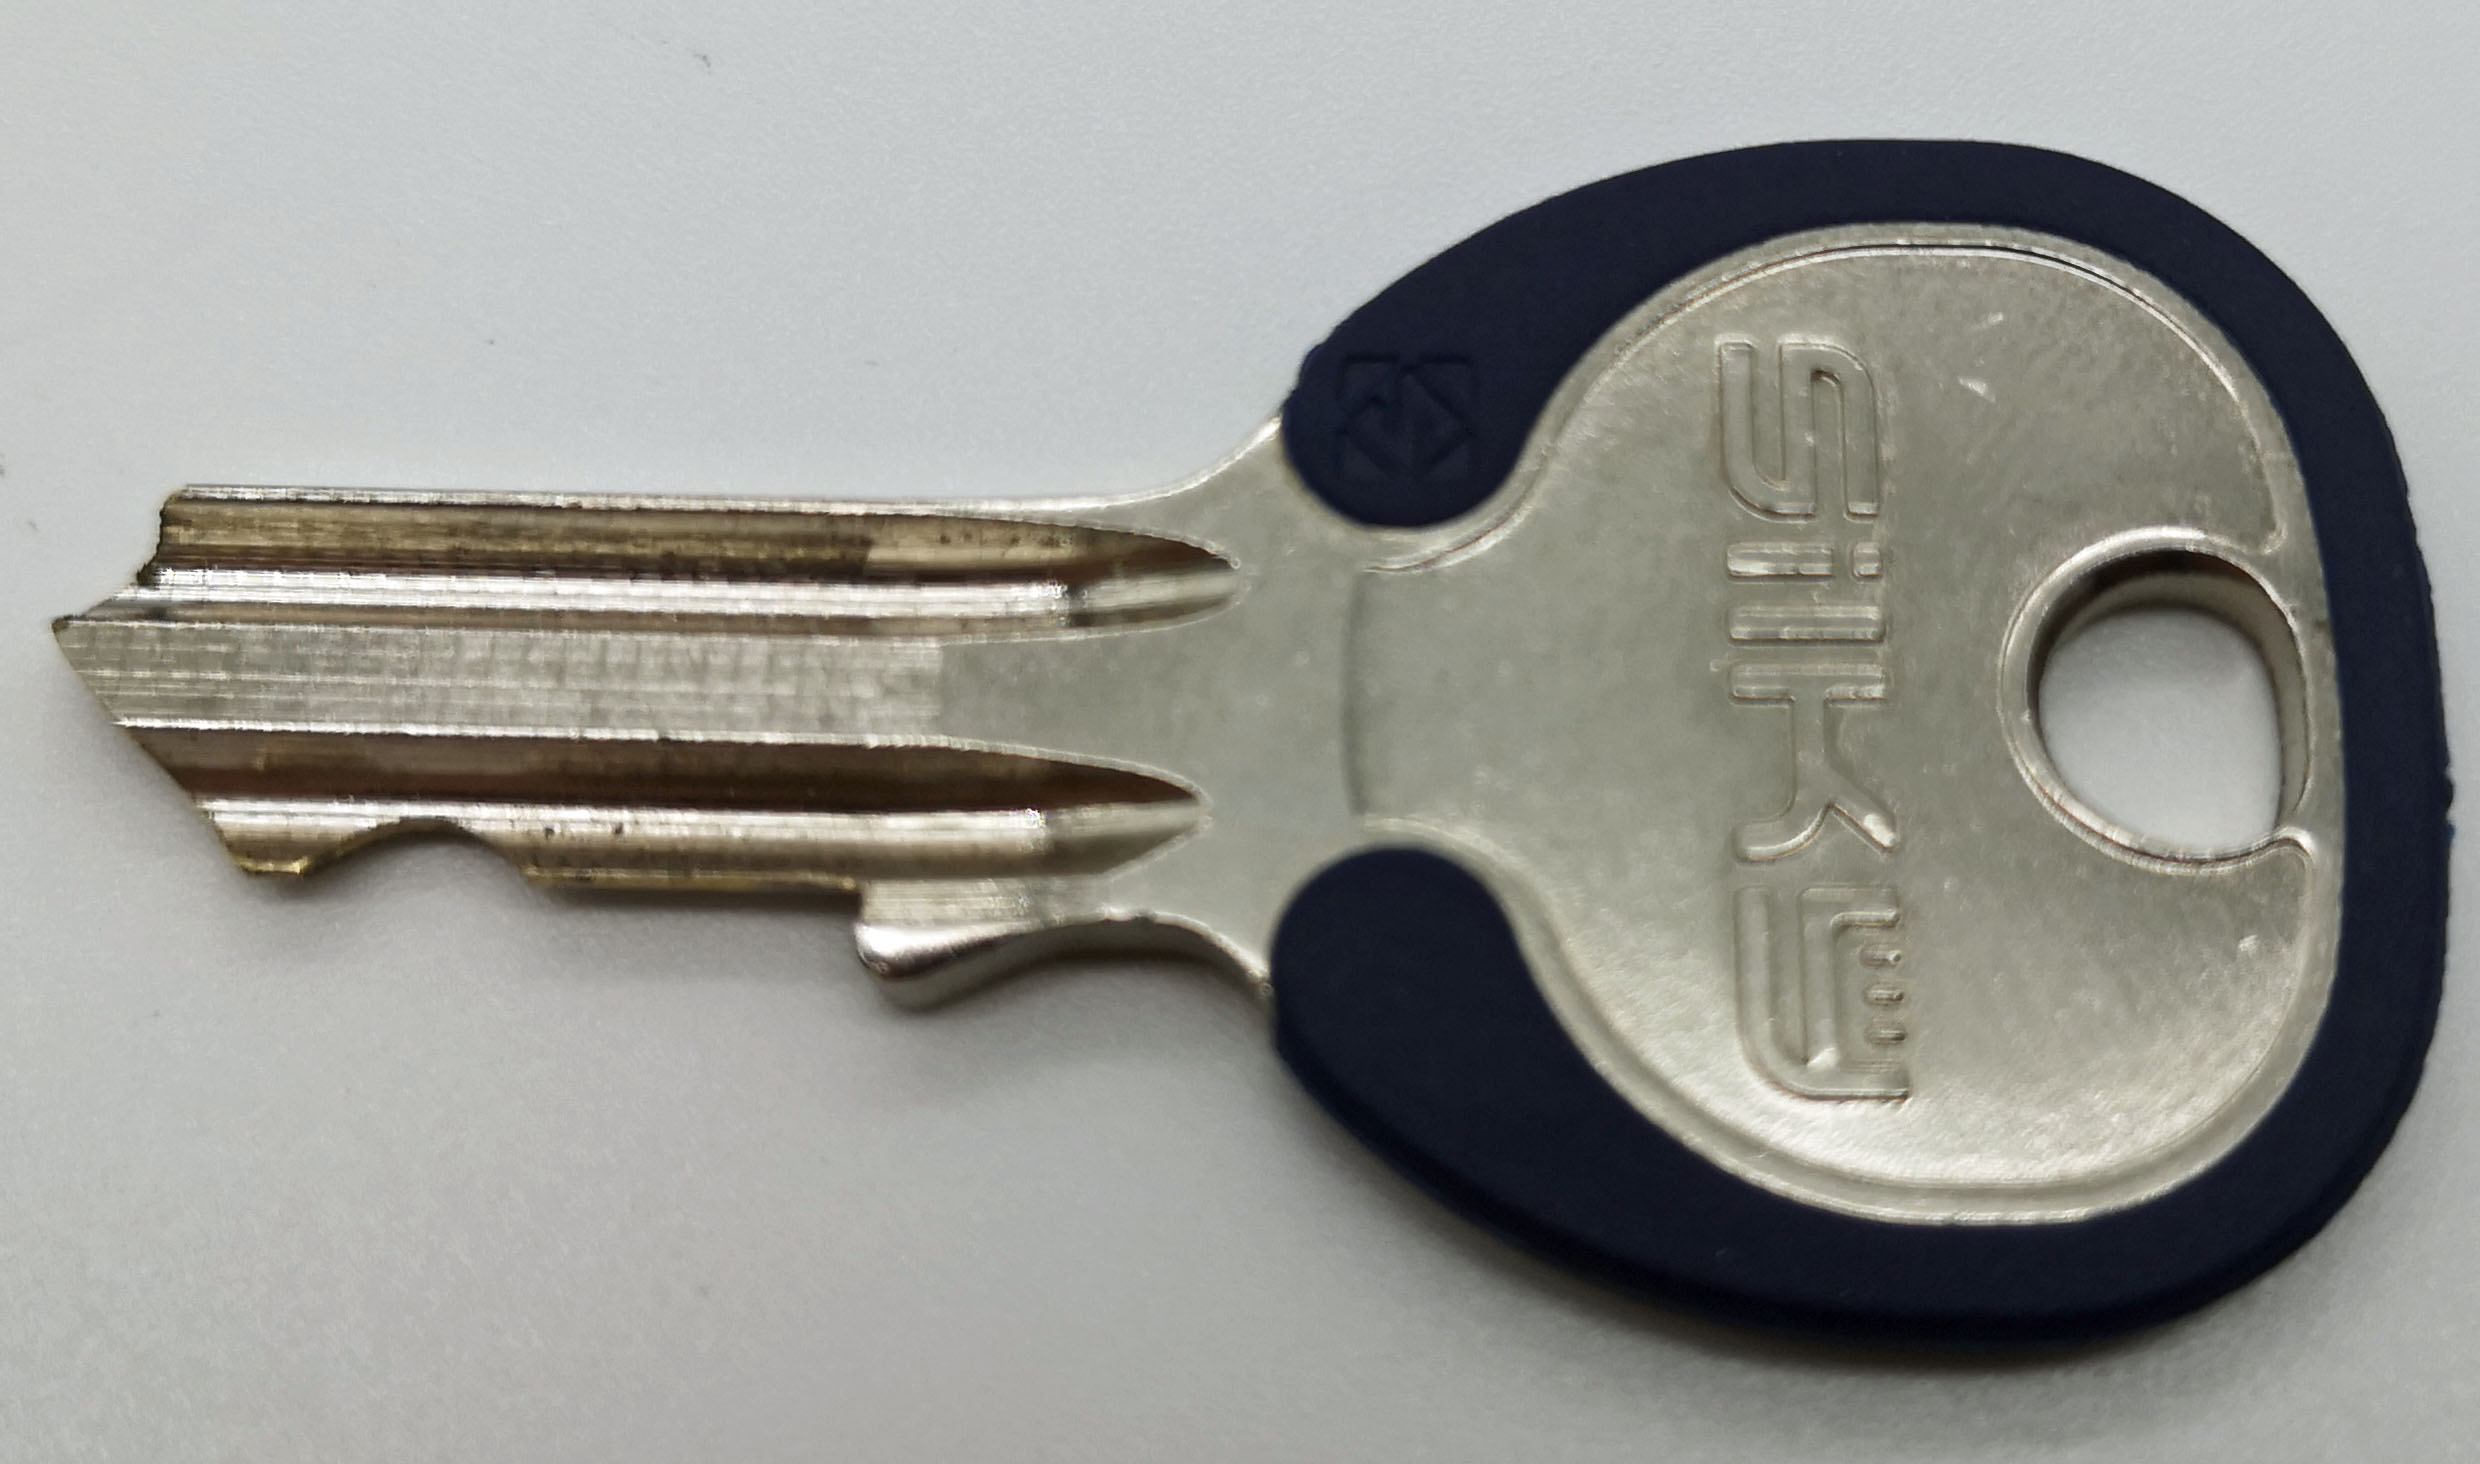
The cylinder did not come with a key, so I used impressioning to make one.
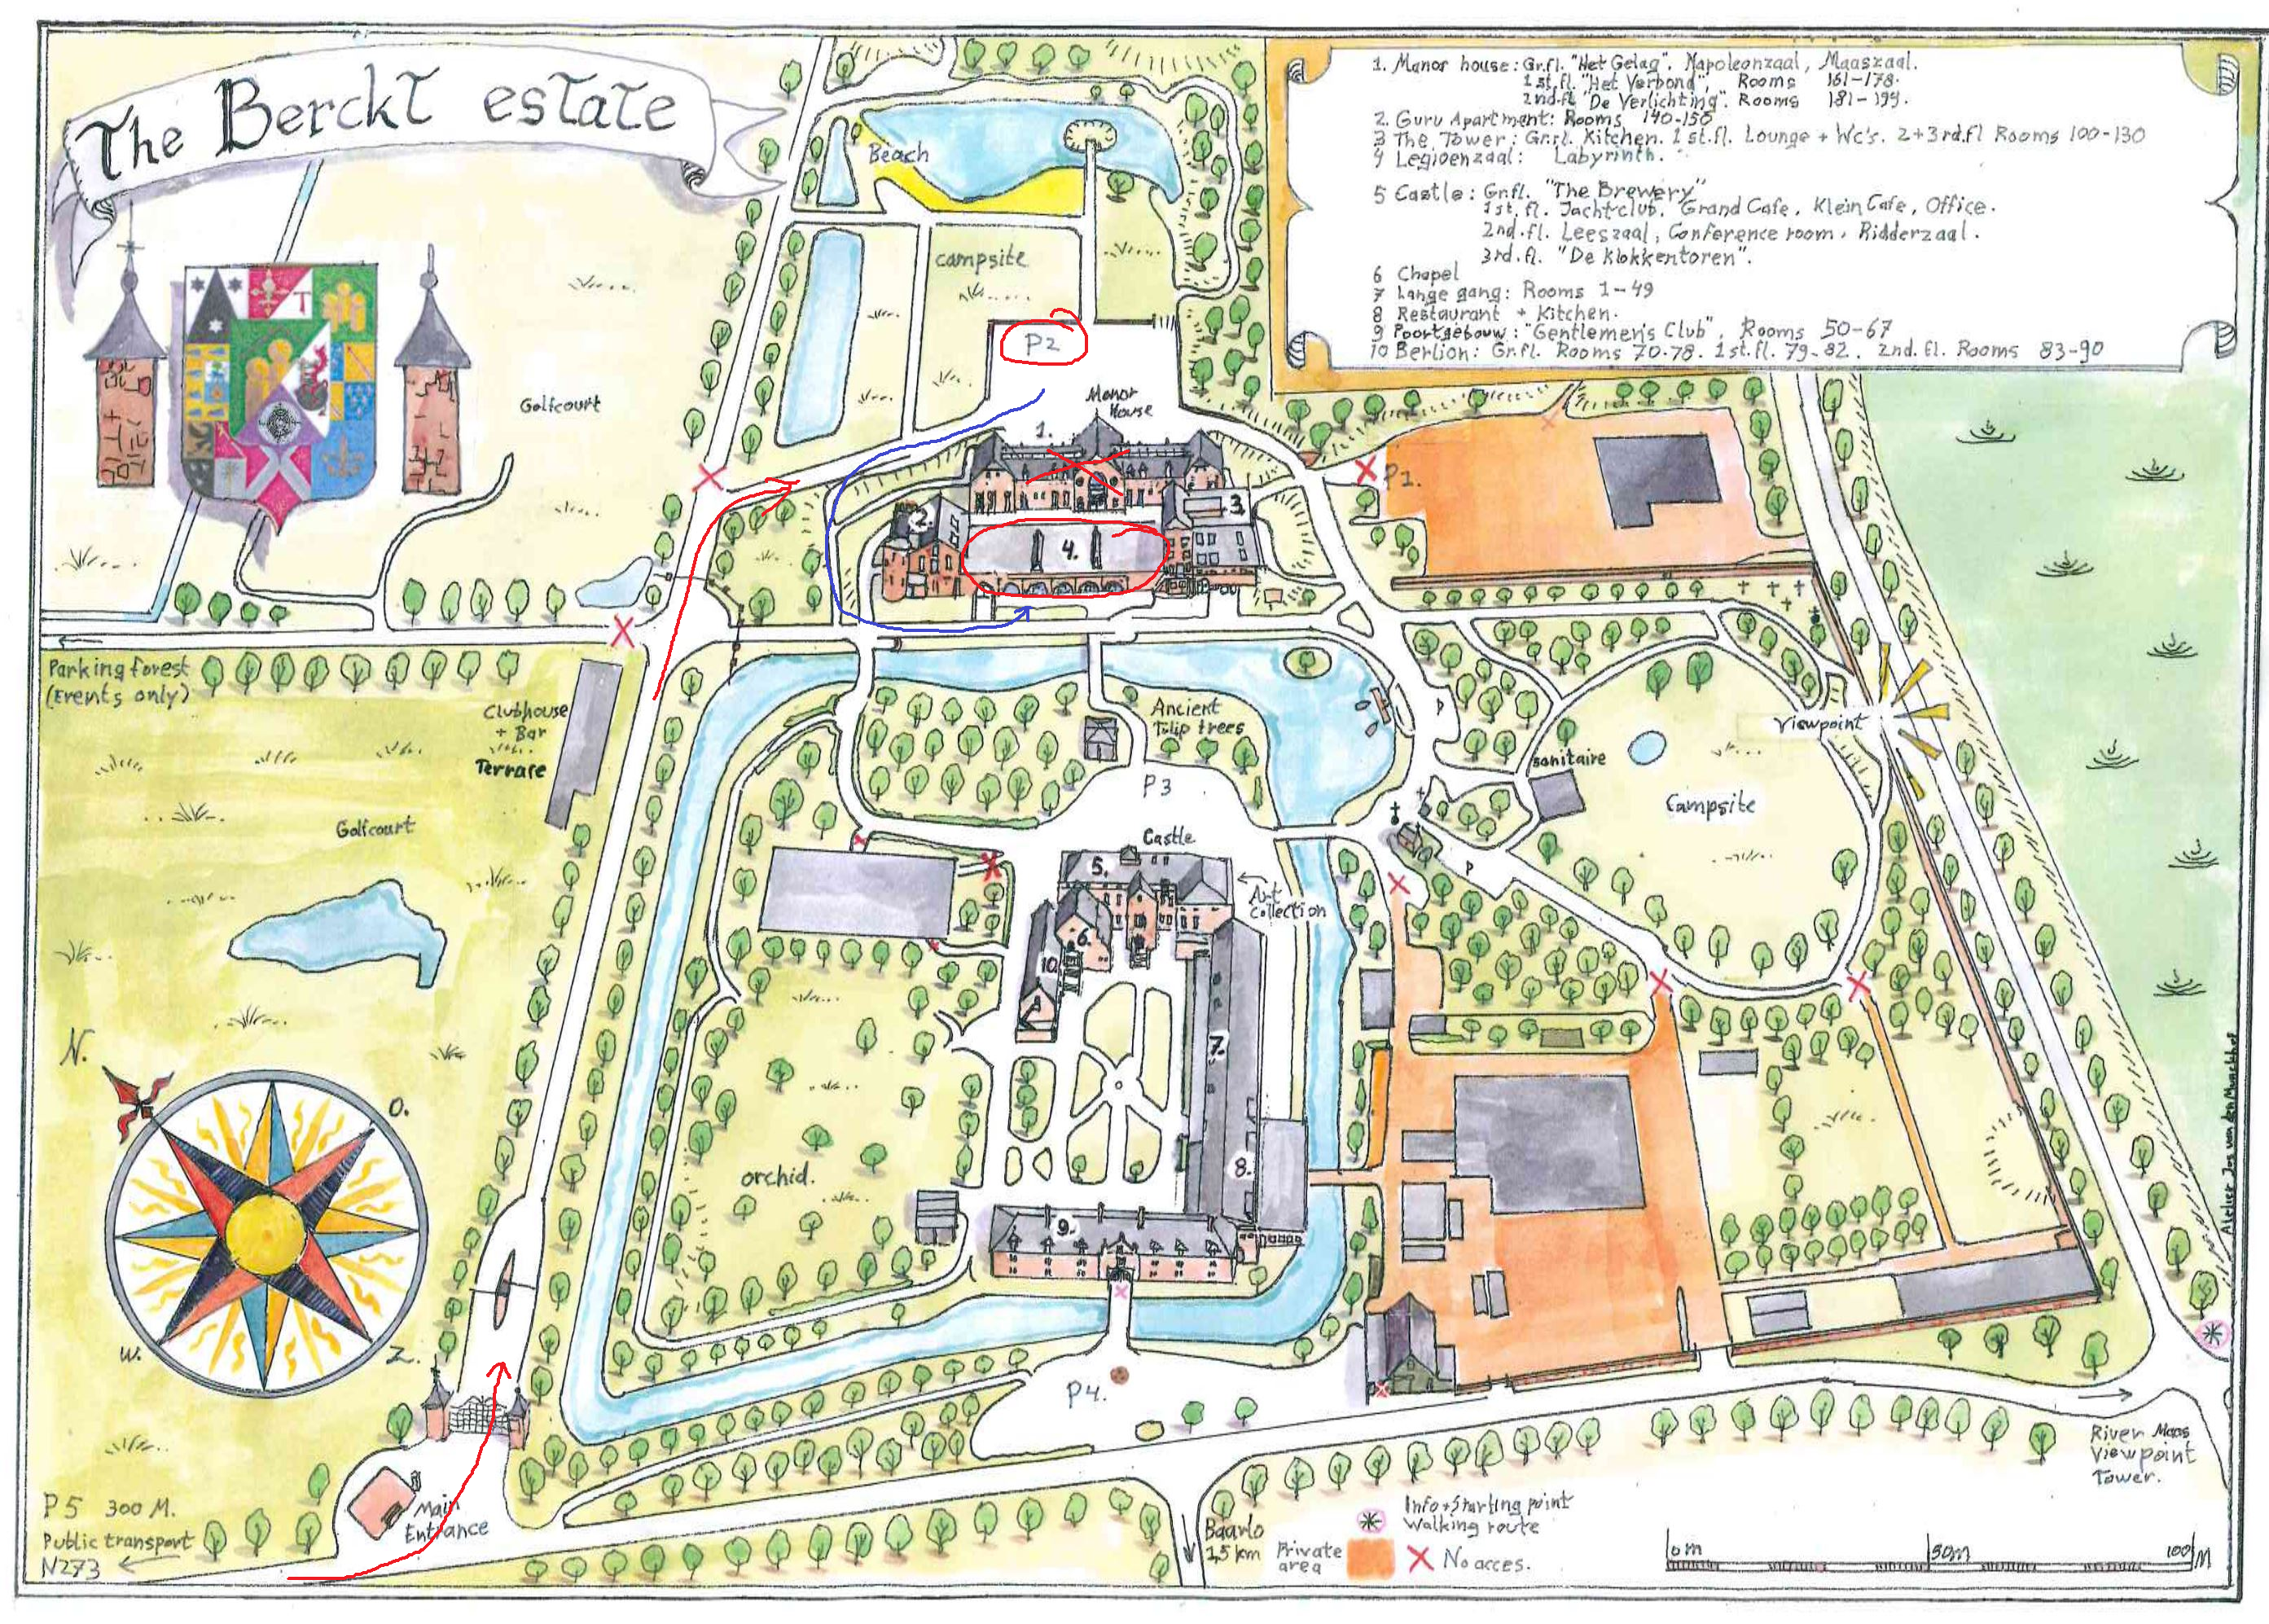
The first sign you will see from the road.Enter through the side guard gate. If you are by foot and the gate is closed, enter through the main entrance.Drive straight through to the end, then right turn into the parking area two (P2).
After parking, walk back the way you came and head over to the conference hall (Legion Hall).
Please, do not walk through the Manor House from the parking area, as another group has rented that hall and terrace, and we don’t want to disturb them.
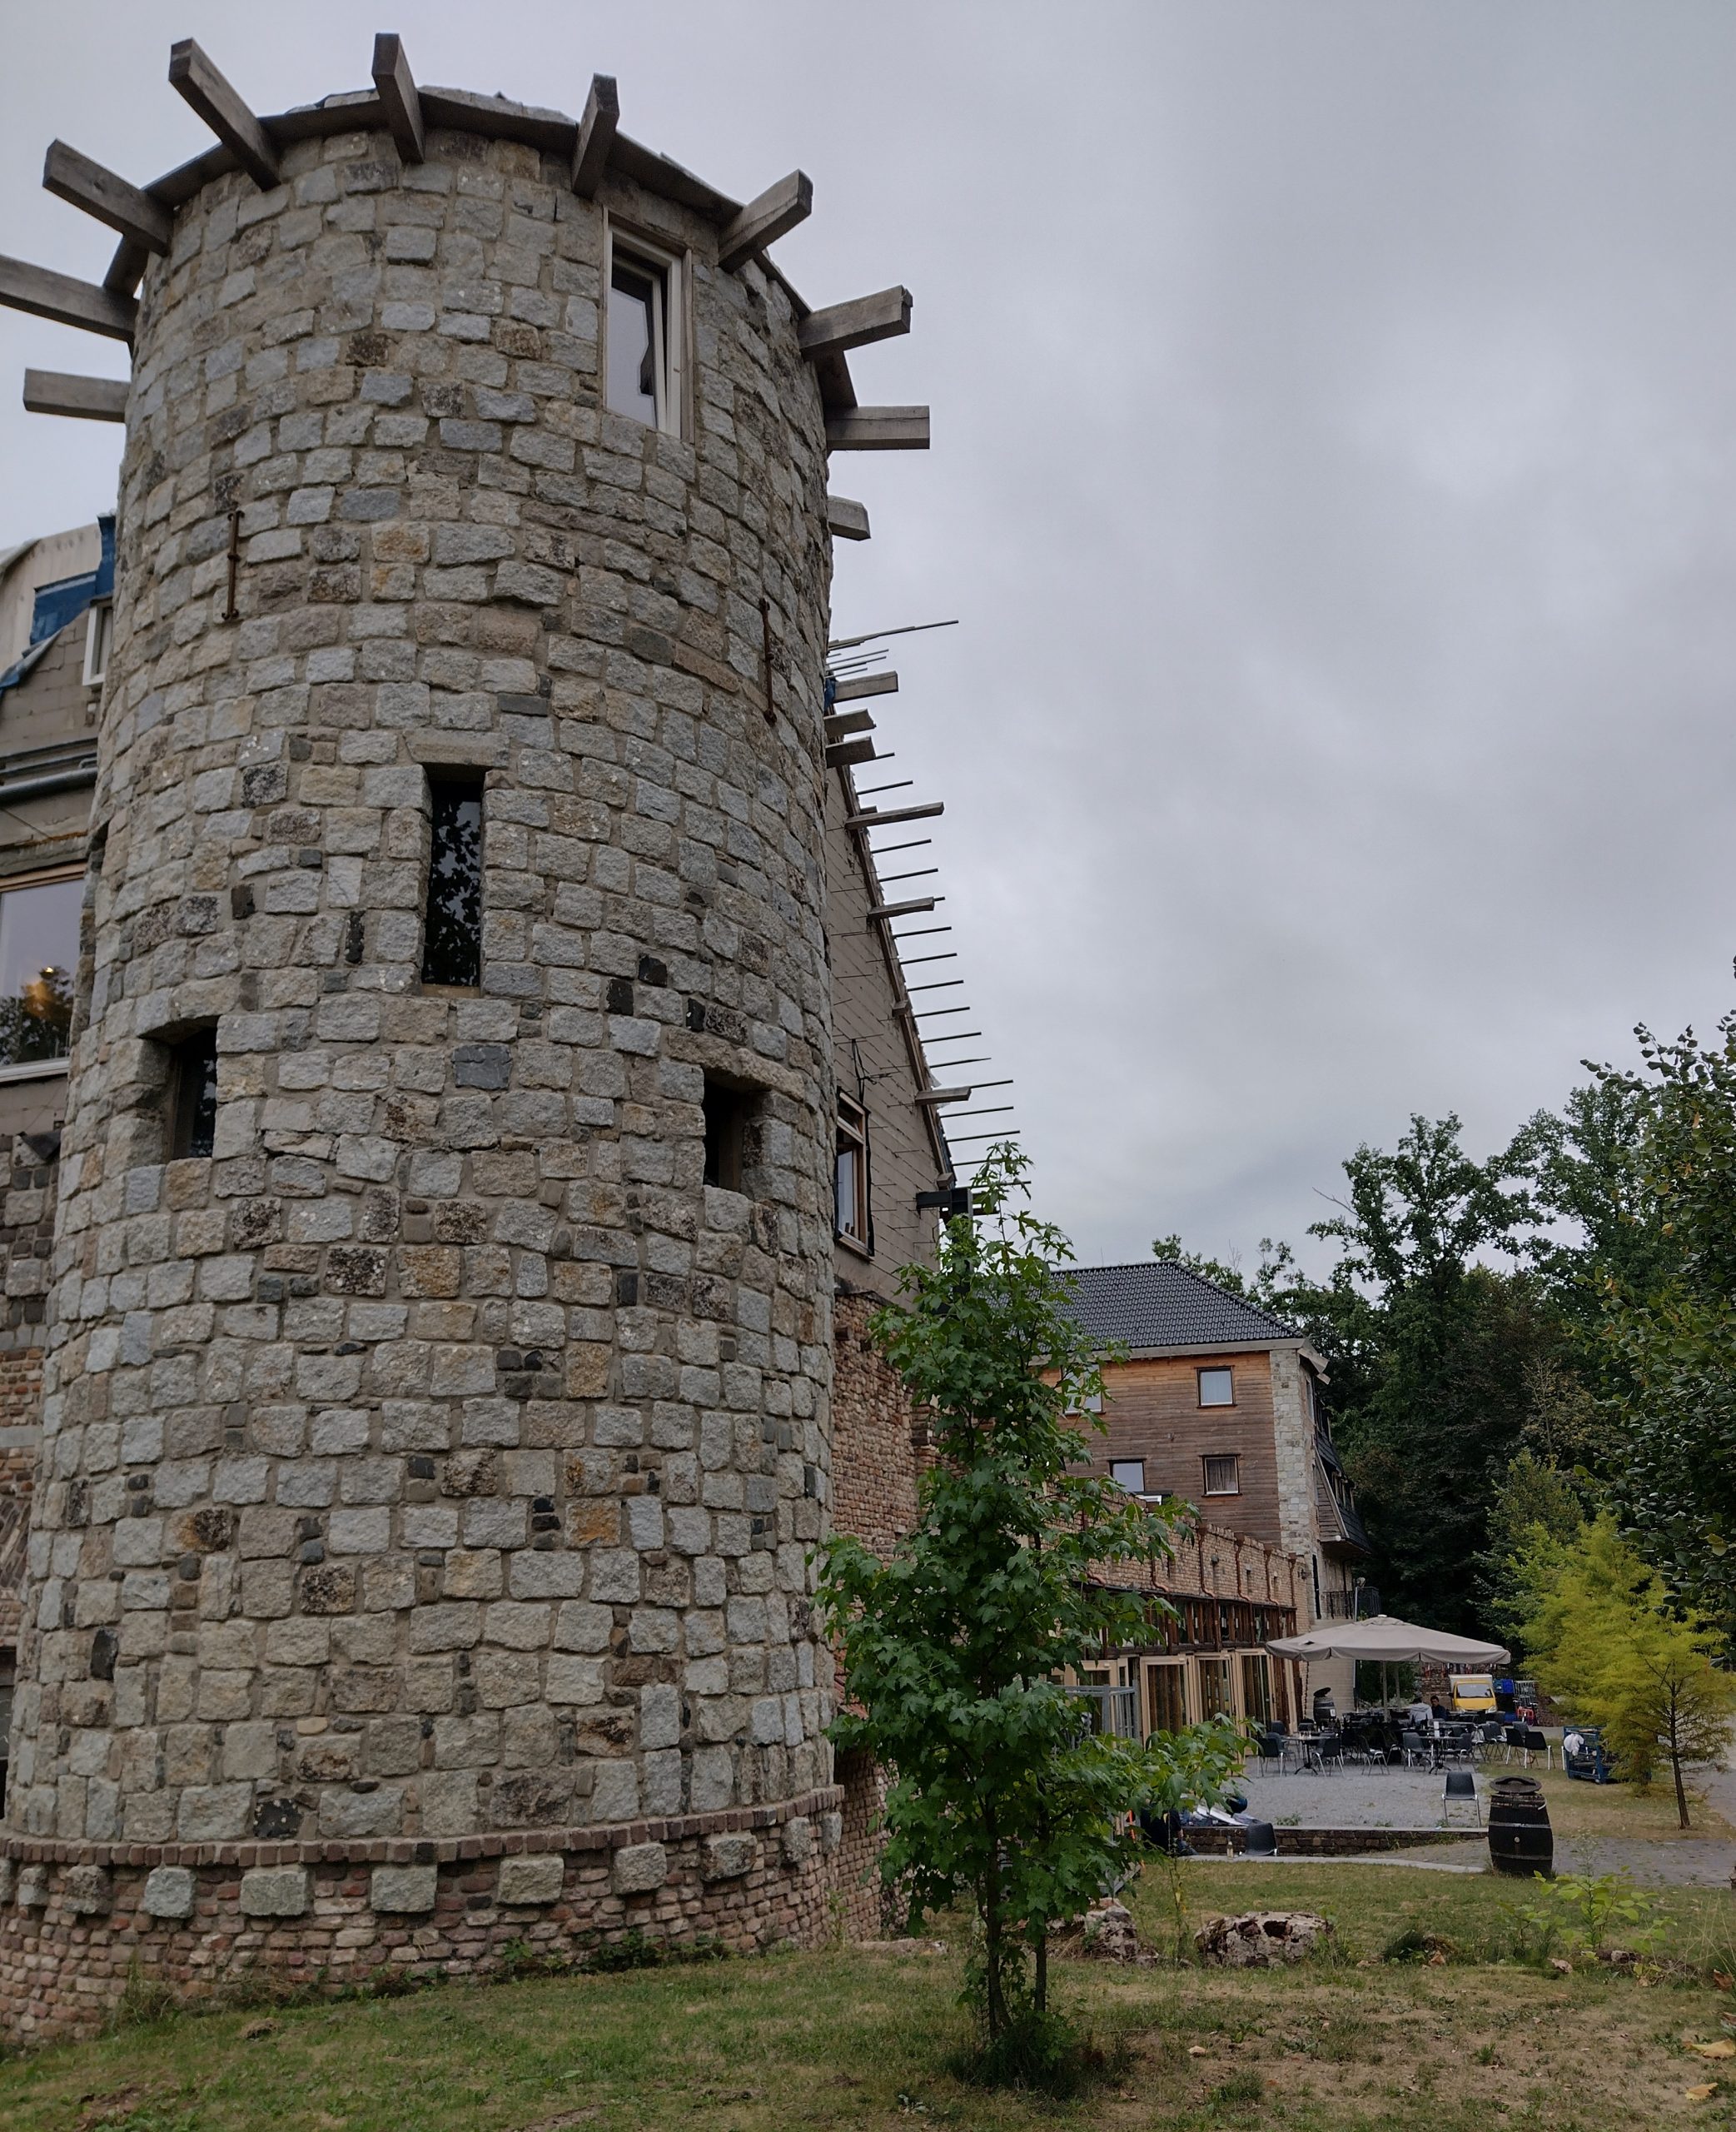
This is the Legion Hall and The Tower. We have this whole building!Alternative view from behind the main castle buildings, on the other side of the moat.Here’s a photo of our presentation hall. We will also run our competitions here.Here’s the dining hall.
In case of doubt, please call the organisation or use street view.
In 2018 Walter was at def.camp and made it to the local television by lockpicking the ATM of the payment village. This attack was not in scope, but it took the guys longer to ask not to pick the lock than for Walter to pick the lock. (https://blackbag.toool.nl/?p=2701)
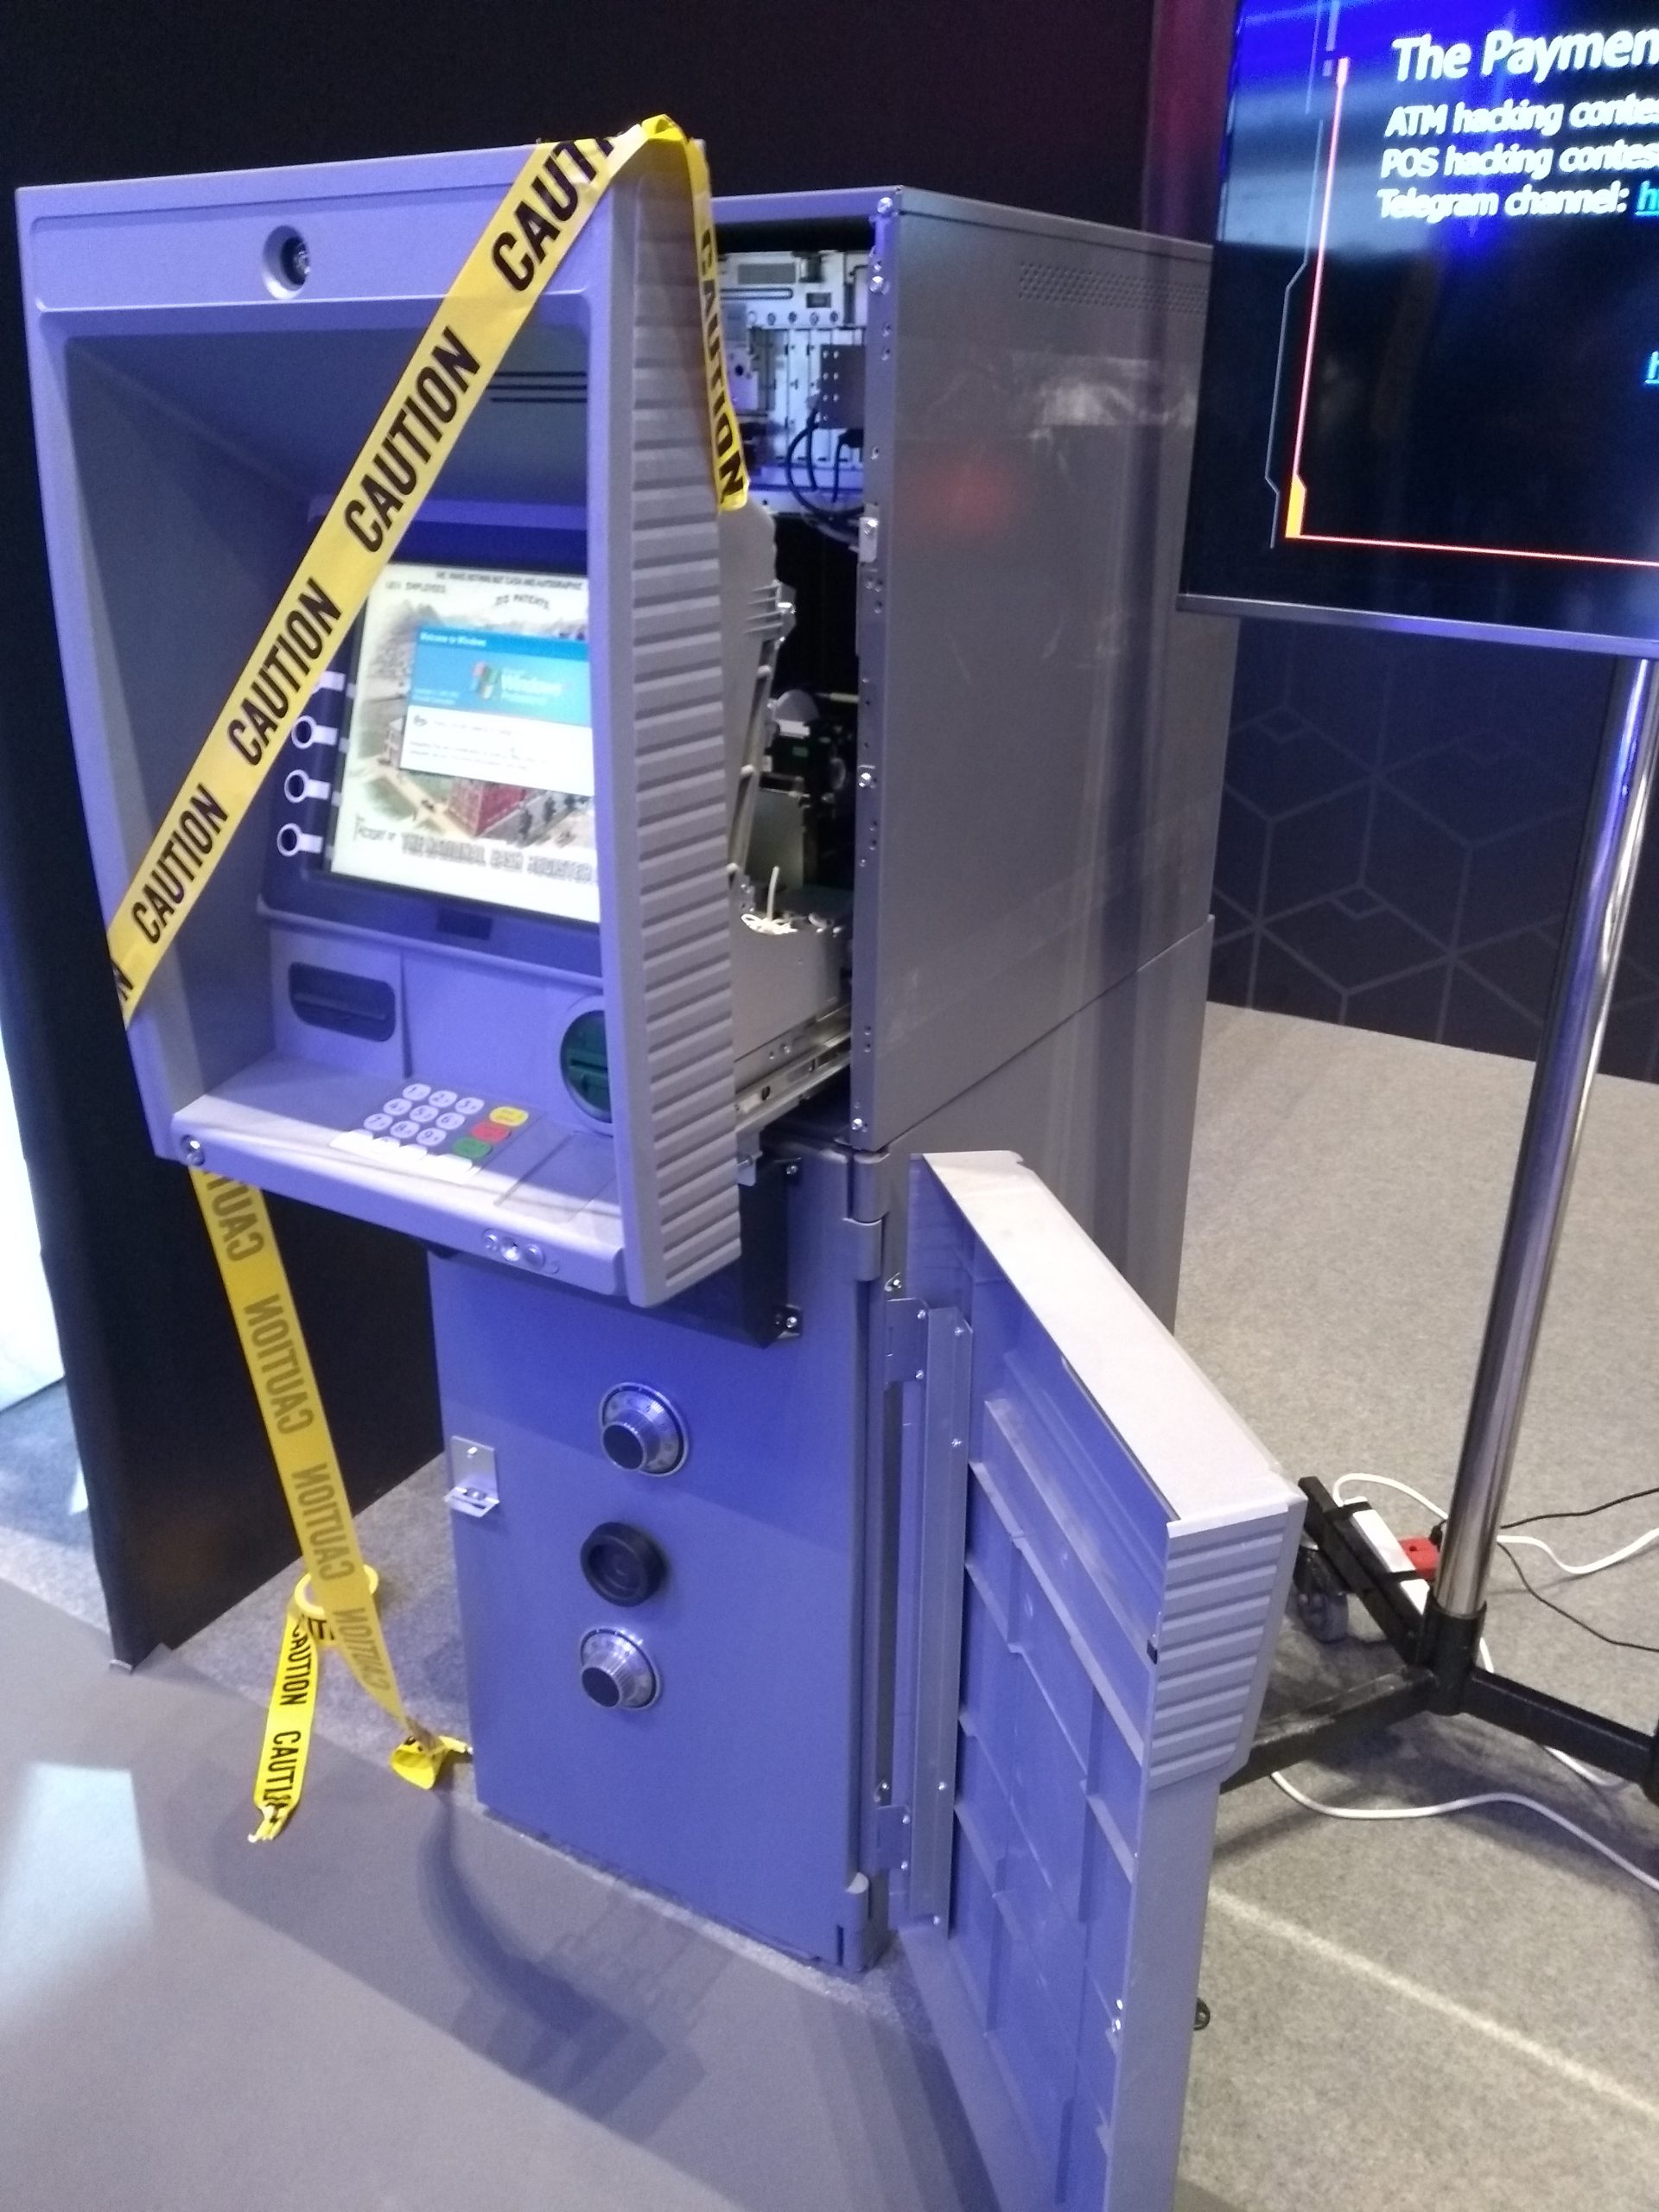
The payment village shares their skill by buying an ATM locally, as it’s rather hard traveling with an ATM. The locks on the ATM in Romania wasn’t great. However, the ATM Timur Yunusov (@a66ot) bought for HITB Cyberweek was quite nice. Unfortunately, the ATM wasn’t functional when we visited the village. It did ,however, give us a rare insight in one of these machines.
I’ll ignore that this device runs Windows version and focus on the physical security aspects, instead. The ATM is build very sturdy, as its main goal is to thwart access to the money by destructive means. But, what would it take to pick one of these? The lock was a Abloy disk detainer, where at this moment only a handful of pickers are experienced in picking these. Furthermore, the money was protected by another two safe locks. Let’s have a look.
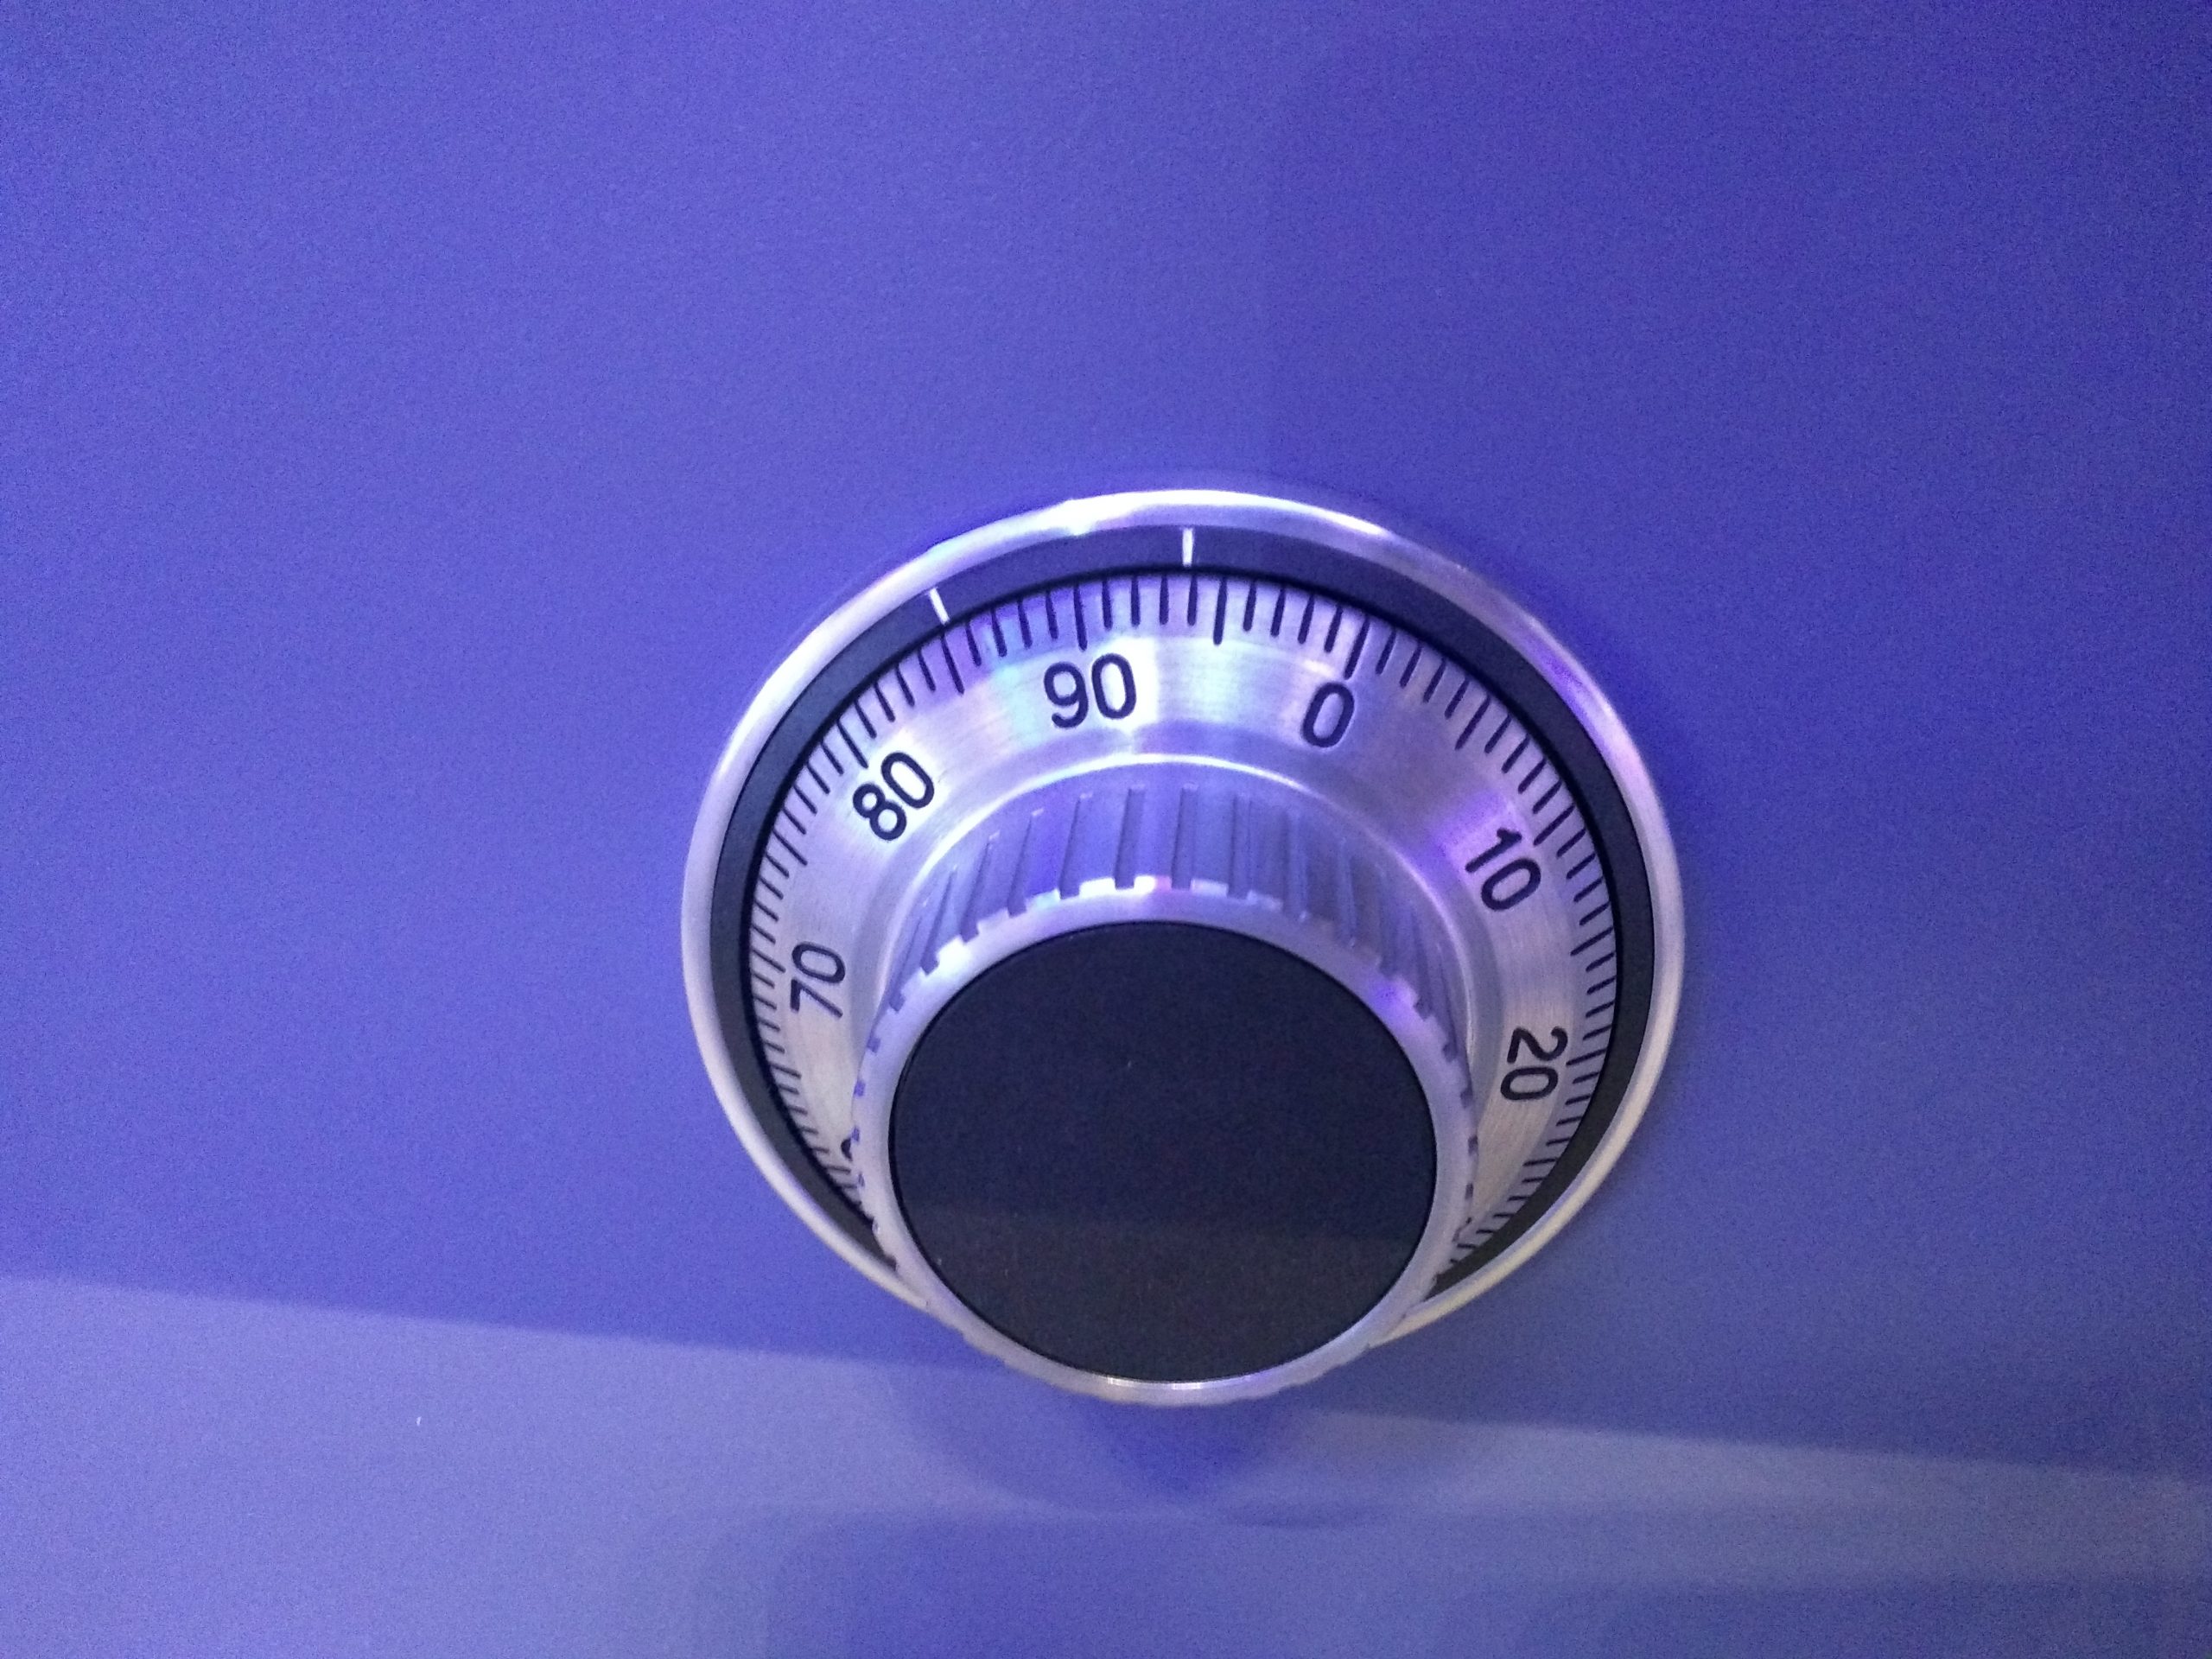
The safe door has two mechanical combination locks of unknown brand. The style reminds us of a La-Guard. It’s most likely a group 2 with three combination wheels. Cracking them is definitely possible, but it’s going to take a few hours.
Again, build to resist destructive attacks, the safe door was build to a high standard and looks well-made.
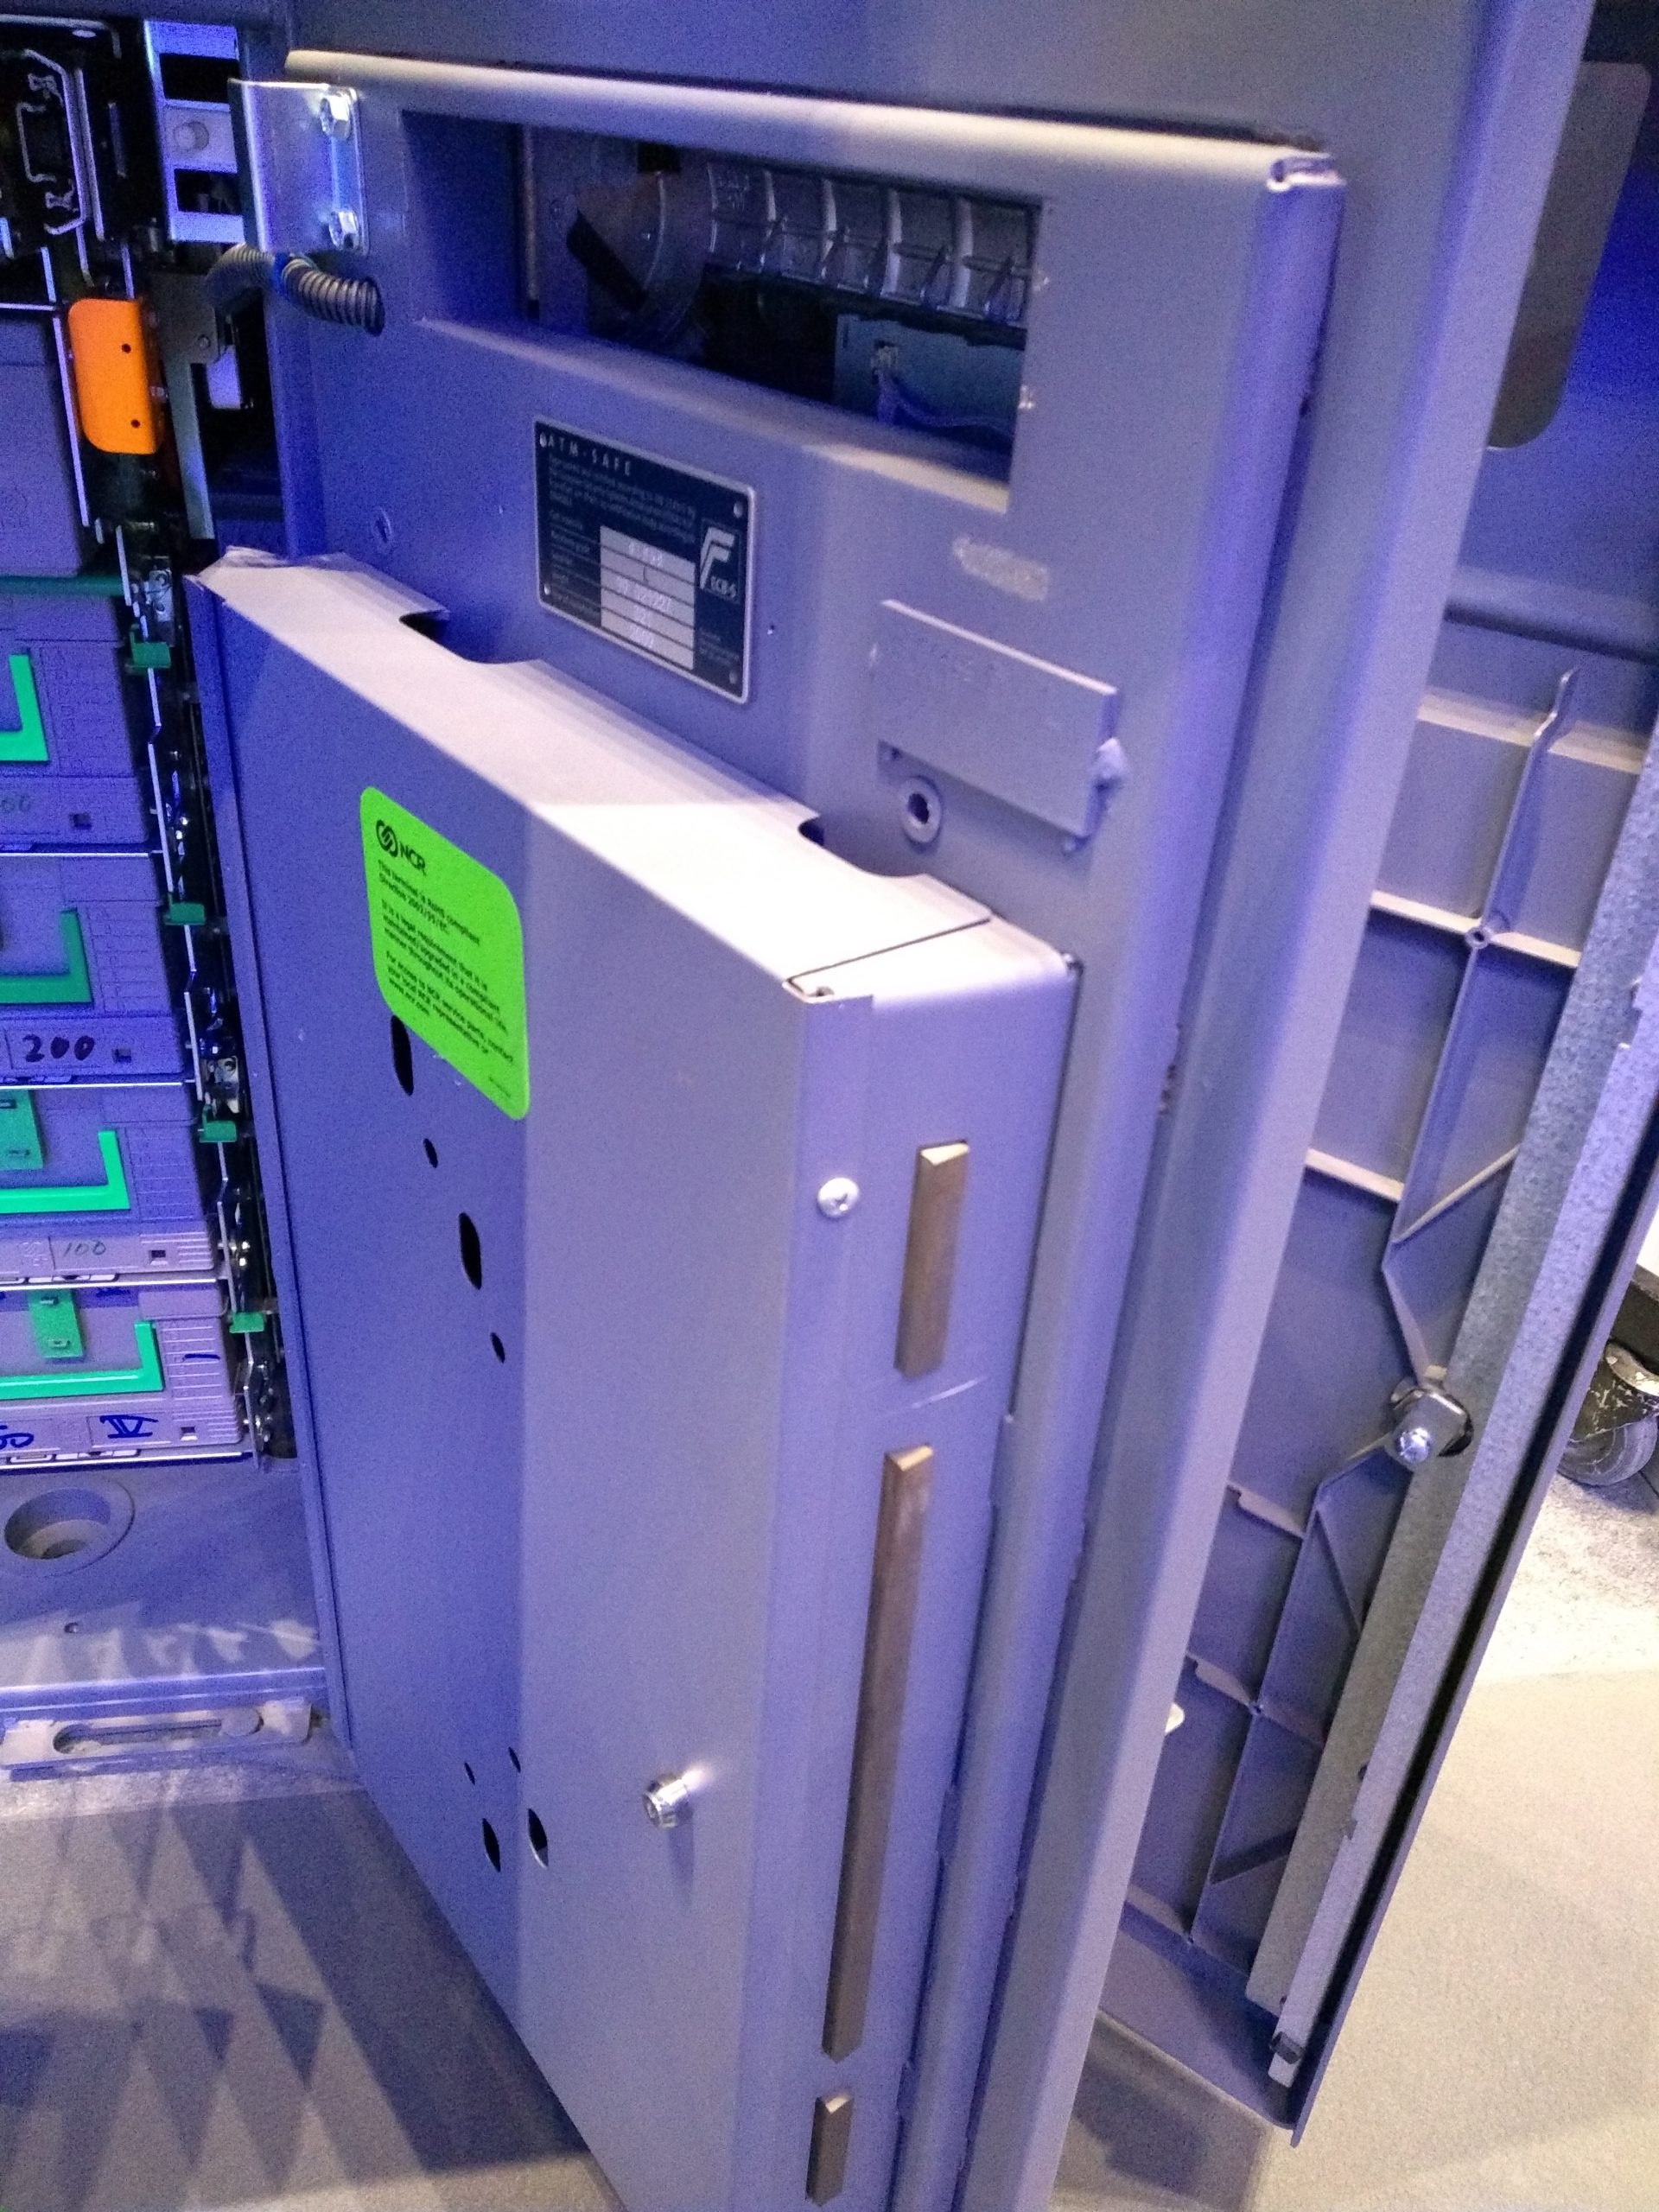
To finish off this post, here are two pictures of the inside of the safe. We can clearly see the money storage boxes and the dispensary unit. While on the last photo, we have an inside view of the mechanical parts behind the display.
Photos CCBY4.0 Jan-Willem @ Toool Blackbag
Posted in Uncategorized | Comments Off on ATM Lockpicking at HITB CyberWeek
Editors note: We were recently reminded of the writeup from Michael Maynard (Aka Gorilla picking) on his experience at LockCon 2018. Michael gave us permission to share it with a larger crowd. We have shortened the report, slightly. Where the full report is on the UK locksport forum.
In 2018, LockCon was held in the old parts of the castle, while in 2019 we used exclusively the new building. The rooms are much nicer, and we have a lot more room for events. This year, 2022, we will have the new building once more.
Michael: I was there as a guest of the OzSecCon – I won their picking comp and the prize was a trip to The Netherlands, for which I am eternally grateful. This trip changed my life, and I don’t think this is an exaggeration frankly – my horizons have been broadened immeasurably and my sense of what is possible both in the lockpicking world, and in life in general – have been given a serious shakeup. Living in a small town at the arse end of the world is all very well…but you do come to realise that you’re only seeing a very tiny fraction of the world and you get very limited by your environment.
I hate suitcases (don’t own one in fact) but it was clear that 15kg of locks and tools were never going to survive in the pack unprotected so I stuck all my tools and locks in a Peli case… and then that went into the bottom of the pack. The locks were in those two Tupperware containers and BOTH of those managed to get destroyed, even inside the peli case which in turn was inside the pack. Who knows how baggage handlers manage to do this.
Daypack had laptop plus a book to read and usual stuff you take on planes and was packed so that I could put it into the top of the big pack for ease of carrying. So allup load wandering point to point was 15kg lock stuff + 7kg normal stuff + 5kg daypack = 27kg / 59 lbs.
OK so, first stop is Amsterdam. I’ve been here once before on a flying visit about 30 years ago.
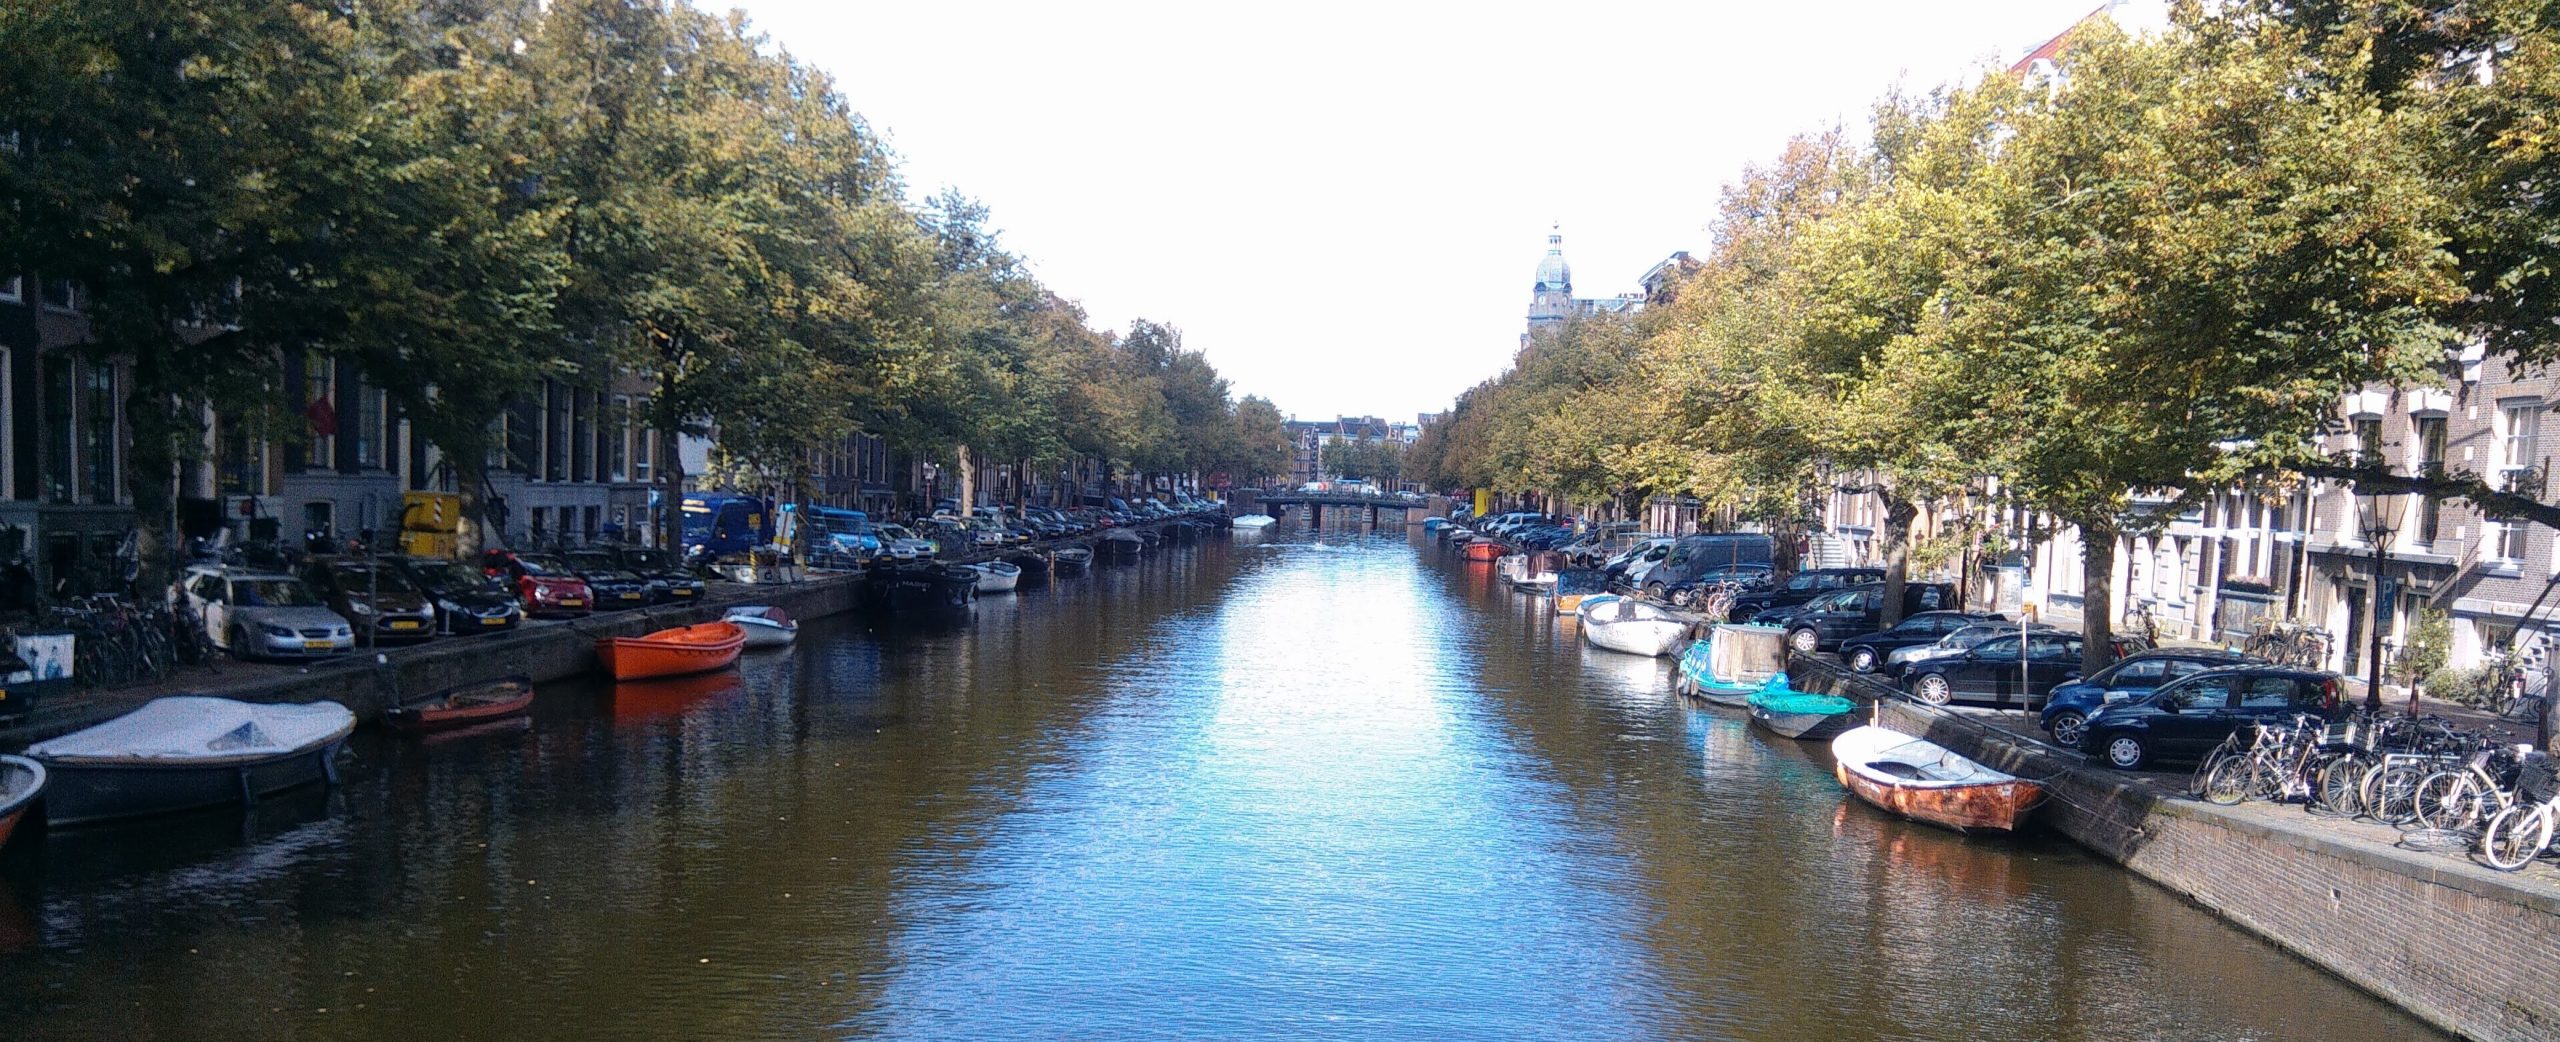
This time I have to say it was fantastic from the second I arrived at the station. I booked my accommodation online with no real clue what I was getting but it turned out to be awesome, a serviced apartment on a canal. This is the view from the window. Across the bridge (maybe two minutes walk) were a Kiwi-run breakfast place, a truly excellent pub which I spent a great deal of time in, an Indonesian place, a pizza place, and more people whizzing about on bikes than you could poke a stick at. Dutch girls on bikes are – er – memorable.
Yeah so the city is drop dead gorgeous, very photogenic with the canals and architecture and museums.
I could put a million touristy photos here but if you’ve been to Amsterdam you know what it looks like, and if you haven’t, the pics will not do it justice. So here, have a random canal.
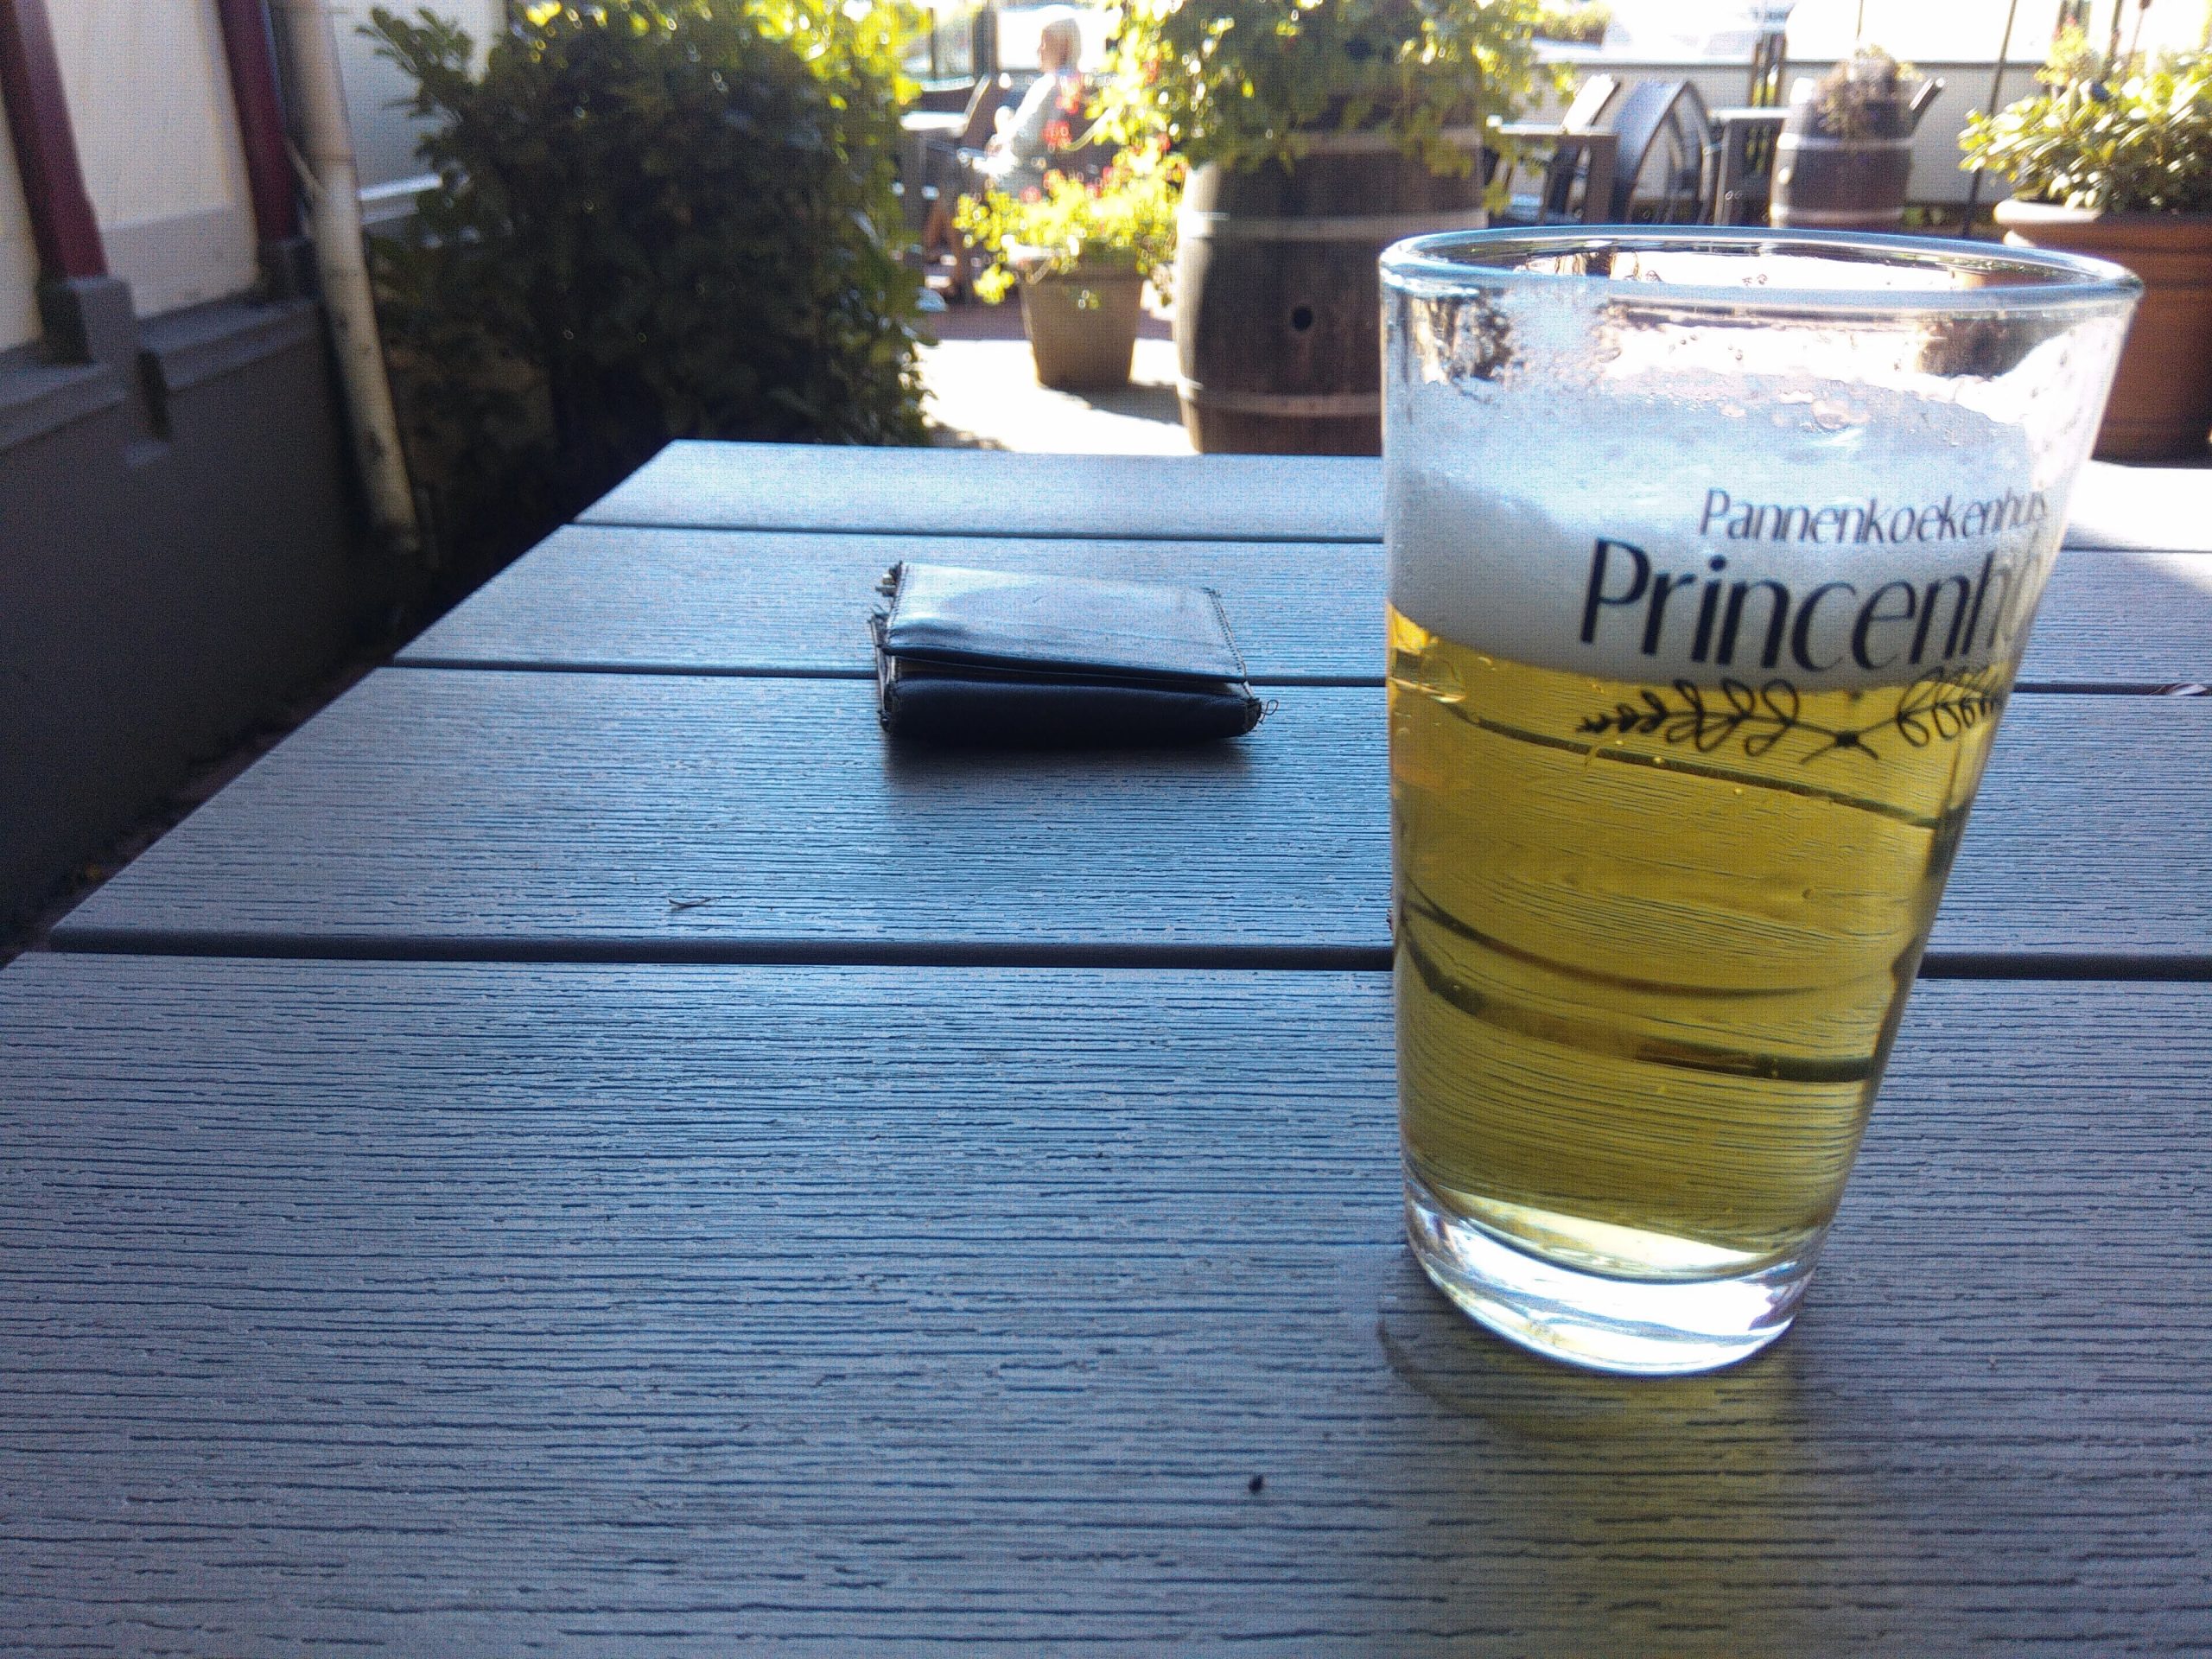
So when we last met the gorilla, he was sitting having this beer (and a few more) at a small pancake house opposite the train station near Jan’s place, ie the middle of nowhere.
Jan turned up and we levered my pack into the back seat along with enough impressioning equipment to start a good sized locksmithing trade school, and had a happy 90 minute trip southeast along the motorways towards the Netherlands / German border. Well not so much happy I guess, as eye-wateringly terrifying. The Dutch and Germans are incomprehensibly bad motorway drivers and in particular will swerve across to change lanes for absolutely no apparent reason and no prior indication of intent, like a fighter pilot in a dogfight. The speed limit along certain sections is 130 and following distances are comfortably measured in thousandths of an inch. I have no photos of the drive because I was using both hands to hang onto the seat.
Eventually the countryside changed from built up industrial areas and agriculture to reasonably dense forest. The windmills died out altogether and from this I assumed that we were headed inland away from the coast, and that had I had a GPS with me it would have shown us to be 0.00000000001mm above sea level, a new personal record for me on my trip.
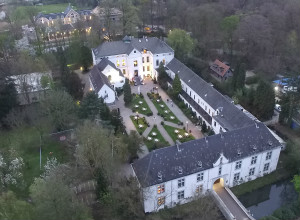
The castle really is a very, very splendid thing. Wikipedia tells me that there has been something – castle / manor house / fortification / whatever on this site since the 13th century, and that this particular building was built in 1838 atop the ruins of previous structures. Now for you northern hemisphere types, this probably isn’t too great a deal but for those of us in the colonies, it’s frankly a bit of a mind fuck. The Treaty of Waitangi – NZ’s founding document – was signed in 1840. So this building I’m staying in is older than my entire country.
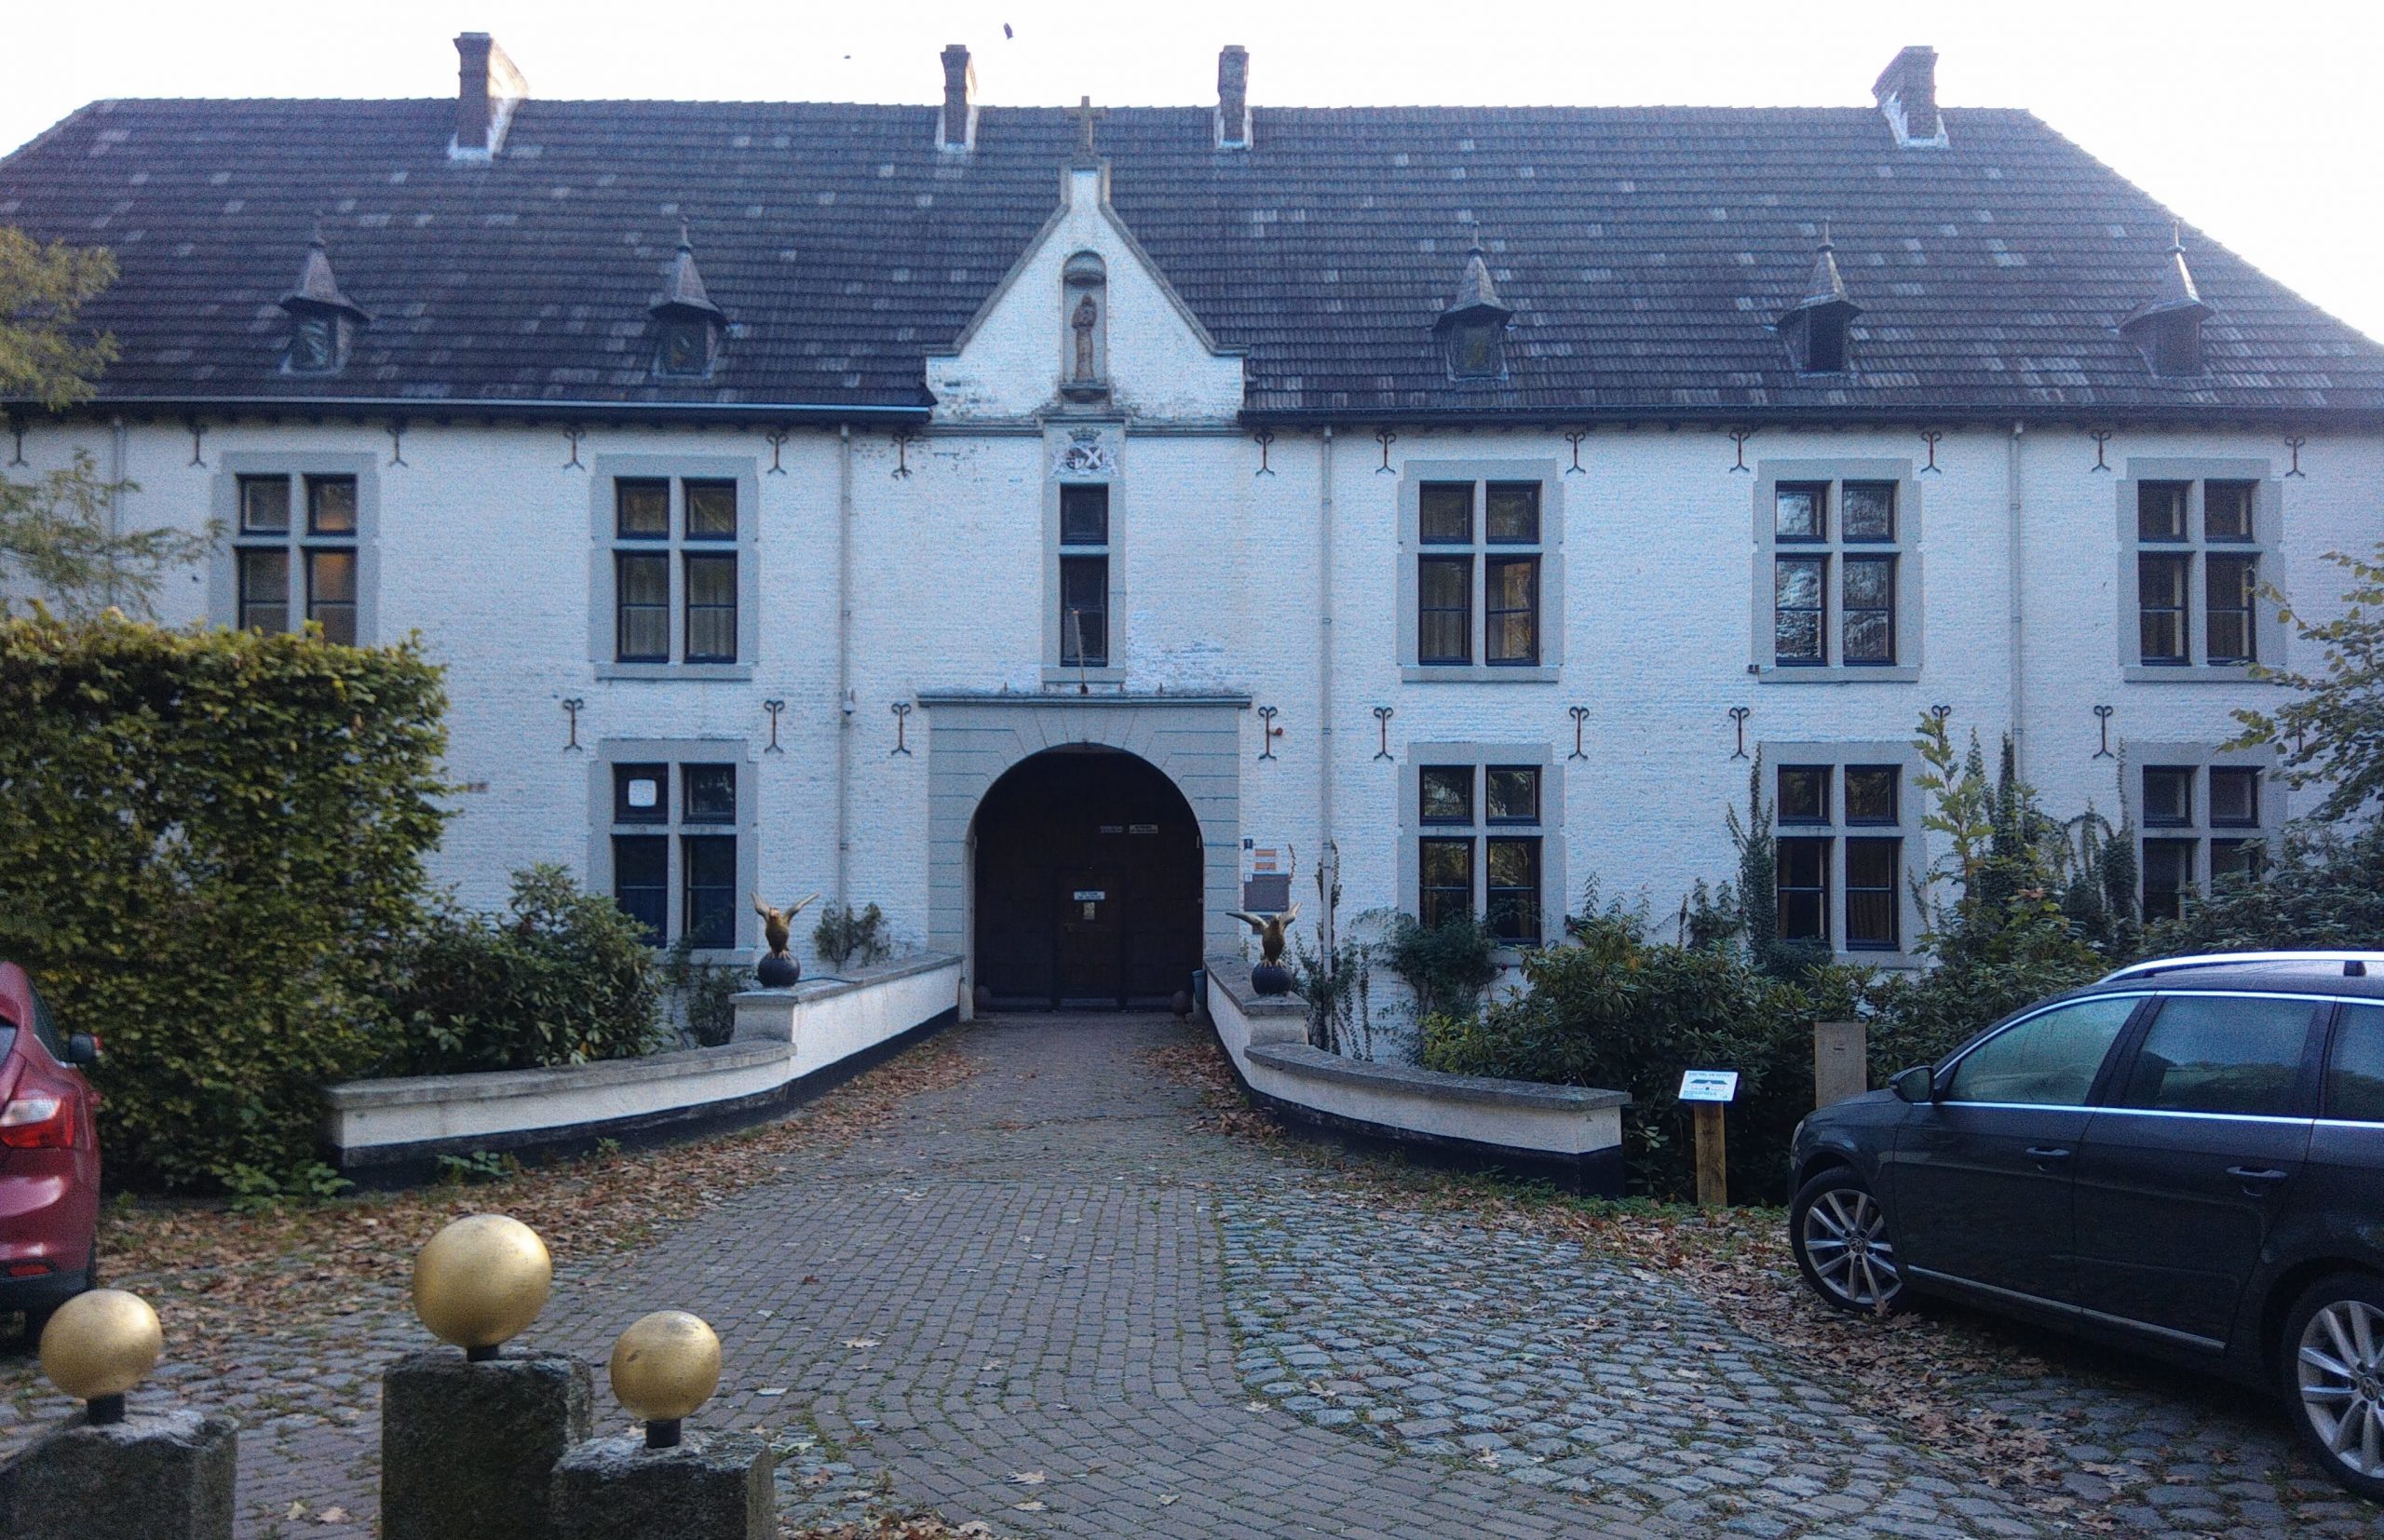
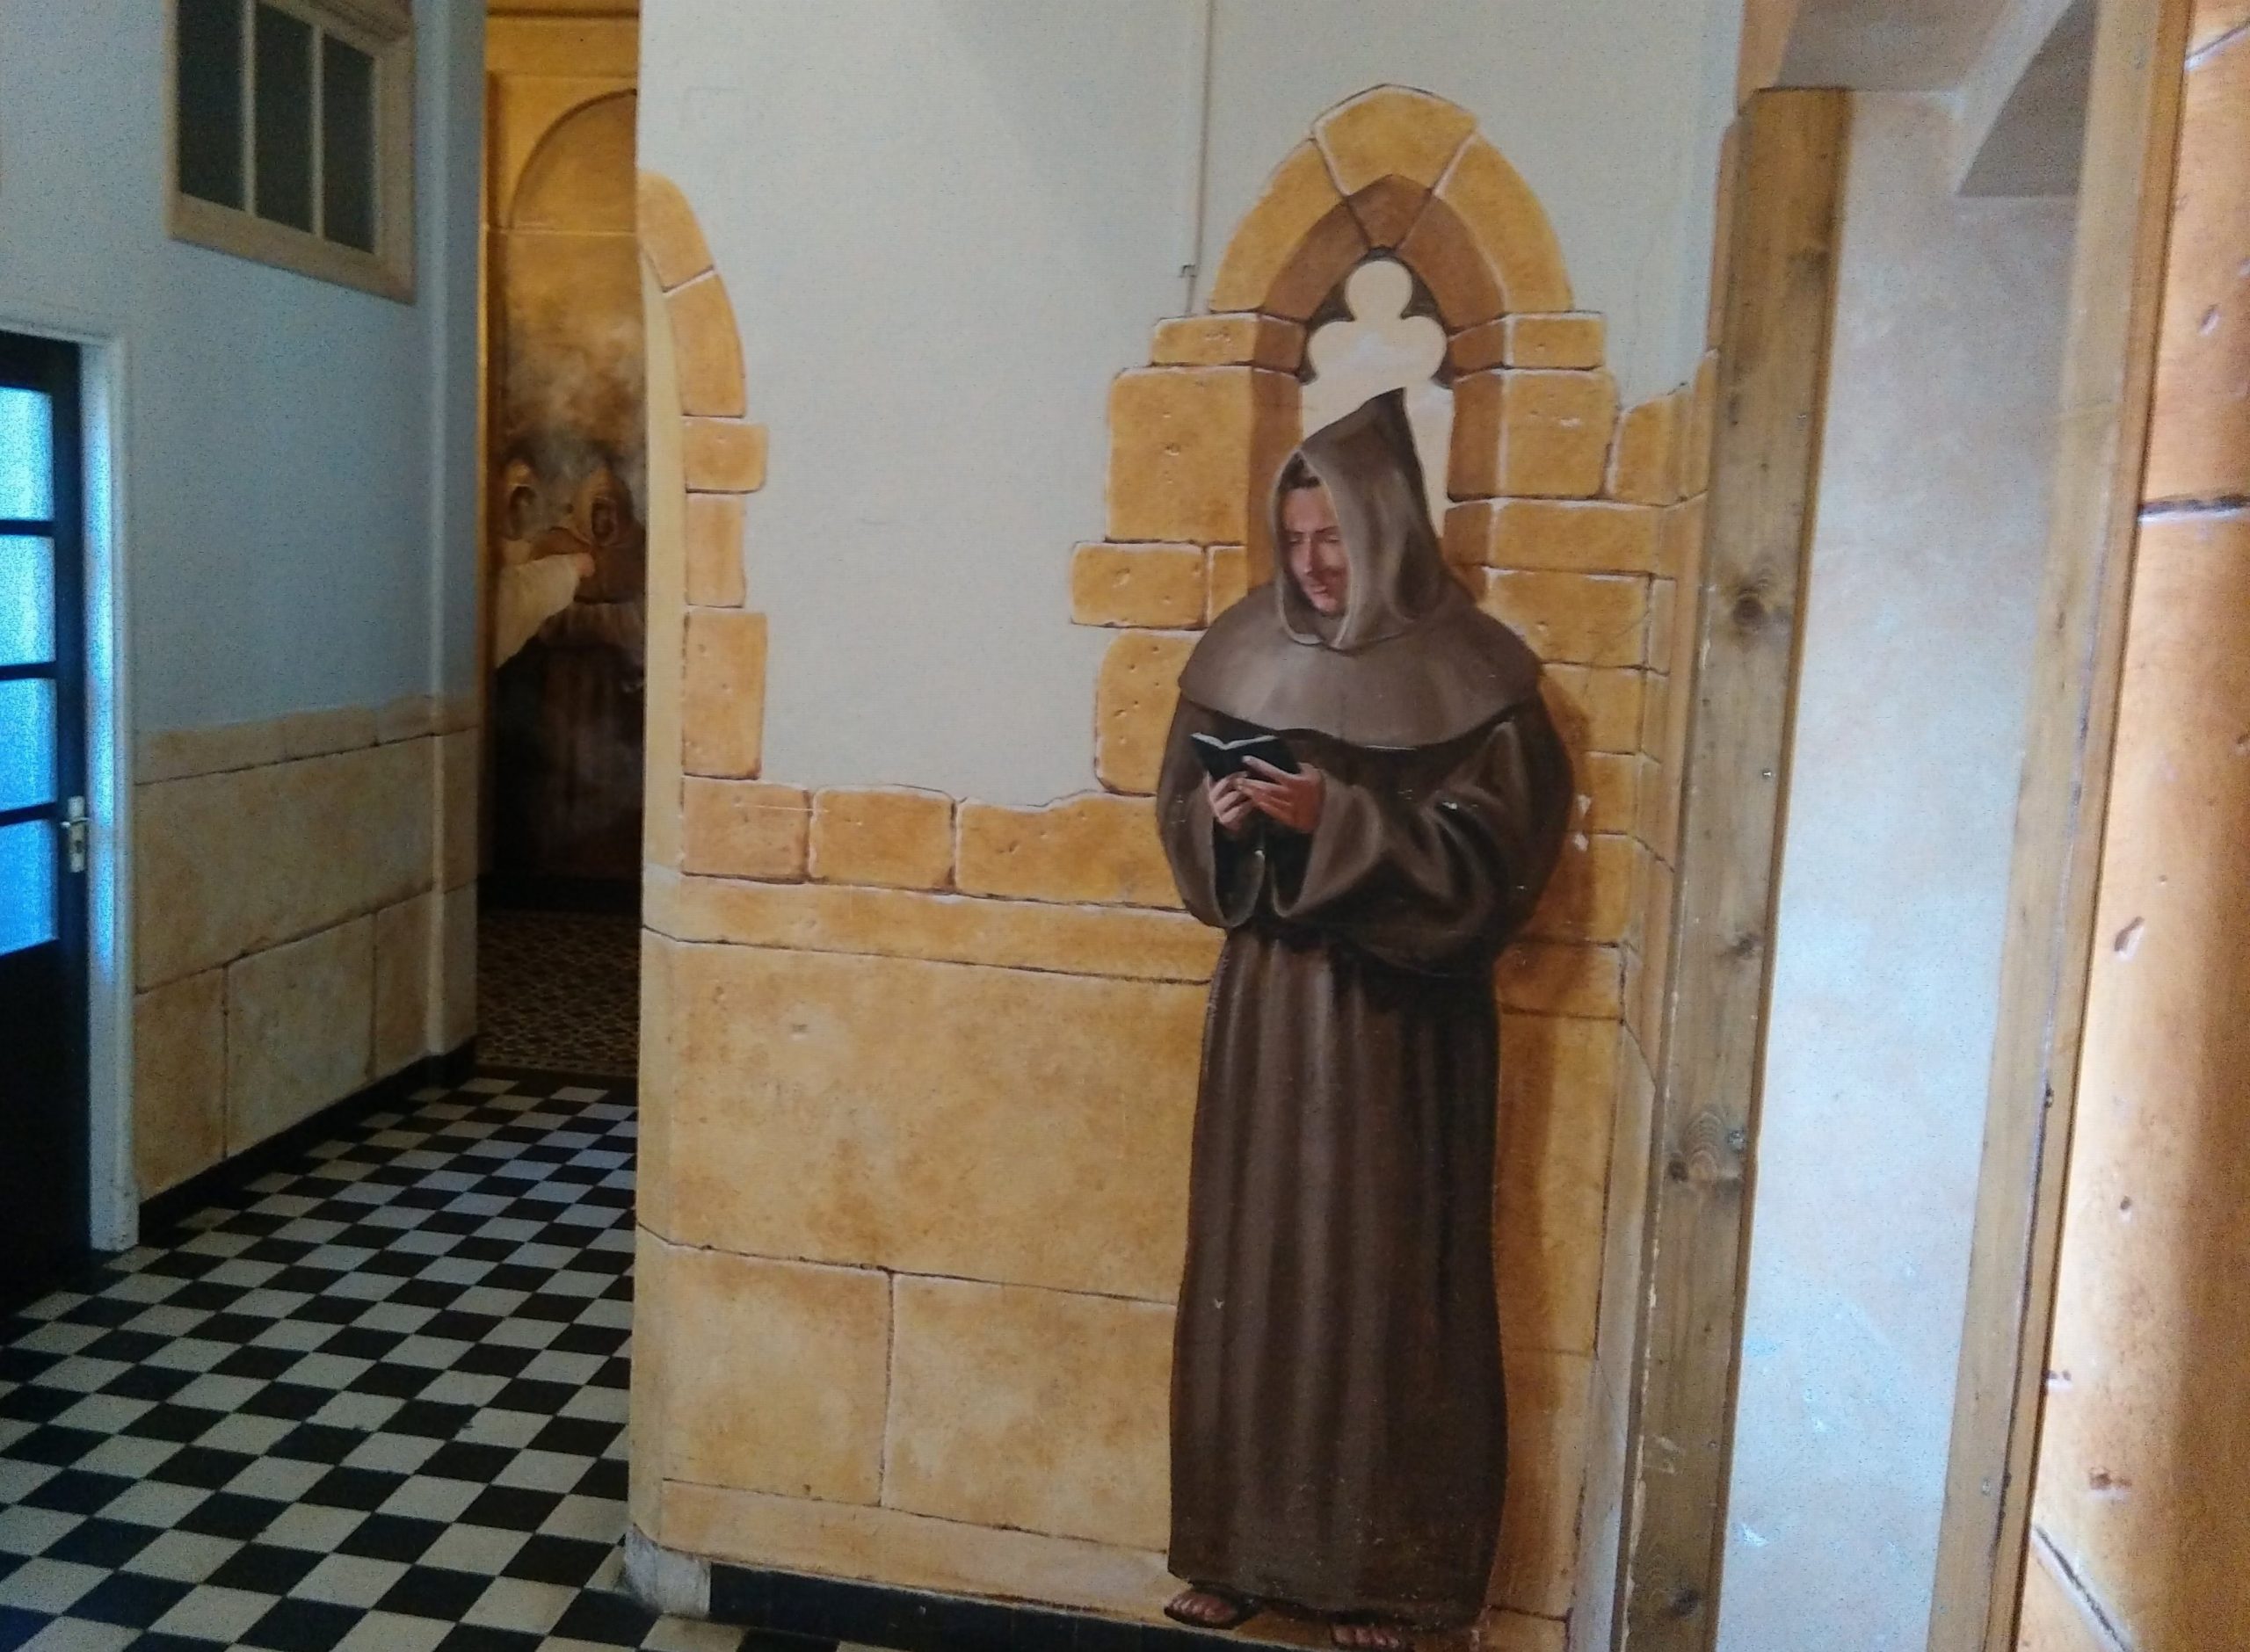
I really wish these walls could talk. They’ve seen over a century of young blokes about to take holy orders as a monk trundling across the bridge with their only possessions clutched in hand – a Bible, a prayer book, and perhaps a filthy habit. What they would think about a hundred hairy arsed* lockpickers carting many kilos worth of housebreaking equipment into the hallowed cloisters, I can only imagine.
Thursday afternoon. You arrive in dribs and drabs, file in, find the attendance register, tick your name off, and collect your key. People who had attended this event before came armed with bespoke locks, and so within seconds of Jan collecting the bunkroom key he had whipped out a screwdriver and changed it for an Assa twin. Quite why anyone would want to break into your room while you’re away from it during the day I never quite fathomed; I mean what the hell are they going to do? Nick your picks? Nobble your best impressioning file?
I didn’t happen to have a spare 30mm high security Europrofile cylinder with me so my room was open to the ravages of anyone who cared to poke a pick in the keyway. In the event no-one saw fit to rummage through a week’s worth of curry-soiled underclothes and third-hand Lockwood cylinders so I think I might have got off lightly.
The accommodation was, of course, the monk’s cells and there were an absolute ton of them. It’s a big building. The rooms were all the same size, but depending on how much you spent you got more or less personal space.
The inside of the complex is exactly how you’d expect an old monastery to be. Or at least it’s how *I* expected it to be, but there again I’ve never been inside a real monastery so what the fuck do I know? Tiled floors in some parts, old stone flags in others. Themed murals on the walls, Nooks, crannies, staircases going nowhere and mysterious doors that open out onto nothing in particular. Absolutely magical, honestly.
And now, dear lockpicker, we come to the most important part of the whole trip, the conference itself.
Now there is one thing I have to cover right at the start: The organisation was kind of loose. People shambled about and came and went at all hours, the timetable was – er – fluid – to say the least, meals were infrequent and informal.
I’ve thought about this a lot and in the end I’ve come to the conclusion that the event has deliberately been kept relatively laissez faire, I think it’s a deliberate policy by the organisers. These are very clever, very efficient men who could happily organise a well oiled clockwork machine of a conference if they wanted. But you know what? The LockCon started as an unstructured gathering of like minded friends, and they’ve done their best to keep it that way. It’s limited to 100 attendees of which 85% are Toool members, with others like us by invitation. God knows they could sell three times the number of tickets at double the cost if they wanted to and have a massive event, but they’ve chosen to keep it the way it is and on reflection I think that’s great.
There was a great deal of sitting about both in the lecture hall and outside at the picnic tables. For me I think this was the highlight of the weekend. Where else can a shitload of locksmiths / hobbyists / industry insiders / hackers / red teamers / partners / children from any and all walks of life and parts of the globe all sit around and talk locks? Everyone had a story to tell. Everyone had a point of view. Everyone had a new thing to show or tell about or whatever. Mechanical guys talked to electronic hackers. Safe guys swapped ideas with pickers. Locksmiths shared tricks with hobbyists. I came away with a whole new perception of what’s new, what’s doable, and what’s interesting.
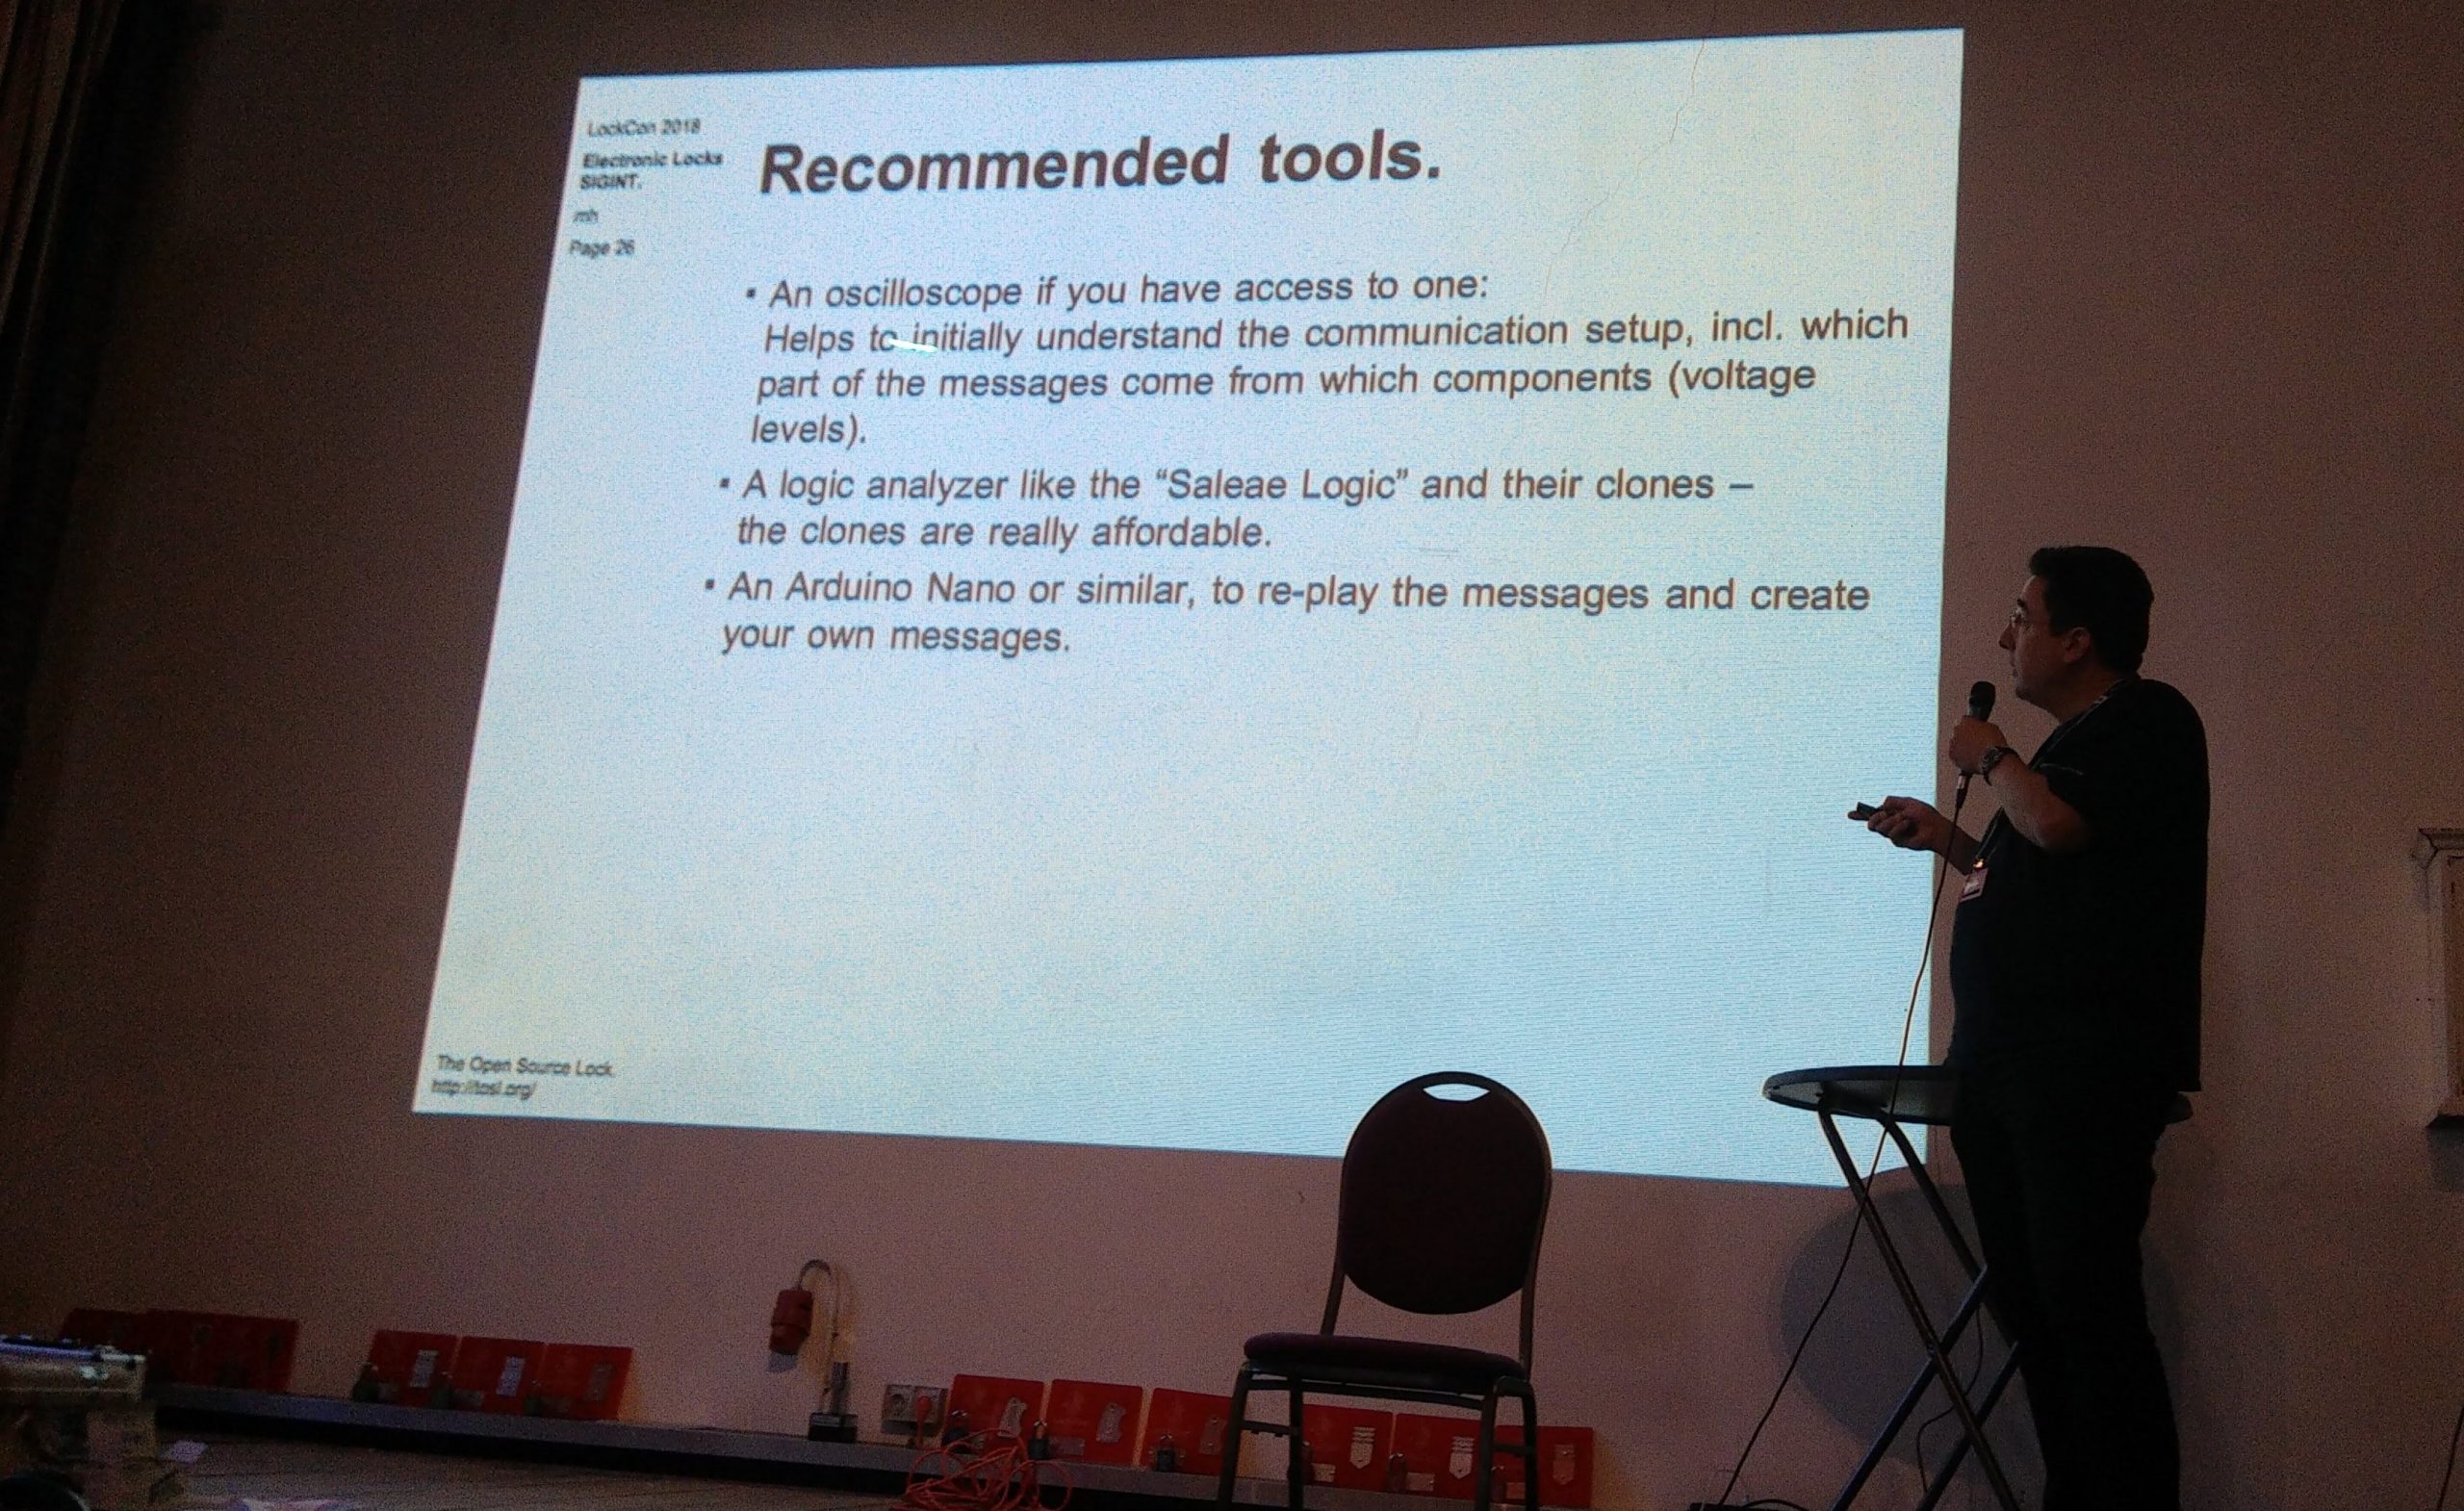
Now, the lectures. These sort of weren’t what I was expecting. I was expecting formal, high powered presentations but in fact it was more like a show and tell style thing. Again, I think this comes from the original intent of the conference which was an informal get together of geographically spaced out friends. The idea is that anyone can get up and share stuff they’ve been working on, at whatever level they choose.
There were industry guys. There were historical presentations. There was a fair bit of mechanical stuff. There was some very interesting discussion of photographic scanning and 3D printing of keys. The stars of the show were Moss and Boo, two Aussie kids whose big thing is getting into tamper-evident seals. They spoke in Melbourne as well and really are very good and were listened to with as much enthusiasm and respect as anyone else.
This is MH who was happy to have his pic in the public domain.
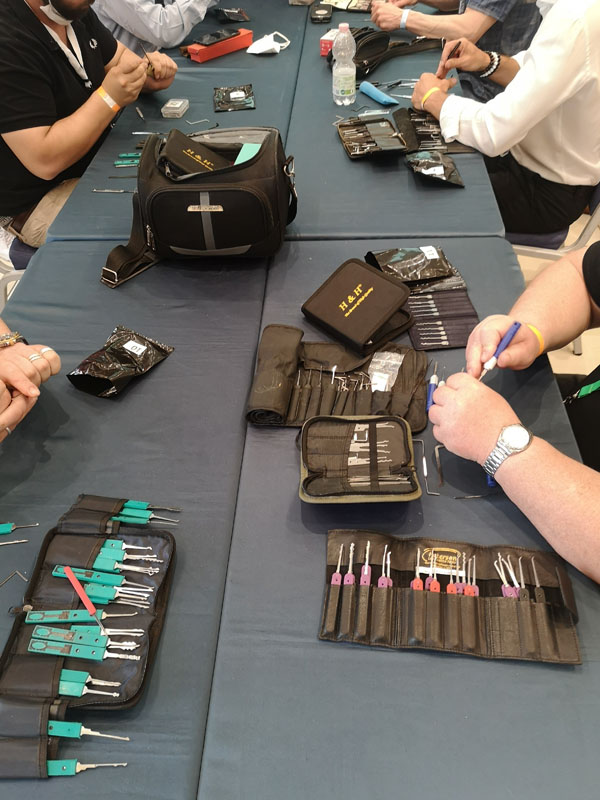
Finally, the competitions. Impressioning, pin picking, and lever picking. Goddamn, there are some VERY talented people out there and trust me when I tell you the Europeans have picking comps down to a fine art.
The rules were weird at first – you can hold and tension the lock any way you want – including holding it in your hand and tensioning from the cam. And you can attack the lock with pretty much anything short of a drill bit which meant that a lot of the good guys were doing a thing that was a cross between raking and zipping – just violently having at the lock for all they were worth with something sharp and pointy before trying to single pin pick it. This led to some sub five second opening times.
We say our goodbyes and Jan and I pile our shit in the car and hit the road. My pack weighs slightly less than it did on the way in but it’s still near the 23kg limit and I’m still weighed down with a huge stack of brass. The two heaviest things in my luggage are my old school laptop in my daypack, and the locks in my big pack.
Jan introduced me to the concept of savoury Dutch pancakes, which are basically a foot diameter pizza with the usual toppings (cheese, bacon, peppers, whatever) but with a pancake for the base. You then add syrup to this, or at least I did. Dutch food turns out to be remarkably delicious but stodgy, and if I lived here for any length of time I would be the size of a zeppelin despite any amount of bicycle riding. This is where I discovered that diabetes might just be an acceptable lifestyle choice.
36 hours of longhaul flights, airports, delays, and security theatre. I was jetlagged to hell when I got back – I always am – by the time I got to Napier I’d had three mornings in one and a half days and if that doesn’t bugger up your body clock, nothing will.
Is normality actually restoring in the world? To be honest, I have no idea…. But it IS restoring in the lockpick world as LockCon looks to happening this year!! \o/
After a mandatory pause, we are looking forward to again discuss all the things locks in a castle in the city of Baarlo. LockCon will be held from Thursday 25th of August to Sunday 28th of August.
Want to join? Maybe want to give a talk? Workshop? Host a competition? Sponsor us? Fill in your details here (link no longer active 20-08-2022) and we will get back to you. (Regular attendees, please check your email.)
Last week, the ELF (European Locksmith Federation) convention that was to happen in 2020, finally took place. It was organised by ERSI (Esperti Riferme e Serrature Italia) in Bologna, Italy.
The lockpicking competitions were set up by the folks from ParmaKey, such as Ivo, and they had help from Federico, now secretary of ERSI. Ivo and his team led the lever lockpicking contest at LockCon in 2019 as well and they used the same setup in Bologna.
There were three (small) competitions, in lockpicking, lever lockpicking and car opening.
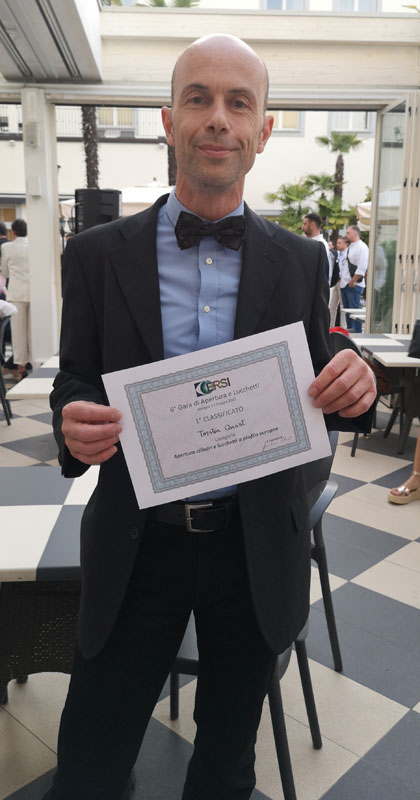
In the lockpicking competition, there were cylinders and padlocks, both pin tumbler and dimple. In the final round, Torsten was the only one to open all 6 locks for the win. Both Béla and Harry opened 4, and with just a 4 second difference in total times, Béla took second place.
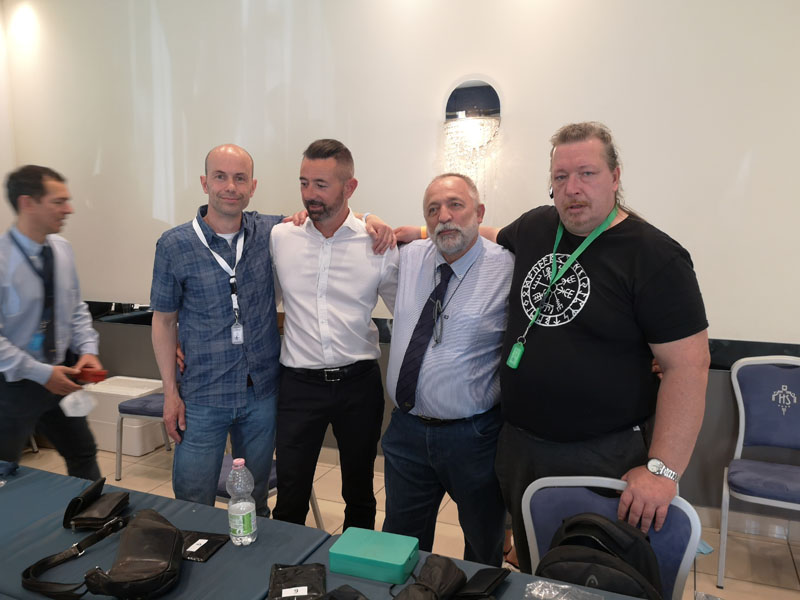
Competition in full swingTorsten won the picking competitionTop-3 in lockpicking from Germany (Torsten, left), Hungary (Béla, right) and Greece (Harry, in white shirt), also showing Ivo (and Federico on the far left)
Then there was the lever lockpicking. Nice wooden stands were used with LEDs to show the lock being opened up to four times. These were 4 throw Italian locks, the same as those used at the previous LockCon. Both Morris and Mirko had 13 throws in total, but Morris did it a minute faster, earning him first place, with Mirko second. Federico Z. became third with 10 throws in total.
Morris won the level lockpicking competition
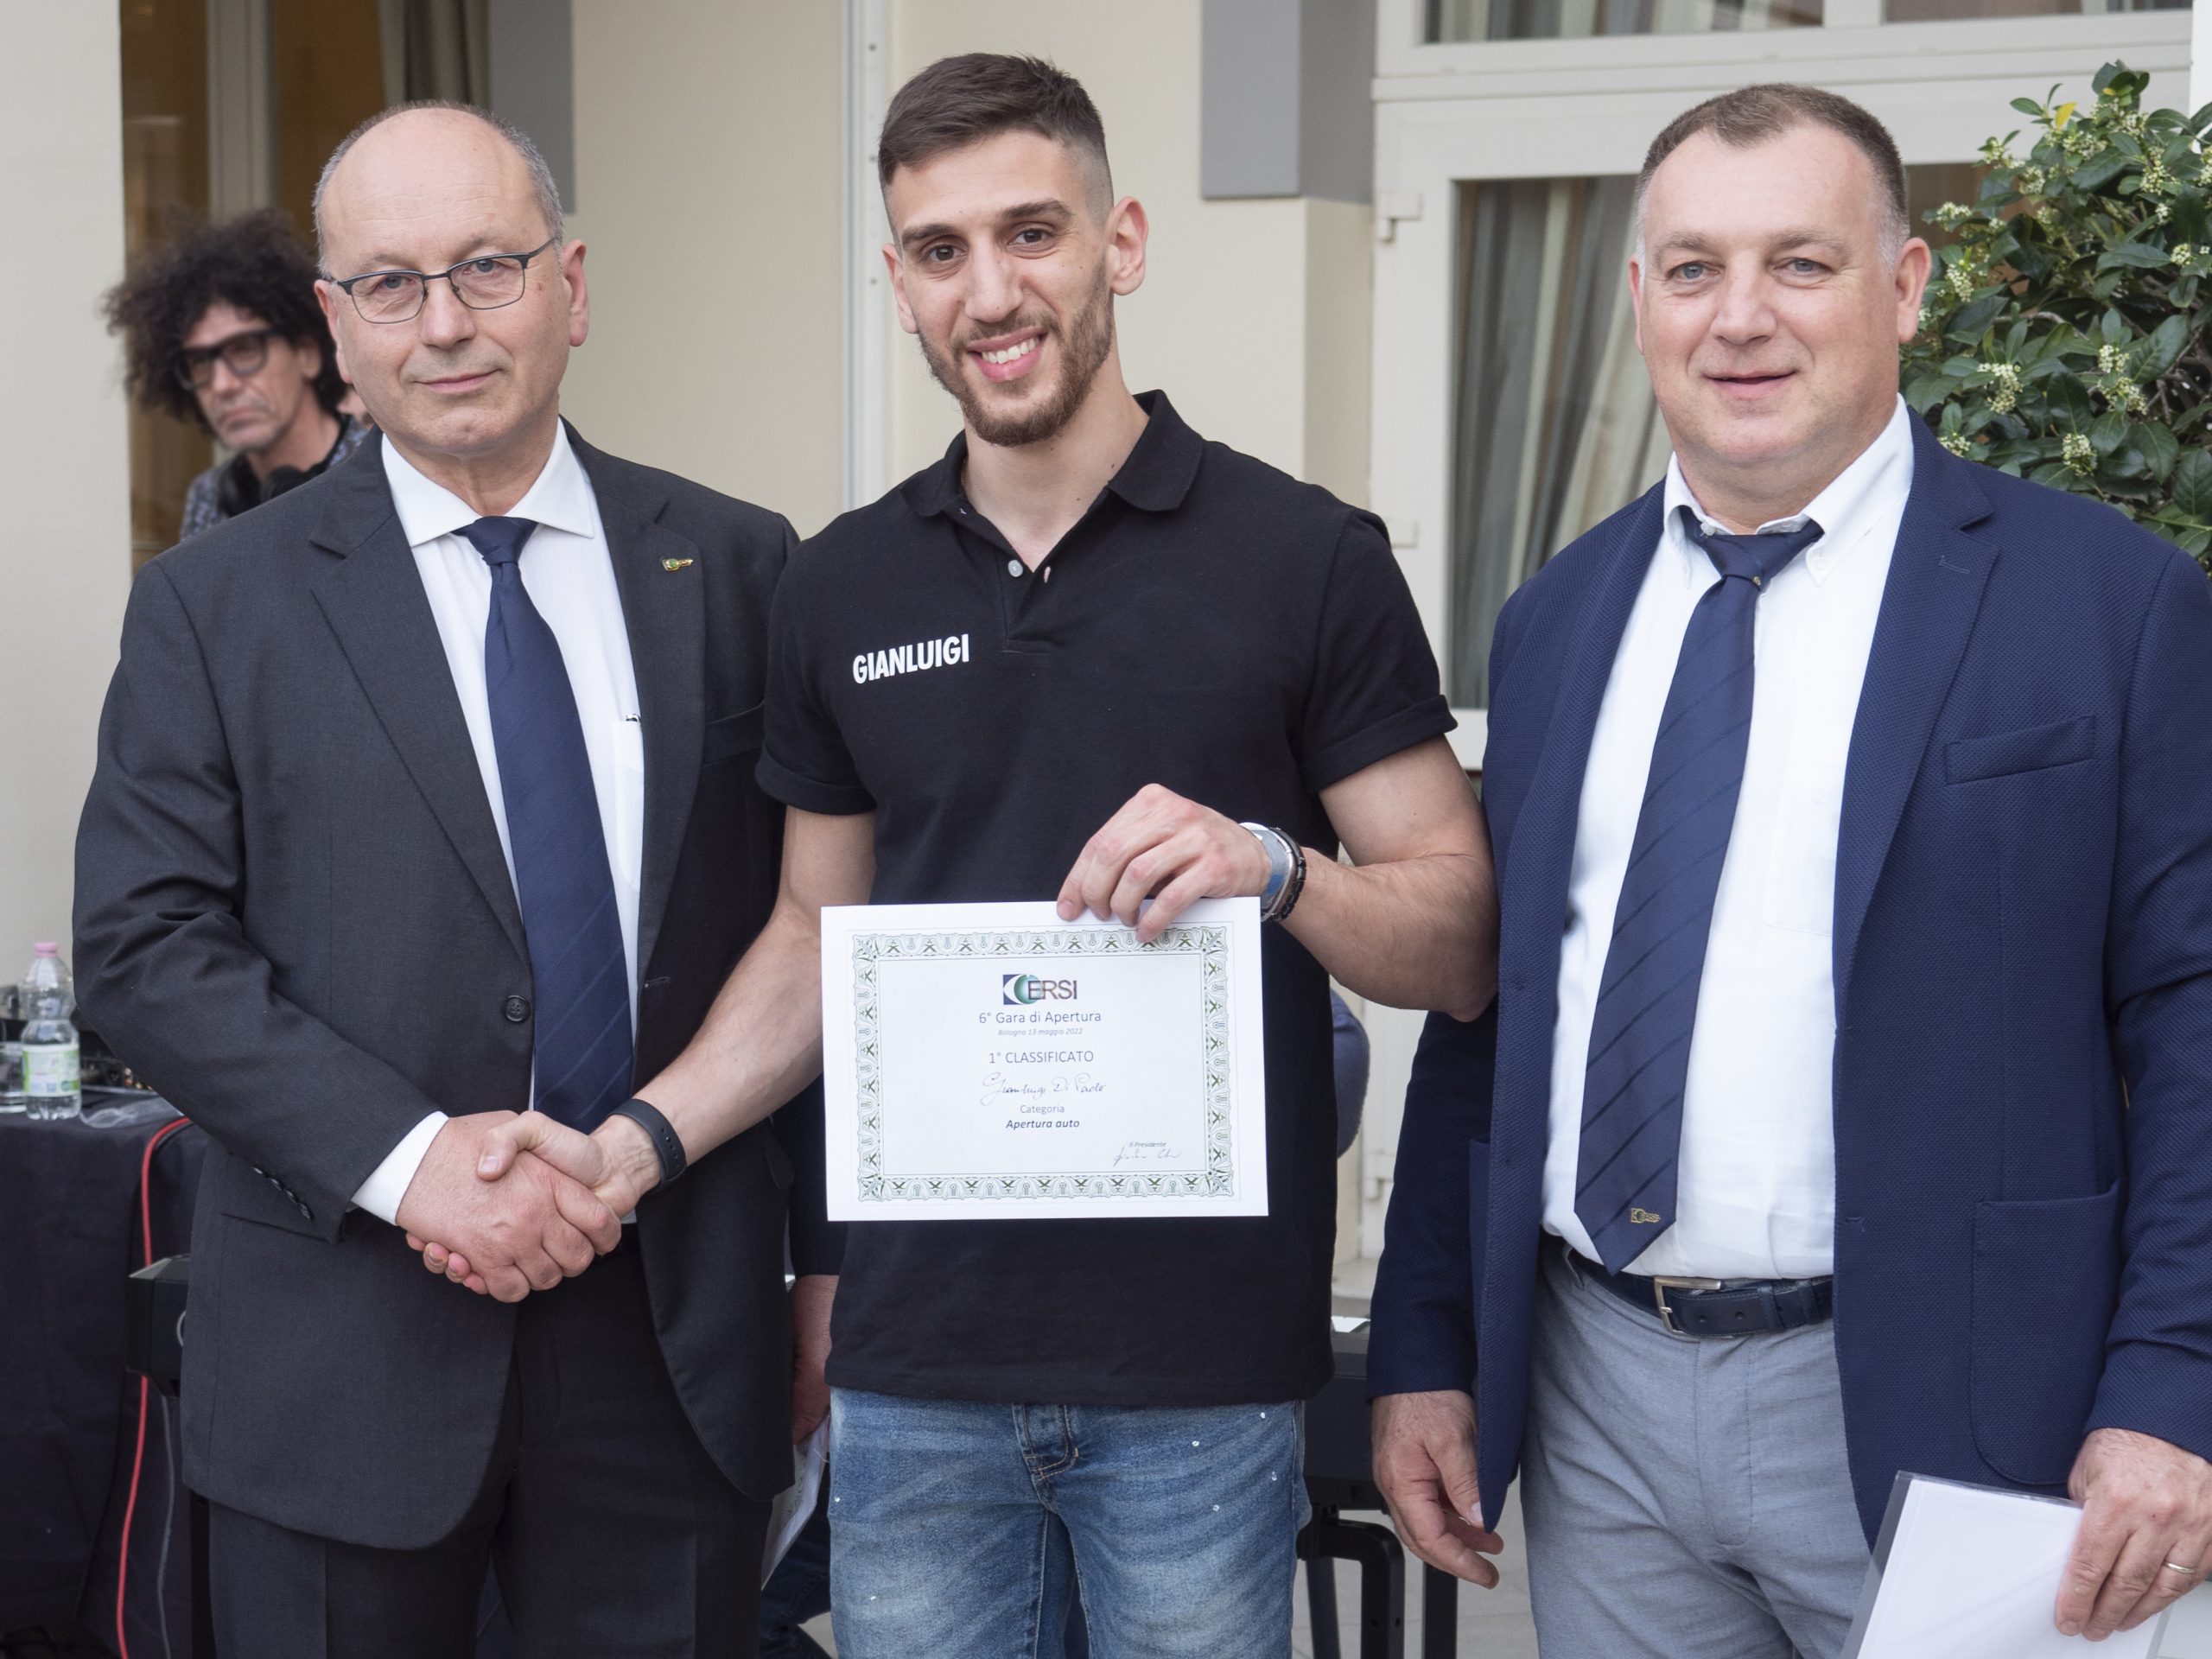
The third competition used similar wooden blocks as those used for lever lockpicking, but these held car locks (including the door handles). The corresponding lishi tool was supplied with each lock. Gianluigi won the final, opening 6 locks. Giovanni became second, opening 6 locks as well but slower, and Béla became third with 5 locks opened.
Lishi 2-in-1 have been around for a long time, both for automotive and more recently for pin tumbler locks. Sadly, these tools are quite costly as they are keyway specific. Furthermore, this type of tool can’t be made for some locks as the keyways are too tight. Or so I thought, as of writing there are several 2-in-1 for sale for the paracentric Yale keyway. As I was intrigued, I’ve bought an off brand 2-in1 for CISA. In testing the tool, I’ve found various limitations that might impact the usefulness of this tool.
Let’s start from the beginning, Lishi is the brand name of a series of lockpicking tools designed and made by Zhi Qin Li. The Lishi company split up and Zhi Qin Li still sells his 2-in-1 under the brand Original Lishi, while another company sells them under the brand Genuine Lishi.
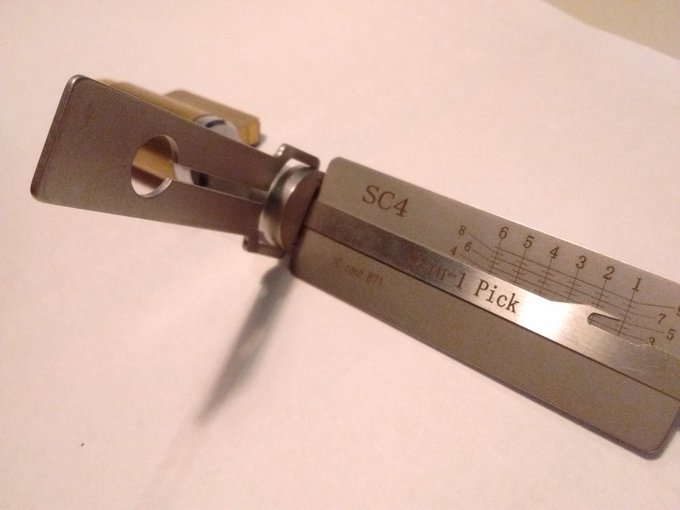
Original Lishi sells a variety of tools, the one generally referred to as a Lishi is a 2-in-1 lockpick that both applies a turning force and a tool for picking individual elements. The tool can also be used to decode the lock once the lock is open, and a key can be cut in the field with another of Li’s tools.
Lishi for the Schlage SC4 keyway.
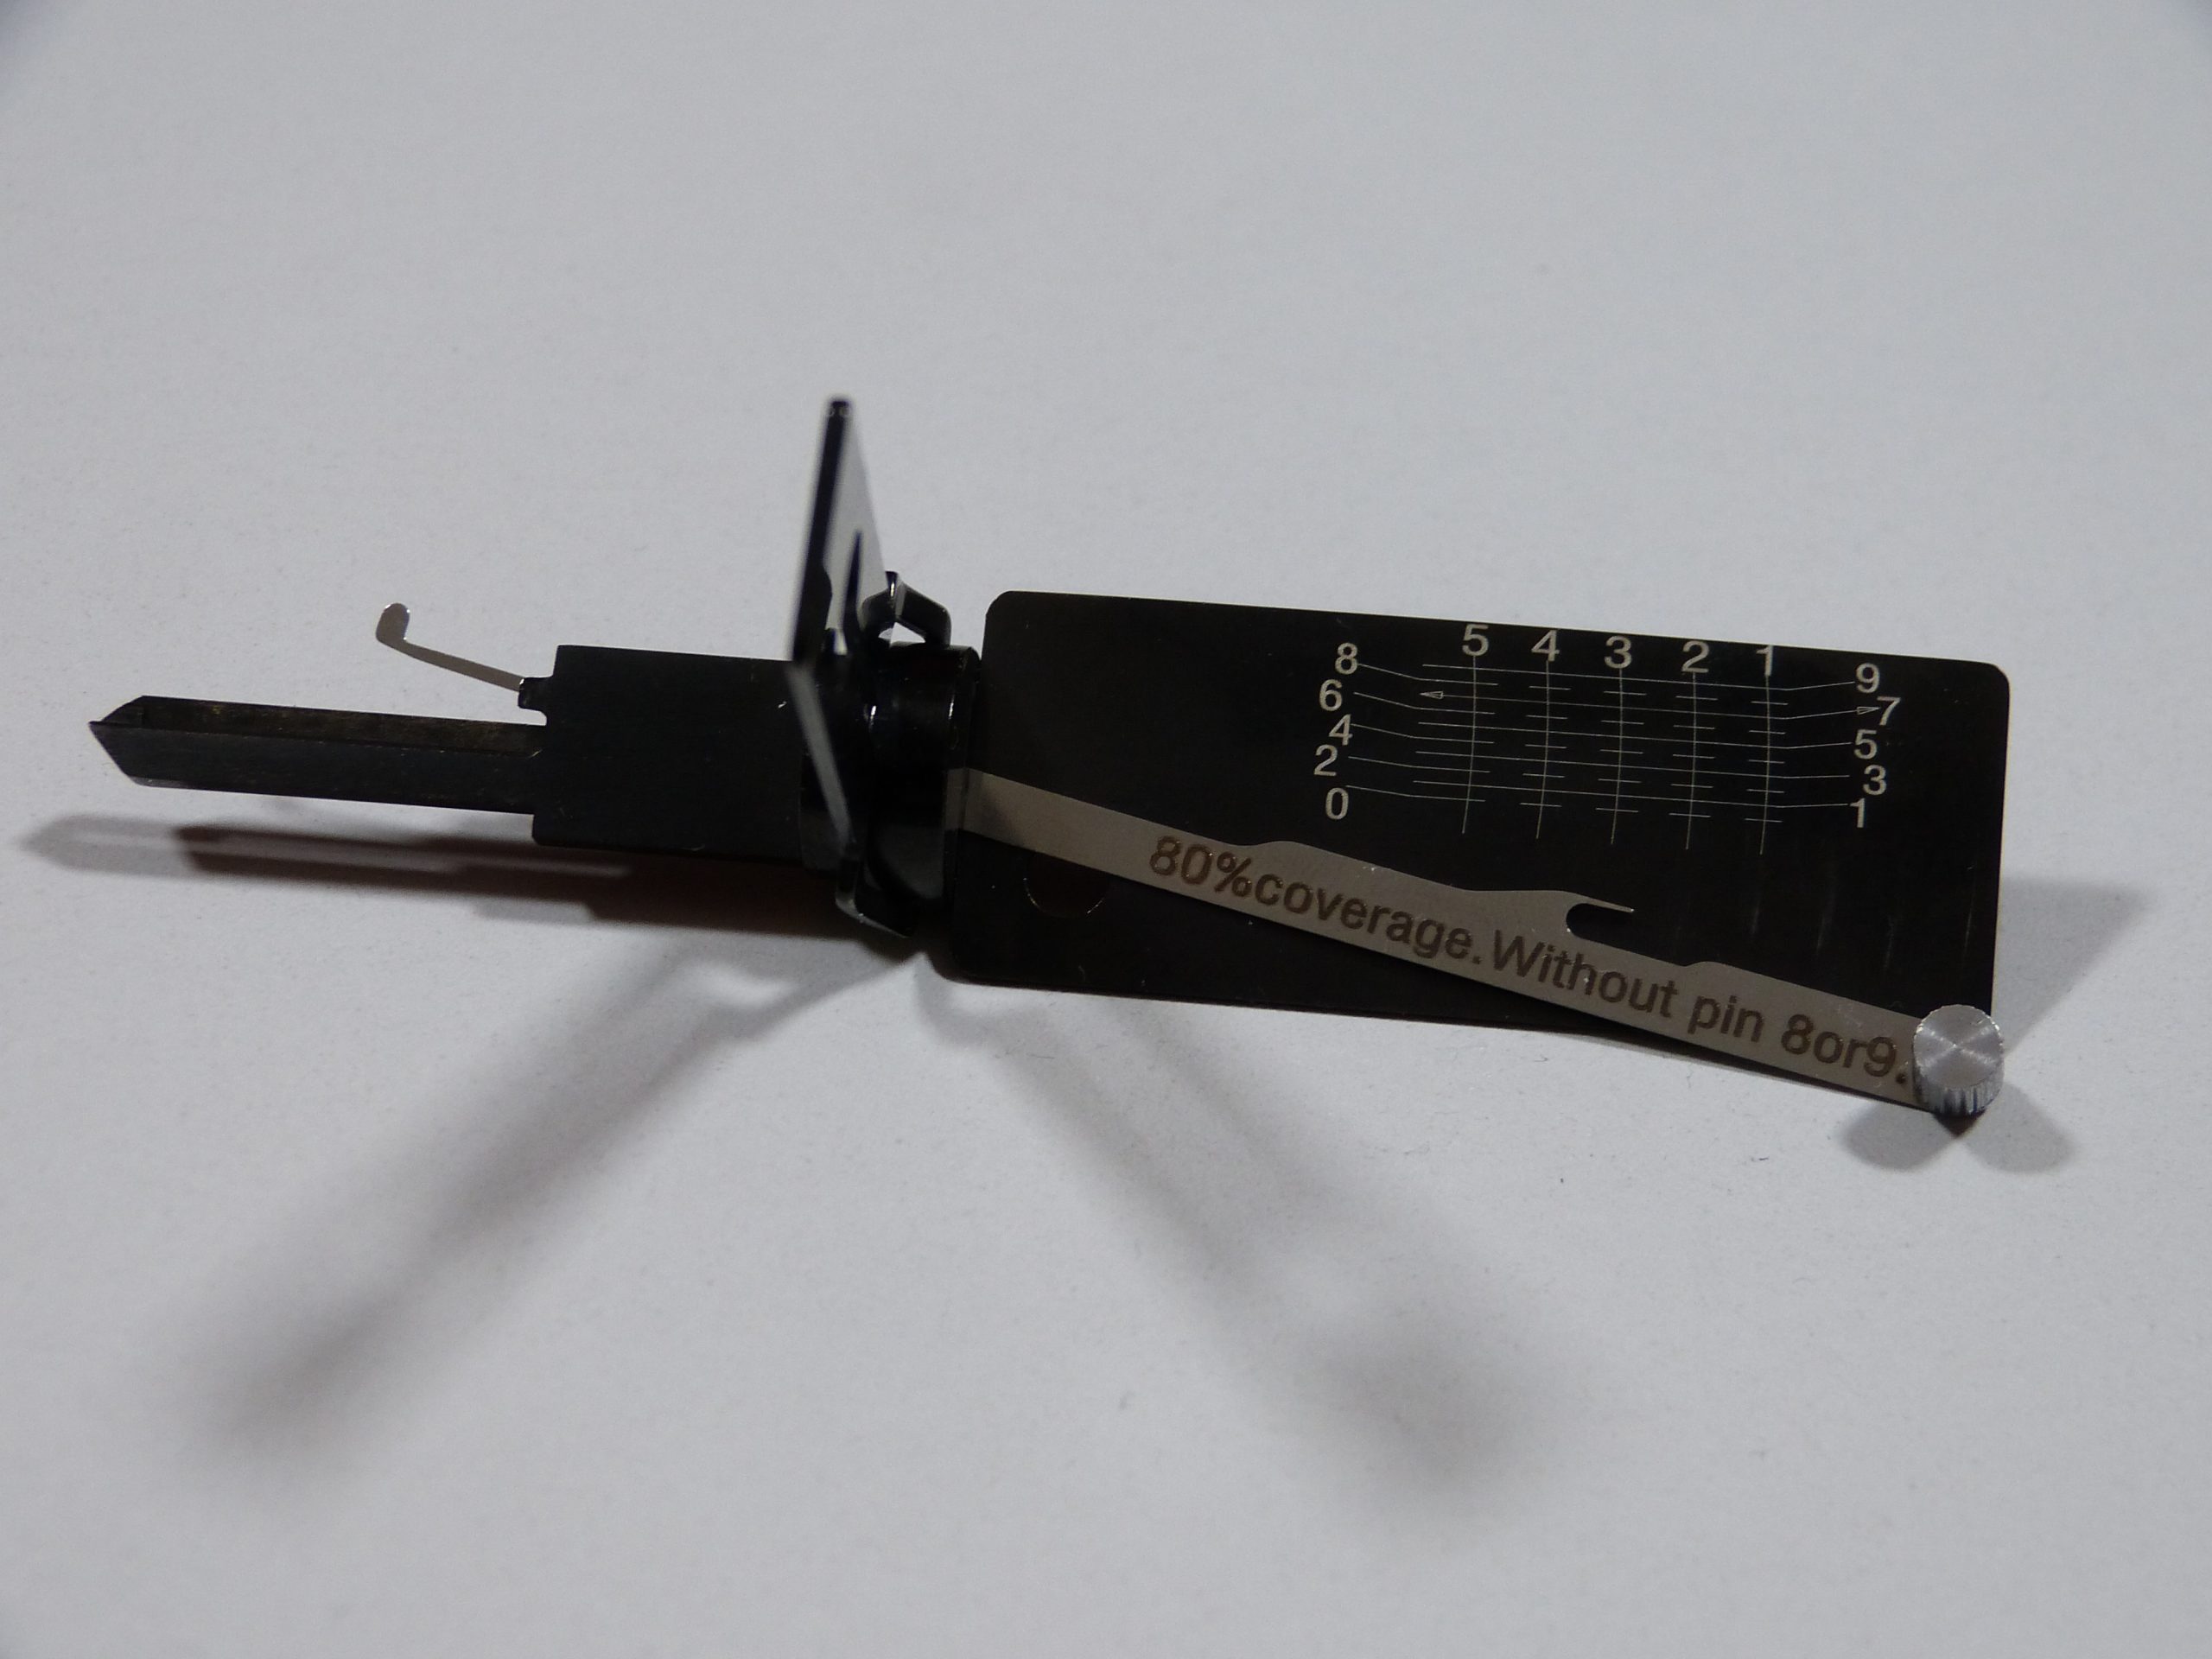
So, what does a Lishi 2-in-1 lockpick do? The tool consists of two parts; the body that is used as a turning tool and the thin feeler that’s used as a lockpick. This in itself would not be too useful, however, the body has a chart of where the lockpick is in the lock. You move the pointer to the desired element, indicated by the vertical lines, and push down lightly on the pointer. This in turn moves the lockpick, pushing down on the element in the lock. You can feel if the element is binding or not. And just as lockpicking, you go through the lock, pin by pin, and feel for the binders. Then you set each binder and search for the next one, until all elements are set. Click on one, click on three… Open!
From y2k these tools have been available for automotive locks as the combination of open keyways, many wafers, and typically low tolerances work very well for this tool. 2015 was the year 2-in-1 picks became available for pin tumbler lock for the USA market. (Schlage, Kwikset, and Master). Most of these locks have wide keyways, low tolerance, and very few security pins.
I’ve played with a few of these tools, but didn’t find them too useful. I’m not a locksmith, not in the USA. For me, they would be mostly a novelty. But the pick I’m about to show can be a game changer as it targets European locks I’m familiar with.
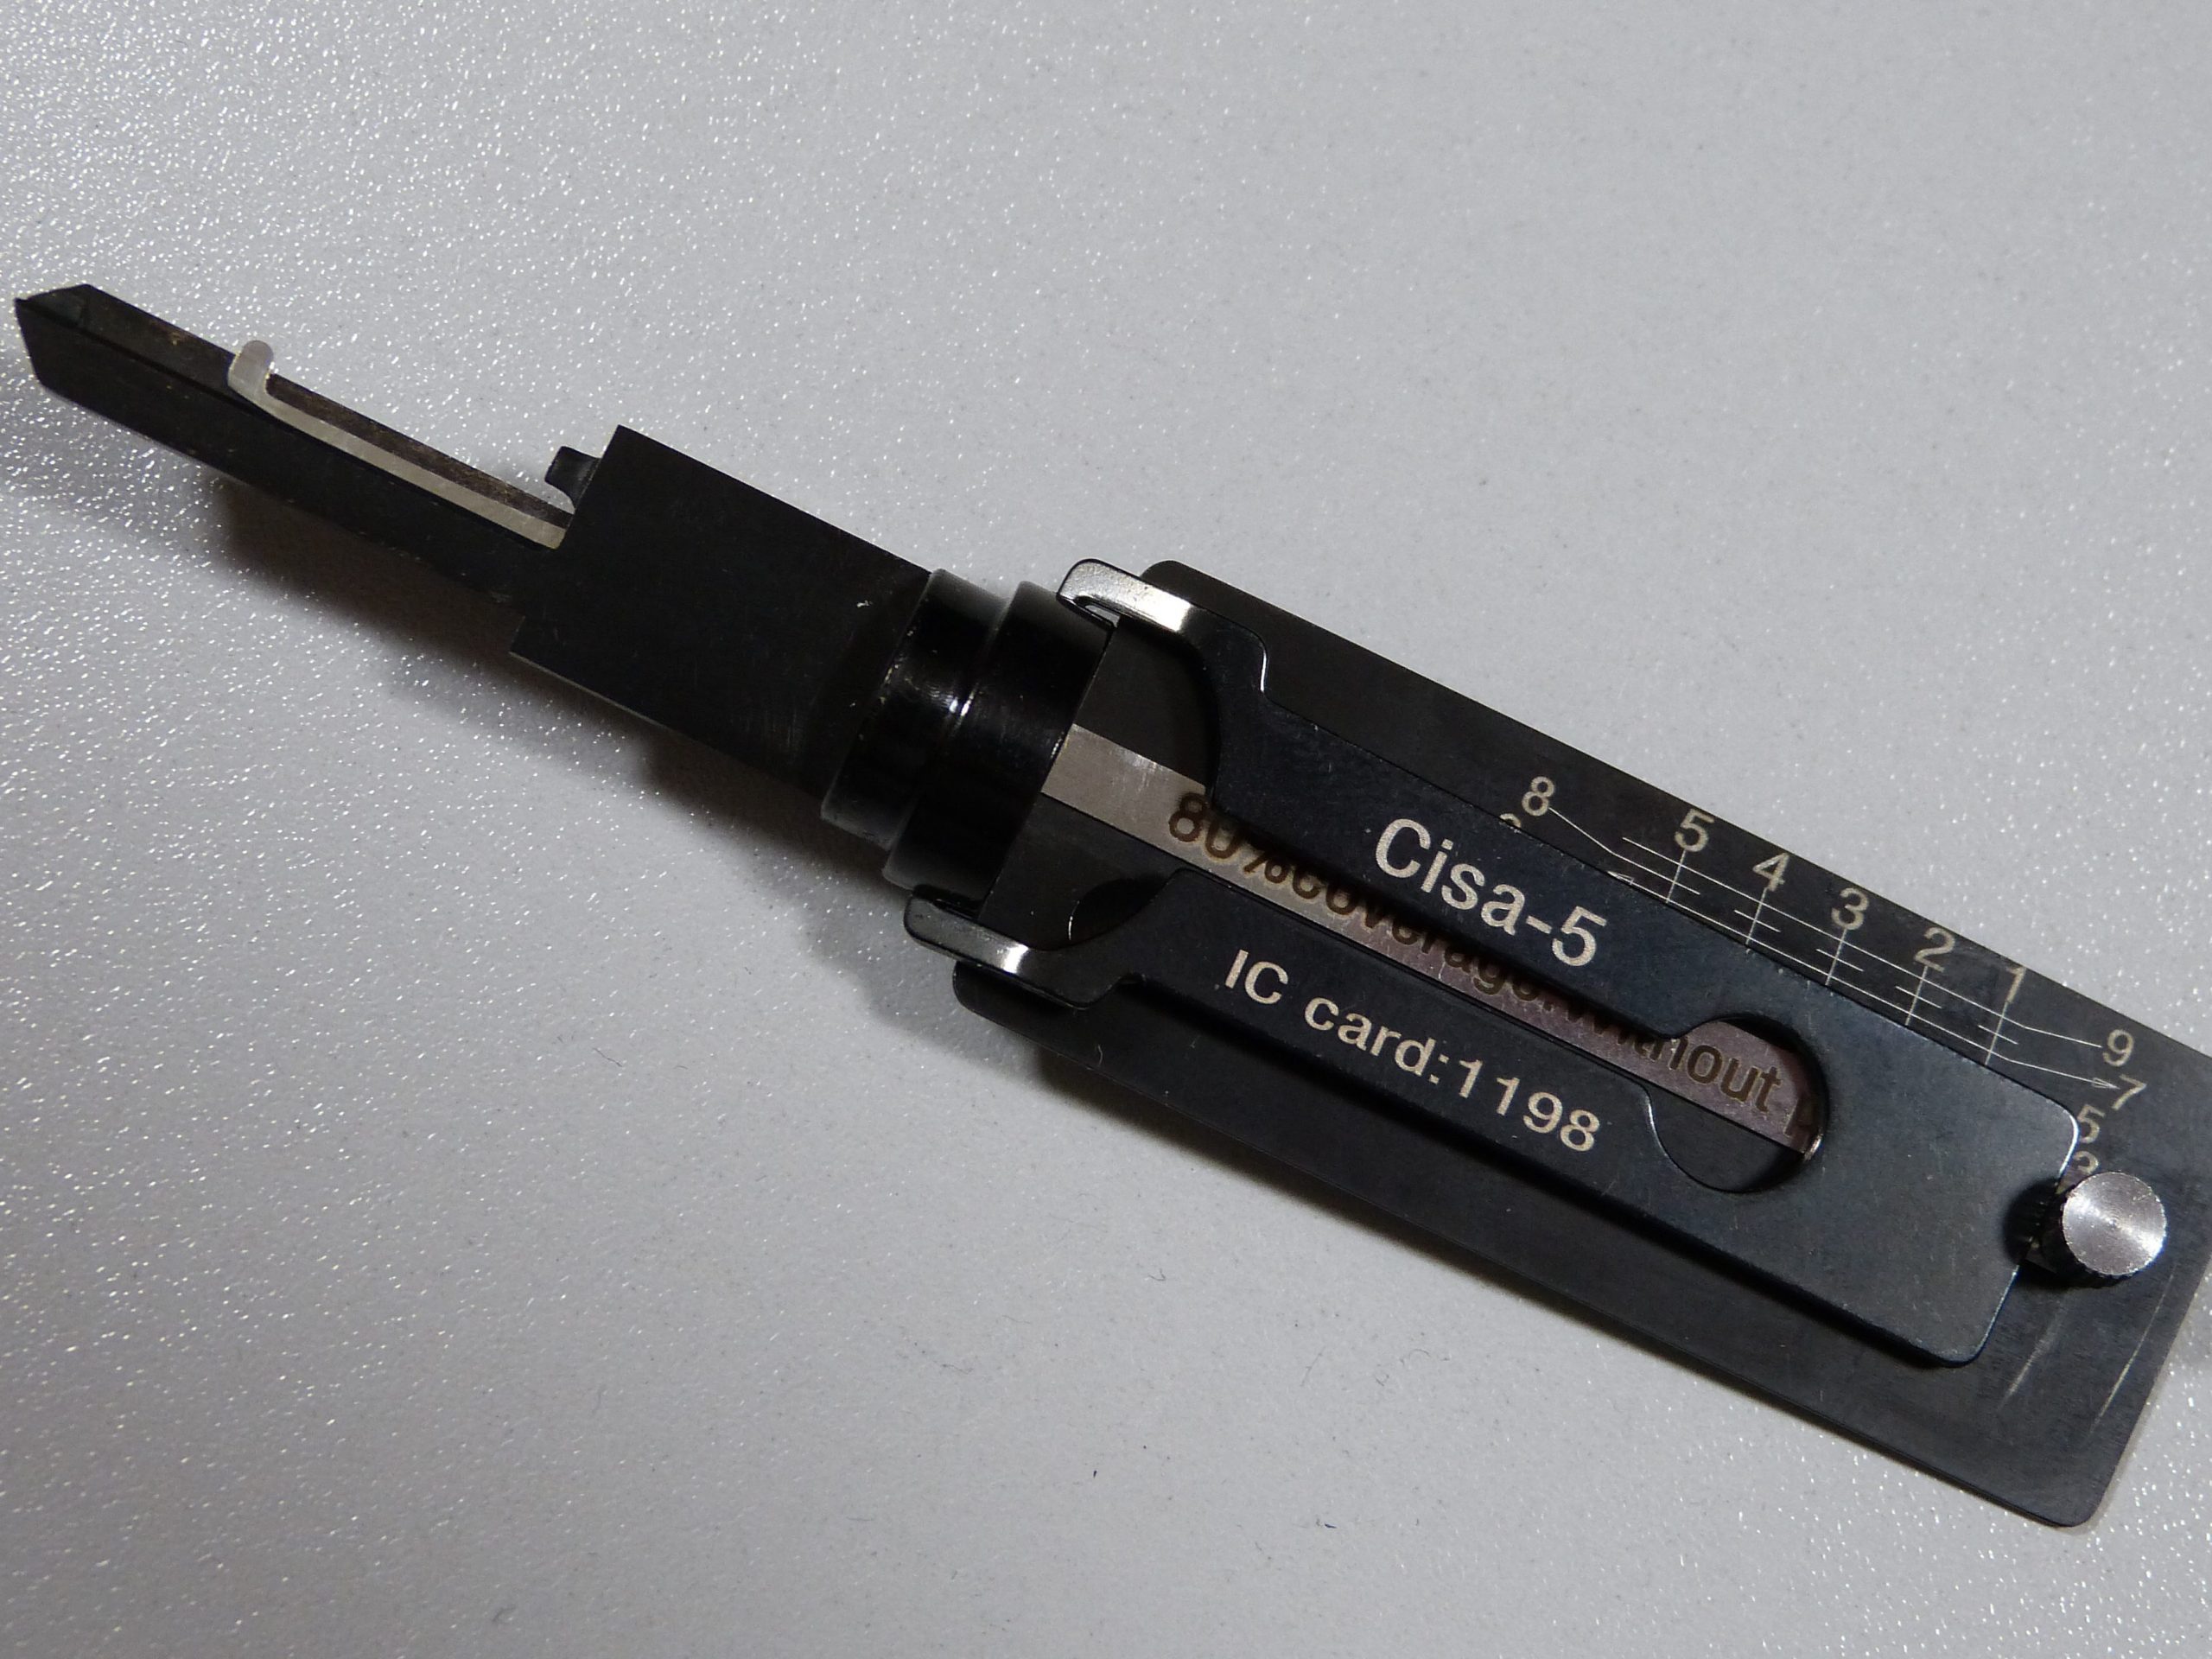
In December, I was notified a seller on AliExpress sells 2-in-1 (not a Lishi!) for the paracentric Yale keyway. The consensus under lockpickers is that this tool could not exist, because the keyway is too tight and has no straight access to the pins. I was curious enough to fork over €50, and bought one for CISA as it’s very close if not identical to the Abus C83, the lock we use for impressioning championships.
The seller is quite open about the tool’s limitations and wrote on the lever “80% coverage. Without pin 8 or 9”. While this sounds like it’ll open 80% of locks, but it doesn’t seem to be the whole story, as we will find out. The biggest concern with a tool that works on a subsection of locks is if the user can detect the tool does not work, instead of user error or lack of skill. I suspect so, but it will be far from easy. In short, a lock will not work with one or more cuts deeper than a 7 and therefore this pin will always be overset and this you can detect.
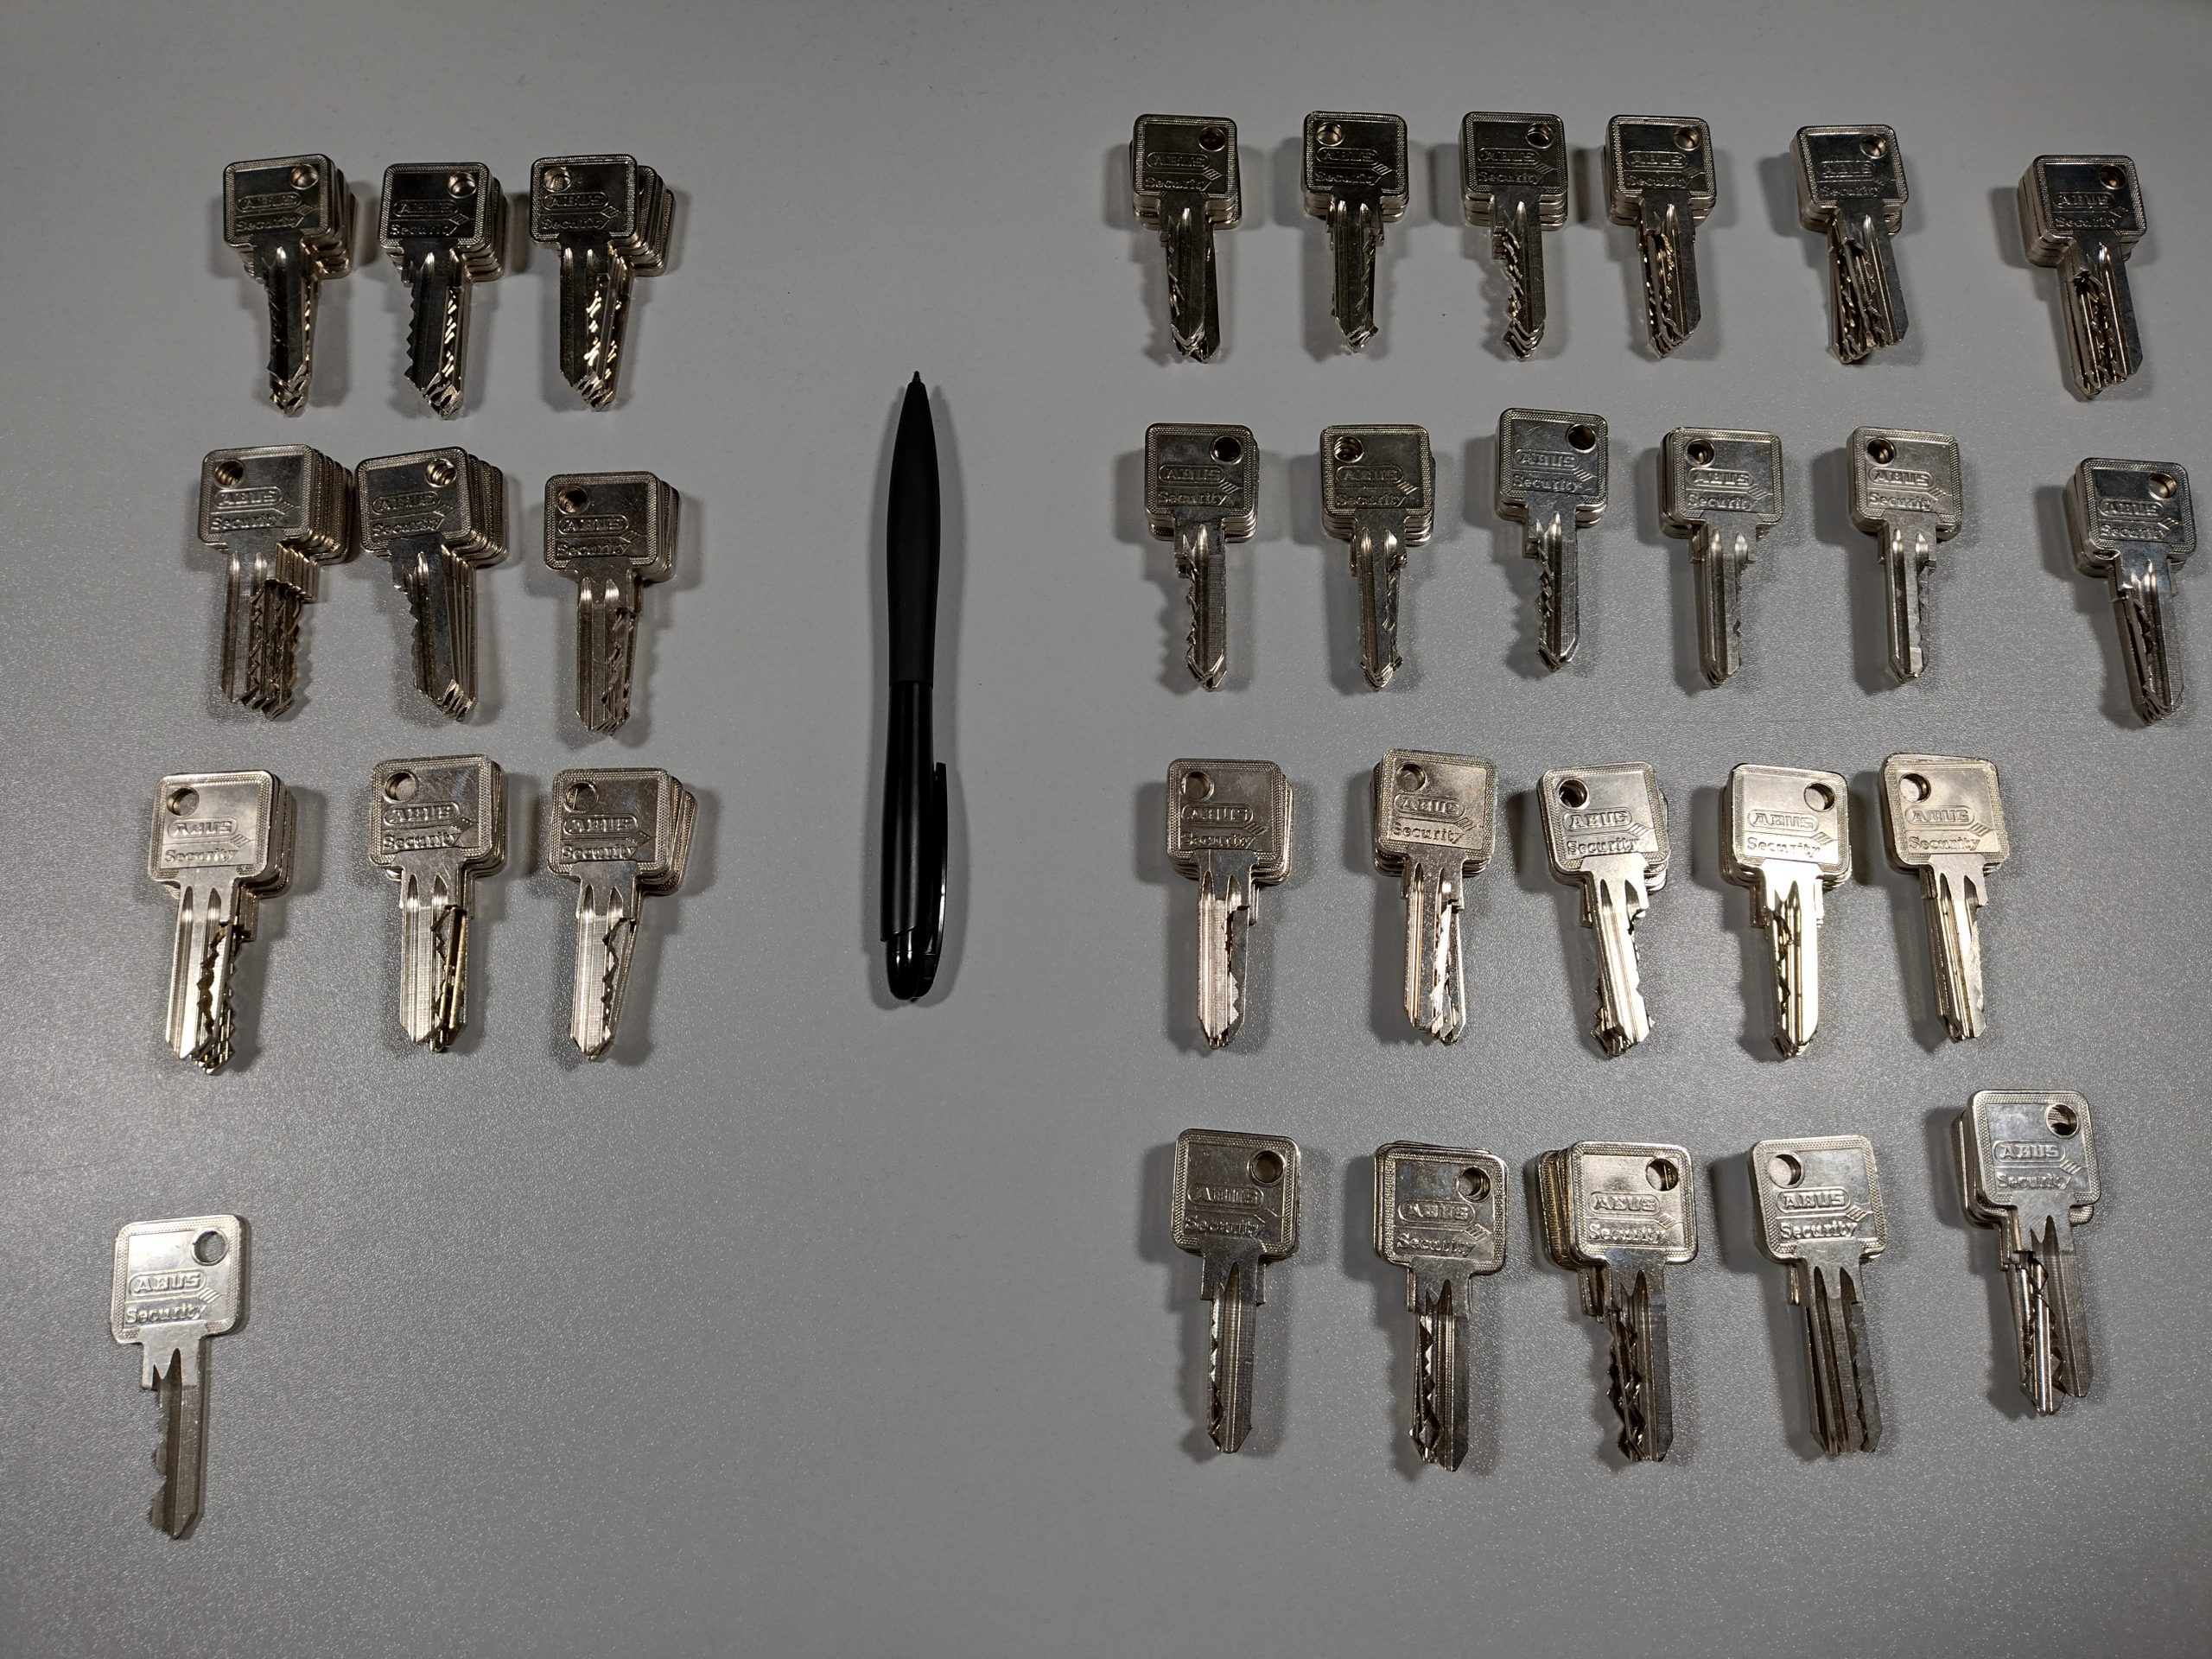
Small sub section of factory cut Abus C83 keys, I’ve a modest collection of them.
As I was curious about the 80% claim, I’ve spent an evening measuring my Abus C83 keys. While these are not CISA, they are close, and I happen to have a modest collection of these keys. 92 out of 283 of the measured keys have no cuts deeper than 5.5mm, the size of the tool. This means the tool will only work on 30% of my Abus C83. This is consistent with a statistics sanity check. For this, we assume every lock has a uniform distribution of cuts, ignoring MACS. This came to be (7/9)^5 = 28.4%.
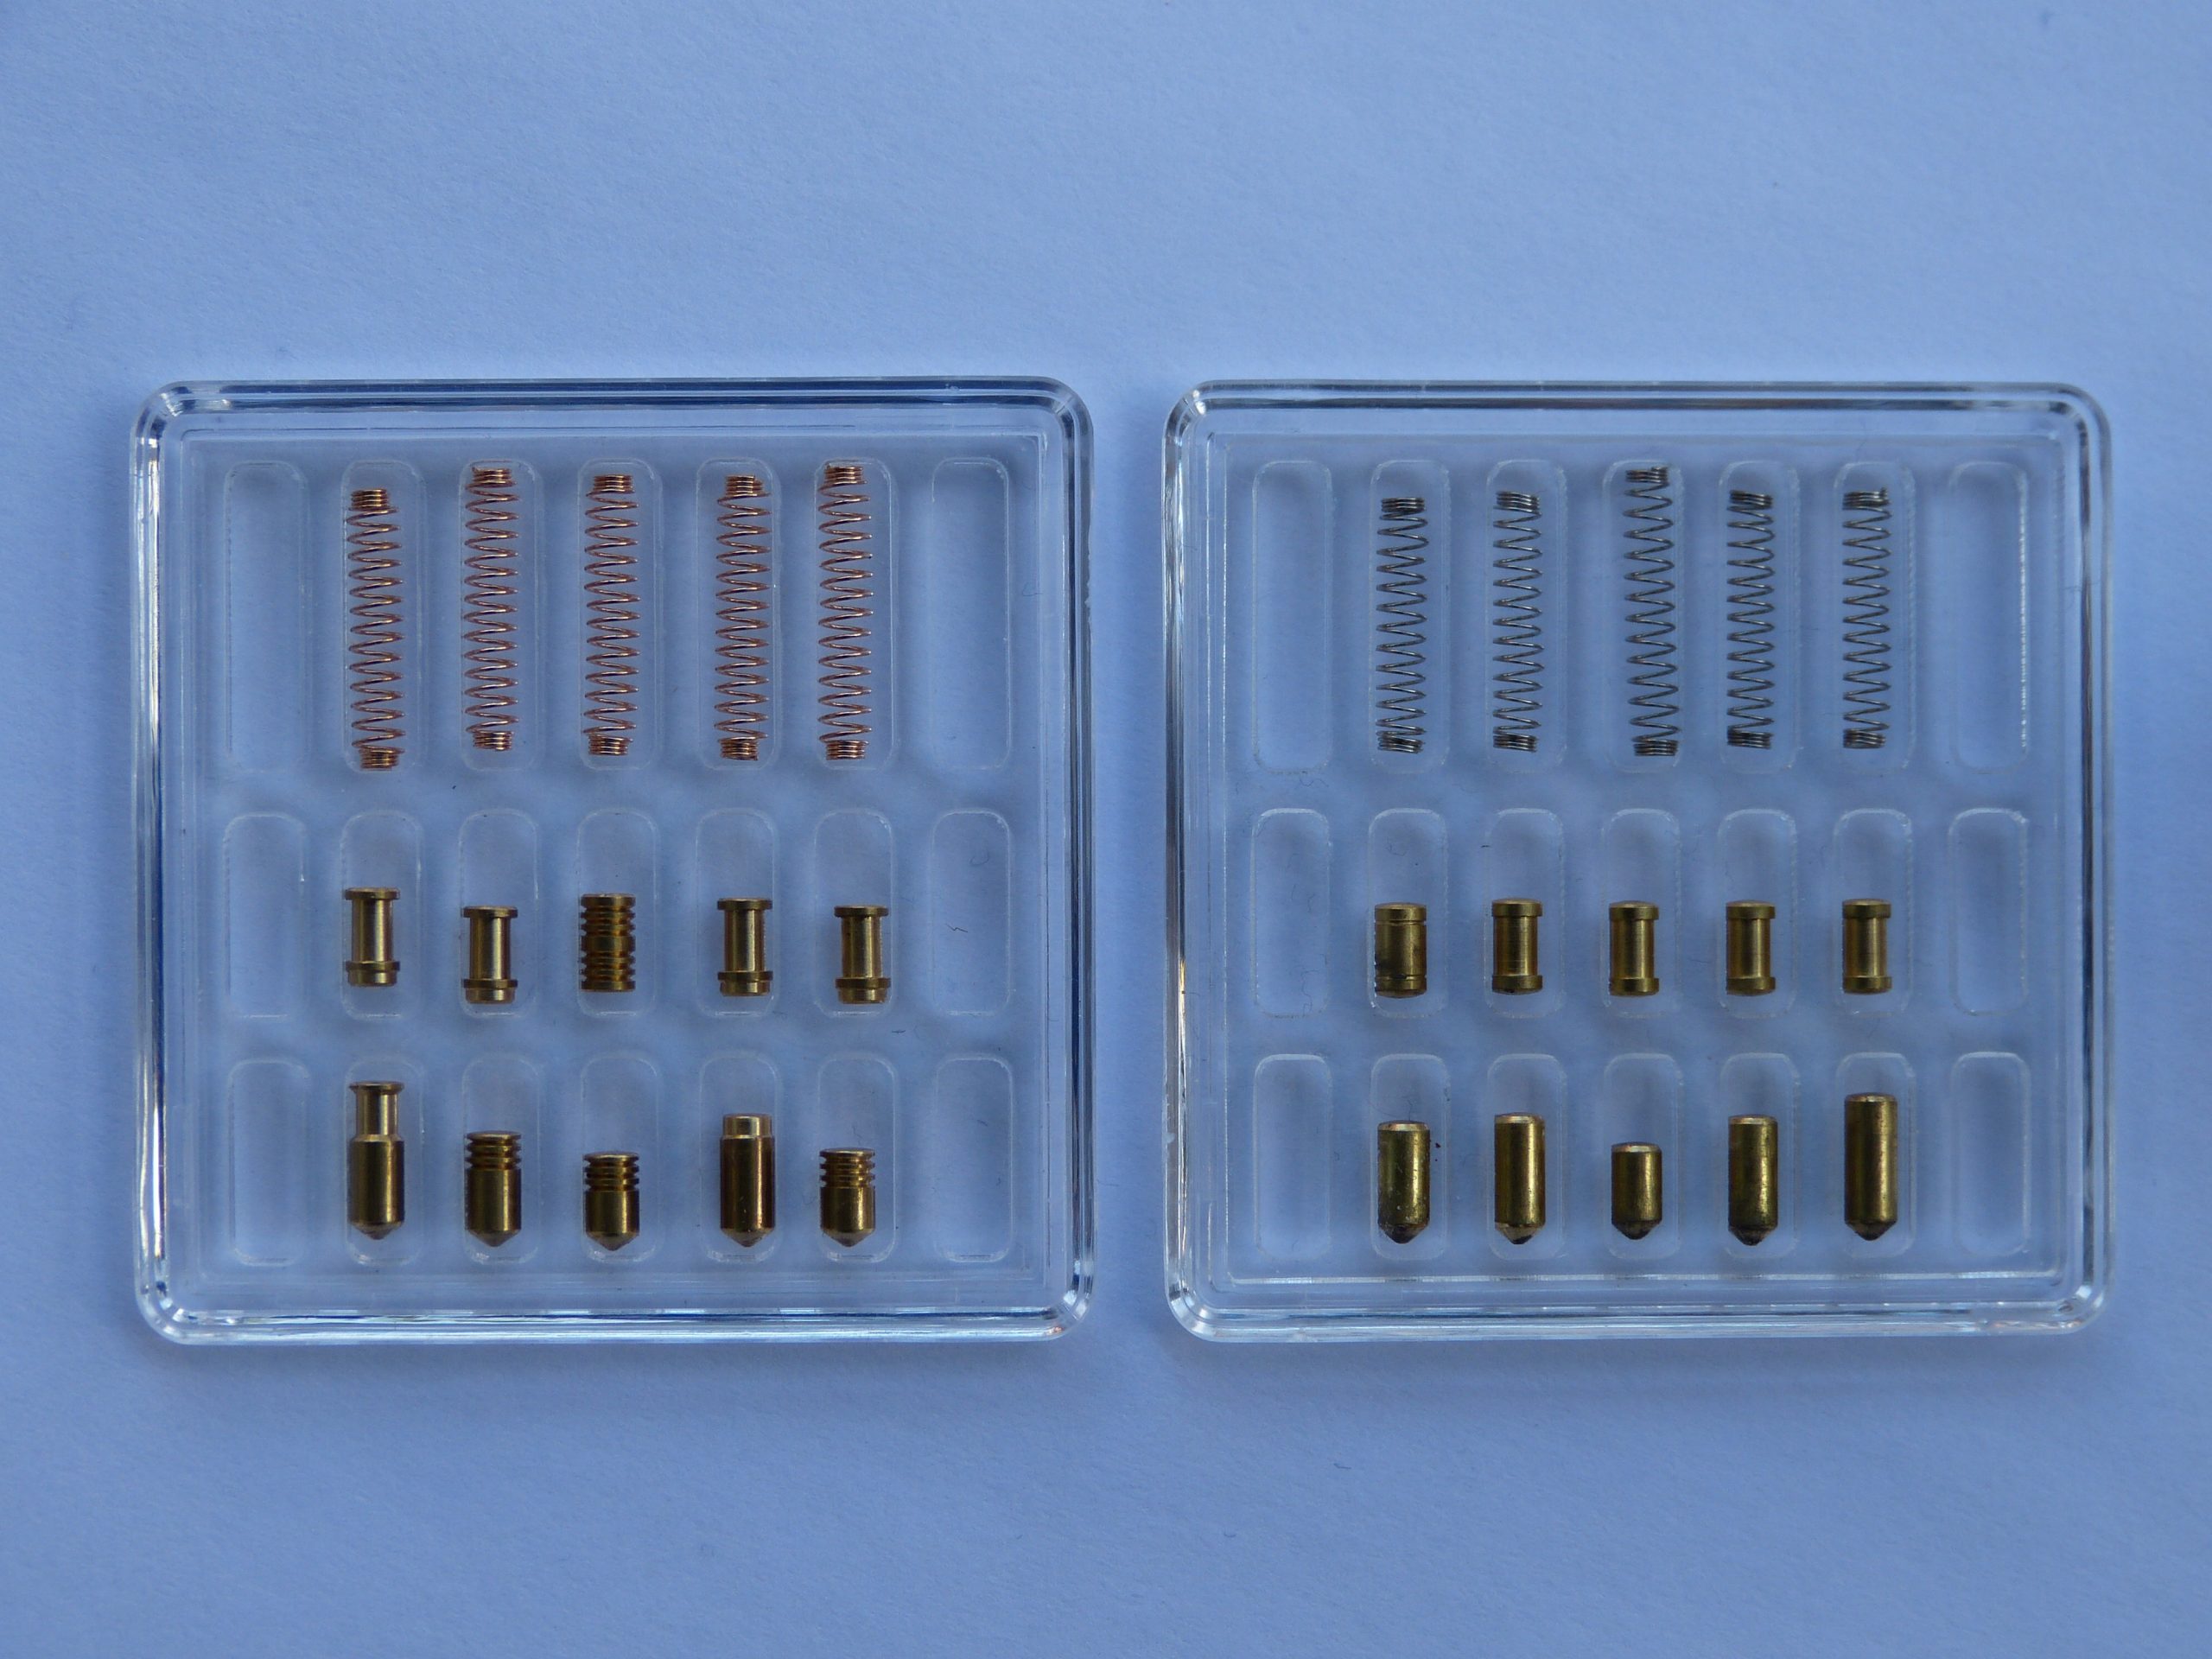
I’m considering this 30% an upper bound, as Abus C83 and CISA aren’t shipped with standard pins. The old locks are shipped with mostly spool pins, and the new ones have serrated, spool, and T-pin key pins and the same for the drivers.
Abus C83 old style vs new style pins.
Besides the theoretical usability and security pins, what other flaws would make this tool suboptimal? The picking tip snags while moving from pin to pin. Furthermore, picking in the counterclockwise direction binds the picking tip, and it makes it difficult to differentiate between a binding pin and a binding picking tip.
Randomly pinned lock with standard pins, decoded to 52452.
Let’s wrap it up, this tool is sold at €50 and promises quite a lot. However, theoretical, it will only open 30% of all the locks it was designed for. Furthermore, the limitations of security pins and rotation direction will limit the functionality even more. A practiced lockpicker might be-able to overcome some limitations, or detect the tool will not work. A tool that only opens a very small subset of locks is not a very useful tool, and I can’t recommend it to pick these locks. However, as new pickers always struggle to find the binders, and this tool enables them to actually ‘see’ what they are doing, it could be a game changer for teaching.
At the end of November, Jos, Walter, Rob, and me (Jan-Willem) went to Abu Dhabi to teach lockpicking at HITB CyberWeek 2021. We brought close to eighty kilograms of gear, including a hundred locks, plenty lockpicks, impressioning gear, safe locks, and more.
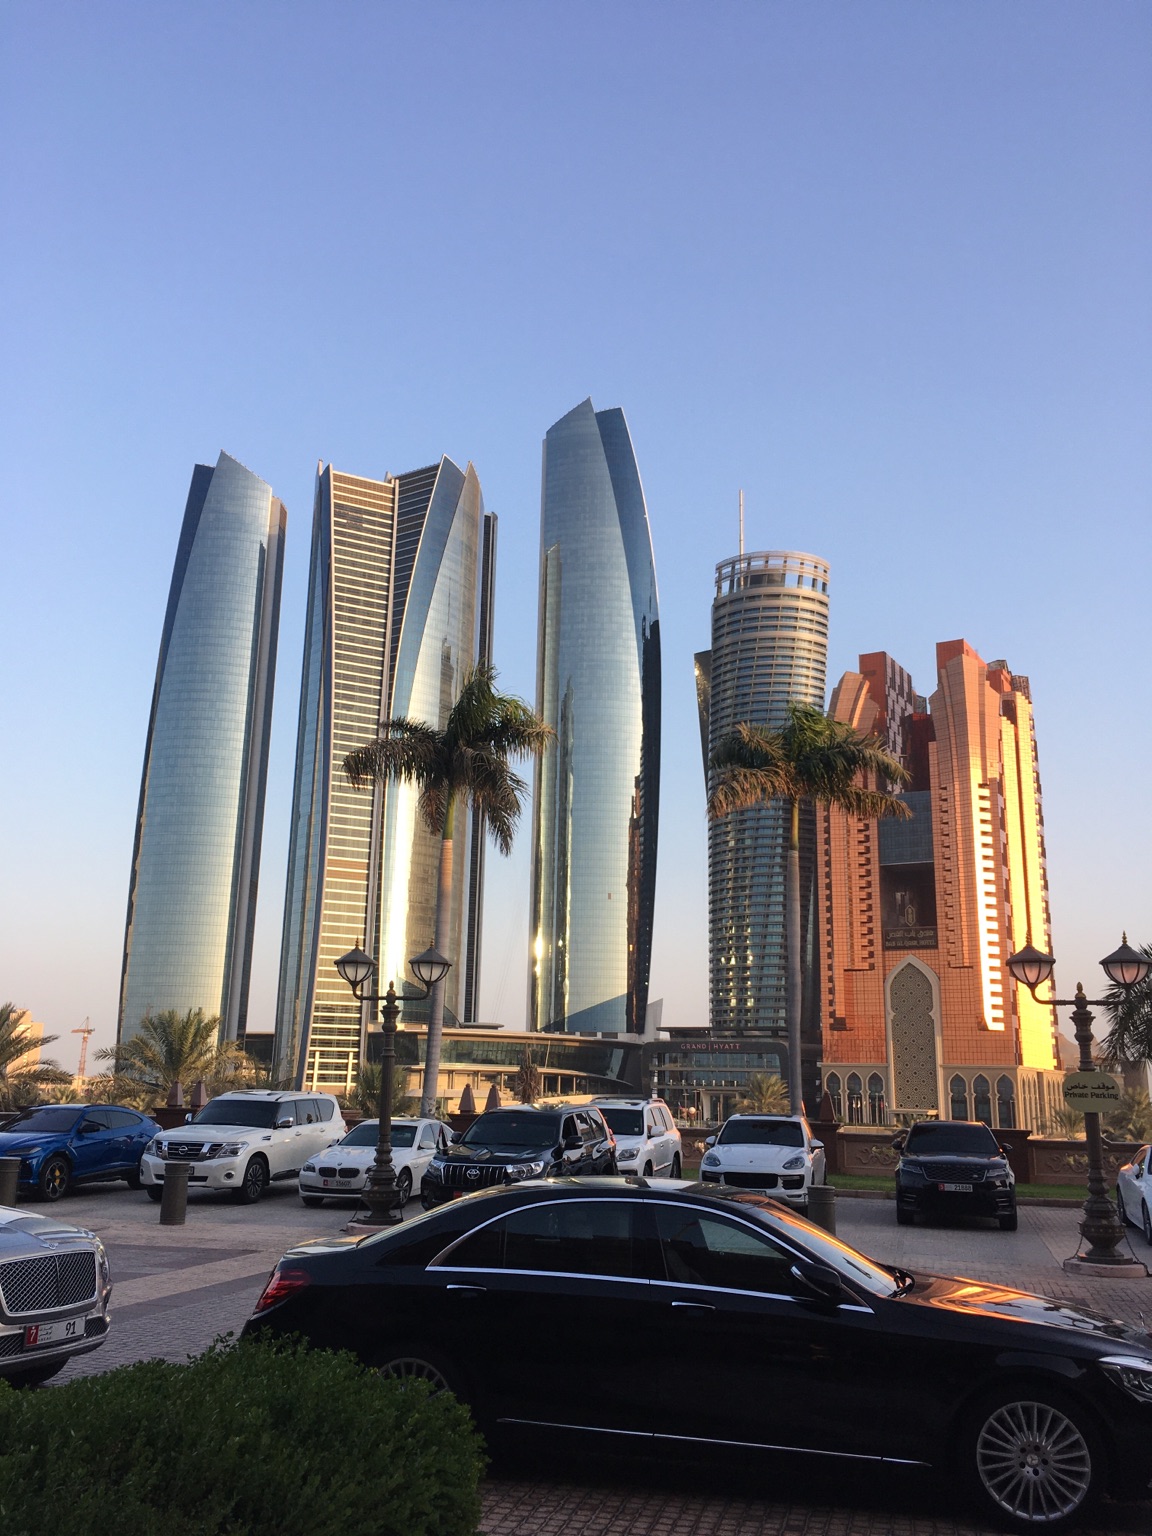
Photo of our first trip to Abu Dhabi in 2019
Why fly all the way to the UAE for a lockpicking village? Toool has run many lockpicking villages, some years more than a dozen. When the Hack in the Box conference came to The Netherlands in 2010, Toool was there with a village and ever since we’ve run Lockpicking Villages at HITB Amsterdam. In 2019, we were invited to run the Lockpicking Village at HITB CyberWeek in the United Arabic Emirates. As it was a great success, we accepted the invitation without hesitation when we got it again this year.
Getting to the UAE was fairly straight forward, even with all the measures. We send in our documents, including vaccination history. Travel was slightly terrifying as we required a tested before the flight, and a positive result would cancel the trip. Luckily, all results were negative, and we were allowed to fly. The flight itself was 6h, and we arrived at Abu Dhabi near midnight.
The first day was to relax and recover from the trip. After breakfast, we explored part of the city. It’s hard to convey the scale to which Abu Dhabi is build. The buildings are large and the space between them are usually three lane roads. It doesn’t help that even in November, it was 30 degrees Celsius outside. We found the ATM, grocery store, and the Abu Dhabi National Exhibition Centre, even though it took most of the morning. We spent the rest of the day at the rooftop swimming pool of the hotel and the welcome reception in the evening.
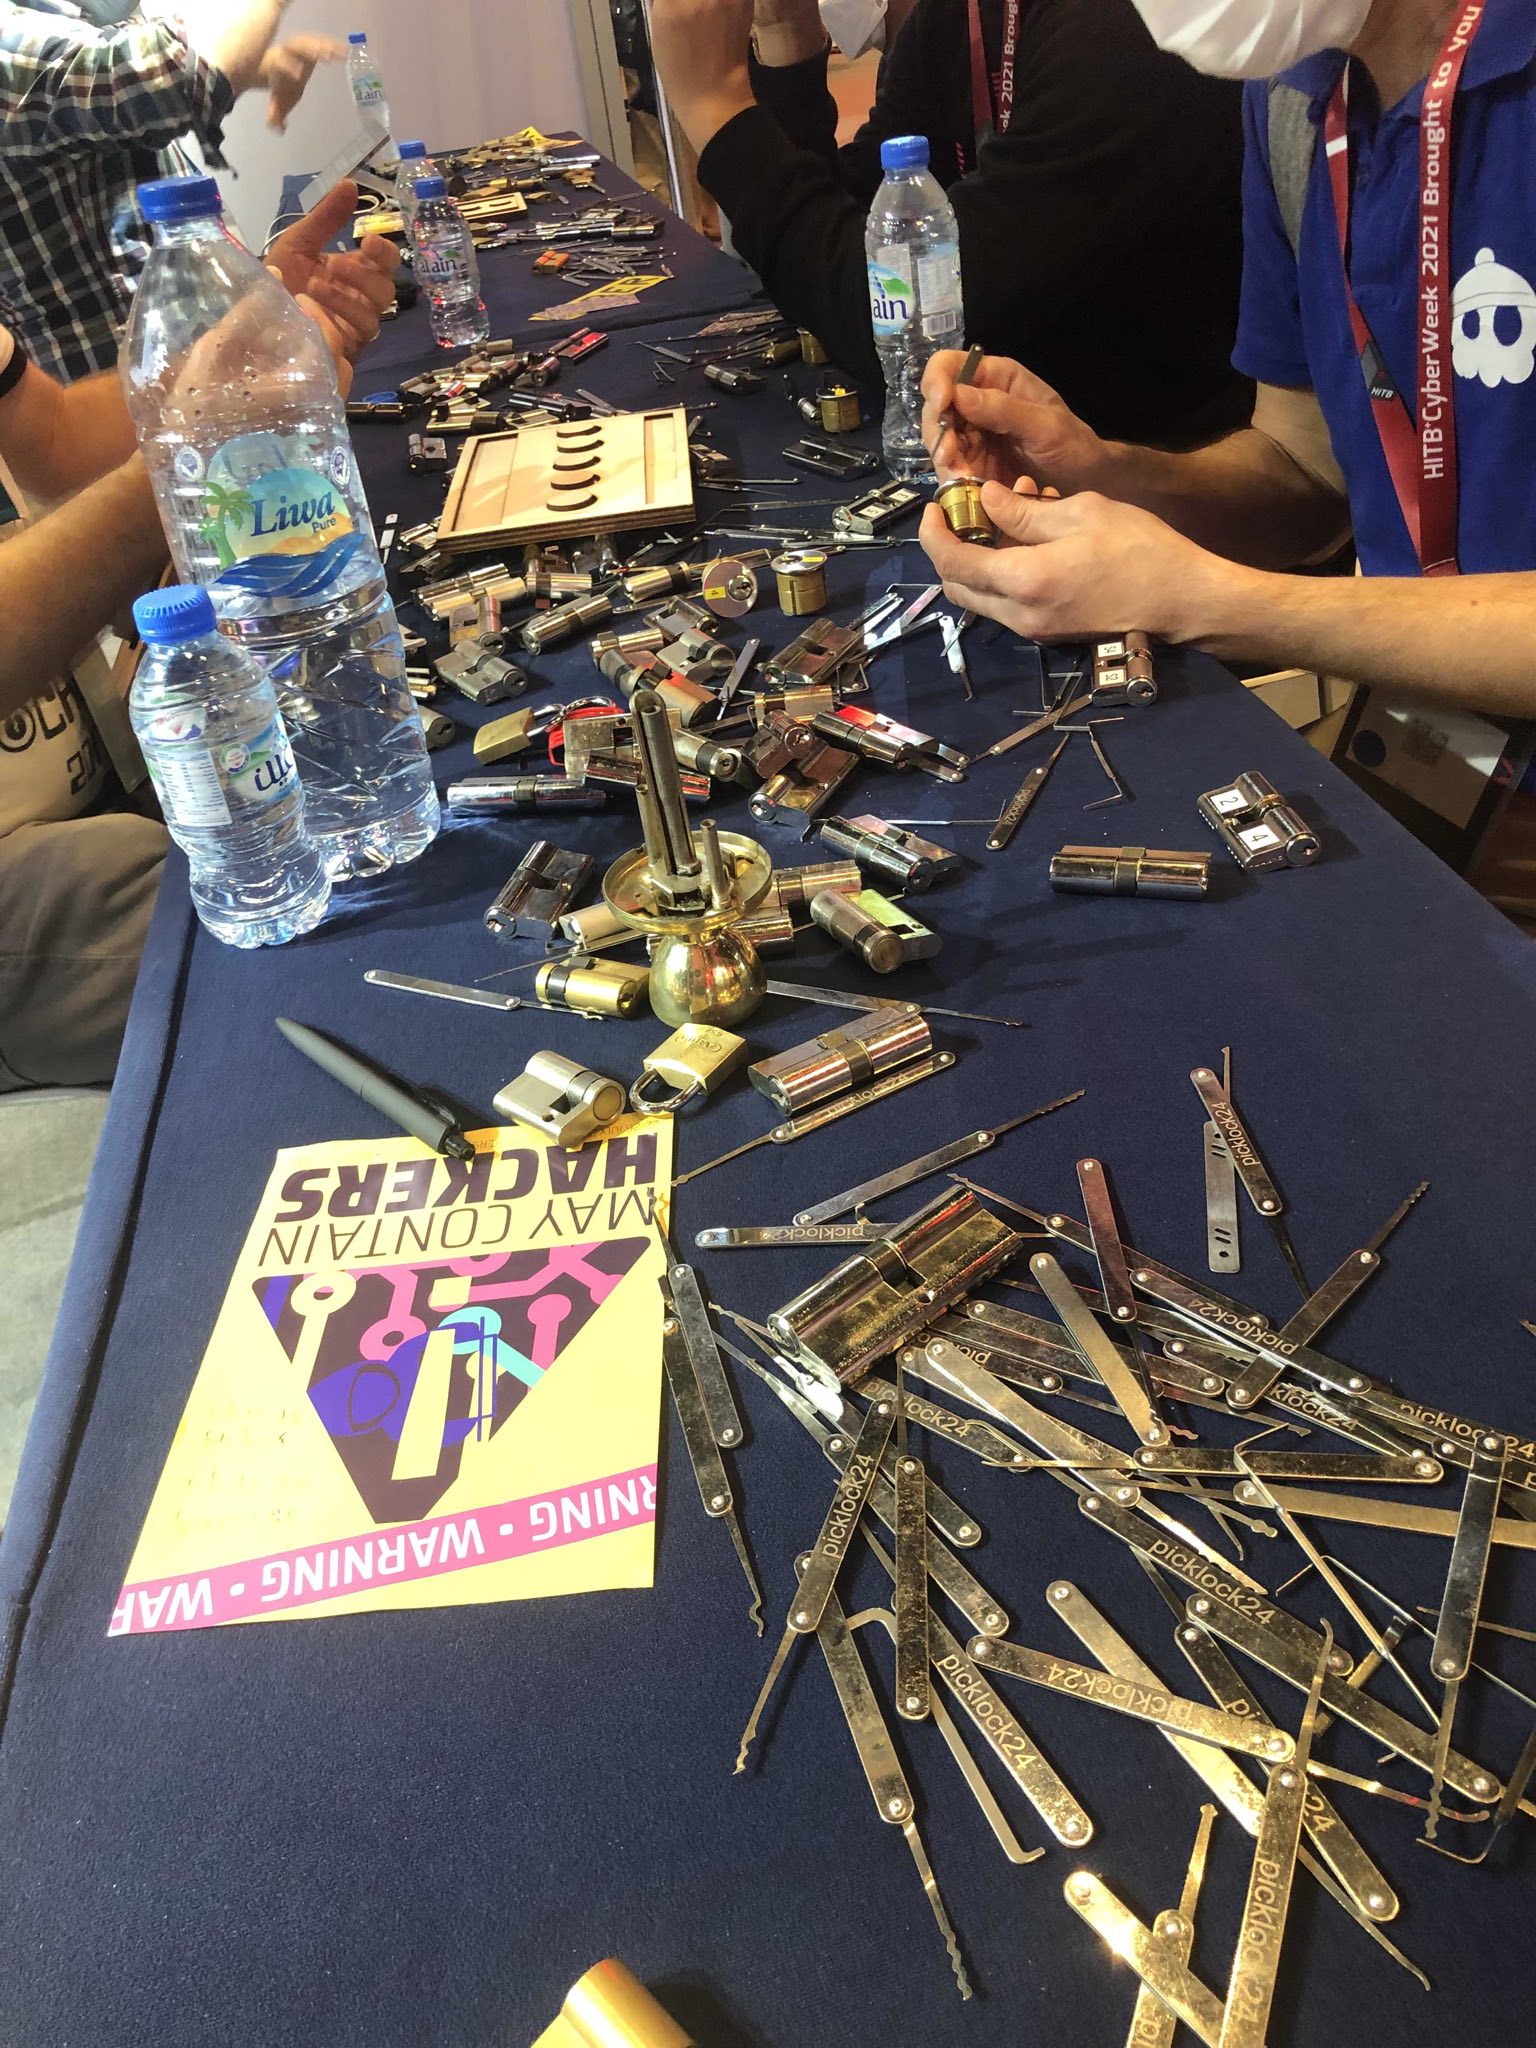
The conference started early the next day. As always, setting up the village was rather quick. We created a few different areas within the village, one focussed on lockpicking, and another on impressioning and safe cracking.
Even through this was my 20th lockpicking village, it never gets boring. I was very excited to try out a few new things. For this trip, I’ve created a large set of progressive locks, with multiple brands, and pin styles. I’ve also brought multiple new slide decks on lockpicking, impressioning, and safe manipulation. Walter brought a variety of combination locks, from a small padlock to a dial safe lock, and we also brought a full impressioning kit, as it’s a great joy to demonstrate the technique.
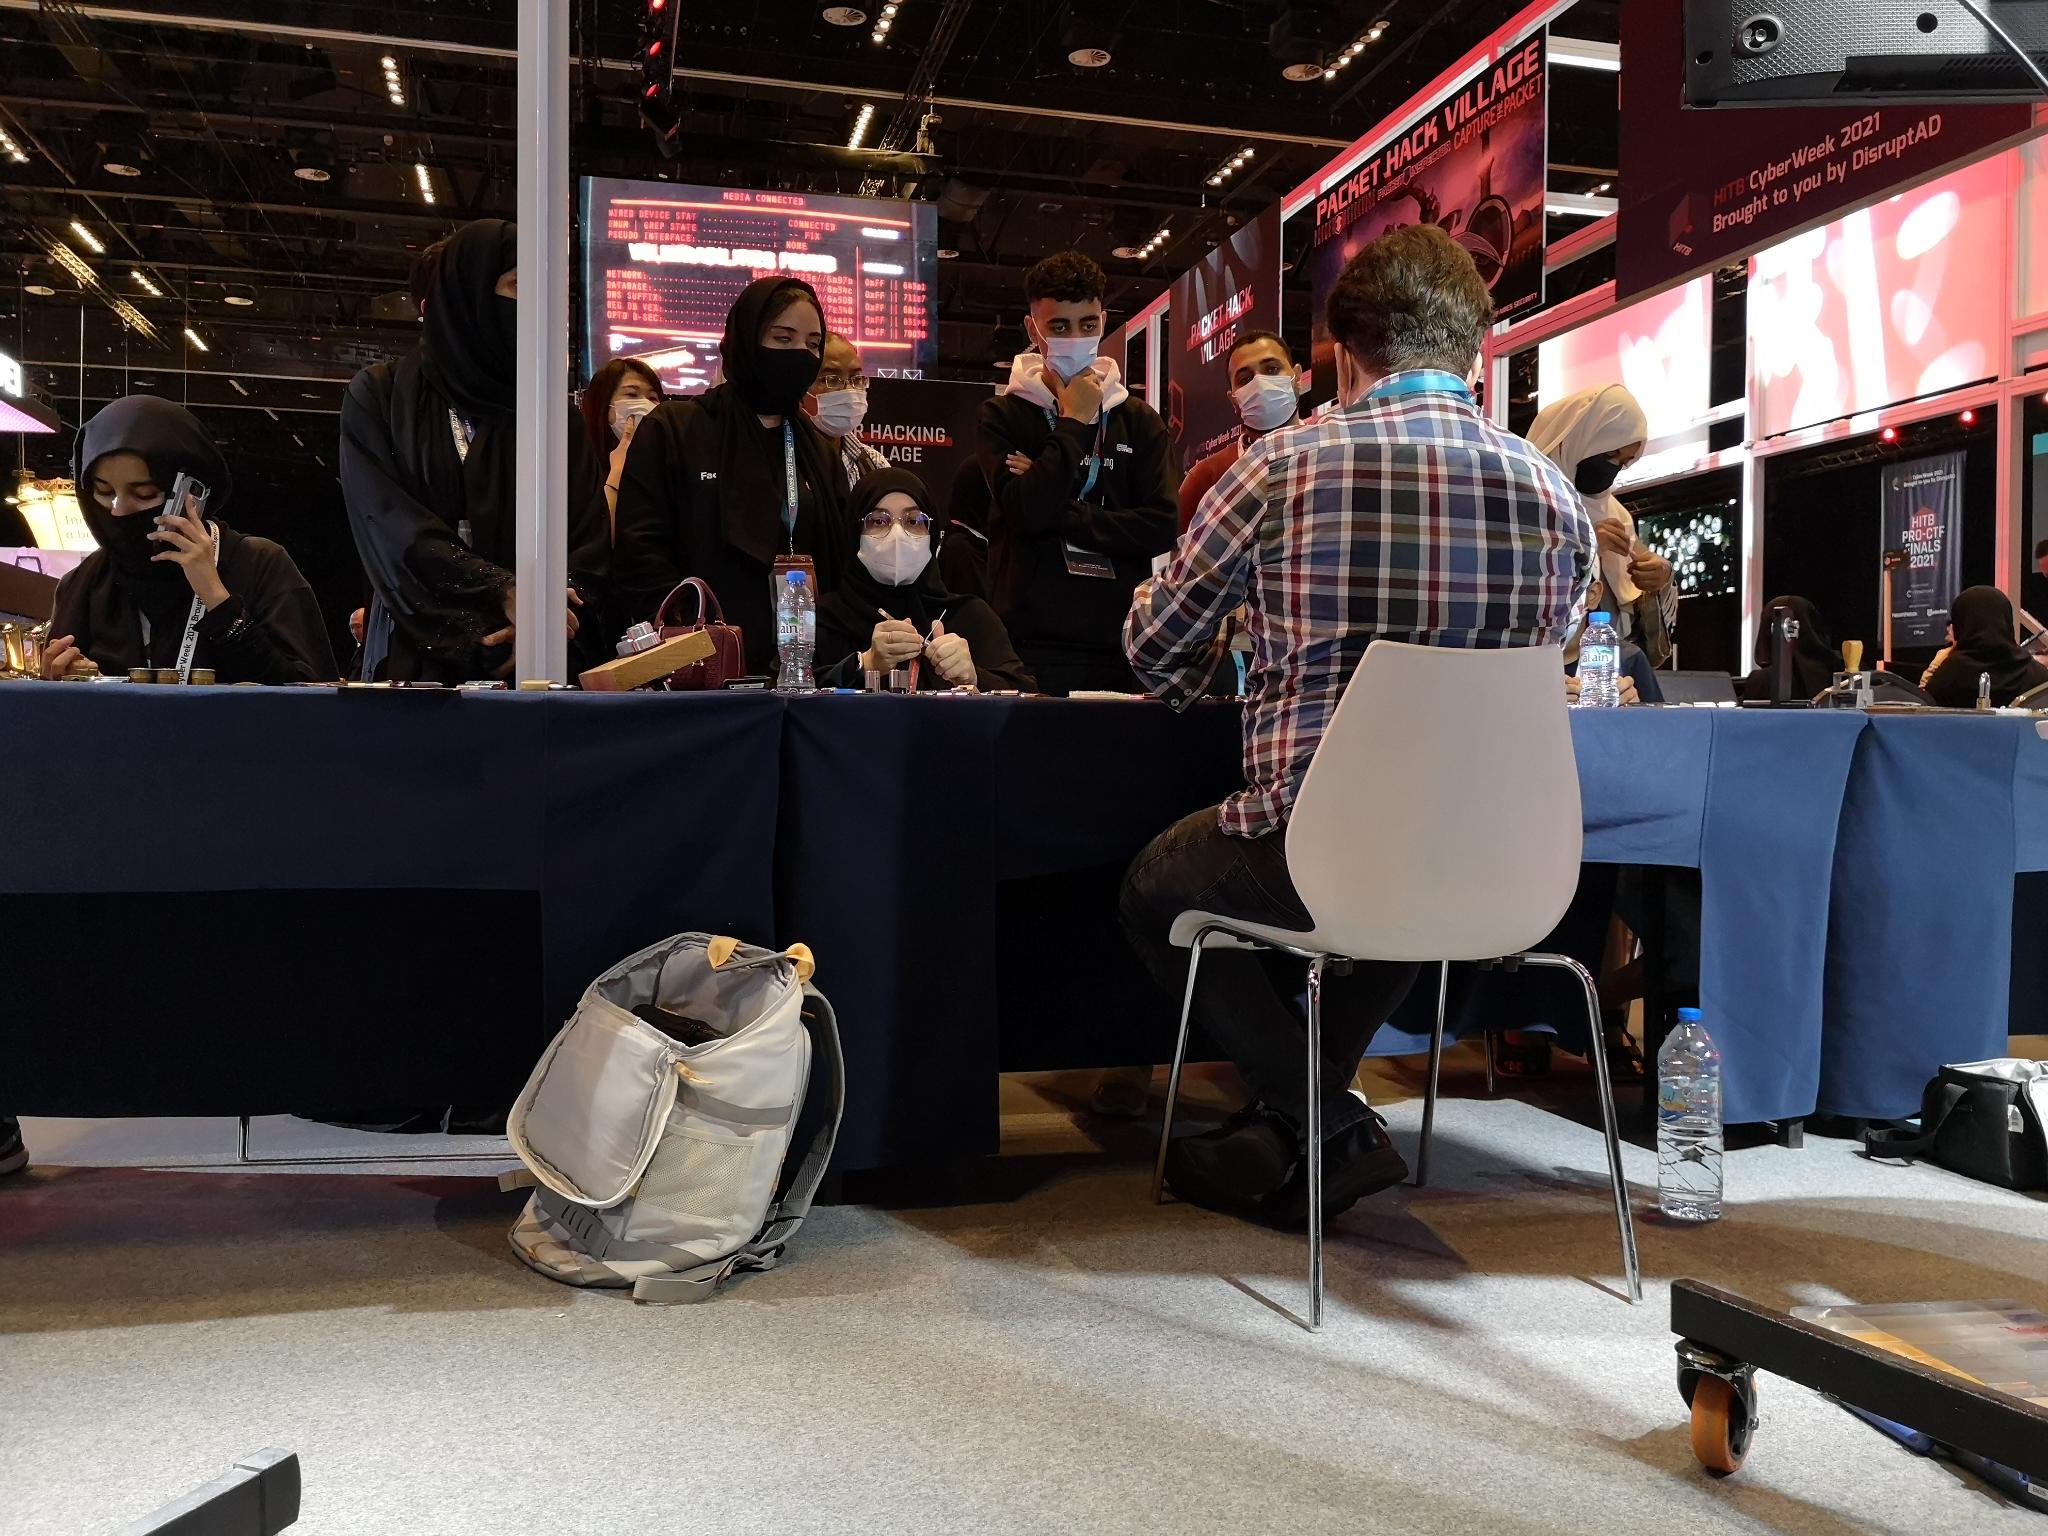
We tried to gather people in small groups as much as possible, as it’s a lot more efficient. From early the first day, the lockpicking village was packed. Some attendees stayed for ten minutes and had a great time by learning the basics. While some stayed for hours and opened ever challenging locks. Most notable were the participants that kept returning to the village throughout the event, it was very clear they got the bug. We have taught between two hundred and three hundred people, and between five and fifteen people at the time.
After we packed our gear at the end of the event. We decided to take another dive in the swimming pool, before heading out to the after party at the Hyatt Capital Gate. I’ve cut the party short as our flight back was early in the morning.
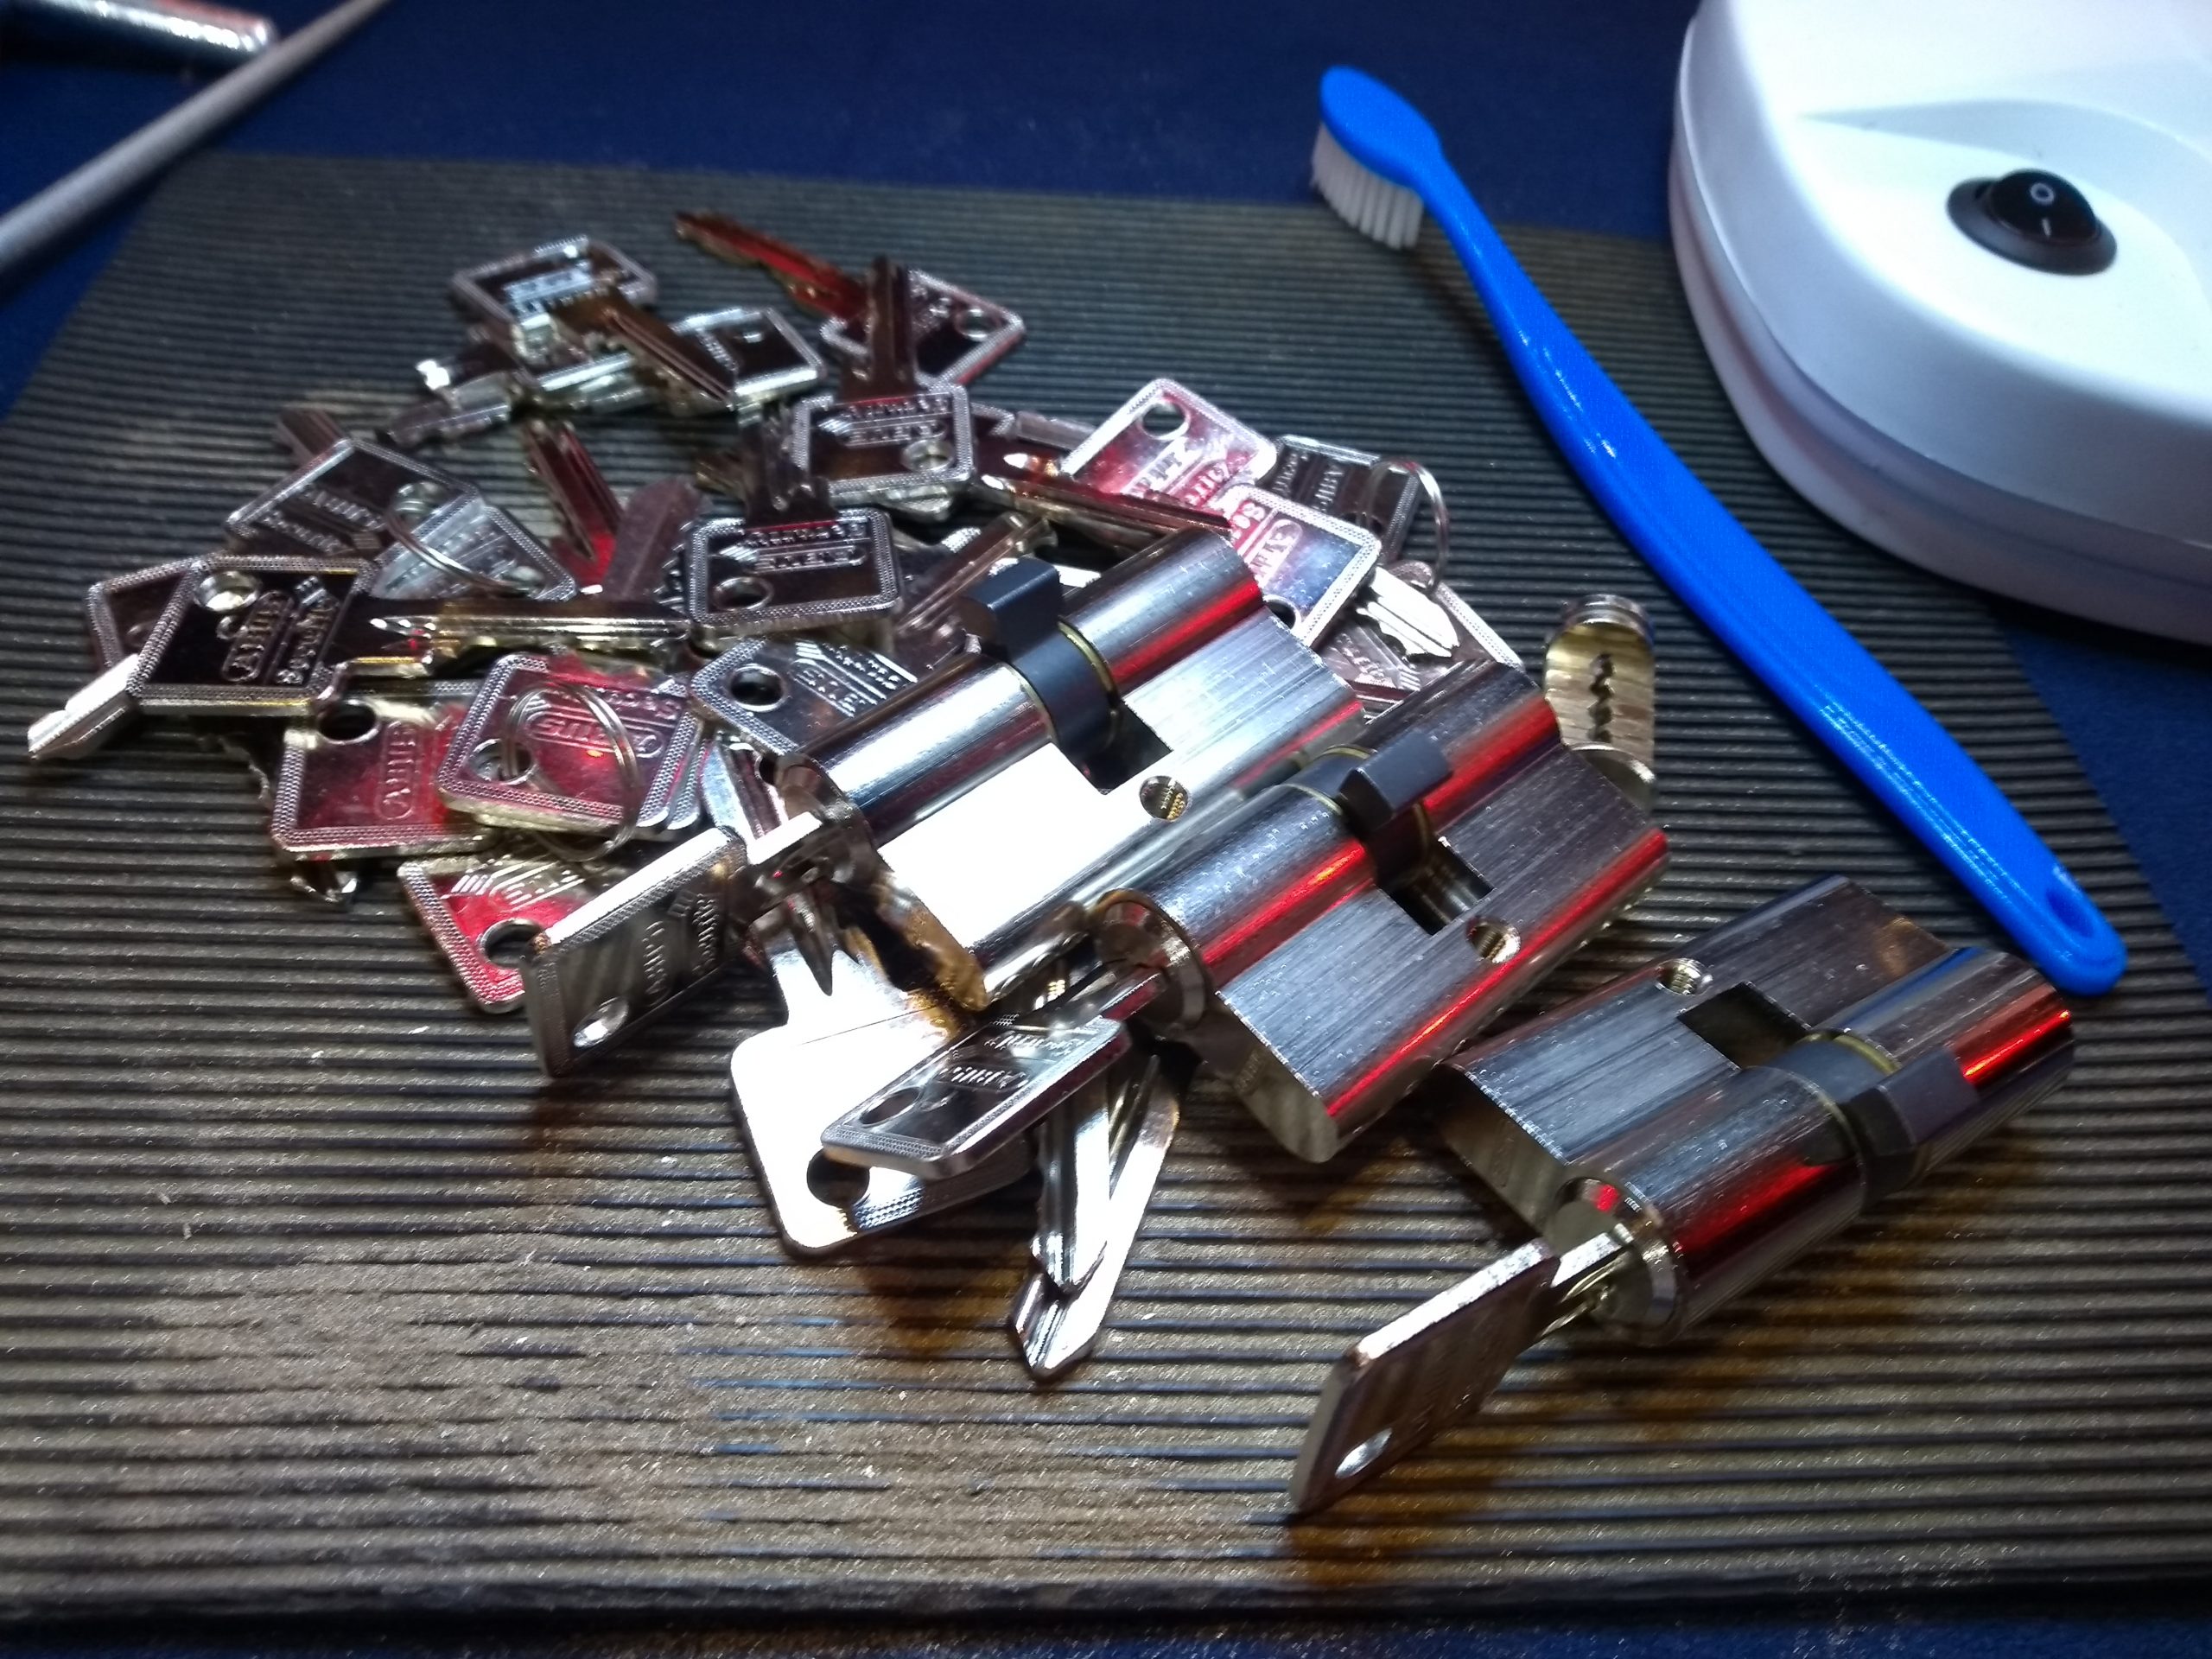
The casualties of this event, insert lock pick and twist.
Wrapping up, we had a great time at the HITB CyberWeek 2021. For the next one, I’m likely to take more days of holiday and do more sightseeing and other activities in Abu Dhabi. Even as a midweek, it was well worth the time.
We would like to thank the HITB crew for inviting us and arranging everything. Furthermore, we had a great time at the event and hope to see you again at HITB Amsterdam.
Mandatory impressioning opens.
Blog by Jan-Willem Markus. Photo CCBY4.0 Toool Blackbag.
Posted in Uncategorized | Comments Off on HITB CyberWeek 2021, UAE