
This post is a bit of unusual content for this blog, but I believe it to be worth sharing.
In summary, I’ve modified a 1500 W space heater to output 400 W heat continuous. This lets me heat up just my computer corner, and subsequently save on my energy bill.
The winter is cold. While not unusual, this year’s energy prices are going through the roof. (For reference, electricity is about €0.8 per kWh and gas goes for €3 per m^3.) This requires us to be smarter about energy use, or pay the price. It doesn’t help that my house isn’t very energy efficient. Luckily, I wasn’t home during the coldest weeks of December. Annoyingly, I’ve paid about €50 in heating for the single day I used my central heating. While I can afford it, I’d rather spend it on locks.
One solution to save on the energy bill is to use a localized heating over central heating. The newest technology in that regard are infrared (IR) panels. They radiate infrared light, which is absorbed by surfaces. This is believed to be more energy efficient than heating the air. The panels are usually mounted to the wall. But I’ve also seen then hanging from the ceiling, or as large format placemats under a computer keyboard. I couldn’t find one that fit my needs, so I modified a fairly useless space heater instead.
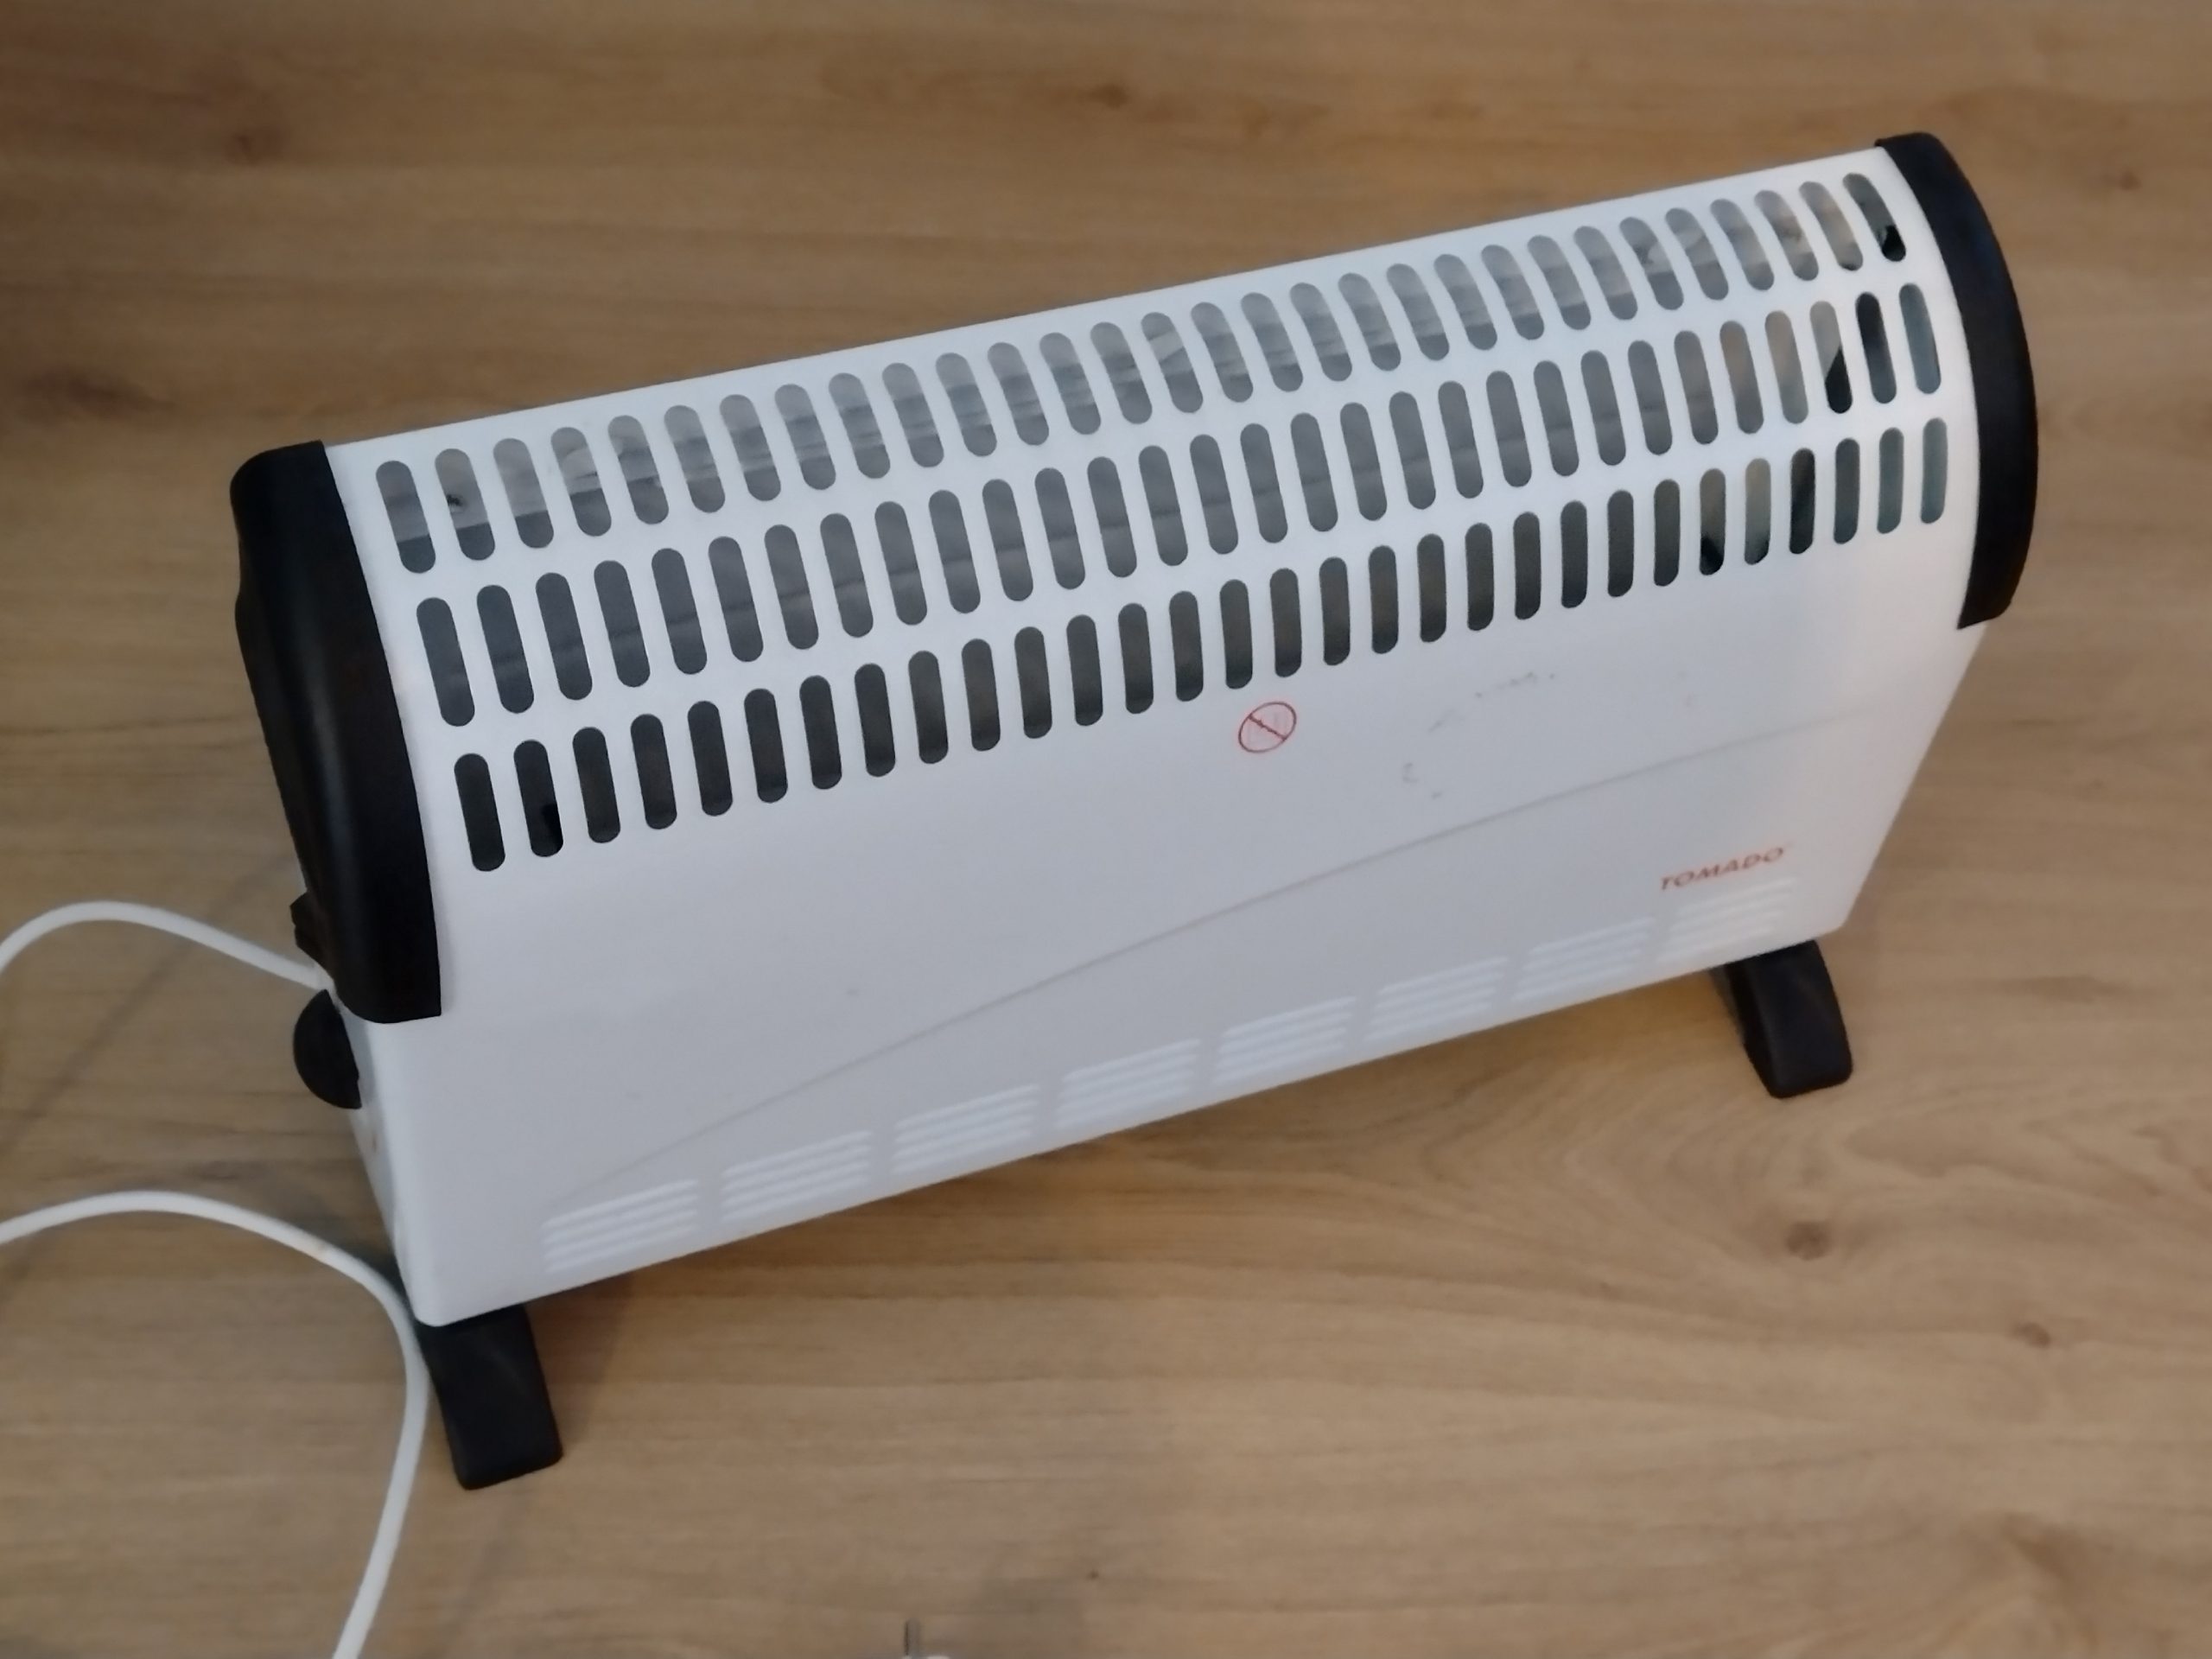
Useless, wouldn’t usually be my way of describing these devices. Space heaters work as designed, converting electrical energy into heat. I’ve bought a 2* 750 W version some years ago, but have not used it much. It heats up quickly, and shuts off as it reached it maximum temperature. Heat for 10 seconds, cold for 30. This hysteresis is quite annoying to me. Therefore, I chose to wire the two 750 W elements in series, reducing the power output to approximately 400 W. This appears to be enough to make my workstation habitable. (Given, I’m dressed for the weather as well.)
The difference is, the heater will get less hot, and the temperature is more stable as the tipping point of the thermostat is rarely reached. You might even forget it is even there. (Please don’t, as it’s still a fire risk.) I’m using the heater for about 5h a day on normal winter days, and have not used my central heating for a month.
While the modification isn’t difficult for the average maker, I rather share the complete story and make it more accessible. Do take care, though, as electricity is largely unforgiving, and the dangers are easy to underestimate.
In the figure below, there are simplified two diagrams which represent the original and the modification. In simple terms, electricity flows through a heating element to create heat. As continuous heat can burn out the element, they added a thermostat to regulate the temperature. This is quite a dumb device and consists of a bi-stable thermal switch. The heat builds up, until it trips the temperature dependent switch. The switch is turned on again when the temperature cools down below the set point. The overshoot and undershoot is called the hysteresis.
Switches with a build in lights are added for usability, and the earth is the safety feature to complete the build. It should be connected to the metal case, as a short from line or neutral to ground will trip the ground fault circuit interrupter (GFCI or RCD), or at the worst case, cause your circuit breaker(s) to pop.

In the original configuration, the heater can be used as 750 W or 1500 W heater. Making it into something arguably more useful isn’t hard. I’ve simply wired both heating elements in series, which quadruples the resistance, and sets the power output to 375 W.
The modifications are fairly straight forward, as clip on connectors are used to simplify manufacturing. Swapping the wires is usually enough to make it work. As you will see, I’ve not wired the optional switch light, and reused the cable for another connection.
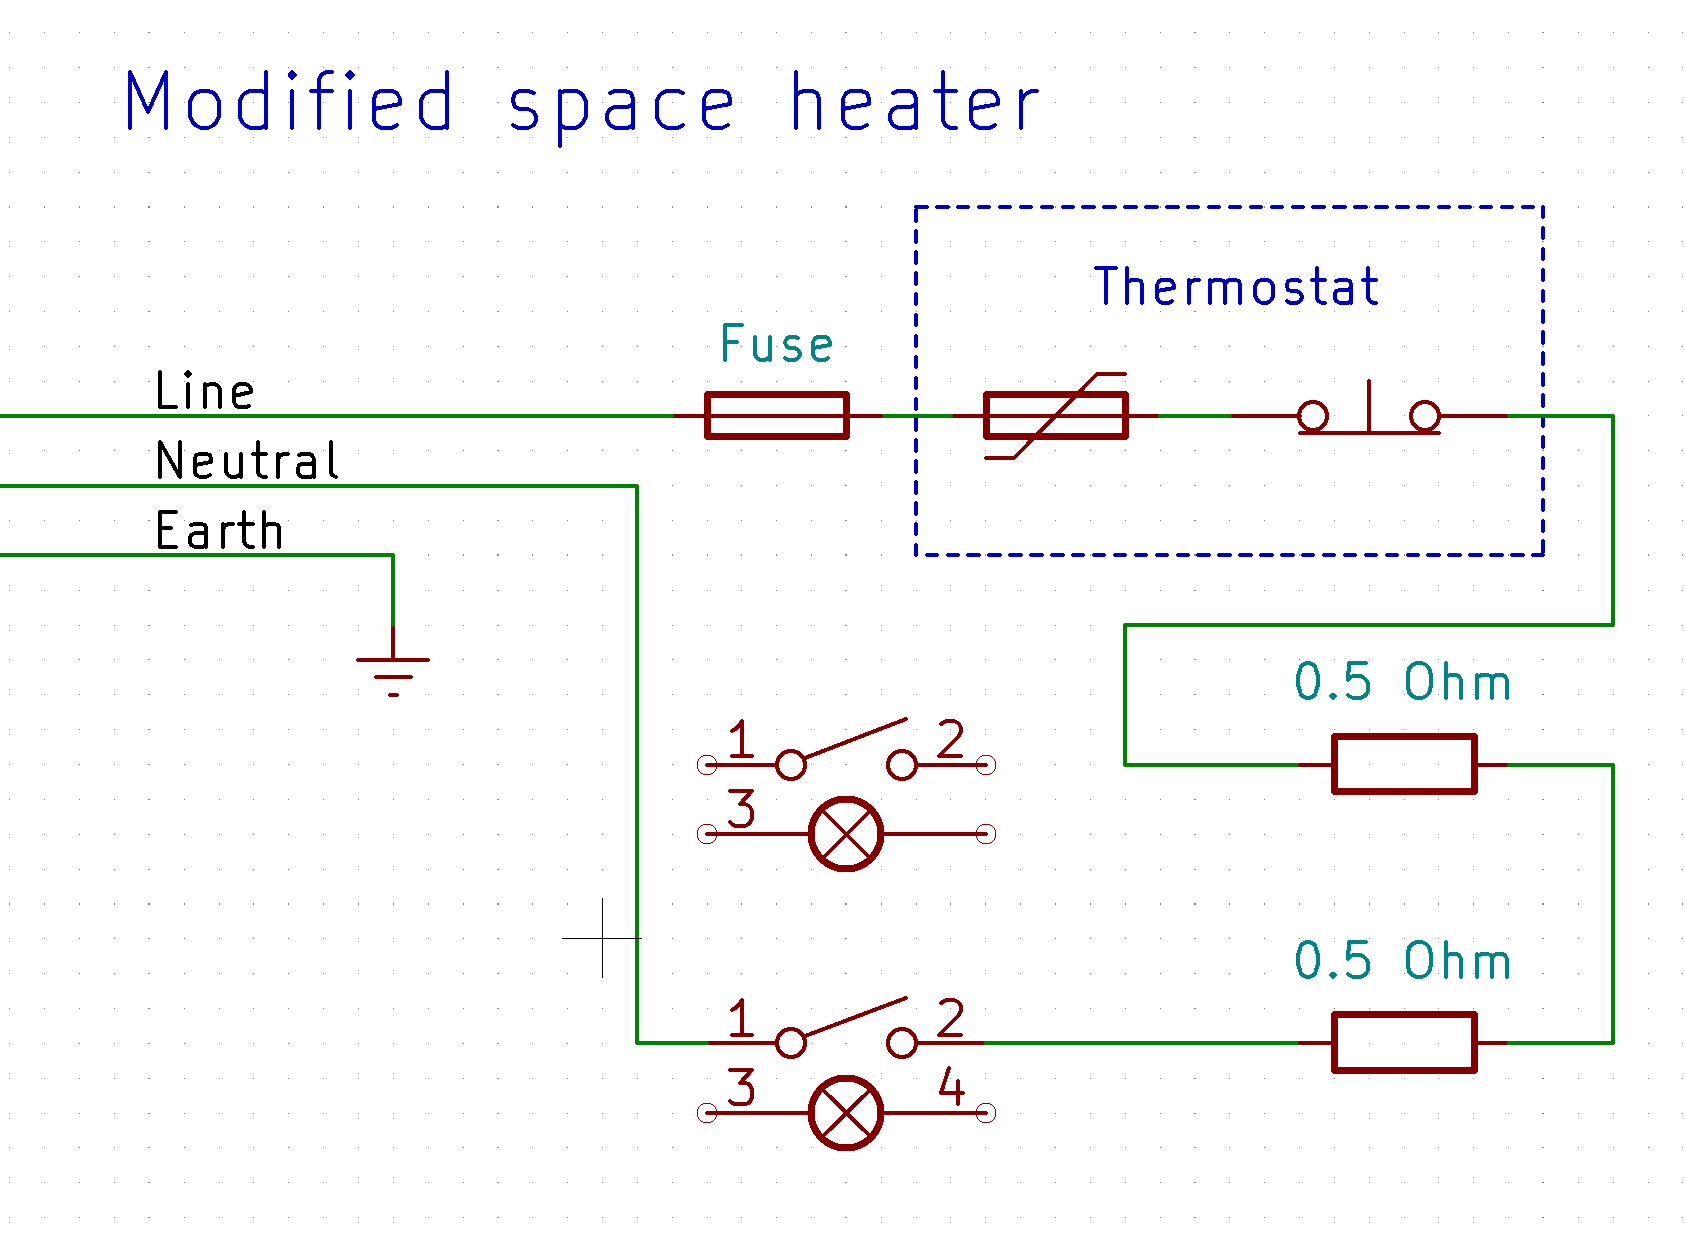
Please take care of the necessary safety precautions, including unplugging it from the wall. Furthermore, don’t forget to wire the earth, (thermal) fuse, and thermostat correctly as they are life-saving features.
Let’s summarize. I’ve outlined a simple modification to a space heater to output 400 W heat continuously. This is enough for me to heat my work space in moderate Dutch winter weather. For the next winter, I’m very likely to invent in a heated work table surface, and a heated office chair, instead.
Hopefully this inspired you to modify your devices, and save some money on the electricity bill. I’d rather see you spend the money on other necessities, and if possible your lockpicking hobby.
At first, I tripped over the “quadruples the resistance” thinking that it would only double it. But you’re right, that in parallel, two resistors will have 1/2 the resistance of a single and two in series, they will have double, so 1/2 going to 2 is quadruple. Thank you for sharing the continuous output design!
Indeed, even basic electronics can be quite counterintuitive at times.
Thanks for the compliment 🙂
Kudos !!
Thanks for sharing this Jan-Willem